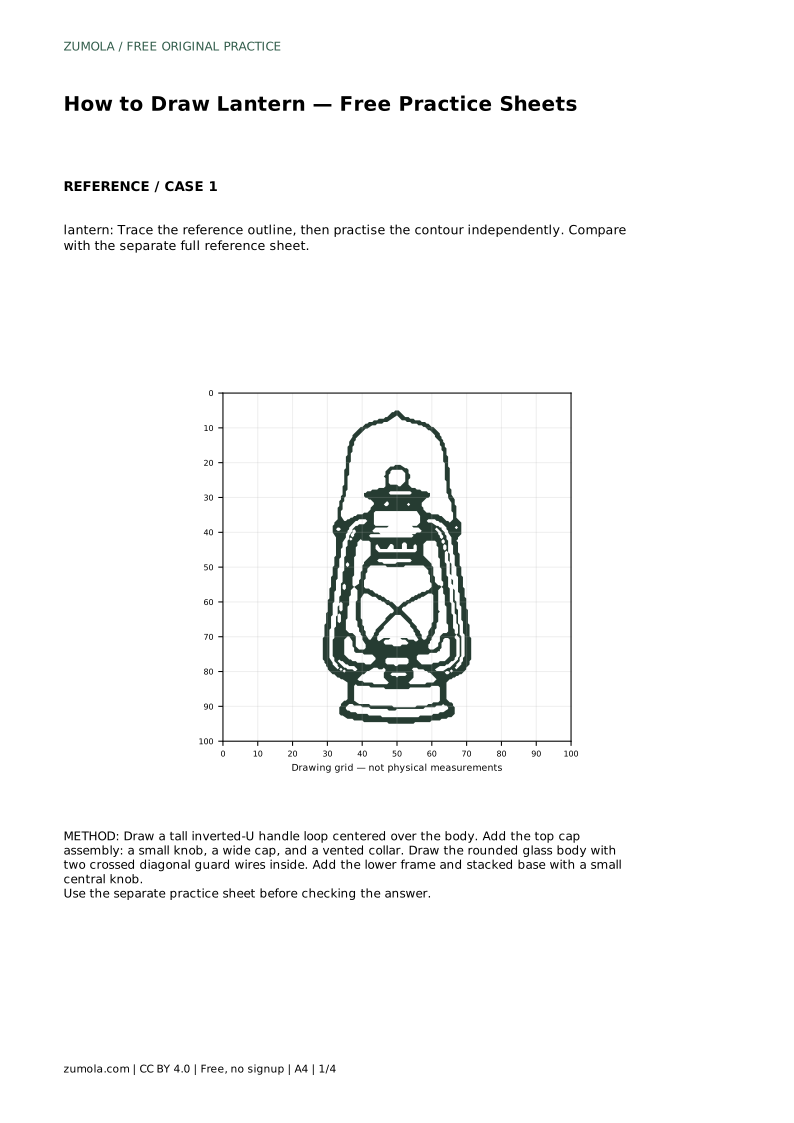
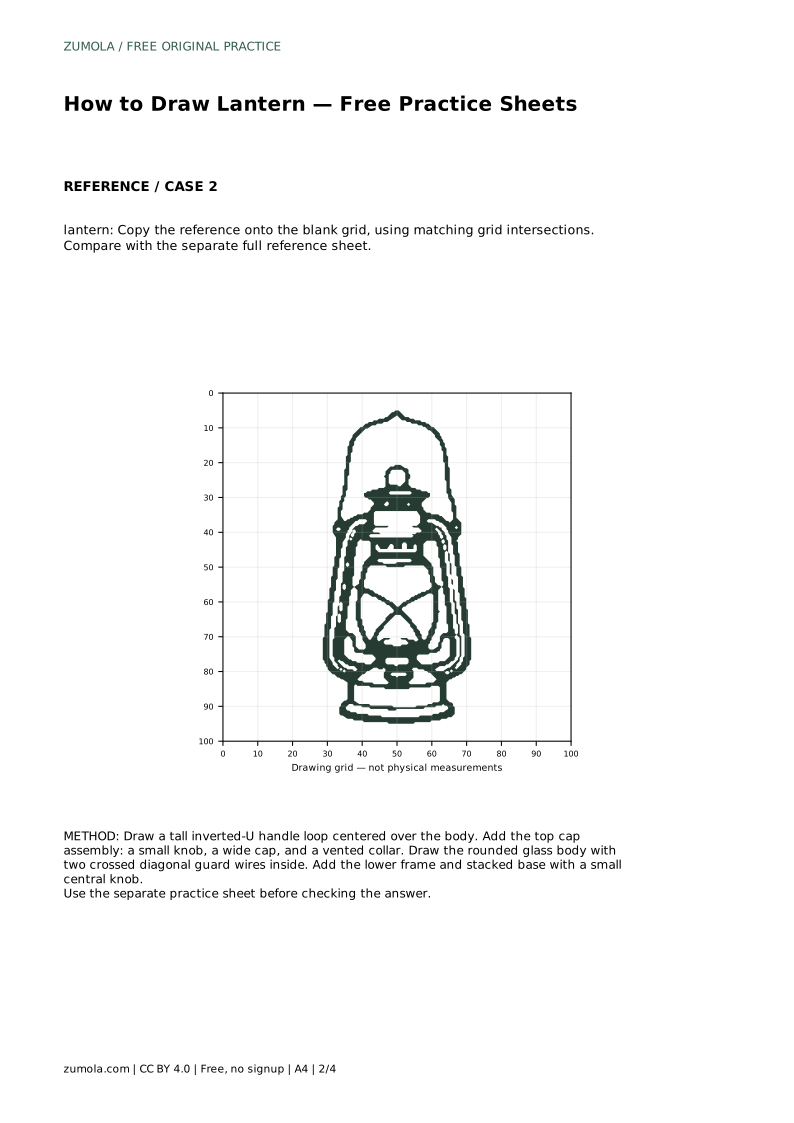
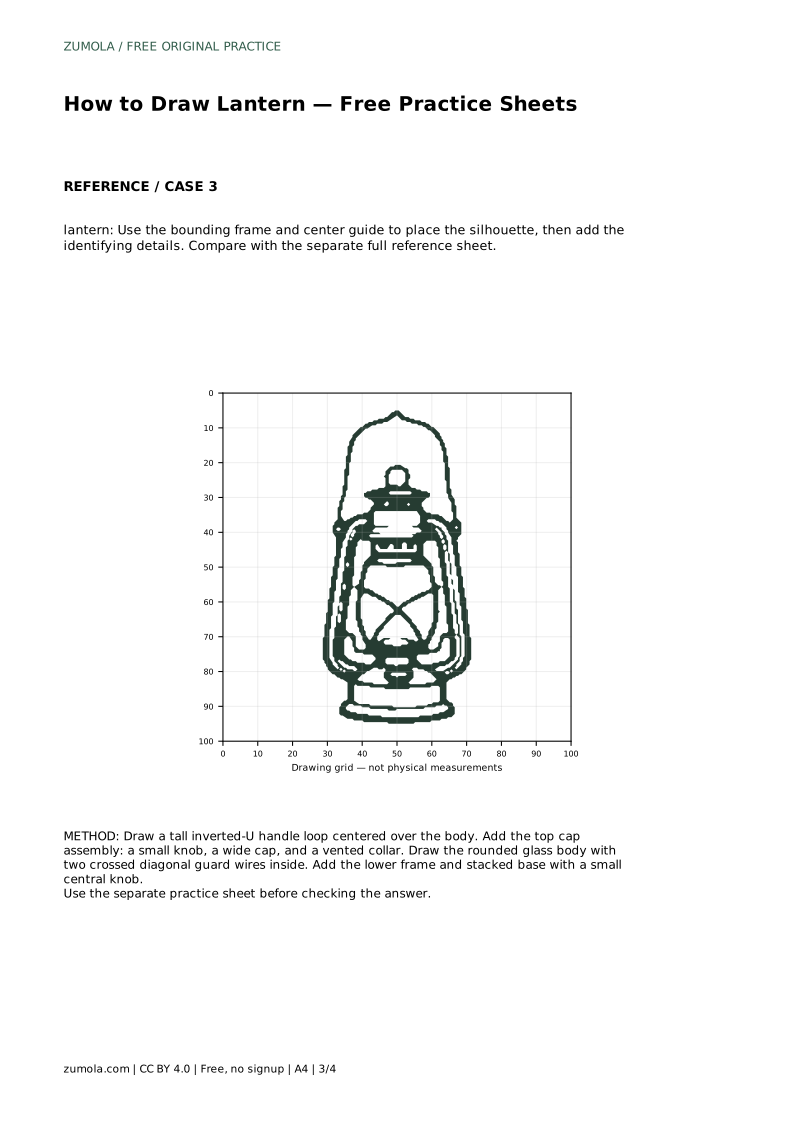
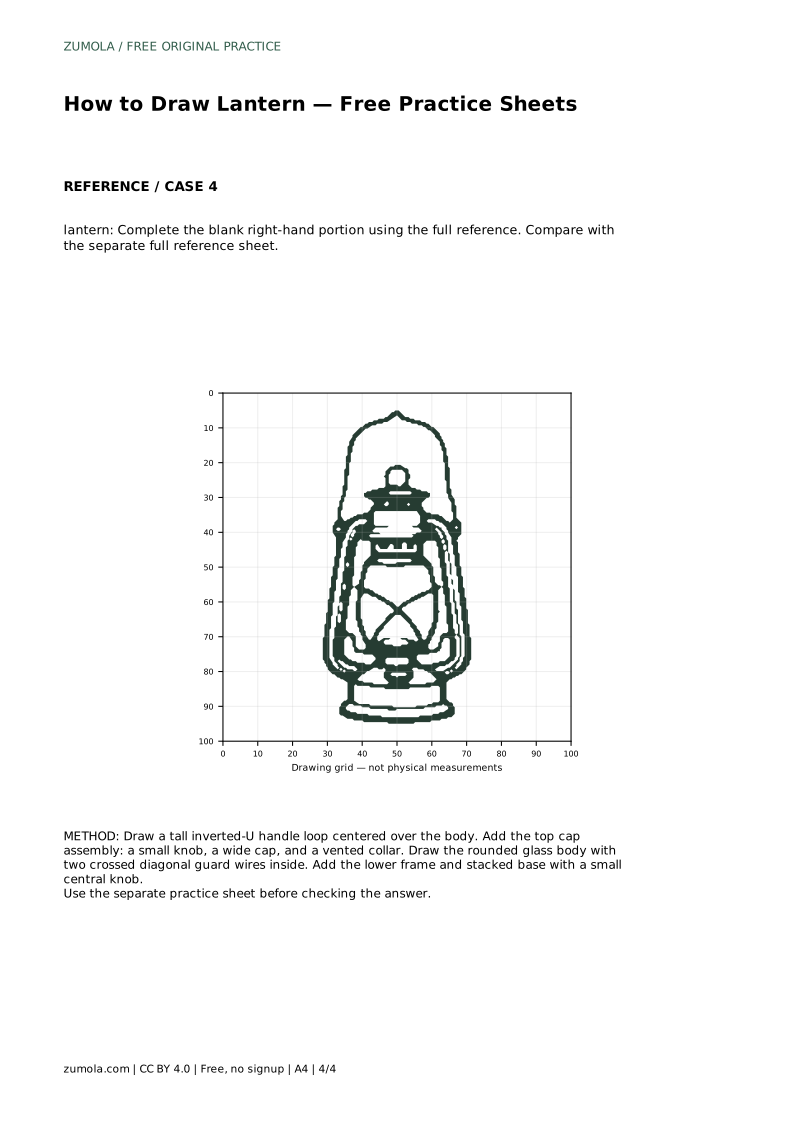
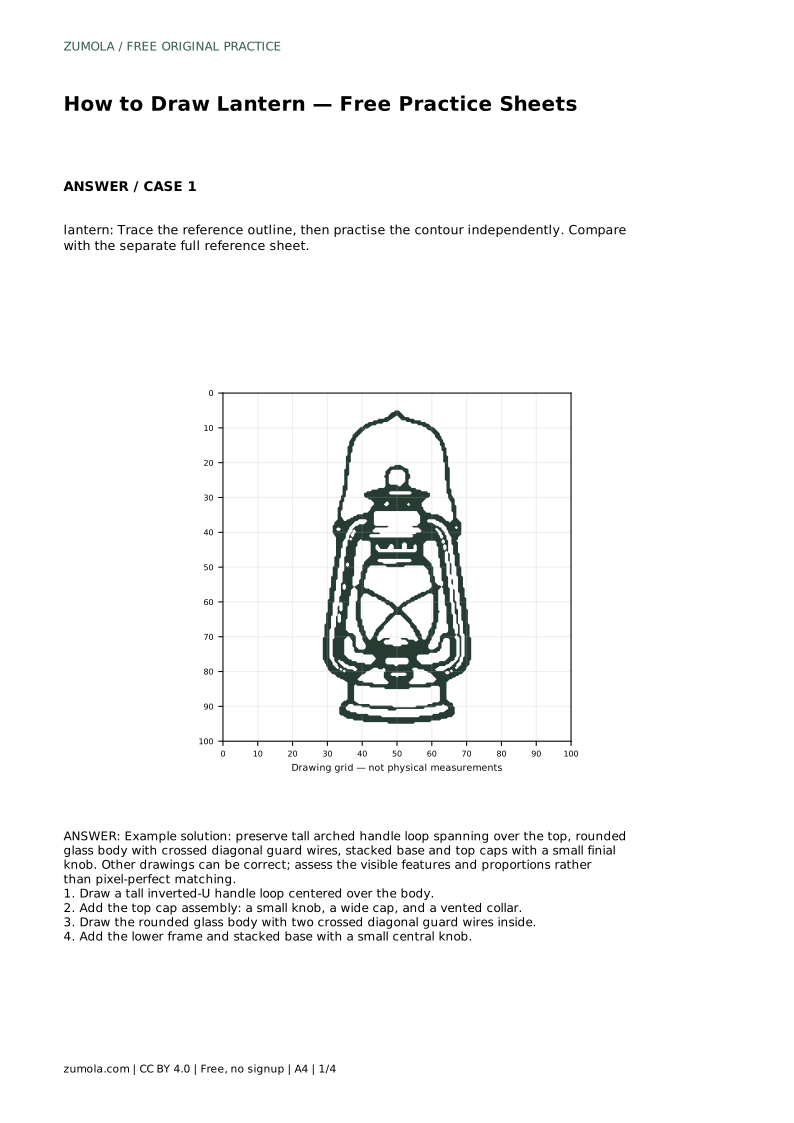
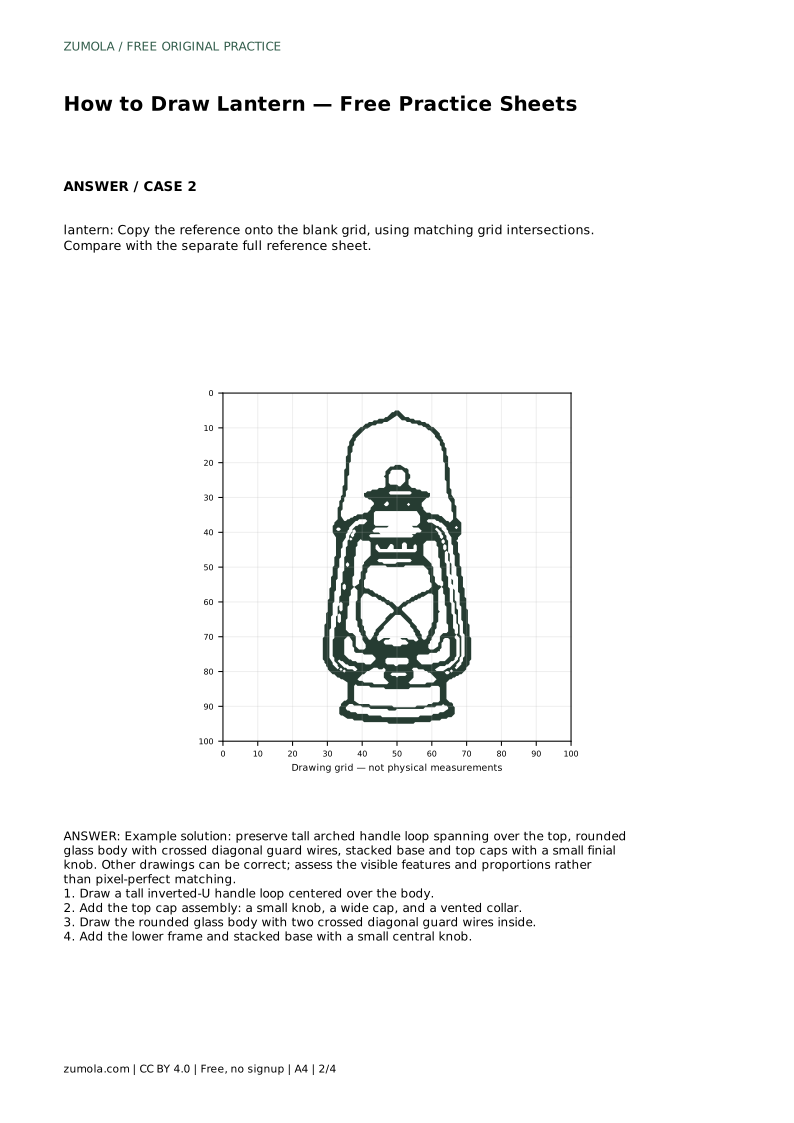
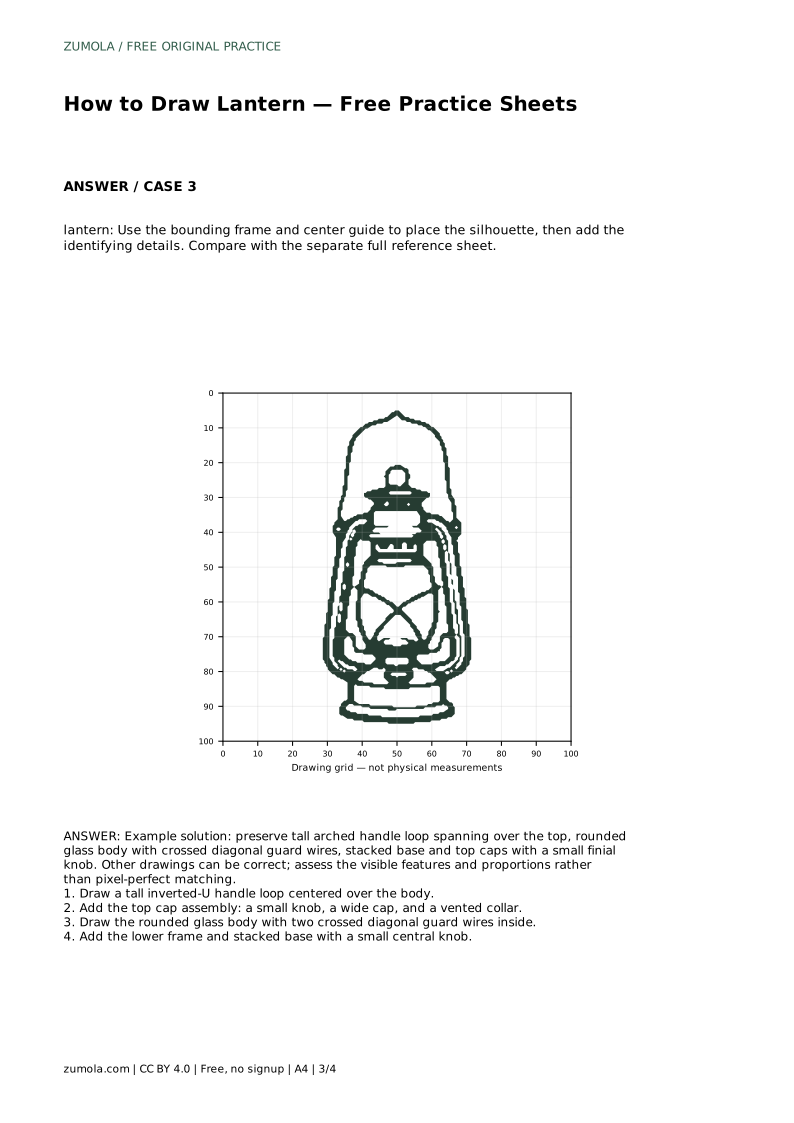
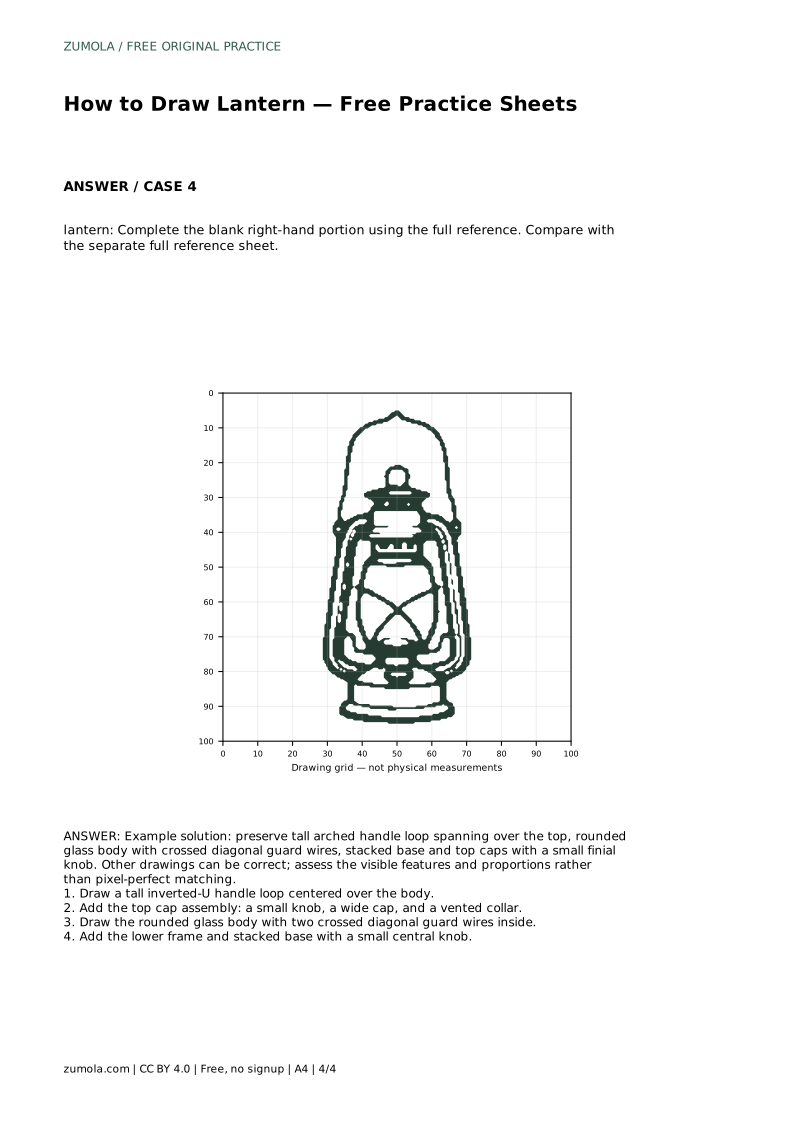
Reference diagrams
LETTER · Download PDF
A4 · Download PDF
Free original resources
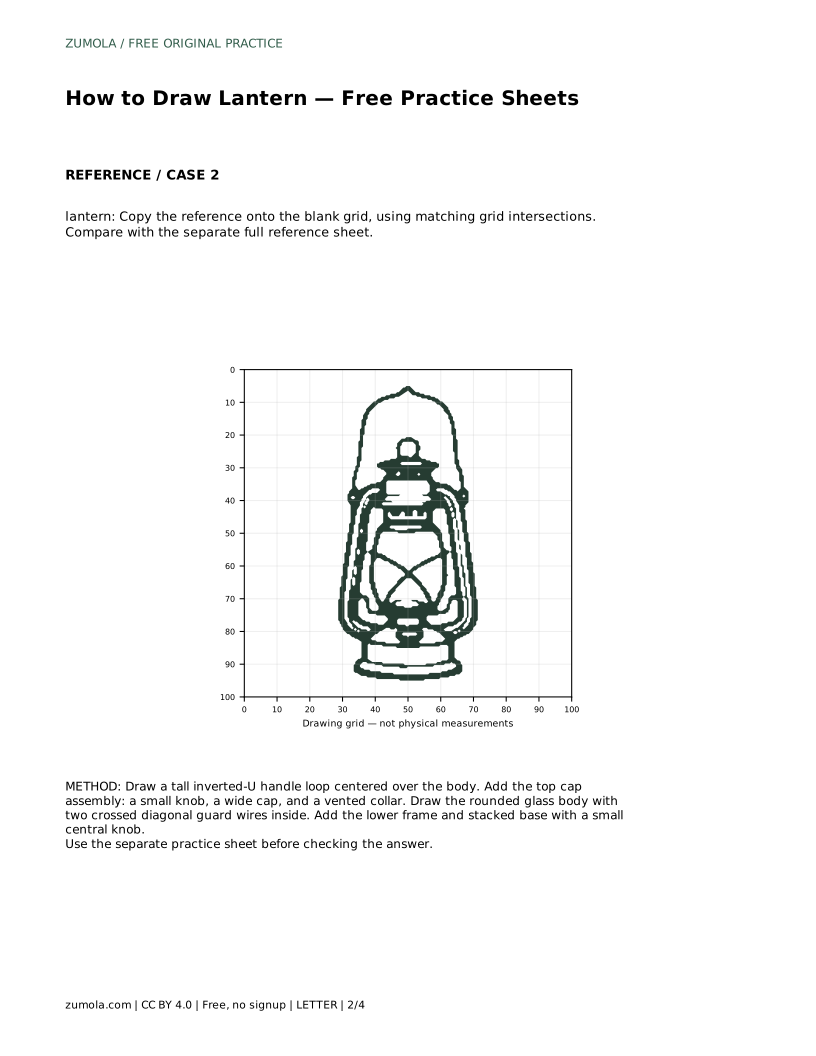
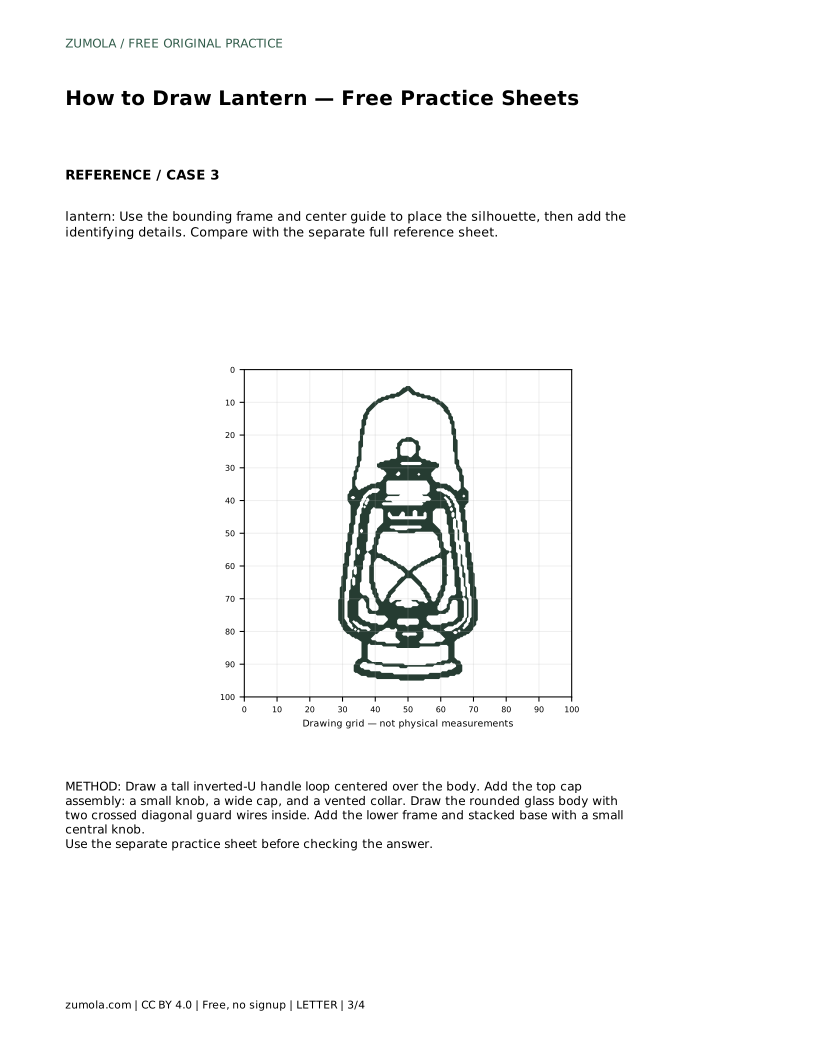
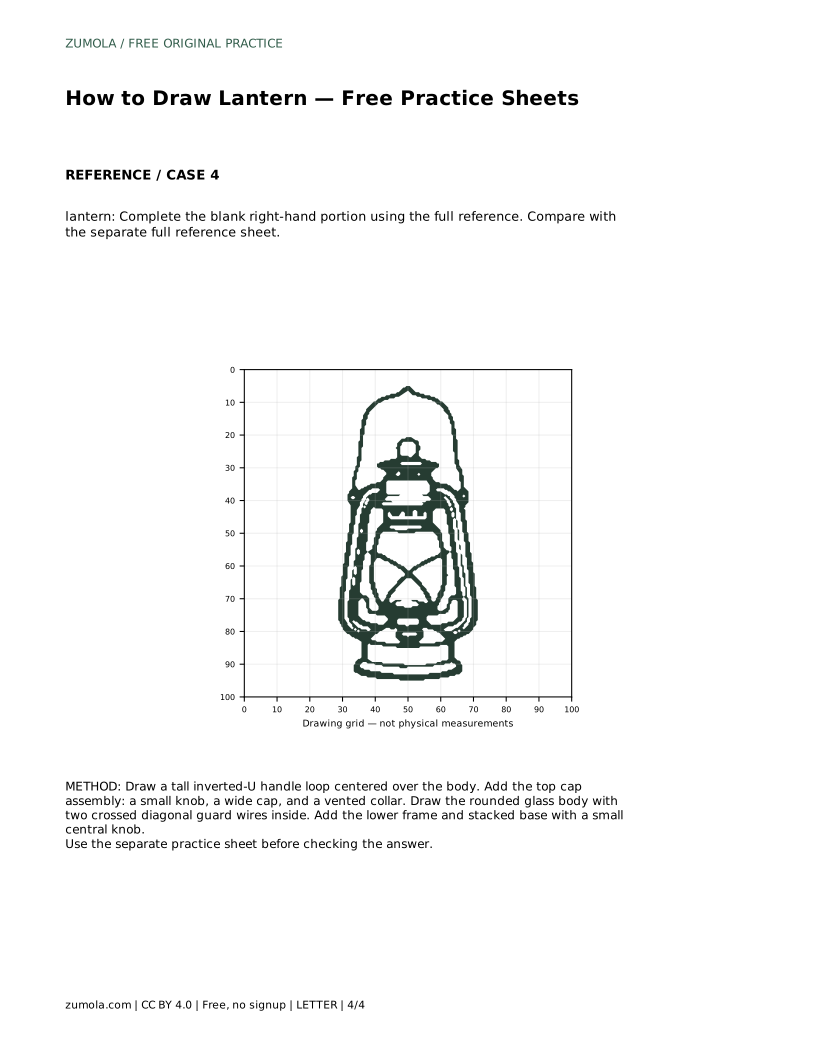
Learn to draw a lantern by building its handle, cap, glass body, guard wires, and base. Free practice sheets support tracing, grid copying, and guided placement.
Four original cases, with reference diagrams, practice sheets and worked answers. Everything is free; no signup required.
LETTER · Download PDF
A4 · Download PDF
LETTER · Download PDF
A4 · Download PDF
LETTER · Download PDF
A4 · Download PDF
Use A4 or US Letter to match your printer. Use the stated values and conditions to solve each exercise; diagrams are not physical measuring rulers.
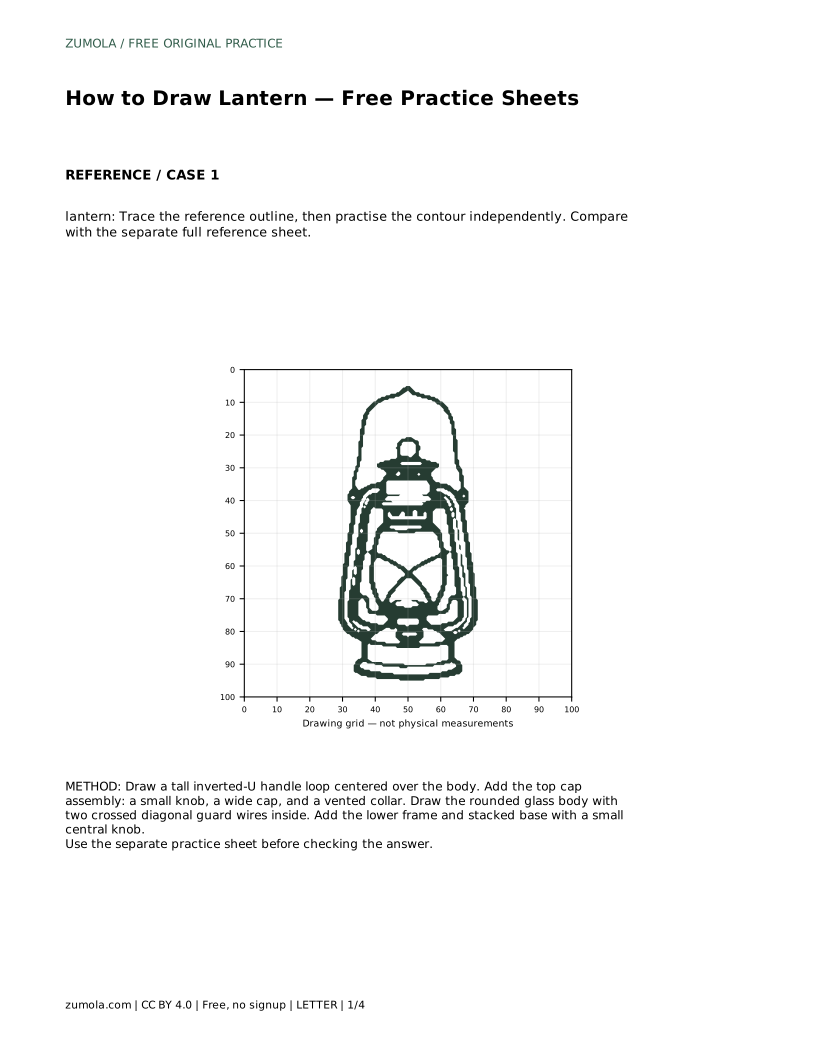
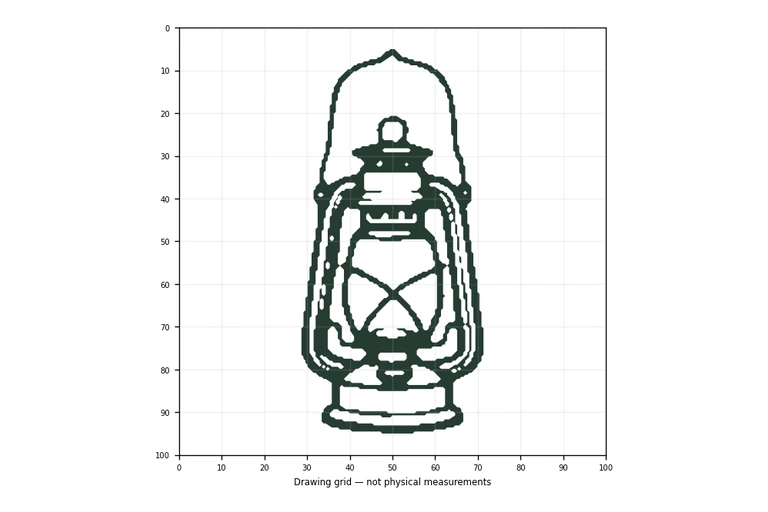
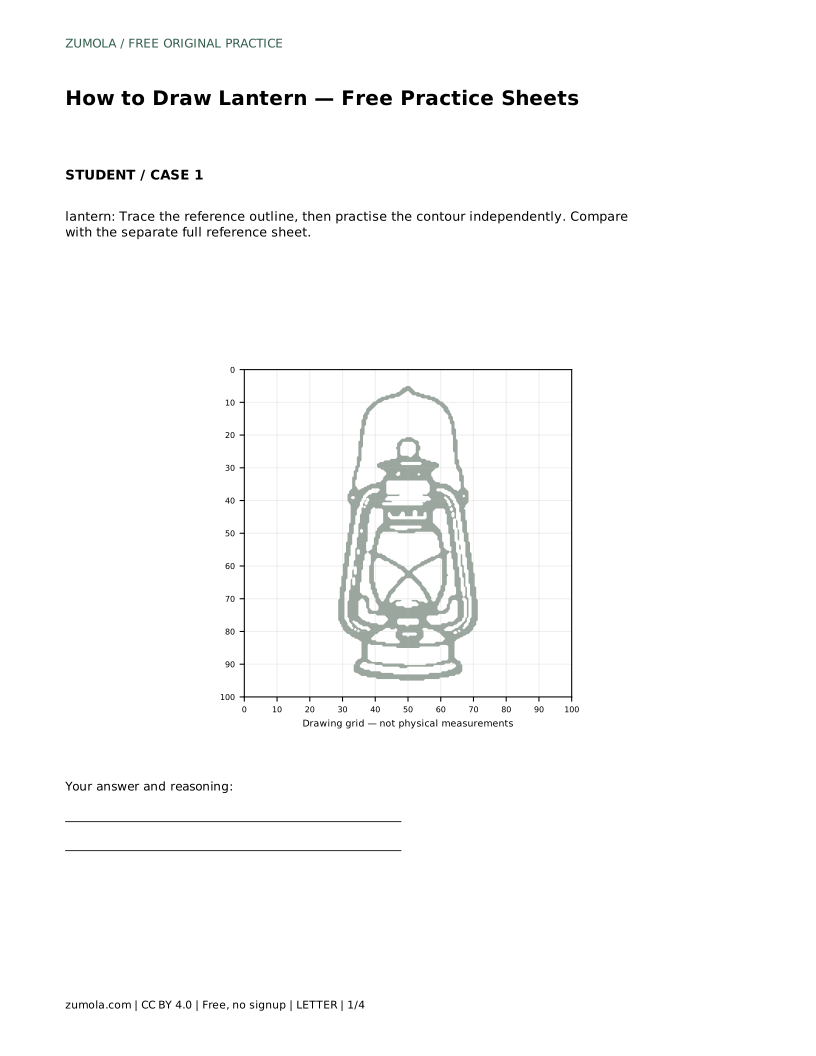
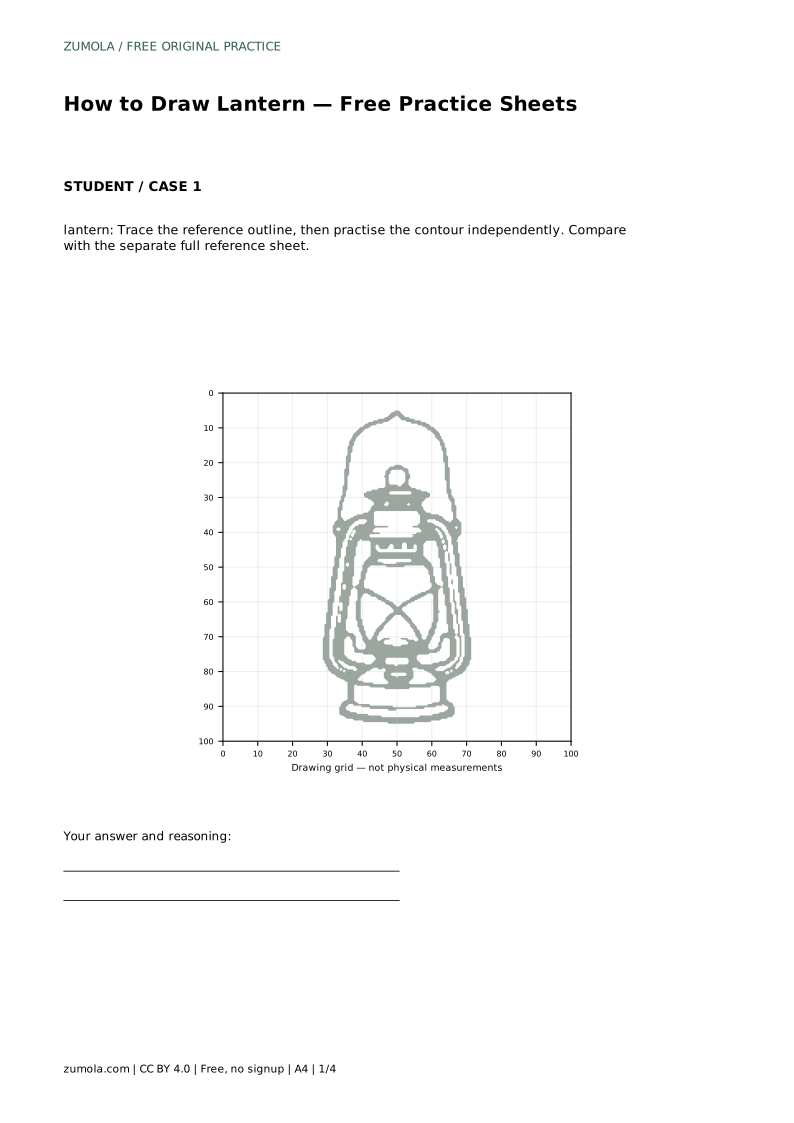
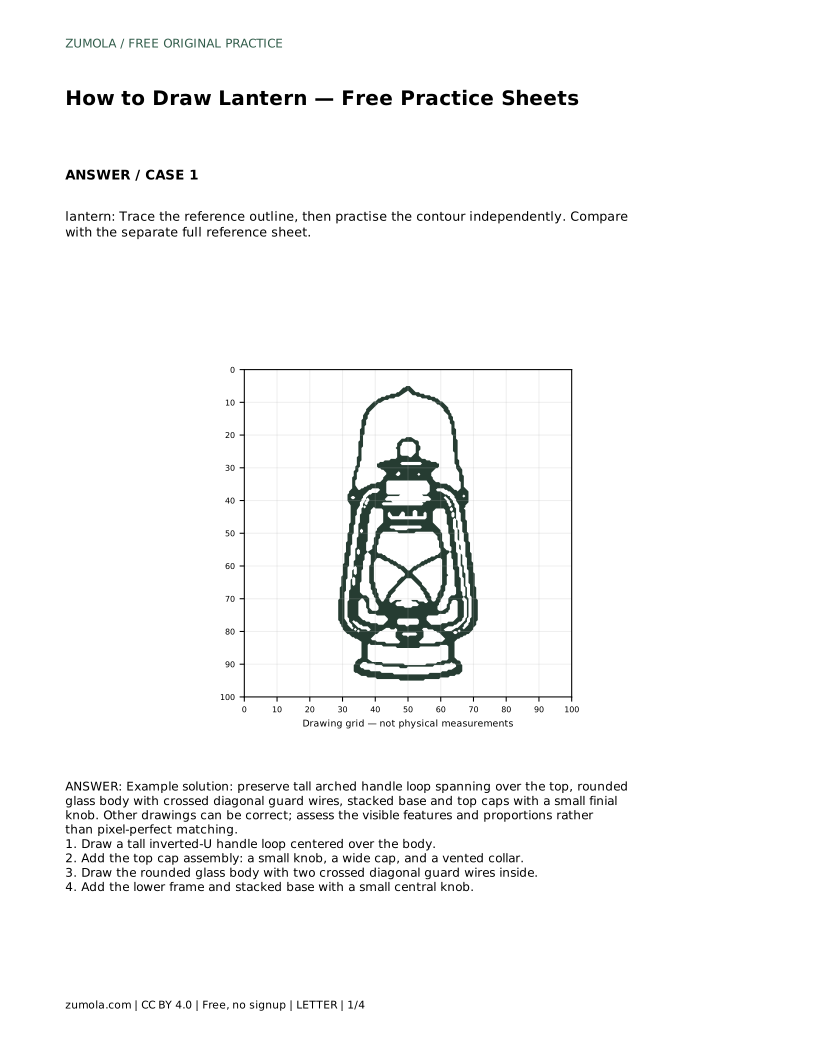
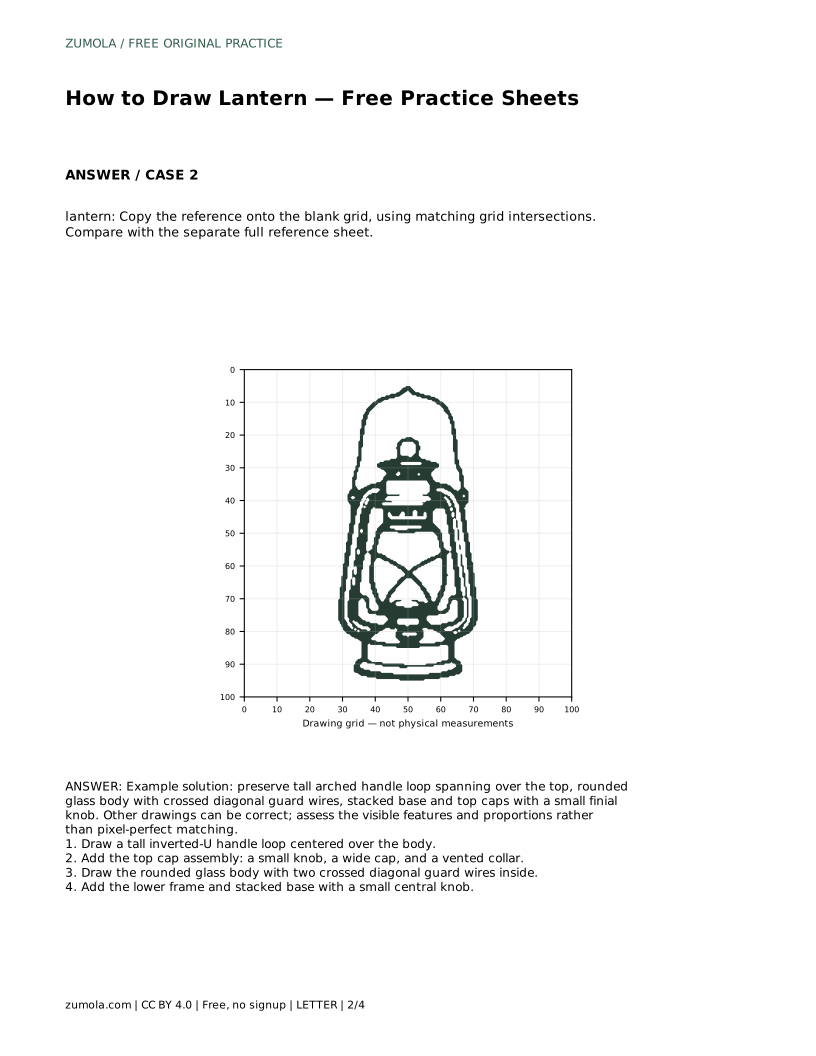
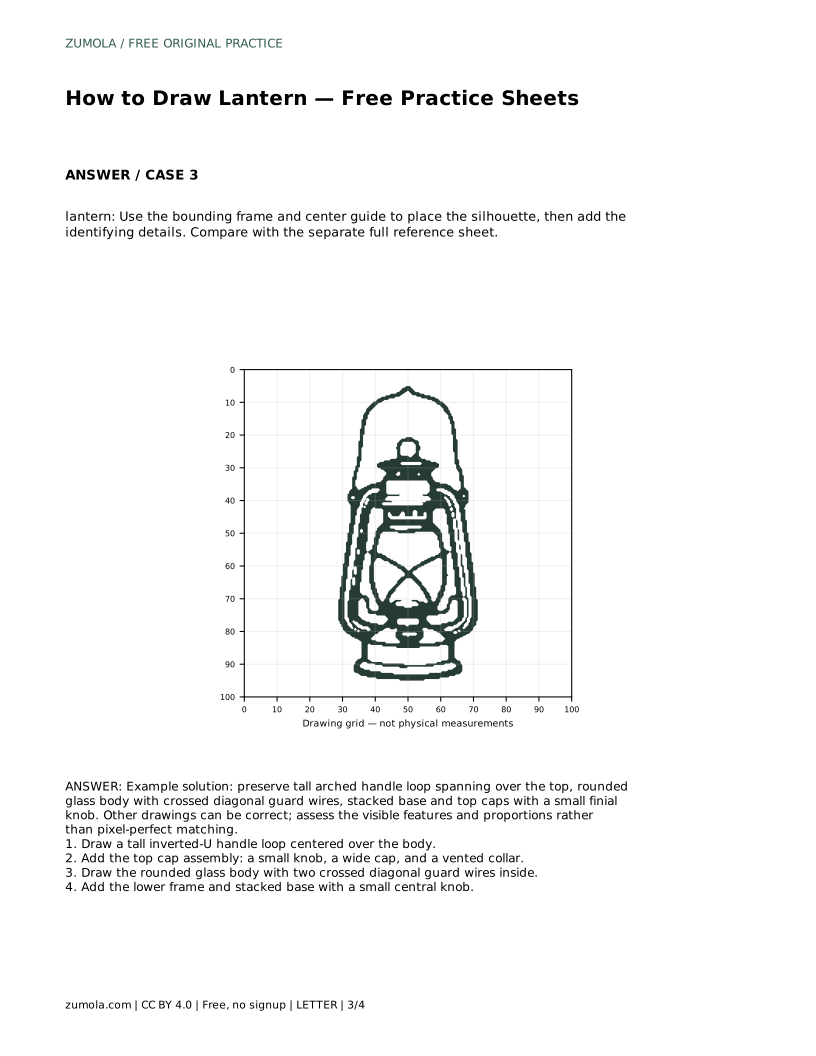
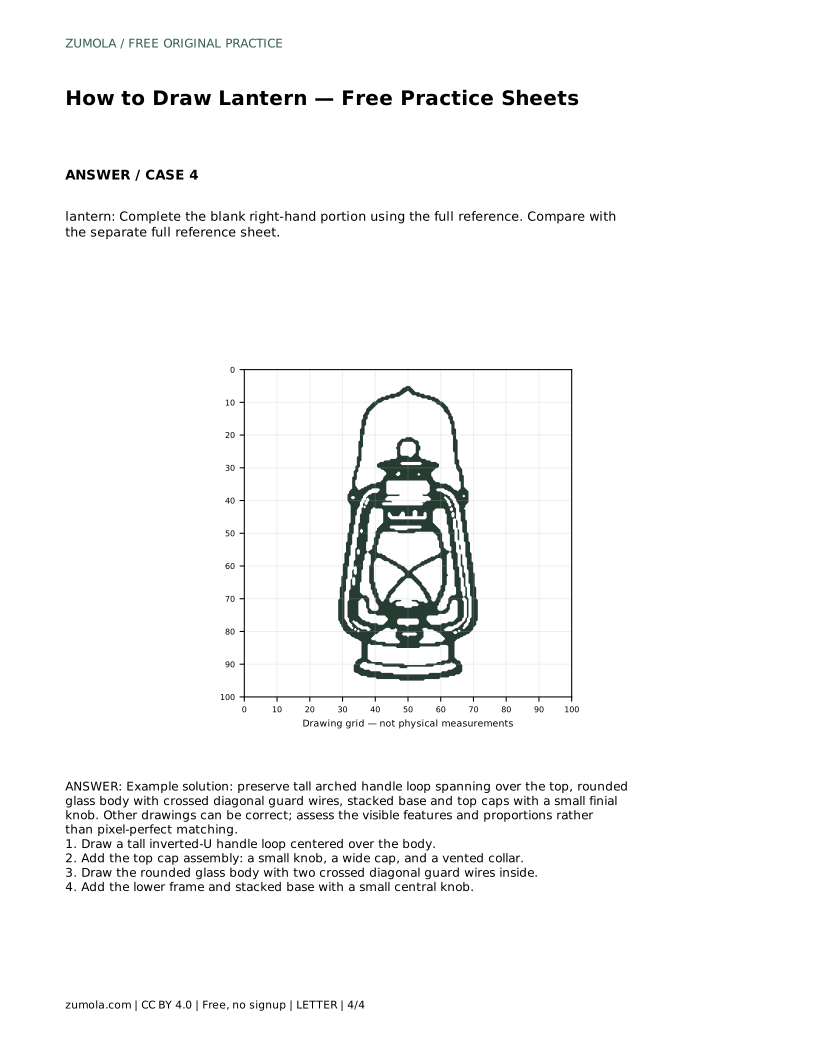
Drawing a lantern is mostly a matter of stacking clear shapes in the right order. A tall handle loop sits above a rounded glass body, capped at the top and resting on a stacked base. Two crossed diagonal guard wires inside the glass give the lantern its recognizable structure. The practice sheets let you trace the outline first, then try the contour independently, copy onto a grid, or complete a partially drawn version. Because drawings can vary, judge the visible features and proportions rather than expecting an exact match.
Start with the handle because it sets the overall height. Draw a tall inverted-U loop centered over the body. Keep the two sides roughly vertical and the curve smooth at the top. The loop should span wider than the top cap but not wider than the glass body.
Next, add the top cap assembly in three parts: a small finial knob at the very top, a wide cap below it, and a vented collar that connects the cap to the glass. The collar is narrower than the cap and sits directly above the glass body.
Then draw the rounded glass body. Think of it as a soft-sided cylinder or a slightly bulging rectangle with curved corners. Inside the glass, add two crossed diagonal guard wires. These wires run from the upper left to the lower right and from the upper right to the lower left, crossing near the center.
Finally, add the lower frame and stacked base. The base usually has two or three horizontal bands and a small central knob at the bottom. Keep the base narrower than the widest part of the glass body so the lantern looks balanced.
The tracing sheet asks you to follow the reference outline first, then practise the contour independently on the blank area. Compare your freehand contour with the separate full reference sheet, not with the traced line.
The grid sheet gives you a blank grid with matching intersections. Copy the reference onto the blank grid by placing each feature at the same intersection. This method helps you check proportions without measuring.
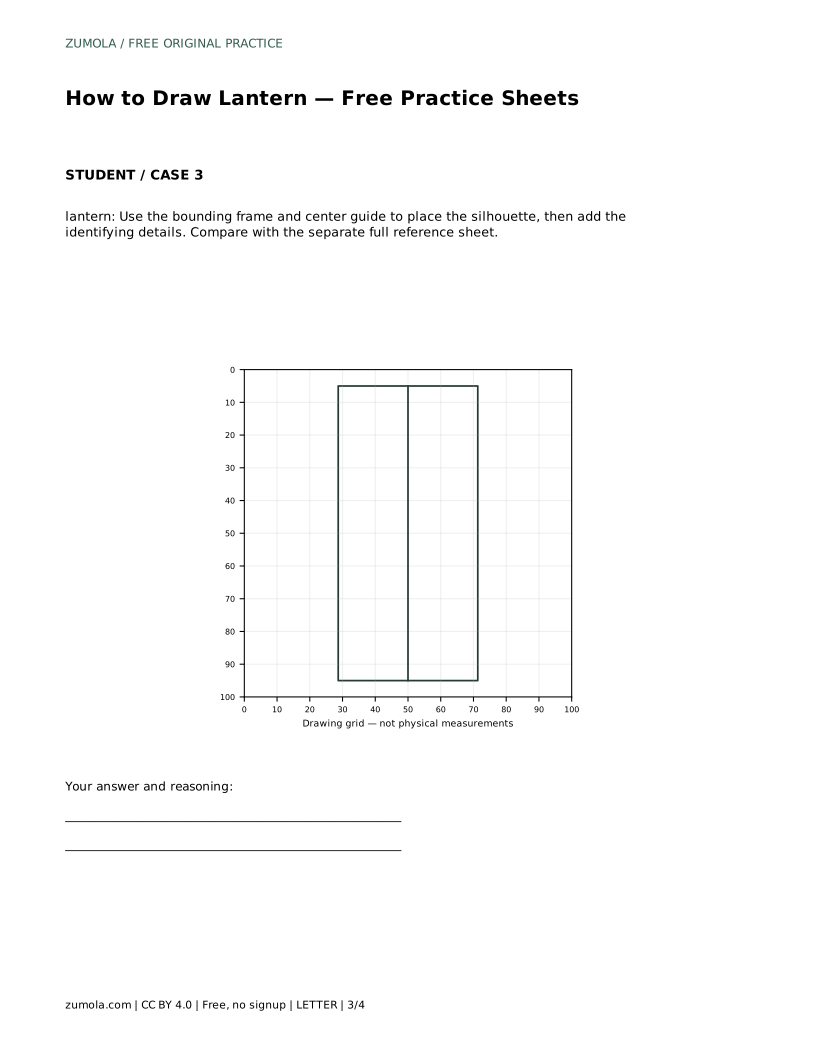
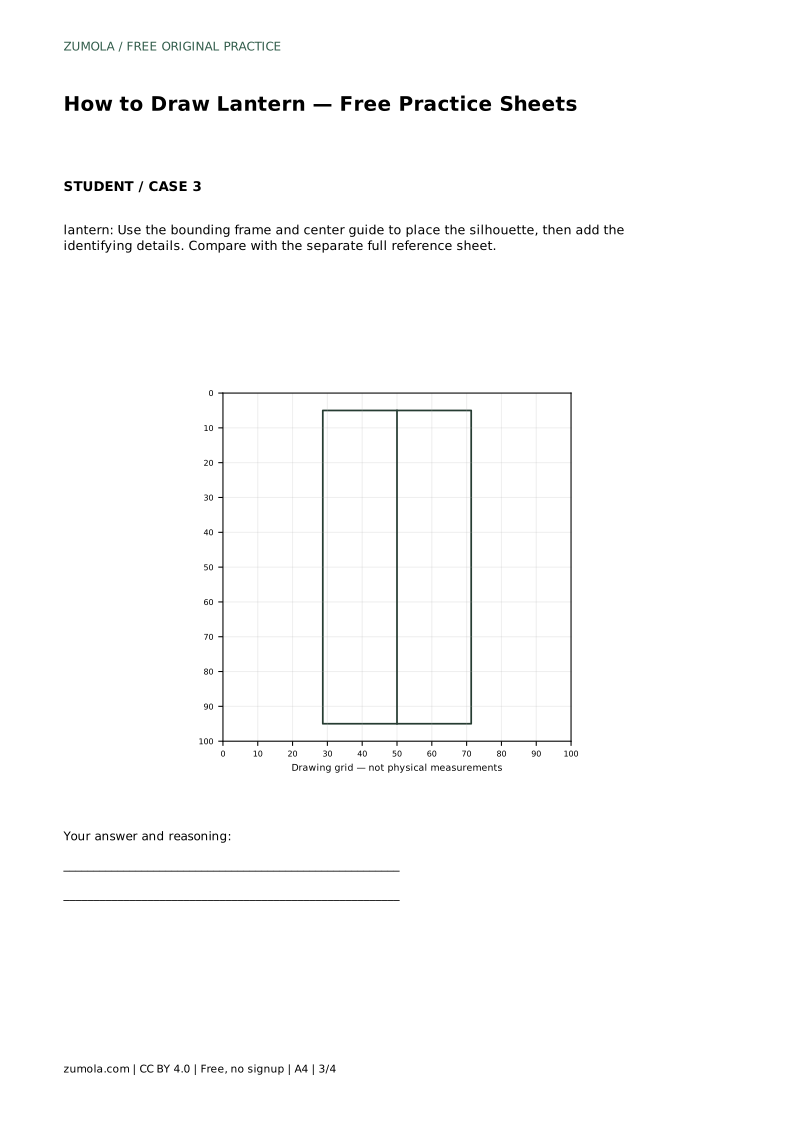
The bounding-frame sheet provides an outer frame and a center guide. Use them to place the silhouette before adding details. The center guide helps you keep the handle loop and base knob aligned vertically.
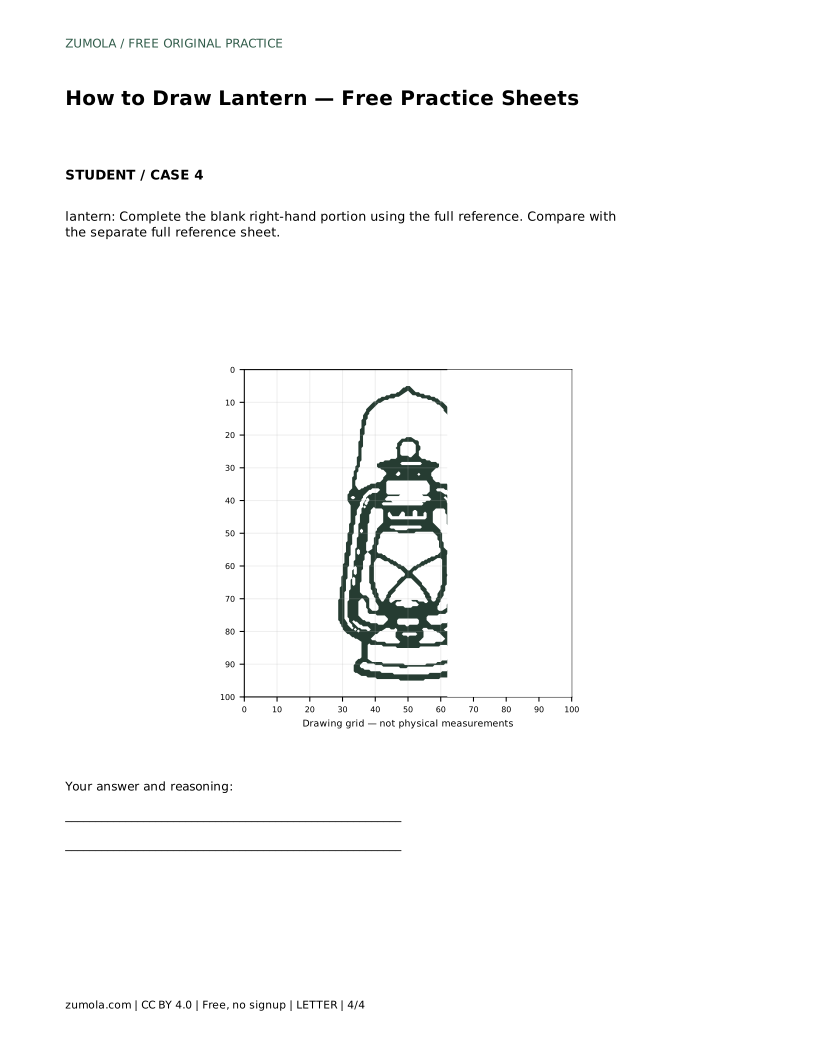
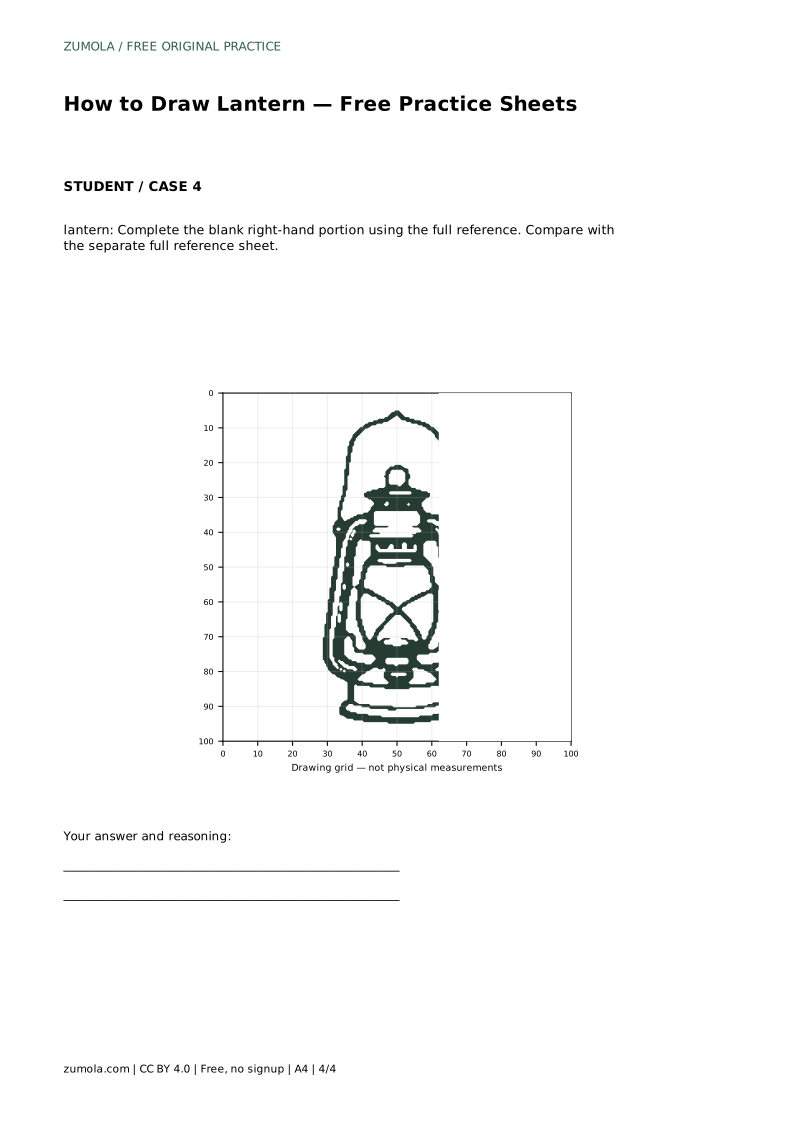
The partial sheet shows the left-hand portion of the lantern and leaves the right-hand portion blank. Complete the missing side using the full reference, matching the height of the handle, the width of the glass body, and the position of the base bands.
A lantern drawing is convincing when the handle loop is tall and centered, the glass body is rounded rather than boxy, the guard wires cross inside the glass, and the base has stacked bands with a small central knob. These features matter more than pixel-perfect matching.
Check that the top cap is wider than the collar and that the collar sits directly on the glass. The handle should not lean to one side. The base should not be wider than the glass body unless your reference shows that style.
If your drawing looks top-heavy, shorten the handle loop slightly or widen the glass body. If it looks bottom-heavy, narrow the base bands. Small adjustments to one proportion often fix the whole drawing.
lantern: Trace the reference outline, then practise the contour independently. Compare with the separate full reference sheet.
Example solution: preserve tall arched handle loop spanning over the top, rounded glass body with crossed diagonal guard wires, stacked base and top caps with a small finial knob. Other drawings can be correct; assess the visible features and proportions rather than pixel-perfect matching. Draw a tall inverted-U handle loop centered over the body. Add the top cap assembly: a small knob, a wide cap, and a vented collar. Draw the rounded glass body with two crossed diagonal guard wires inside. Add the lower frame and stacked base with a small central knob.
No. Lantern drawings can vary in style and proportion. Use the reference to check visible features such as the tall handle loop, rounded glass body, crossed guard wires, and stacked base, rather than copying every line.
Start with the tracing sheet if you are new to the shape. Move to the grid or bounding-frame sheet when you want to practise placement and proportion without tracing.
Compare the handle height with the glass body height, check that the handle is centered, and confirm the base is narrower than the widest part of the glass. Adjust one part at a time.
All drawing practice · Free coordinate paper
Original resources · CC BY 4.0 · Free for personal and classroom use with attribution.