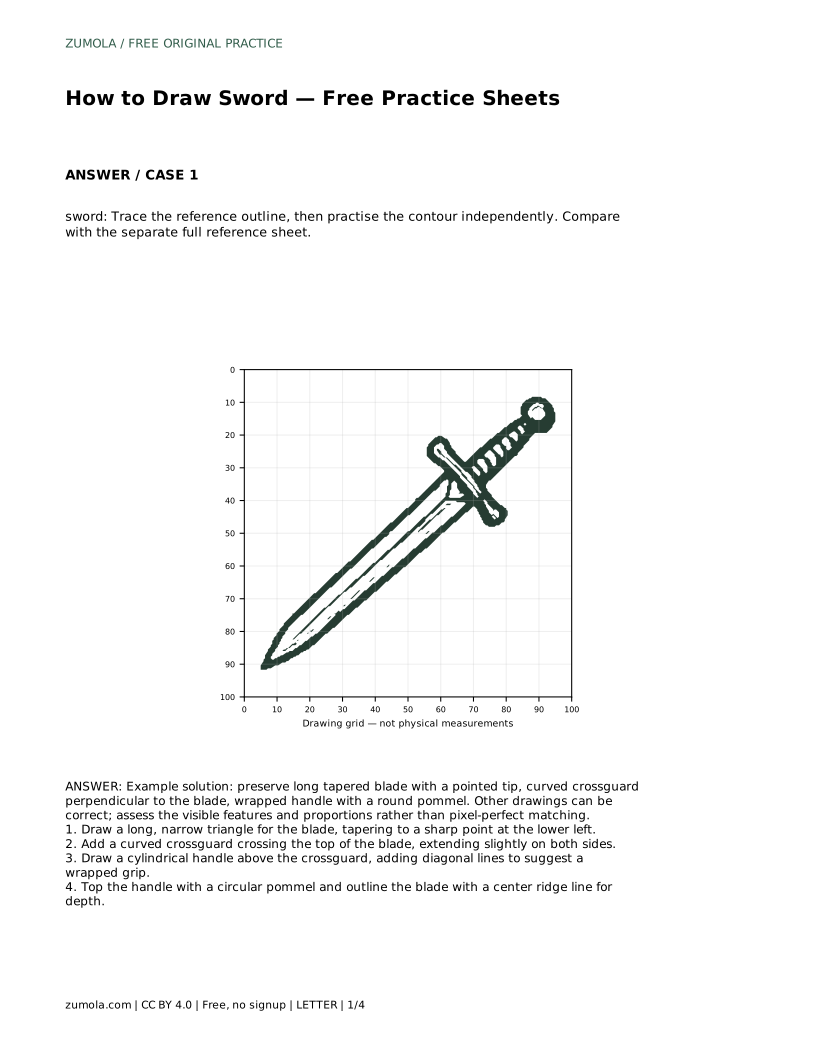
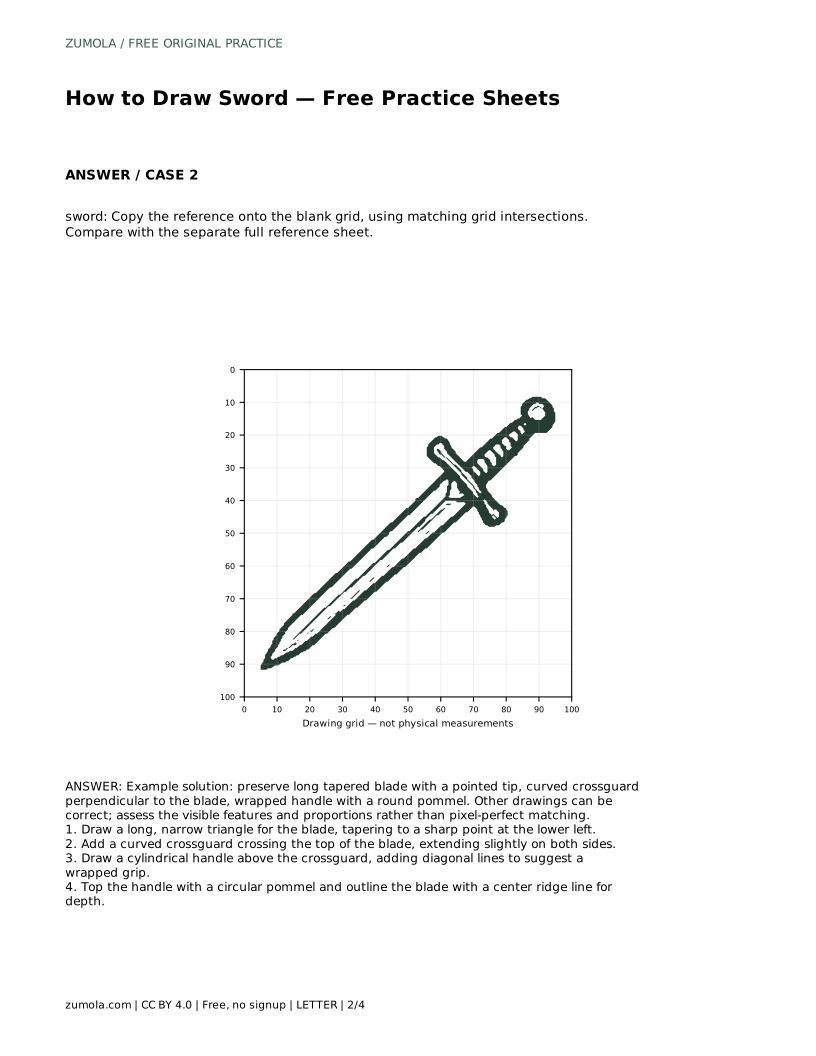
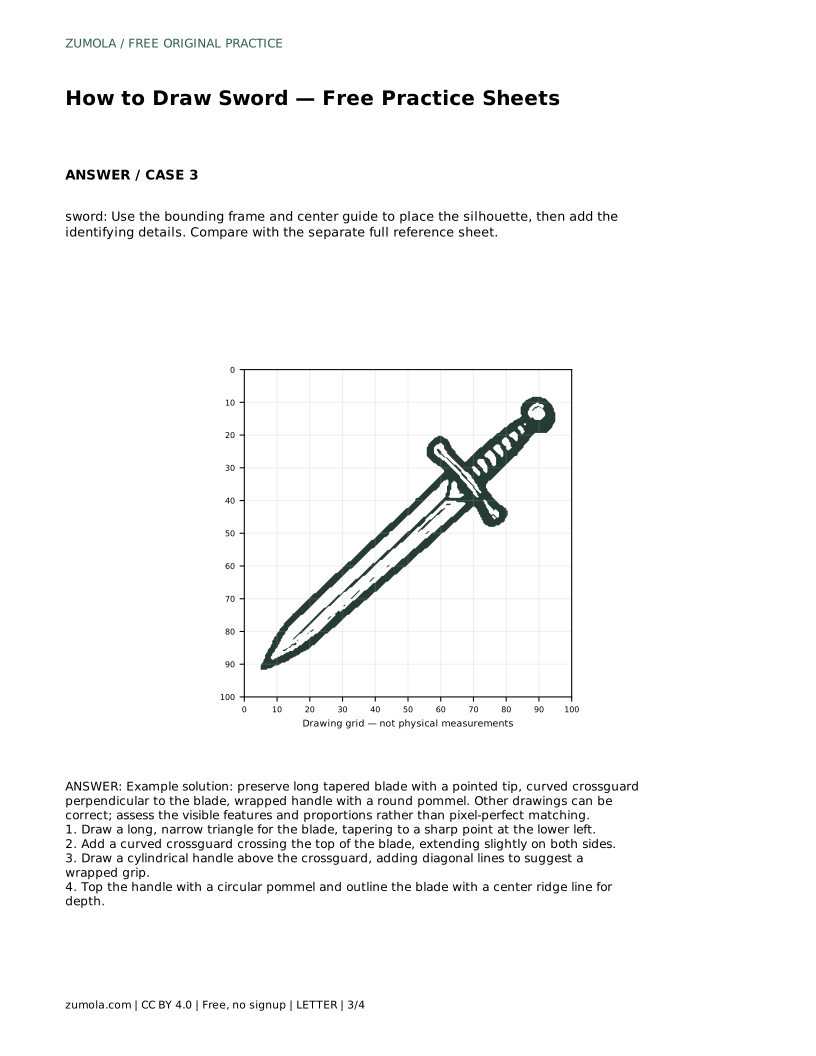
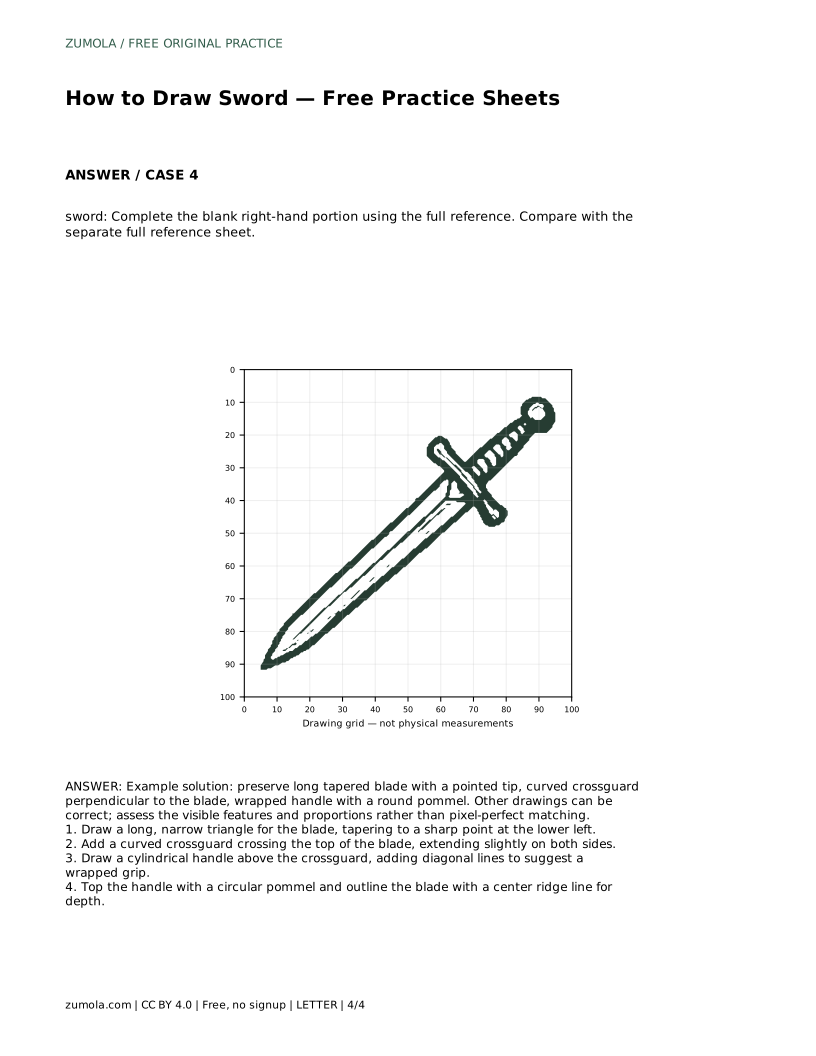
Reference diagrams
LETTER · Download PDF
A4 · Download PDF
Free original resources
Learn to draw a sword by building a tapered blade, curved crossguard, wrapped handle, and round pommel. Free printable practice sheets support tracing, grids, and guided outlines.
Four original cases, with reference diagrams, practice sheets and worked answers. Everything is free; no signup required.
LETTER · Download PDF
A4 · Download PDF
LETTER · Download PDF
A4 · Download PDF
LETTER · Download PDF
A4 · Download PDF
Use A4 or US Letter to match your printer. Use the stated values and conditions to solve each exercise; diagrams are not physical measuring rulers.
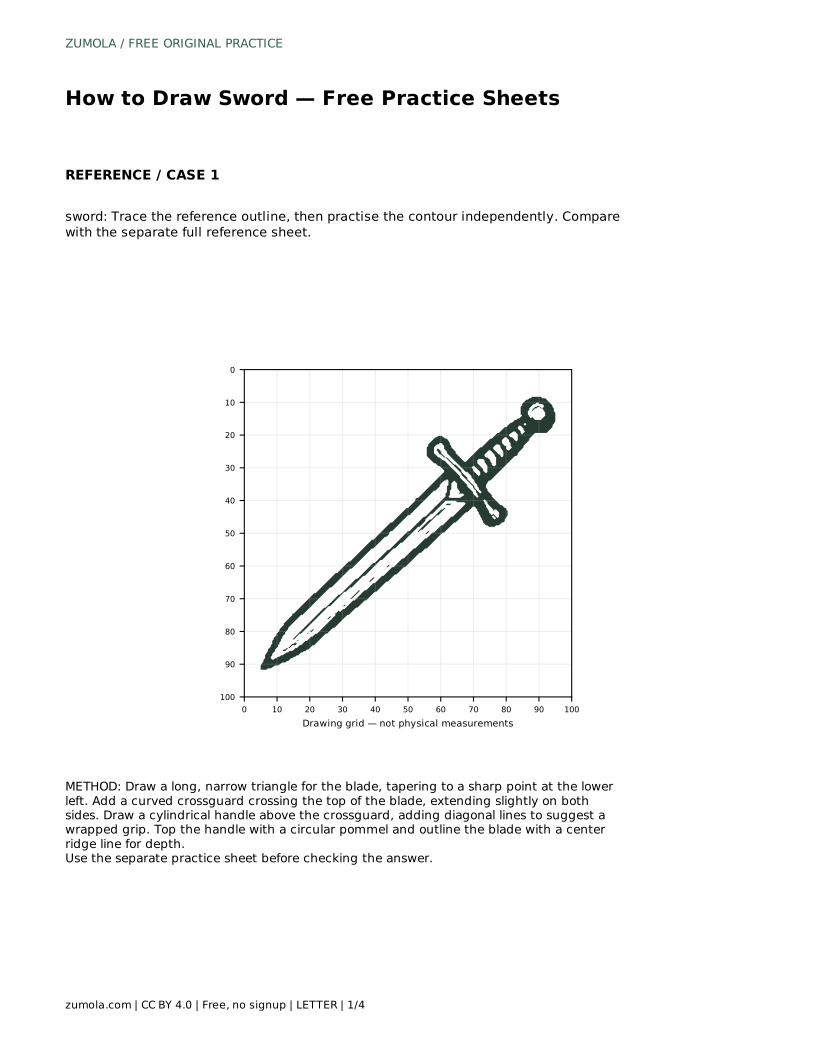
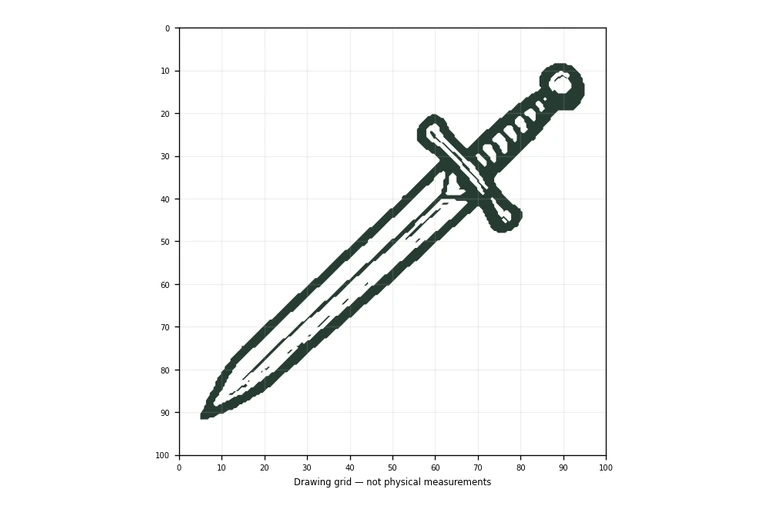
A sword drawing is mostly a lesson in long shapes and clear joins. The blade needs a steady taper toward a point, the crossguard must sit across the blade rather than along it, and the handle should read as a separate wrapped cylinder ending in a round pommel. This page explains how to build those parts in order, then use the practice sheets to trace, copy, or complete the same design independently.
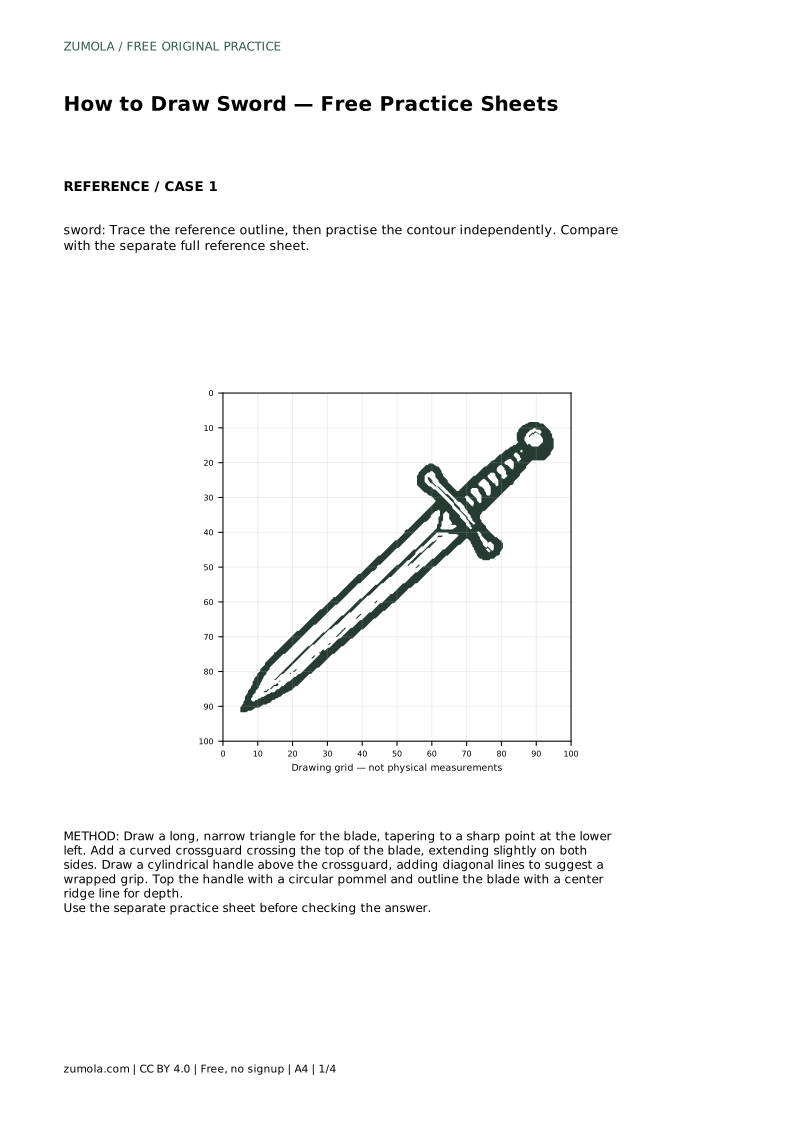
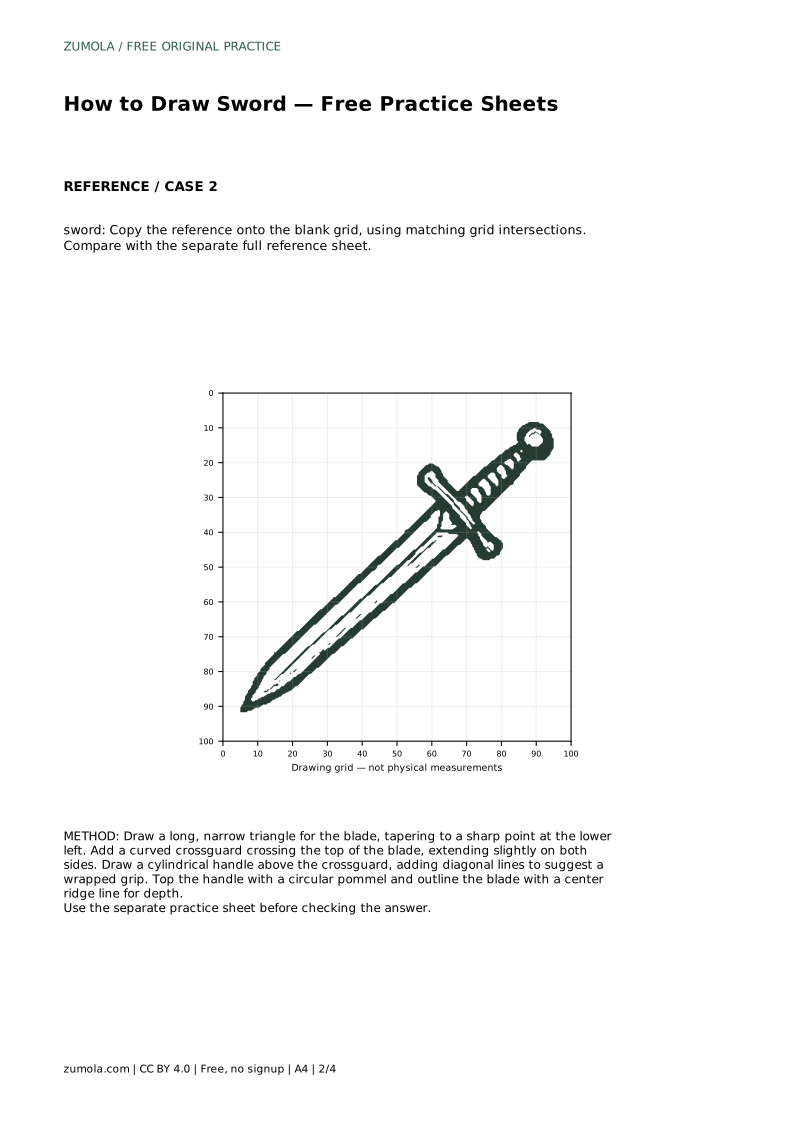
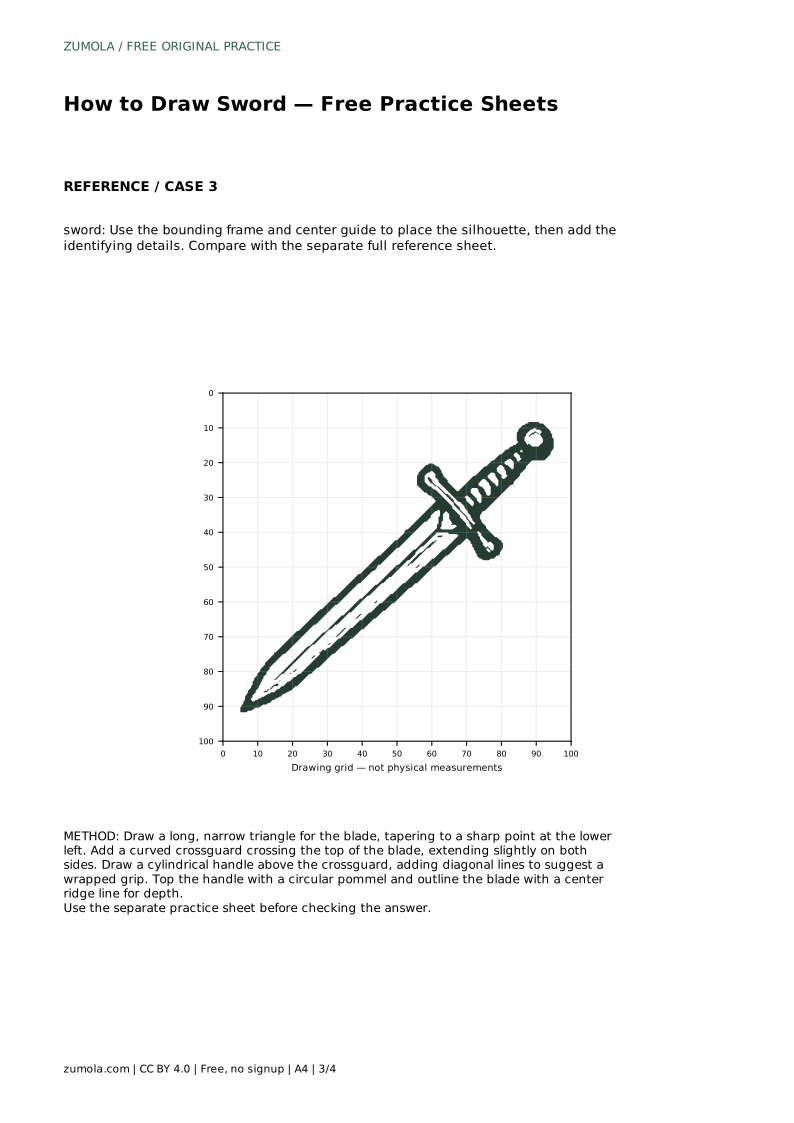
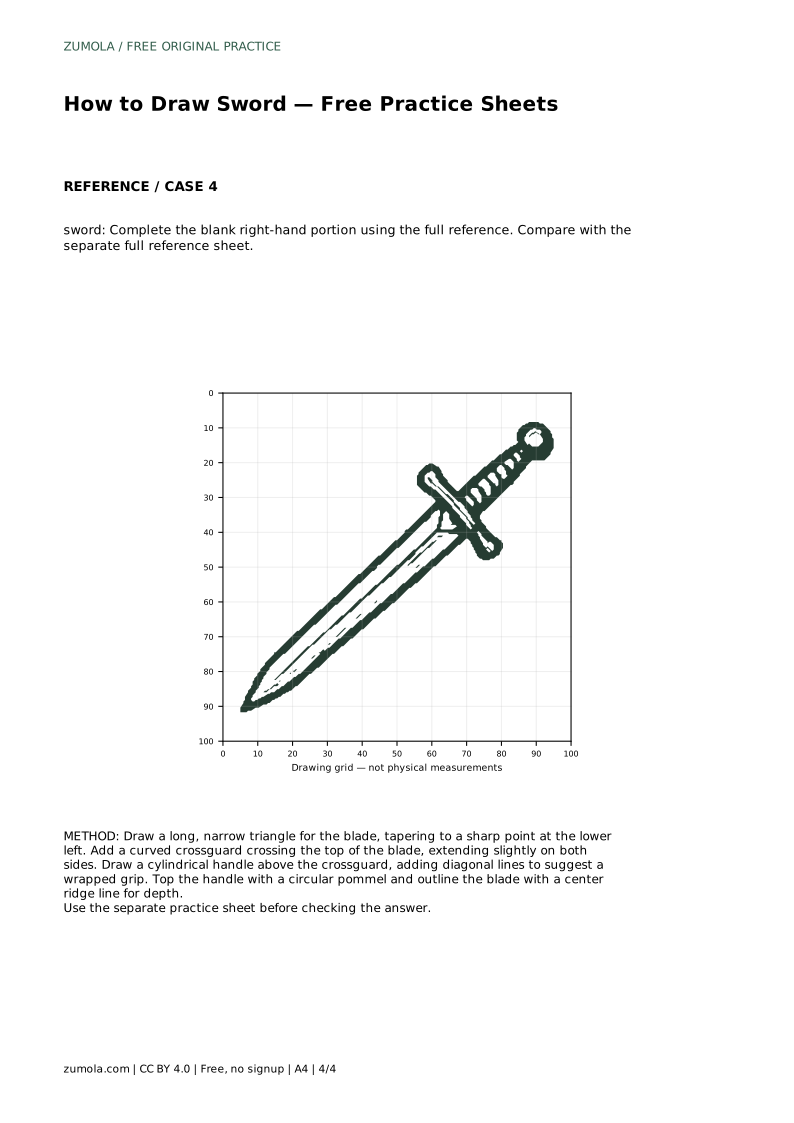
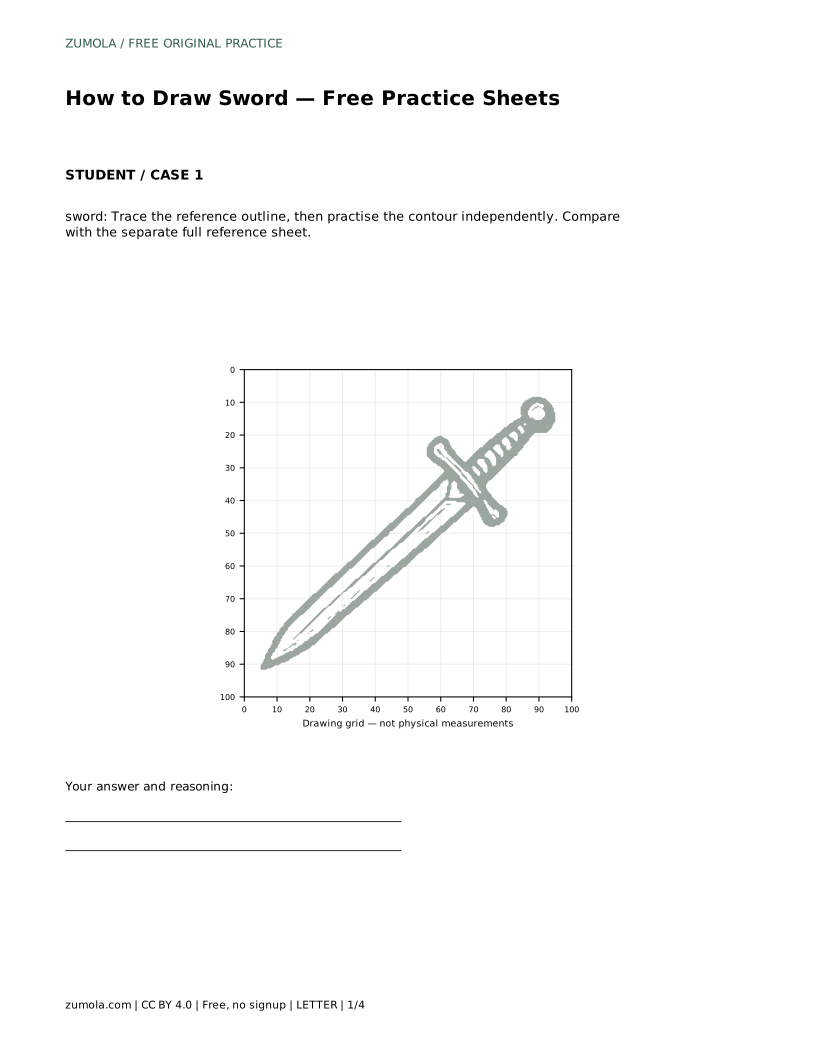
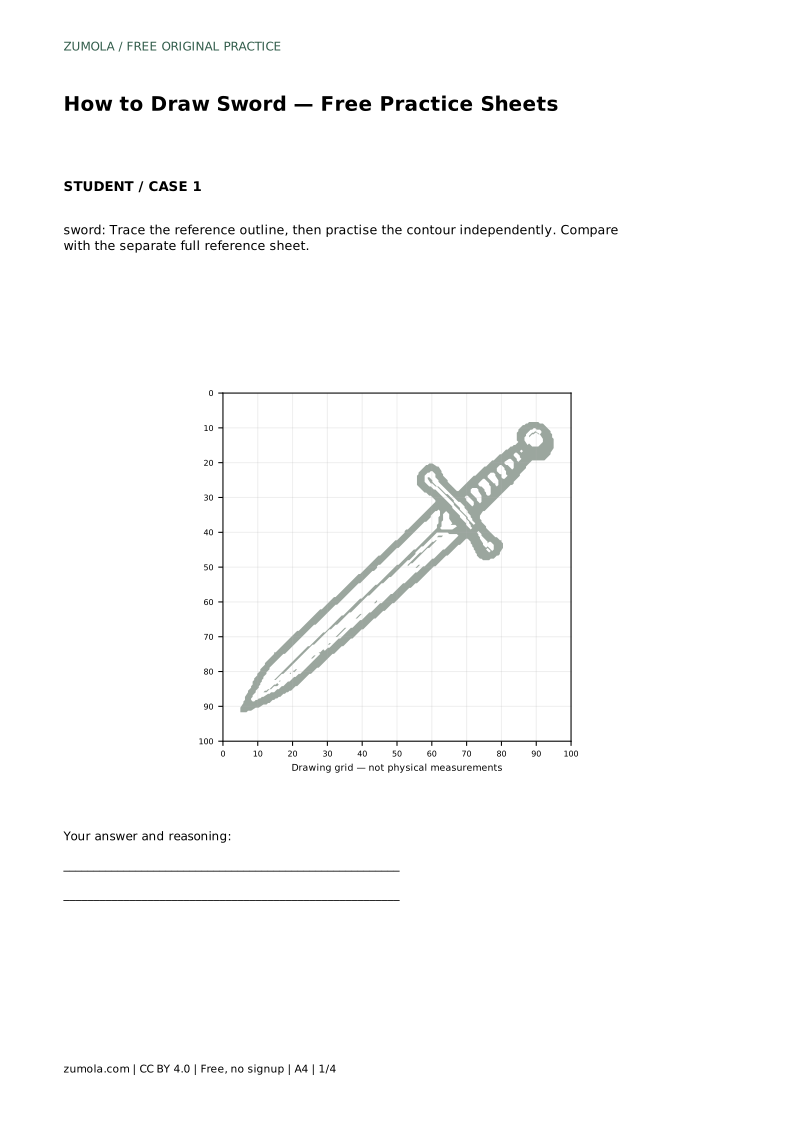
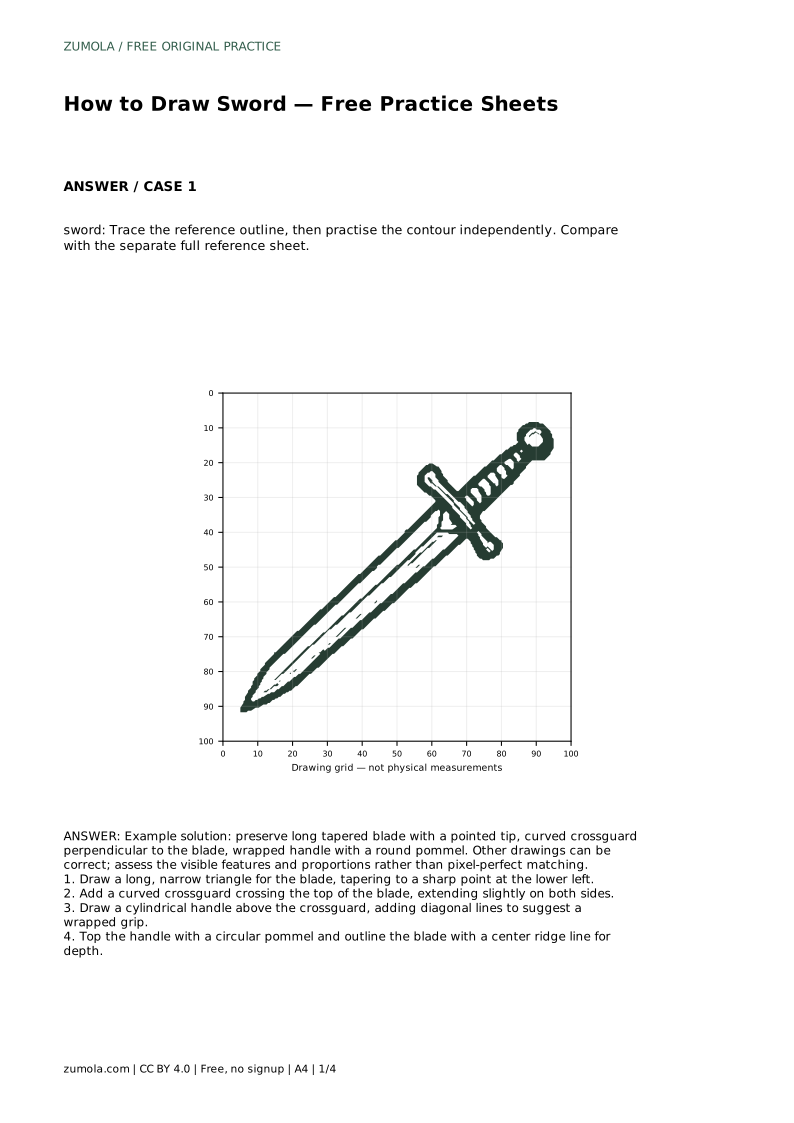
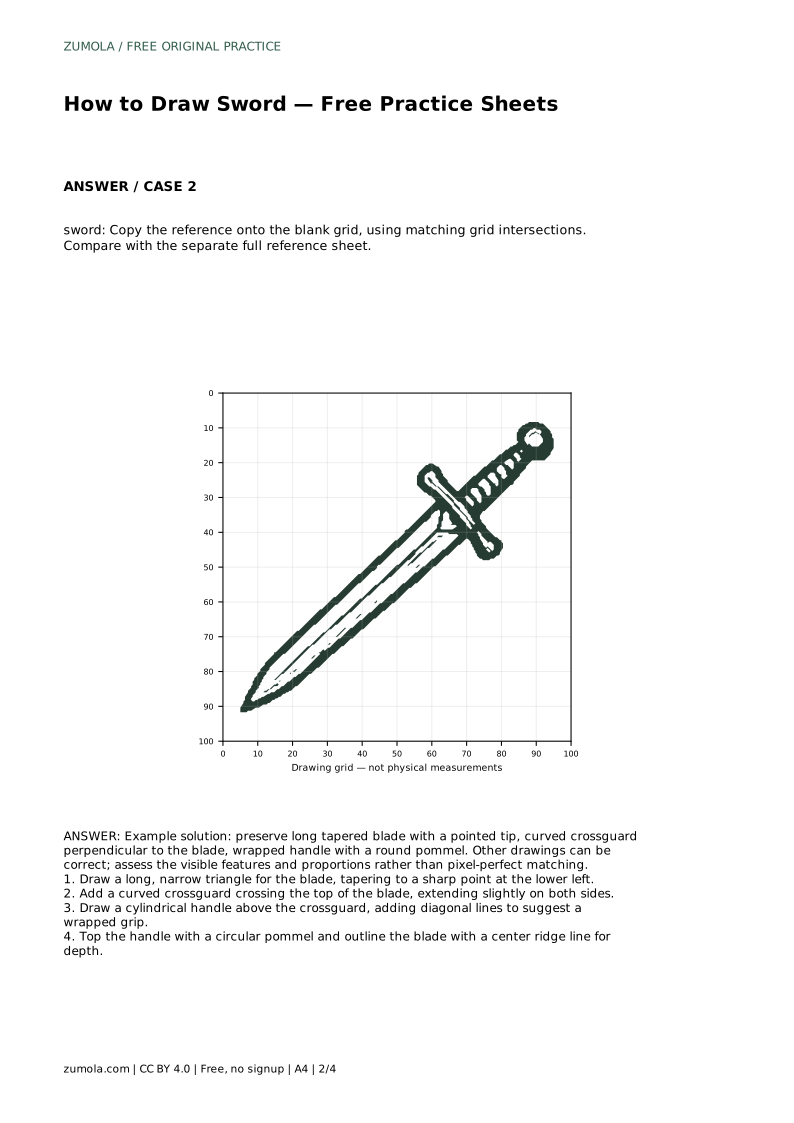
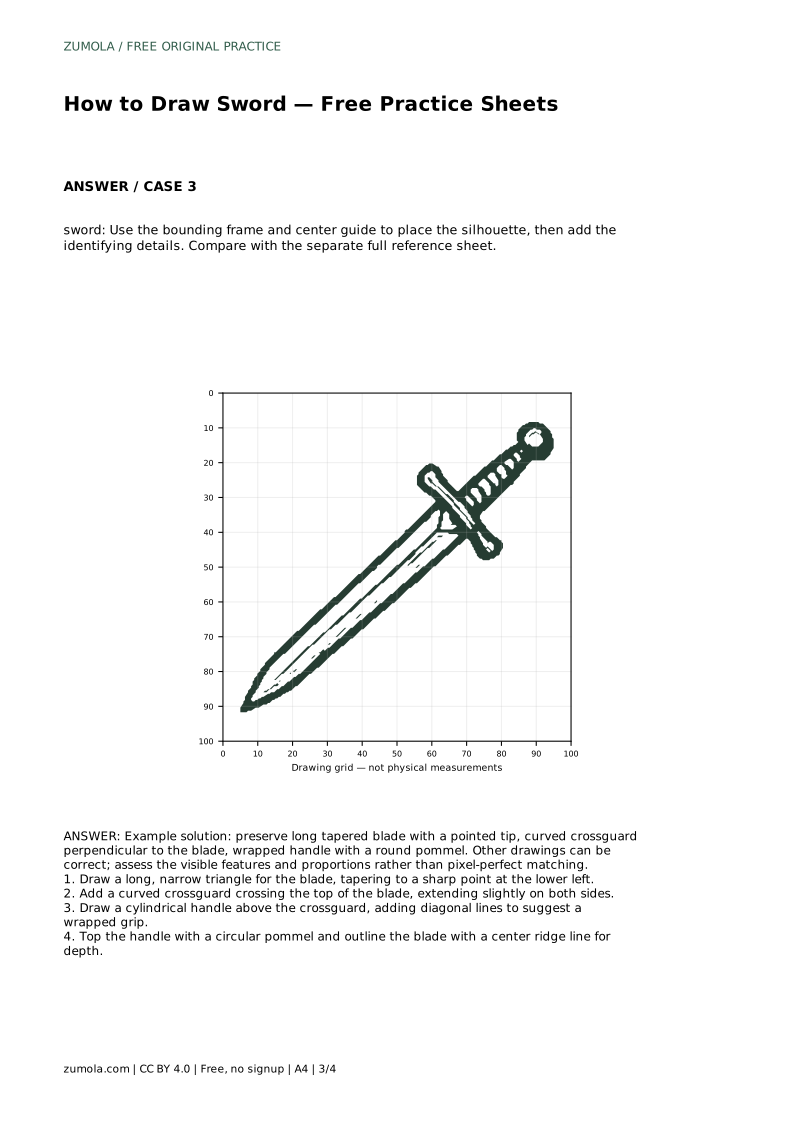
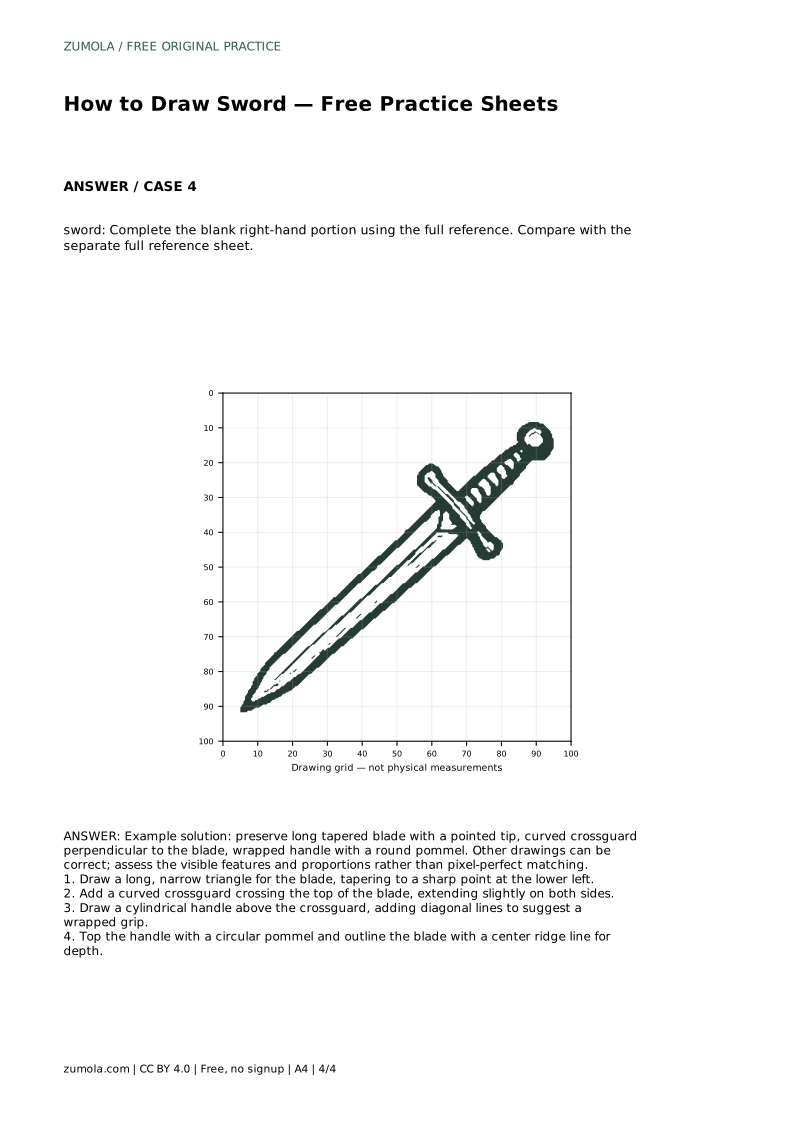
Start with the largest shape and work toward the smallest details. The blade is a long, narrow triangle that tapers to a sharp point at the lower left. Keep both long edges gently converging so the tip looks intentional rather than blunt. Next, add a curved crossguard crossing the top of the blade, extending slightly on both sides. The crossguard should be roughly perpendicular to the blade, so it reads as a guard rather than a second blade. Above the crossguard, draw a cylindrical handle and add diagonal lines to suggest a wrapped grip. Finish with a circular pommel at the top of the handle, then outline the blade with a center ridge line for depth.
The order matters because each part depends on the one before it. If the blade is too wide, the crossguard will look small; if the handle is too short, the pommel will crowd the guard. Check the joins as you go: the crossguard meets the blade at one clear point, and the handle meets the crossguard at another. A center ridge line should run along the blade without crossing the tip or the guard.
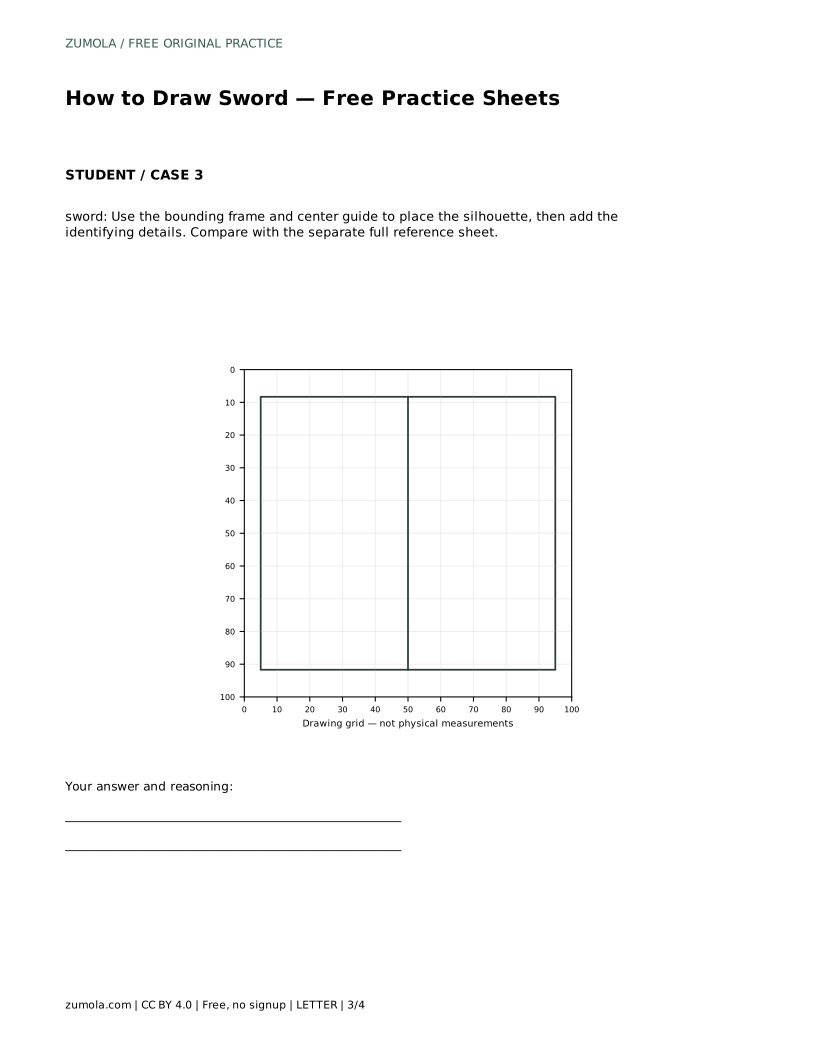
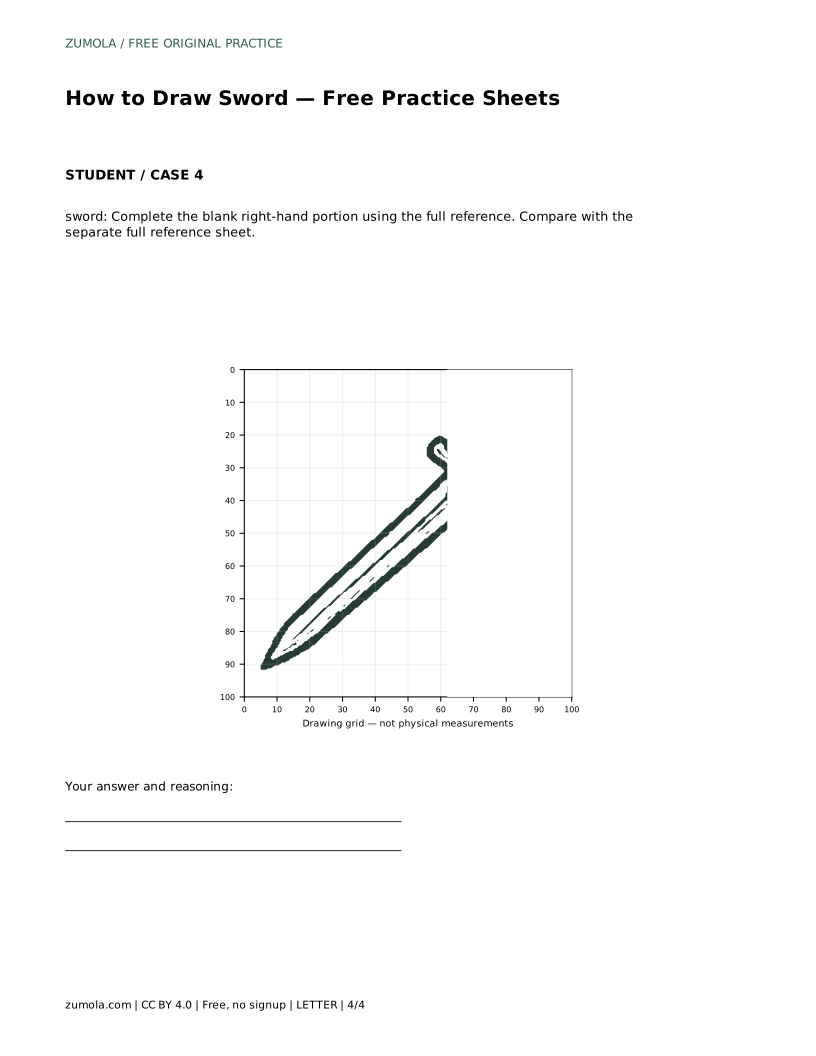
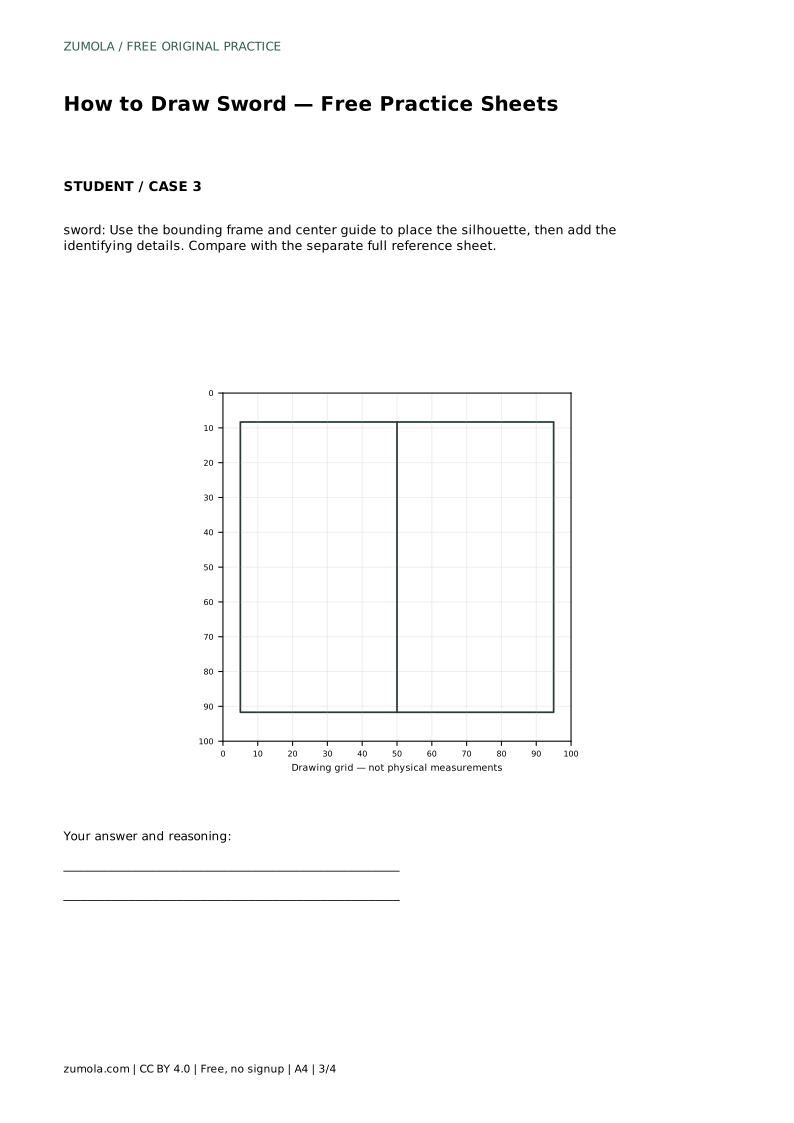
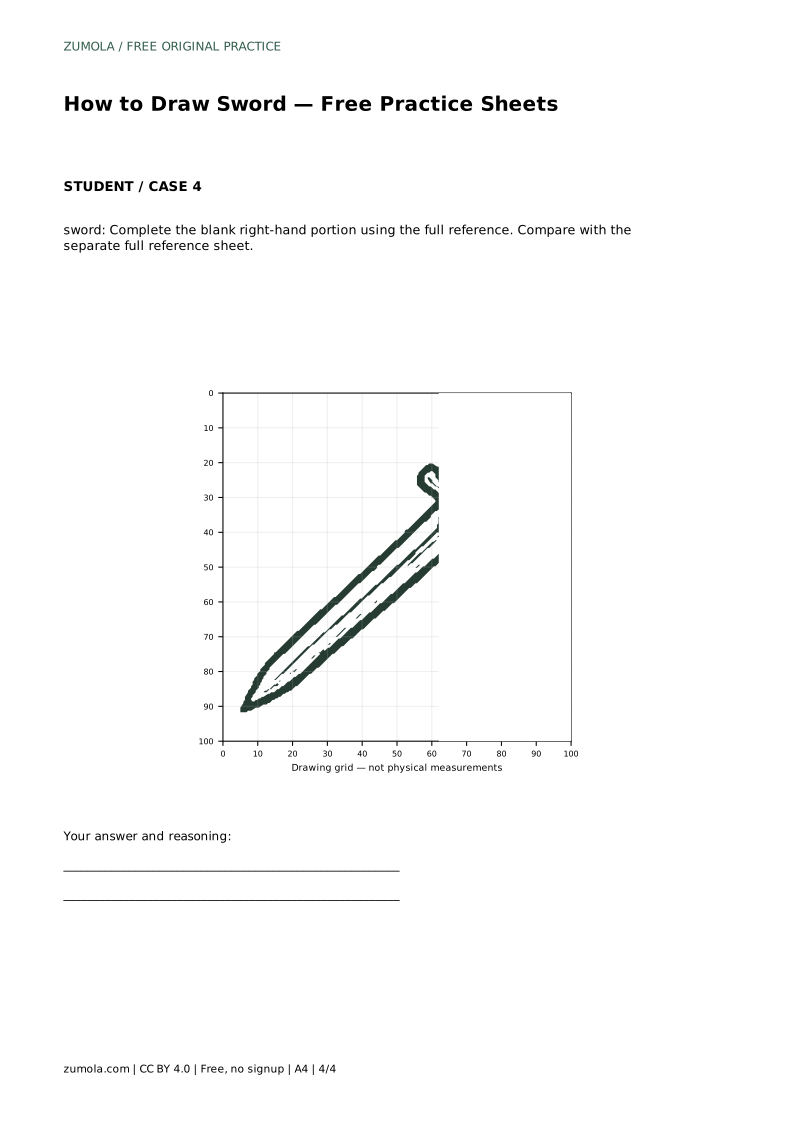
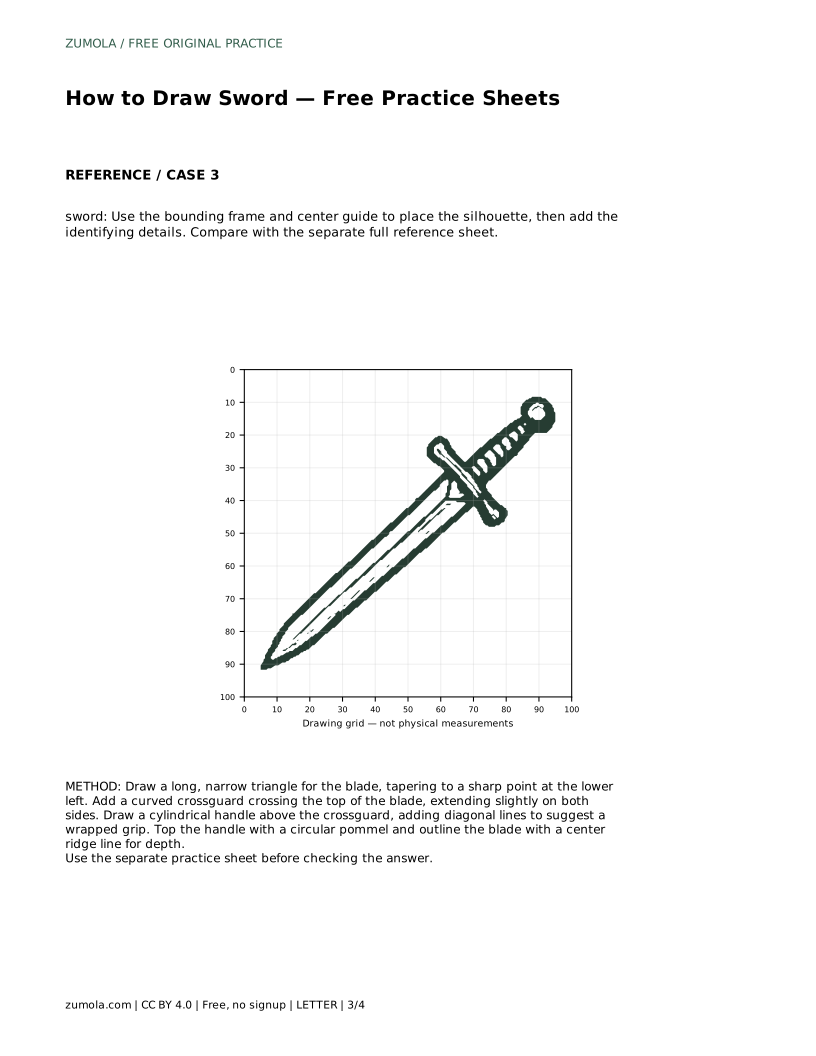
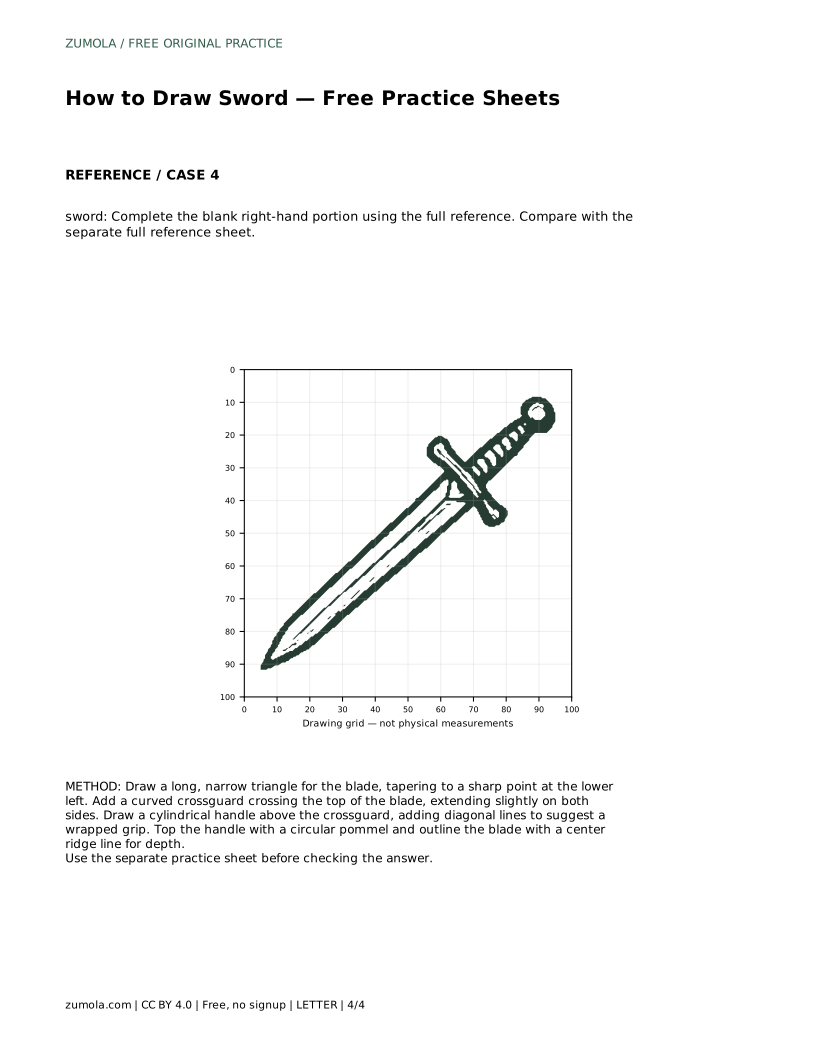
The sheets offer different levels of support, so choose one deliberately. Tracing the reference outline helps you feel the taper and the joins before drawing them freehand. Copying onto a blank grid asks you to match grid intersections, which trains placement and proportion. Using the bounding frame and center guide helps you place the silhouette first, then add the identifying details. Completing the blank right-hand portion tests whether you can carry the design across without the full outline.
After any supported attempt, compare your drawing with the separate full reference sheet. Look at the long tapered blade with a pointed tip, the curved crossguard perpendicular to the blade, the wrapped handle, and the round pommel. Other drawings can be correct; assess the visible features and proportions rather than pixel-perfect matching.
Proportion errors are easier to fix before the grip lines and ridge line go in. Compare the blade length with the handle length, and the crossguard width with the blade width. The crossguard should extend slightly beyond the blade on both sides, not dramatically. The pommel should be round and sit at the top of the handle without floating.
Keep the geometric assumptions explicit: the blade is a long, narrow triangle with a pointed tip at the lower left; the crossguard is curved and crosses the top of the blade; the handle is cylindrical; the pommel is circular. These are drawing conventions, not claims about real weapons.
Because art has multiple valid outcomes, judge the drawing by visible features rather than an exact match. A strong attempt preserves the long taper, the pointed tip, the perpendicular crossguard, the wrapped handle, and the round pommel. Small differences in angle or width can still be correct.
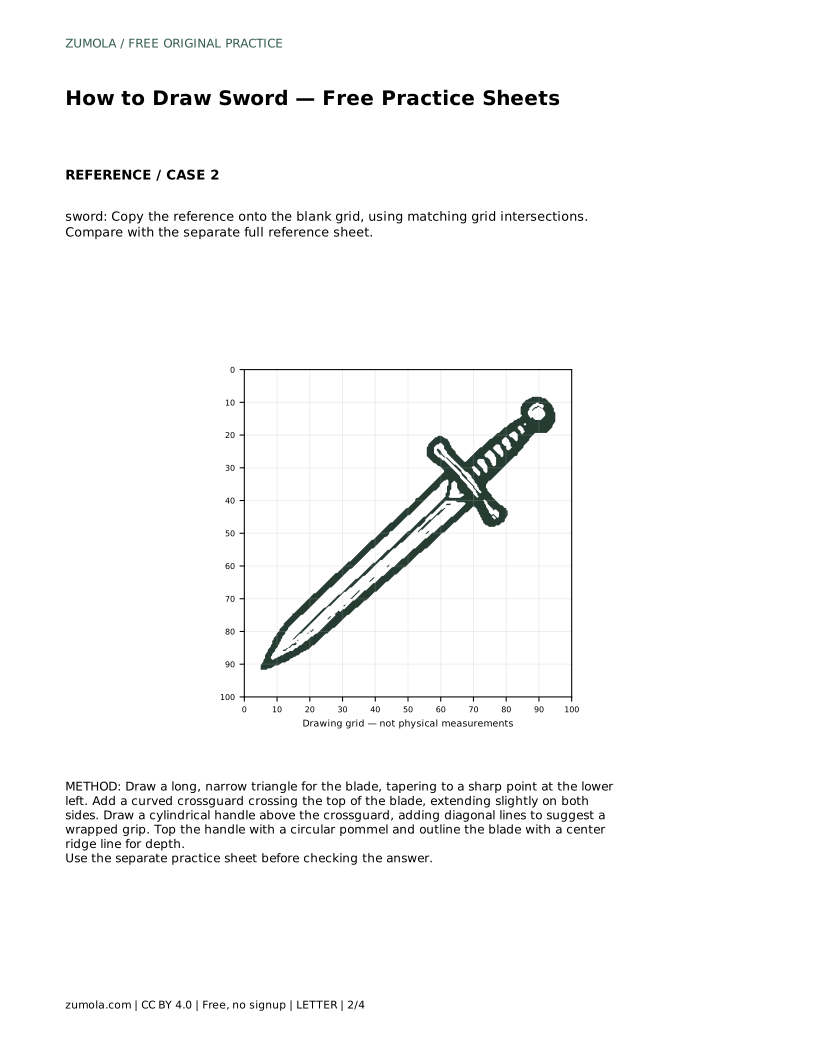
sword: Trace the reference outline, then practise the contour independently. Compare with the separate full reference sheet.
Example solution: preserve long tapered blade with a pointed tip, curved crossguard perpendicular to the blade, wrapped handle with a round pommel. Other drawings can be correct; assess the visible features and proportions rather than pixel-perfect matching. Draw a long, narrow triangle for the blade, tapering to a sharp point at the lower left. Add a curved crossguard crossing the top of the blade, extending slightly on both sides. Draw a cylindrical handle above the crossguard, adding diagonal lines to suggest a wrapped grip. Top the handle with a circular pommel and outline the blade with a center ridge line for depth.
No. Other drawings can be correct. Assess the visible features and proportions rather than pixel-perfect matching.
Start with tracing if you are new to the shape, then move to the grid, bounding frame, or blank right-hand portion as you gain control.
Run it along the blade as a depth cue, keeping it inside the blade outline and away from the tip and crossguard.
All drawing practice · Free coordinate paper
Original resources · CC BY 4.0 · Free for personal and classroom use with attribution.