Reference diagrams
LETTER · Download PDF
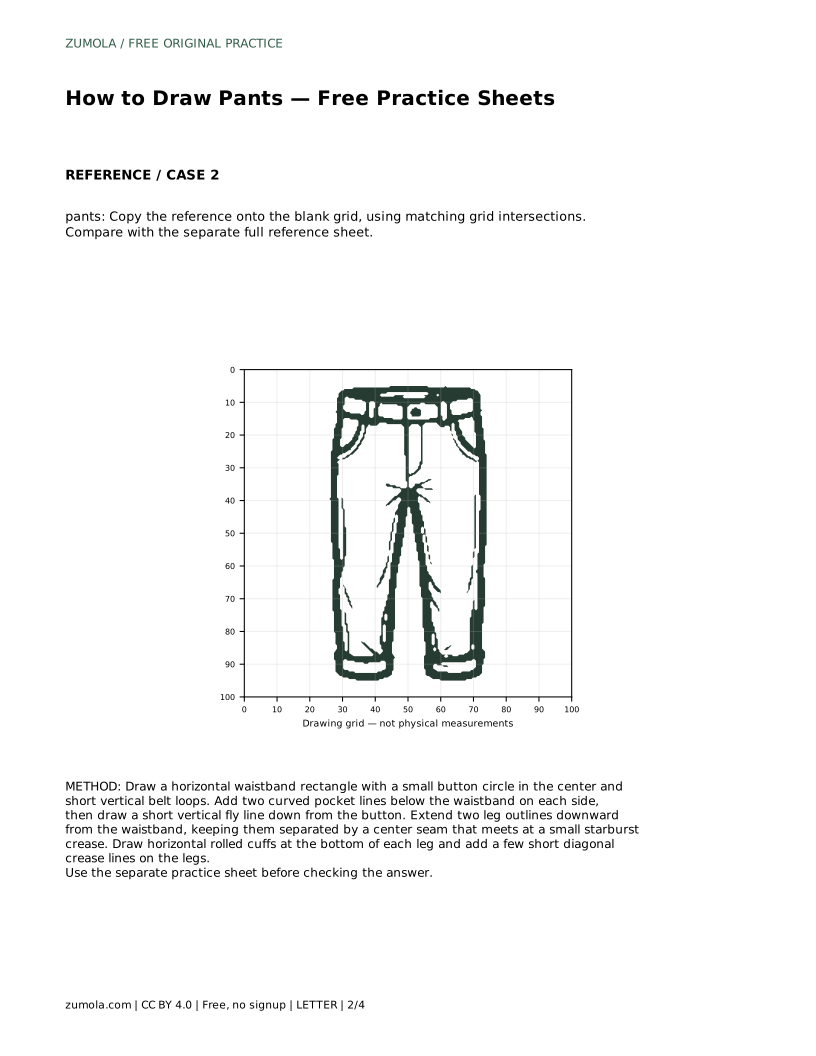
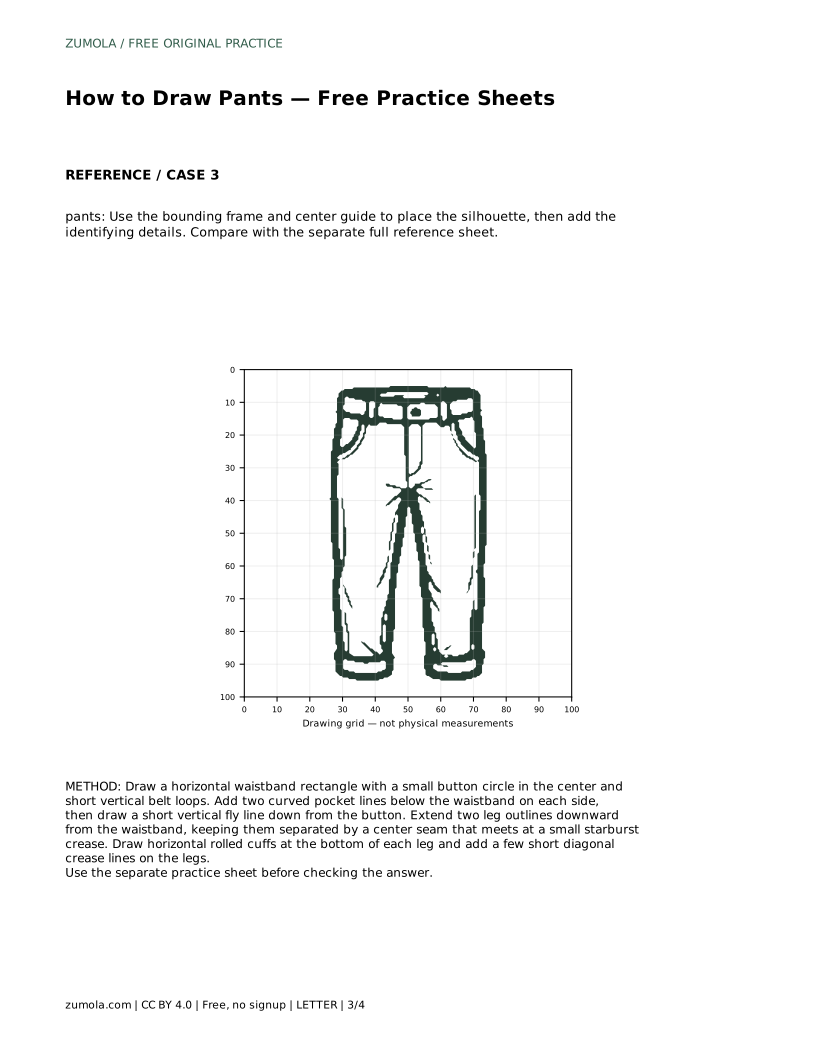
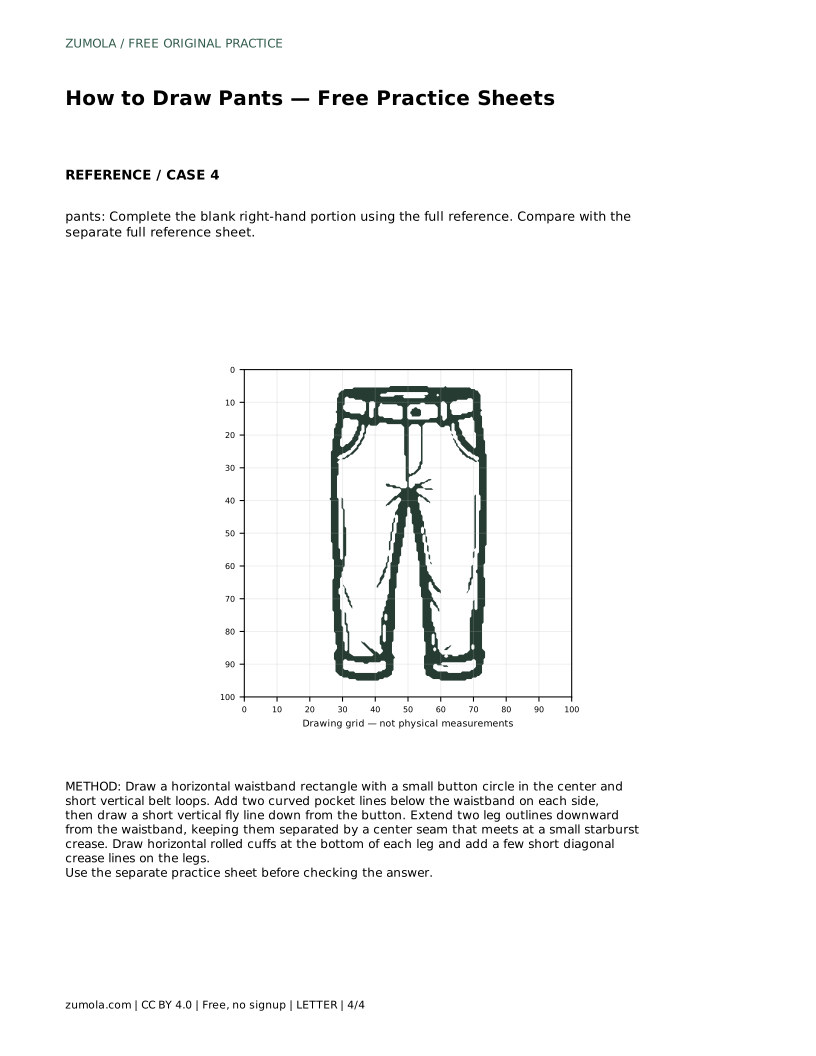
A4 · Download PDF
Free original resources
Learn to draw pants by building a waistband with belt loops and button, pockets, a fly seam, two separated legs and rolled cuffs, then check your drawing with a rubric.
Four original cases, with reference diagrams, practice sheets and worked answers. Everything is free; no signup required.
LETTER · Download PDF
A4 · Download PDF
LETTER · Download PDF
A4 · Download PDF
LETTER · Download PDF
A4 · Download PDF
Use A4 or US Letter to match your printer. Use the stated values and conditions to solve each exercise; diagrams are not physical measuring rulers.
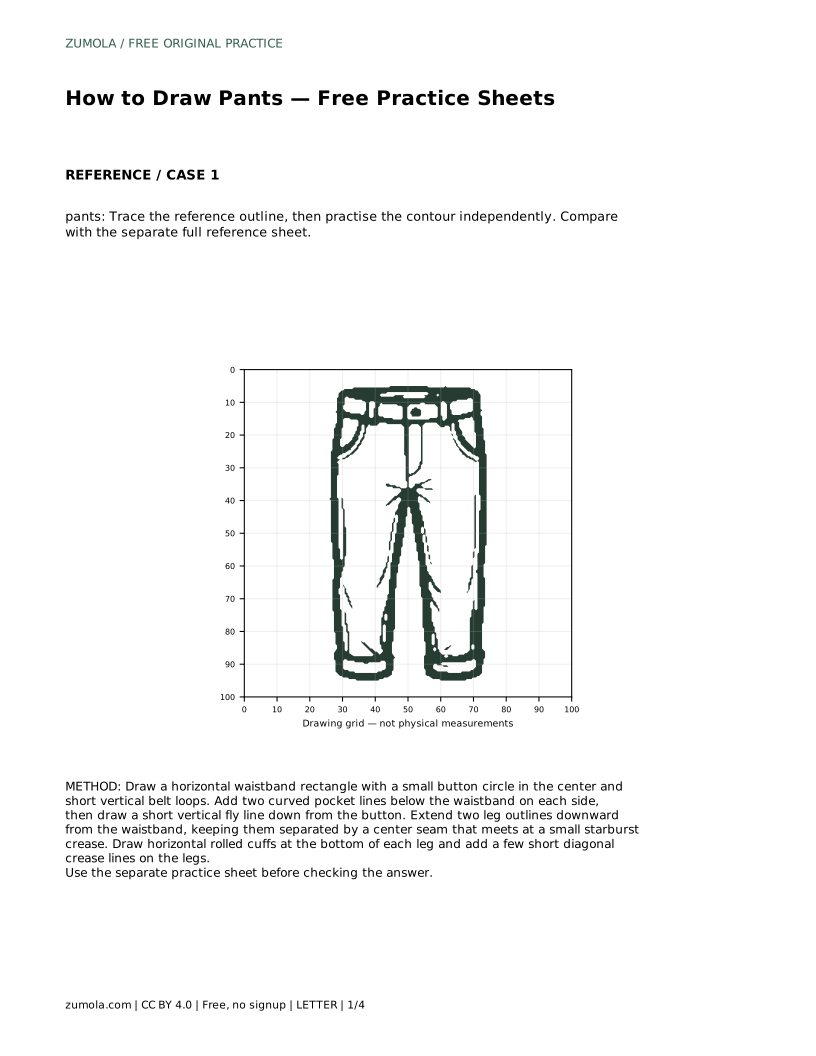
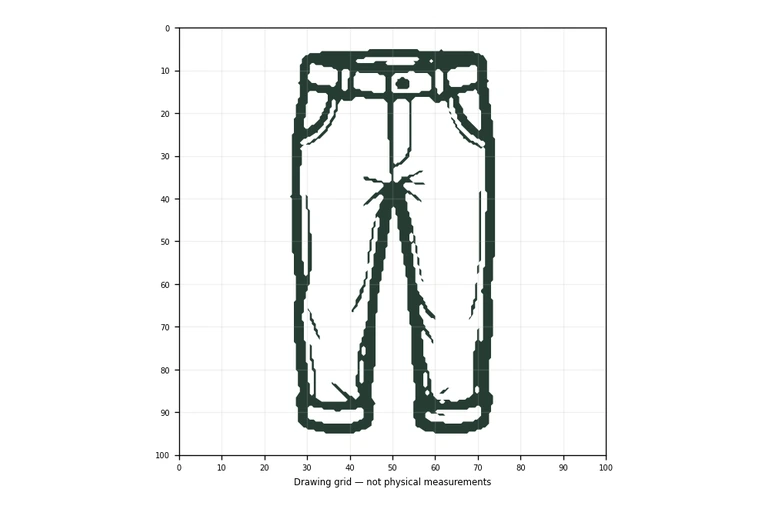
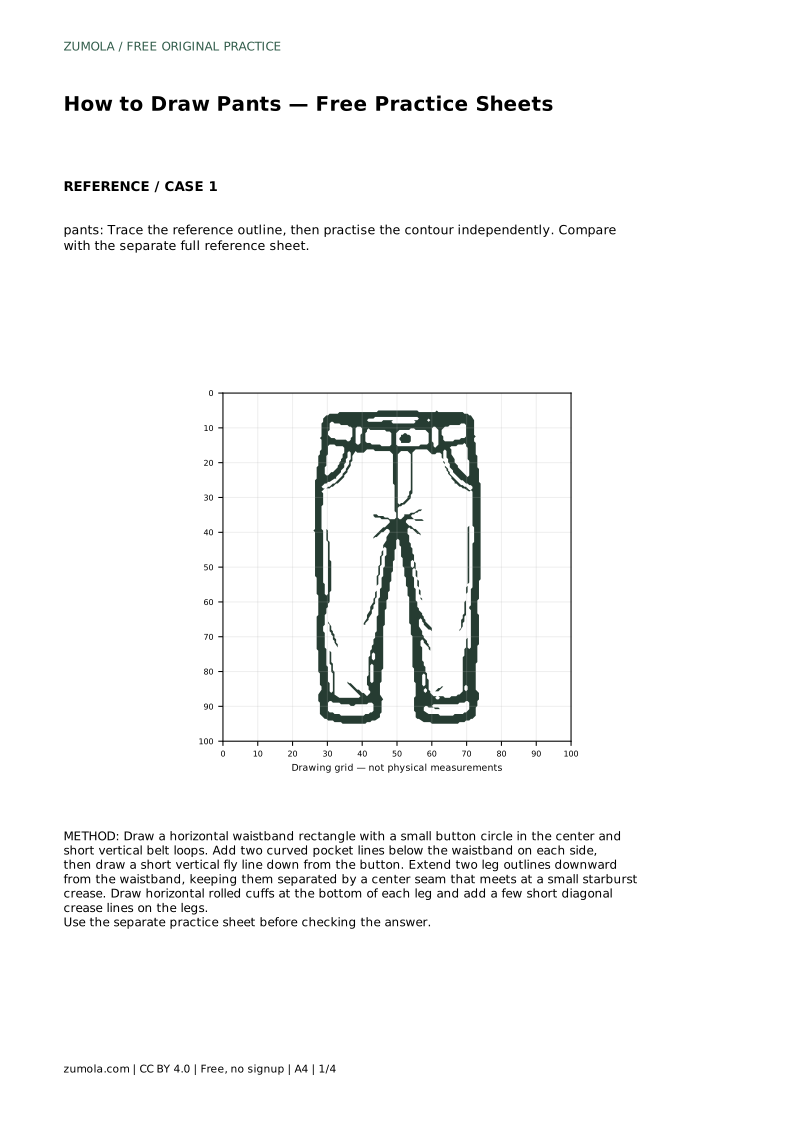
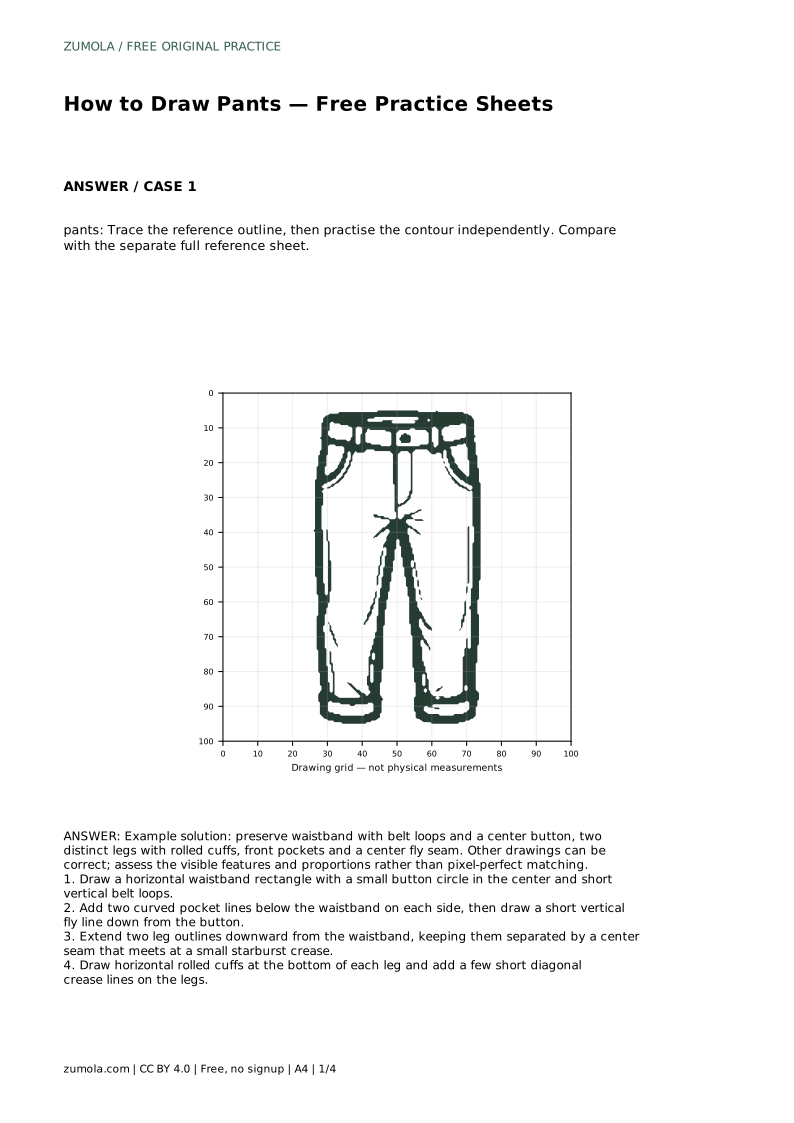
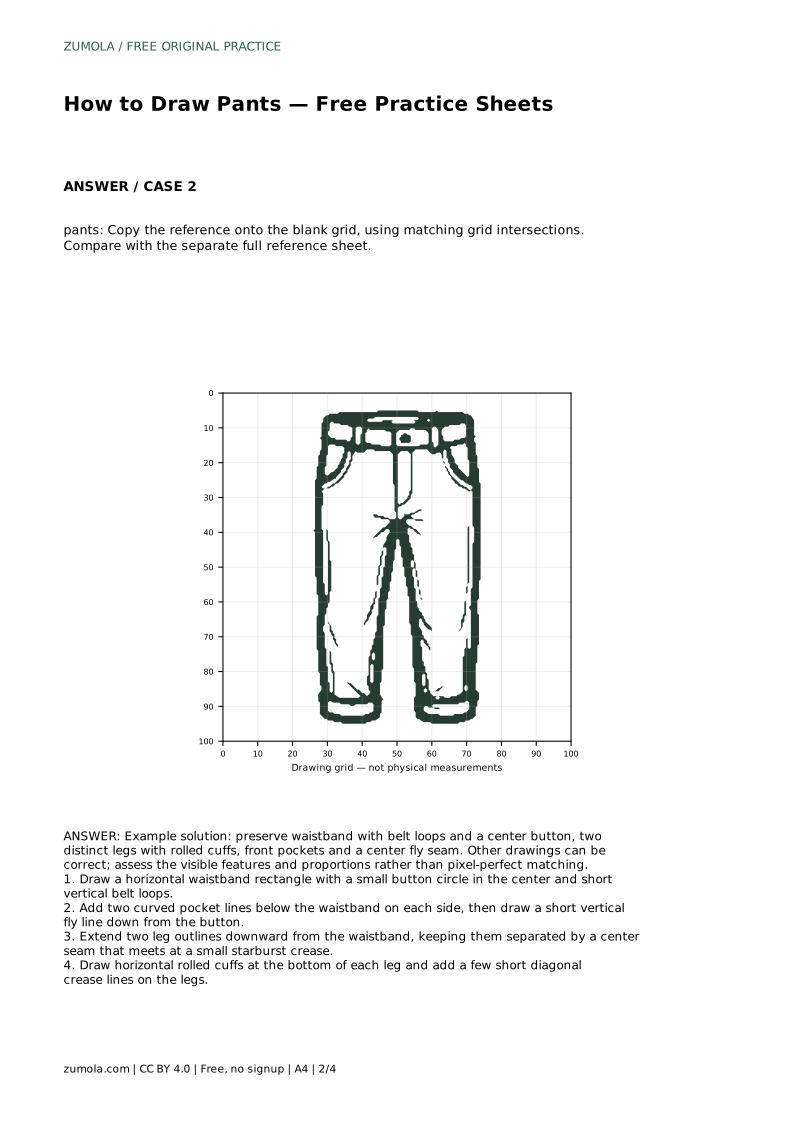
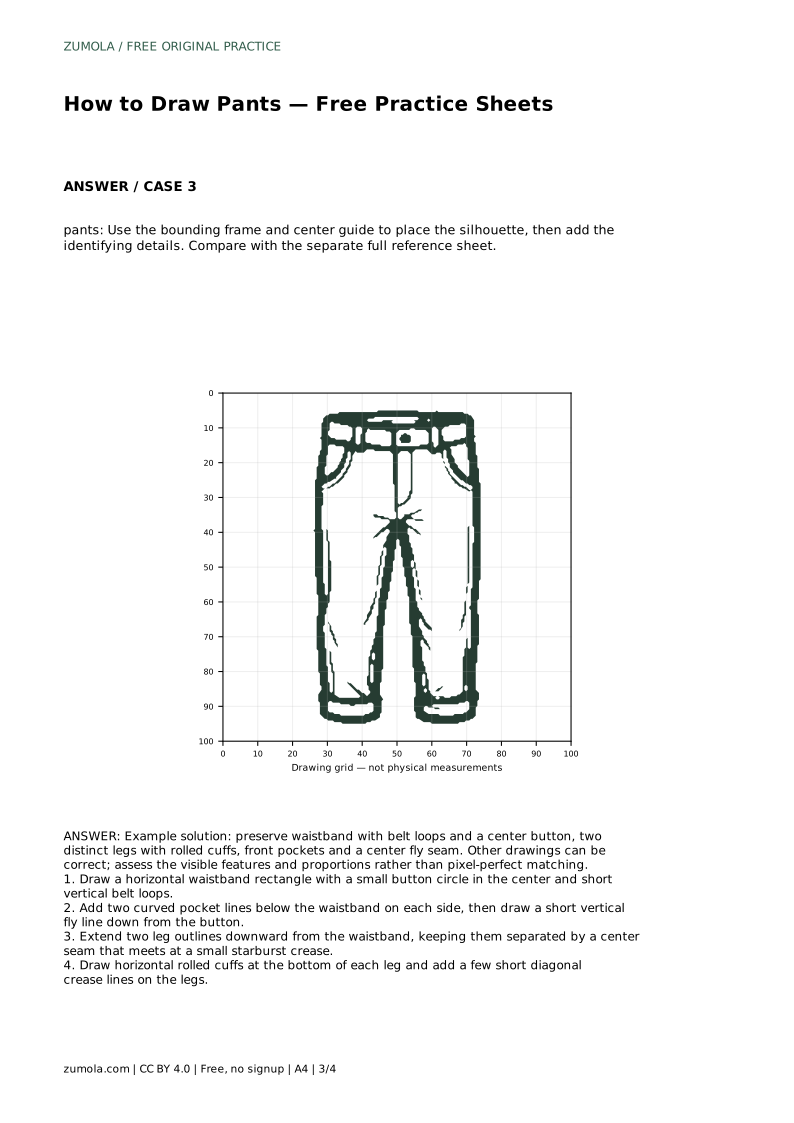
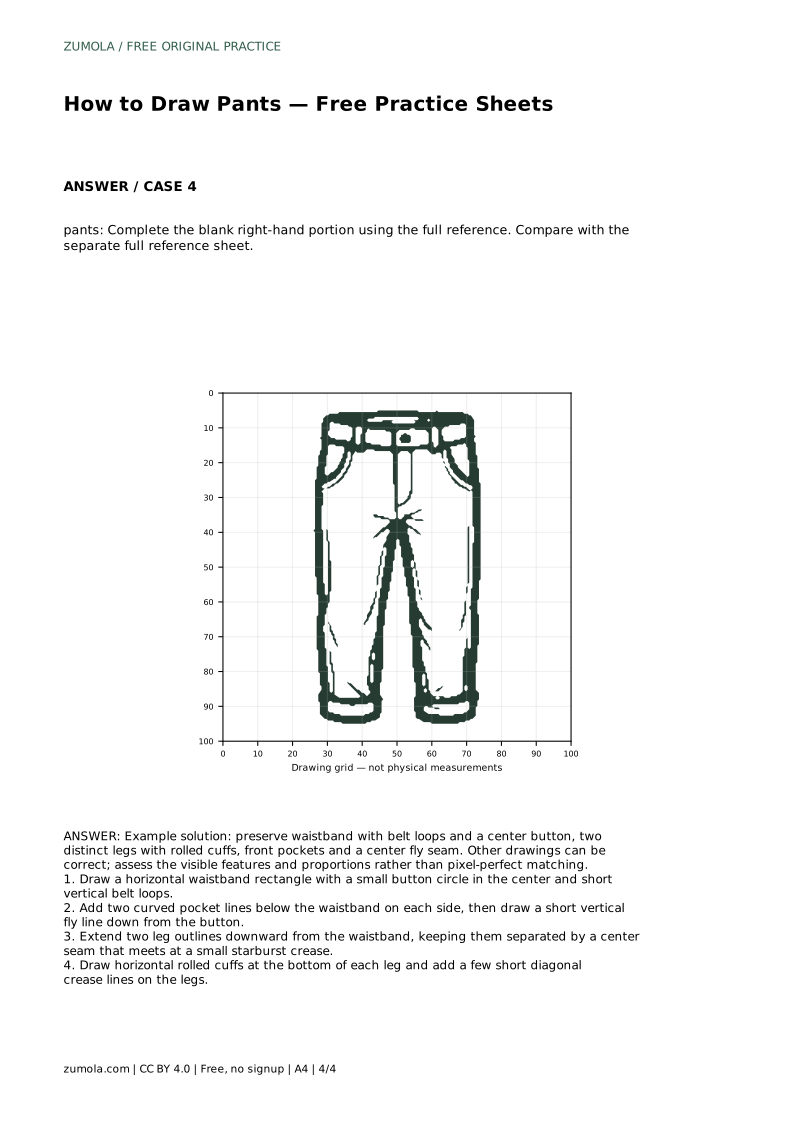
Drawing pants is mostly a matter of stacking simple shapes in the right order. Start with a horizontal waistband, place the button and belt loops, add pocket curves and a short fly line, then extend two leg outlines that stay separate down to rolled cuffs. The practice sheets let you trace, copy onto a grid, or complete a partial drawing, but the goal is understanding the parts, not matching every pixel.
Treat the waistband as a horizontal rectangle sitting at the top of the garment. Its width sets the overall width of the pants, so decide that proportion before drawing anything below it. Place a small button circle at the center of the waistband, then add short vertical belt loops spaced along the band. The loops are narrow strips that cross the waistband, not loops hanging below it.
Below the waistband, draw two curved pocket lines, one on each side. Each curve should begin near the outer edge and sweep inward and slightly down, suggesting an opening rather than a closed shape. From the button, draw a short vertical fly line downward. Keep it centered and stop it before the legs begin to separate. These front details are what make a plain silhouette read as pants rather than a skirt or a rectangle.
From the bottom of the waistband, extend two leg outlines downward. The legs must remain visibly separate; a single wide shape with no division will not read as pants. Let a center seam run between the legs and meet at a small starburst crease where the fabric pulls. The starburst is a drawing convention for tension at the crotch seam, not an anatomical landmark.
Keep the leg widths roughly consistent unless you deliberately want a tapered or wide cut. If the legs taper, narrow them gradually rather than pinching suddenly near the ankle. Check that the inner edges of the two legs do not touch except at the top where they meet the seam. A clear gap between the legs is the strongest signal that the drawing shows trousers.
Finish the legs with horizontal rolled cuffs at the bottom. A cuff is a band across the lower leg, drawn as a shallow rectangle or a doubled line that suggests folded fabric. Keep both cuffs at a similar height so the pants look balanced. Then add a few short diagonal crease lines on the legs. Creases should follow the direction the fabric would fold, generally angling toward the center or outward from the knee area.
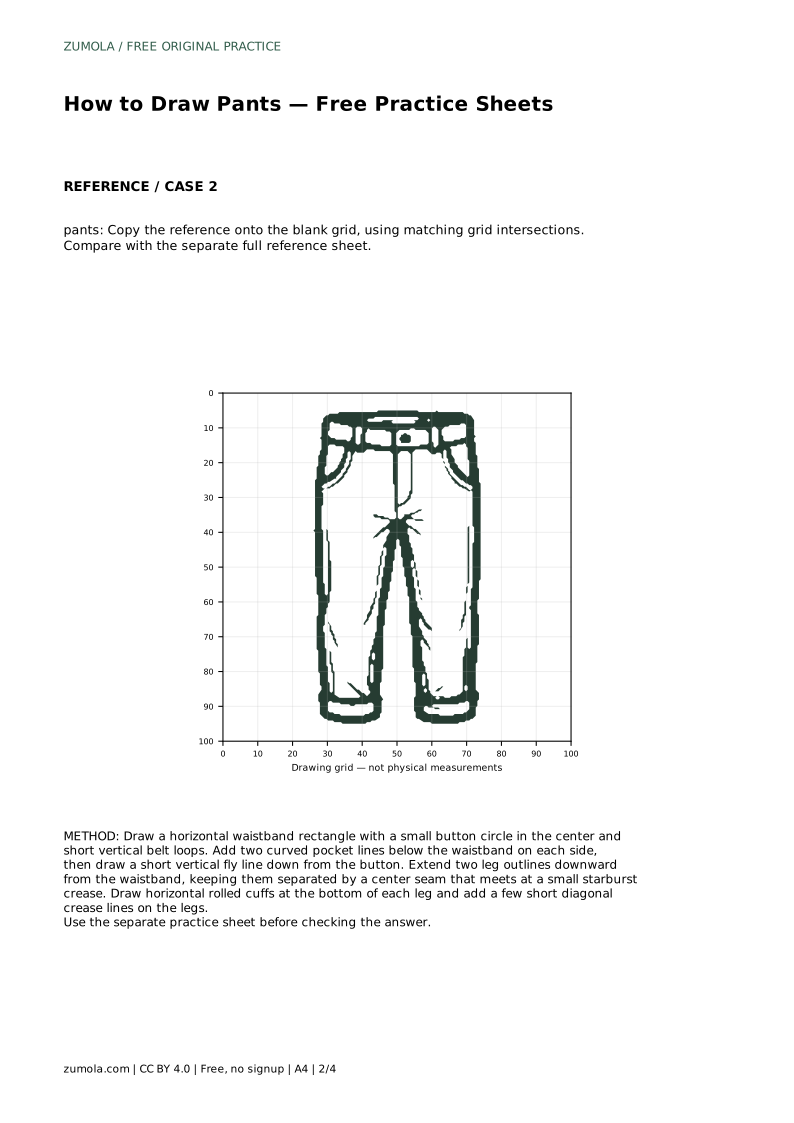
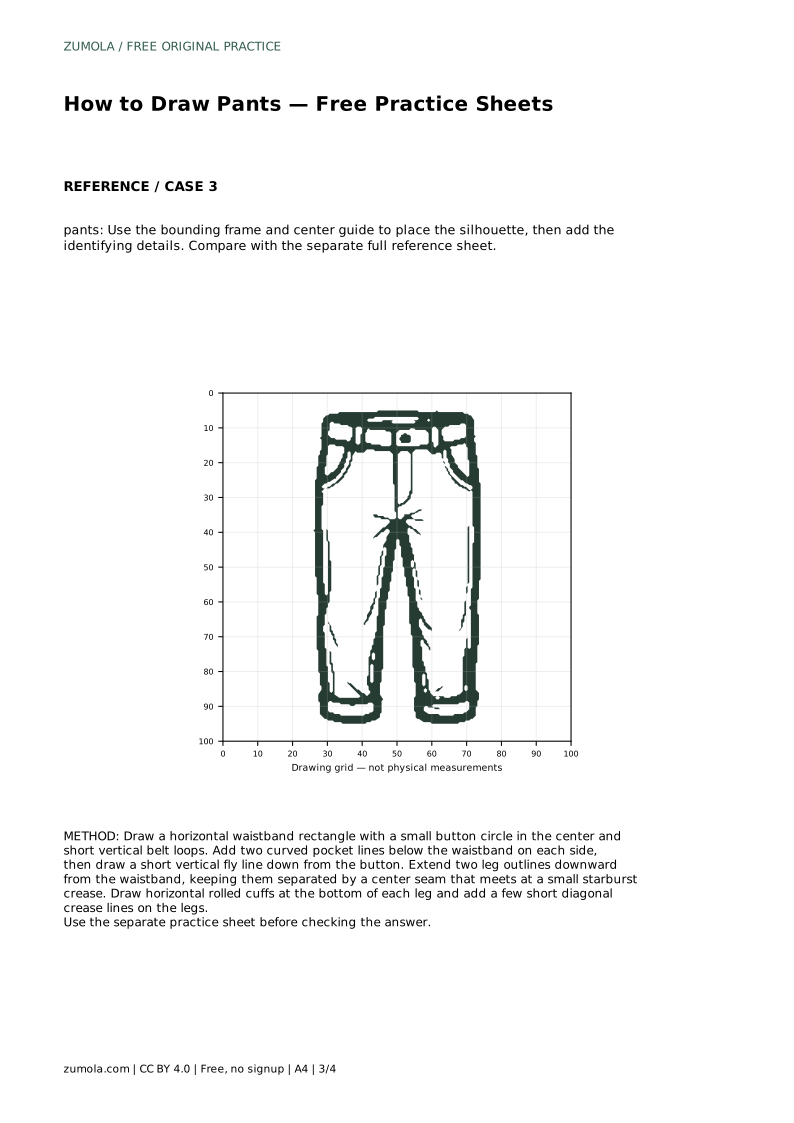
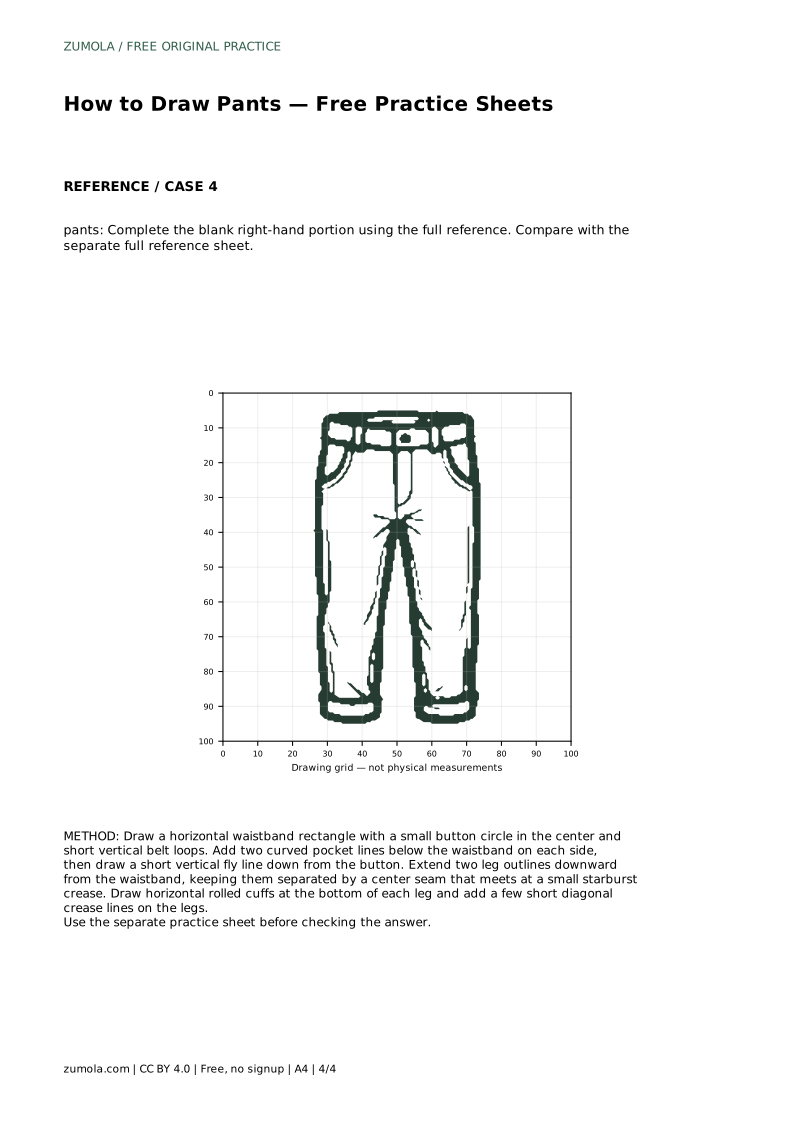
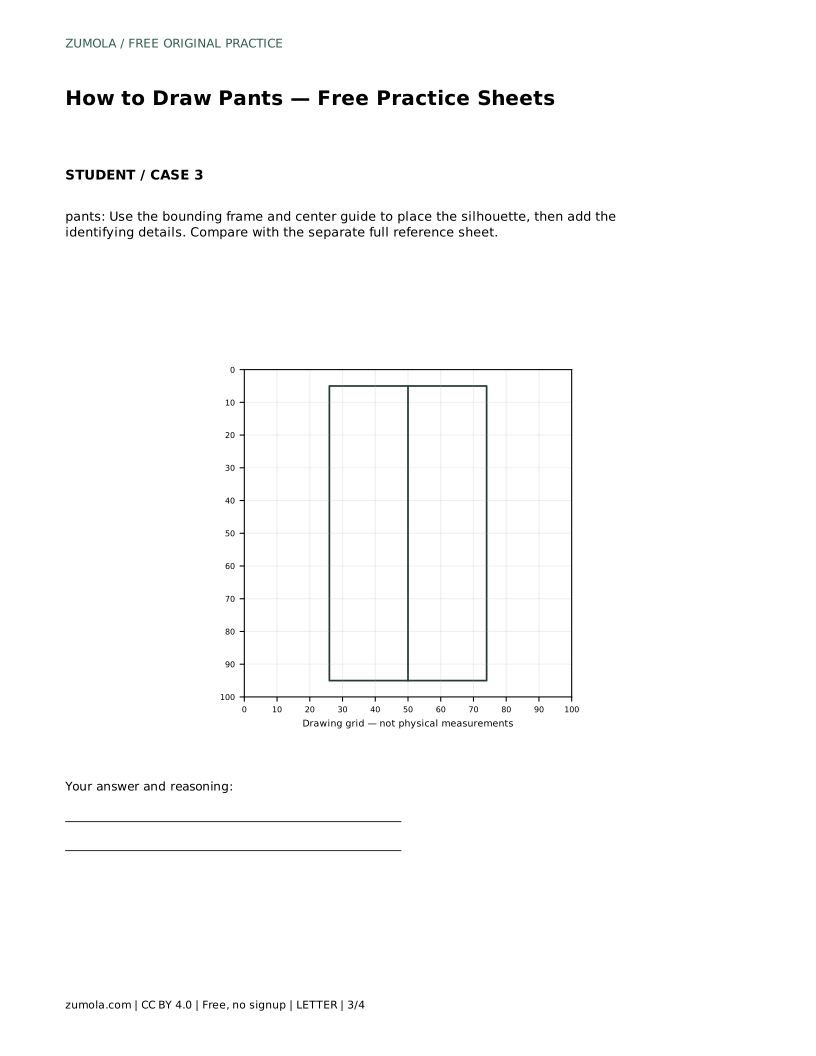
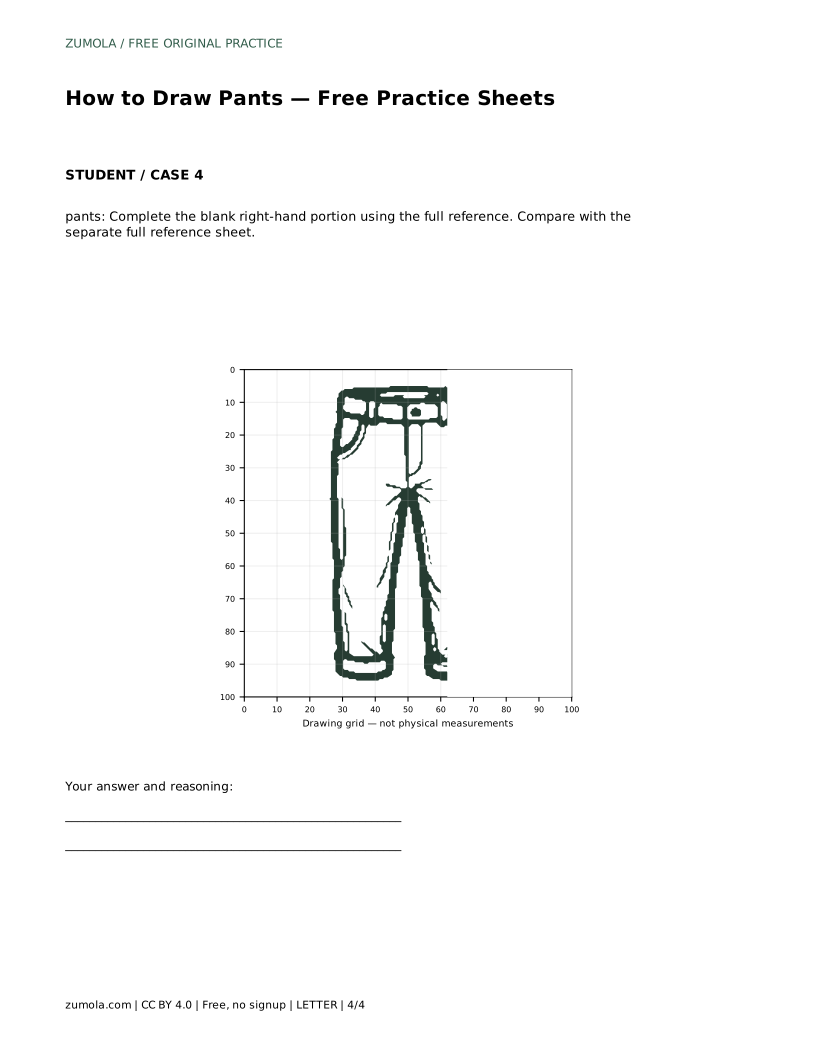
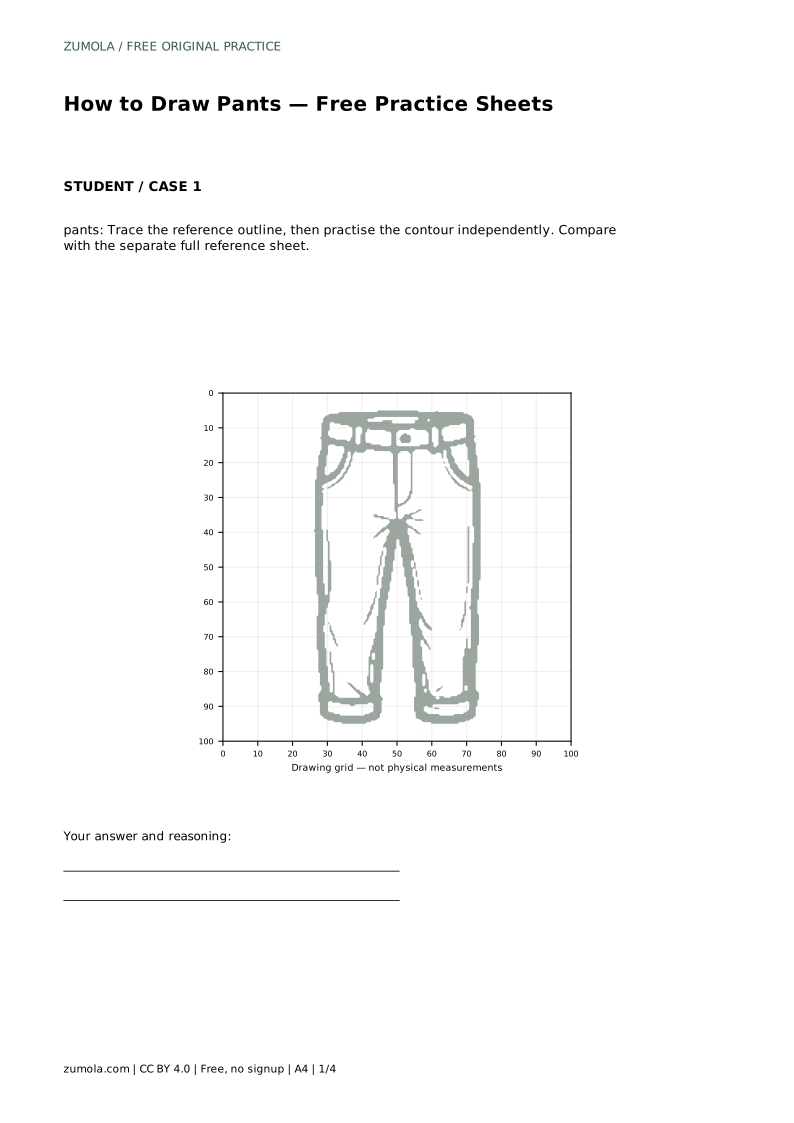
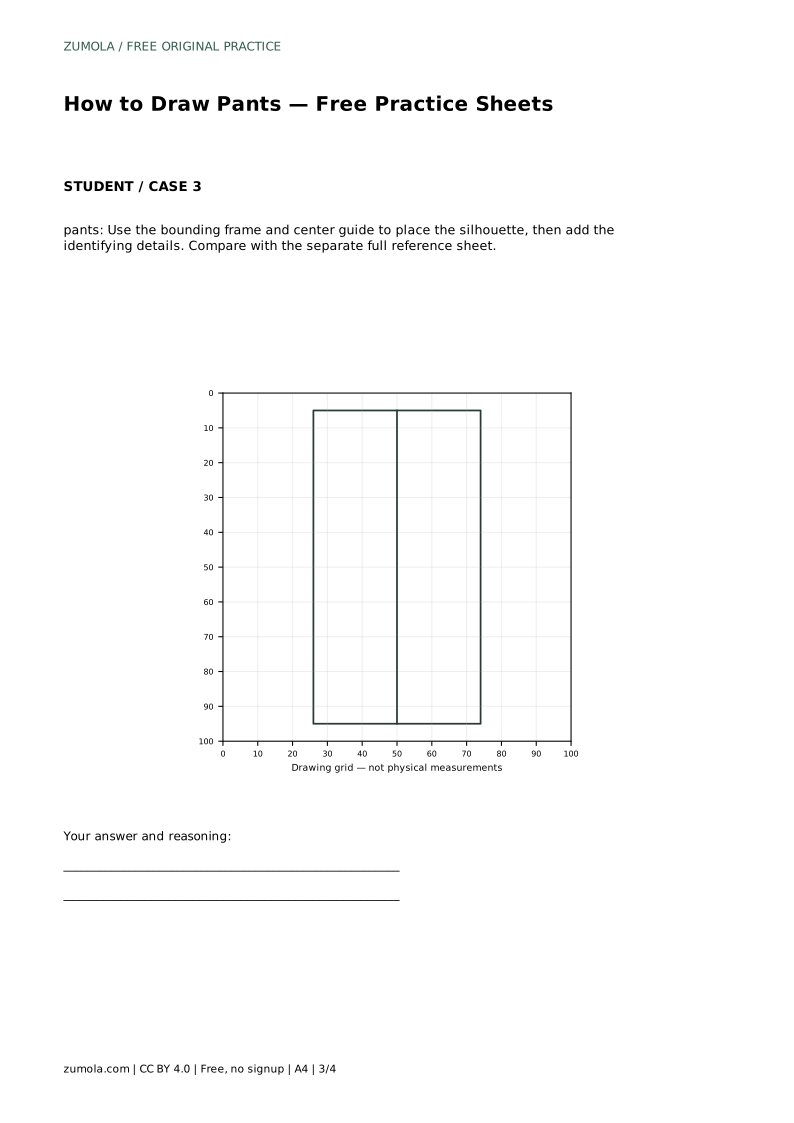
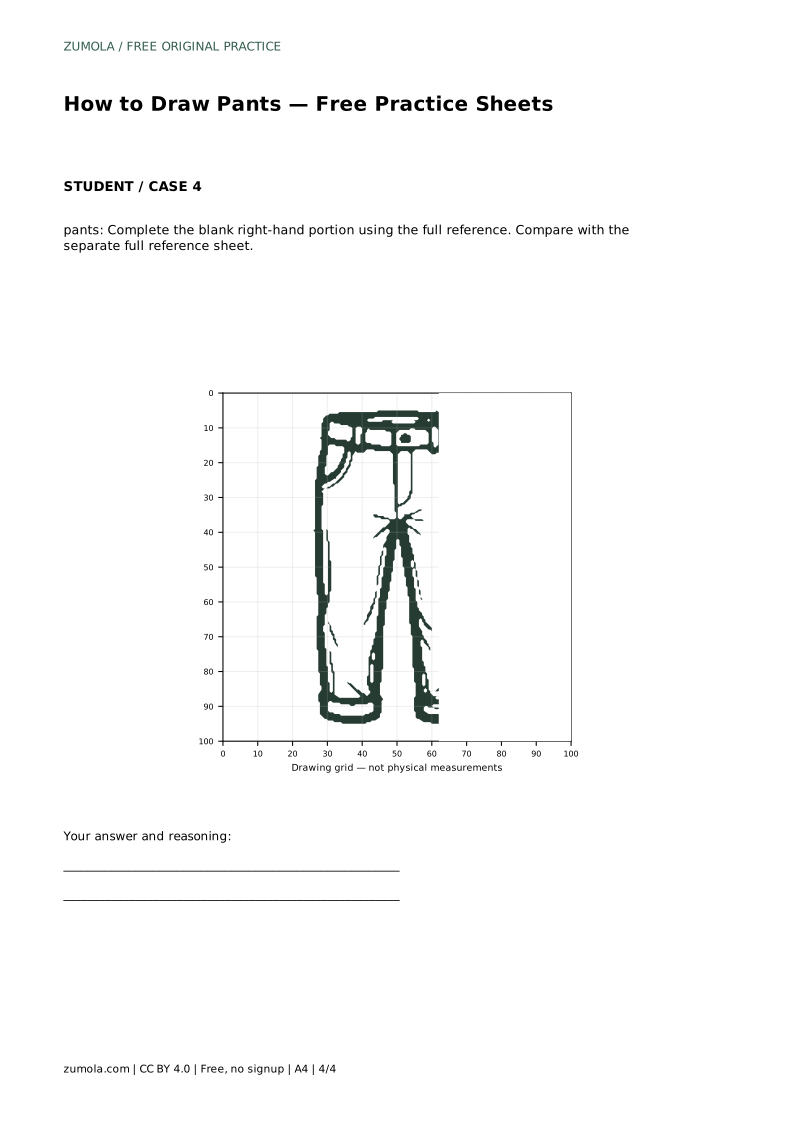
Use the practice sheets in sequence if you want support: trace the reference outline first, then copy it onto a blank grid using matching intersections, then place the silhouette inside a bounding frame with a center guide, and finally complete a blank right-hand portion from the full reference. Compare your result with the separate full reference sheet and judge the visible features and proportions rather than pixel-perfect matching.
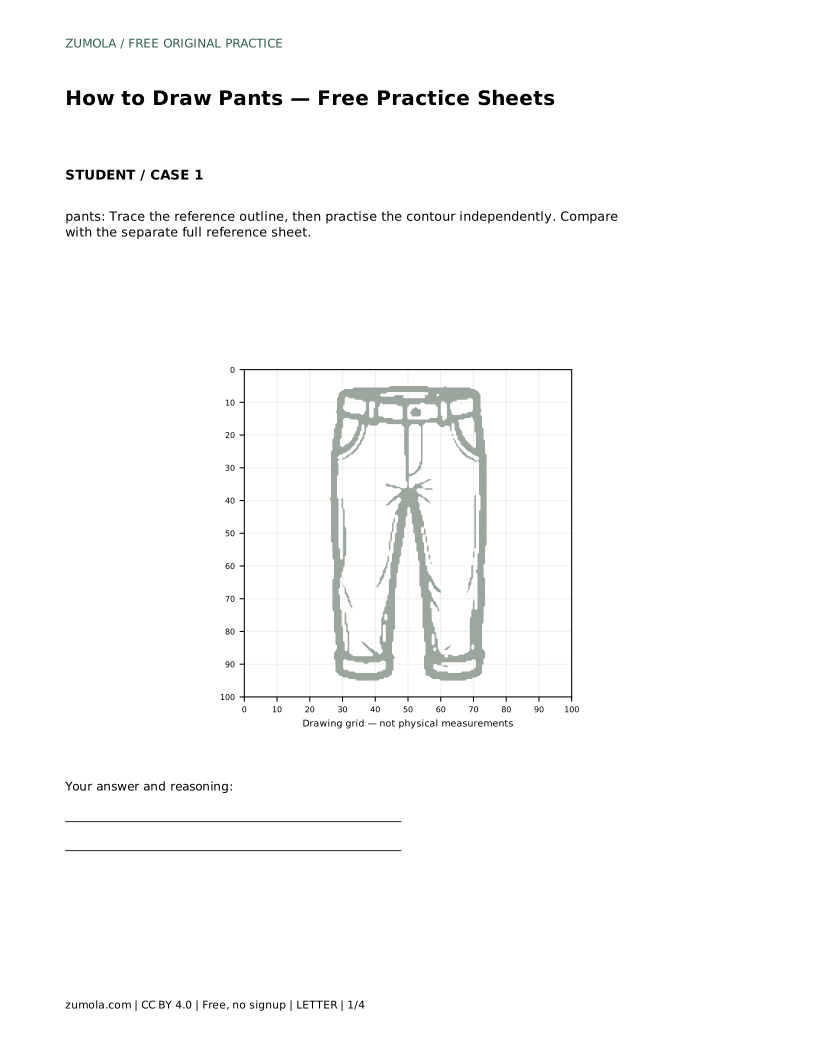
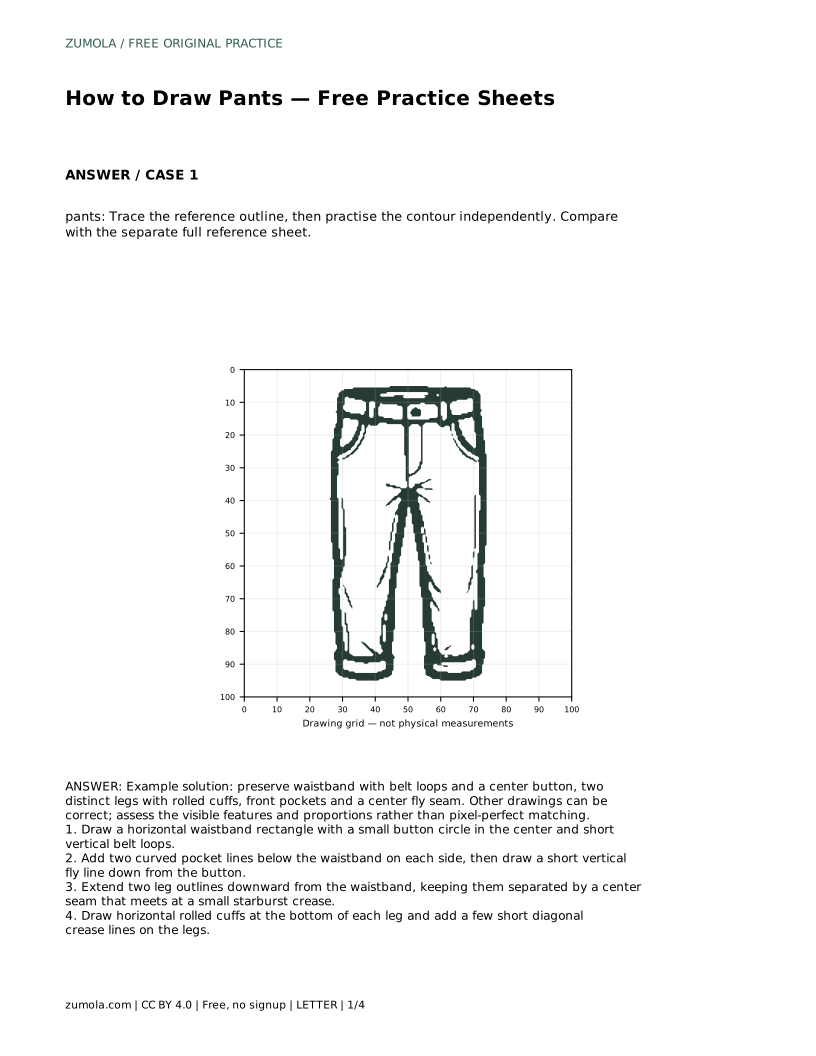
pants: Trace the reference outline, then practise the contour independently. Compare with the separate full reference sheet.
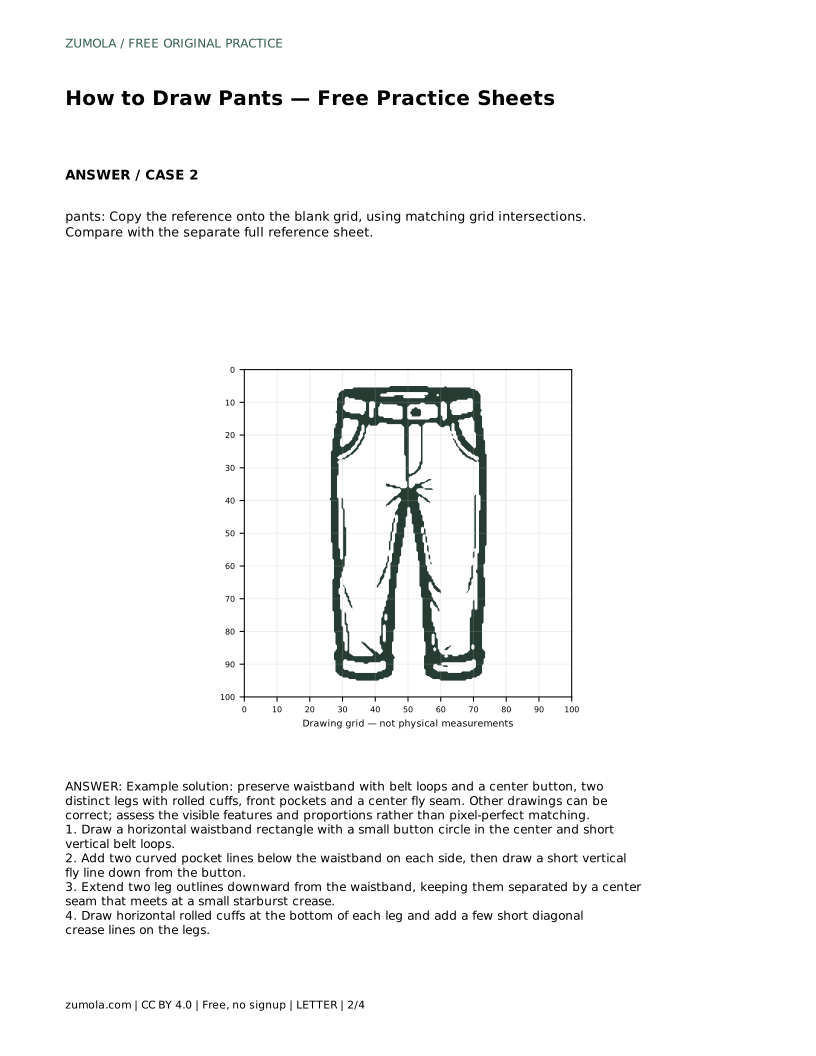
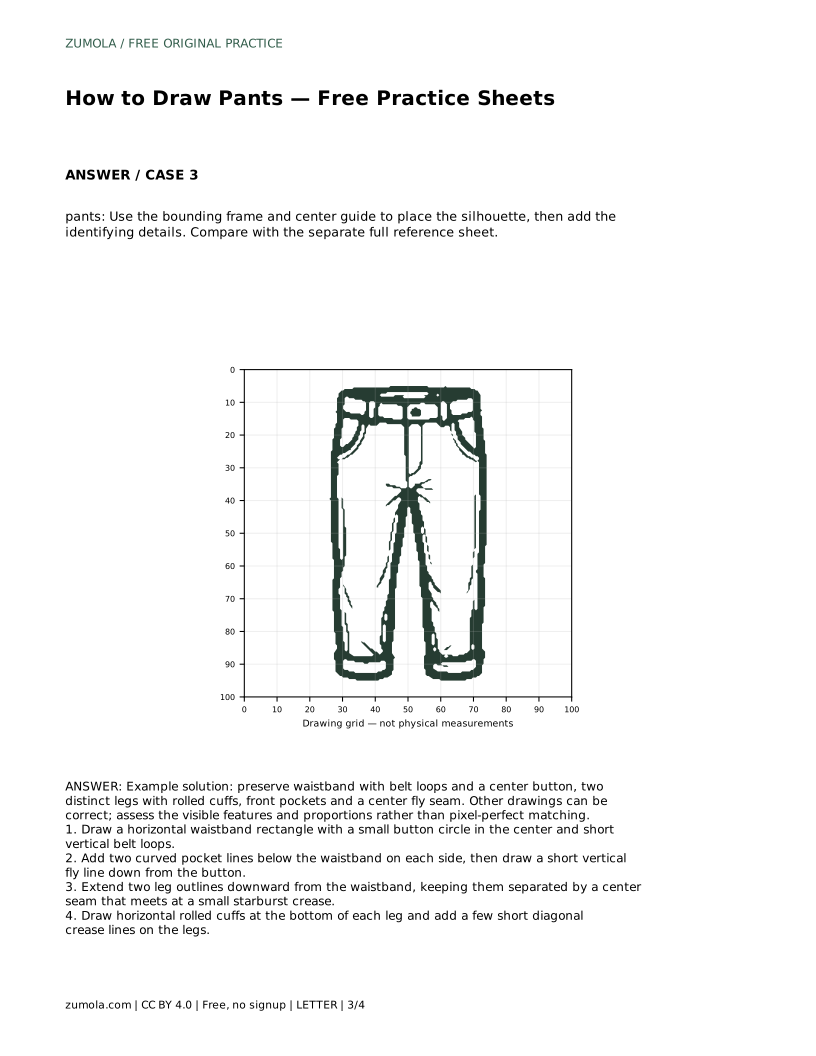
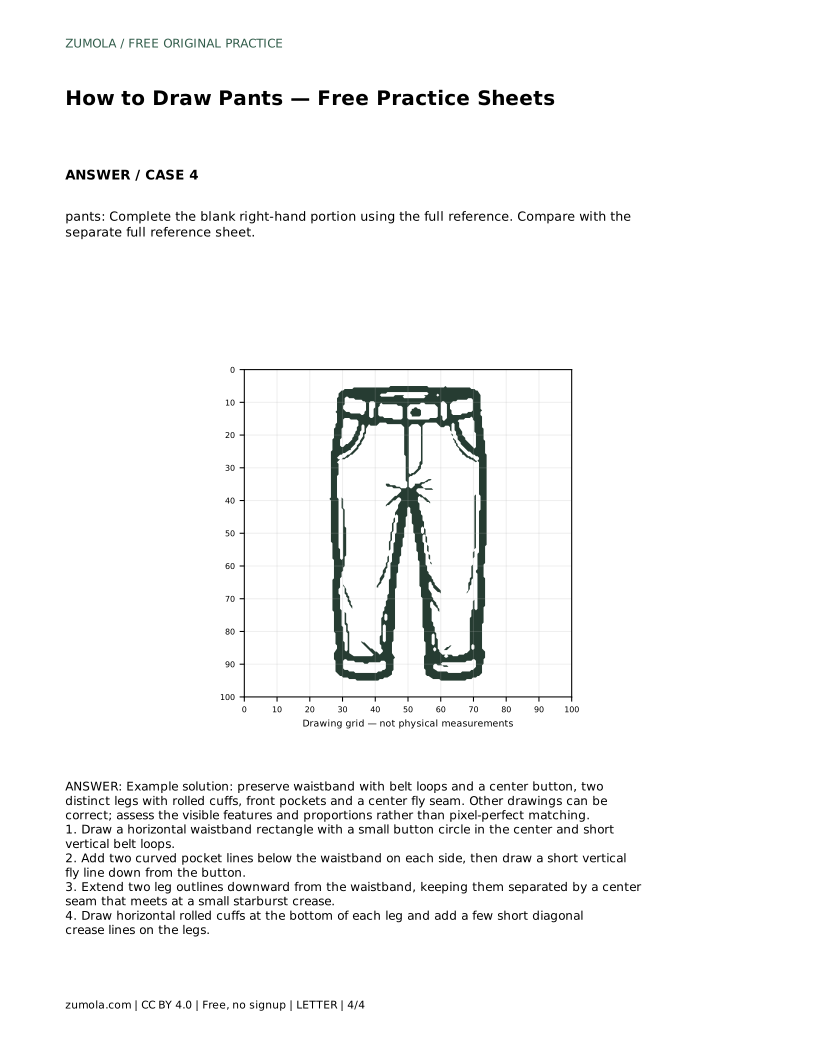
Example solution: preserve waistband with belt loops and a center button, two distinct legs with rolled cuffs, front pockets and a center fly seam. Other drawings can be correct; assess the visible features and proportions rather than pixel-perfect matching. Draw a horizontal waistband rectangle with a small button circle in the center and short vertical belt loops. Add two curved pocket lines below the waistband on each side, then draw a short vertical fly line down from the button. Extend two leg outlines downward from the waistband, keeping them separated by a center seam that meets at a small starburst crease. Draw horizontal rolled cuffs at the bottom of each leg and add a few short diagonal crease lines on the legs.
No. Several drawings can be correct. Check that the waistband, button, belt loops, pockets, fly seam, two separated legs, center seam and rolled cuffs are all visible and reasonably proportioned.
Waistband first, then button, belt loops, pockets and fly, then the two leg outlines and center seam, and finally the cuffs and crease lines.
No. It is a drawing convention showing fabric tension at the crotch seam. It is not a clinical anatomy feature.
All drawing practice · Free coordinate paper
Original resources · CC BY 4.0 · Free for personal and classroom use with attribution.