Reference diagrams
LETTER · Download PDF
A4 · Download PDF
Free original resources
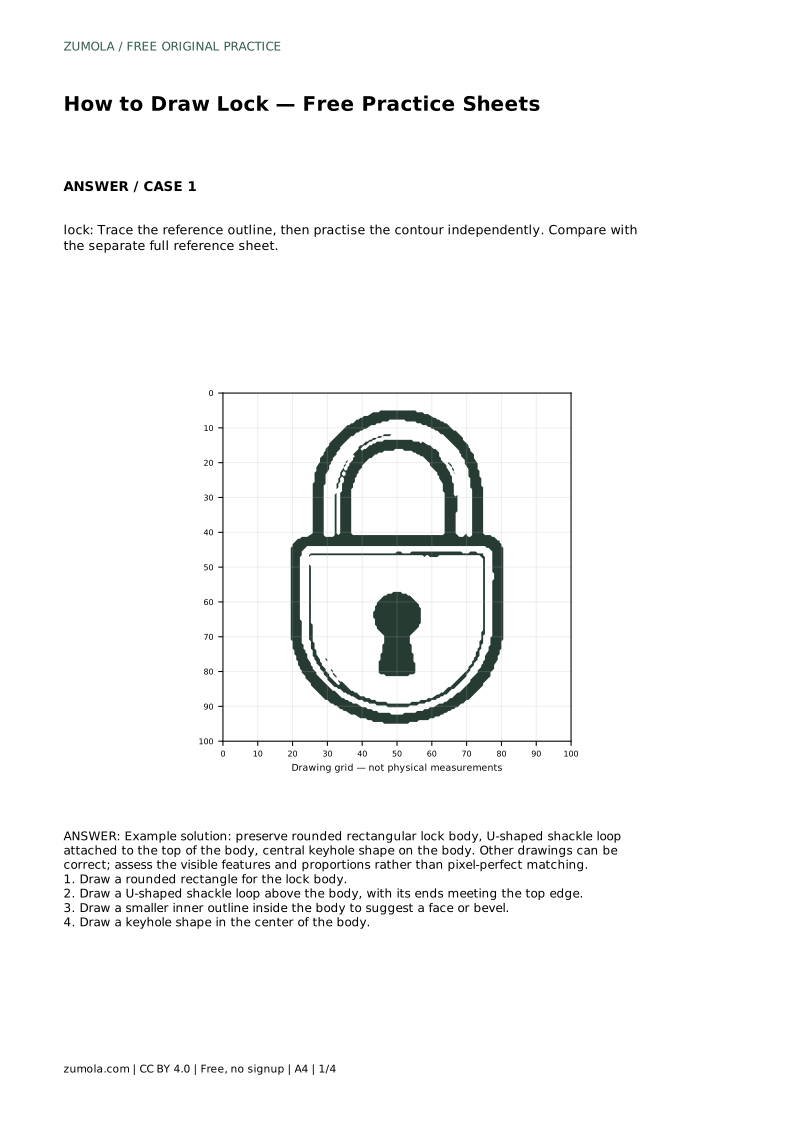
Learn to draw a padlock by building a rounded body, a U-shaped shackle, and a centered keyhole. Practice with tracing, grid, and frame sheets.
Four original cases, with reference diagrams, practice sheets and worked answers. Everything is free; no signup required.
LETTER · Download PDF
A4 · Download PDF
LETTER · Download PDF
A4 · Download PDF
LETTER · Download PDF
A4 · Download PDF
Use A4 or US Letter to match your printer. Use the stated values and conditions to solve each exercise; diagrams are not physical measuring rulers.
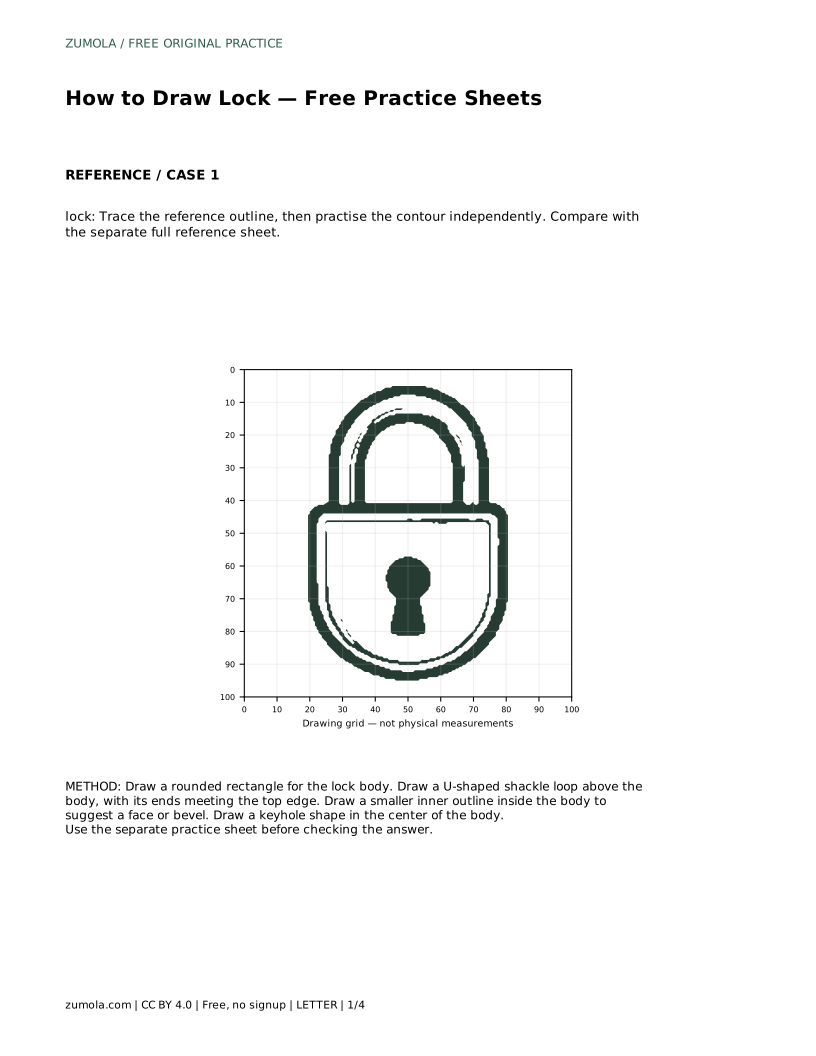
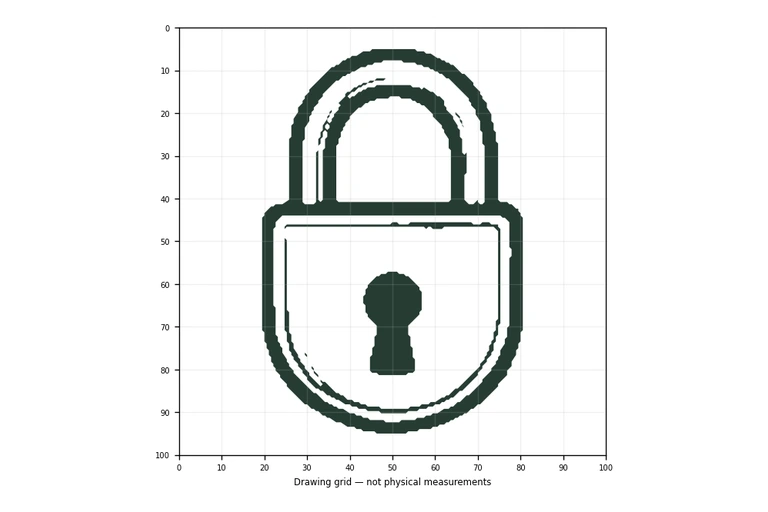
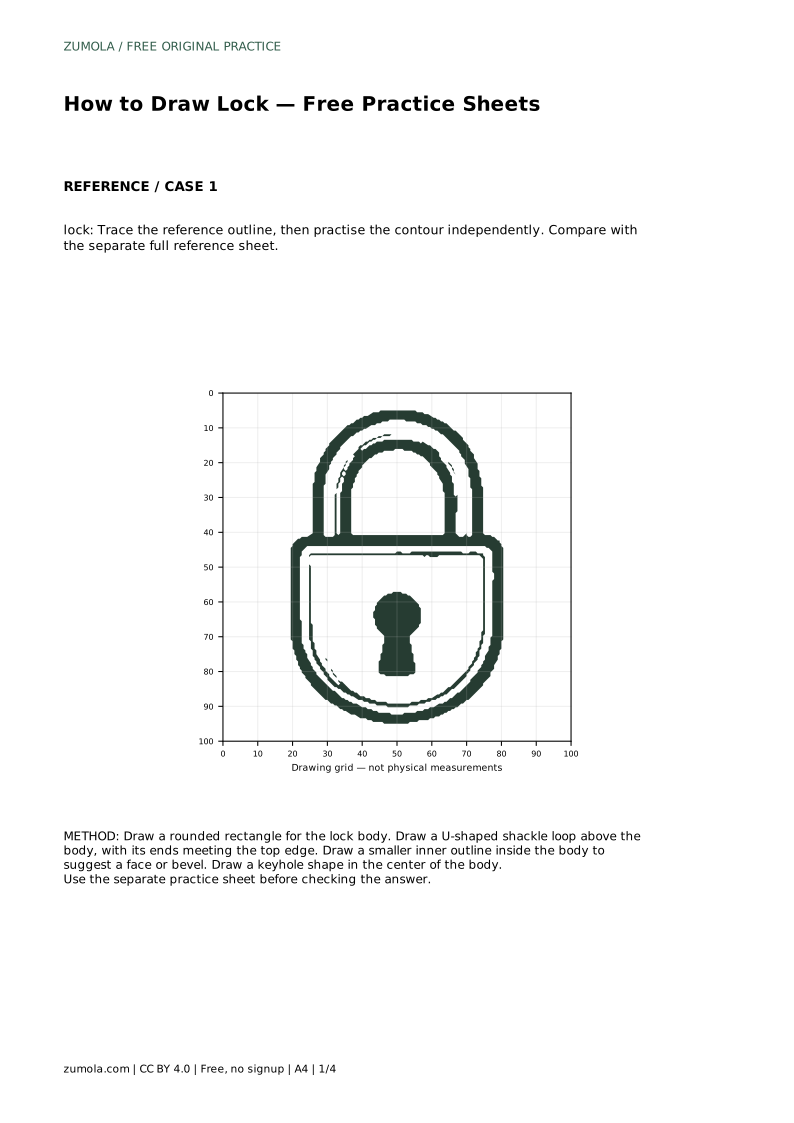
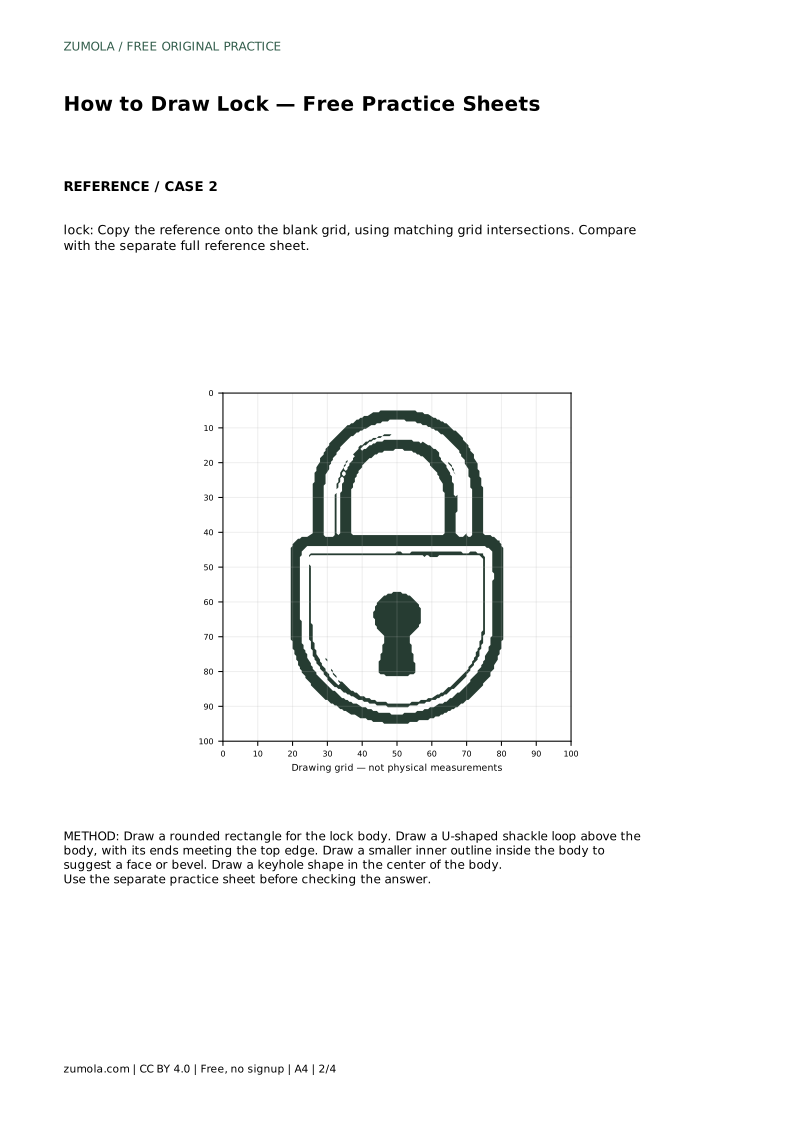
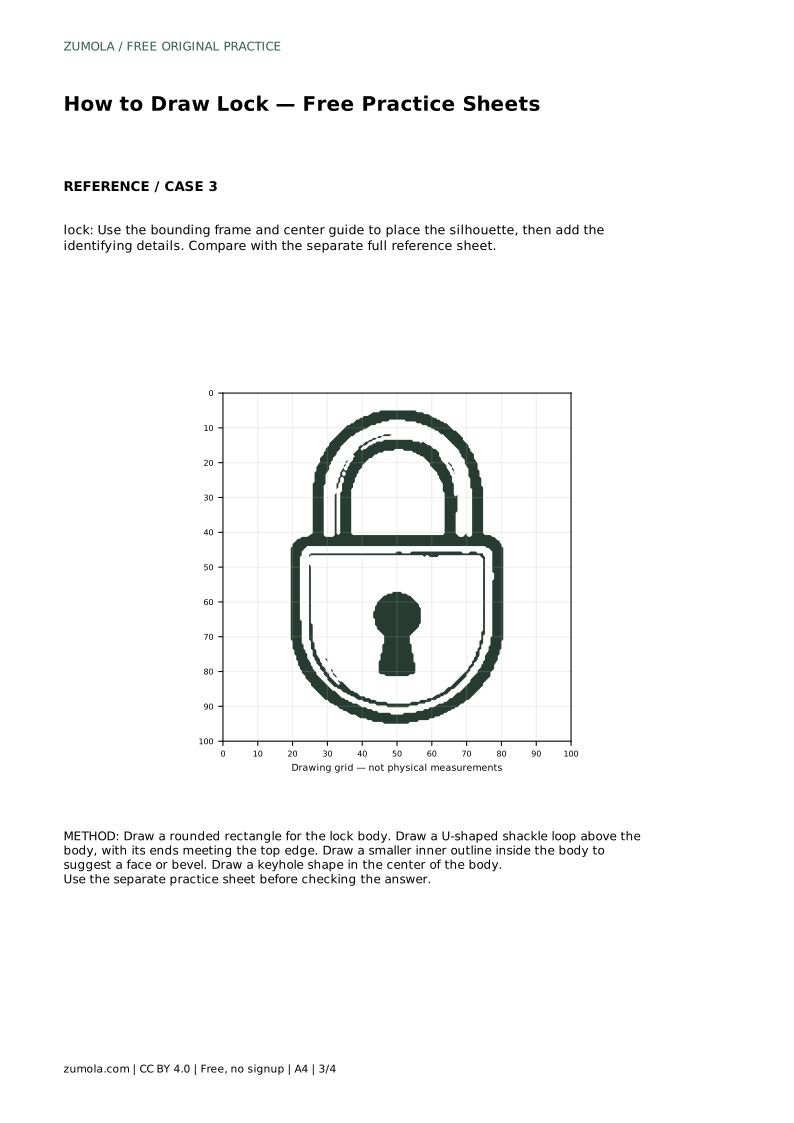
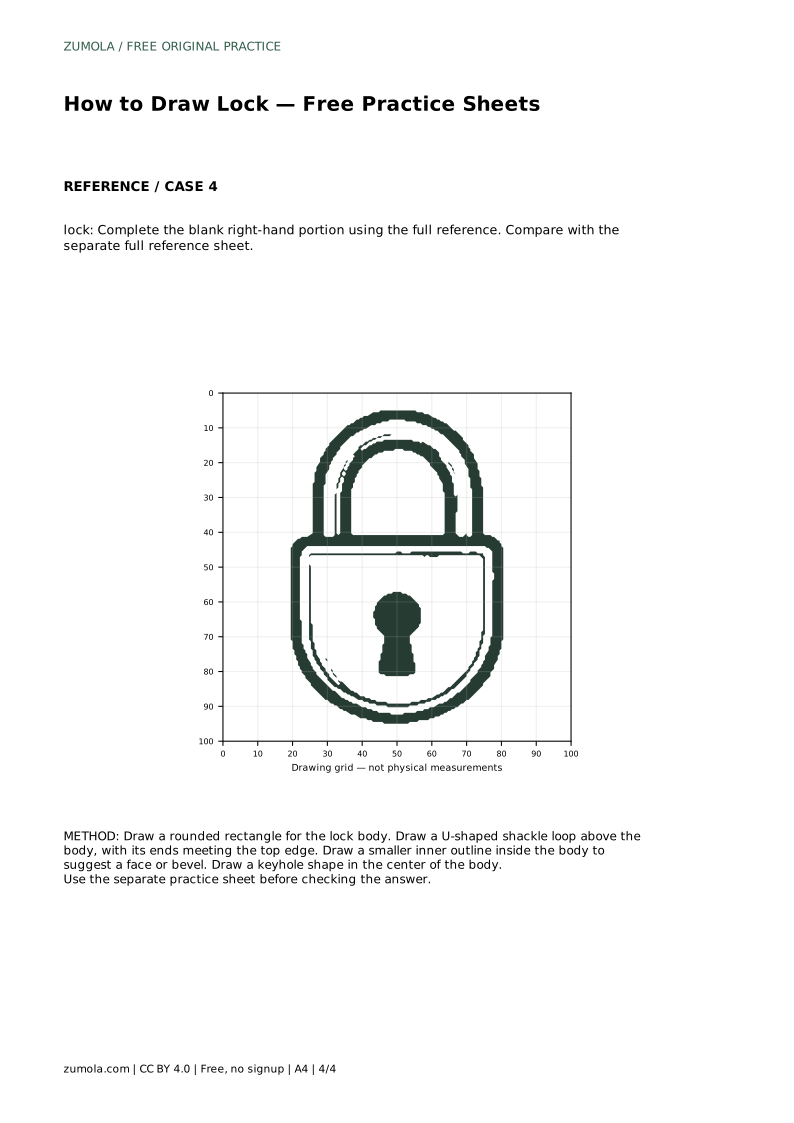
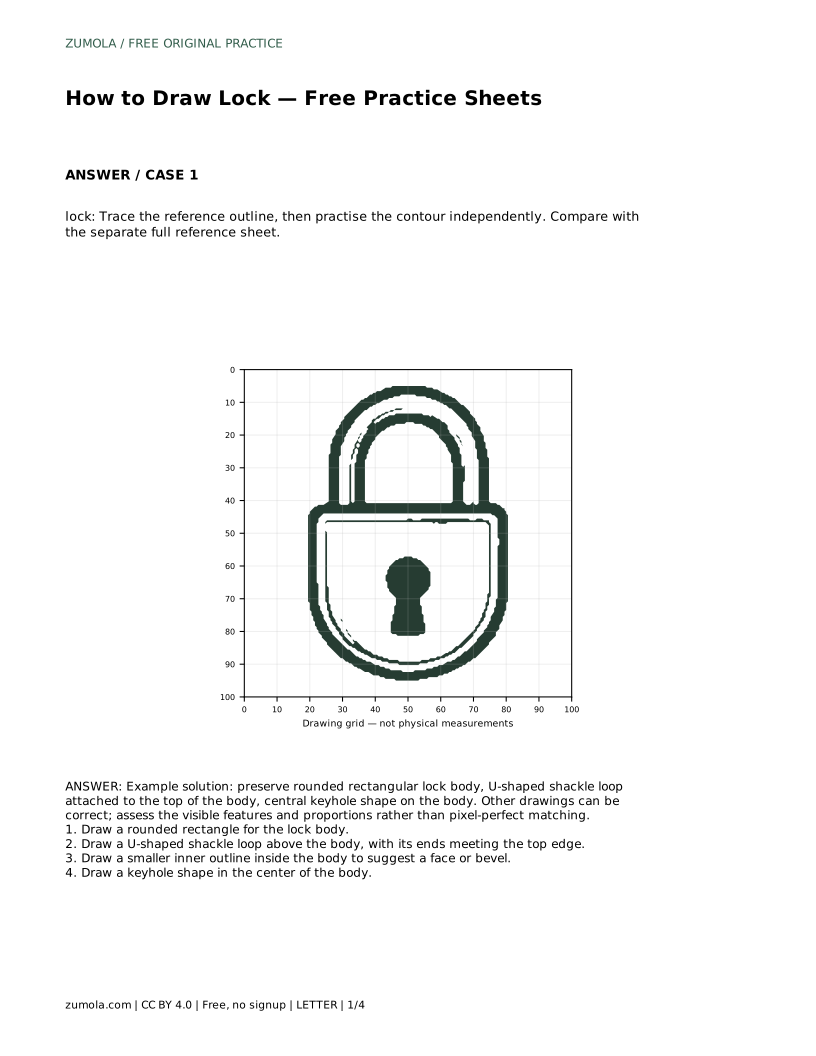
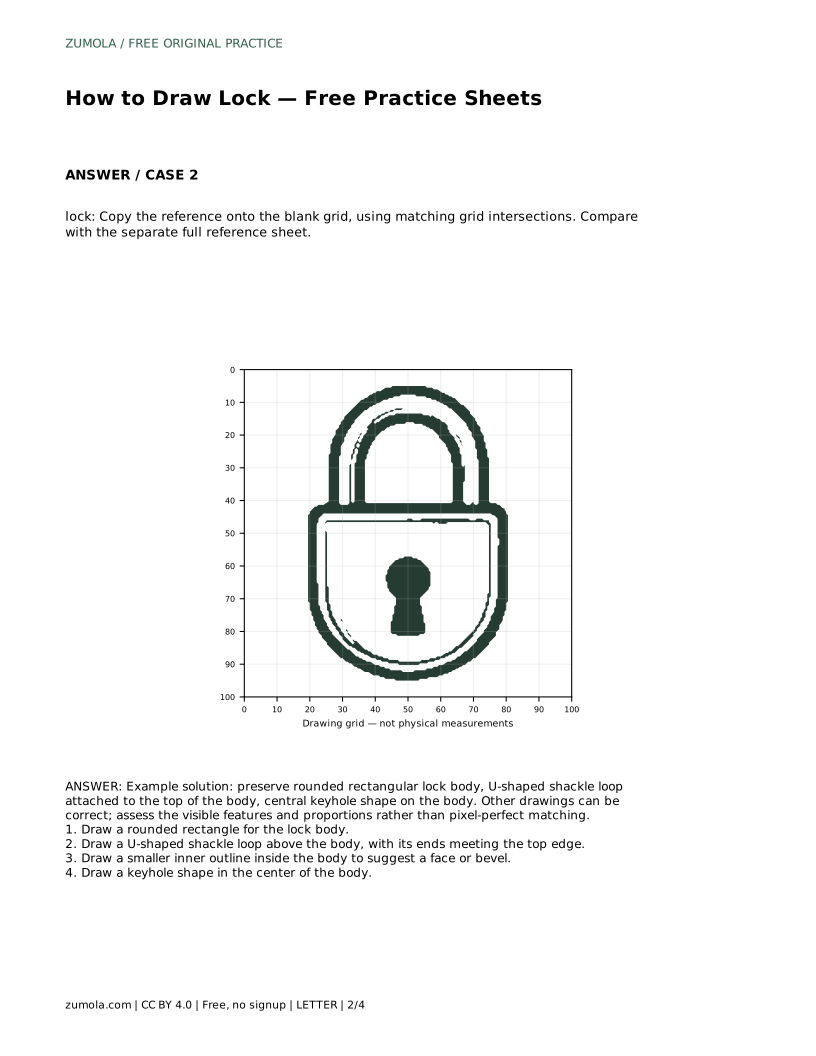
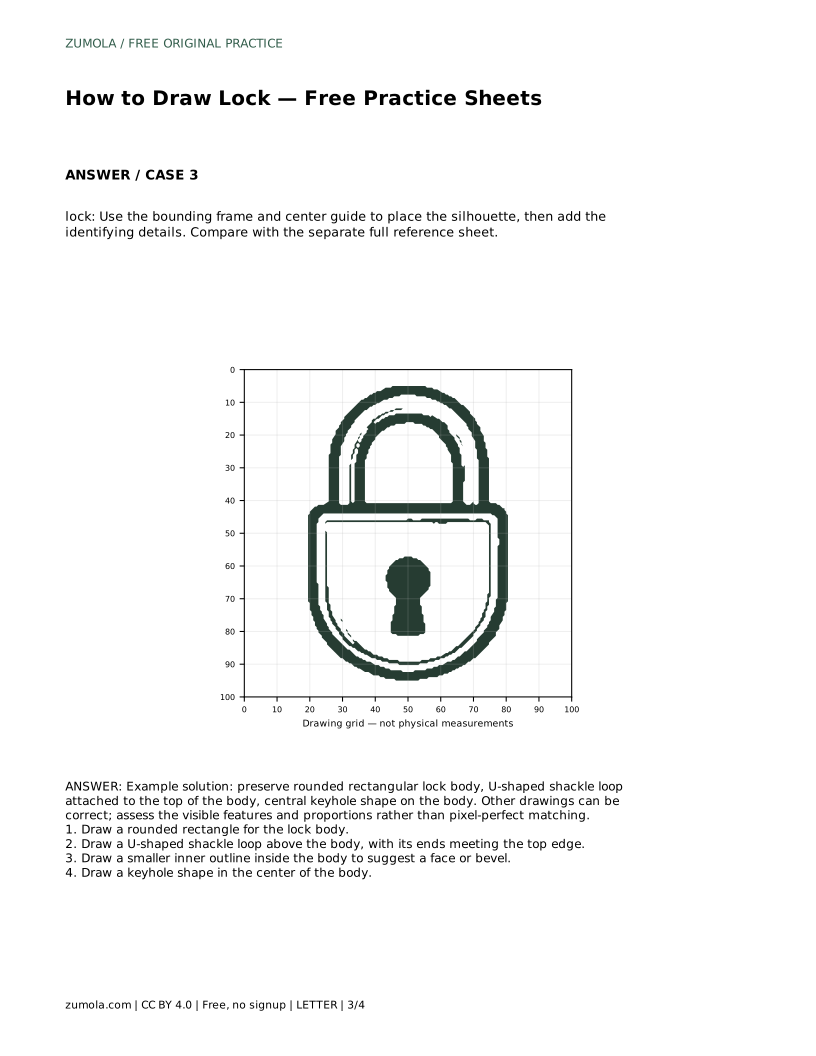
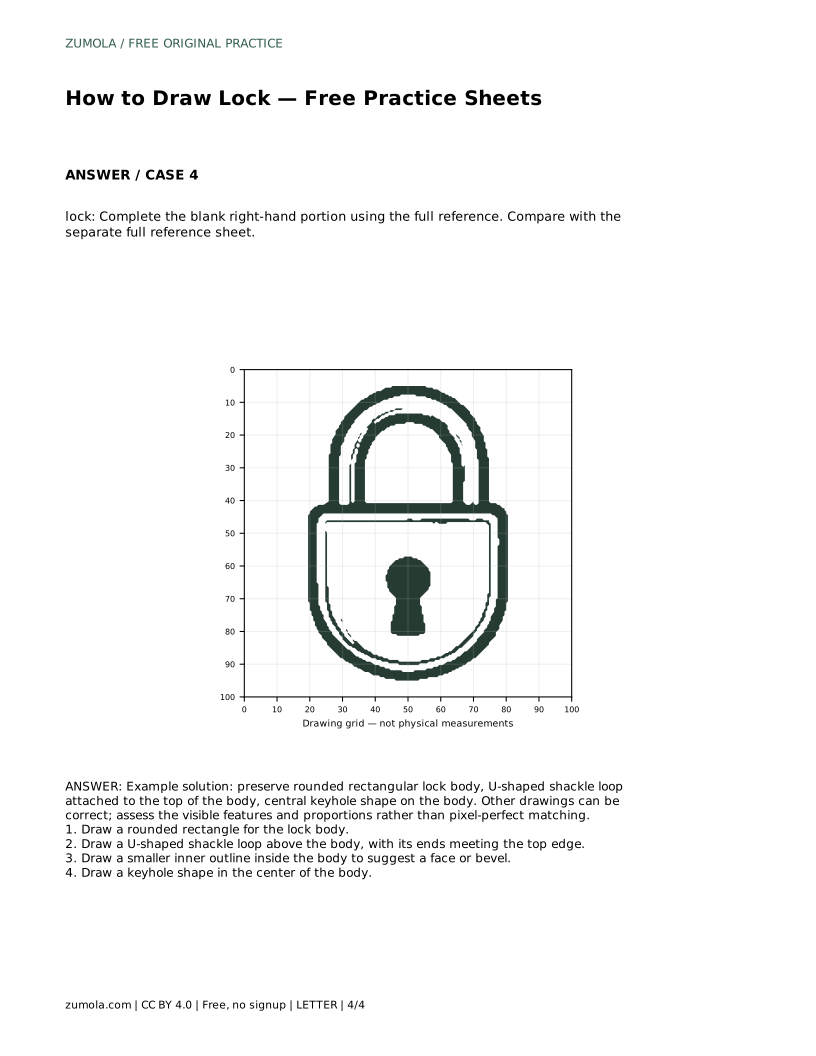
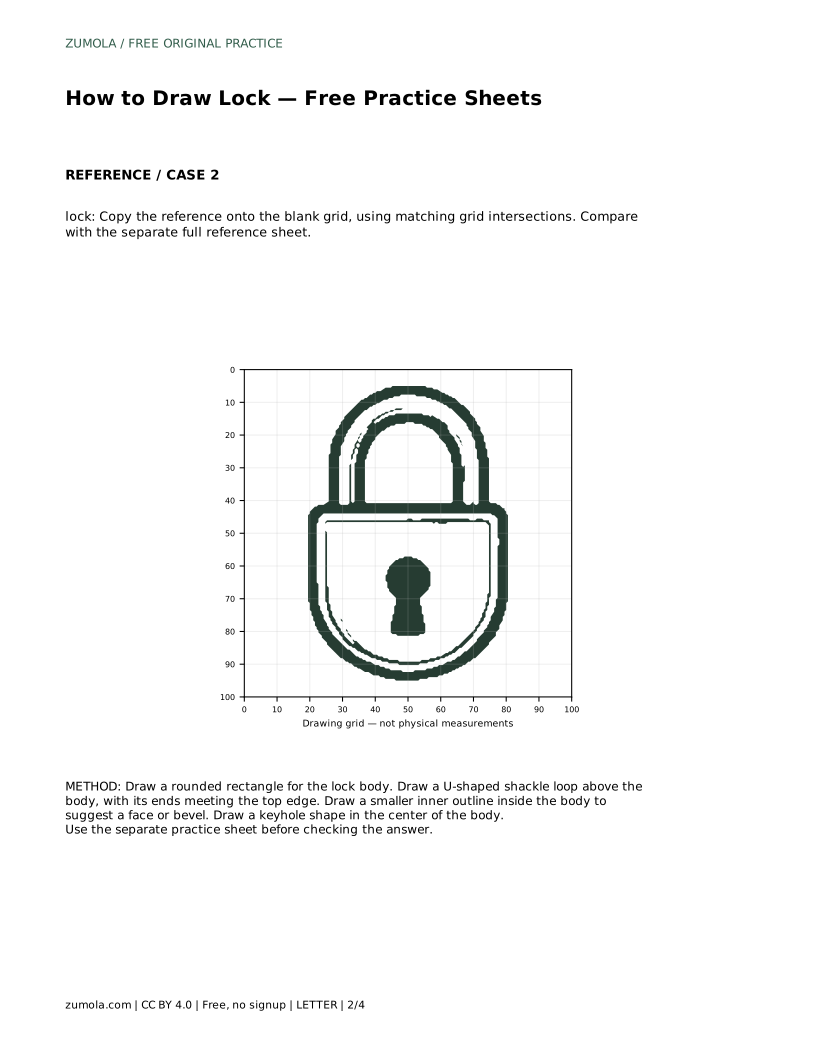
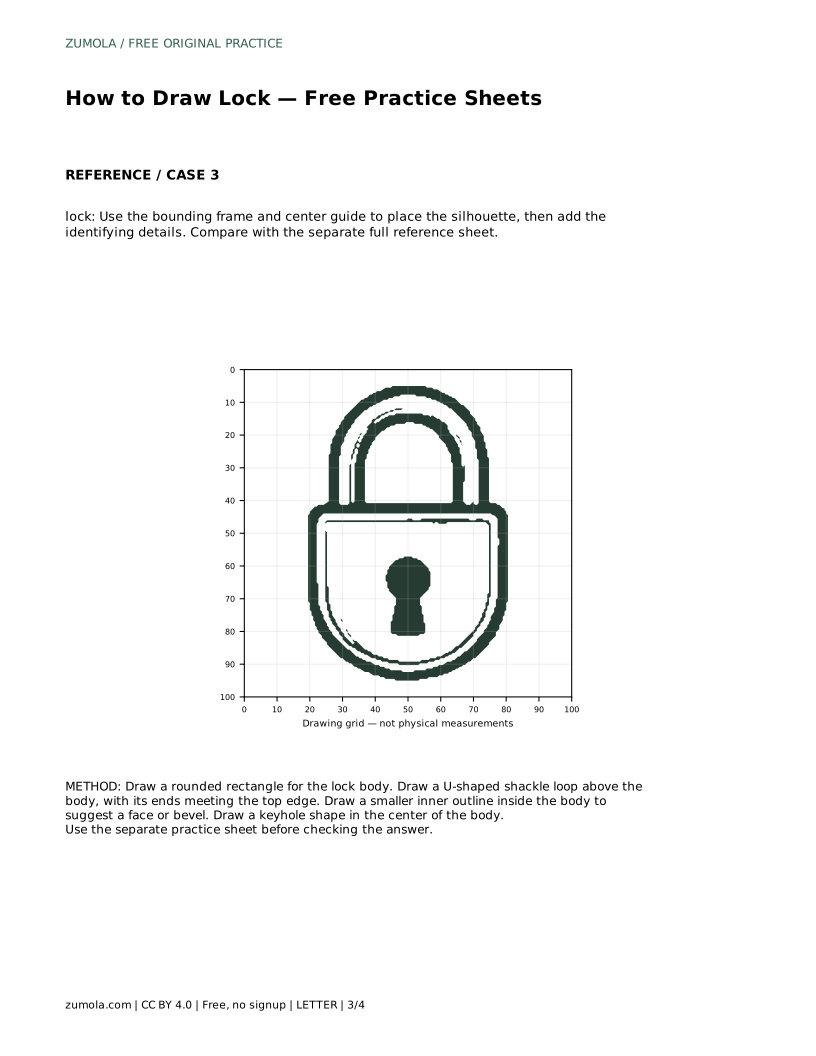
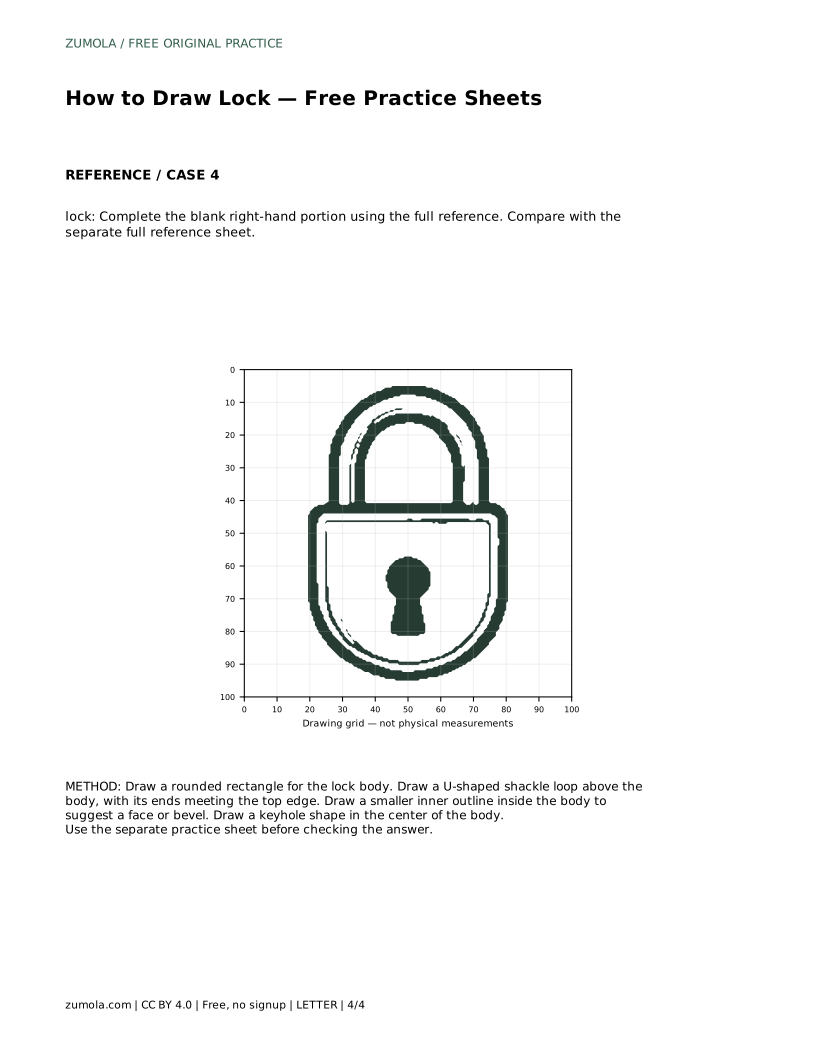
A padlock is a good subject for learning to see how a few simple shapes fit together. The body is a rounded rectangle, the shackle is a U-shaped loop attached to the top edge, and the keyhole sits in the middle of the body. This page explains how to build those parts in order, how to check their proportions, and how to use the practice sheets to compare your drawing with a separate full reference.
Start with the largest shape, the body. Draw a rounded rectangle that is slightly taller than it is wide, or adjust the proportions to match your reference. Keep the corners smooth rather than sharp, because a padlock body usually has softened edges.
Next, add the shackle. Draw a U-shaped loop above the body so that both ends meet the top edge. The loop should be narrower than the body and centered over it. Check that the two ends touch the body rather than floating above it.
Inside the body, draw a smaller outline to suggest a face or bevel. This inner line should follow the outer shape at a fairly even distance. Finally, place a keyhole shape in the center of the body. A simple keyhole is a small circle with a narrow slot below it, though your reference may show a different form.
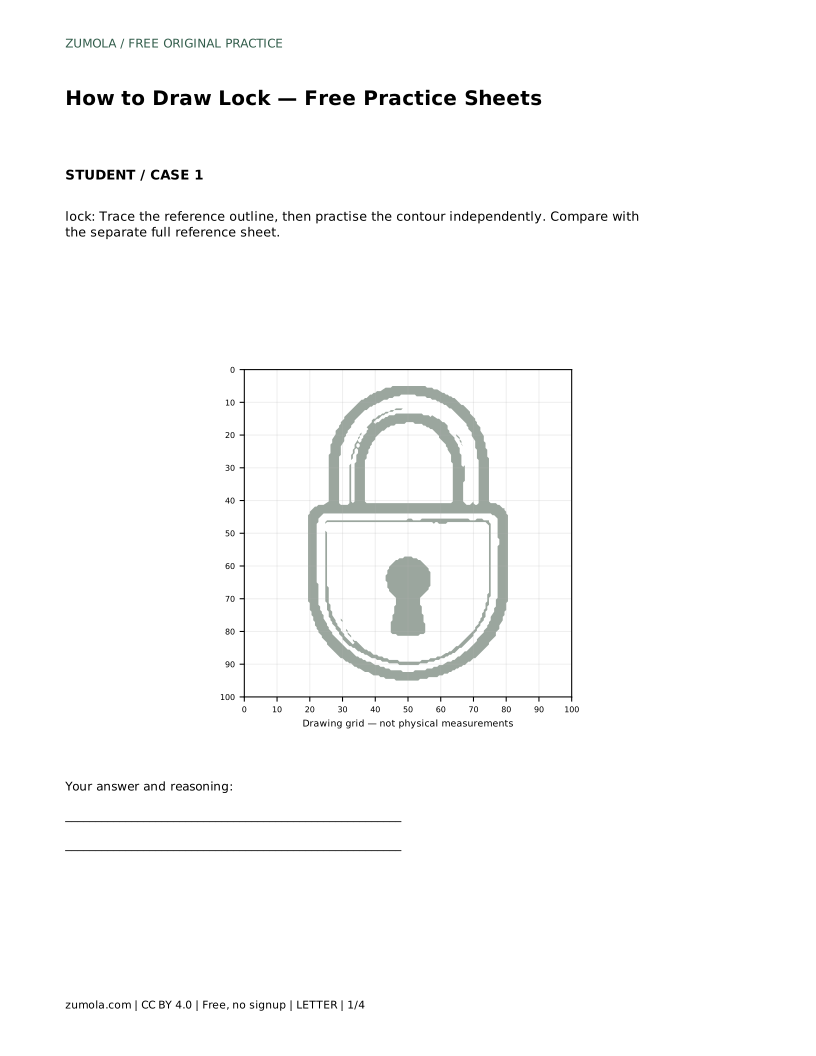
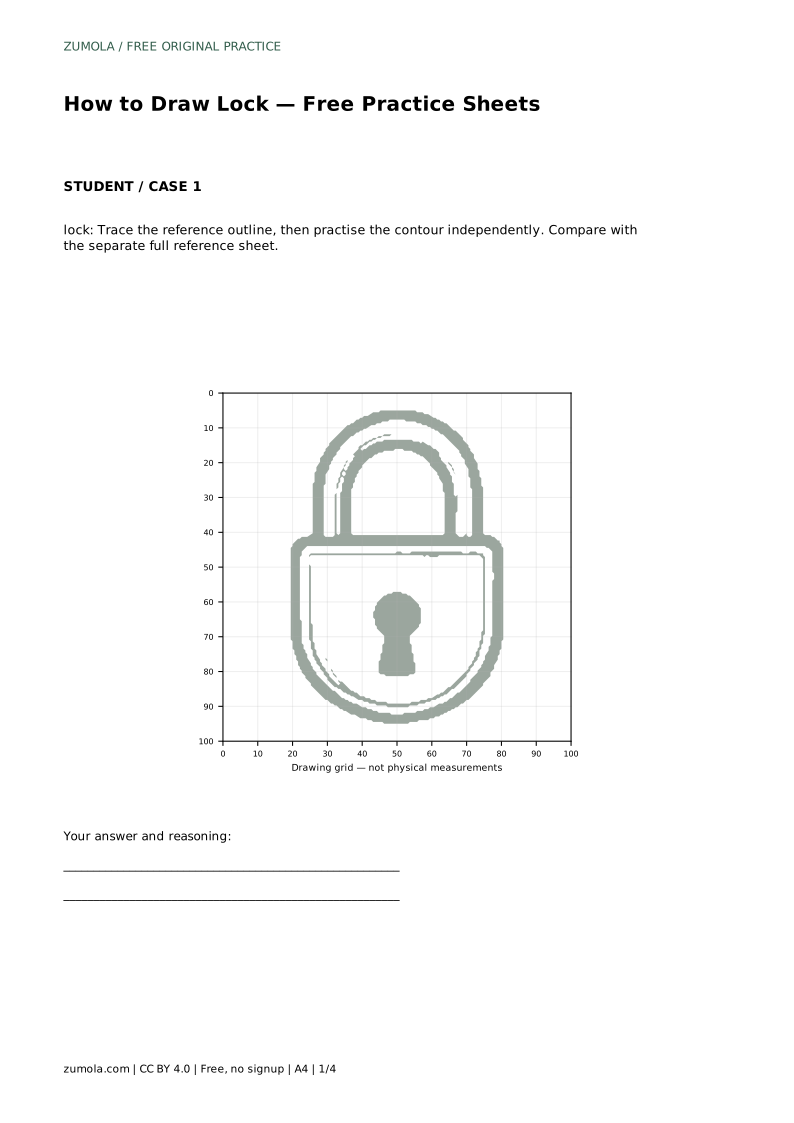
The tracing sheet asks you to follow the reference outline first, then draw the contour independently. Tracing helps you feel the order of the shapes; the independent attempt shows whether you can place them without guidance. Compare both attempts with the separate full reference sheet rather than with your traced line.
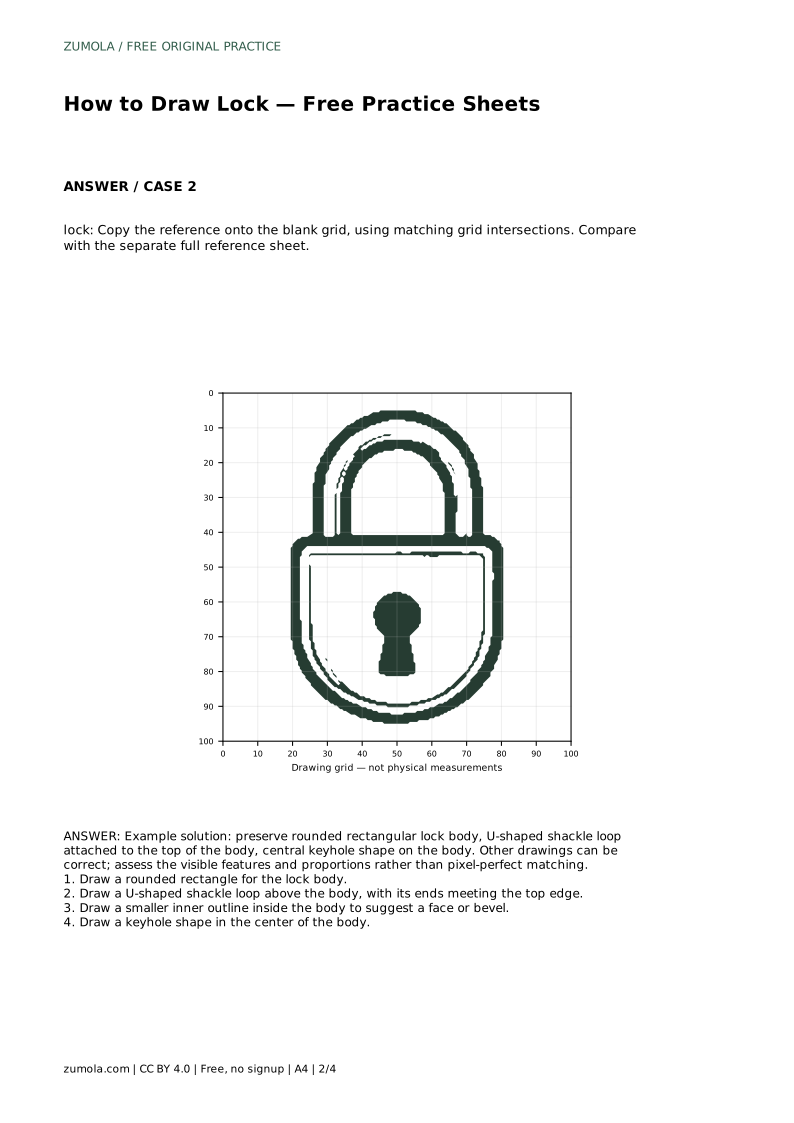
The grid sheet asks you to copy the reference onto a blank grid using matching grid intersections. Use the grid to judge where the shackle ends meet the body and where the keyhole sits relative to the body's center. If a feature lands several squares away from its reference position, adjust it before adding detail.
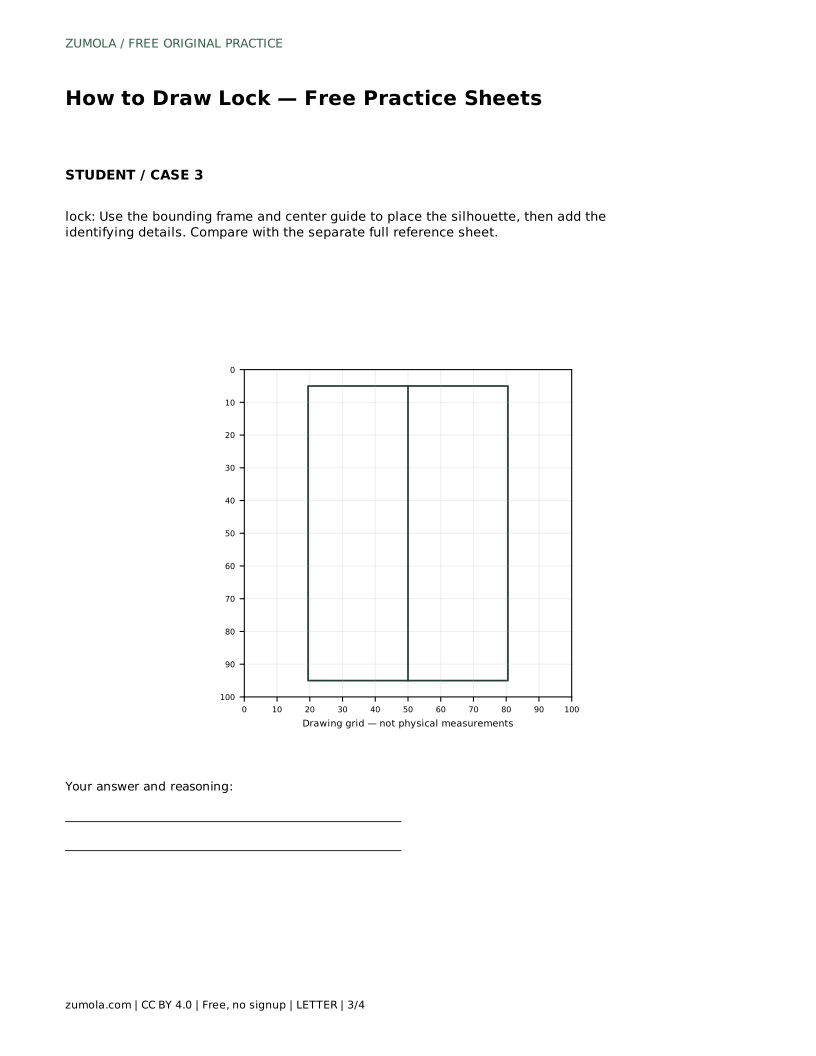
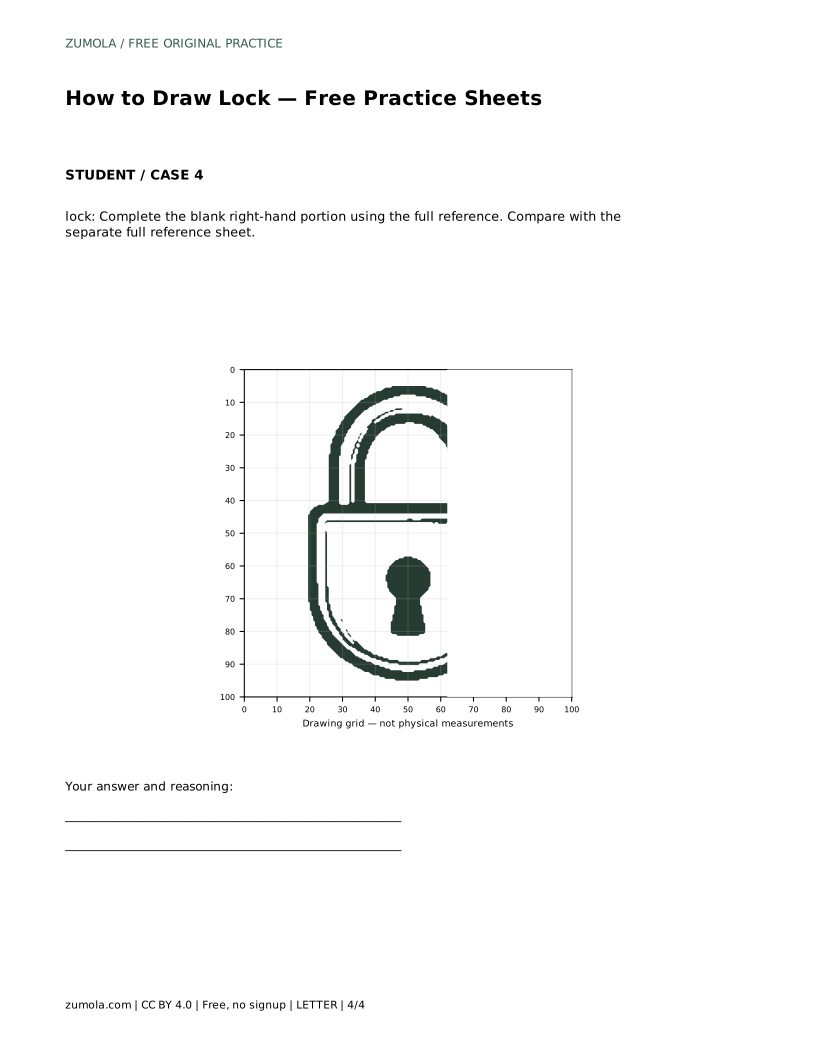
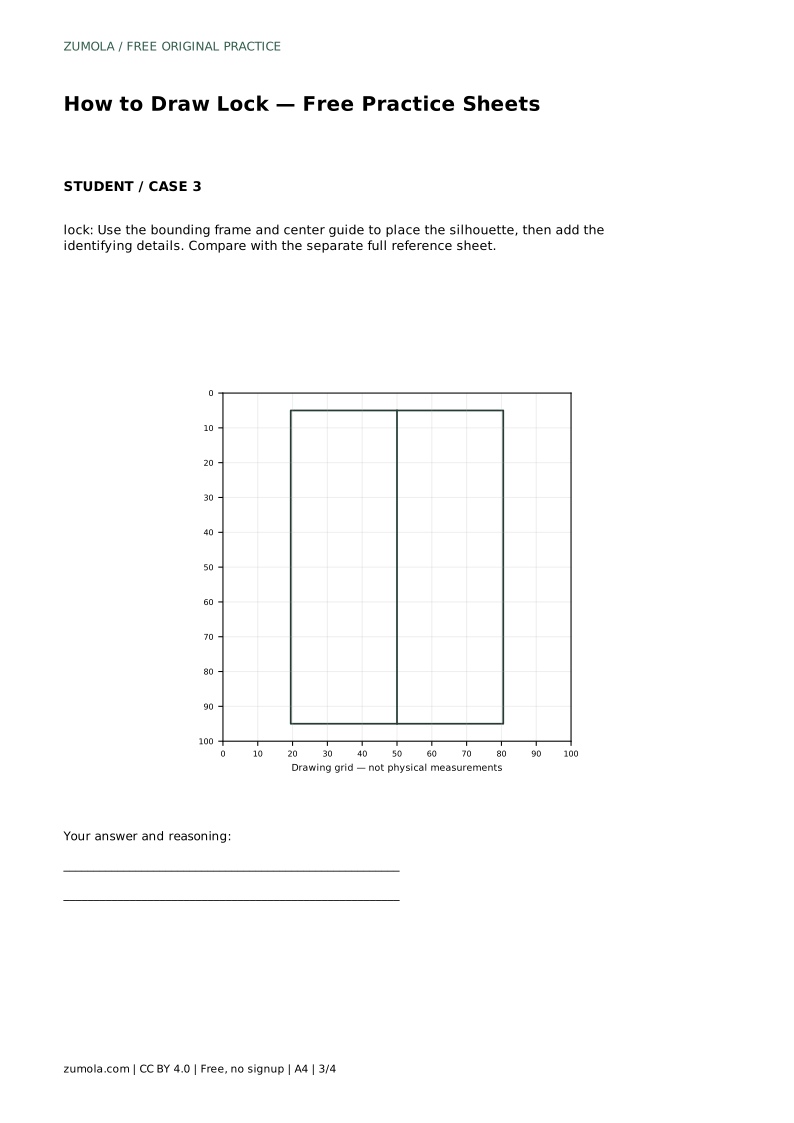
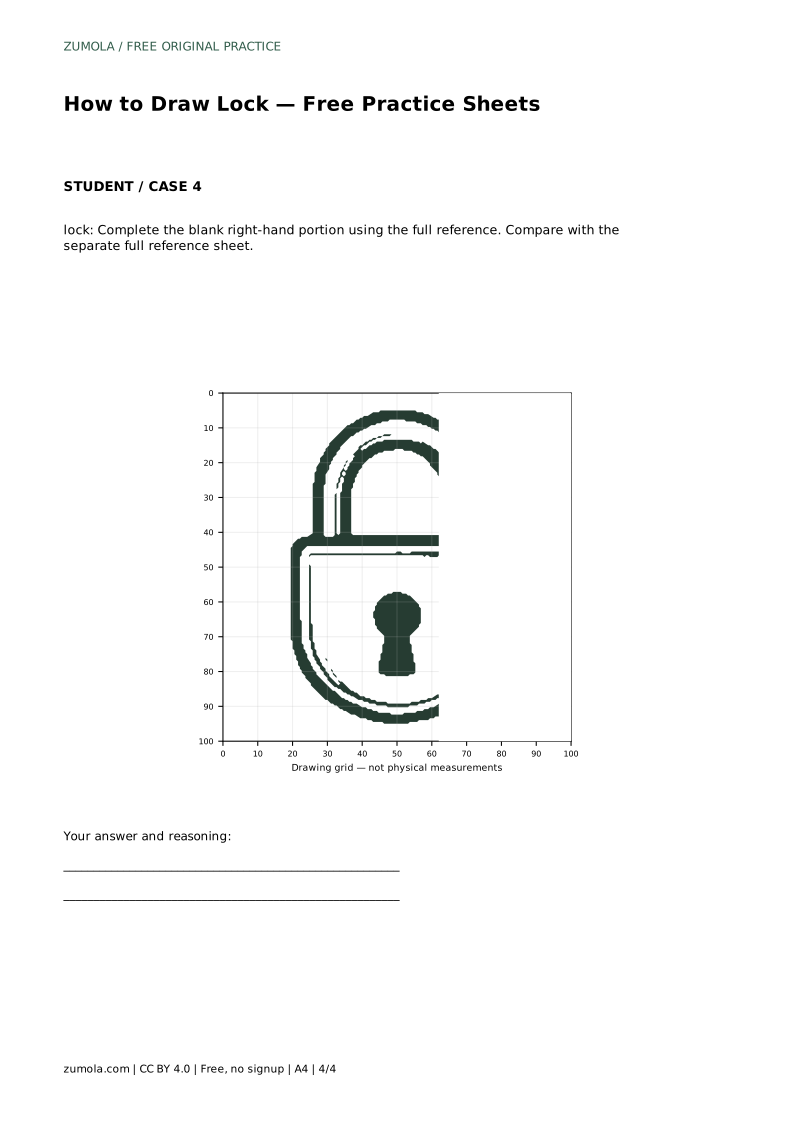
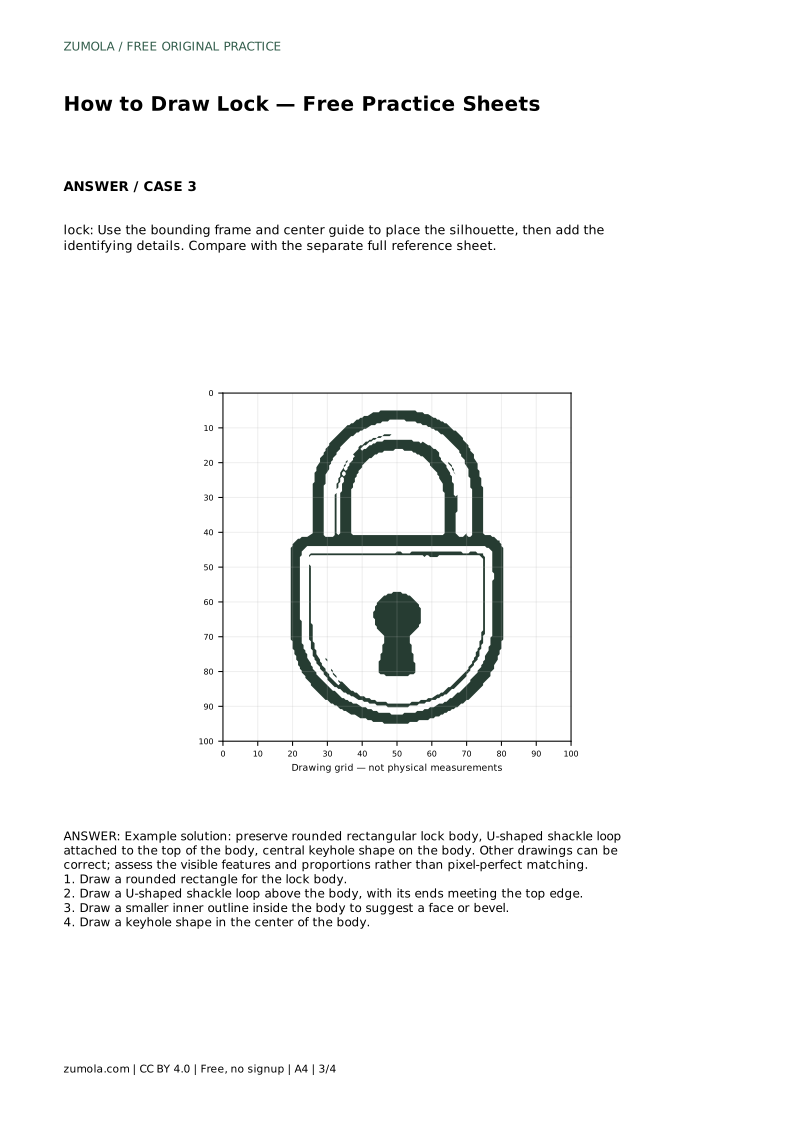
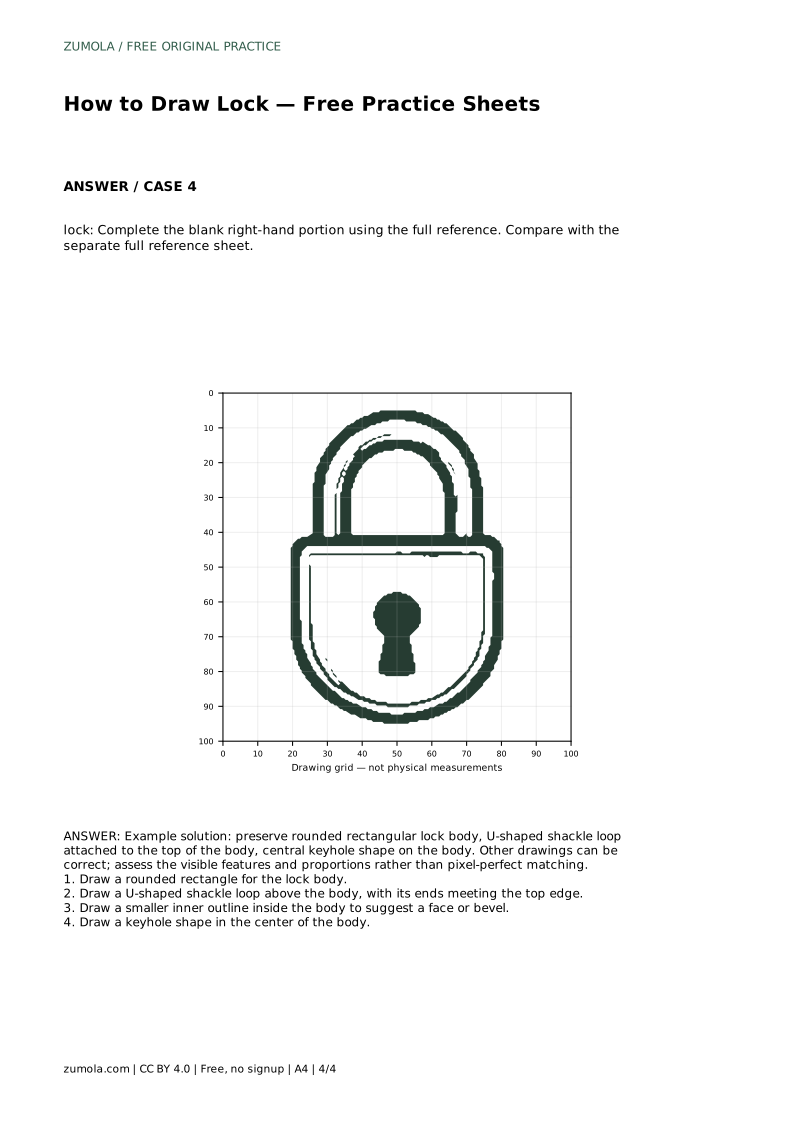
The bounding frame and center guide sheet asks you to place the silhouette first, then add the identifying details. The frame sets the outer limits of the drawing, and the center guide helps you keep the shackle and keyhole aligned. The partial sheet asks you to complete the blank right-hand portion using the full reference, which tests whether you can continue shapes accurately across the page.
Compare the width of the shackle with the width of the body. On most padlocks the shackle is noticeably narrower, and its ends sit inside the body's top edge rather than at the outer corners. Check that the keyhole is centered horizontally and sits roughly in the middle of the body's height.
Look at the inner outline. It should not touch the outer edge, and the gap should look consistent around the body. If the inner line drifts toward one side, redraw it before continuing. Small placement errors are easier to fix while the drawing is still made of simple shapes.
Remember that a drawing can be correct without matching the reference exactly. Assess whether the rounded body, the attached U-shaped shackle, and the central keyhole are all visible and in sensible proportion. Different line weights, shading, and keyhole styles are valid choices.
If the shackle looks too wide, narrow the loop while keeping its ends on the top edge. If the keyhole looks off-center, measure from the left and right edges of the body rather than from the inner outline. If the body looks too sharp, redraw the corners with a smoother curve.
A worked example: draw a rounded rectangle for the lock body, add a U-shaped shackle loop above it with both ends meeting the top edge, draw a smaller inner outline inside the body, and place a keyhole shape in the center. Preserve the rounded rectangular body, the attached U-shaped shackle, and the central keyhole. Other drawings can be correct; assess the visible features and proportions rather than pixel-perfect matching.
lock: Trace the reference outline, then practise the contour independently. Compare with the separate full reference sheet.
Example solution: preserve rounded rectangular lock body, U-shaped shackle loop attached to the top of the body, central keyhole shape on the body. Other drawings can be correct; assess the visible features and proportions rather than pixel-perfect matching. Draw a rounded rectangle for the lock body. Draw a U-shaped shackle loop above the body, with its ends meeting the top edge. Draw a smaller inner outline inside the body to suggest a face or bevel. Draw a keyhole shape in the center of the body.
No. Check that the rounded body, the attached U-shaped shackle, and the central keyhole are visible and in sensible proportion. Other drawings can be correct.
Draw the body first, then the shackle attached to its top edge, then the inner outline, and finally the keyhole in the center.
Compare it with the body. The shackle should be narrower than the body and centered over it, with both ends meeting the top edge.
All drawing practice · Free coordinate paper
Original resources · CC BY 4.0 · Free for personal and classroom use with attribution.