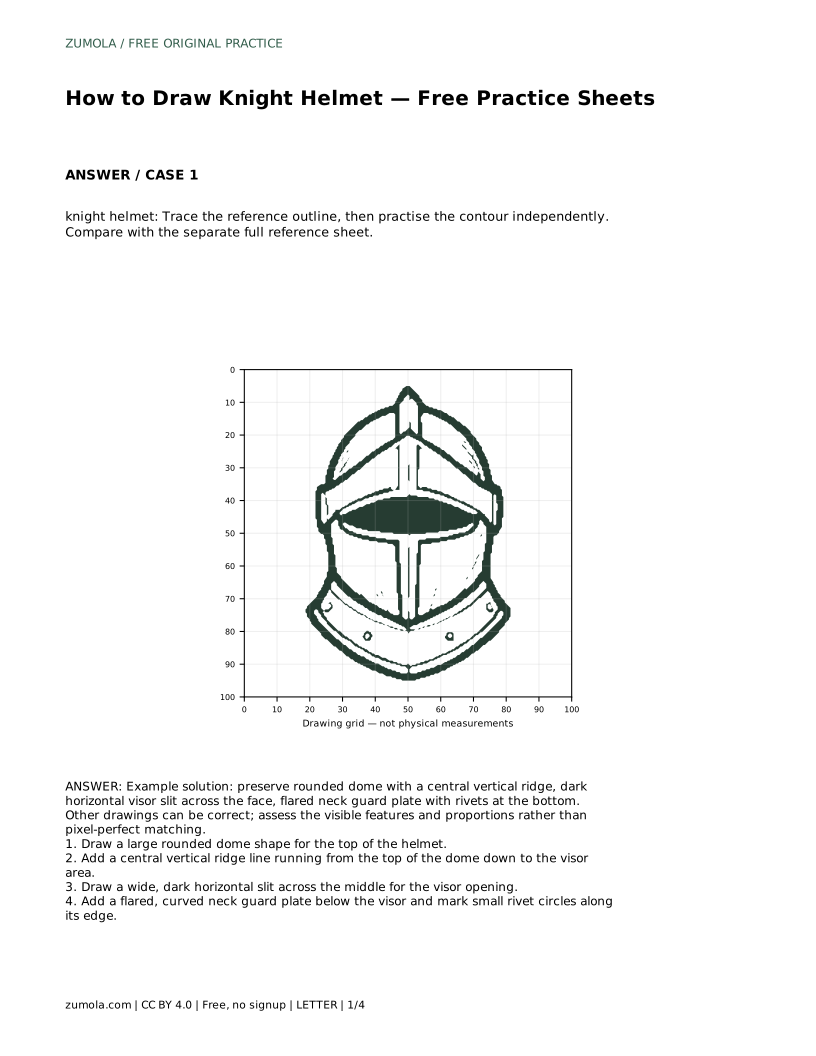
Reference diagrams
LETTER · Download PDF
A4 · Download PDF
Free original resources
Learn to draw a knight helmet with a rounded dome, central ridge, visor slit and riveted neck guard. Trace, grid, frame and complete-the-half practice included.
Four original cases, with reference diagrams, practice sheets and worked answers. Everything is free; no signup required.
LETTER · Download PDF
A4 · Download PDF
LETTER · Download PDF
A4 · Download PDF
LETTER · Download PDF
A4 · Download PDF
Use A4 or US Letter to match your printer. Use the stated values and conditions to solve each exercise; diagrams are not physical measuring rulers.
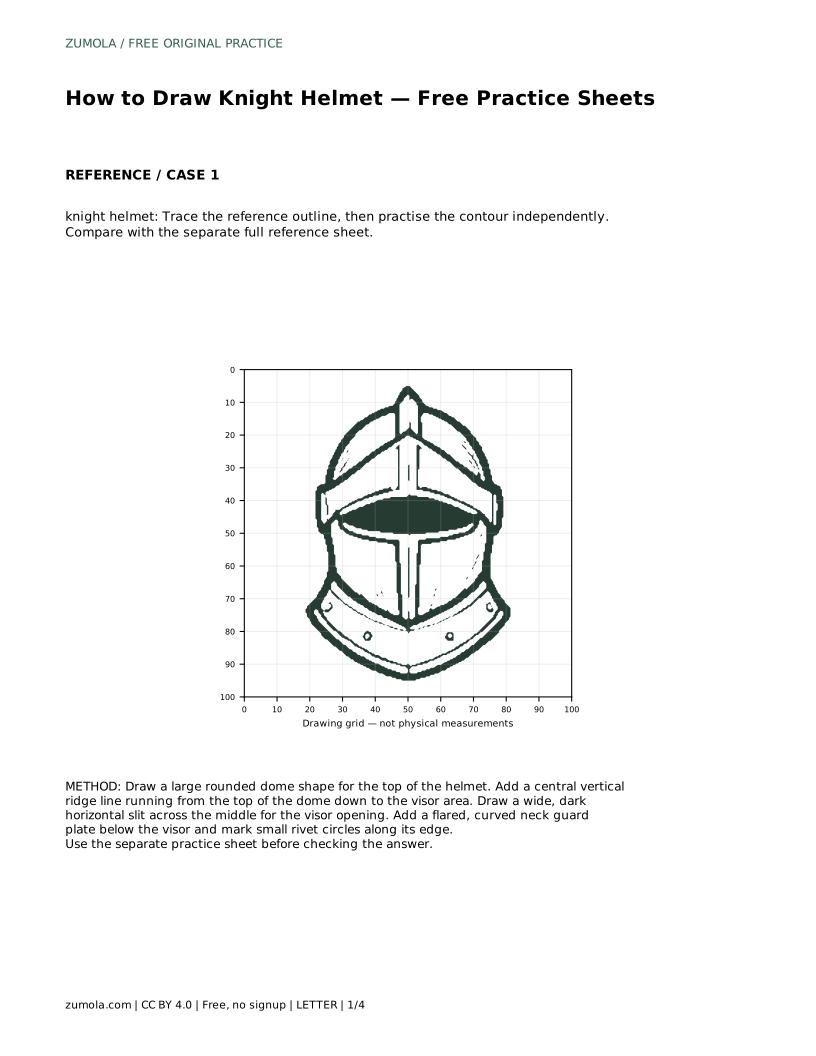
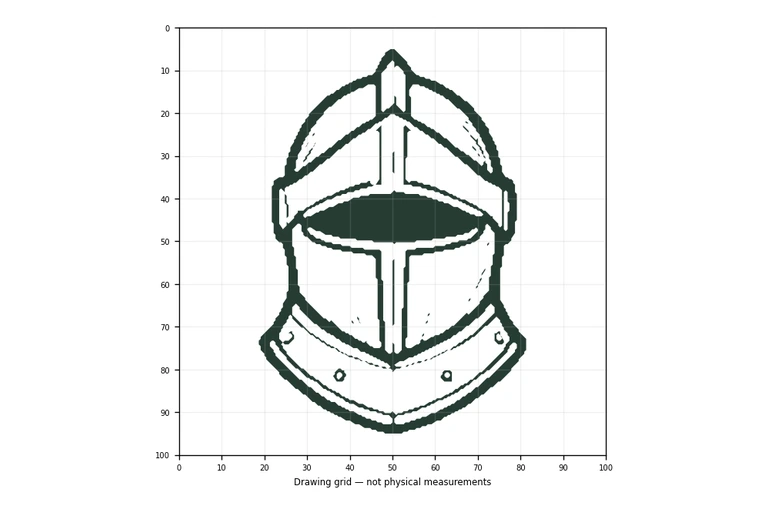
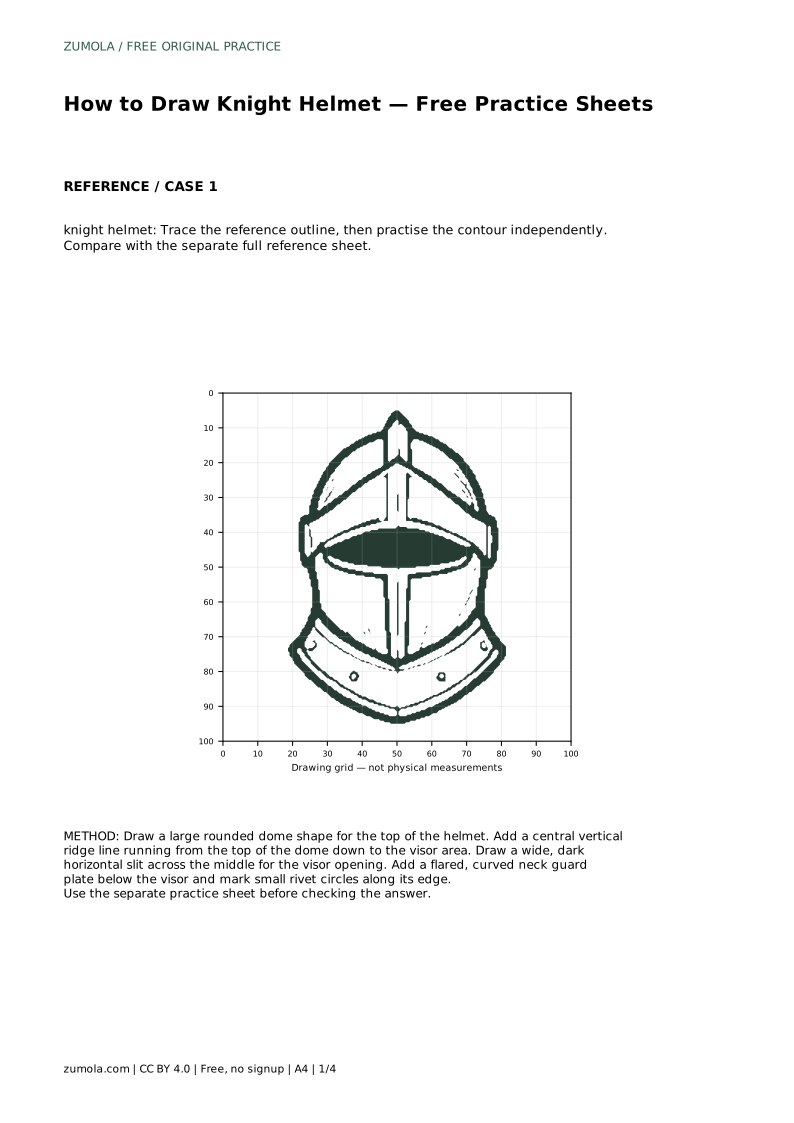
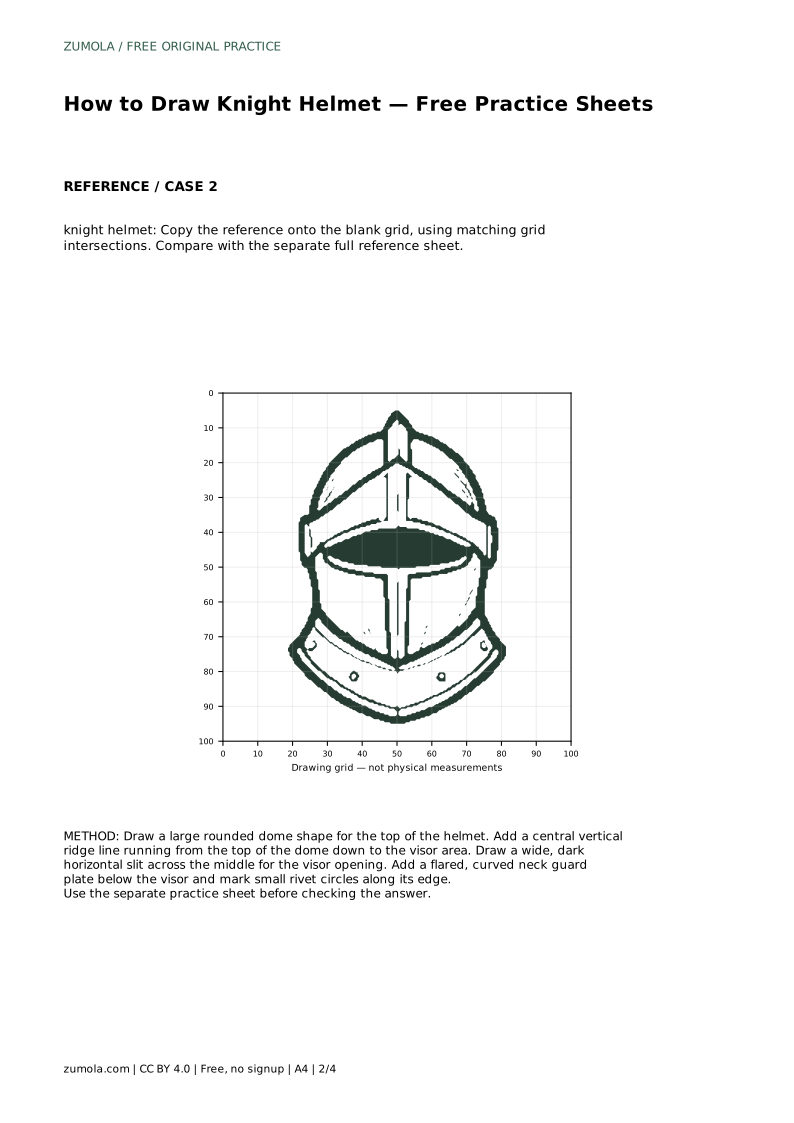
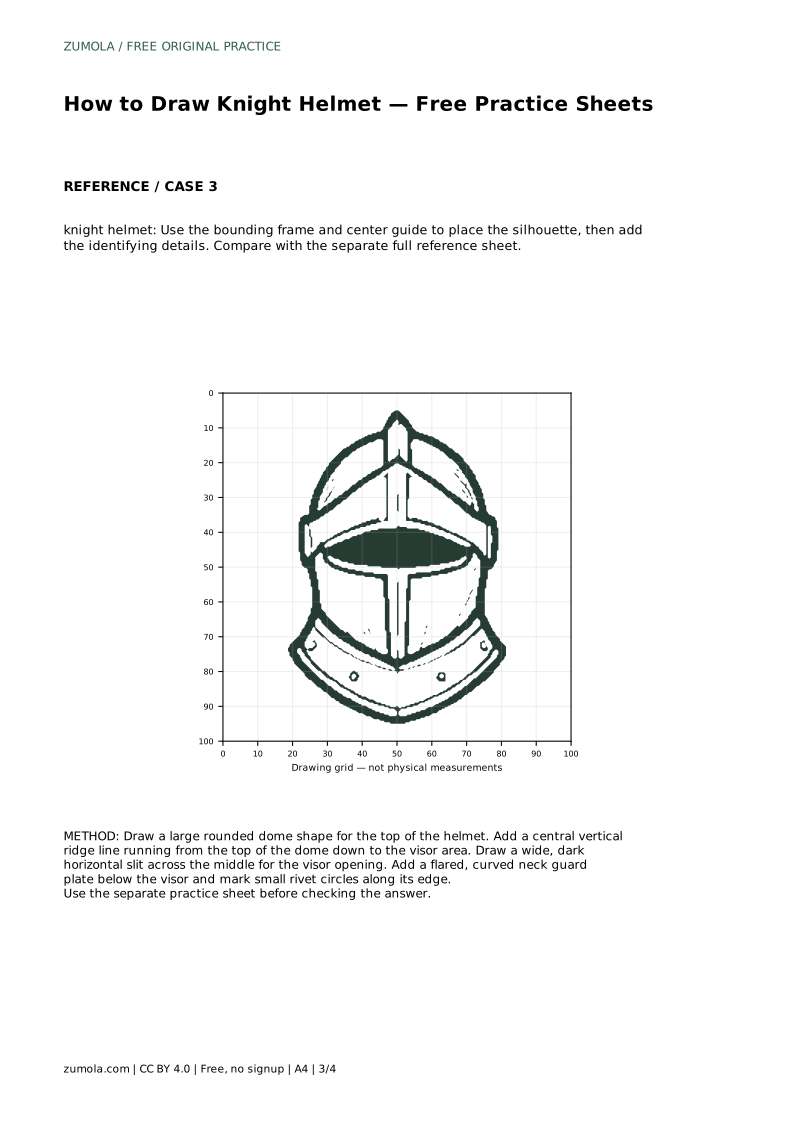
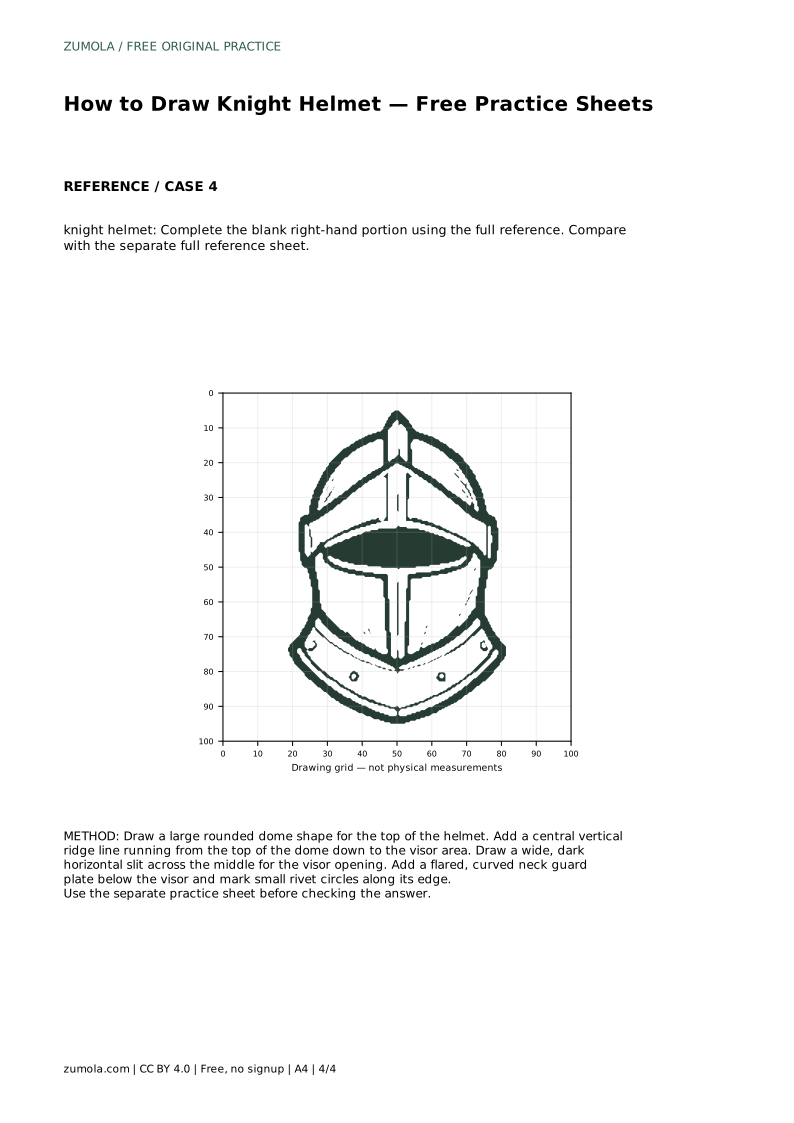
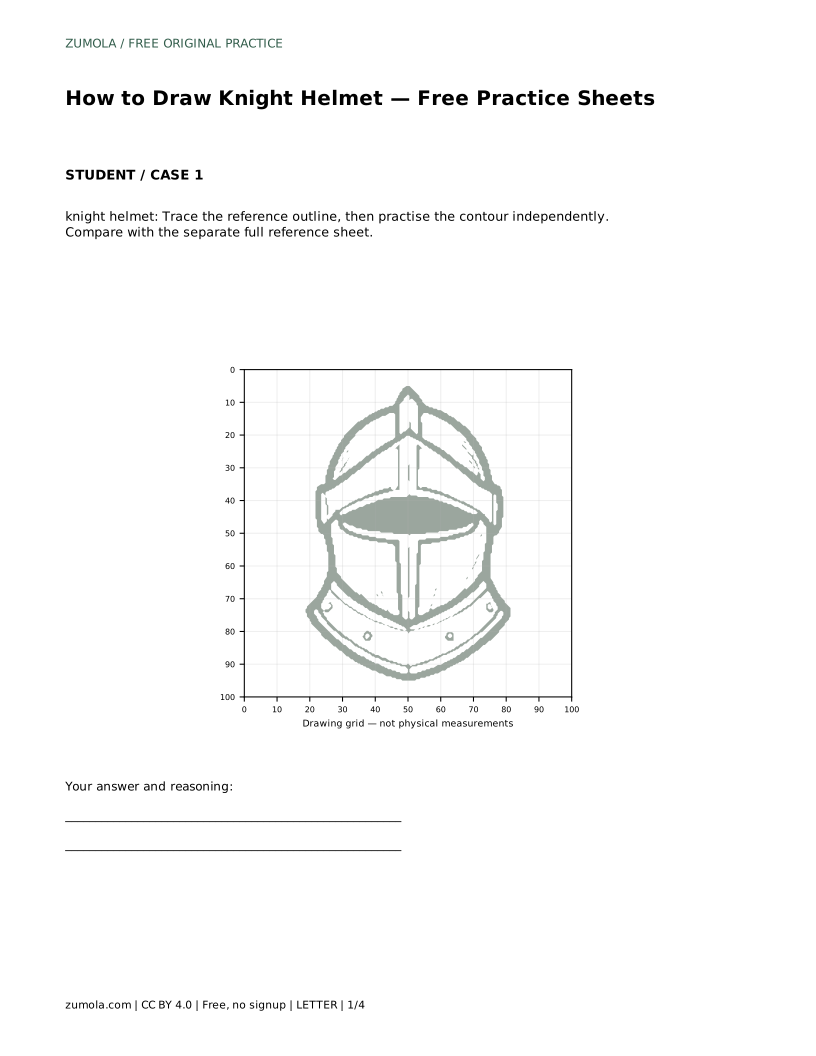
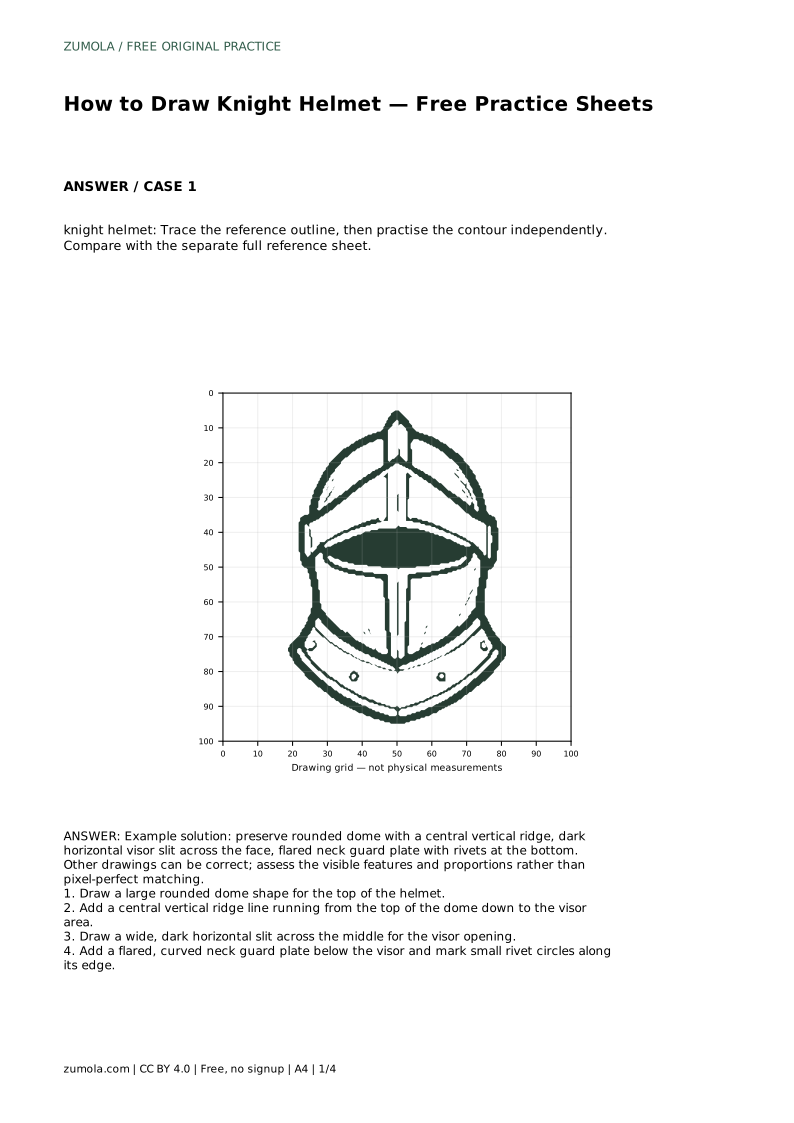
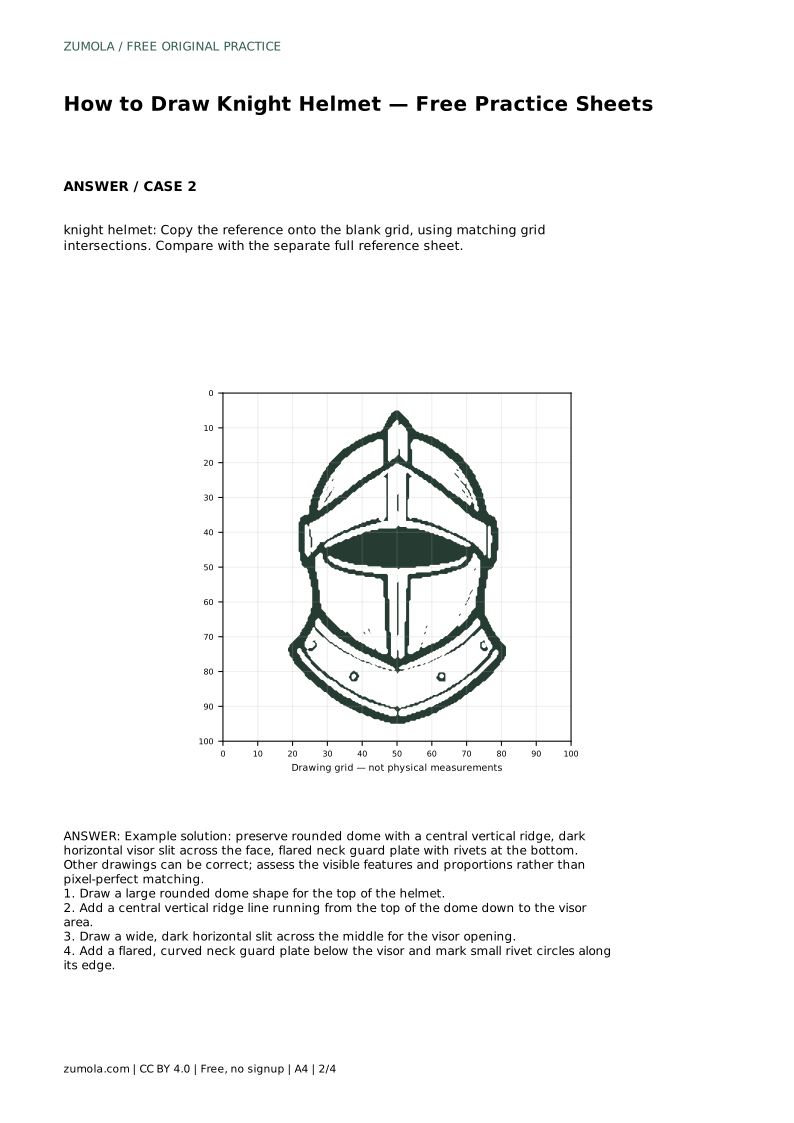
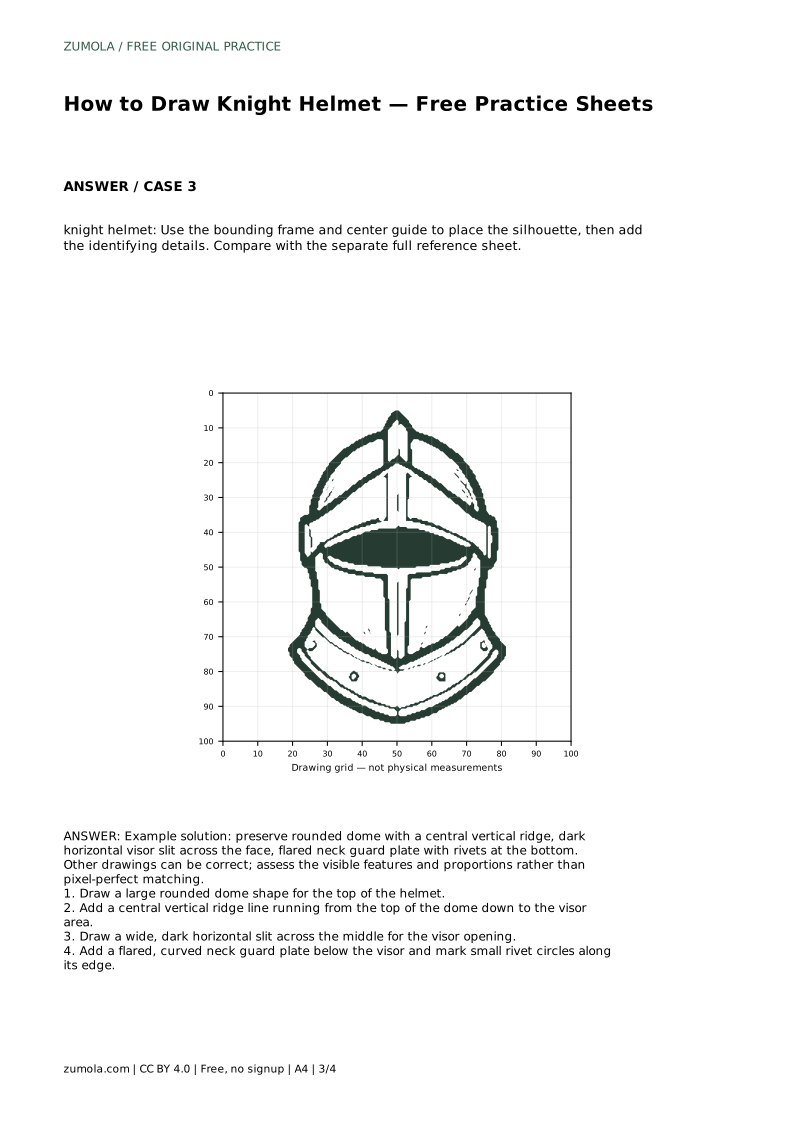
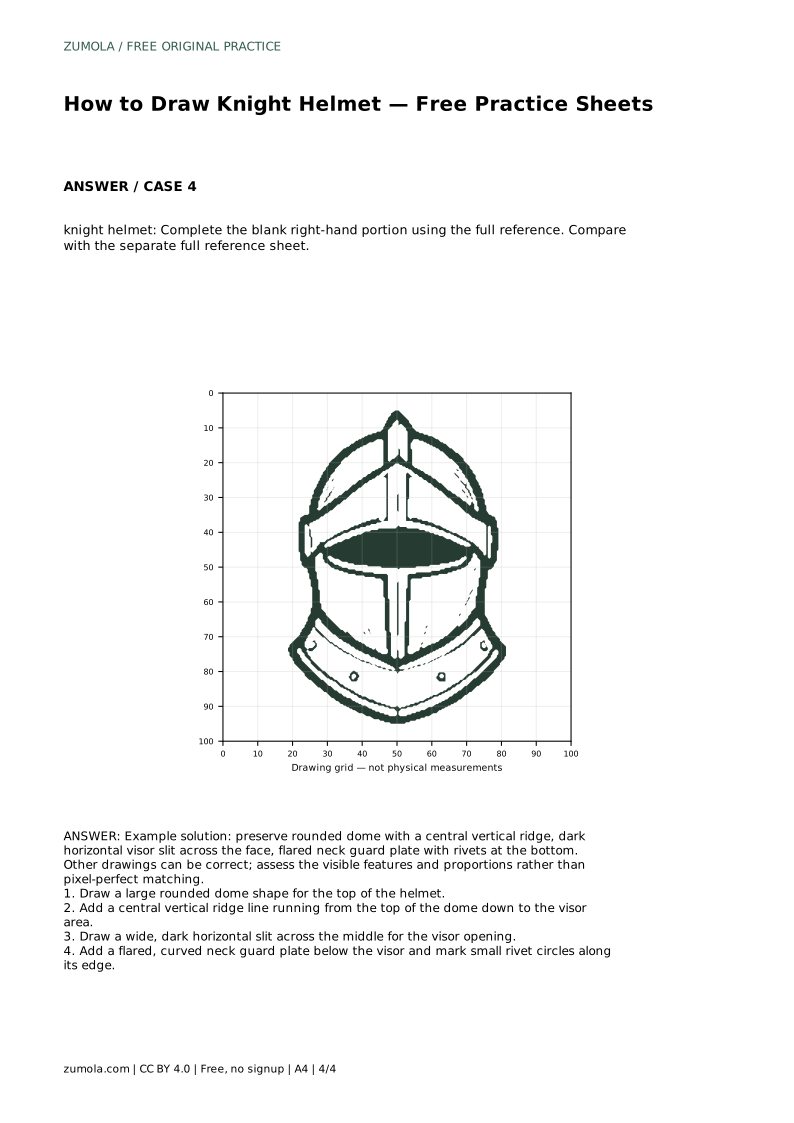
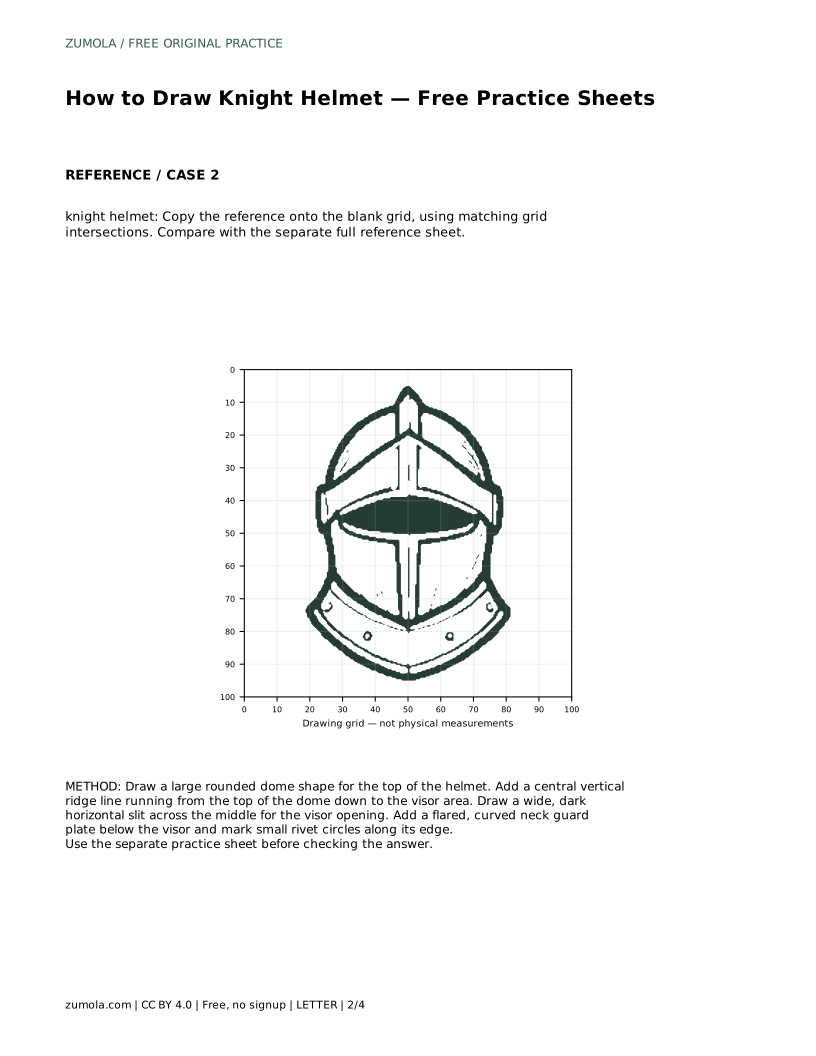
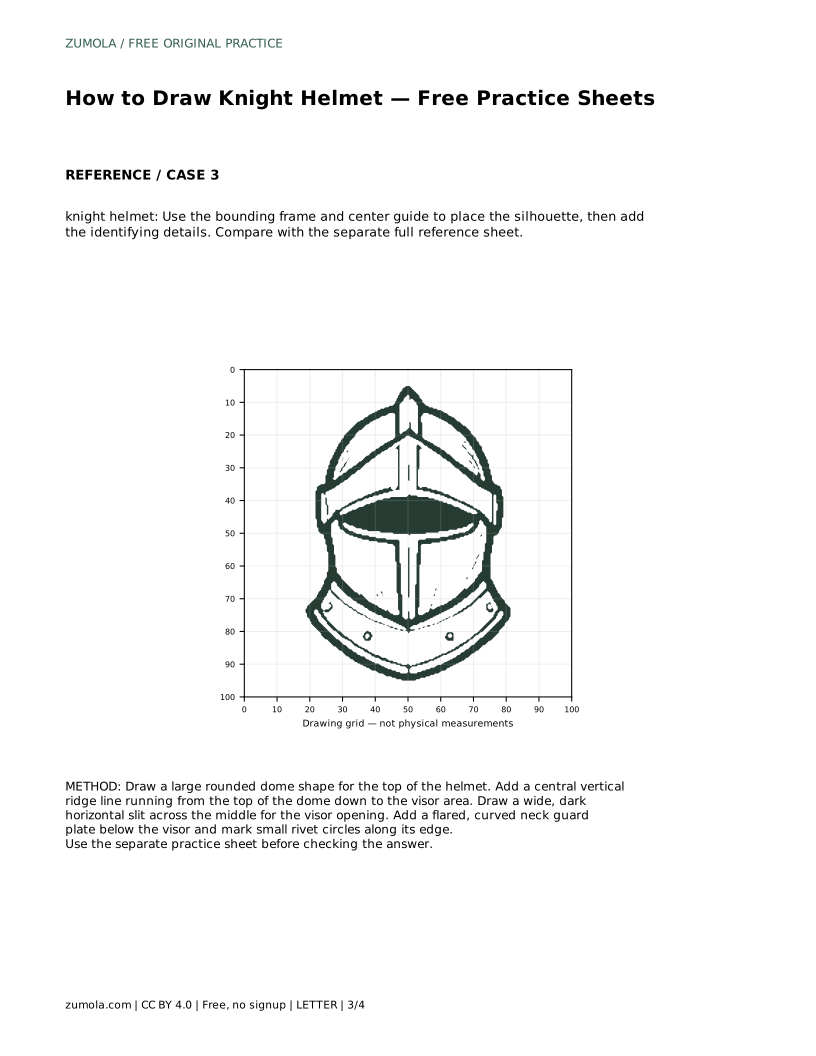
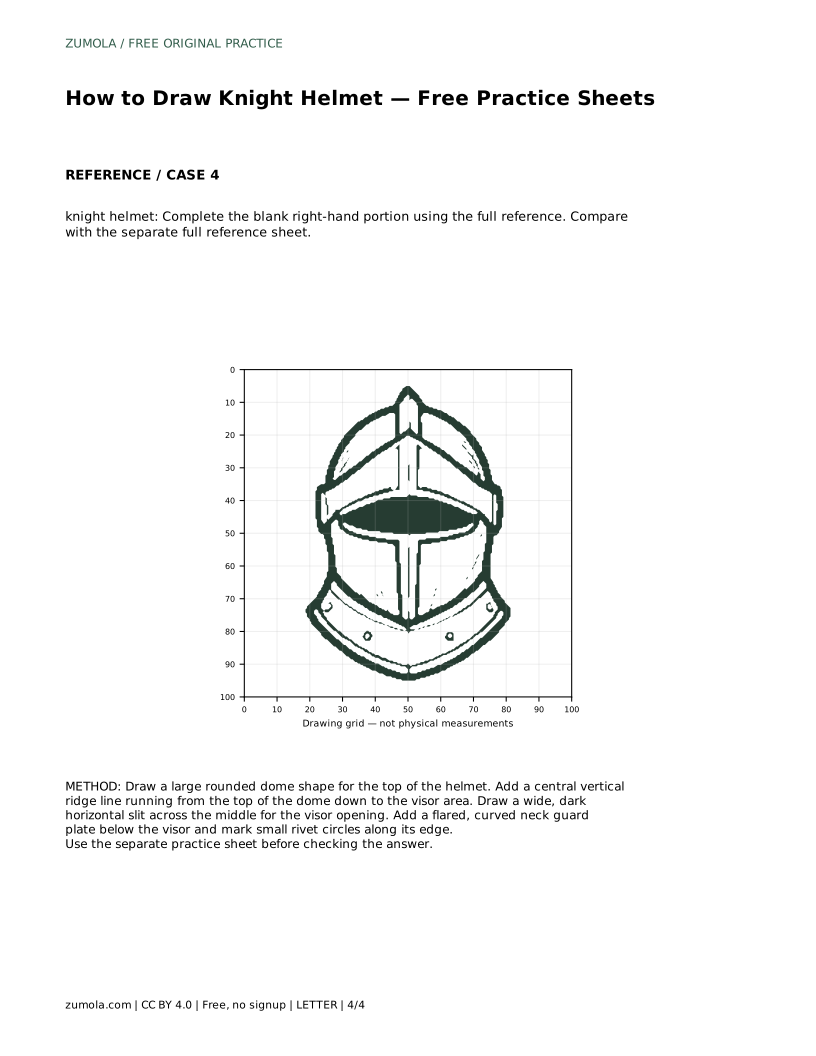
A knight helmet is a strong drawing subject because its main features are easy to name and check: a rounded dome, a central vertical ridge, a dark horizontal visor slit and a flared neck guard with rivets. This page explains how to build those features in order, then how to use the practice sheet formats to improve control. Each format asks for the same visible features, but the support differs, so choose the one that matches your current confidence.
Start with the largest shape and work downward. The dome should be broad and rounded, not pointed or egg-shaped. Keep its left and right sides roughly balanced around an imaginary vertical center line. That center line matters because the ridge runs along it, and the visor slit sits below it.
Next, place the visor slit. It is a wide, dark horizontal opening across the middle of the face area, not a thin line and not a vertical gap. Its ends should stop short of the helmet's outer edges. Below the slit, the neck guard flares outward and curves, giving the helmet a wider base than the dome. Small rivet circles along that lower edge finish the design.
Draw lightly at first. Light lines are easier to adjust when a proportion looks wrong, and you can darken the final contour once the placement is settled.
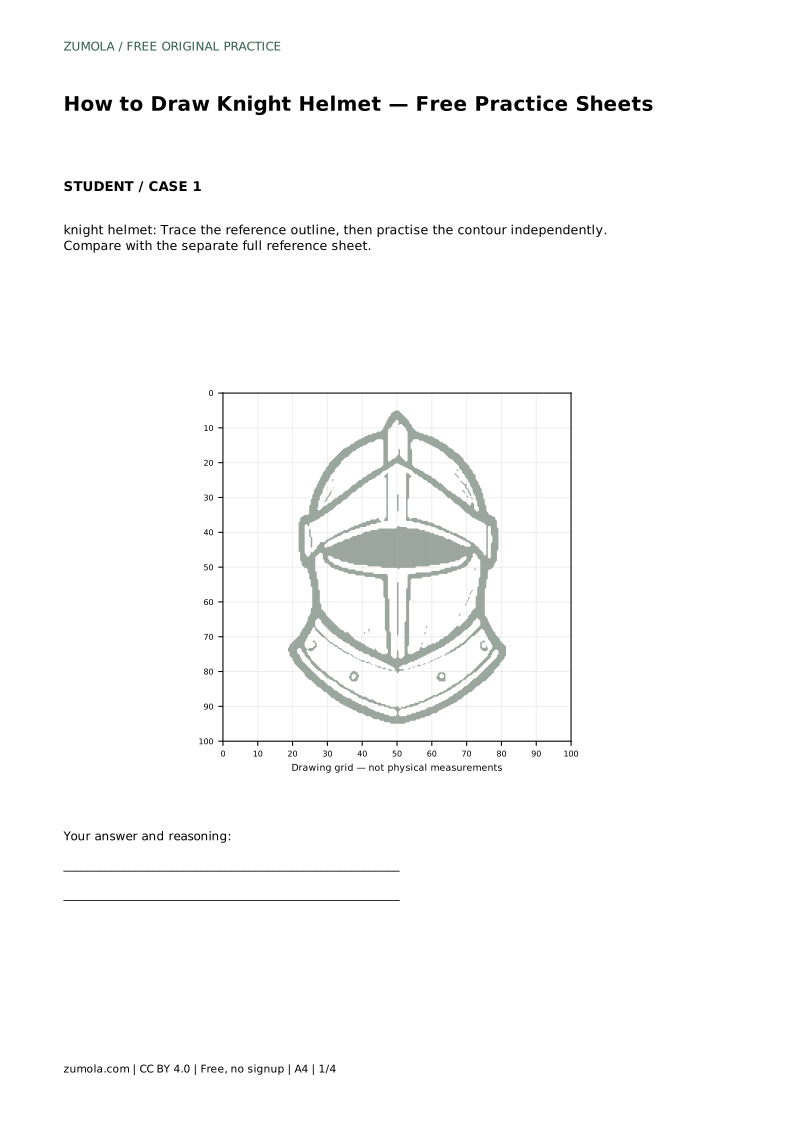
The trace format asks you to follow the reference outline first, then draw the contour again without tracing. Tracing teaches the path of the line; the independent attempt shows whether you can reproduce that path from memory and observation.
When you compare your independent drawing with the separate full reference sheet, check features rather than exact pixels. Ask whether the dome is rounded, the ridge is central and vertical, the slit is wide and horizontal, and the neck guard flares with visible rivets. A drawing can differ in line weight or slight curvature and still be correct.
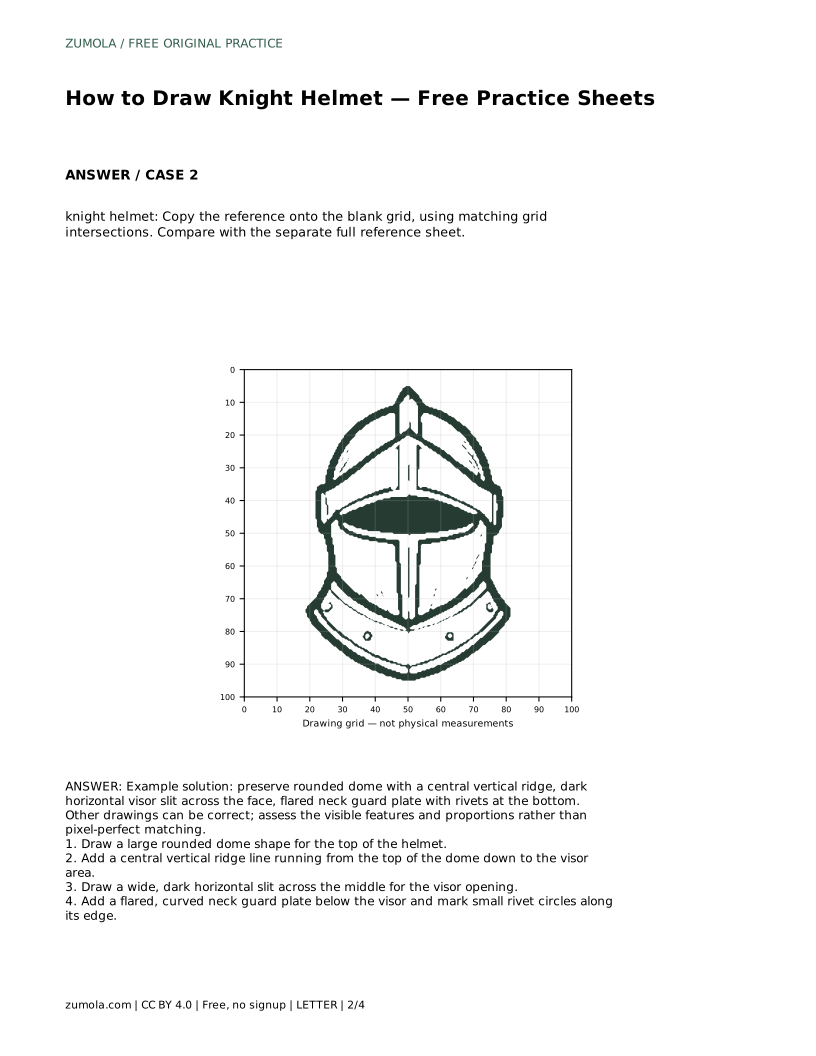
The grid method uses matching intersections. Copy each feature so it lands at the same relative position on the blank grid as on the reference. This is useful for proportion, but avoid copying square by square without noticing the whole shape.
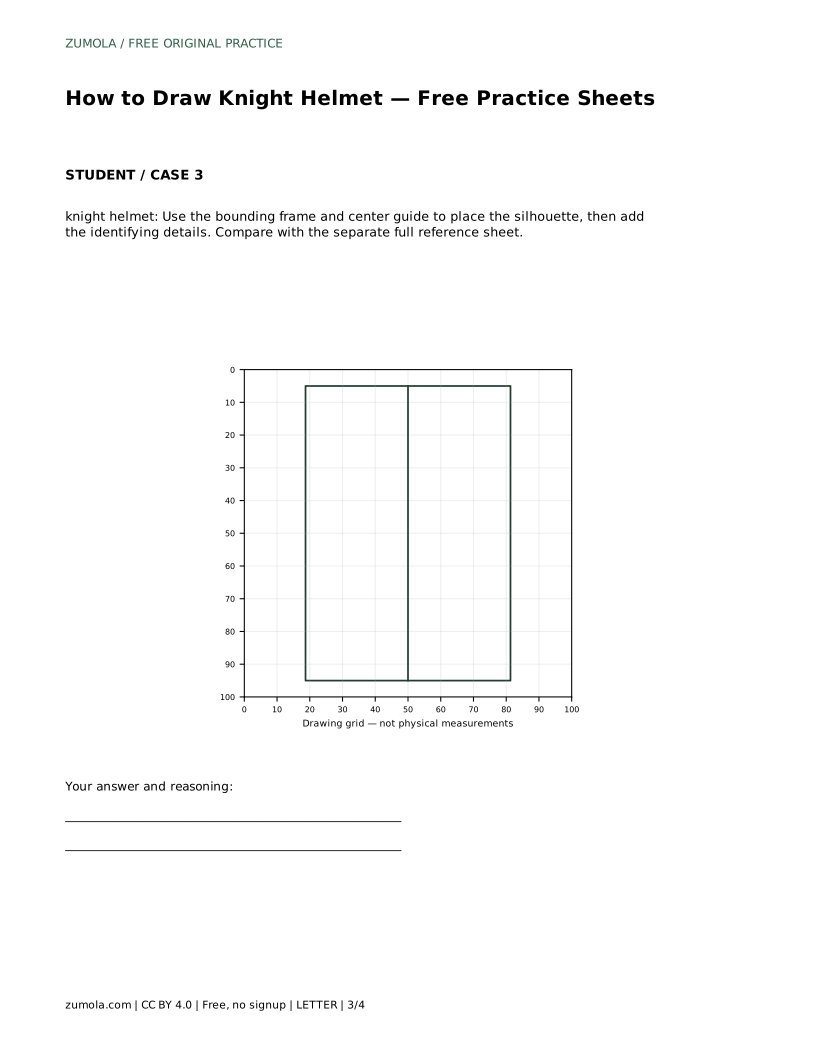
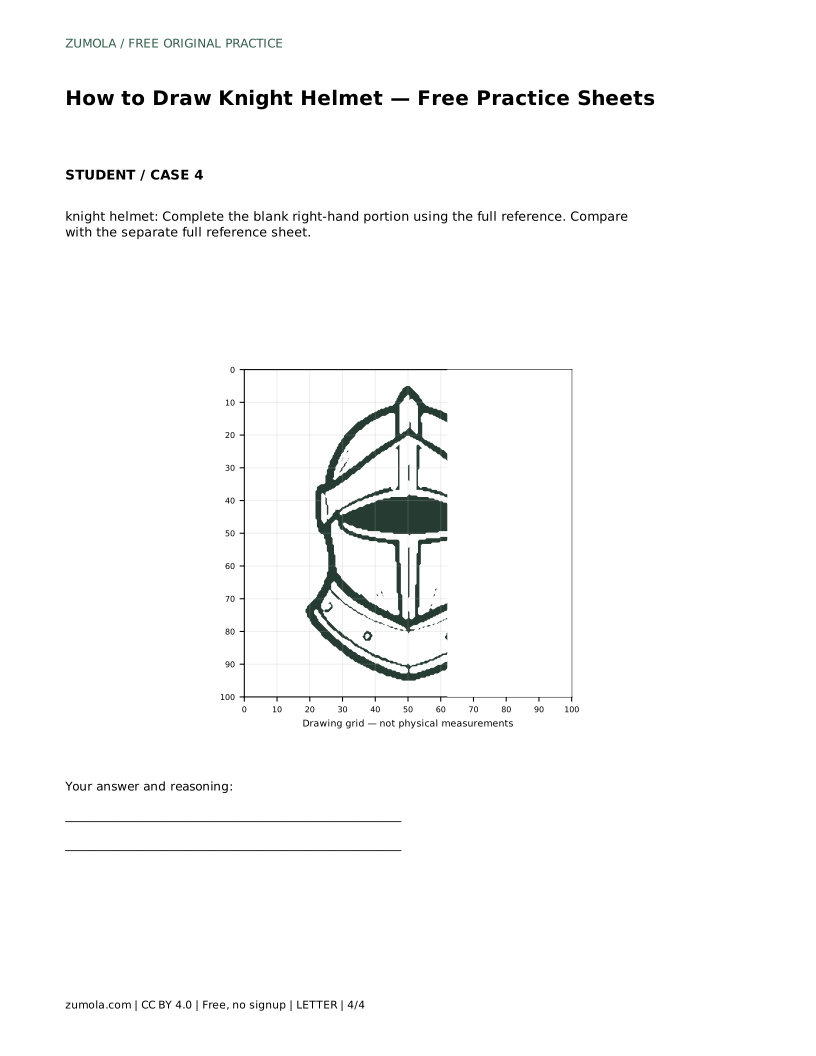
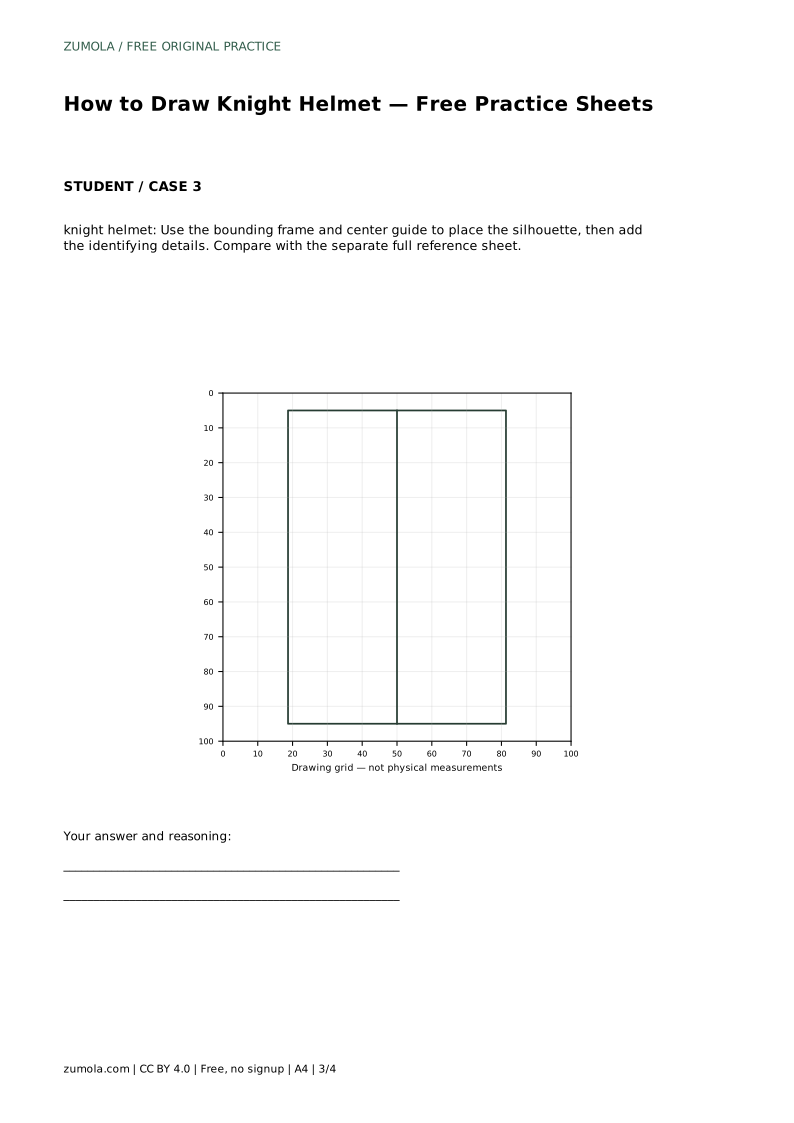
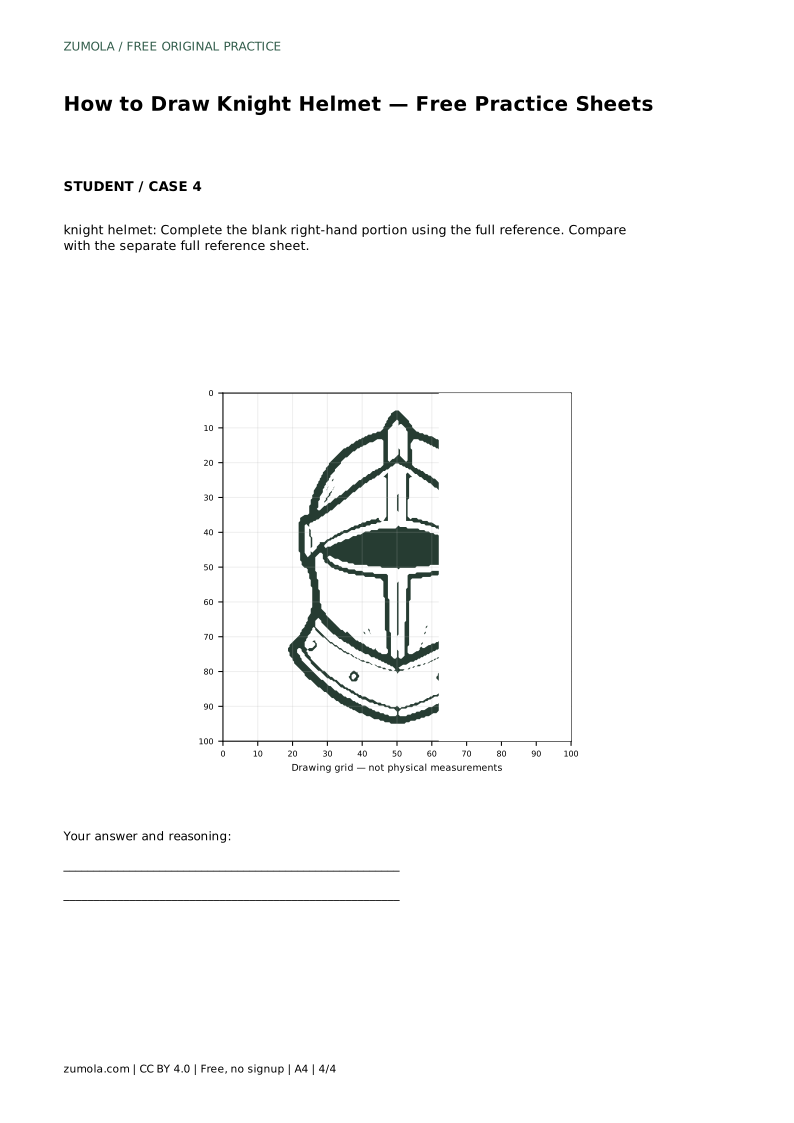
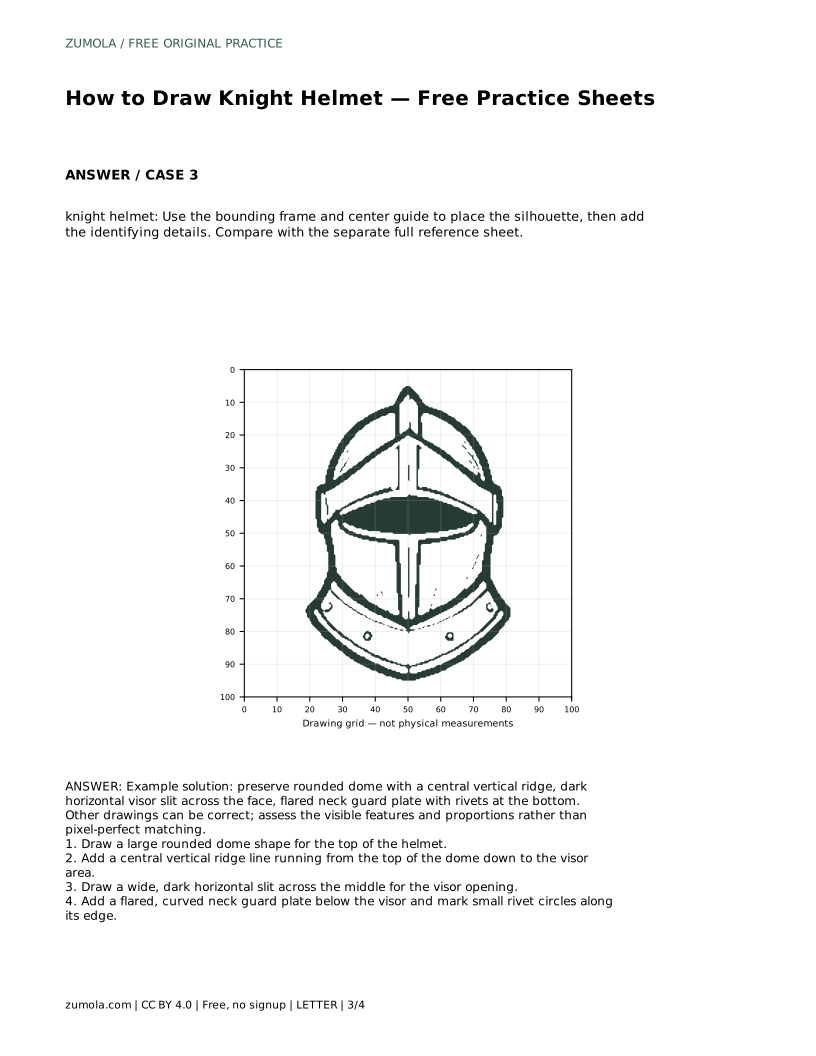
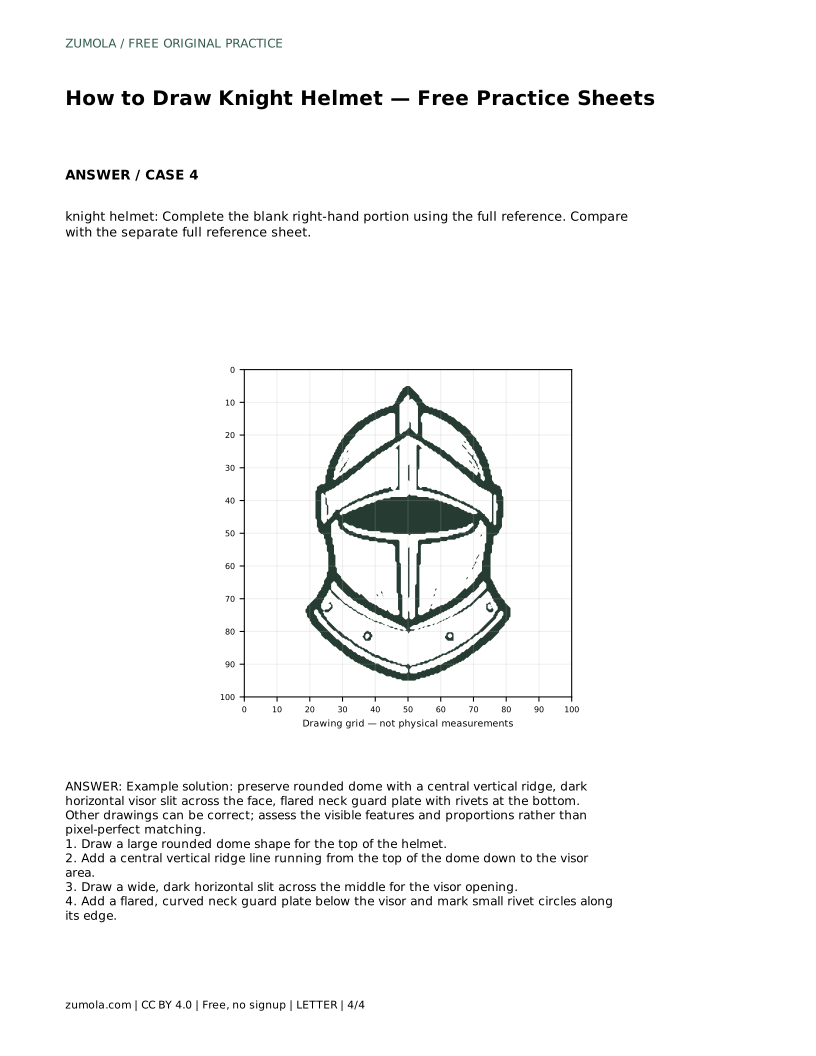
The bounding frame and center guide method asks you to place the silhouette inside the frame first, then add details. The center guide helps keep the ridge vertical and the dome balanced. The half-completion format gives you one side of the helmet and asks you to finish the blank portion using the full reference, which trains symmetry and careful observation.
Helmet drawings have many valid outcomes. Judge the visible features and their proportions, not whether your lines match the reference exactly. A slightly narrower dome or a softer neck guard curve can still read clearly as a knight helmet.
Use the rubric below as a checklist after each attempt. Circle the weakest feature and practise only that feature on scrap paper before redrawing the whole helmet.
knight helmet: Trace the reference outline, then practise the contour independently. Compare with the separate full reference sheet.
Example solution: preserve rounded dome with a central vertical ridge, dark horizontal visor slit across the face, flared neck guard plate with rivets at the bottom. Other drawings can be correct; assess the visible features and proportions rather than pixel-perfect matching. Draw a large rounded dome shape for the top of the helmet. Add a central vertical ridge line running from the top of the dome down to the visor area. Draw a wide, dark horizontal slit across the middle for the visor opening. Add a flared, curved neck guard plate below the visor and mark small rivet circles along its edge.
No. Check that the dome is rounded, the ridge is central, the slit is wide and horizontal, and the neck guard flares with rivets. Small differences in line weight or curvature are acceptable.
Start with tracing if you are new to the shape. Move to the grid or frame when you can place the main features without following an outline, and use the half-completion sheet to test symmetry.
Place it across the middle of the face area, below the dome and above the neck guard, with its ends stopping short of the helmet's outer edges.
All drawing practice · Free coordinate paper
Original resources · CC BY 4.0 · Free for personal and classroom use with attribution.