Reference diagrams
LETTER · Download PDF
A4 · Download PDF
Free original resources
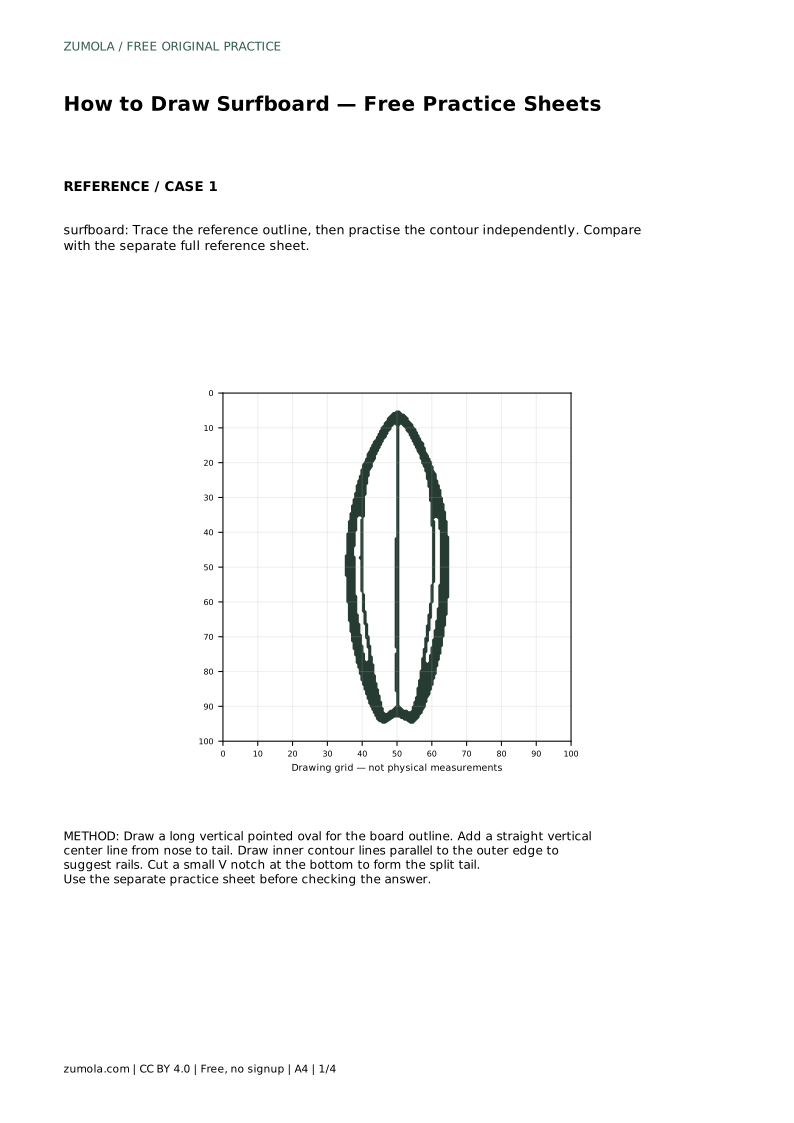
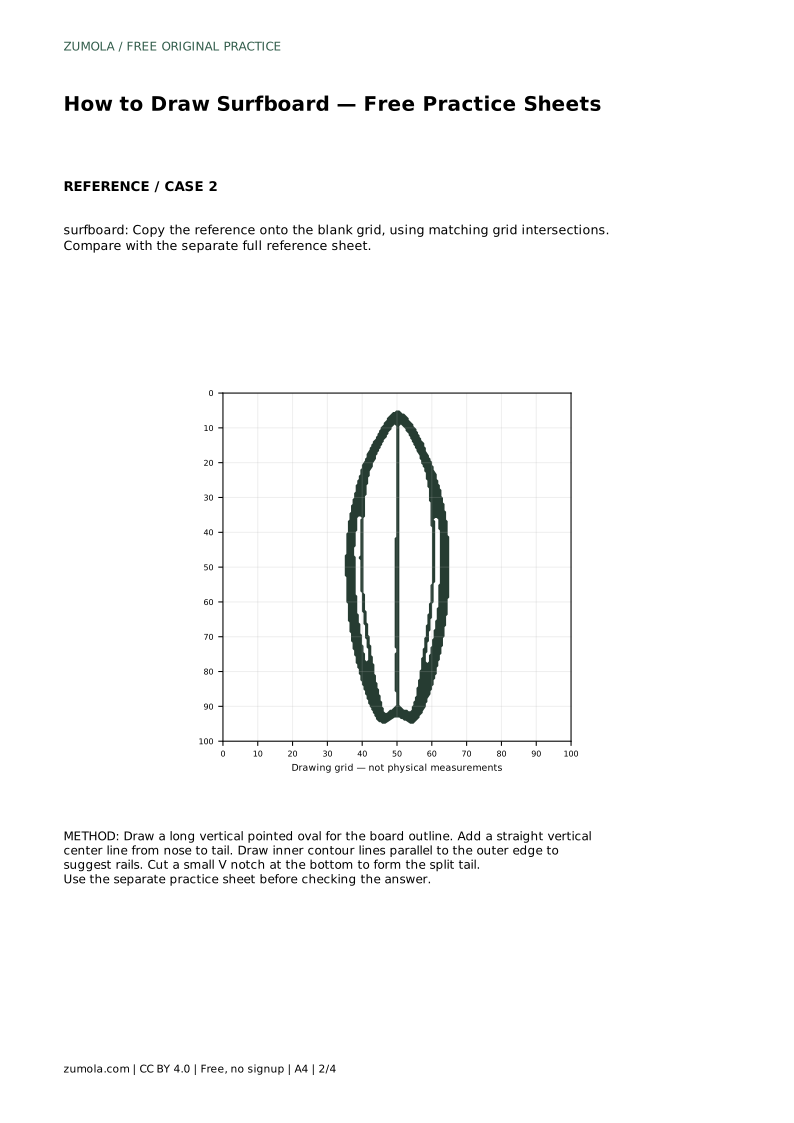
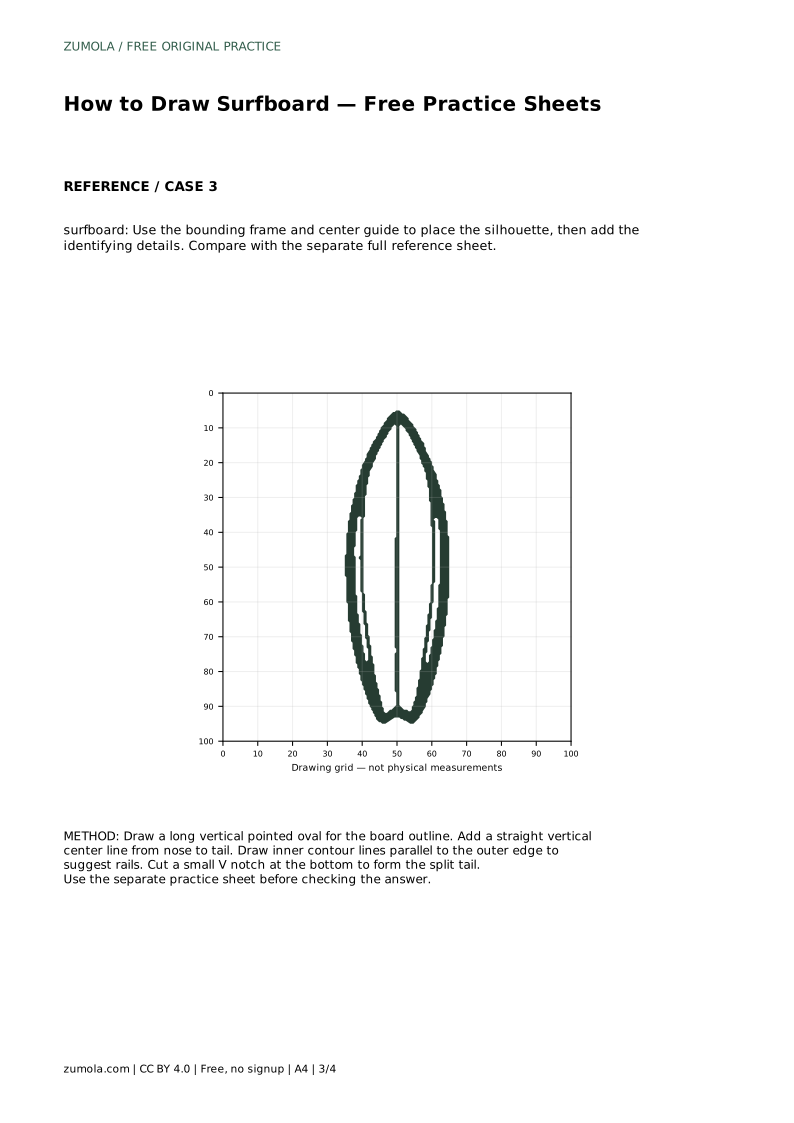
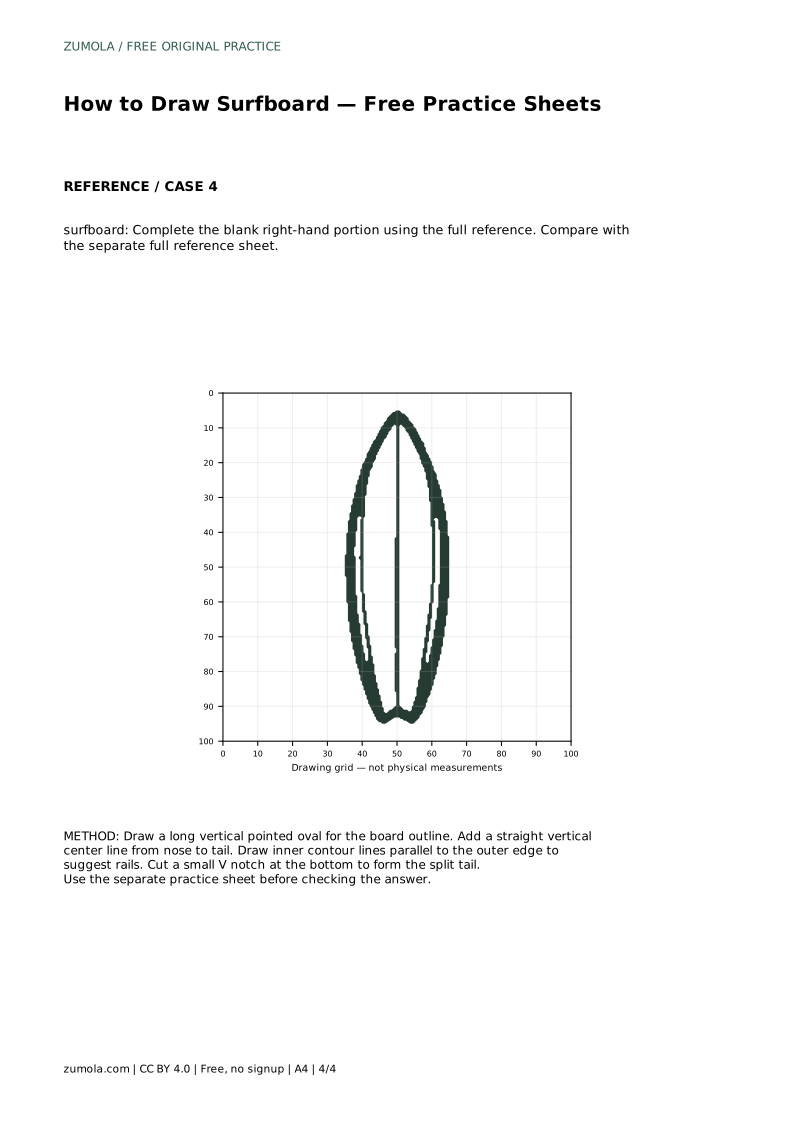
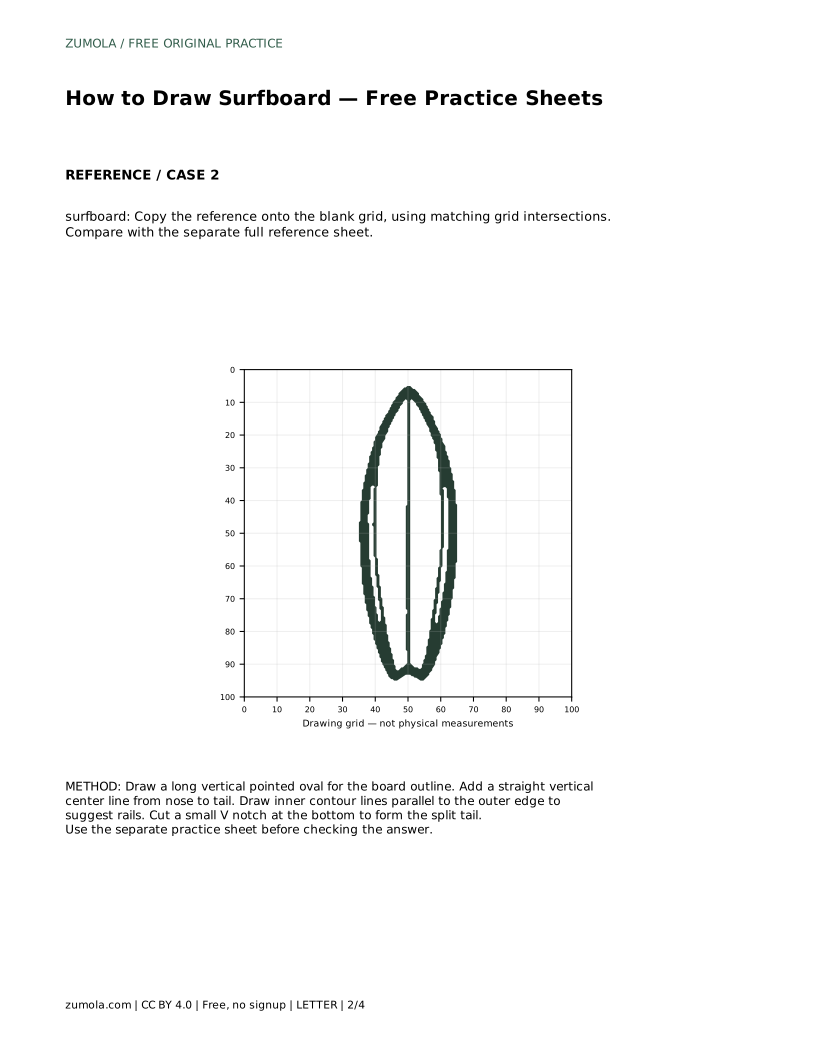
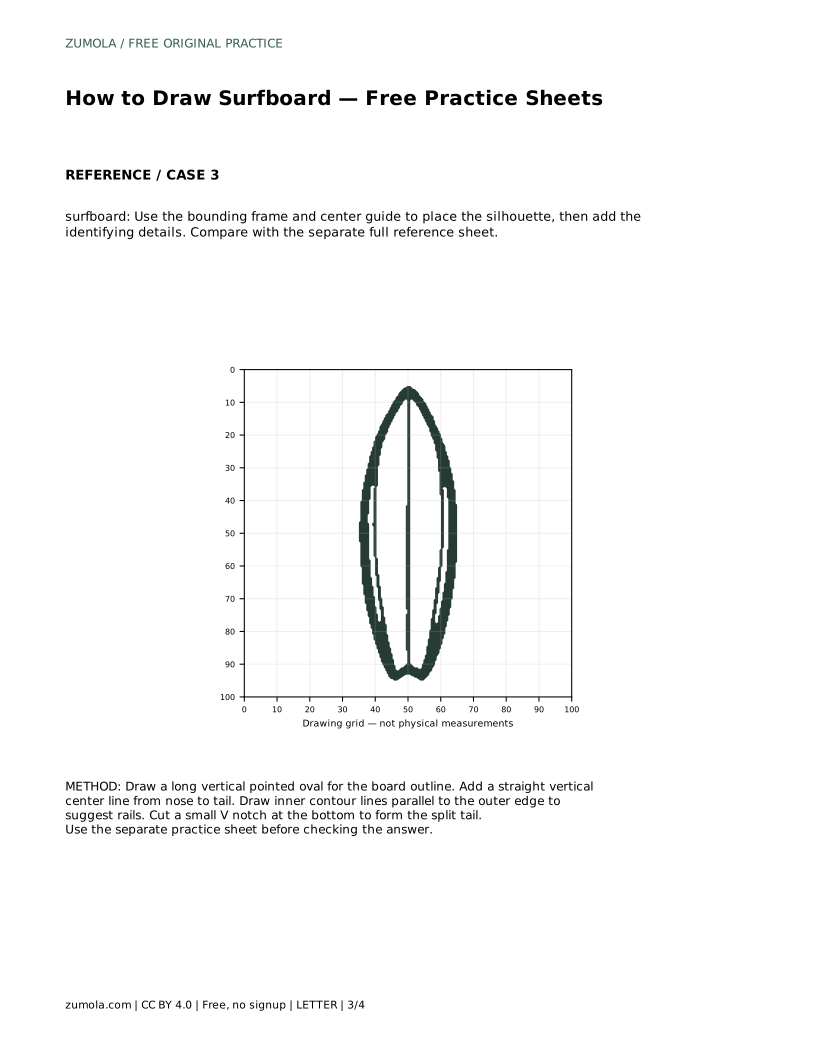
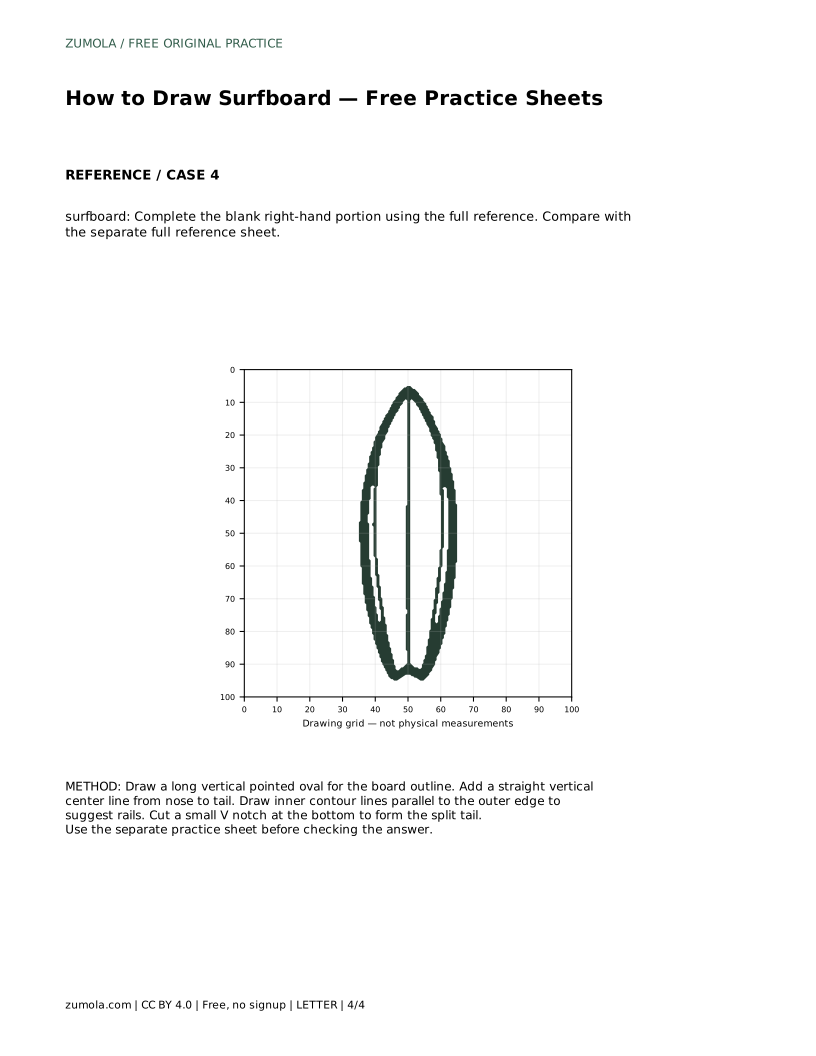
Learn to draw a surfboard by tracing its tapered outline, center stringer, rail lines, and split tail, then compare your drawing with a full reference sheet.
Four original cases, with reference diagrams, practice sheets and worked answers. Everything is free; no signup required.
LETTER · Download PDF
A4 · Download PDF
LETTER · Download PDF
A4 · Download PDF
LETTER · Download PDF
A4 · Download PDF
Use A4 or US Letter to match your printer. Use the stated values and conditions to solve each exercise; diagrams are not physical measuring rulers.
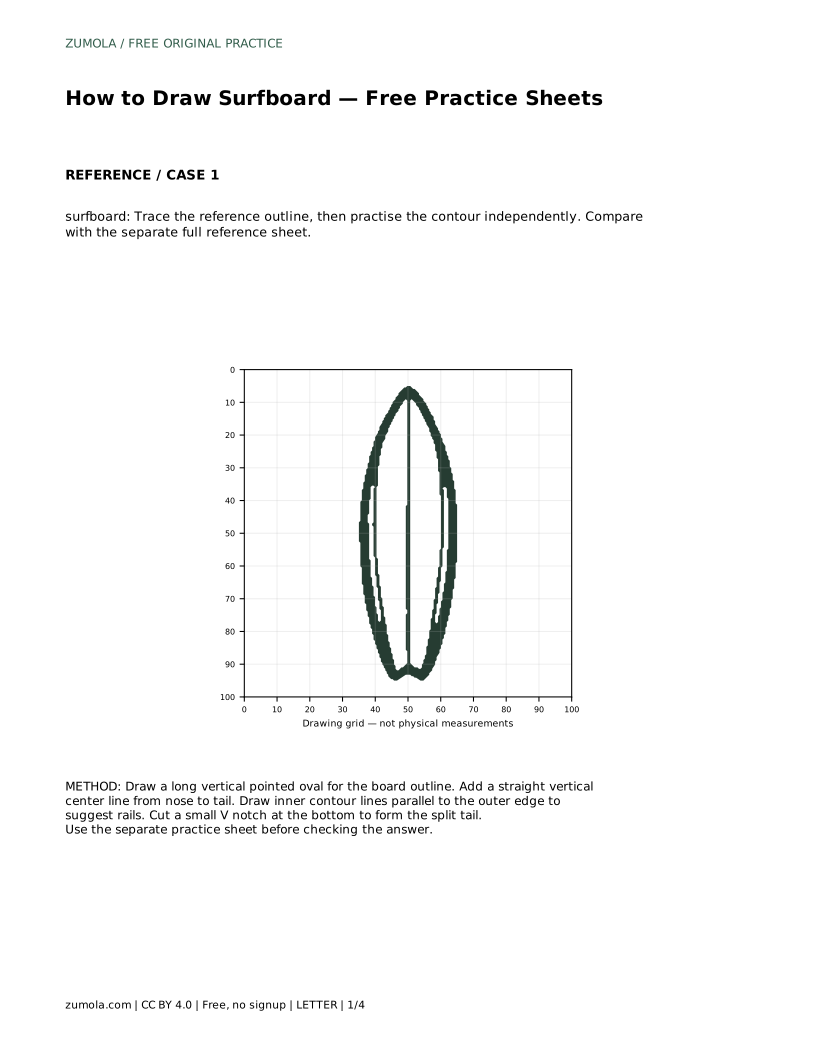
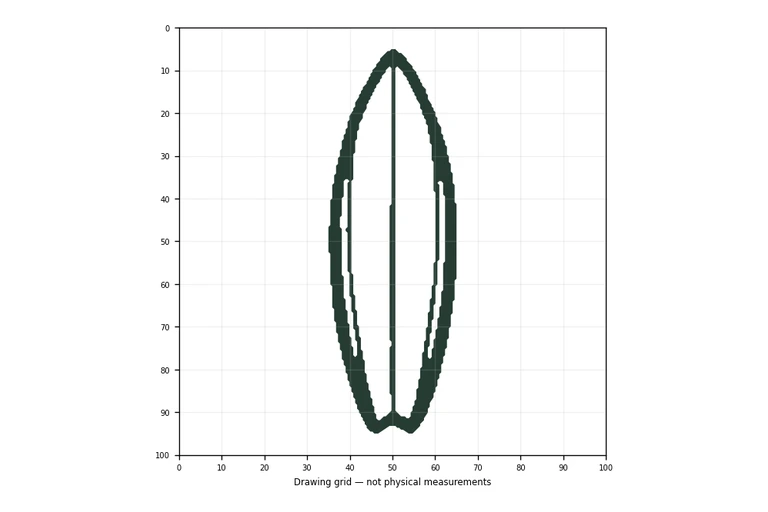
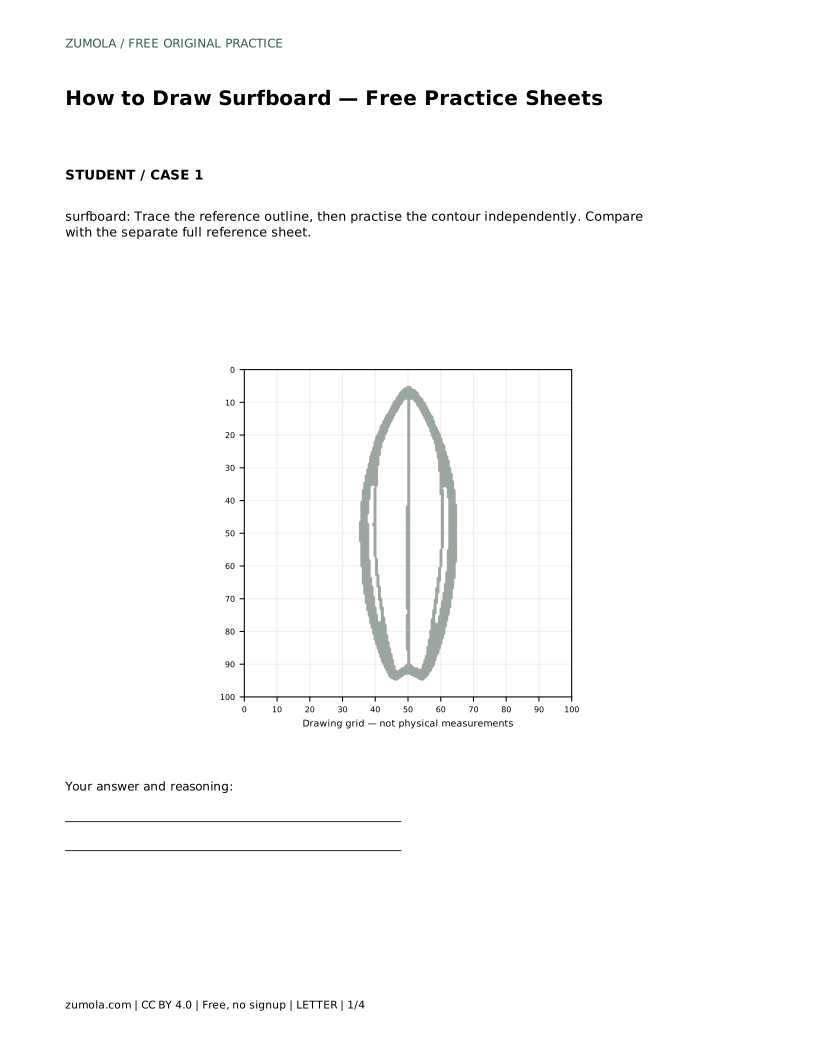
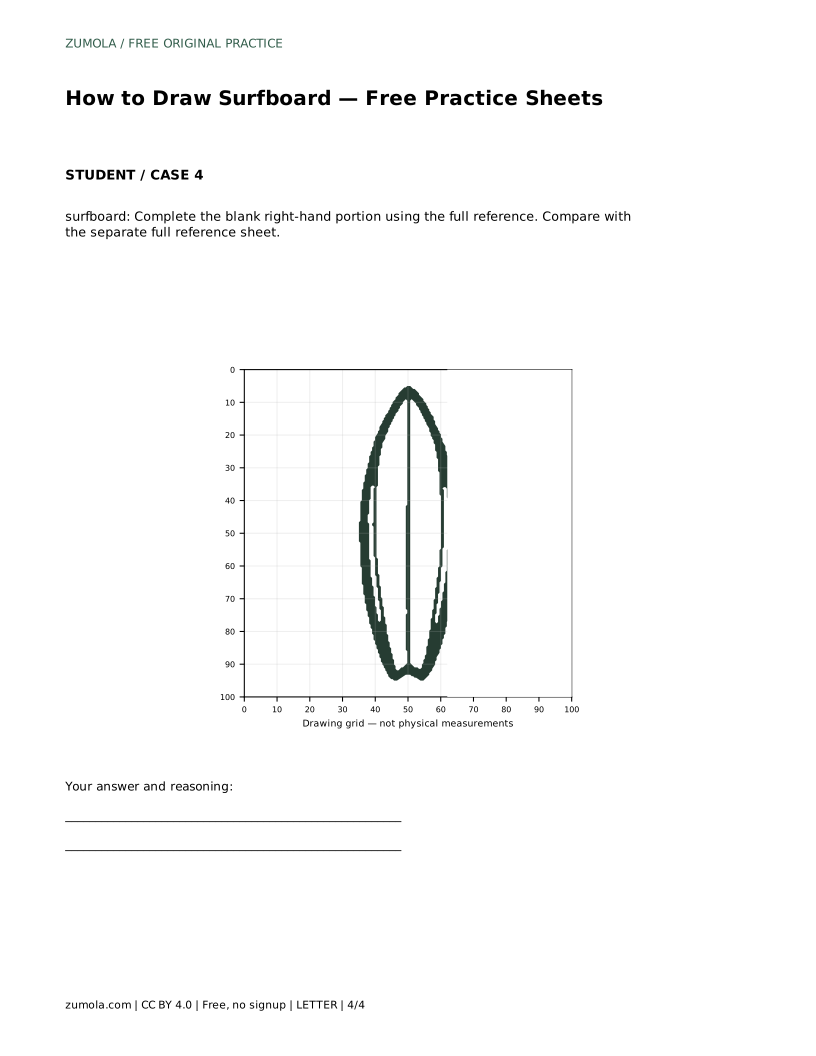
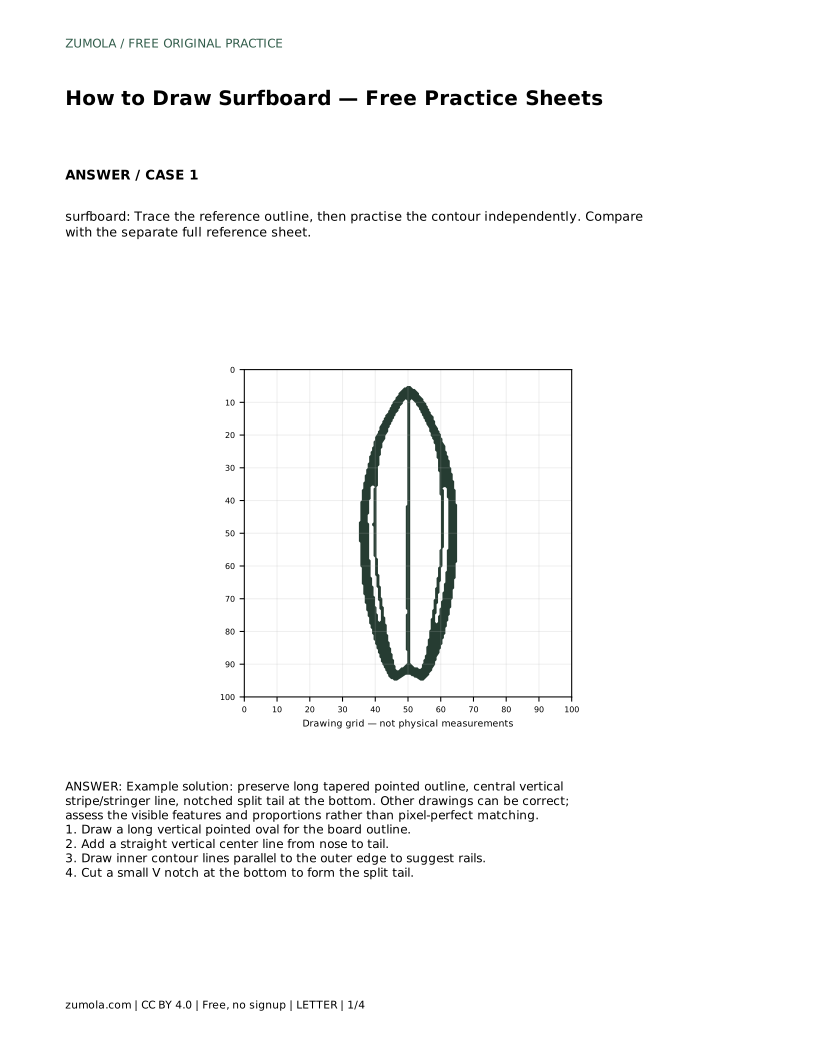
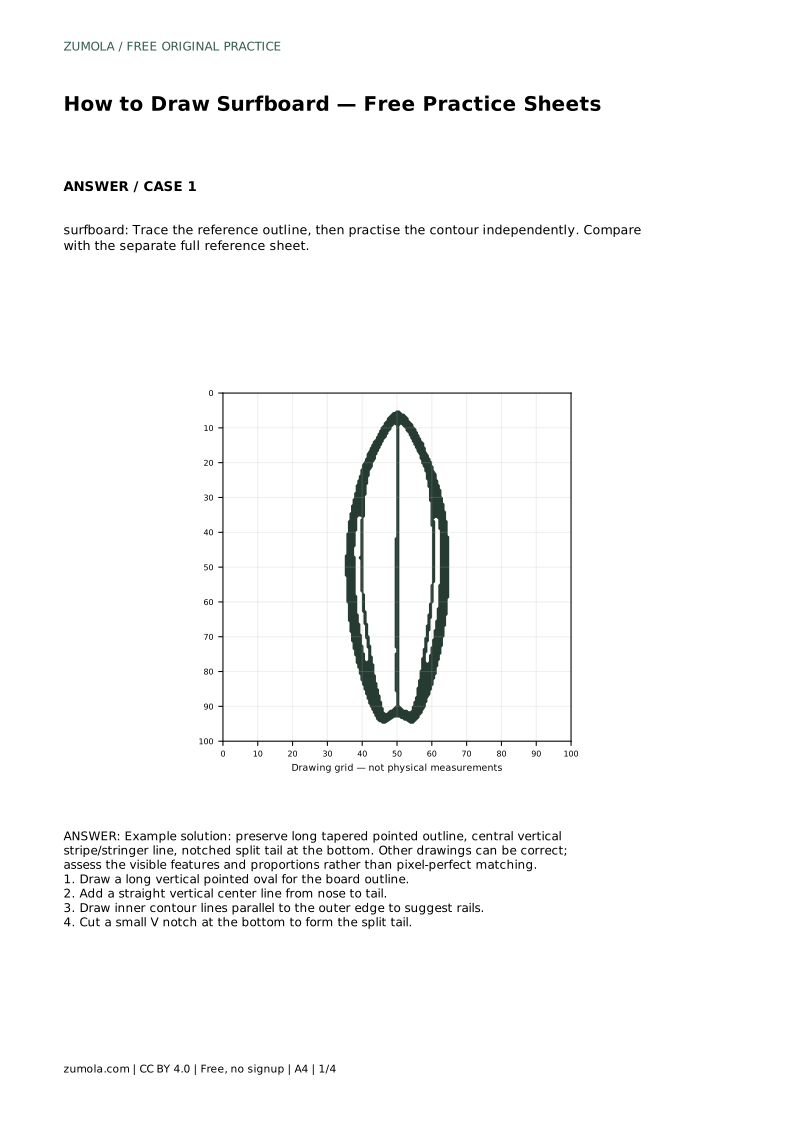
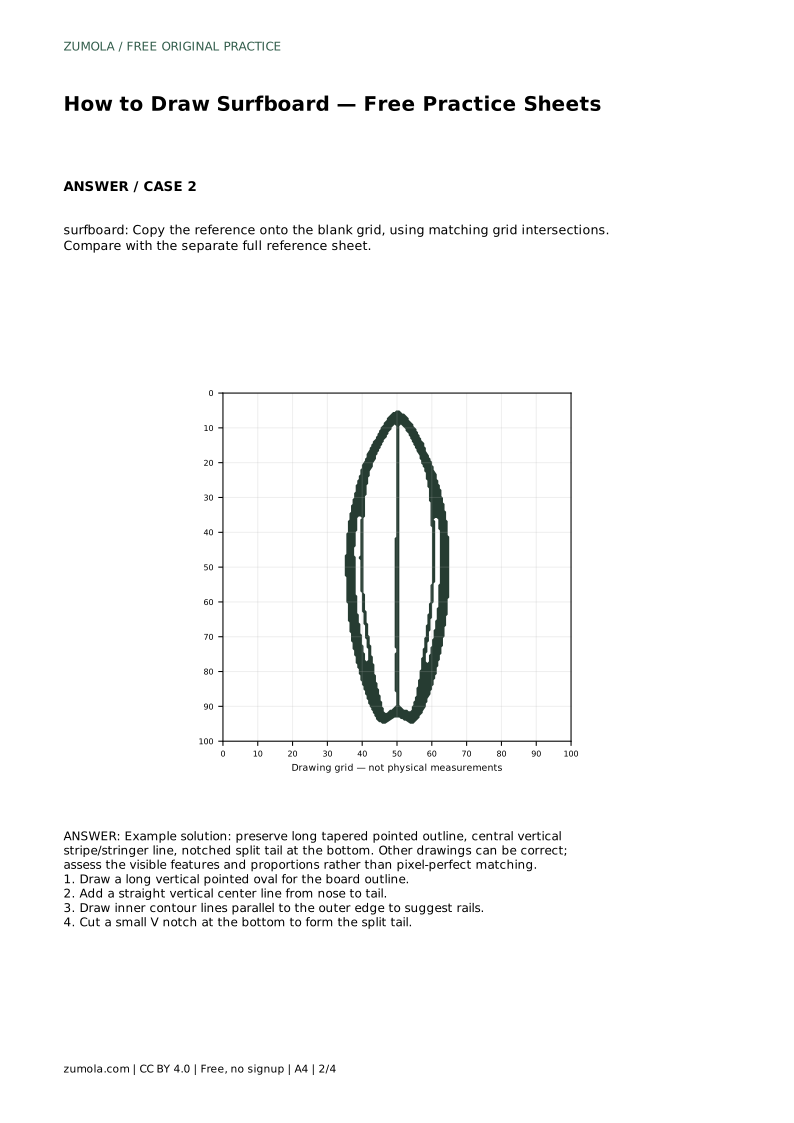
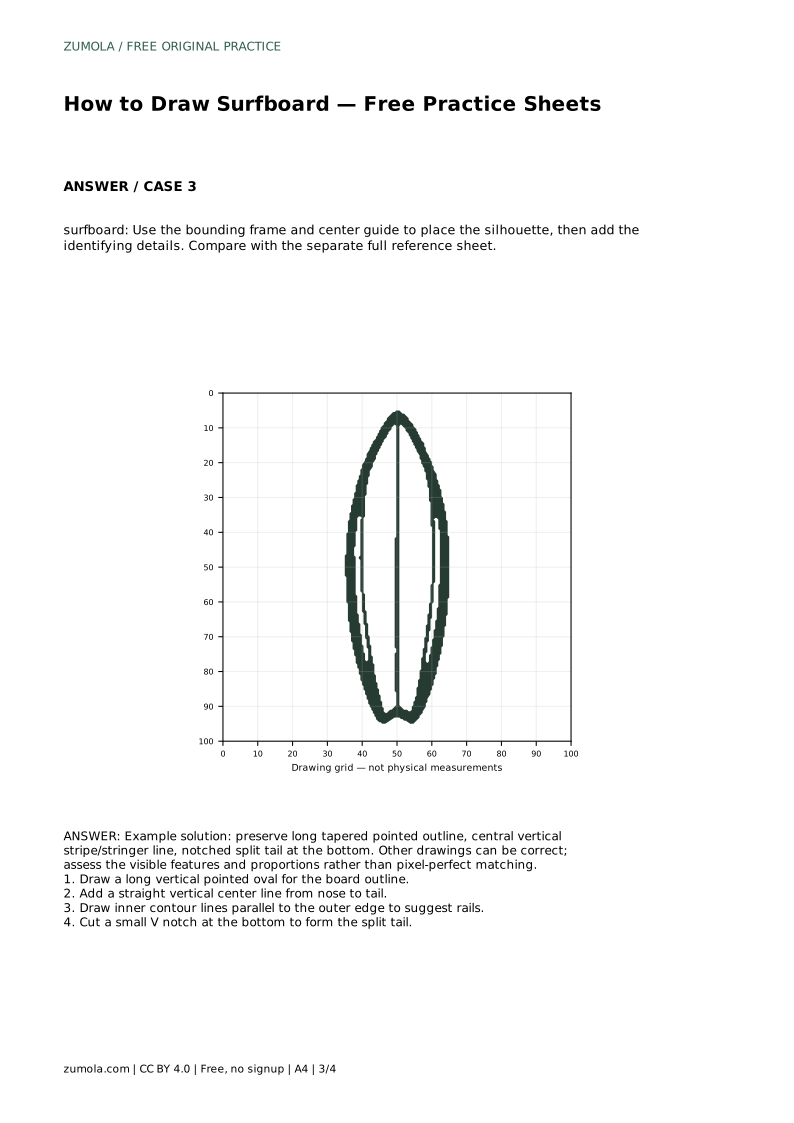
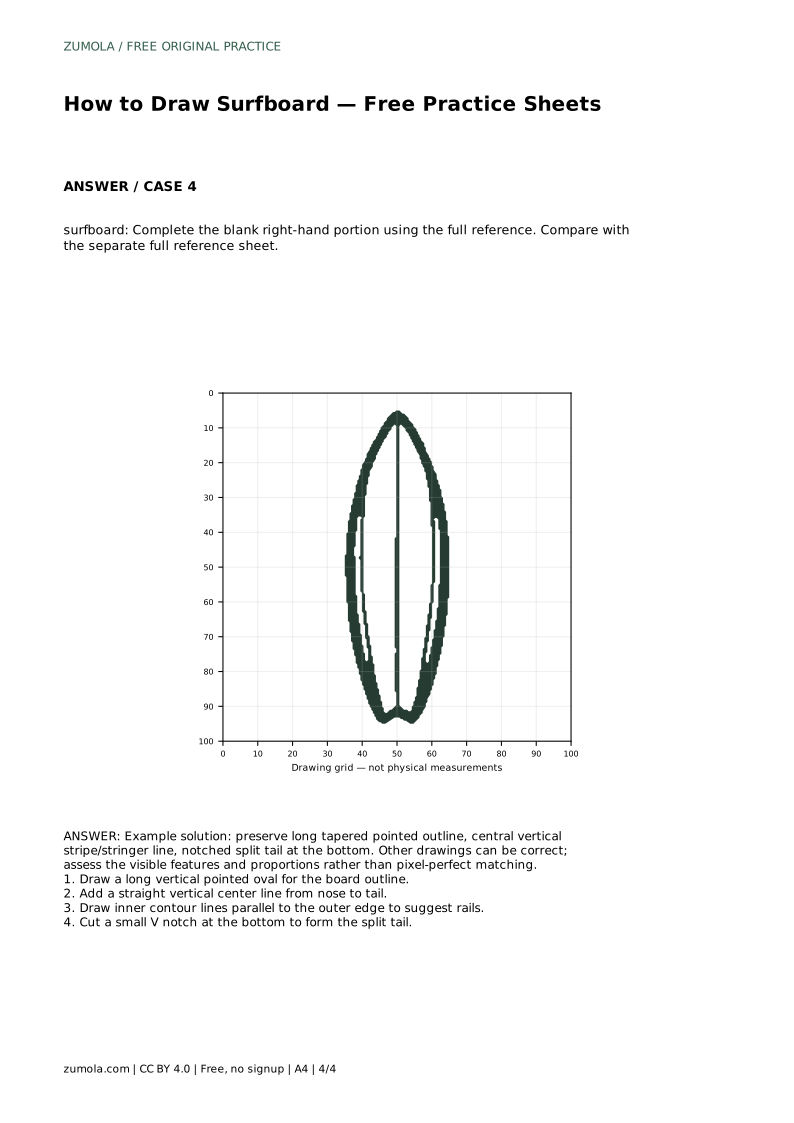
Drawing a surfboard is mostly a lesson in long, controlled curves and clear placement. The board has a narrow pointed nose, a wider middle, and a tail that may split into a notch. In this practice set, you first trace a reference outline, then draw the same contour independently. A separate full reference sheet lets you compare shape and details. Different drawings can be correct, so judge the visible features and proportions rather than expecting a pixel-perfect match.
Begin by thinking of the board as one long vertical shape rather than a collection of separate parts. The outline should taper toward a pointed nose at the top and remain fairly narrow through the middle. Keep the left and right edges balanced so the board does not look twisted or lopsided. A light first pass is easier to adjust than a heavy line you cannot correct.
When you trace the reference outline, move slowly around the whole contour before adding anything inside it. The goal is to understand how the curve changes from nose to tail. After tracing, try the same outline on blank paper without looking back at every stroke. Compare the two versions afterward and note where the width or taper changed.
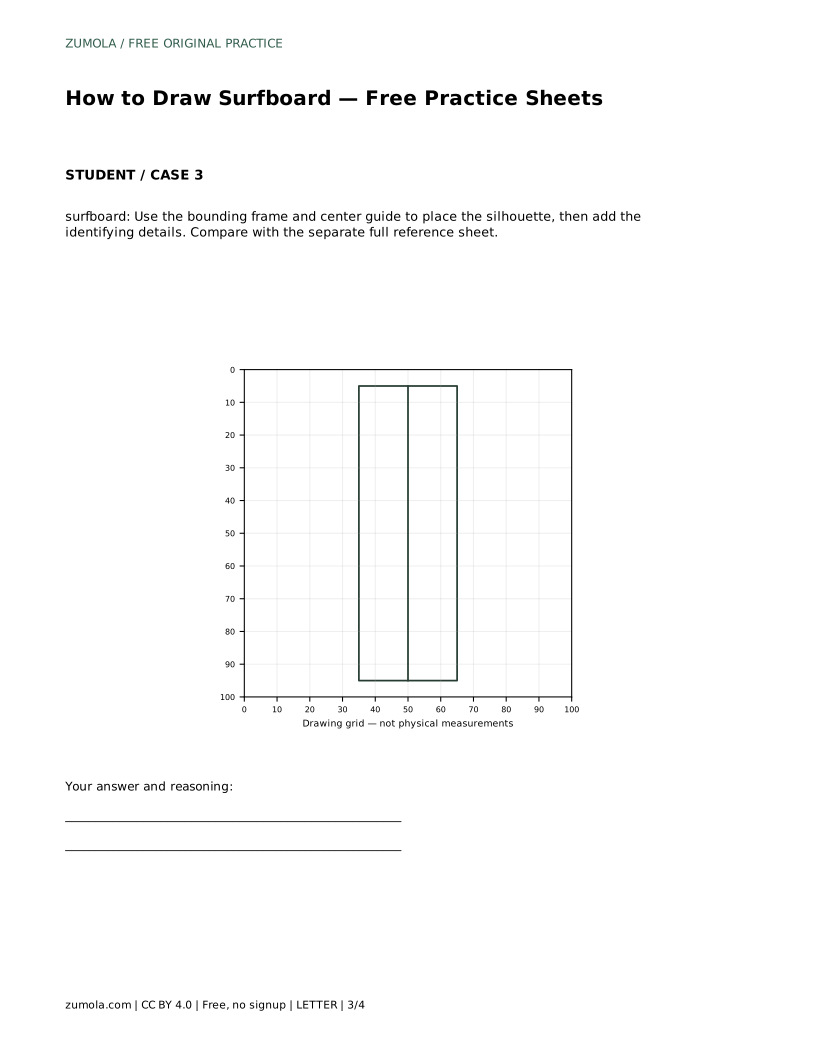
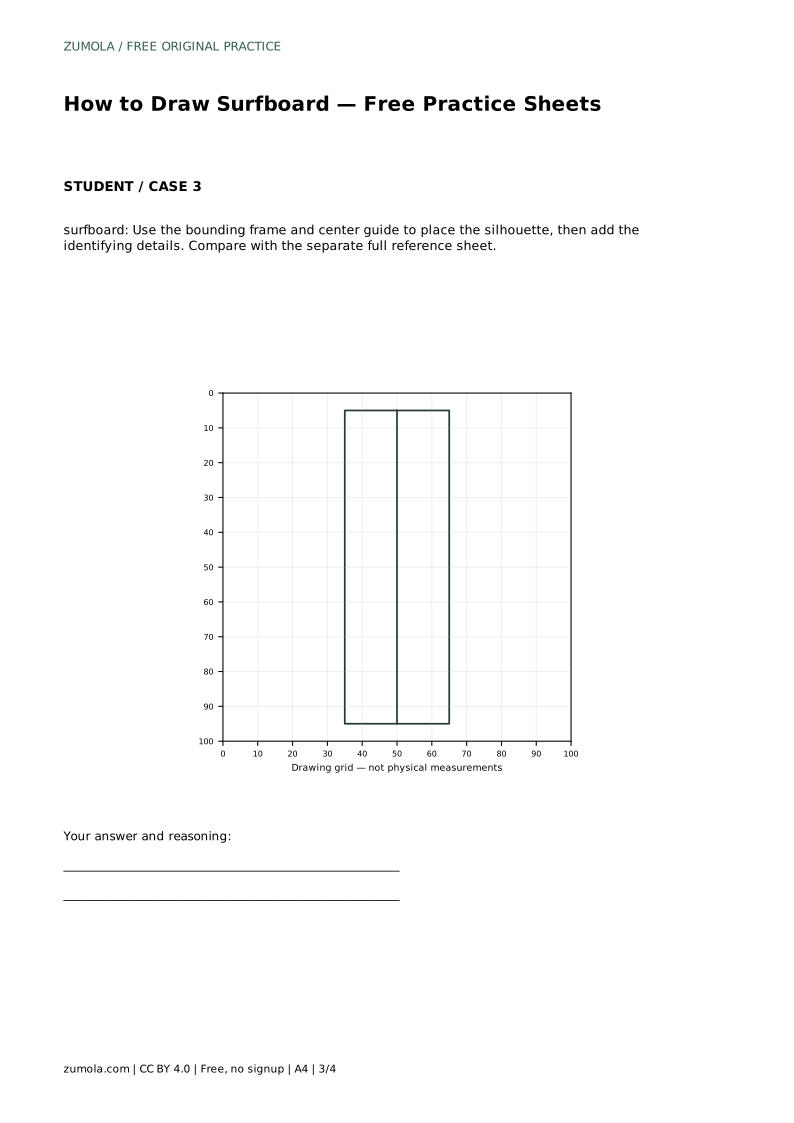
A straight vertical center line runs from the nose to the tail. This line helps you judge symmetry and gives the board its stringer detail. Keep it centered within the outline; if it drifts to one side, the board will appear uneven even when the outer shape is correct.
Next, draw inner contour lines parallel to the outer edge. These suggest the rails, the curved sides of the board. They should follow the same taper as the outline rather than crossing it or meeting in the middle. Leave a consistent gap between the outer edge and each inner line so the rails read as part of the board's surface.
At the bottom, cut a small V notch into the outline to form the split tail. The notch should sit on the center line and stay modest in size so the tail still reads as part of the board. Keep the two sides of the notch even, and avoid letting the cut extend too far up the board.
Finish by comparing your drawing with the separate full reference sheet. Look at the pointed nose, the central stripe, the rail lines, and the notched tail. Ask whether the proportions feel similar and whether each feature is clearly visible. Small differences in curve or width are acceptable; the assessment is about recognizable structure, not exact duplication.
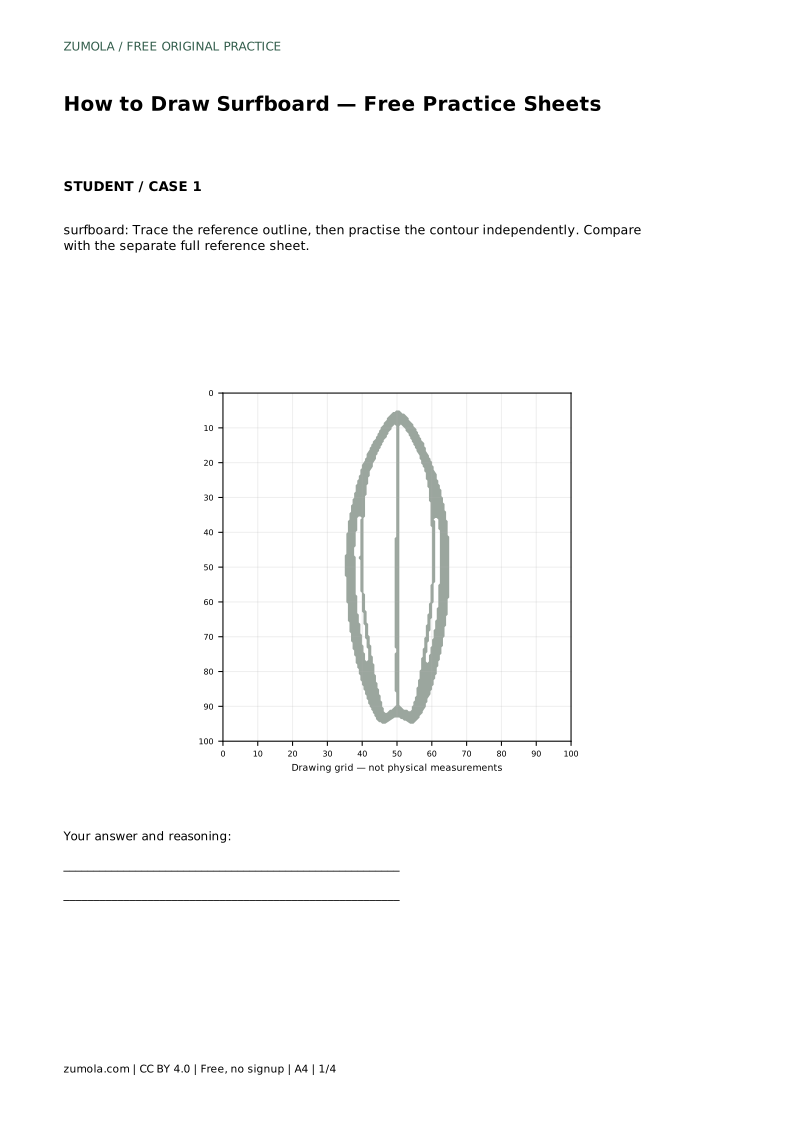
surfboard: Trace the reference outline, then practise the contour independently. Compare with the separate full reference sheet.
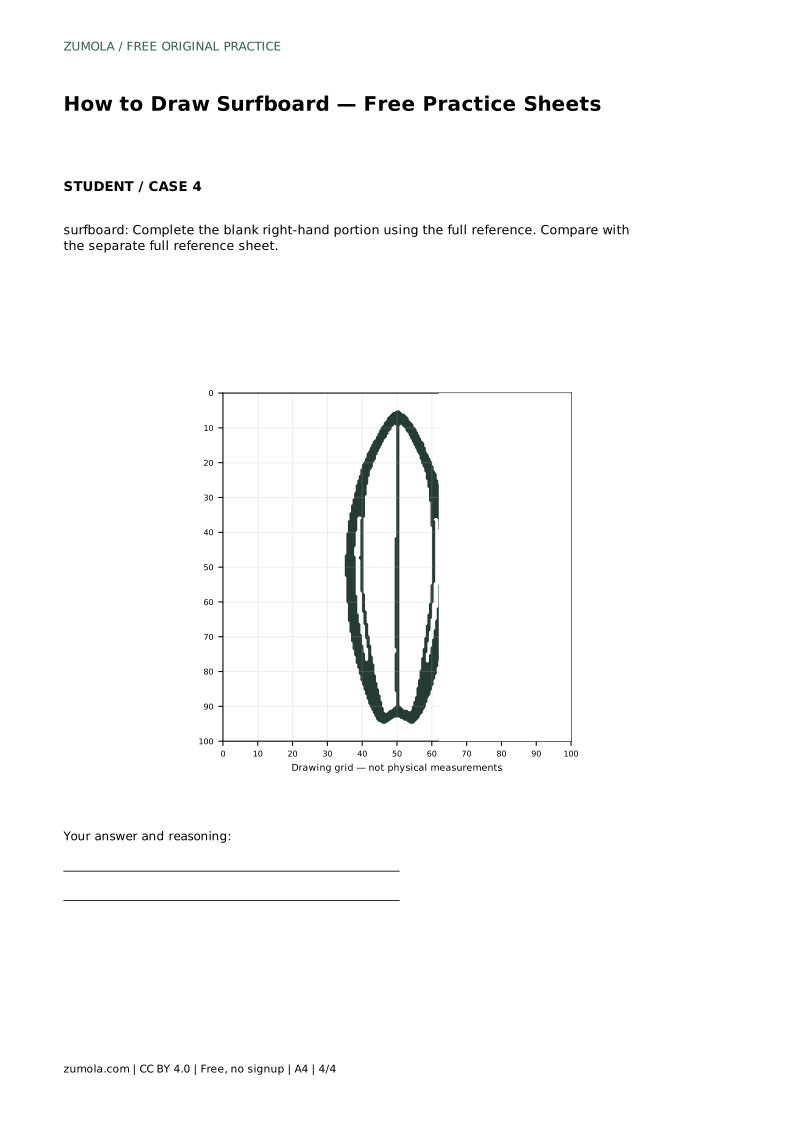
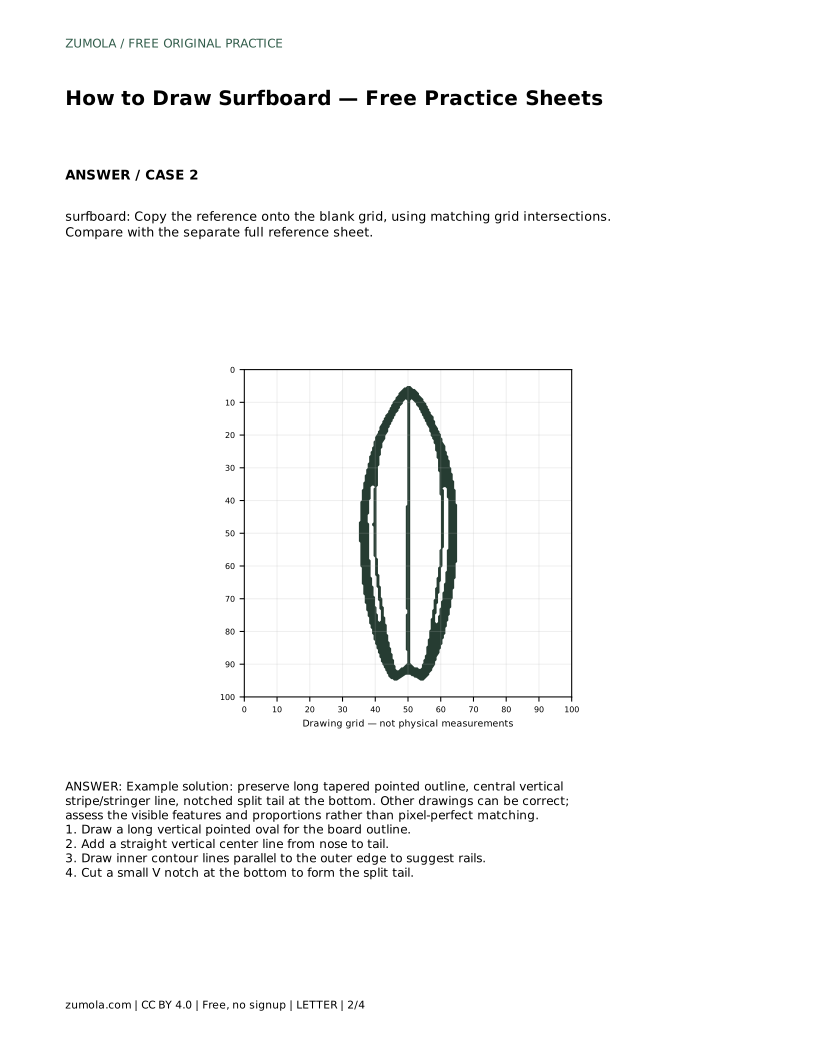
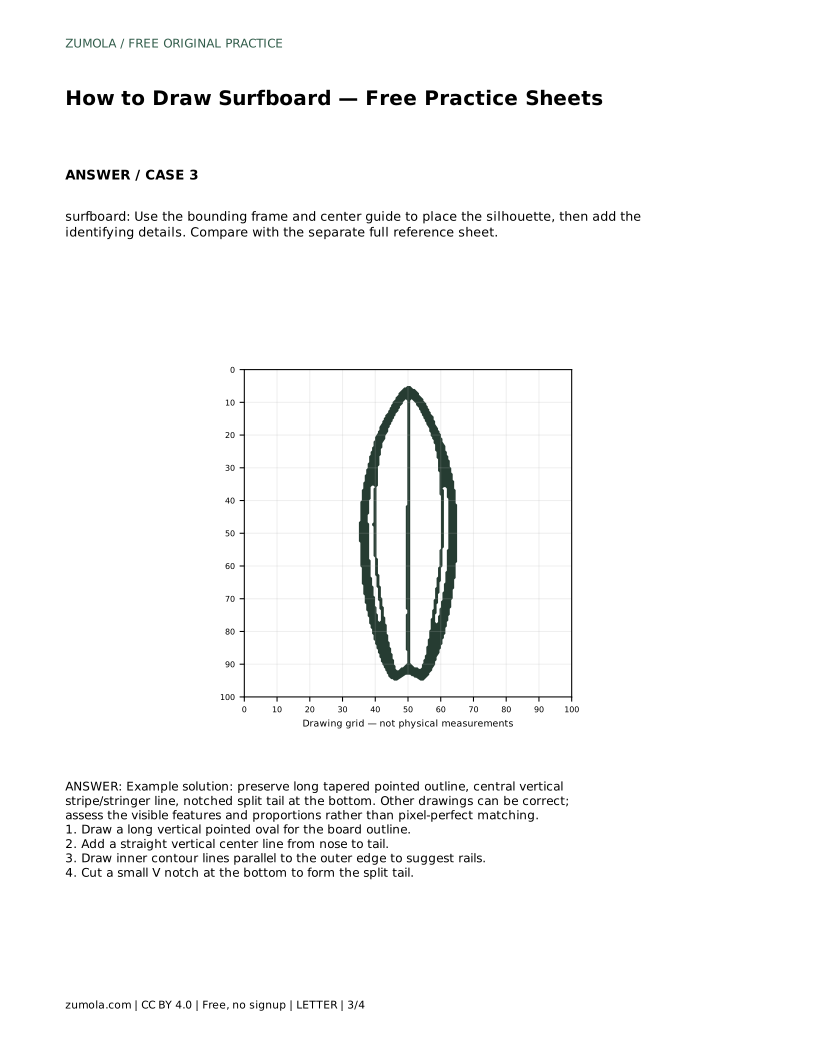
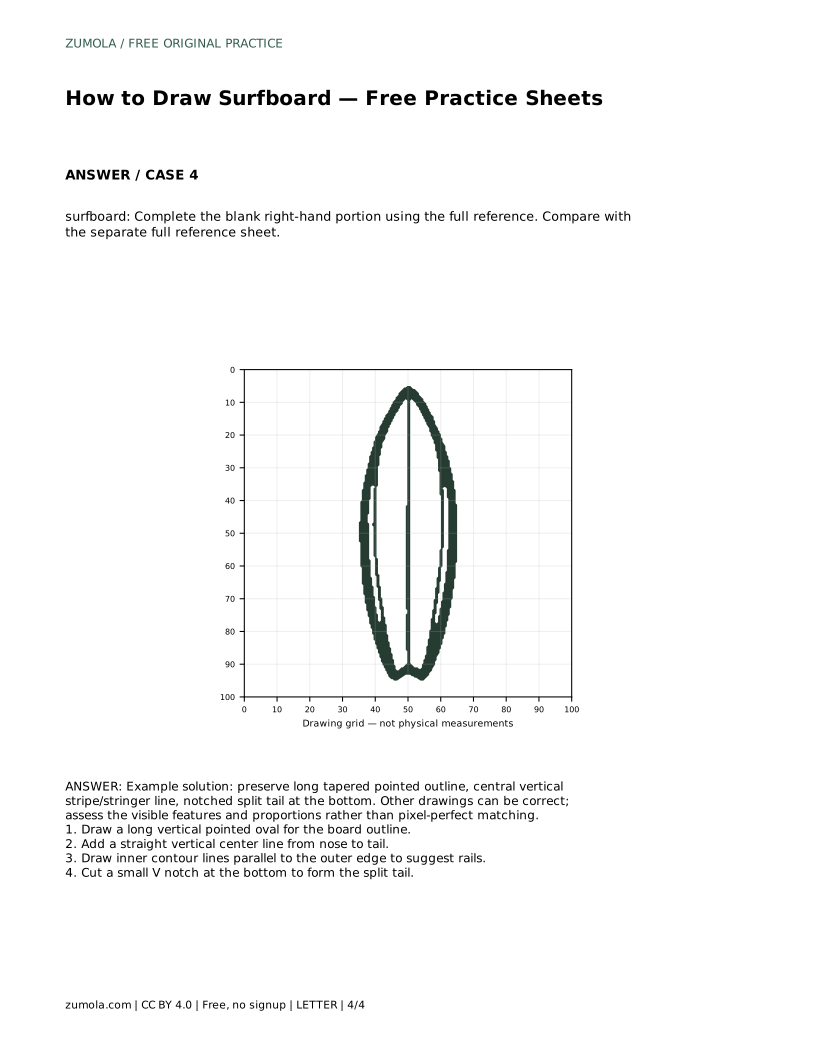
Example solution: preserve long tapered pointed outline, central vertical stripe/stringer line, notched split tail at the bottom. Other drawings can be correct; assess the visible features and proportions rather than pixel-perfect matching. Draw a long vertical pointed oval for the board outline. Add a straight vertical center line from nose to tail. Draw inner contour lines parallel to the outer edge to suggest rails. Cut a small V notch at the bottom to form the split tail.
No. Other drawings can be correct. Assess the visible features and proportions rather than pixel-perfect matching.
Look for a long tapered pointed outline, a central vertical stripe or stringer line, inner rail contours, and a notched split tail at the bottom.
Tracing first helps you learn the contour. Then practise the outline independently and compare your result with the separate full reference sheet.
All drawing practice · Free coordinate paper
Original resources · CC BY 4.0 · Free for personal and classroom use with attribution.