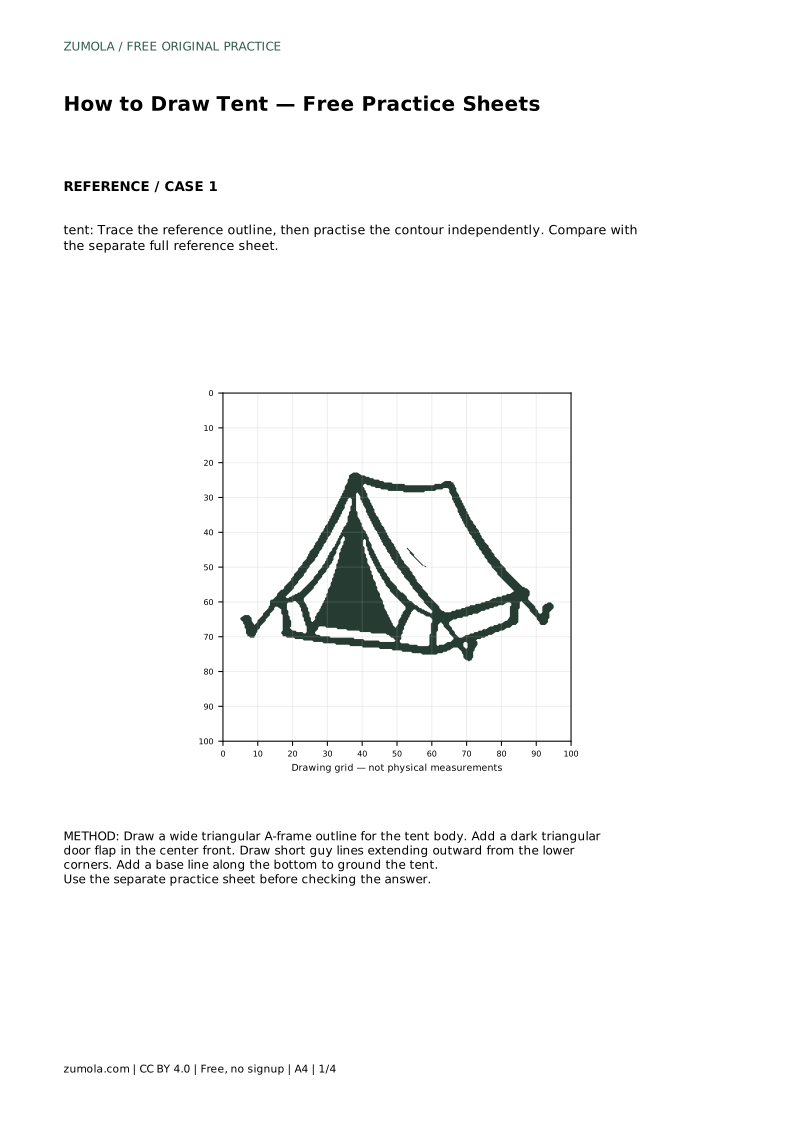
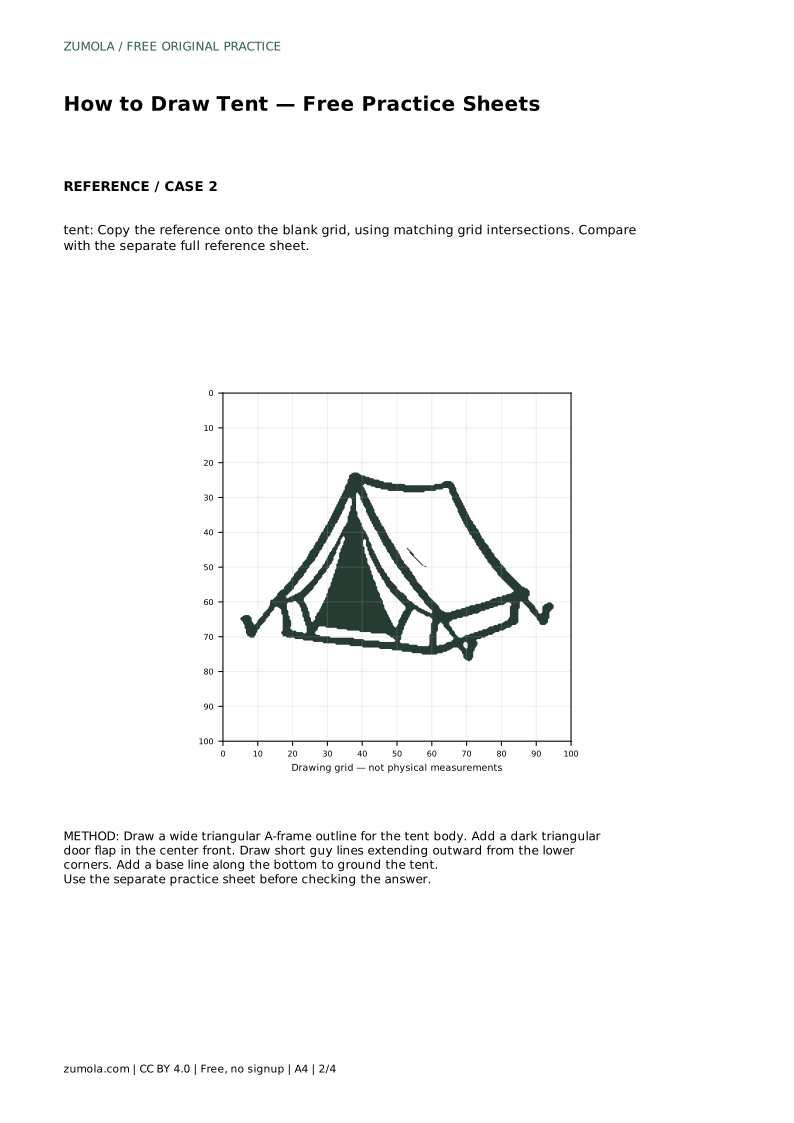
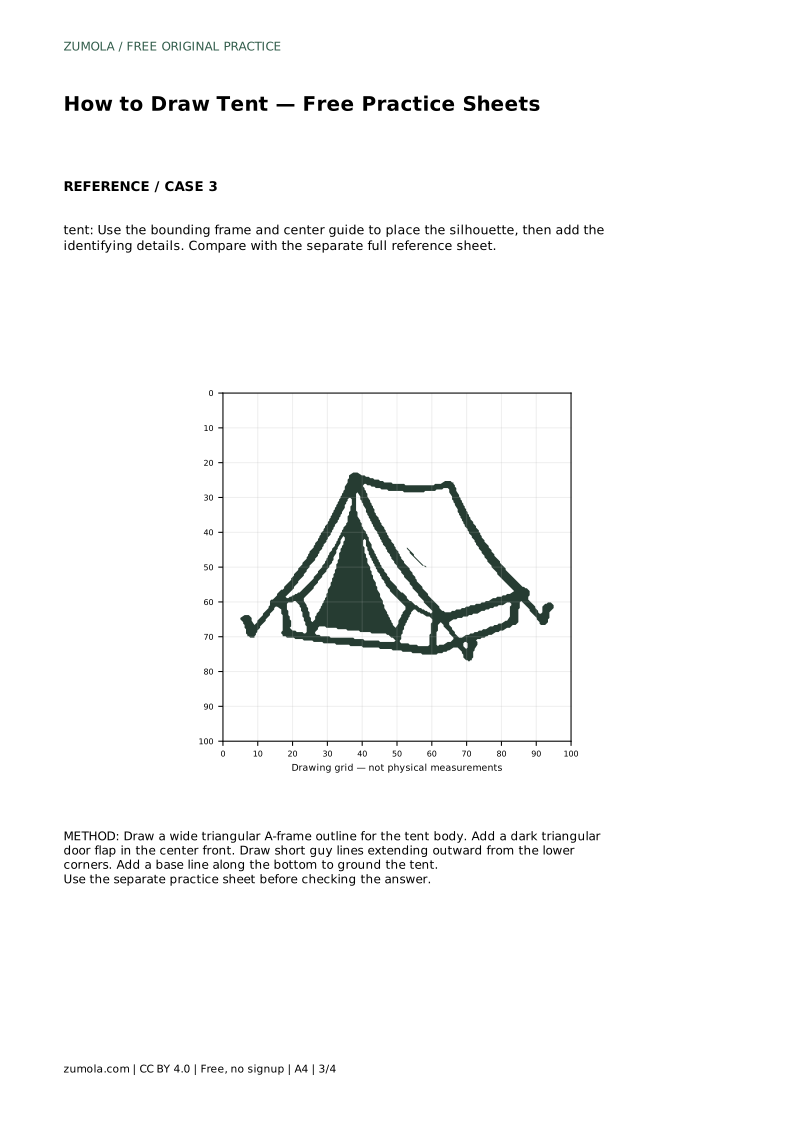
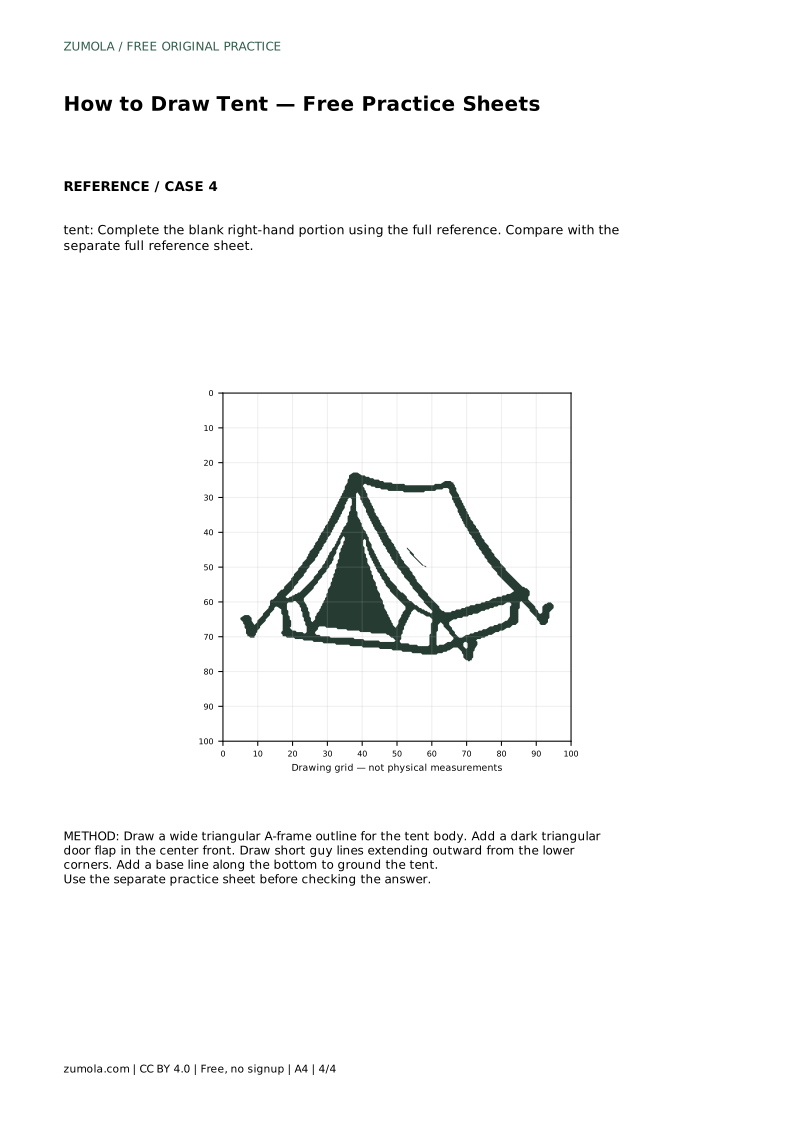
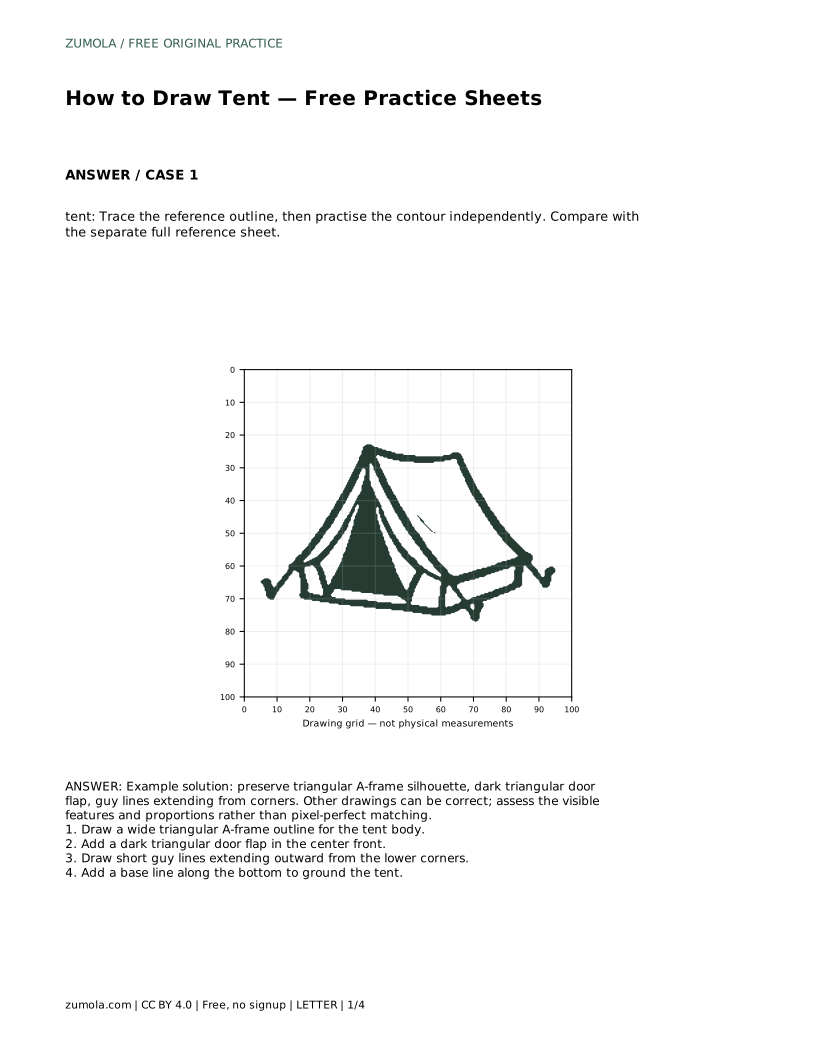
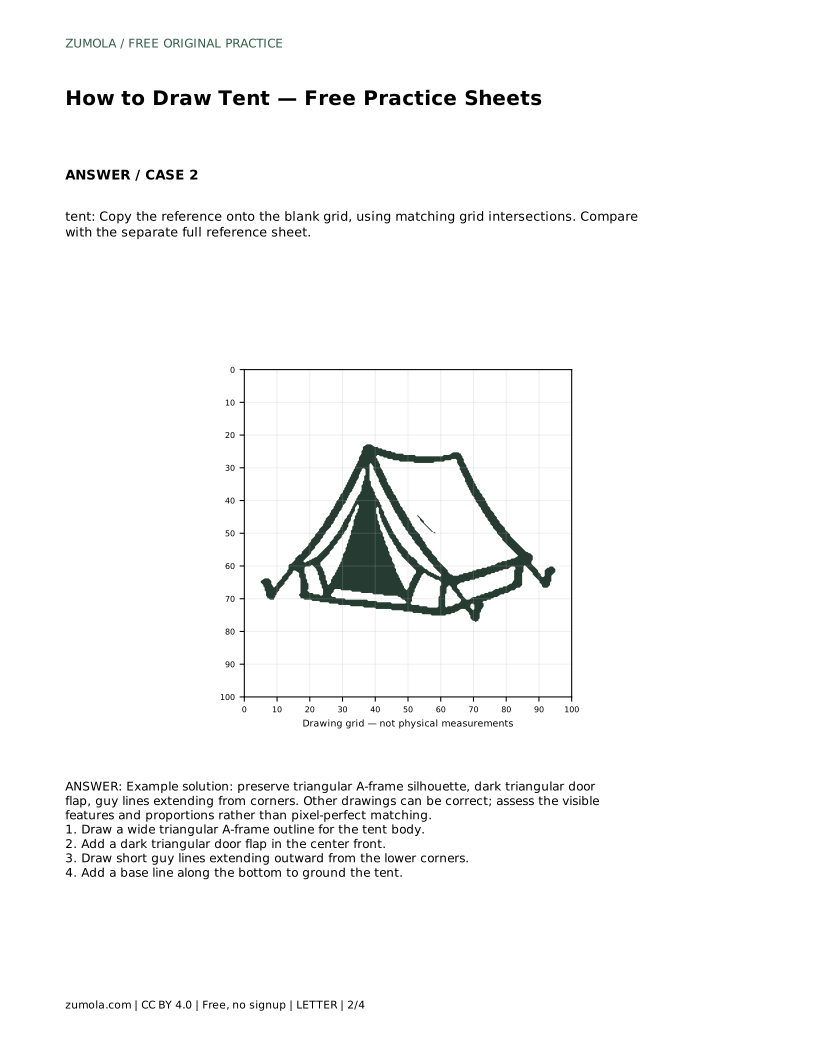
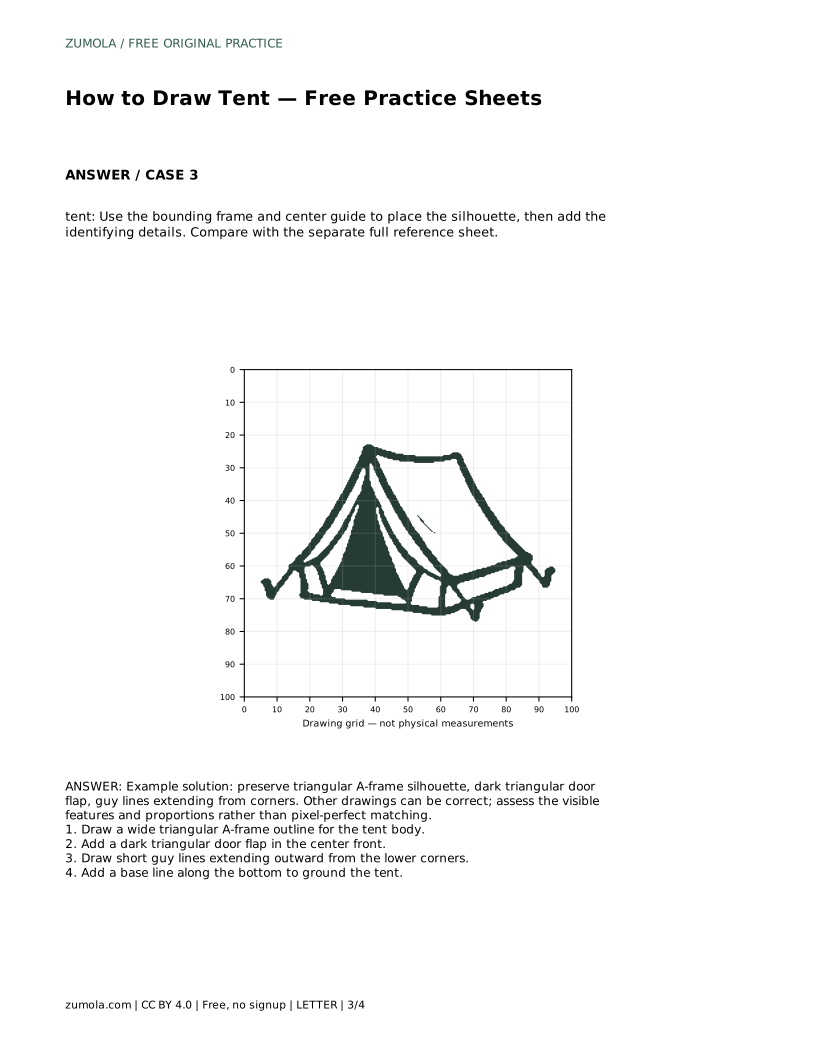
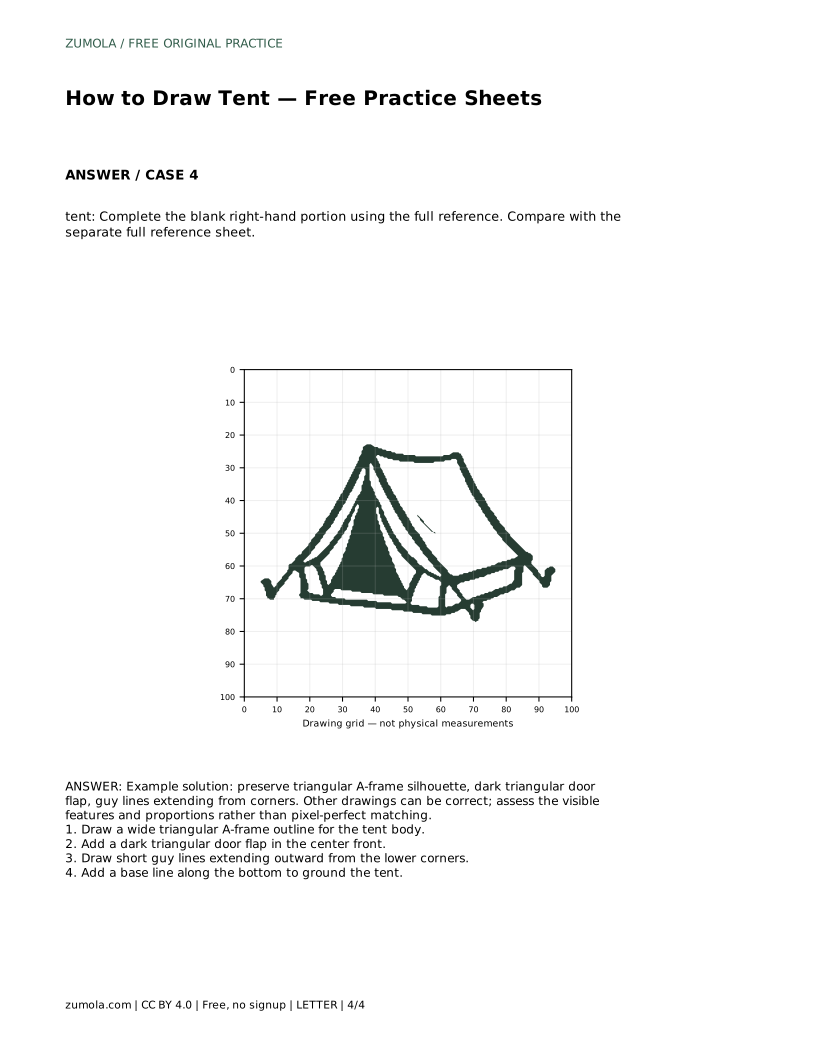
Reference diagrams
LETTER · Download PDF
A4 · Download PDF
Free original resources
Learn to draw a tent by building its A-frame silhouette, door flap, guy lines and base line. Includes tracing, grid and partial-reference practice guidance.
Four original cases, with reference diagrams, practice sheets and worked answers. Everything is free; no signup required.
LETTER · Download PDF
A4 · Download PDF
LETTER · Download PDF
A4 · Download PDF
LETTER · Download PDF
A4 · Download PDF
Use A4 or US Letter to match your printer. Use the stated values and conditions to solve each exercise; diagrams are not physical measuring rulers.
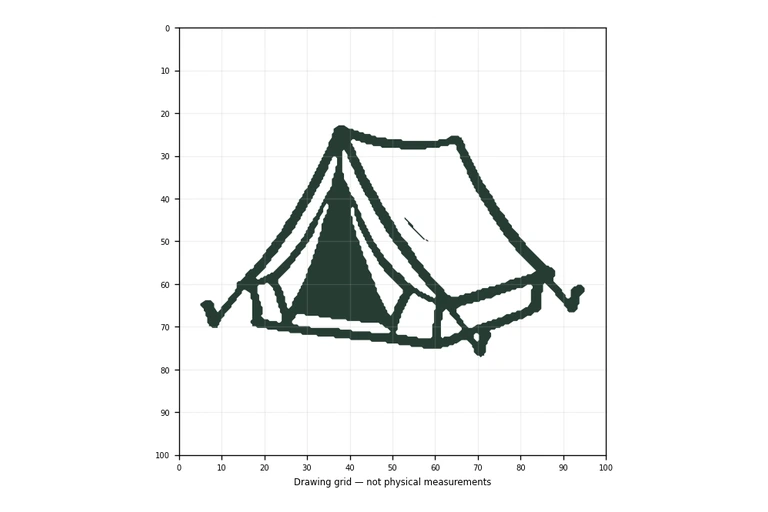
A tent drawing is mostly a study in clear shapes: a wide triangular body, a darker door flap, short lines that suggest tension, and a base that makes the shelter sit on the ground. This page explains how to build those parts in order, then how to use tracing, grid and partial-reference sheets to practise the same structure with less support each time.
Start with the silhouette rather than the details. An A-frame tent reads as a wide triangle whose lower edge rests on a horizontal base line. Keep the two sloping sides roughly equal so the peak sits near the middle; a lopsided triangle can still look like a tent, but the imbalance should be deliberate.
Once the outline is steady, place the door flap. Treat it as a smaller triangle inside the front face, sharing the peak area and widening toward the base. Shading or darkening this flap separates the opening from the tent body. Finally, add short guy lines running outward and slightly downward from the lower corners, and a base line connecting the feet of the tent. These lines are what make the drawing look pitched and grounded rather than floating.
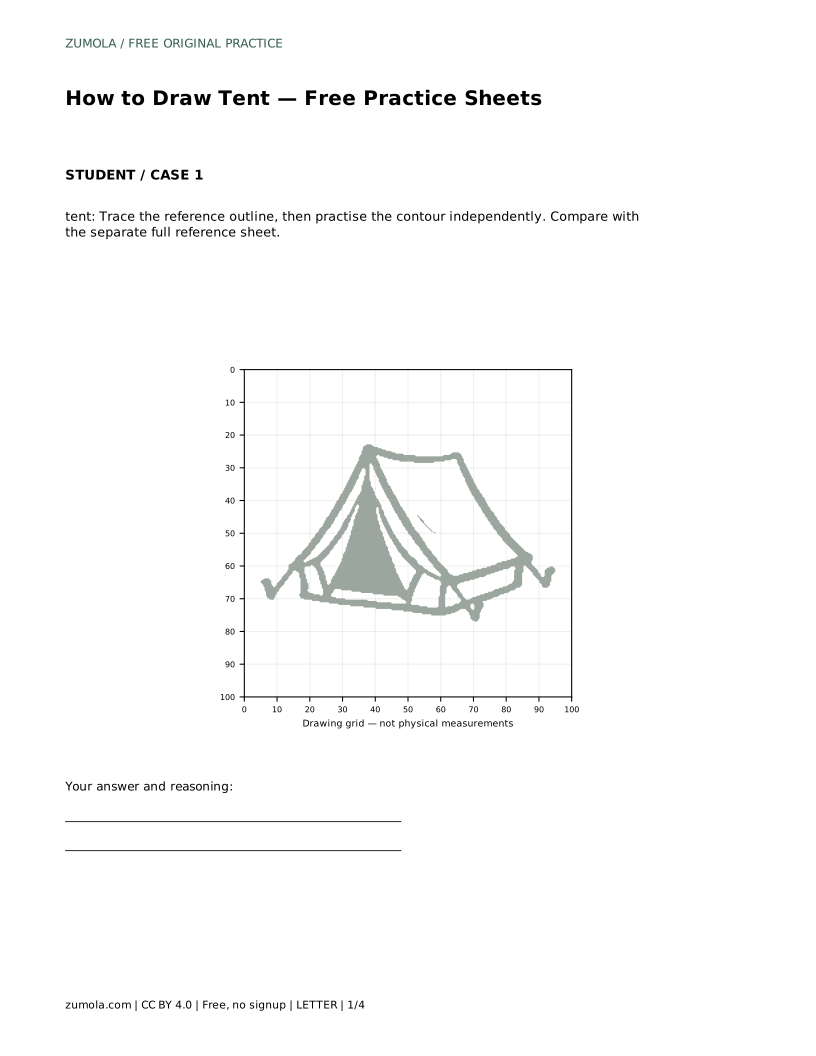
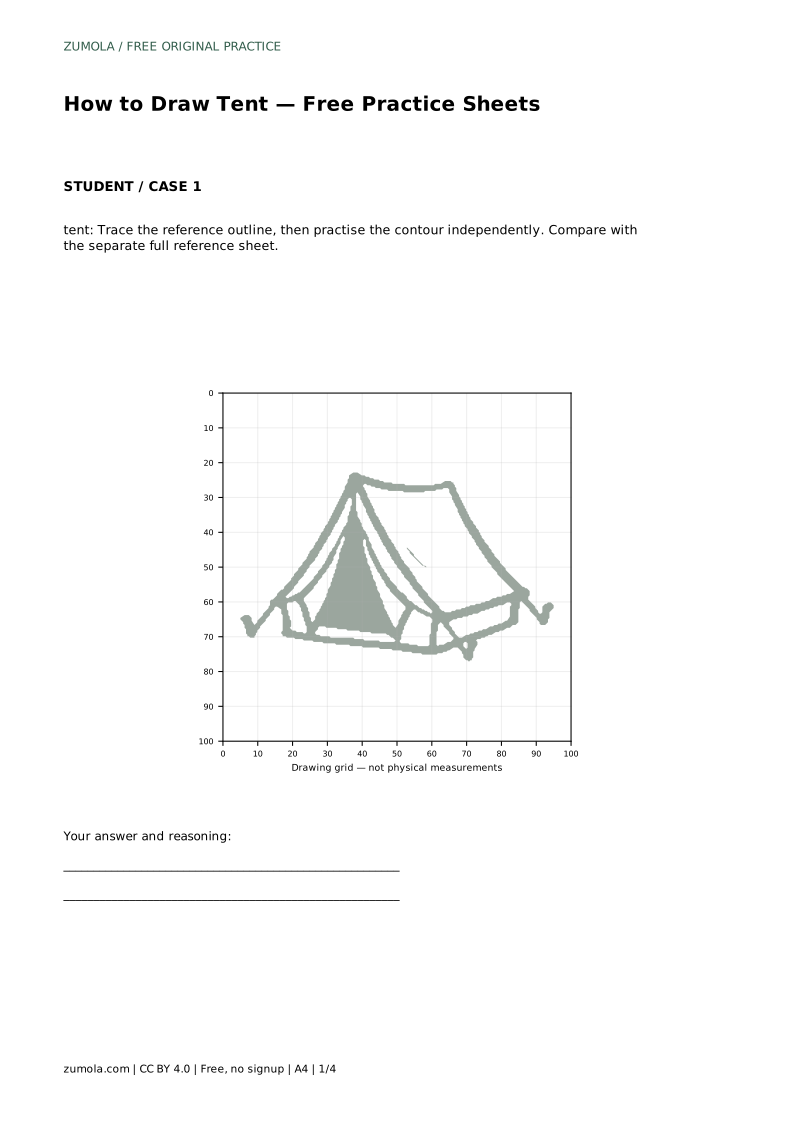
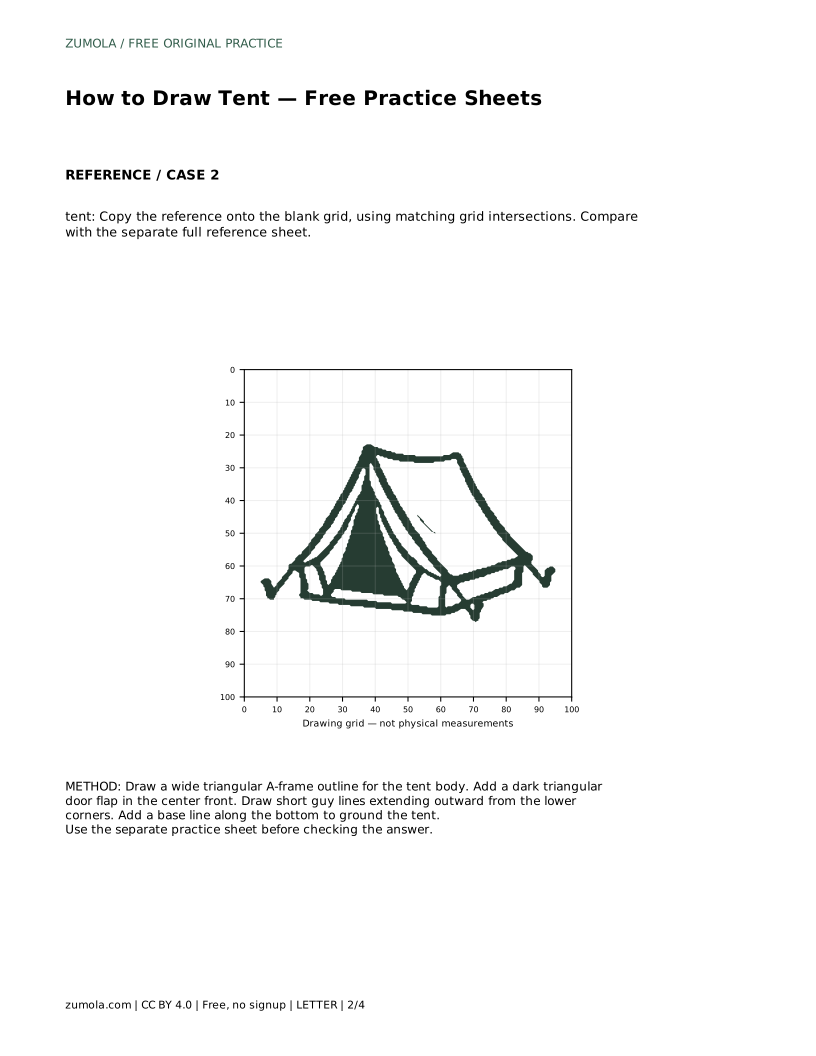
The tracing sheet asks you to follow the reference outline first, then repeat the contour on your own nearby. The point is not to produce an identical copy but to notice how the slopes, door and base relate. After tracing, compare your independent attempt with the separate full reference sheet and ask which feature drifted: the peak height, the width of the base, or the angle of the guy lines.
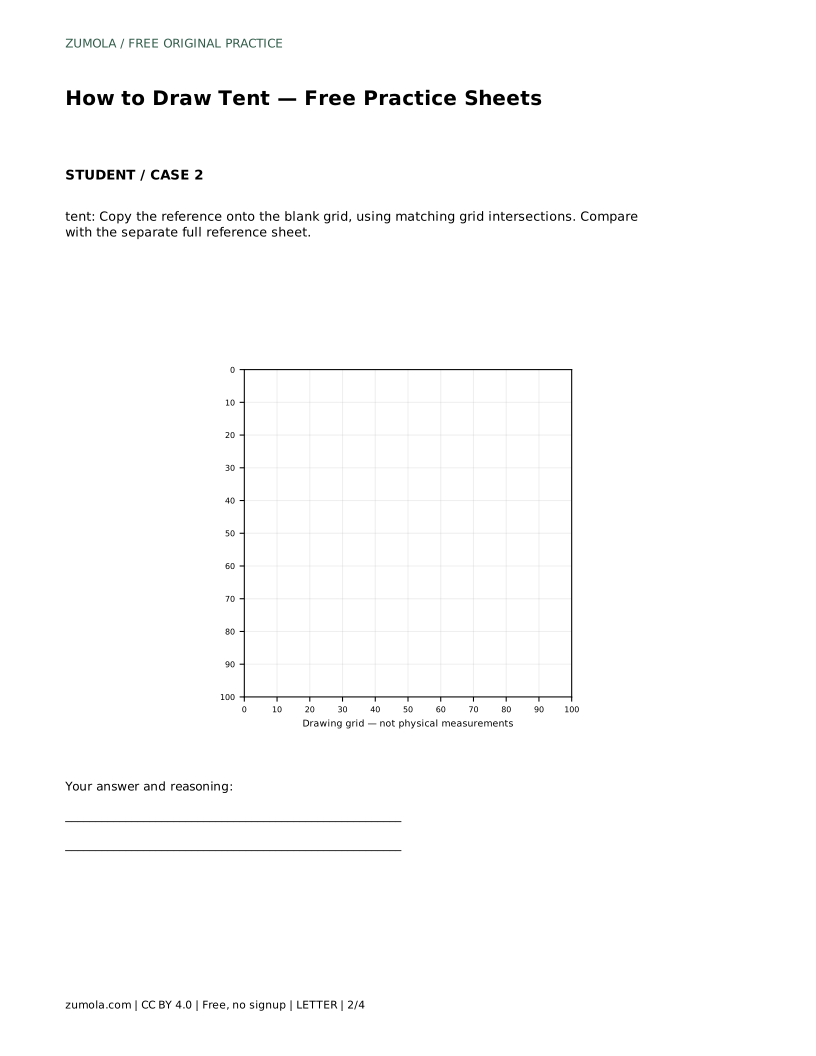
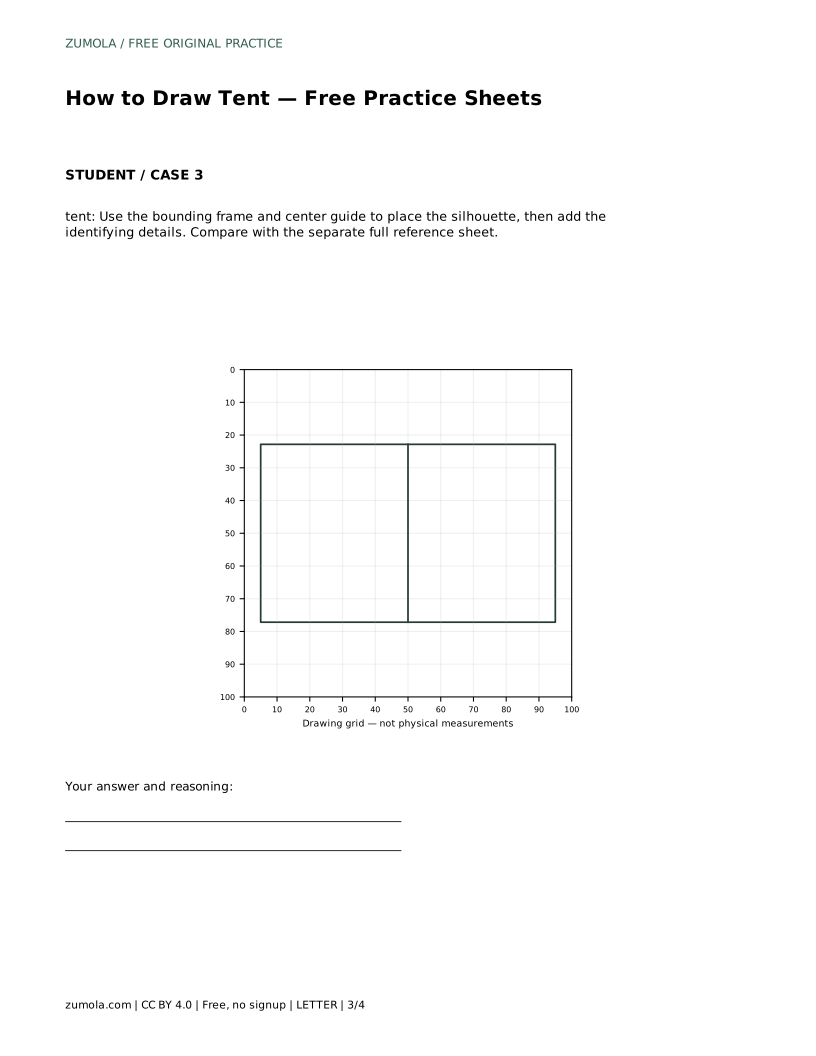
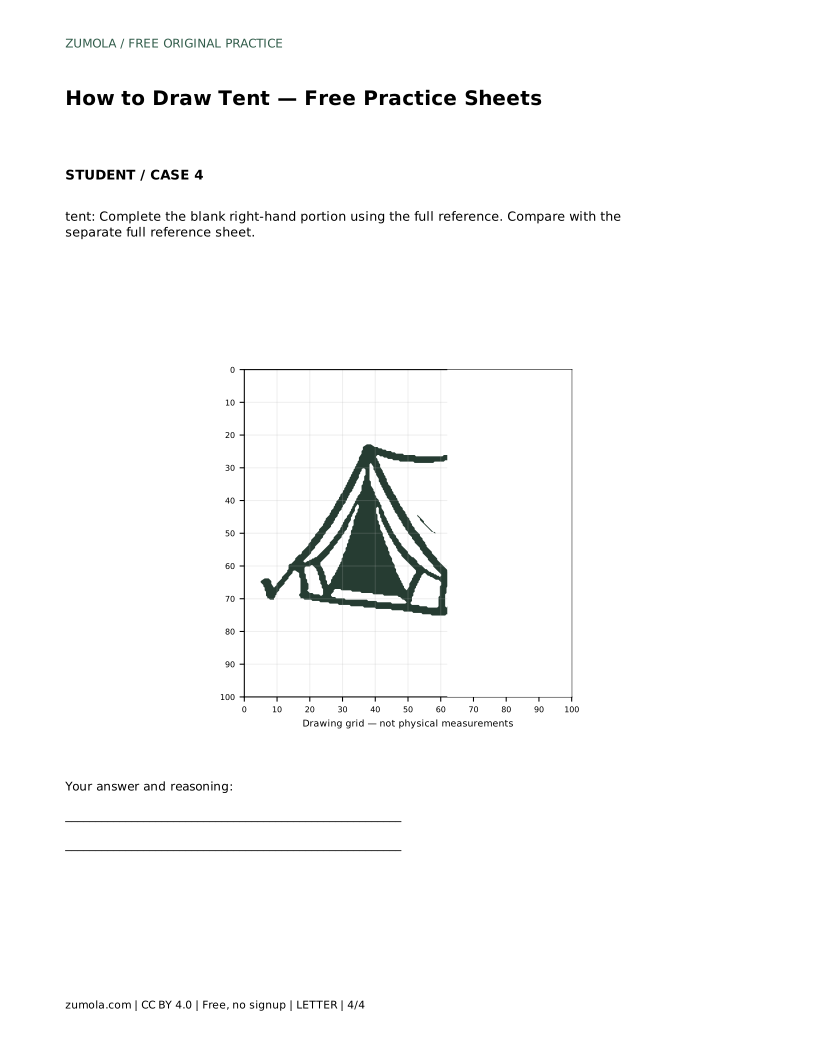
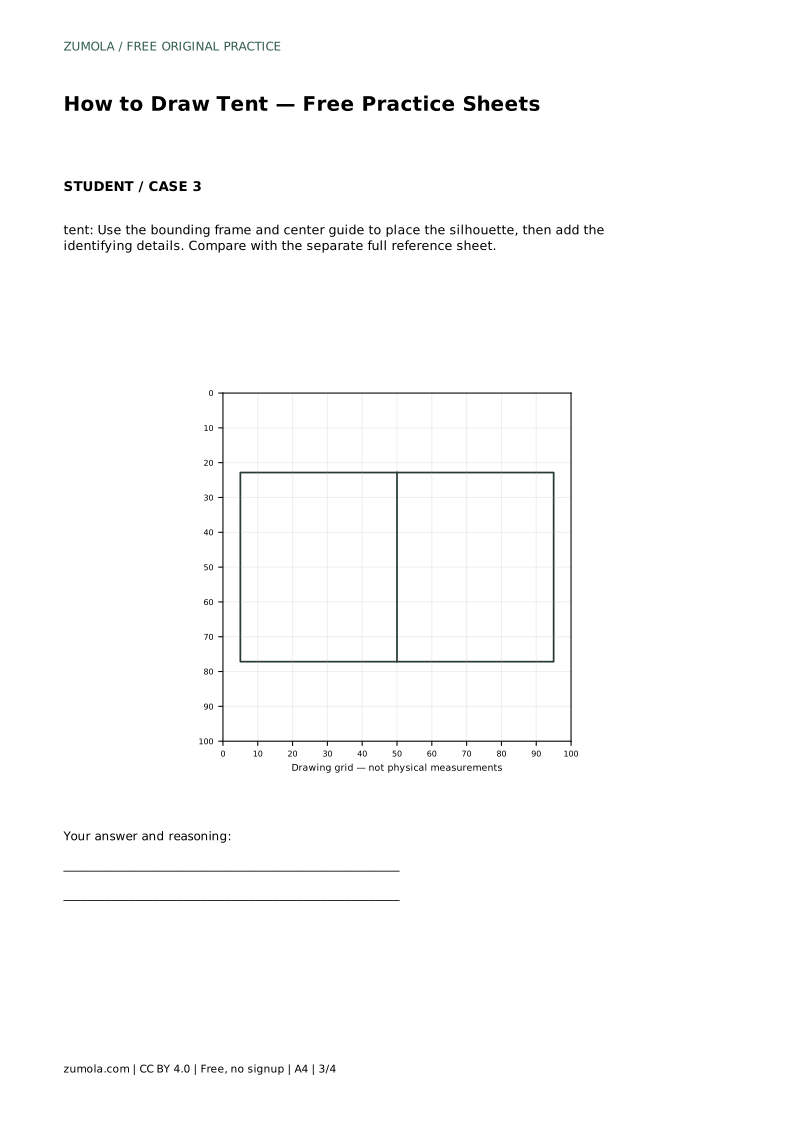
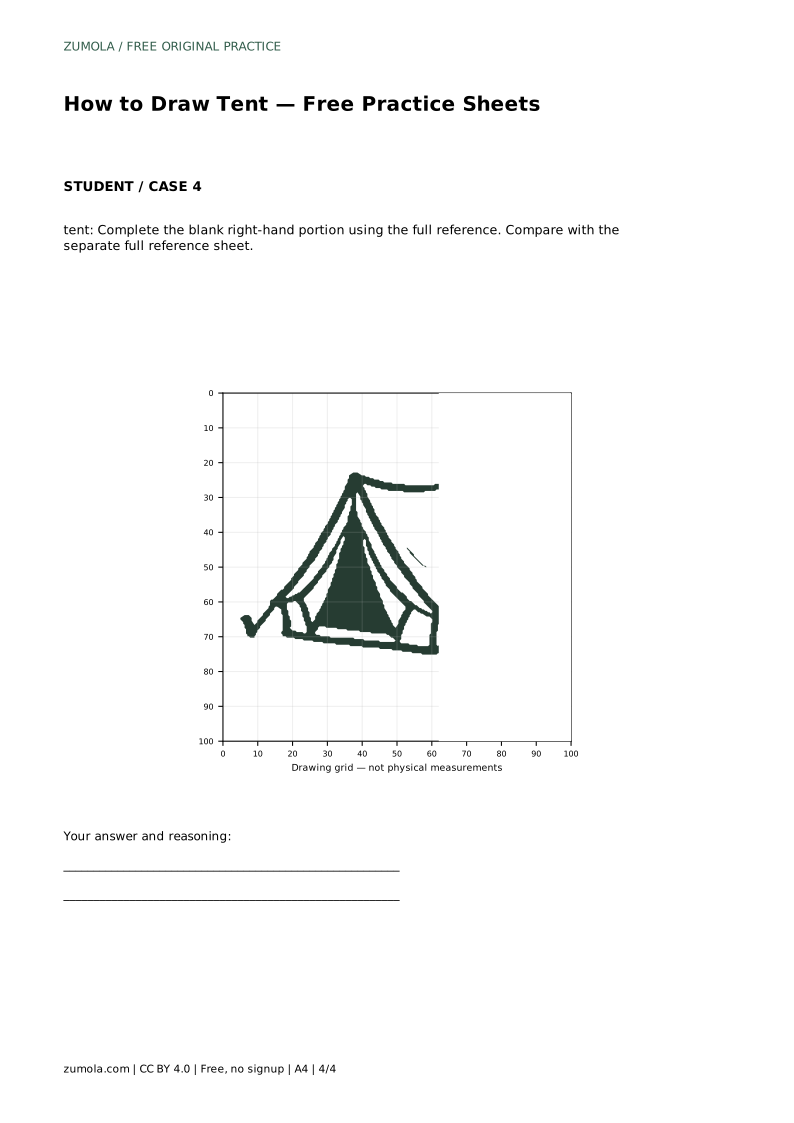
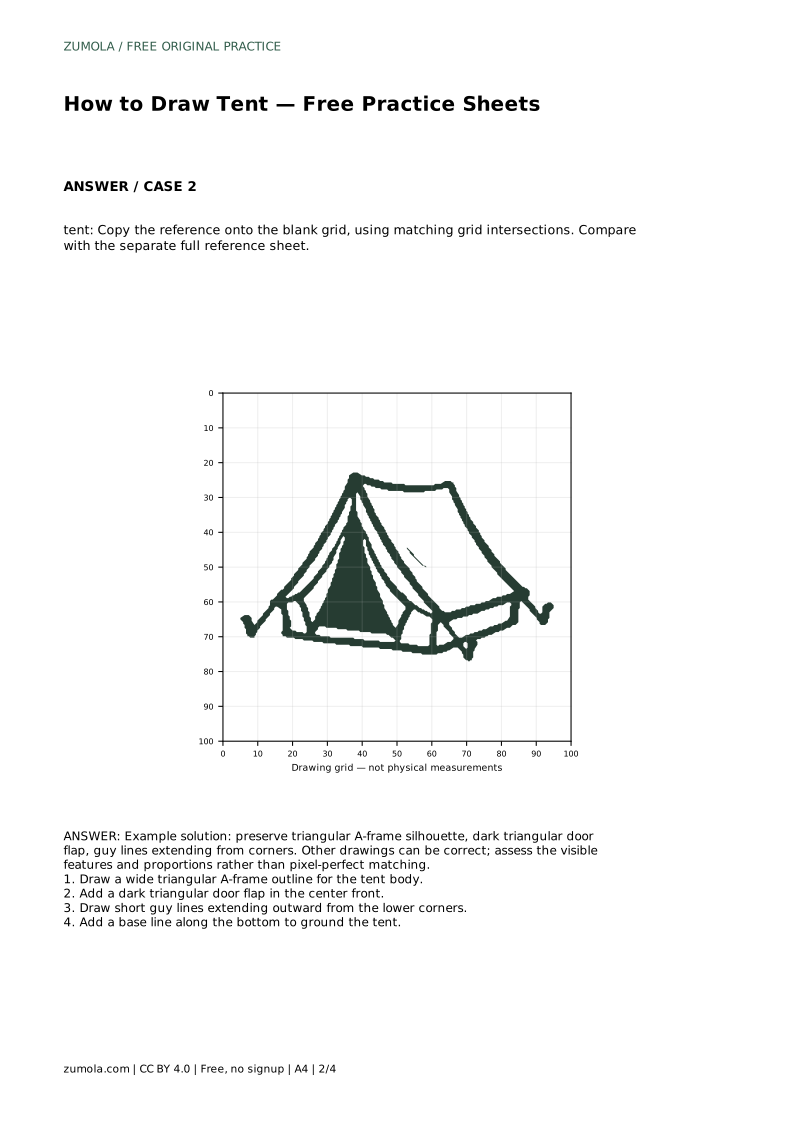
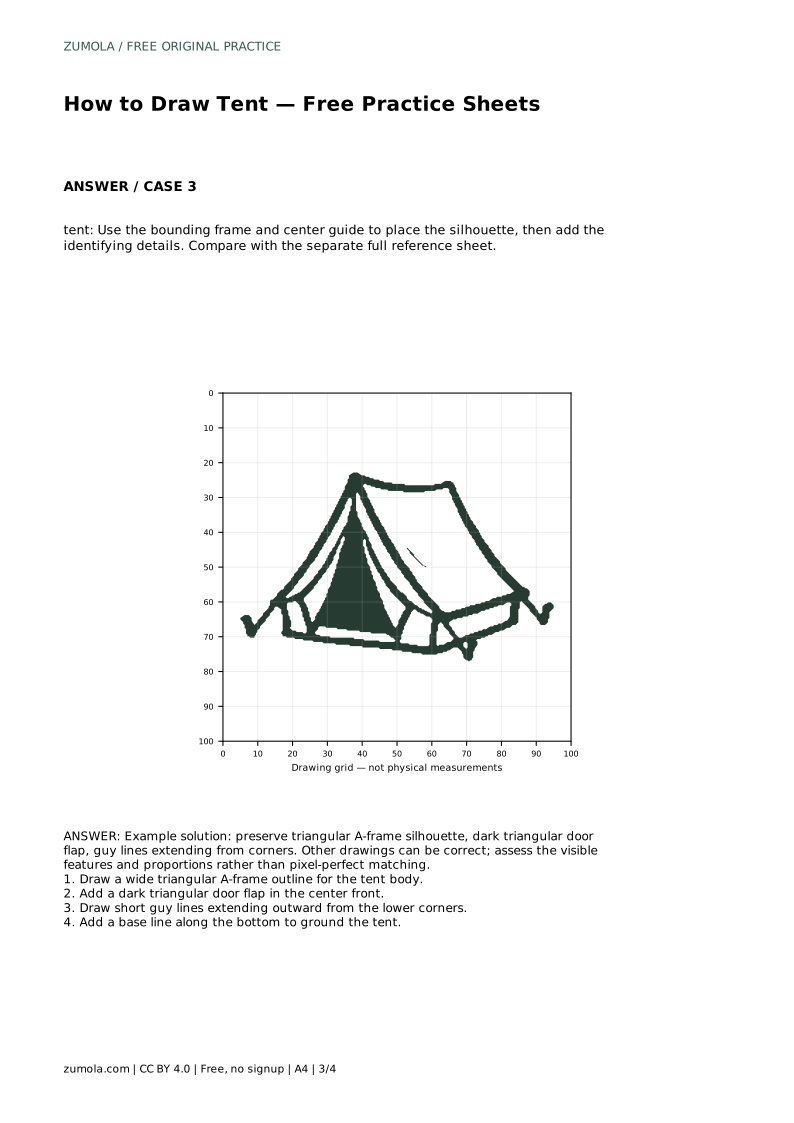
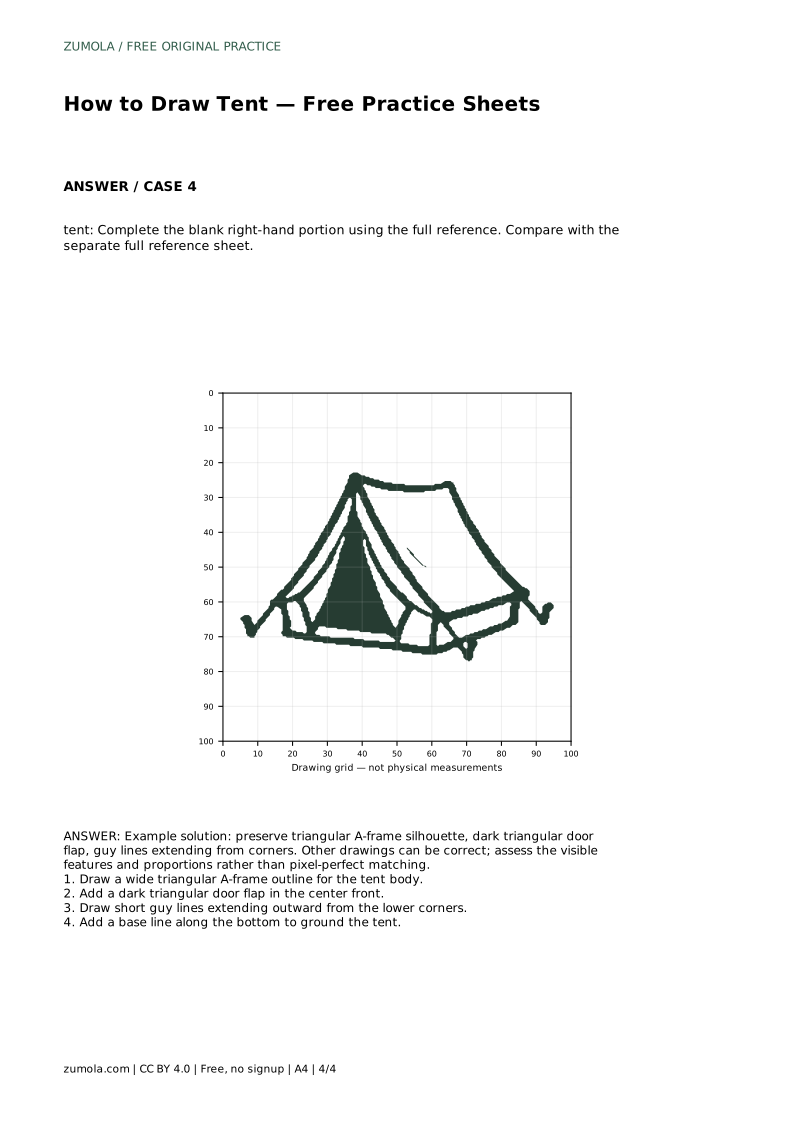
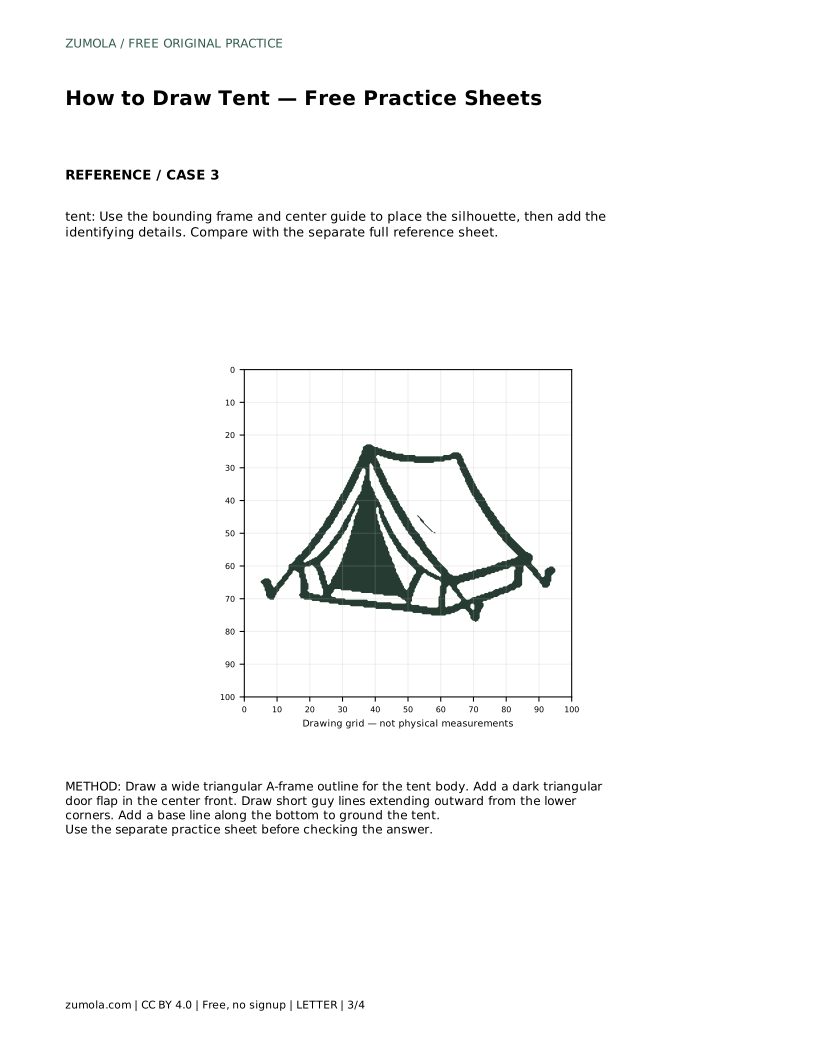
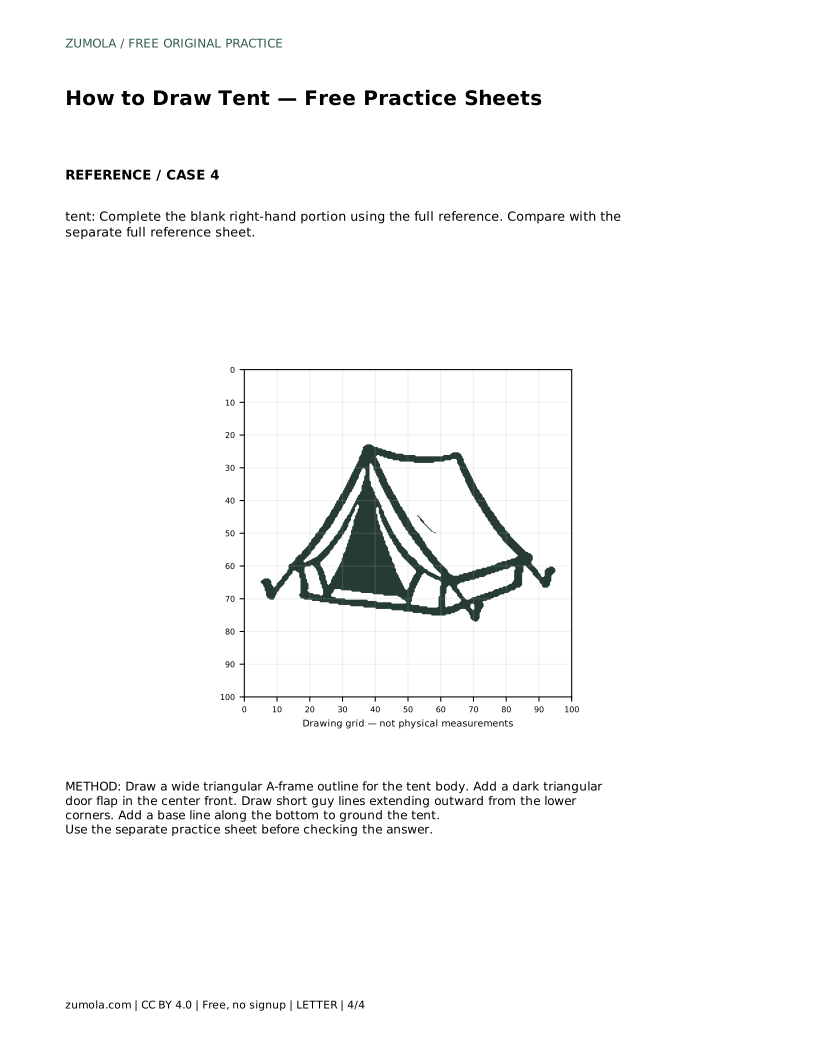
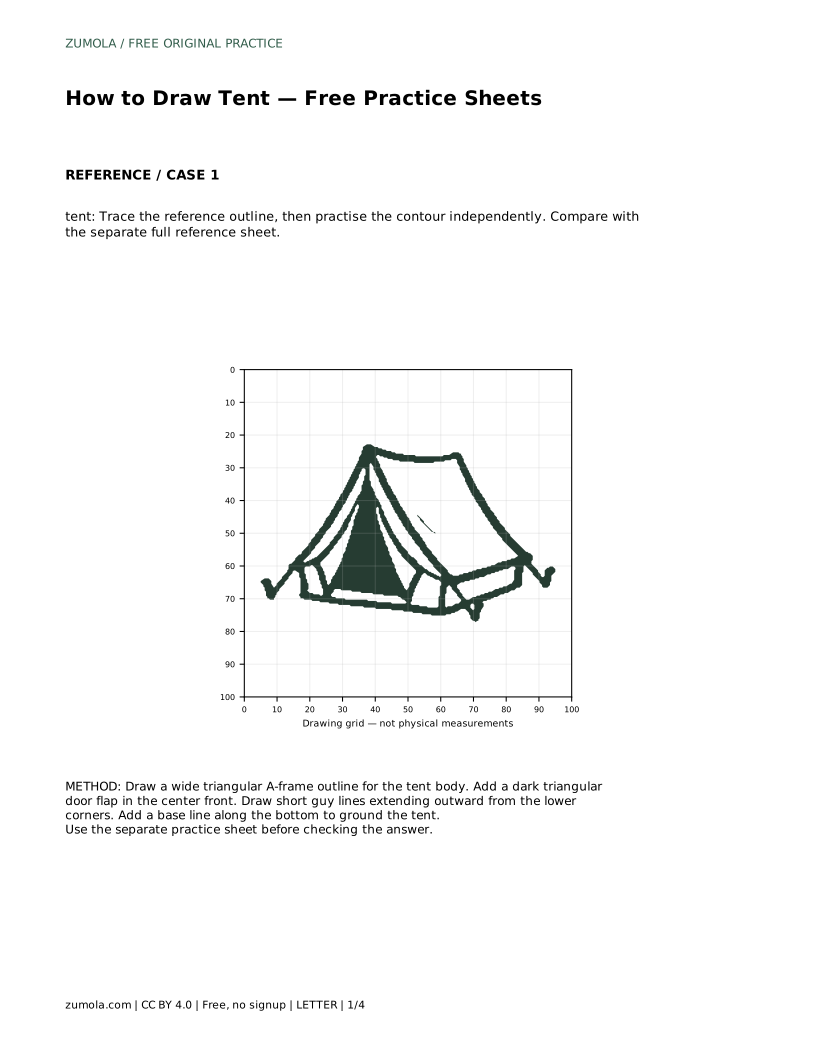
The grid sheet works differently. Copy the reference onto the blank grid by matching where lines cross grid intersections. This forces you to judge position and proportion rather than relying on muscle memory. The bounding-frame sheet gives you a center guide and outer limits, so you decide where the silhouette sits inside that space before adding details. The partial-reference sheet shows only part of the drawing; complete the blank side using the full reference, keeping the peak, base and door aligned across the join.
Tent drawings have many valid outcomes. A narrower tent, a wider door or longer guy lines can all be correct if the structure stays readable. Assess whether the A-frame silhouette is clear, whether the door flap is visibly darker and centered, whether guy lines extend from the lower corners, and whether a base line grounds the shape. Proportions matter more than pixel-perfect alignment with the reference.
Keep the drawing about shelter construction, not anatomy or realism. The guy lines are simple tension lines, not measured ropes, and the door is a shape cue rather than a working opening. If a line looks wrong, redraw that single line rather than starting over; small corrections preserve the overall proportions you have already built.
Most beginner tent drawings fail in one of three places: the base is not level, the door flap floats above the base, or the guy lines point in conflicting directions. Each has a simple correction. A level base line makes the tent look pitched; a door flap that meets the base looks like an entrance; consistent guy-line angles suggest tension. Work through these checks after each attempt and note which one you corrected.
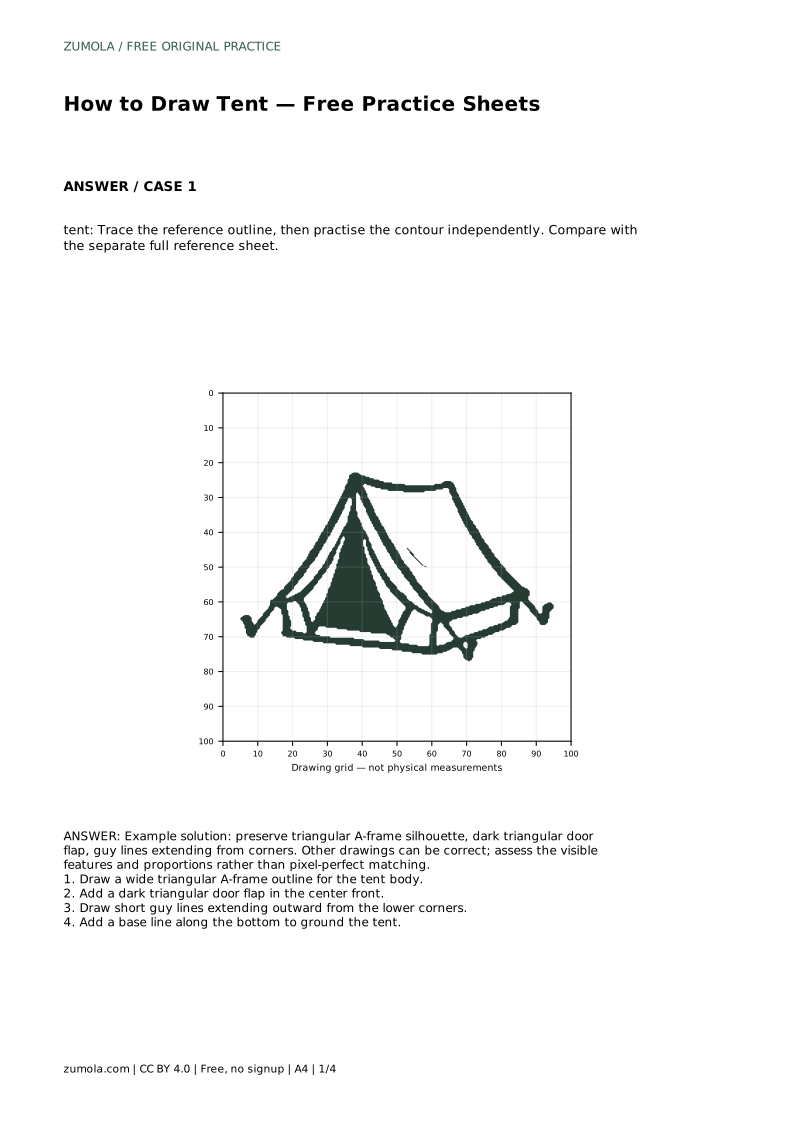
tent: Trace the reference outline, then practise the contour independently. Compare with the separate full reference sheet.
Example solution: preserve triangular A-frame silhouette, dark triangular door flap, guy lines extending from corners. Other drawings can be correct; assess the visible features and proportions rather than pixel-perfect matching. Draw a wide triangular A-frame outline for the tent body. Add a dark triangular door flap in the center front. Draw short guy lines extending outward from the lower corners. Add a base line along the bottom to ground the tent.
No. The reference shows one valid arrangement. Check that the A-frame silhouette, darker door flap, corner guy lines and base line are all present and clearly related.
Tracing develops the contour by following the outline directly. The grid sheet asks you to place lines by matching grid intersections, which trains proportion and position without tracing.
Use the full reference to continue the sloping sides, door flap and base line across the blank area, keeping the peak height and base level consistent with the visible half.
All drawing practice · Free coordinate paper
Original resources · CC BY 4.0 · Free for personal and classroom use with attribution.