Reference diagrams
LETTER · Download PDF
A4 · Download PDF
Free original resources
Learn to draw a bar of soap with a rounded rectangular body, beveled edges, and an inset top oval. Trace, grid, and complete-the-drawing practice included.
Four original cases, with reference diagrams, practice sheets and worked answers. Everything is free; no signup required.
LETTER · Download PDF
A4 · Download PDF
LETTER · Download PDF
A4 · Download PDF
LETTER · Download PDF
A4 · Download PDF
Use A4 or US Letter to match your printer. Use the stated values and conditions to solve each exercise; diagrams are not physical measuring rulers.
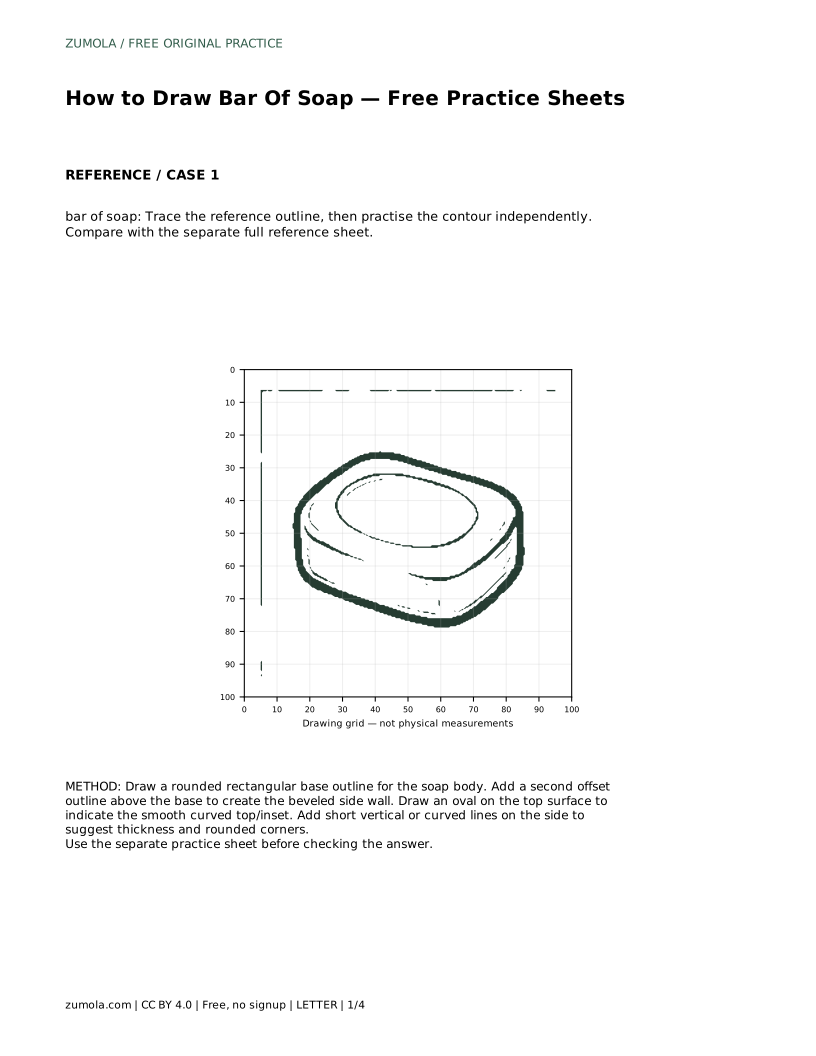
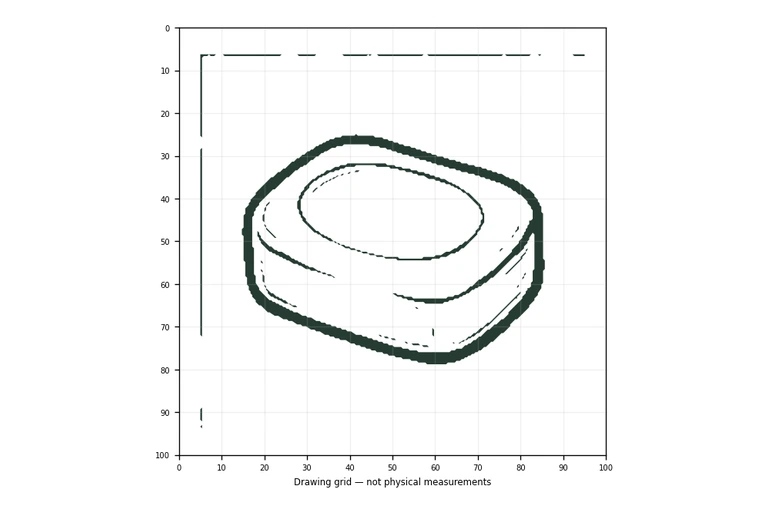
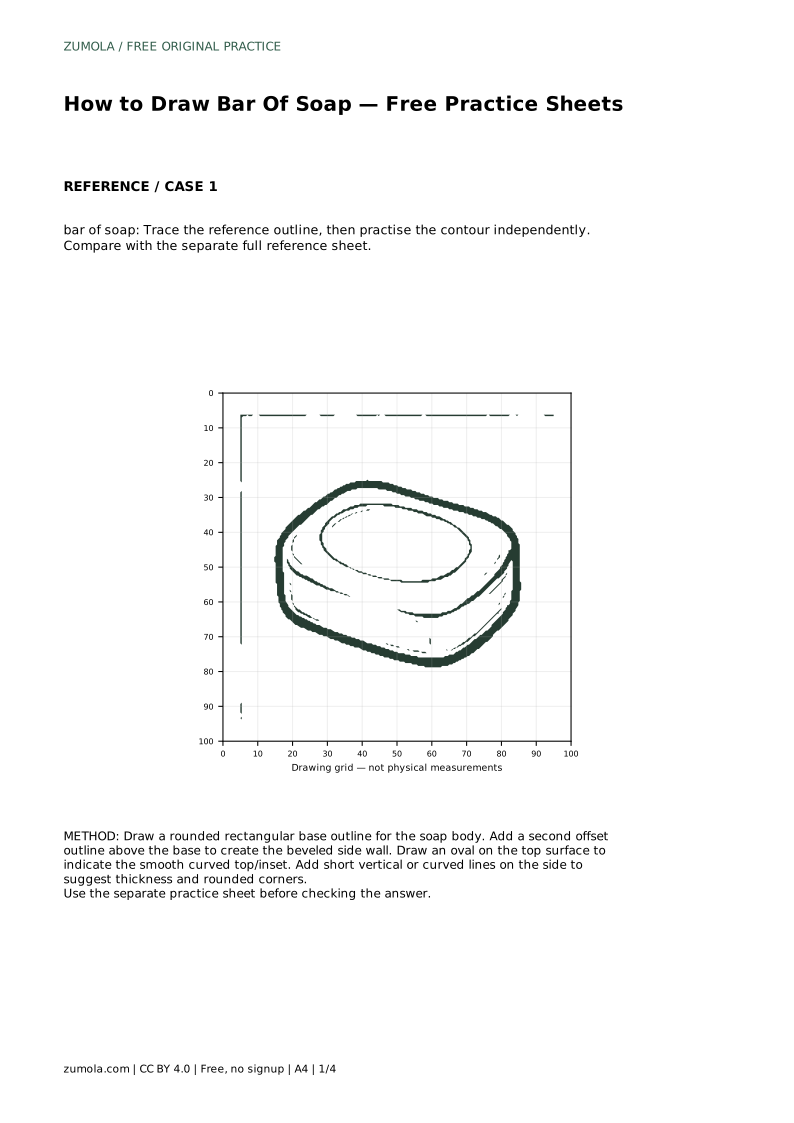
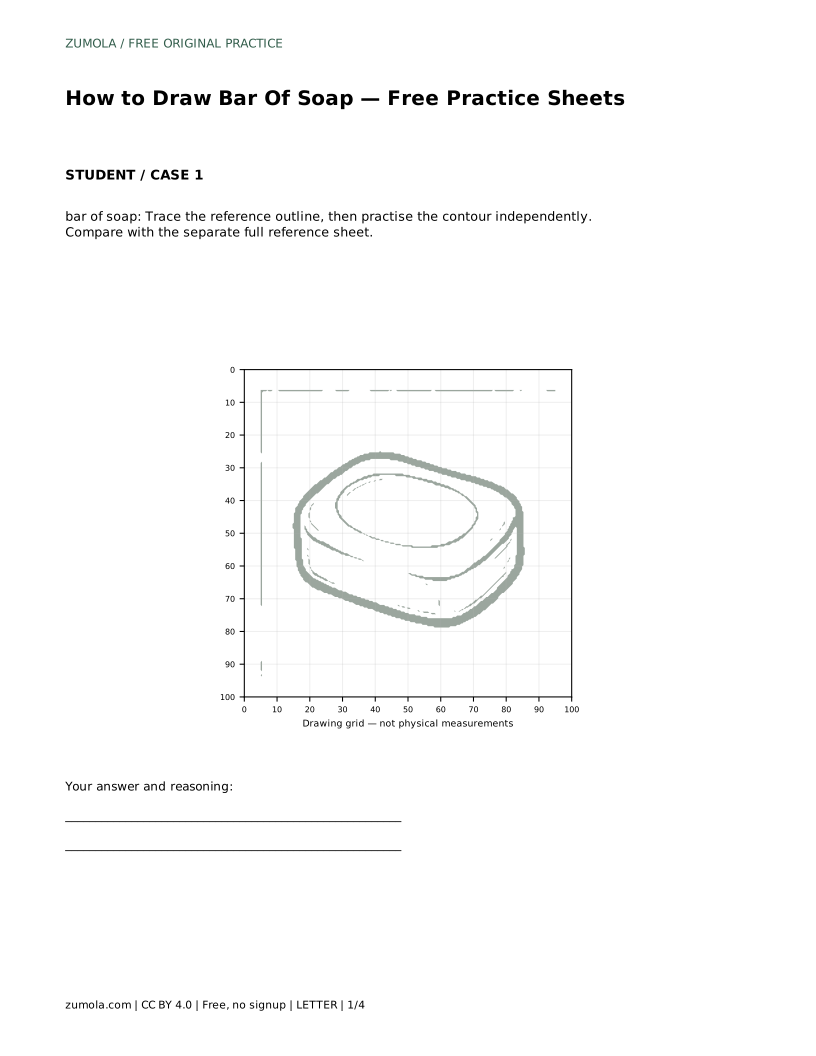
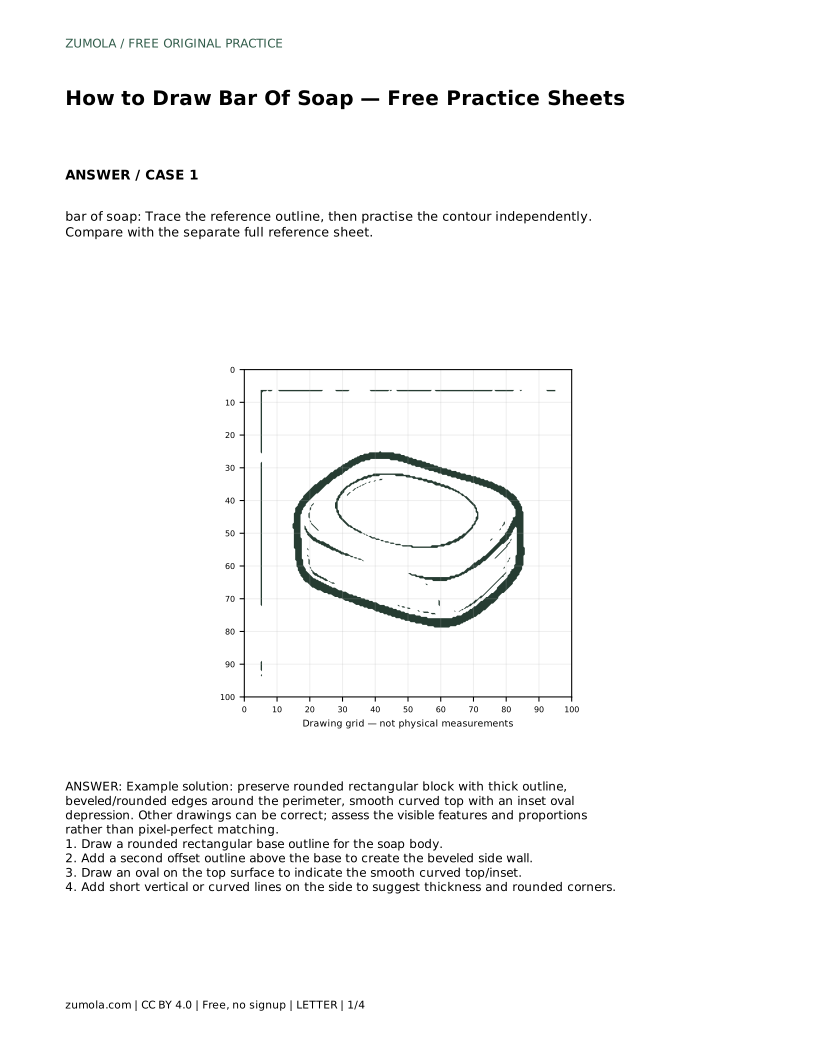
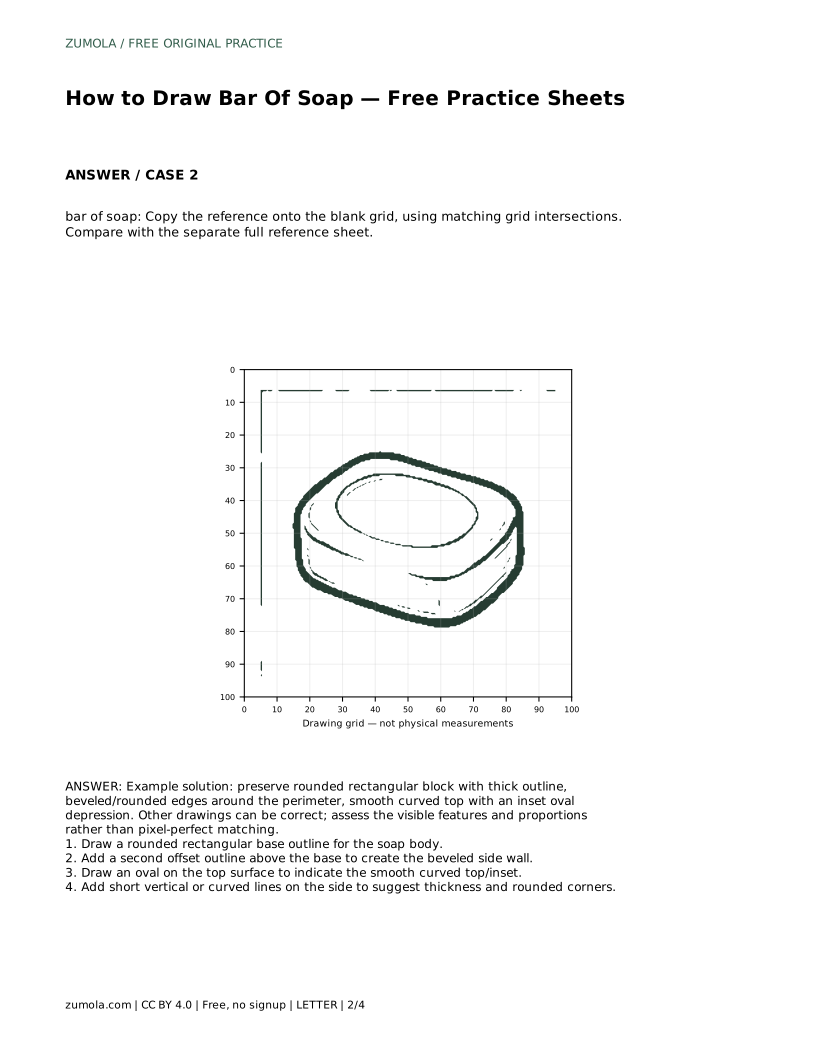
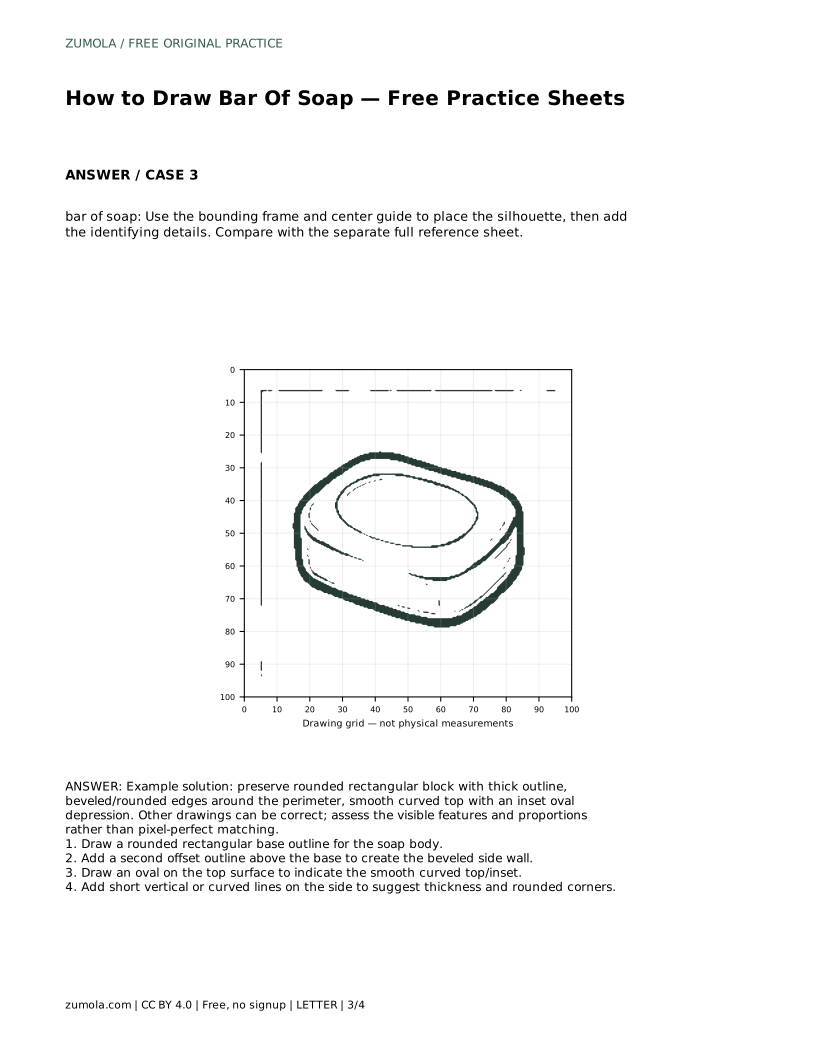
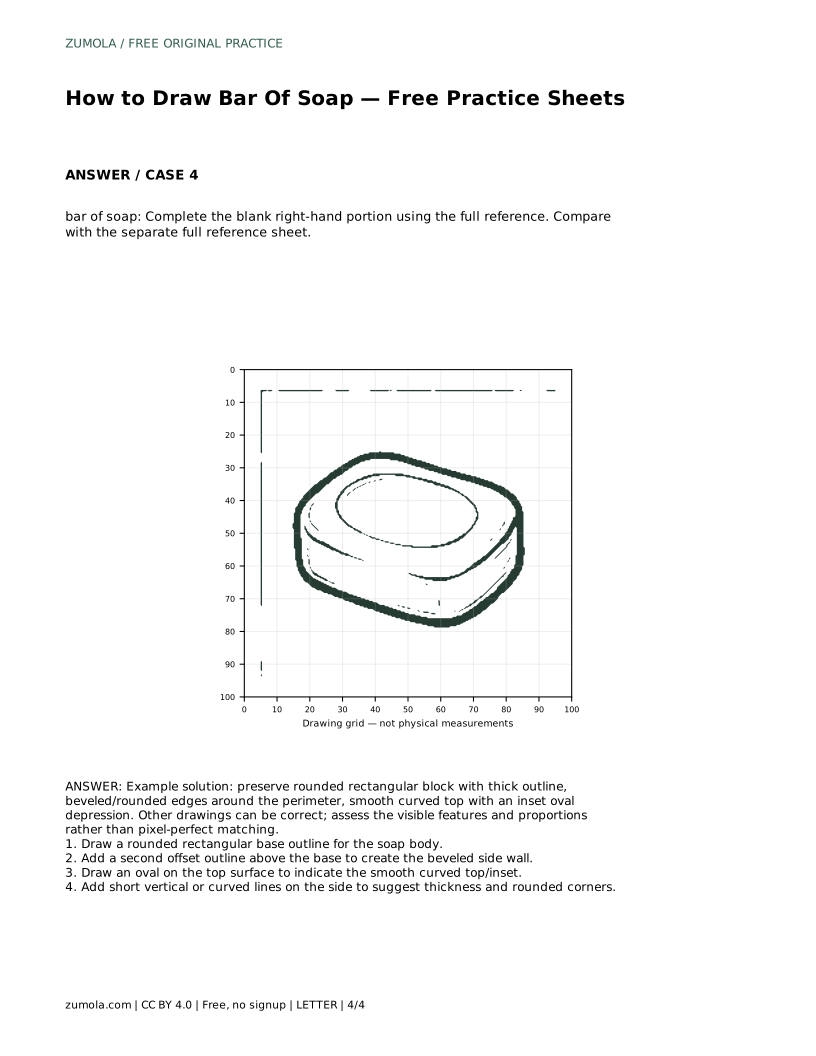
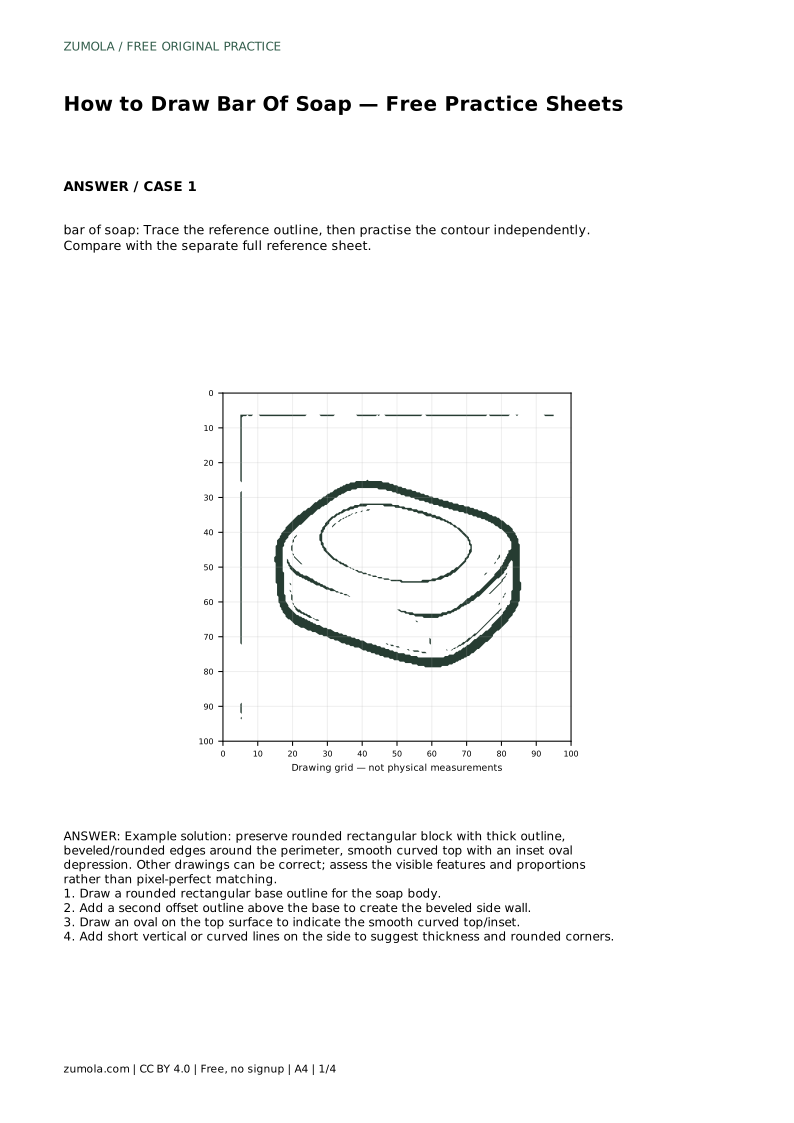
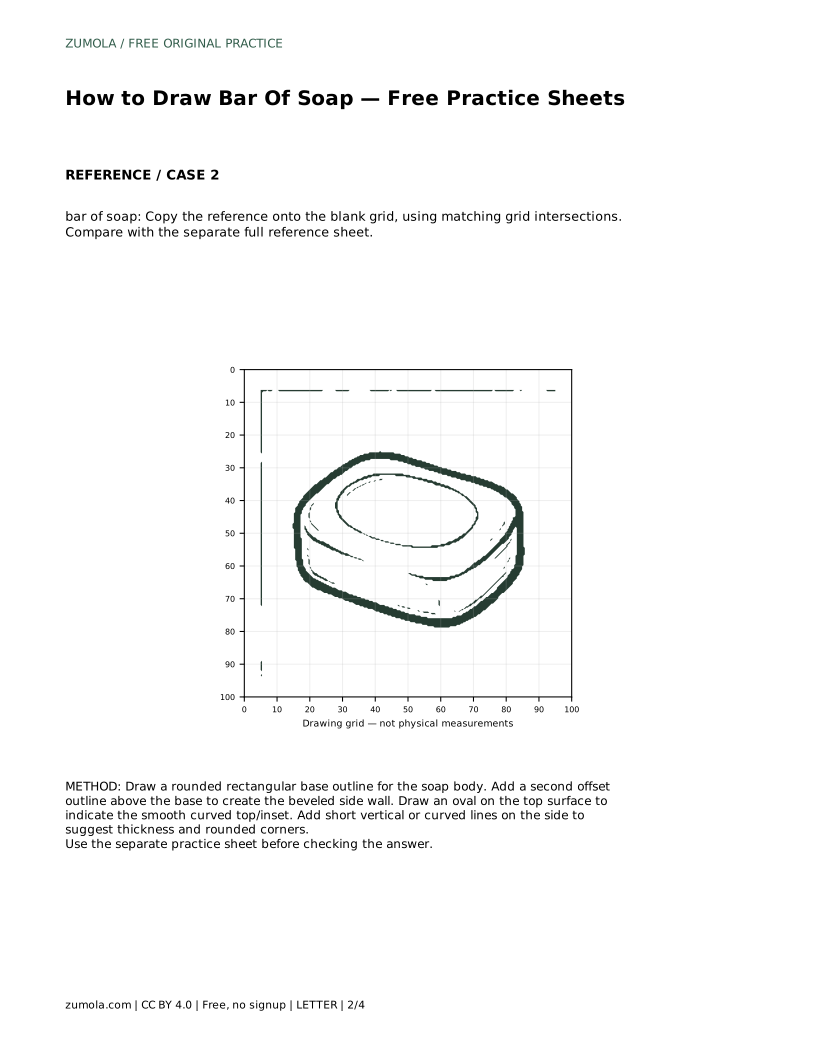
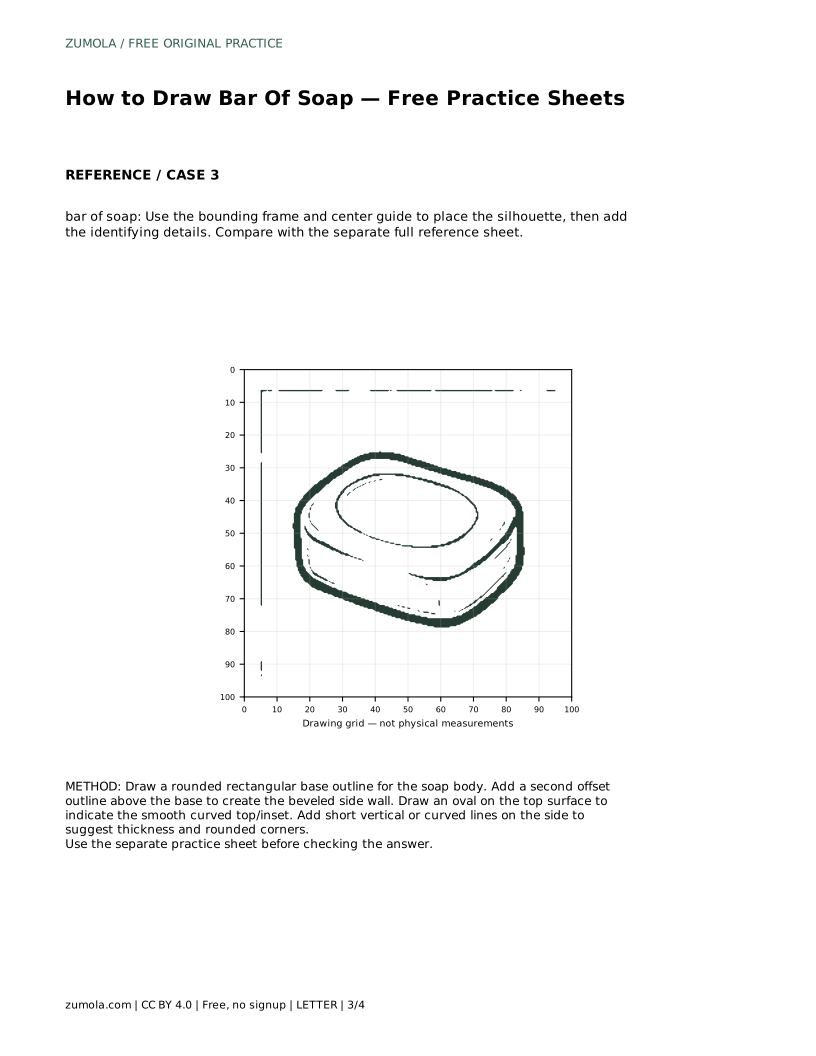
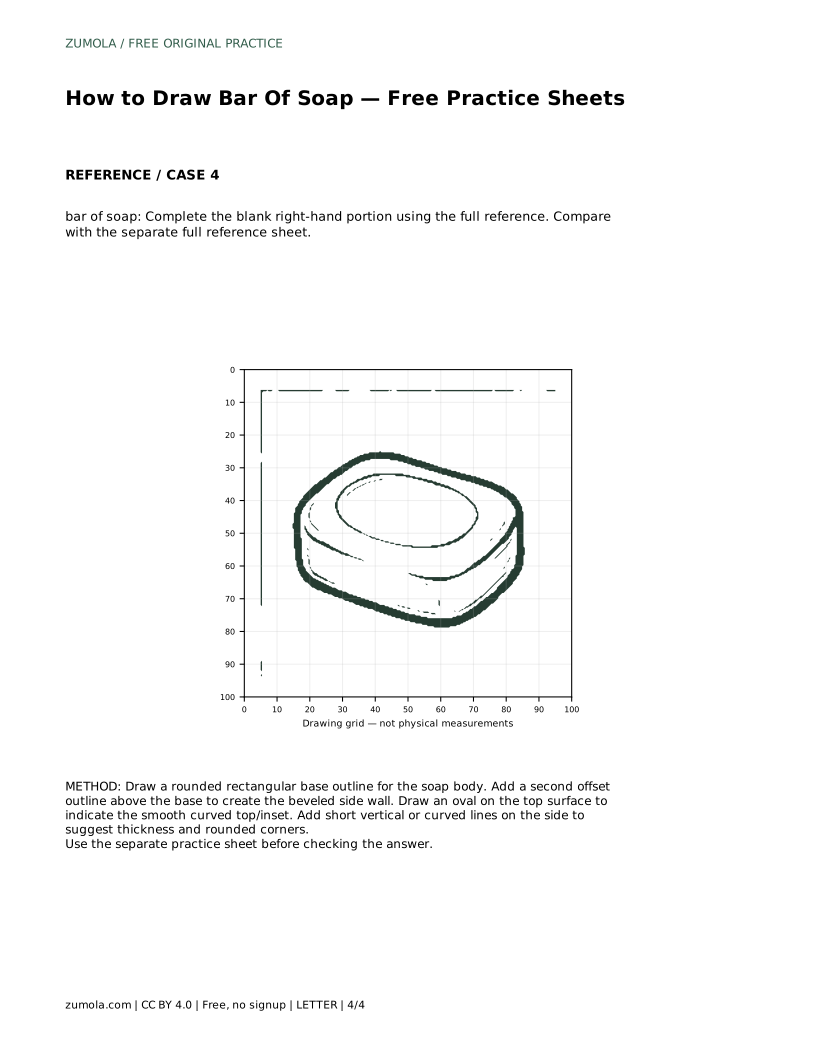
A bar of soap is a simple subject that rewards careful looking. Its outline is a rounded rectangle, but the drawing only feels solid when you show the beveled side wall and the smooth top surface. This page explains how to build that shape step by step, then use the practice sheets to trace the reference, copy it onto a grid, place it inside a bounding frame, or complete a partially drawn version.
Begin by drawing a rounded rectangle for the soap body. Keep the corners curved rather than sharp, because a soap bar has softened edges all the way around its perimeter. Check that the rectangle is wider than it is tall, and leave room above it for the top surface. A light outline is easier to adjust than a heavy one, so sketch softly first and darken the line once the proportions look right.
The base outline is the footprint of the bar. Everything else you add should sit above or inside it, so get this shape settled before moving on.
A second offset outline above the base creates the beveled side wall. Offset means the new line follows the same rounded rectangular path but sits slightly higher and slightly inward, so the gap between the two lines reads as the thickness of the soap. Keep the gap fairly even around the perimeter; an uneven gap makes the bar look twisted rather than solid.
Short vertical or curved lines on the side can suggest thickness and rounded corners. Place them where the side wall meets the base, and keep them brief so they support the shape instead of cluttering it.
The top of the bar is a smooth curved surface. Draw an oval on the top surface to indicate that curve, and place a smaller inset oval inside it if your reference shows a depression. The oval should sit within the top area rather than crossing the beveled edge, and it should feel centered relative to the body.
Once the oval is placed, compare your drawing with the separate full reference sheet. Look at the overall silhouette first, then the bevel, then the oval. Adjusting one part at a time keeps the drawing coherent.
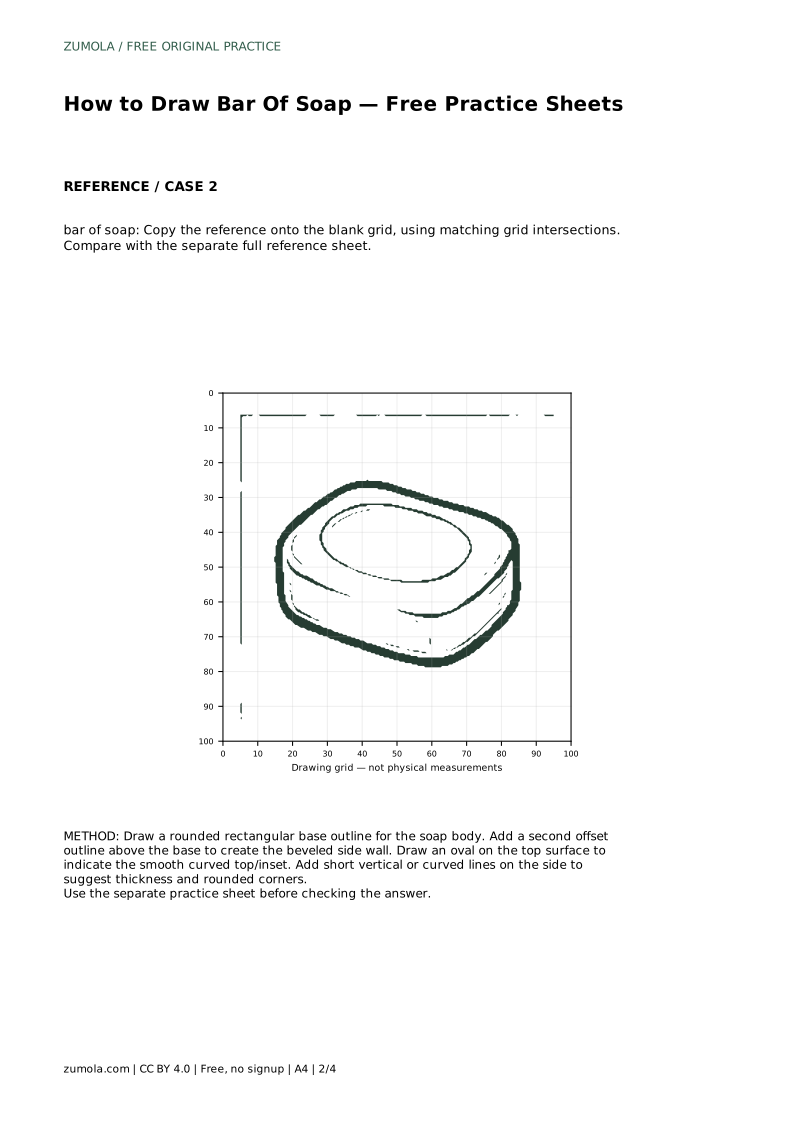
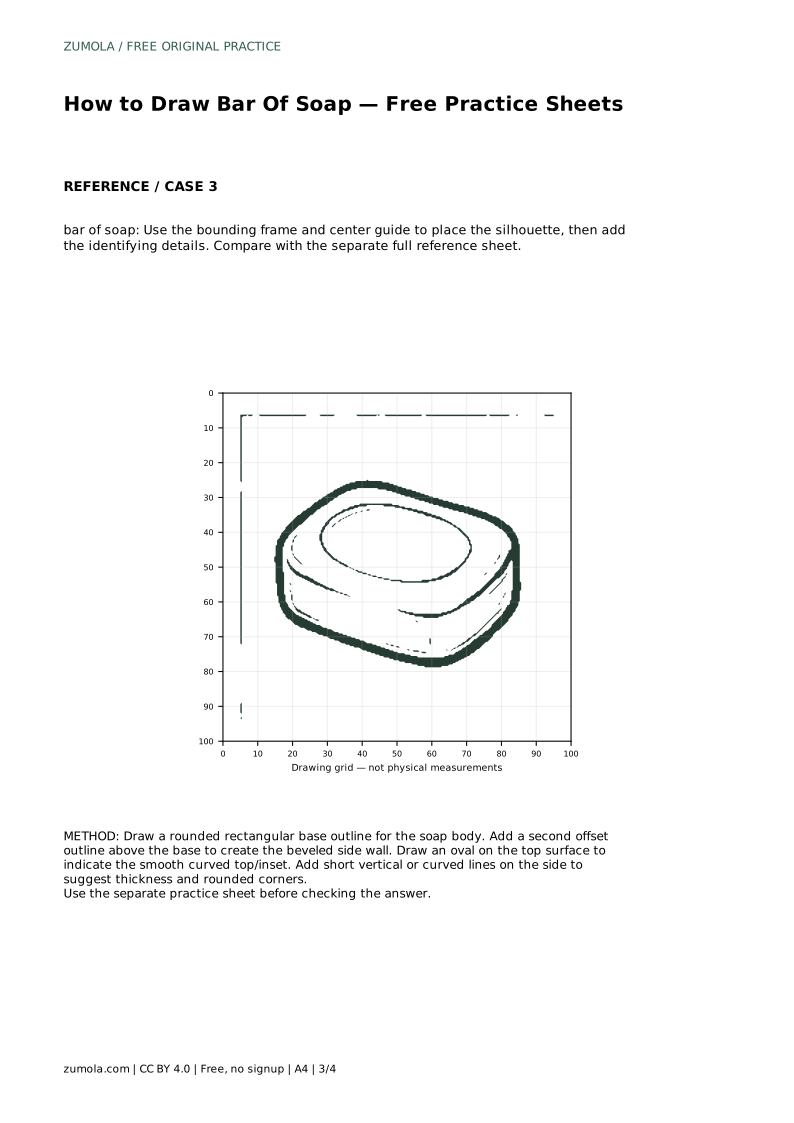
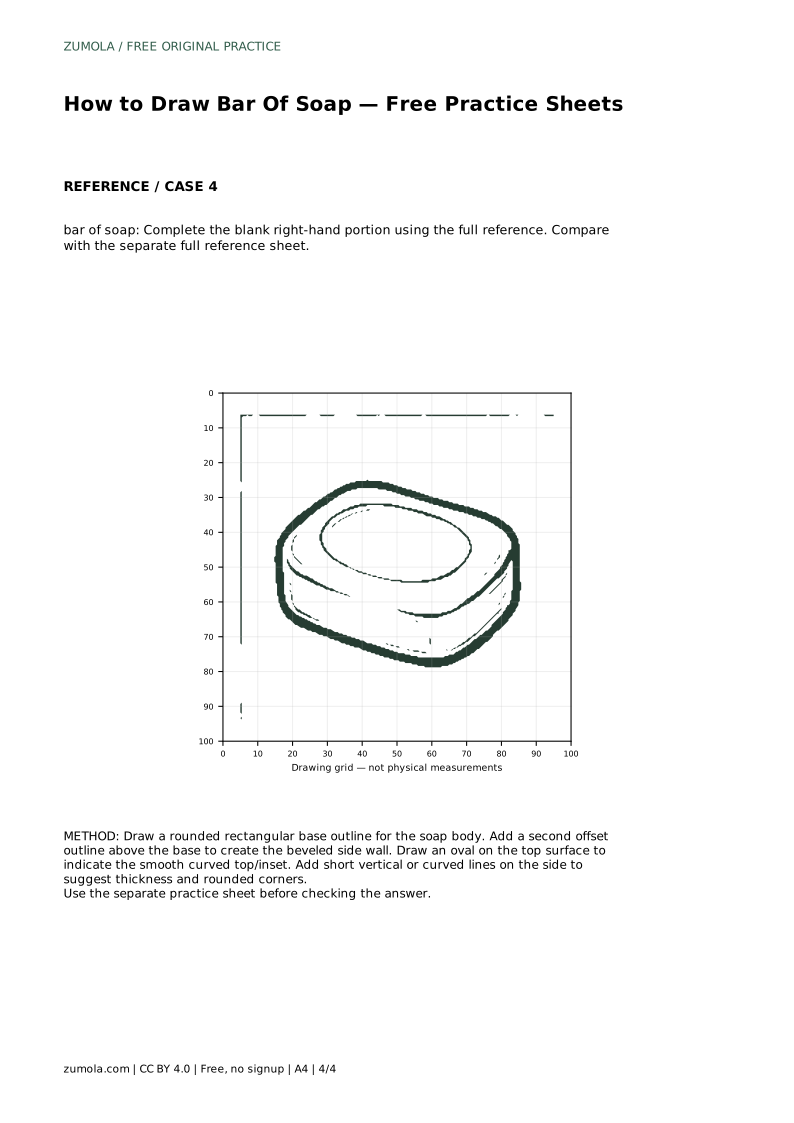
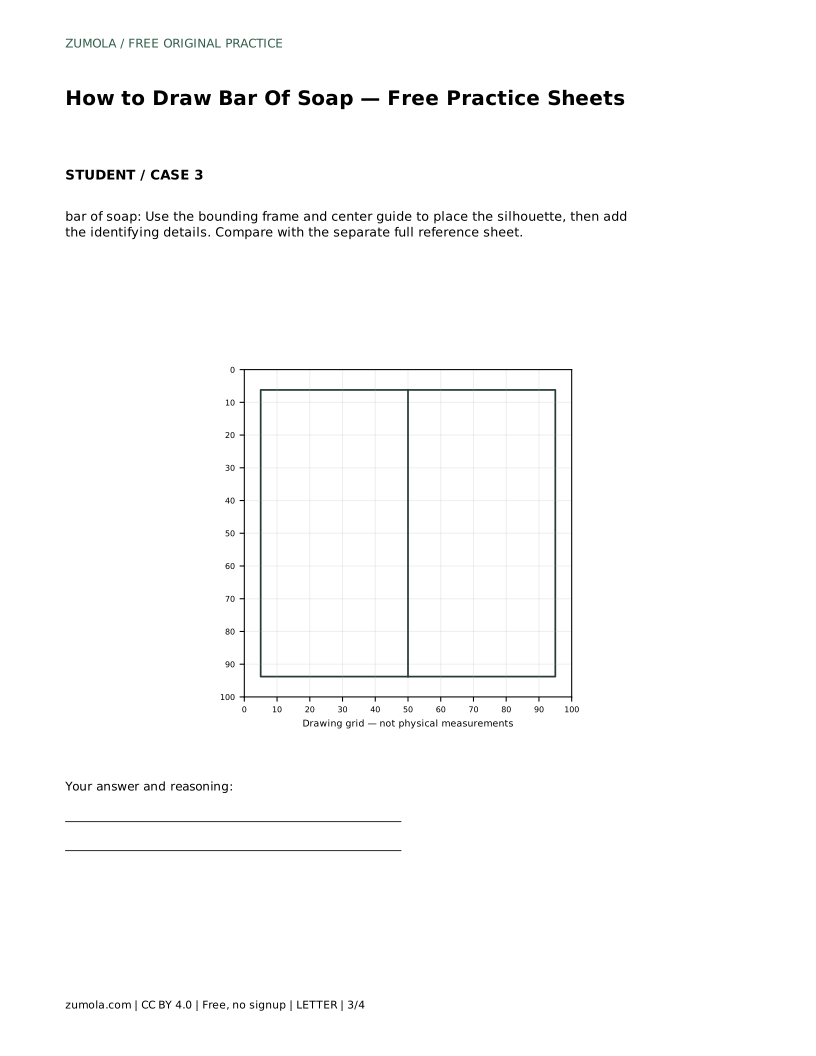
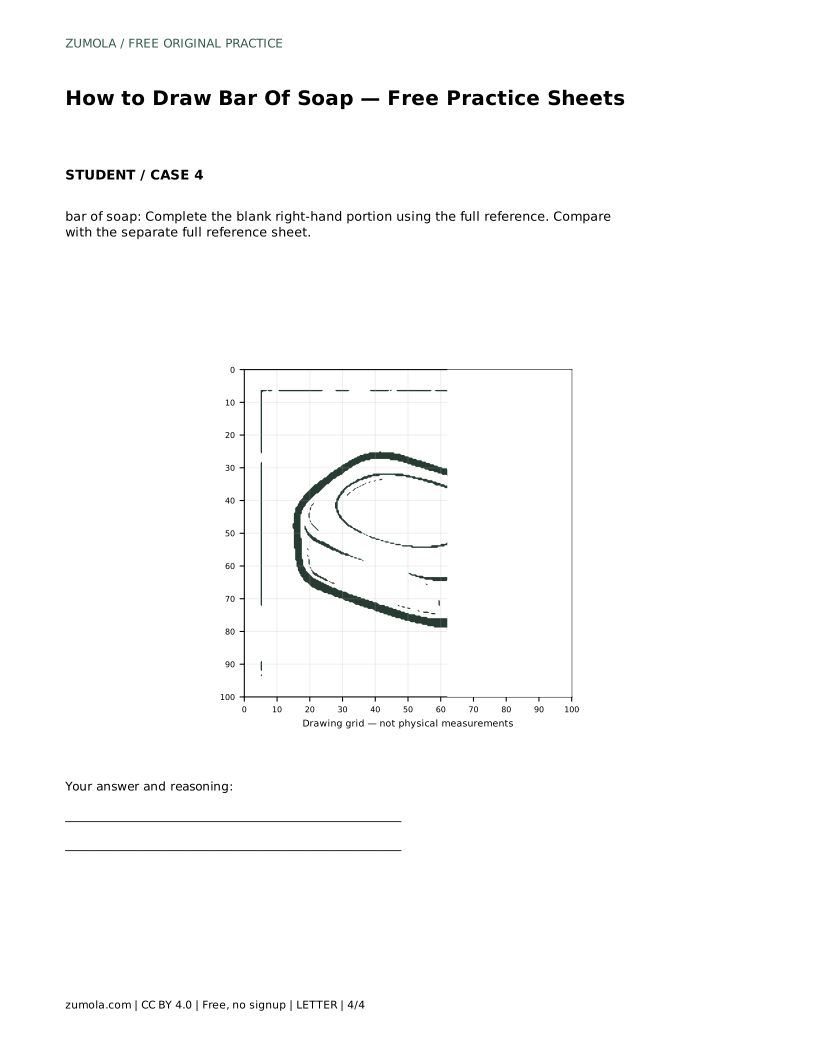
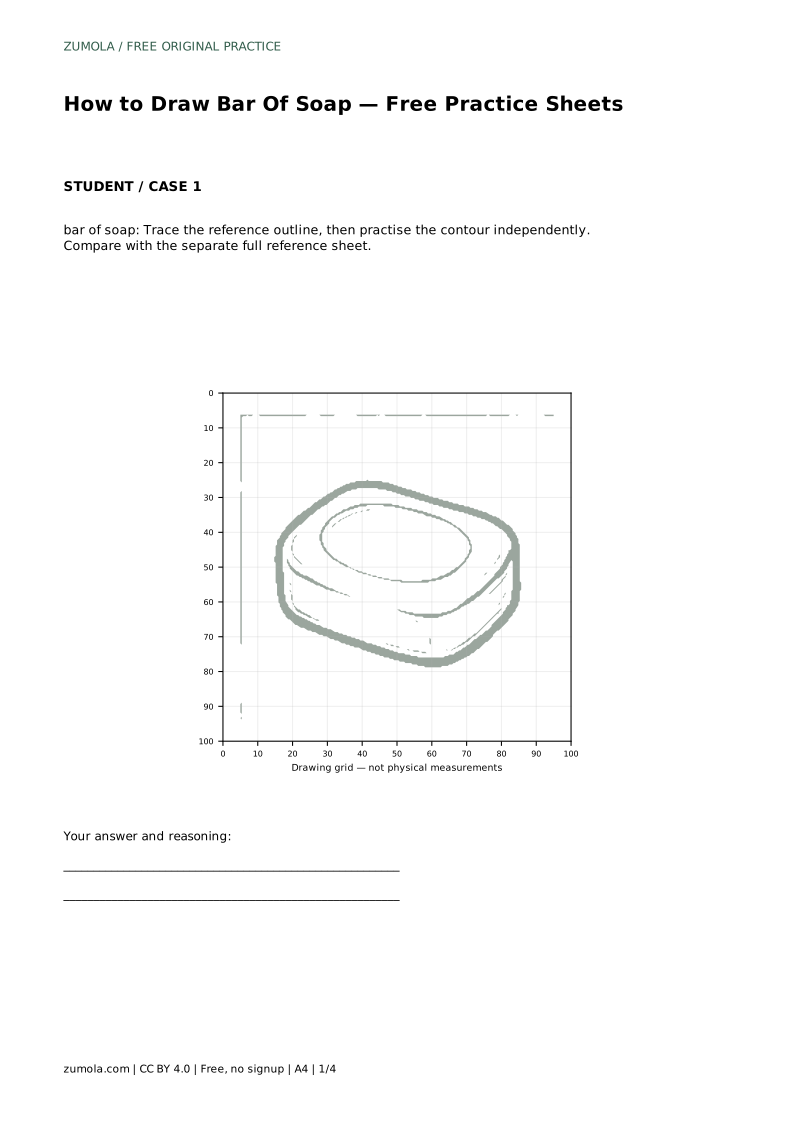
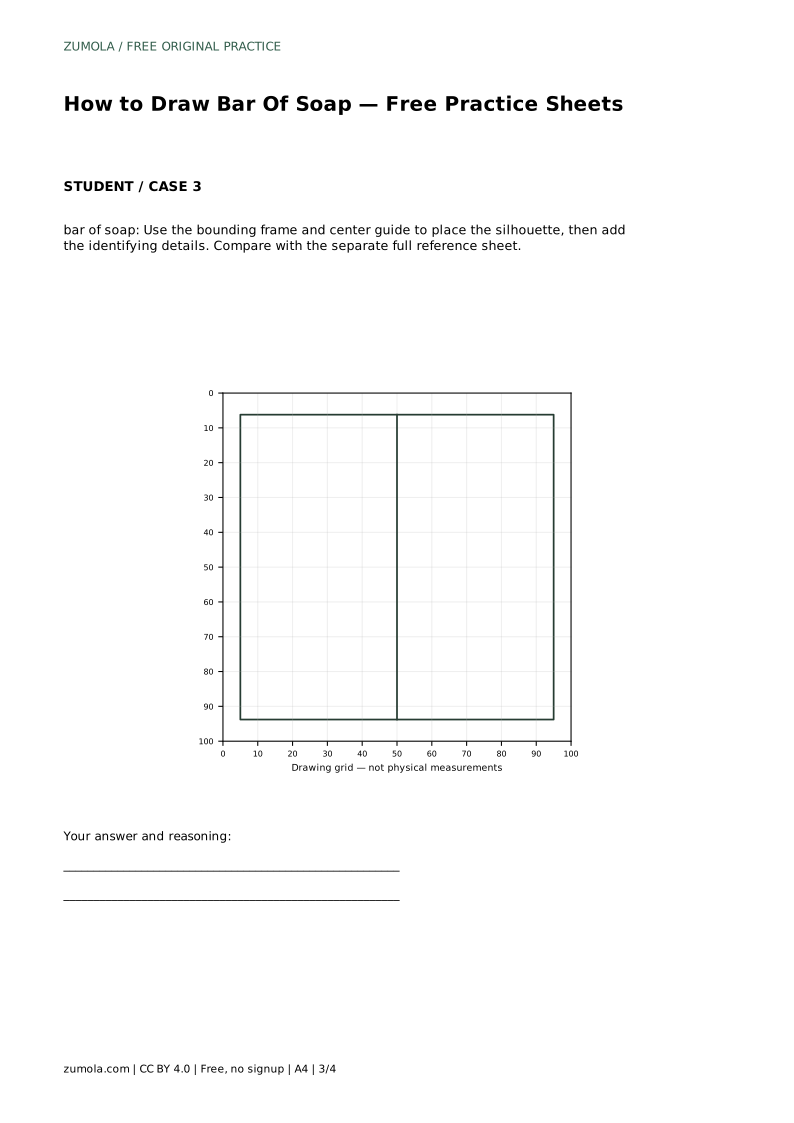
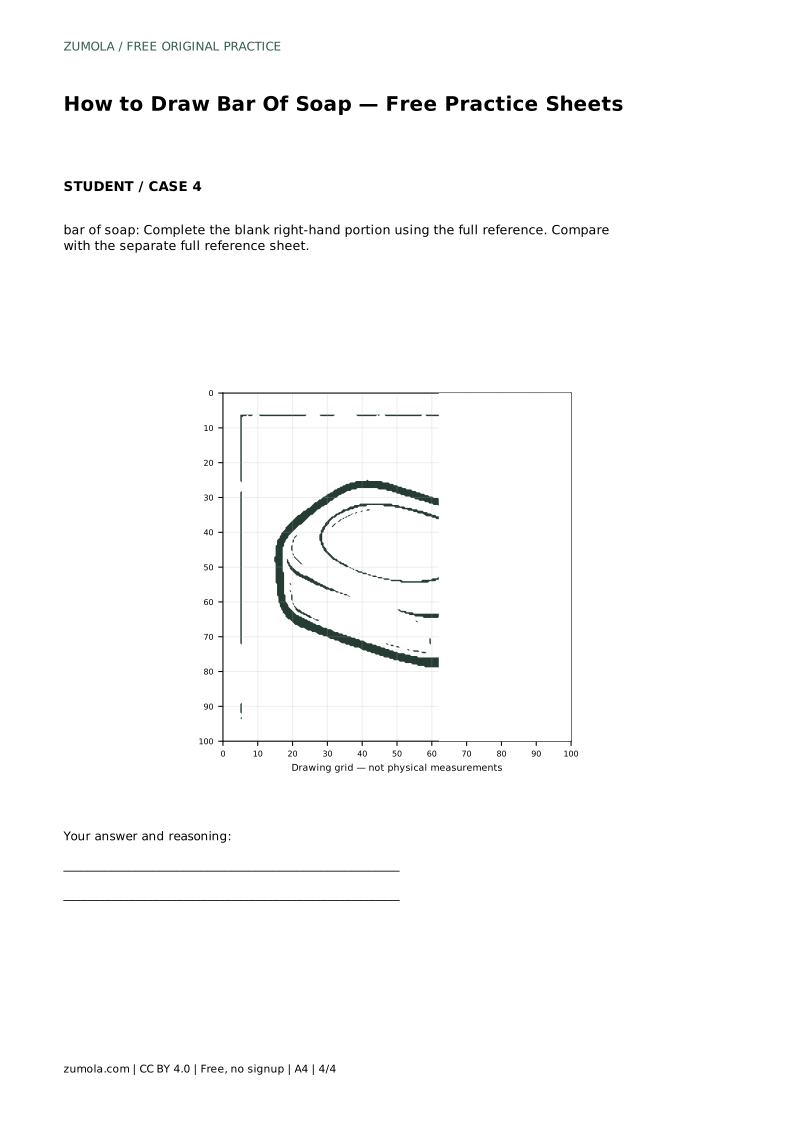
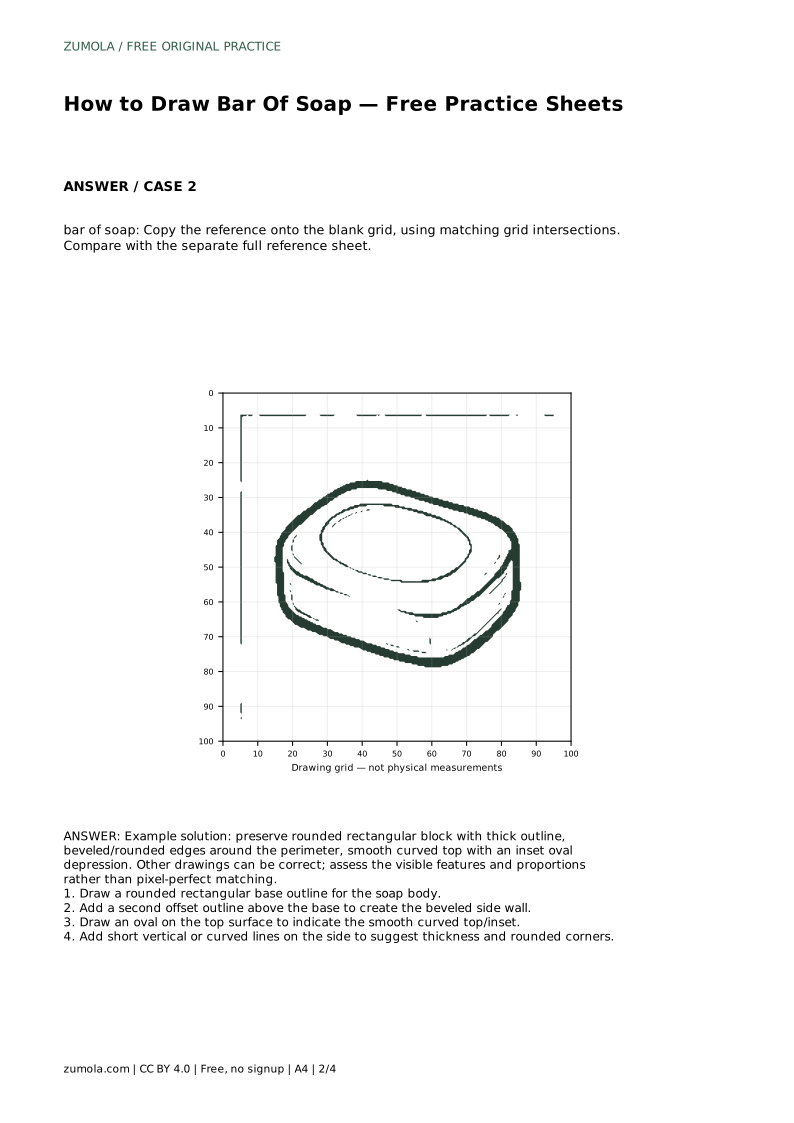
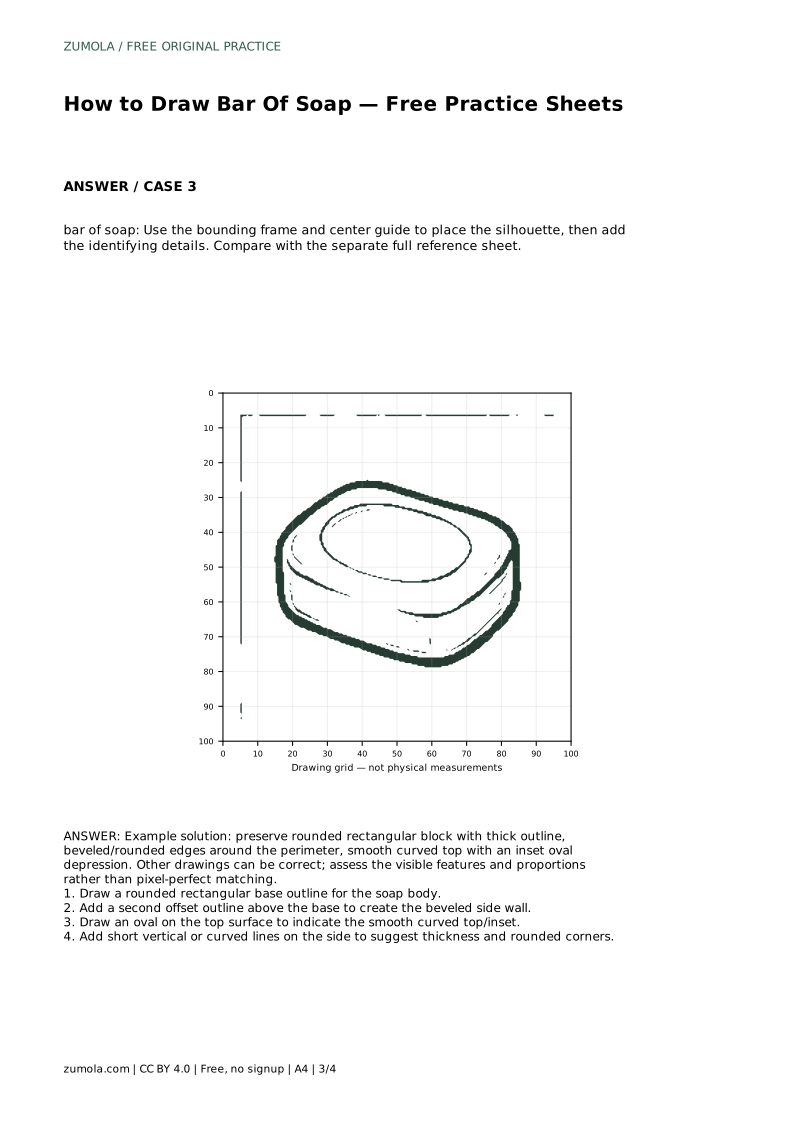
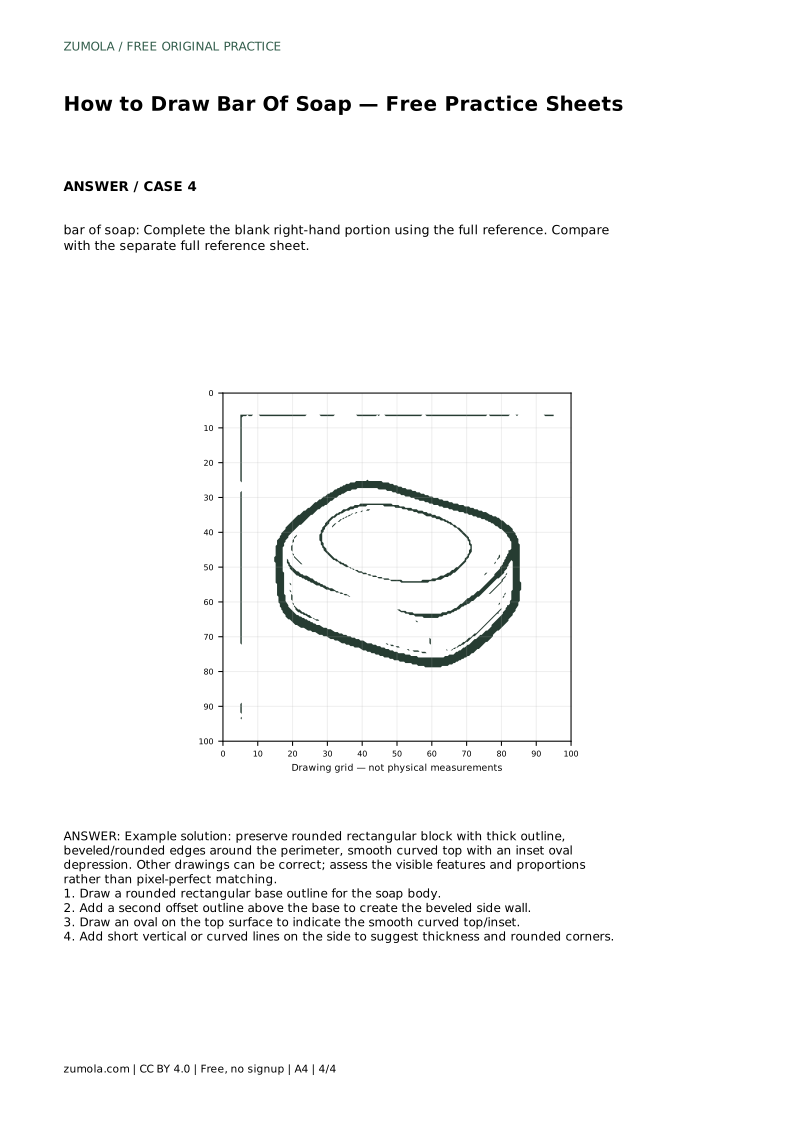
The trace version asks you to follow the reference outline, then practise the contour independently. The grid version asks you to copy the reference onto the blank grid using matching grid intersections, which helps you judge where each curve begins and ends. The bounding frame and center guide version helps you place the silhouette before adding identifying details. The complete-the-drawing version gives you the left portion and asks you to finish the blank right-hand portion using the full reference.
In every format, compare your work with the separate full reference sheet rather than expecting a pixel-perfect match. Different drawings can be correct as long as the visible features and proportions hold together.
bar of soap: Trace the reference outline, then practise the contour independently. Compare with the separate full reference sheet.
Example solution: preserve rounded rectangular block with thick outline, beveled/rounded edges around the perimeter, smooth curved top with an inset oval depression. Other drawings can be correct; assess the visible features and proportions rather than pixel-perfect matching. Draw a rounded rectangular base outline for the soap body. Add a second offset outline above the base to create the beveled side wall. Draw an oval on the top surface to indicate the smooth curved top/inset. Add short vertical or curved lines on the side to suggest thickness and rounded corners.
No. Other drawings can be correct. Assess the visible features and proportions rather than pixel-perfect matching.
Draw the rounded rectangular base first, then the offset outline for the beveled side wall, then the oval on the top surface, then short side lines for thickness.
The beveled side wall is probably missing or too narrow. A second offset outline above the base gives the bar visible thickness.
All drawing practice · Free coordinate paper
Original resources · CC BY 4.0 · Free for personal and classroom use with attribution.