Reference diagrams
LETTER · Download PDF
A4 · Download PDF
Free original resources
Learn to draw a refrigerator by building a tall rounded body, a door seam, two handles, feet, and a small upper-door detail. Practice sheets support tracing, grids, and completion.
Four original cases, with reference diagrams, practice sheets and worked answers. Everything is free; no signup required.
LETTER · Download PDF
A4 · Download PDF
LETTER · Download PDF
A4 · Download PDF
LETTER · Download PDF
A4 · Download PDF
Use A4 or US Letter to match your printer. Use the stated values and conditions to solve each exercise; diagrams are not physical measuring rulers.
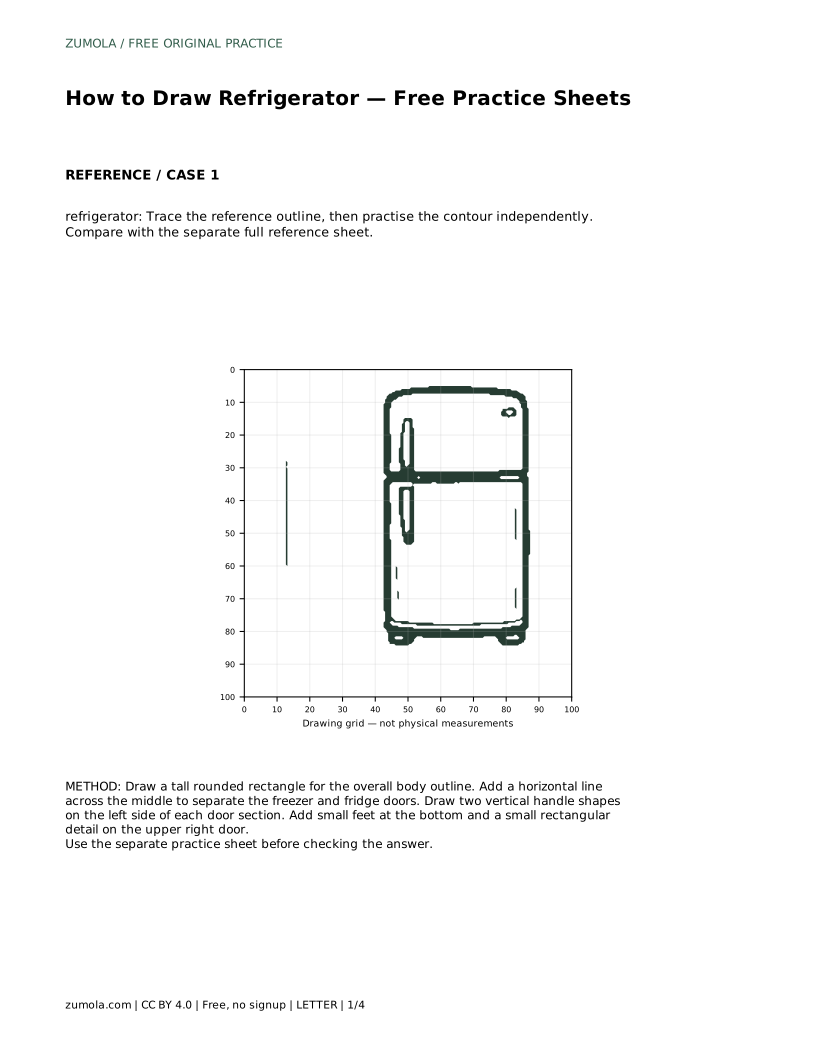
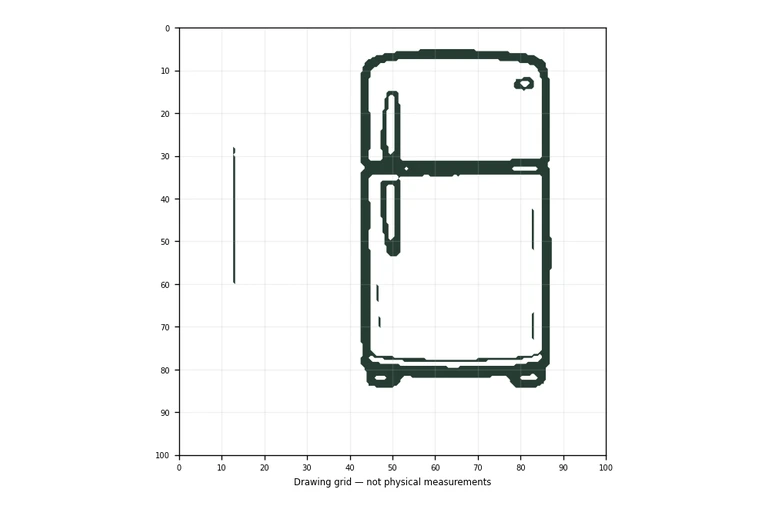
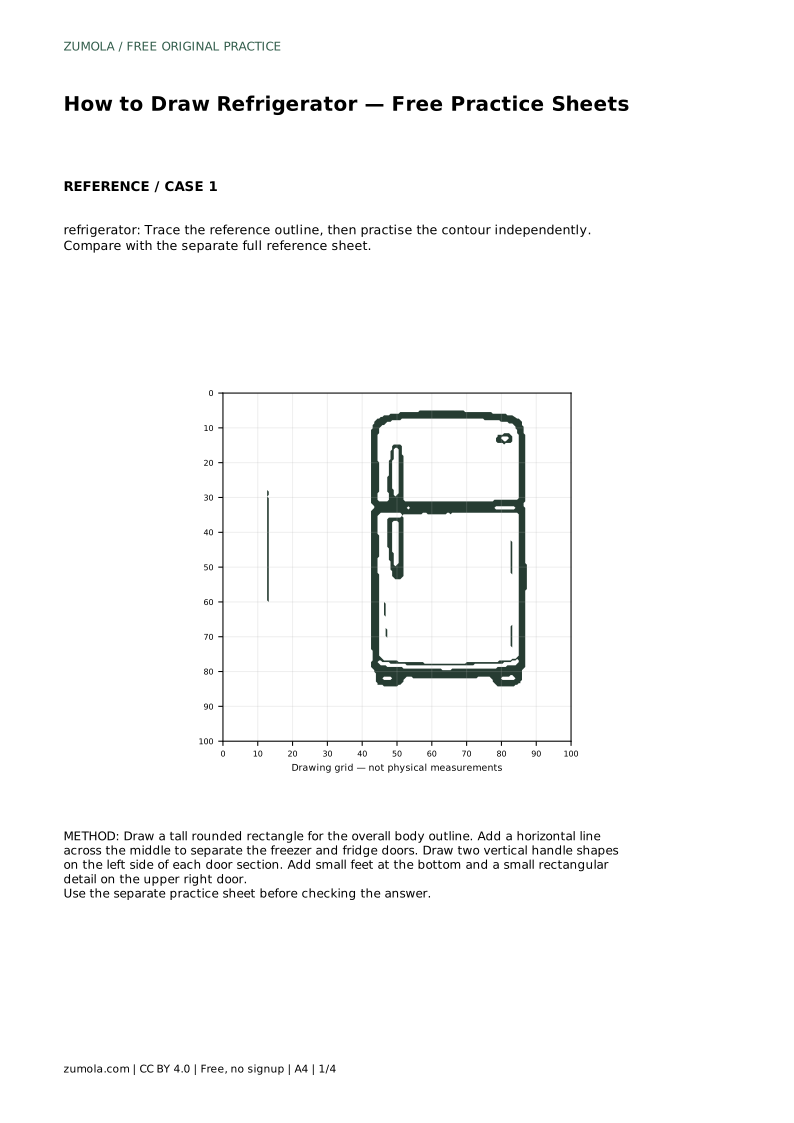
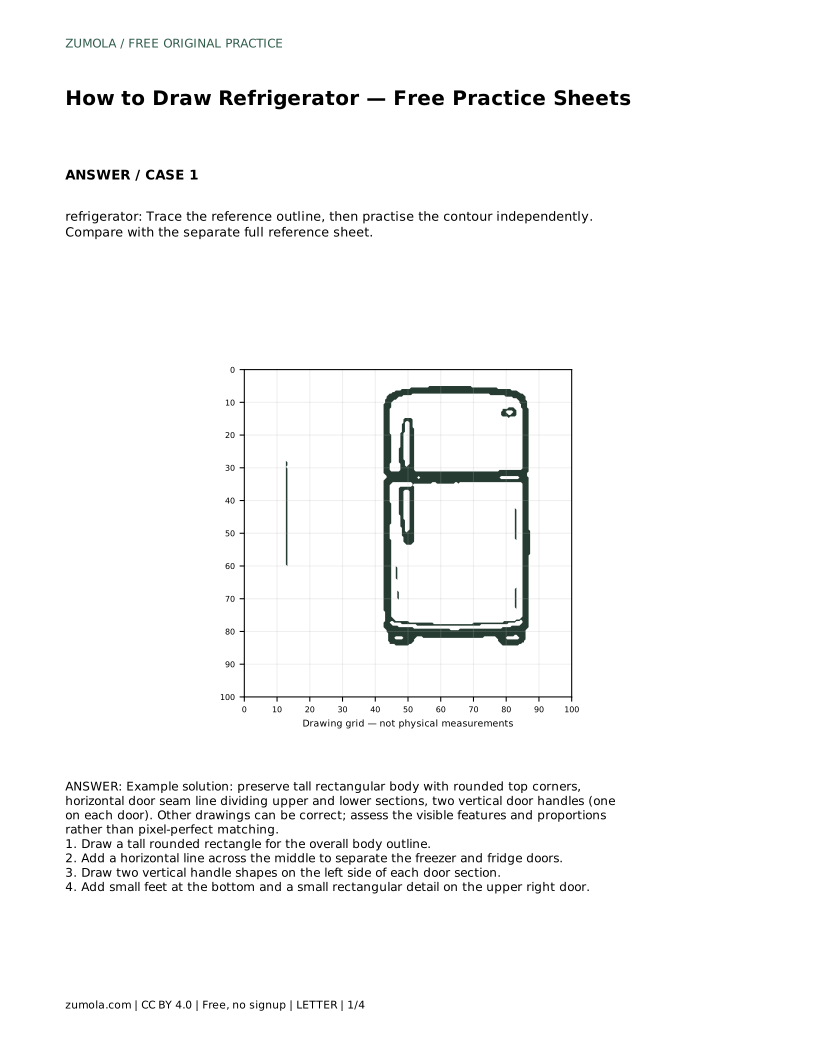
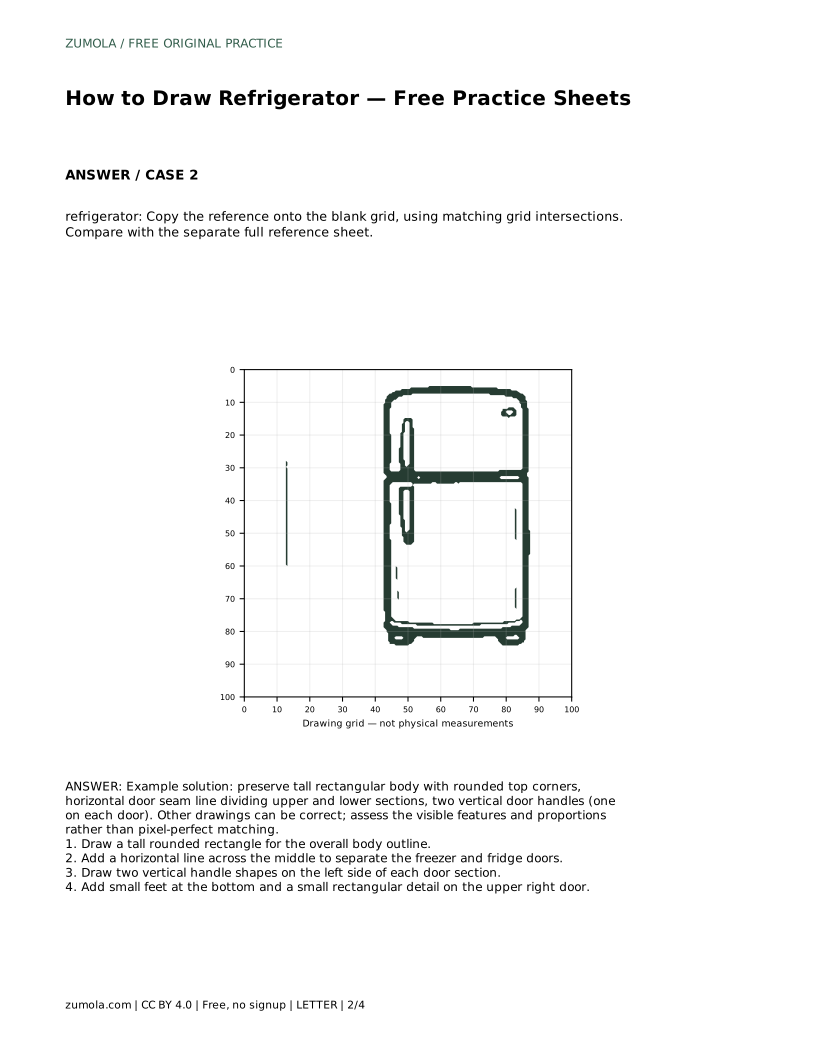
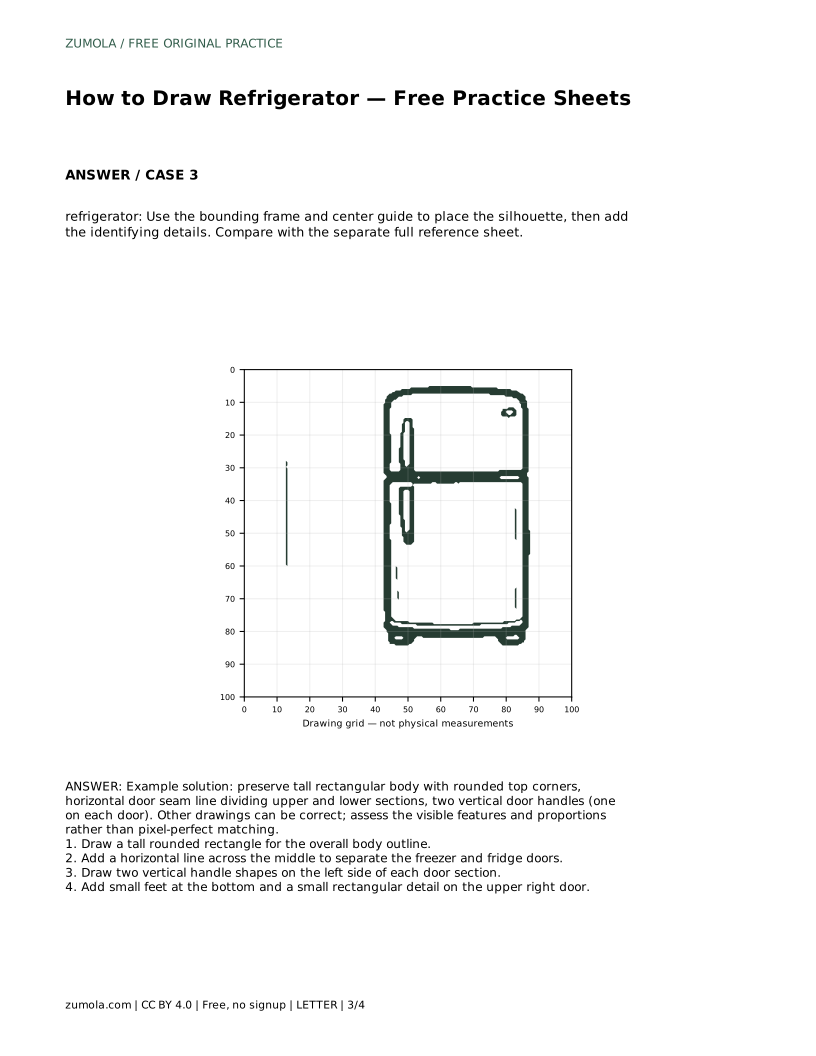
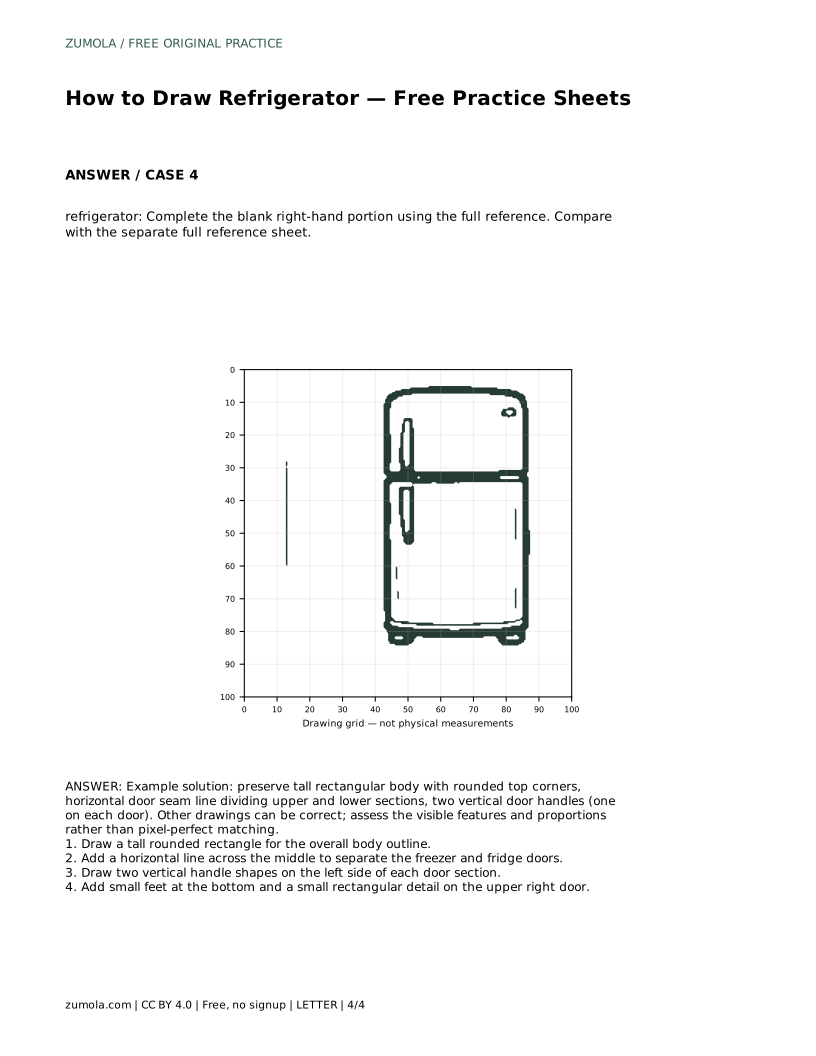
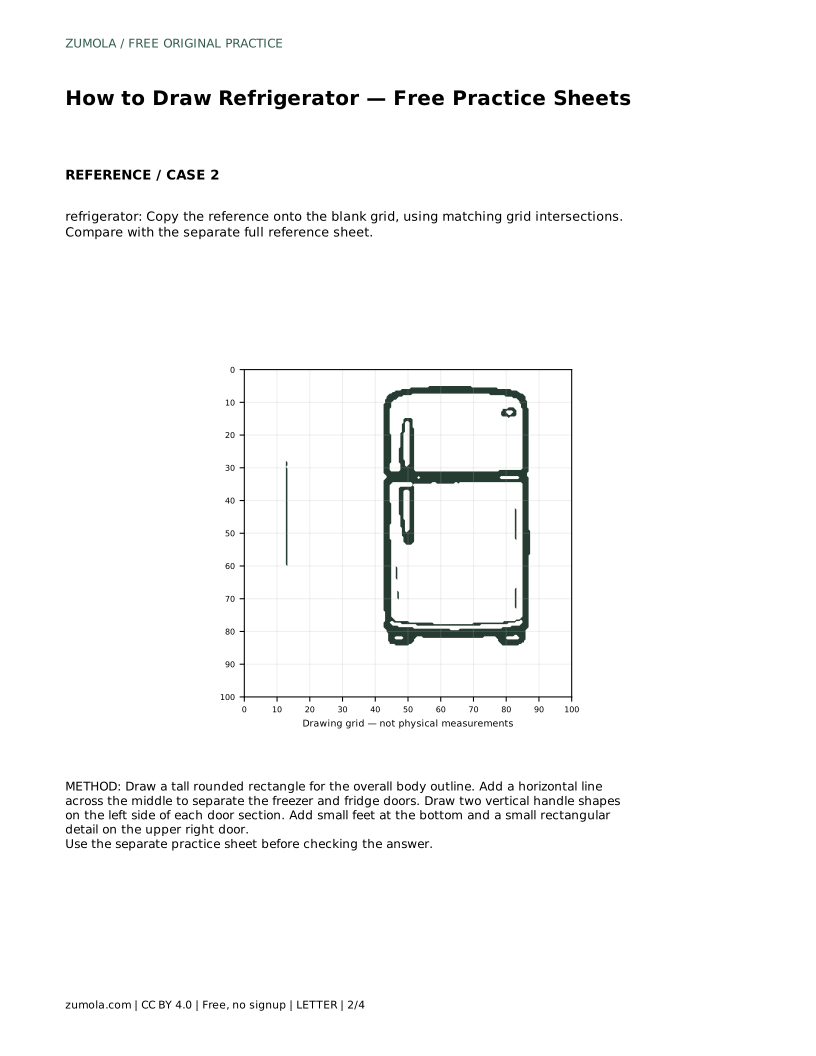
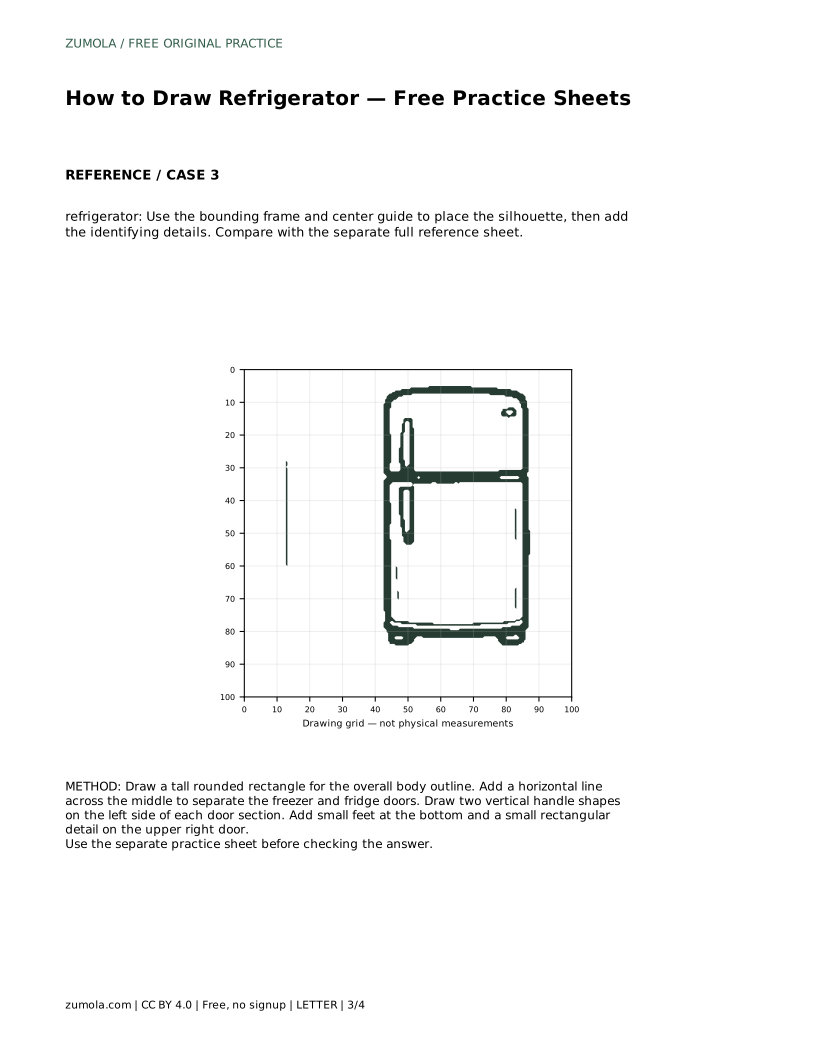
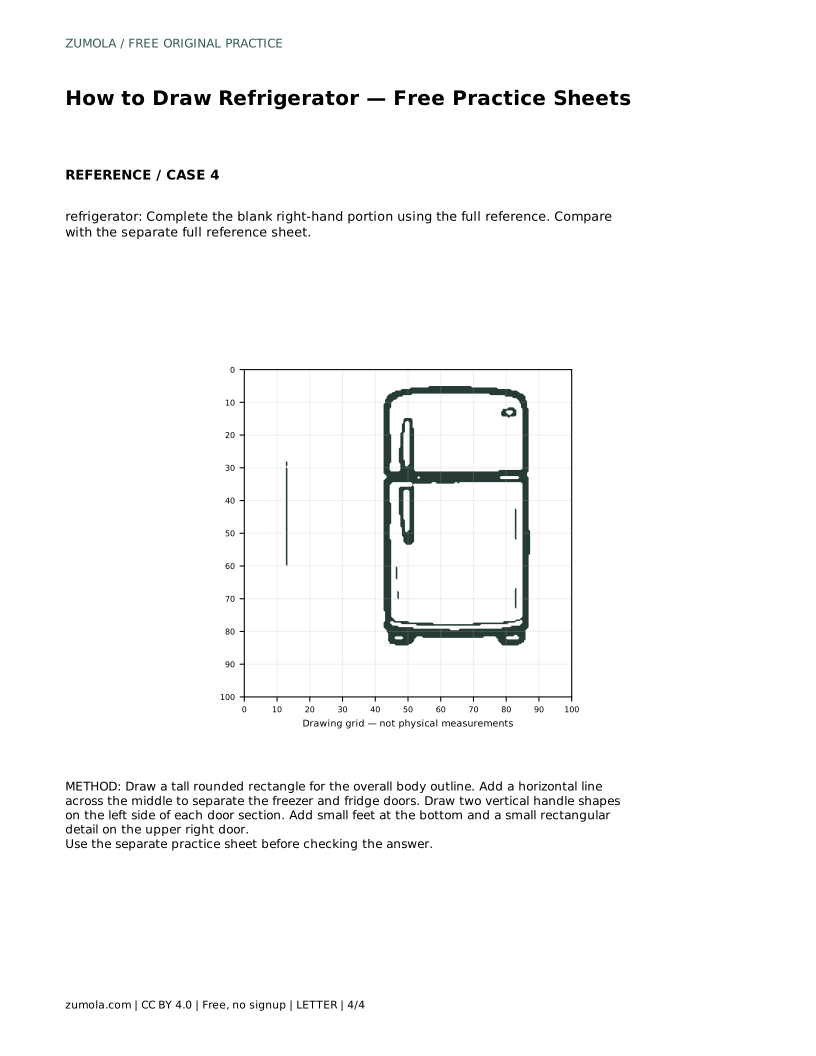
A refrigerator is a useful subject for learning to combine a simple outer shape with a few clear internal lines. The drawing depends on proportion: the body is tall, the top corners are rounded, and the horizontal door seam divides the upper and lower sections. This page explains how to construct the outline, place the identifying details, and judge your drawing with a rubric rather than expecting one exact result.
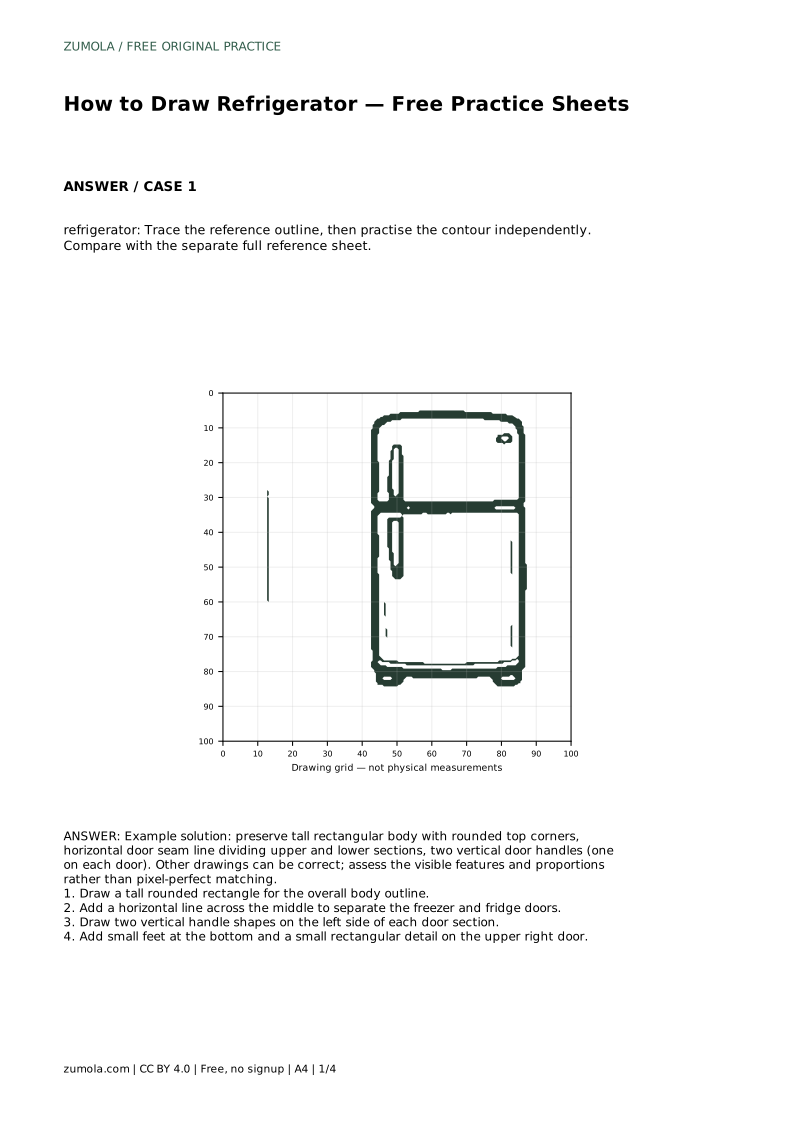
Start with the overall silhouette. A refrigerator is essentially a tall rectangle, but the top corners should be rounded so the shape reads as a finished appliance rather than a plain box. Keep the sides close to vertical and the base close to horizontal. Check that the height is clearly greater than the width before you commit to darker lines.
Once the body is established, add the horizontal seam that separates the freezer section from the main refrigerator section. Its position affects the whole drawing: a seam placed too high or too low changes the apparent size of the two doors. Place it deliberately, then keep the line parallel to the base.
The two vertical handles are the strongest identifying details. Each handle belongs to one door section, so one sits above the seam and one below it. Keep both handles on the same side of the body and give them similar lengths unless your reference shows otherwise. A handle that crosses the seam or floats away from the door edge weakens the drawing.
Small details finish the appliance. Add short feet at the bottom so the body does not appear to sit flat on the ground. A small rectangular detail on the upper right door can suggest a control panel or badge. Keep these additions modest; they should support the main shape rather than compete with it.
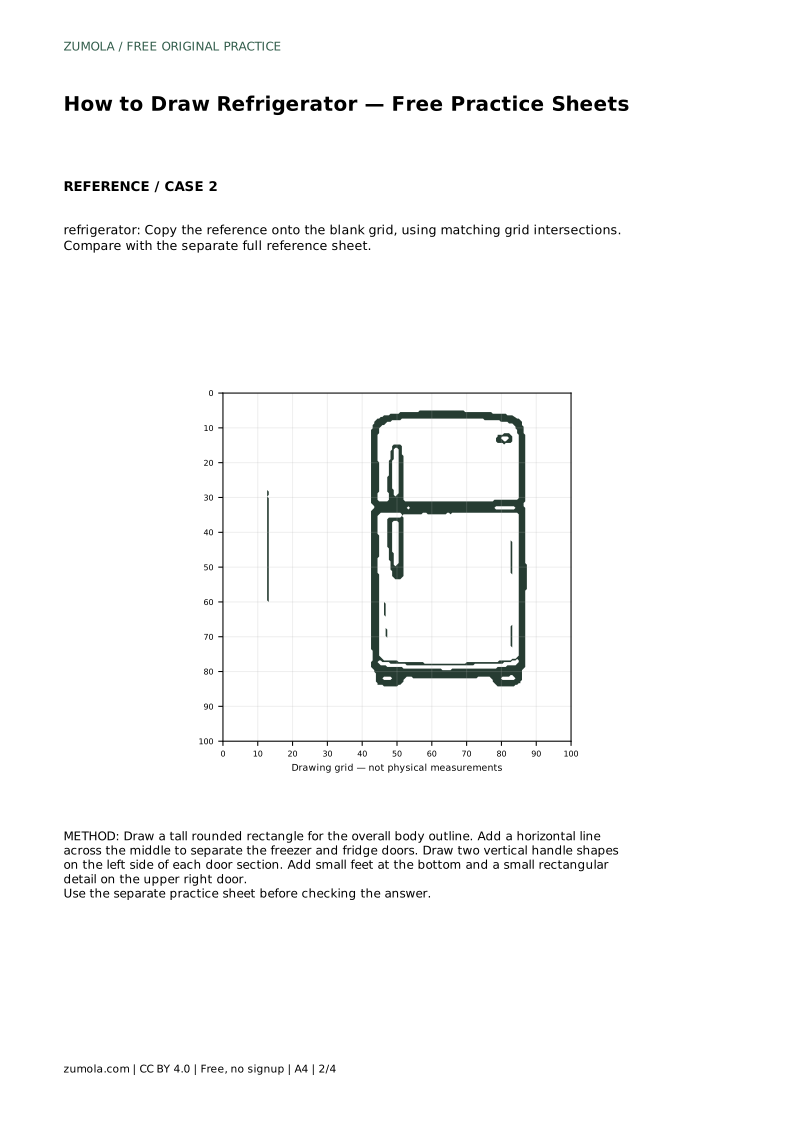
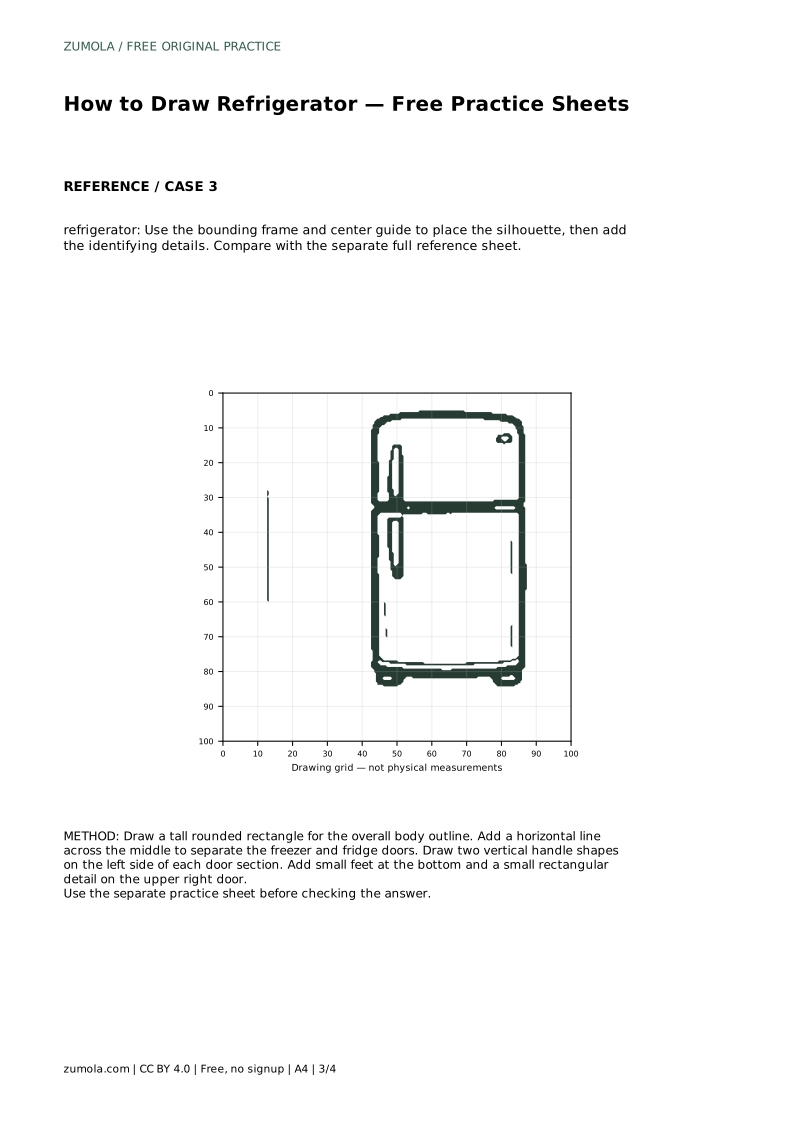
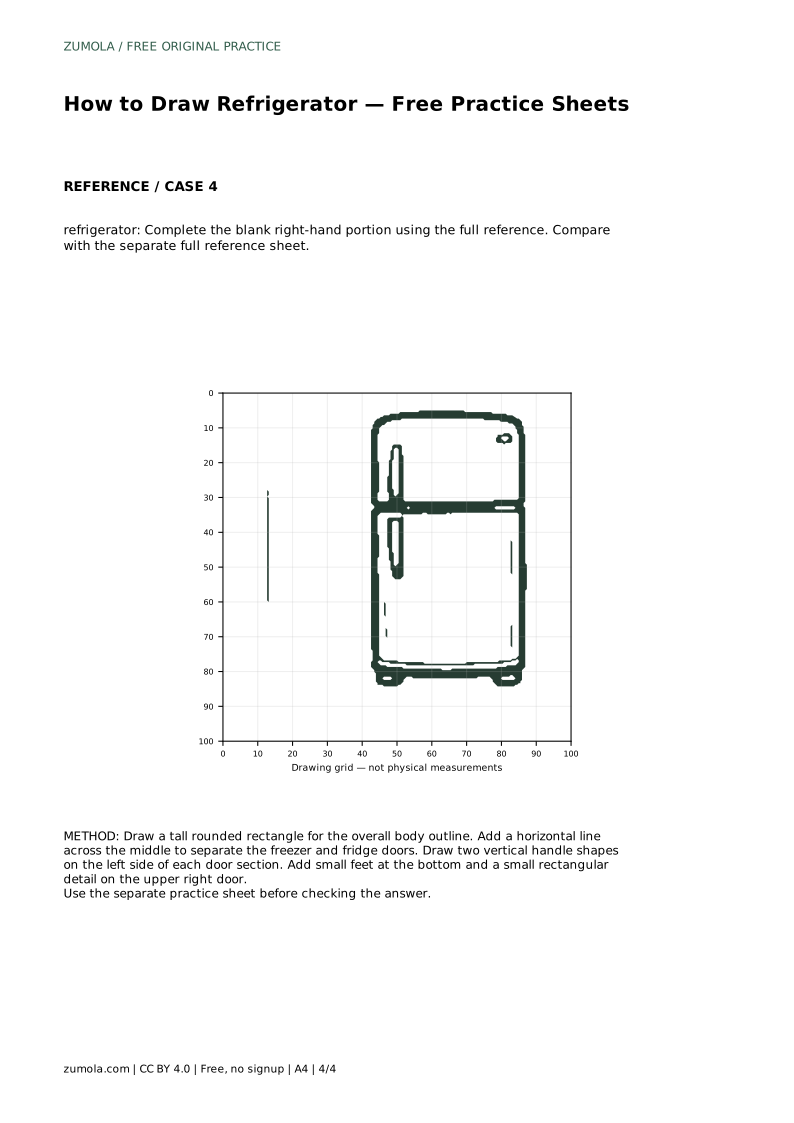
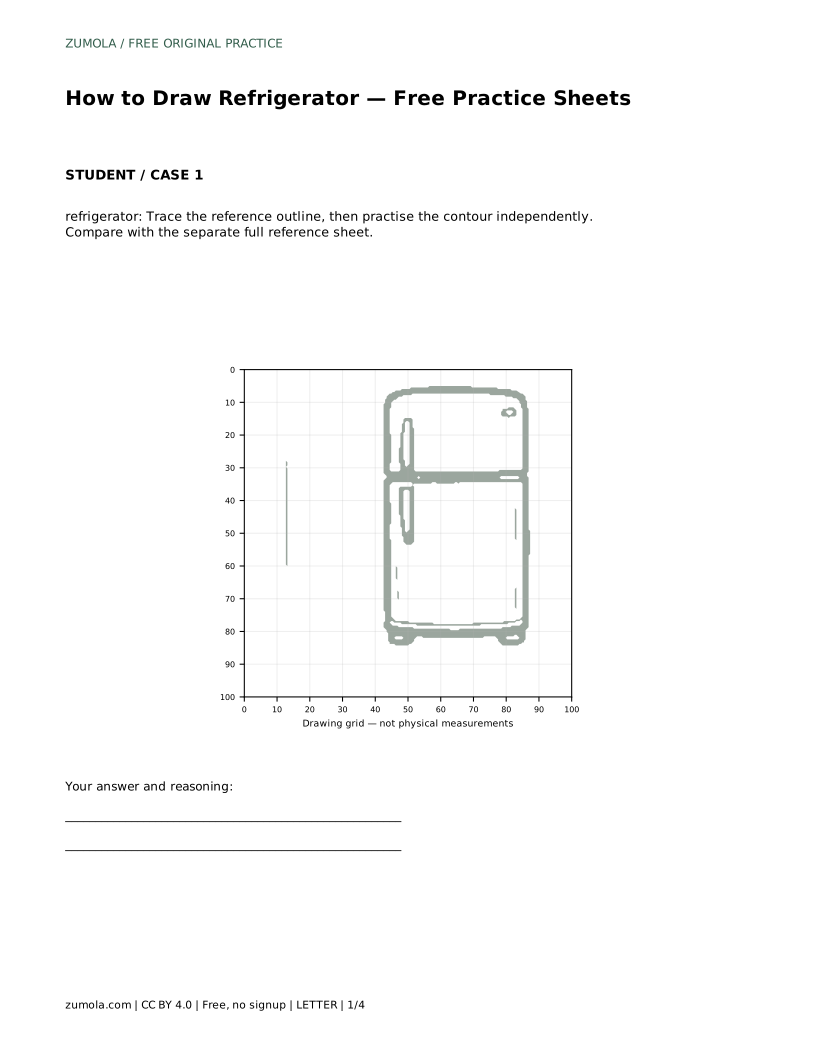
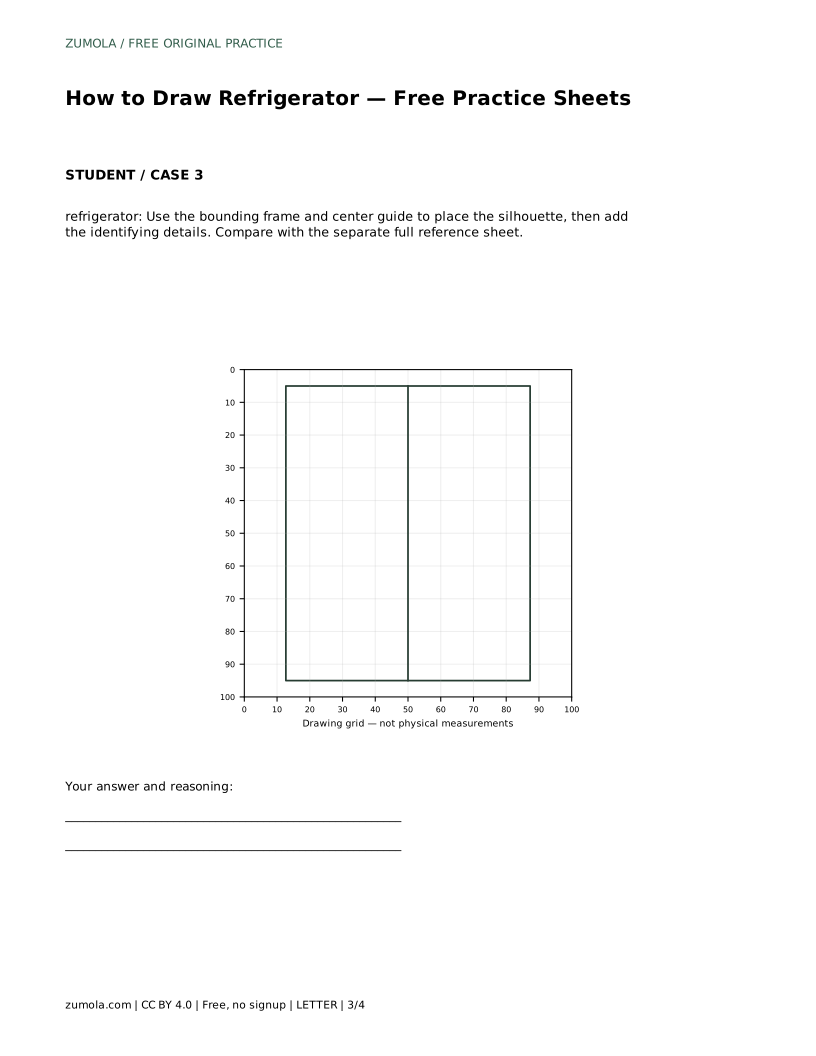
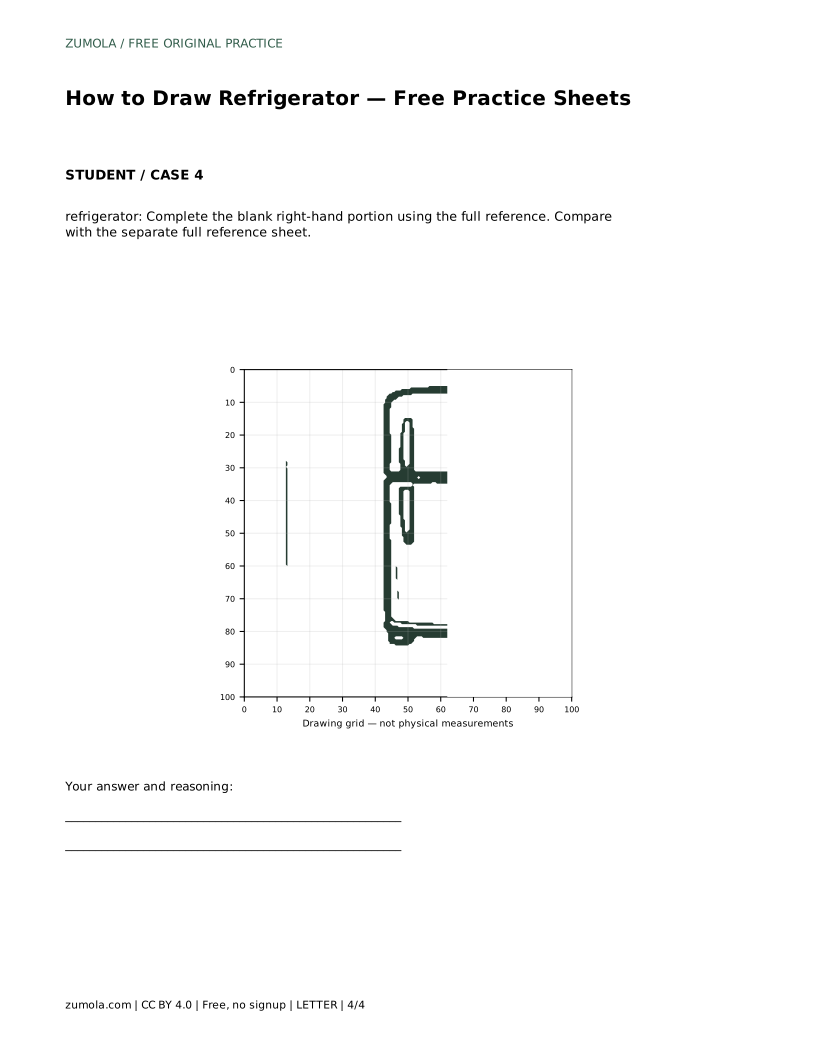
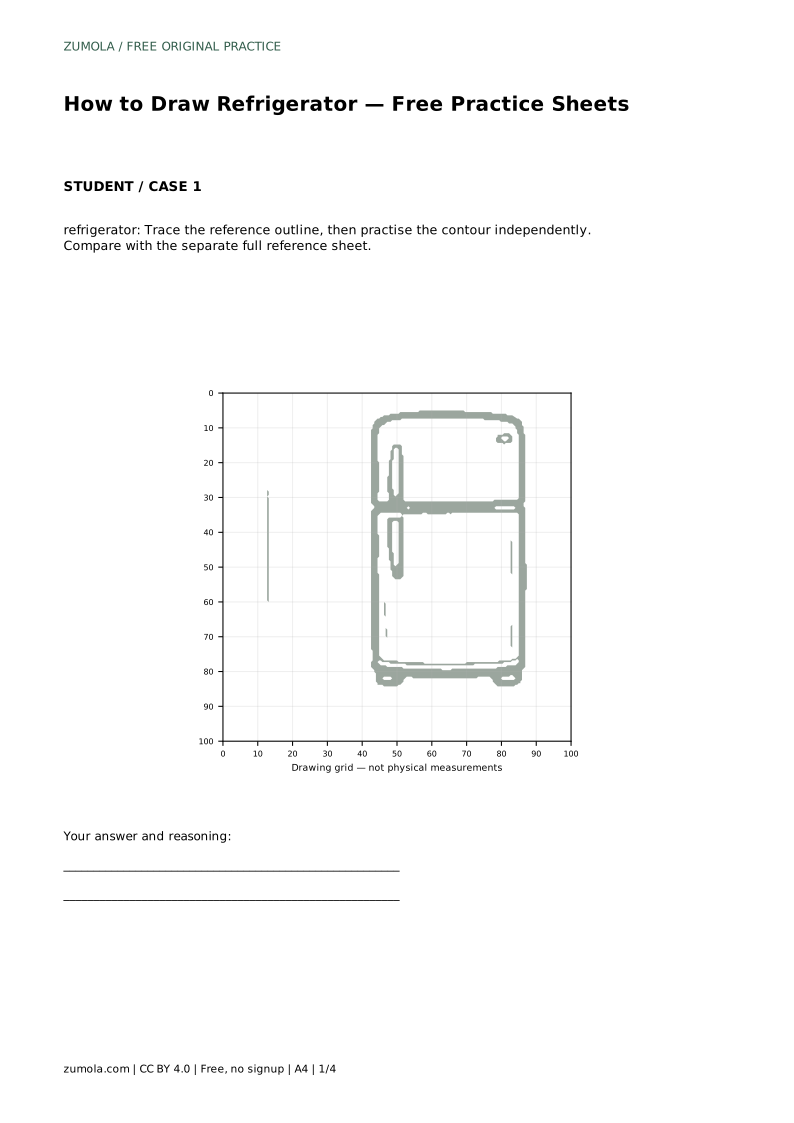
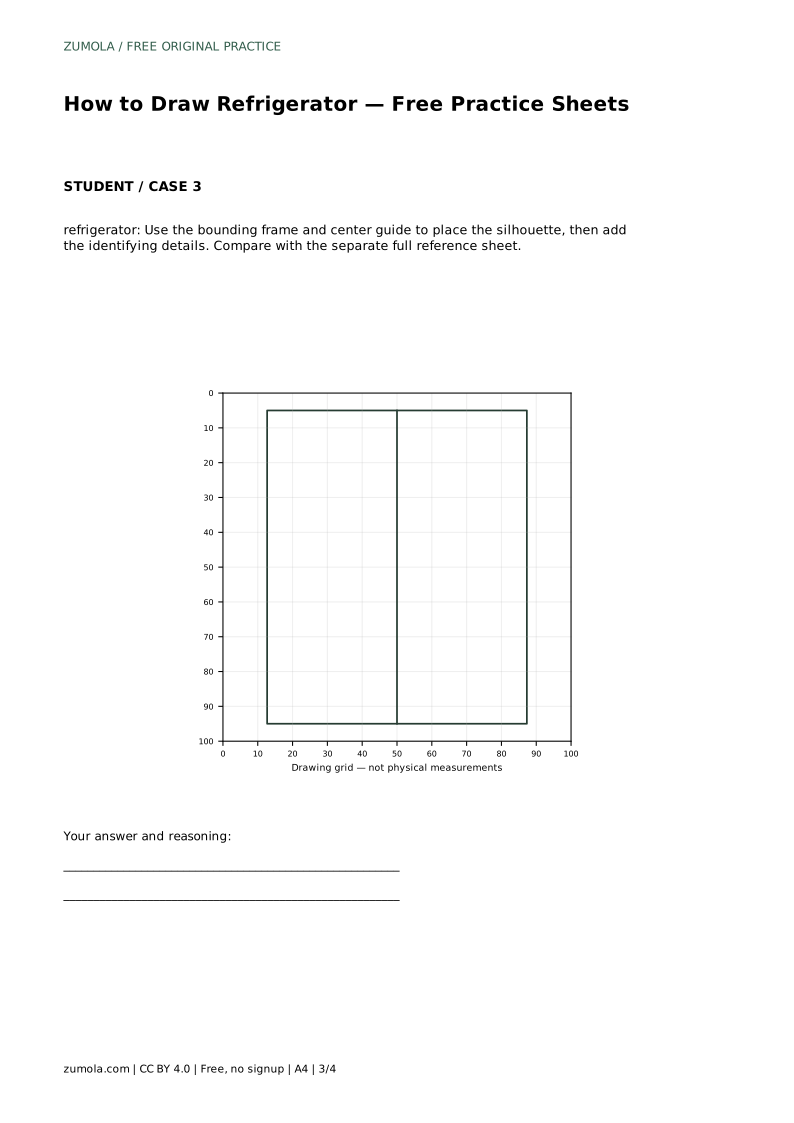
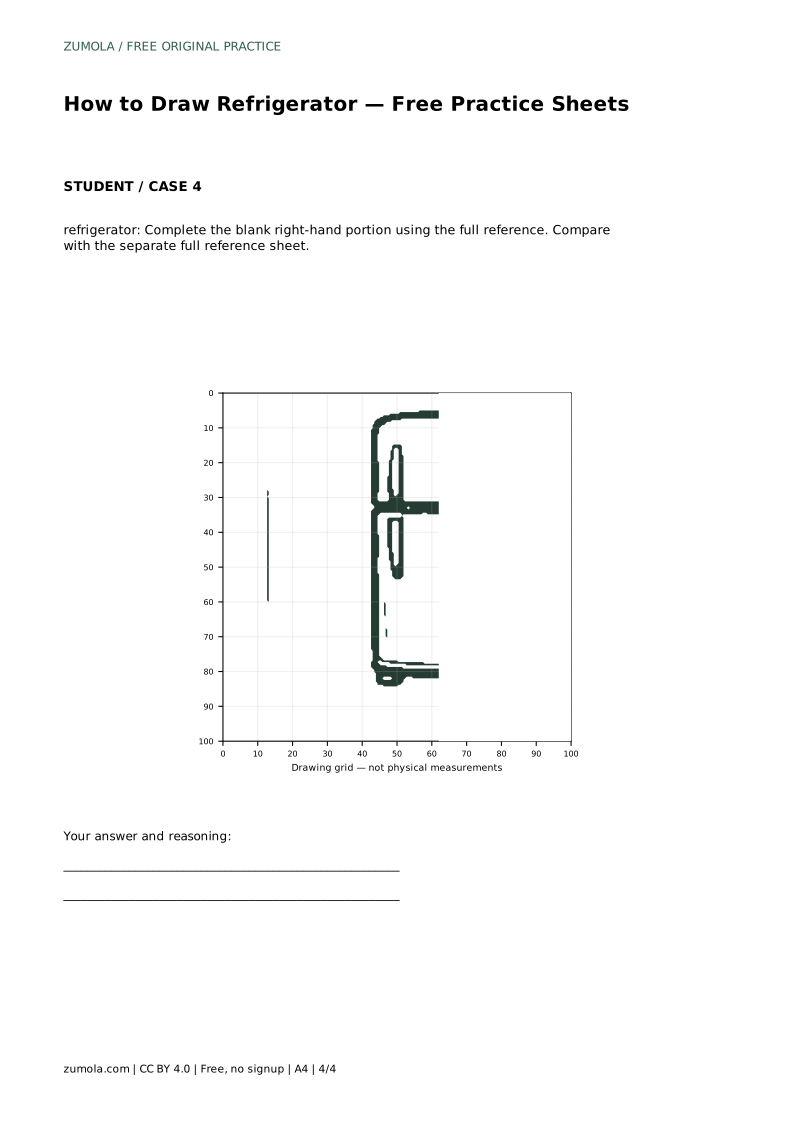
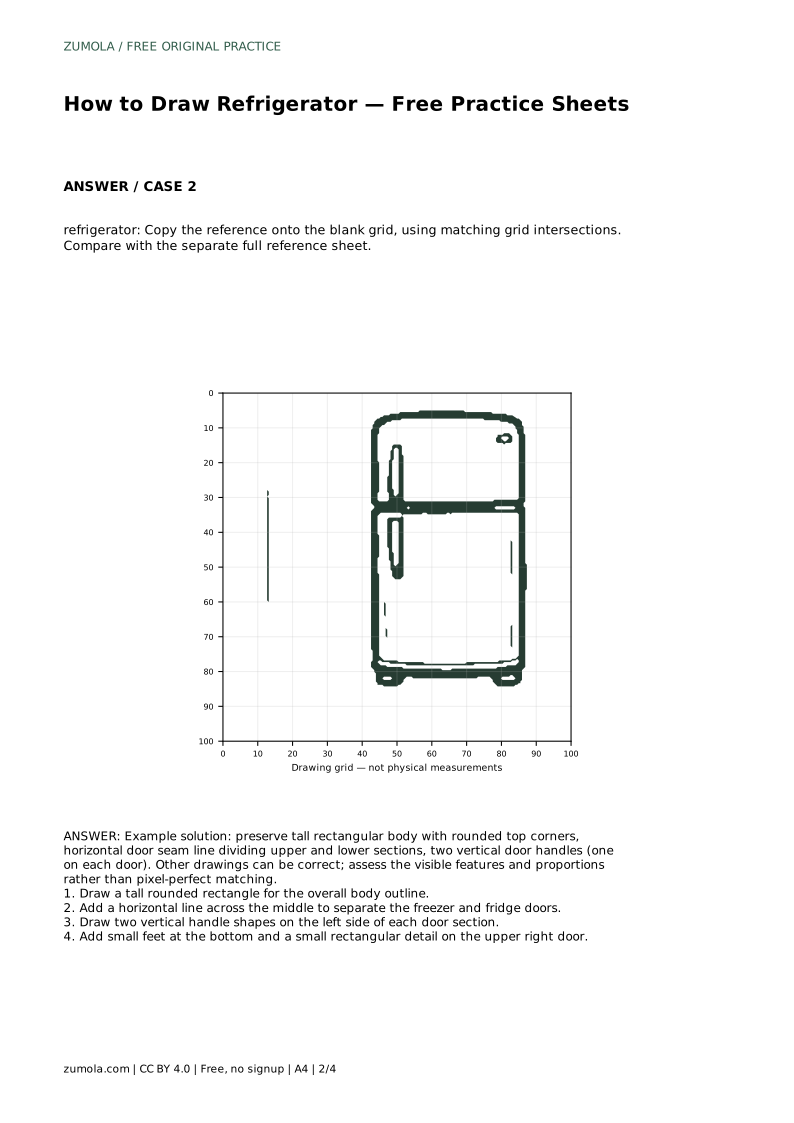
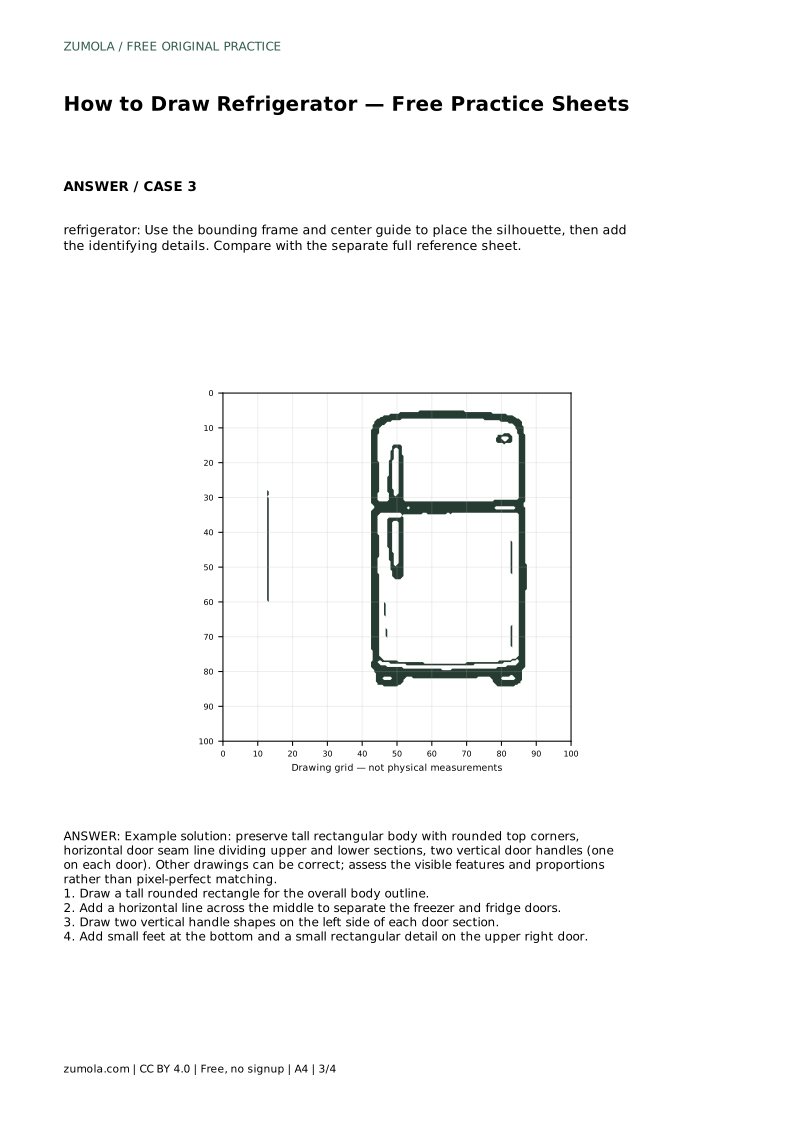
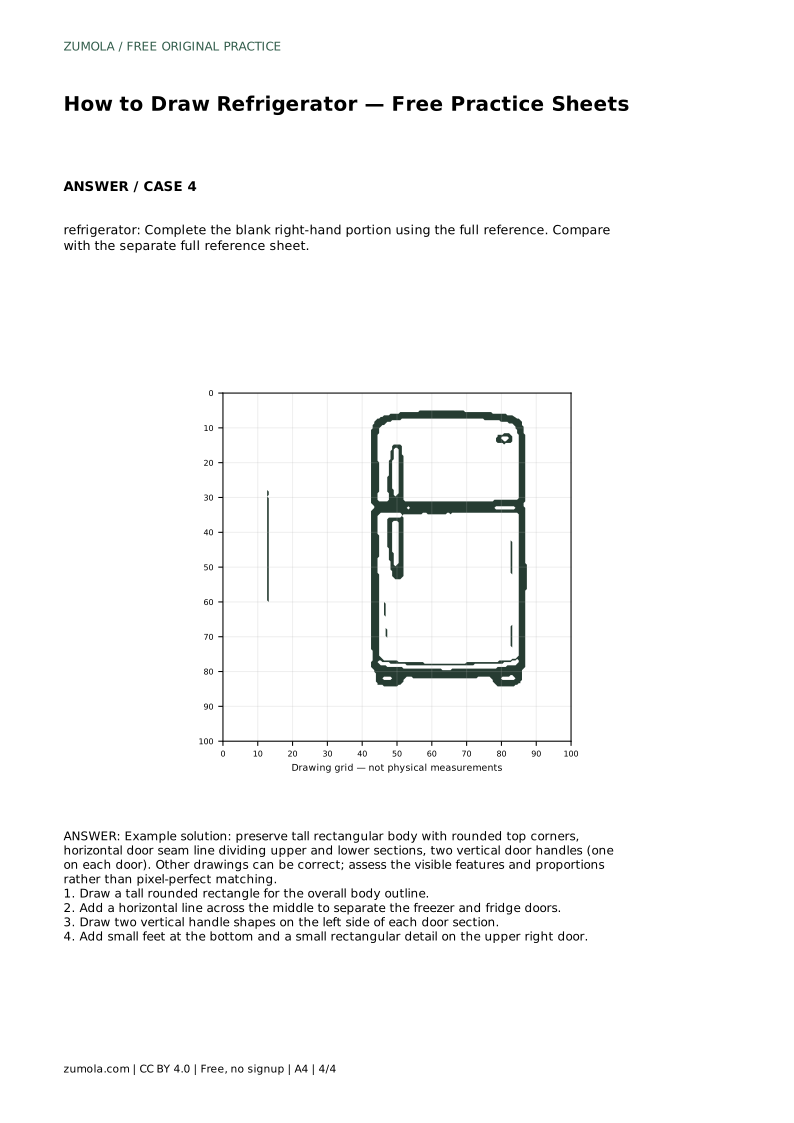
Tracing the reference outline helps you feel the proportions of the body and the placement of the seam. After tracing, practise the contour independently and compare your result with the separate full reference sheet. A blank-grid version asks you to copy the reference using matching grid intersections, which trains placement and scale. A bounding frame with a center guide helps you position the silhouette before adding details. A partial sheet lets you complete the blank right-hand portion using the full reference.
These tasks are related but not identical. The first case asks you to trace and then draw independently; the grid case depends on matching intersections; the frame case depends on placing the silhouette within the guide; the partial case depends on completing a missing portion. Read the instruction on each sheet before starting.
There are many valid refrigerator drawings. Assess whether the tall body, rounded top corners, horizontal door seam, two vertical handles, feet, and upper-door detail are present and reasonably placed. Proportion matters more than pixel-perfect matching. A drawing with a slightly wider body can still be correct if the seam, handles, and feet remain coherent.
refrigerator: Trace the reference outline, then practise the contour independently. Compare with the separate full reference sheet.
Example solution: preserve tall rectangular body with rounded top corners, horizontal door seam line dividing upper and lower sections, two vertical door handles (one on each door). Other drawings can be correct; assess the visible features and proportions rather than pixel-perfect matching. Draw a tall rounded rectangle for the overall body outline. Add a horizontal line across the middle to separate the freezer and fridge doors. Draw two vertical handle shapes on the left side of each door section. Add small feet at the bottom and a small rectangular detail on the upper right door.
No. Other drawings can be correct. Assess the visible features and proportions rather than pixel-perfect matching.
Place one vertical handle on the upper door section and one on the lower section, both on the same side of the body.
Check the tall body shape and the horizontal door seam, then confirm the handles, feet, and small upper-right detail.
All drawing practice · Free coordinate paper
Original resources · CC BY 4.0 · Free for personal and classroom use with attribution.