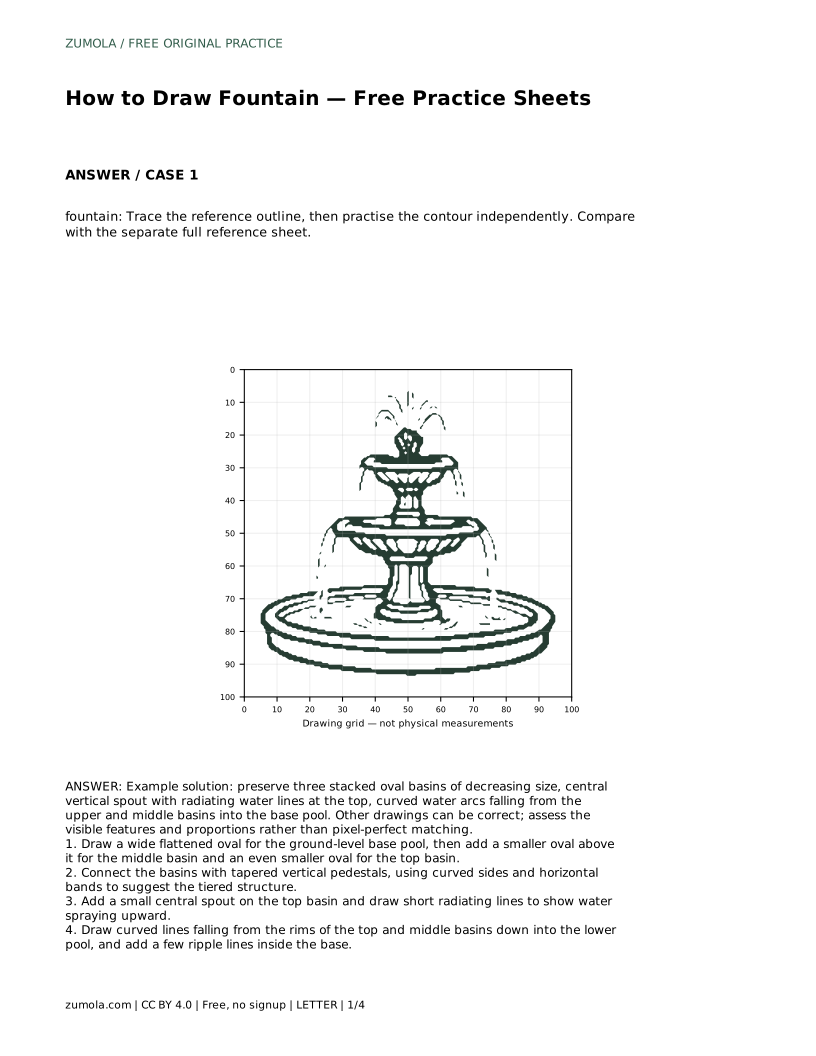
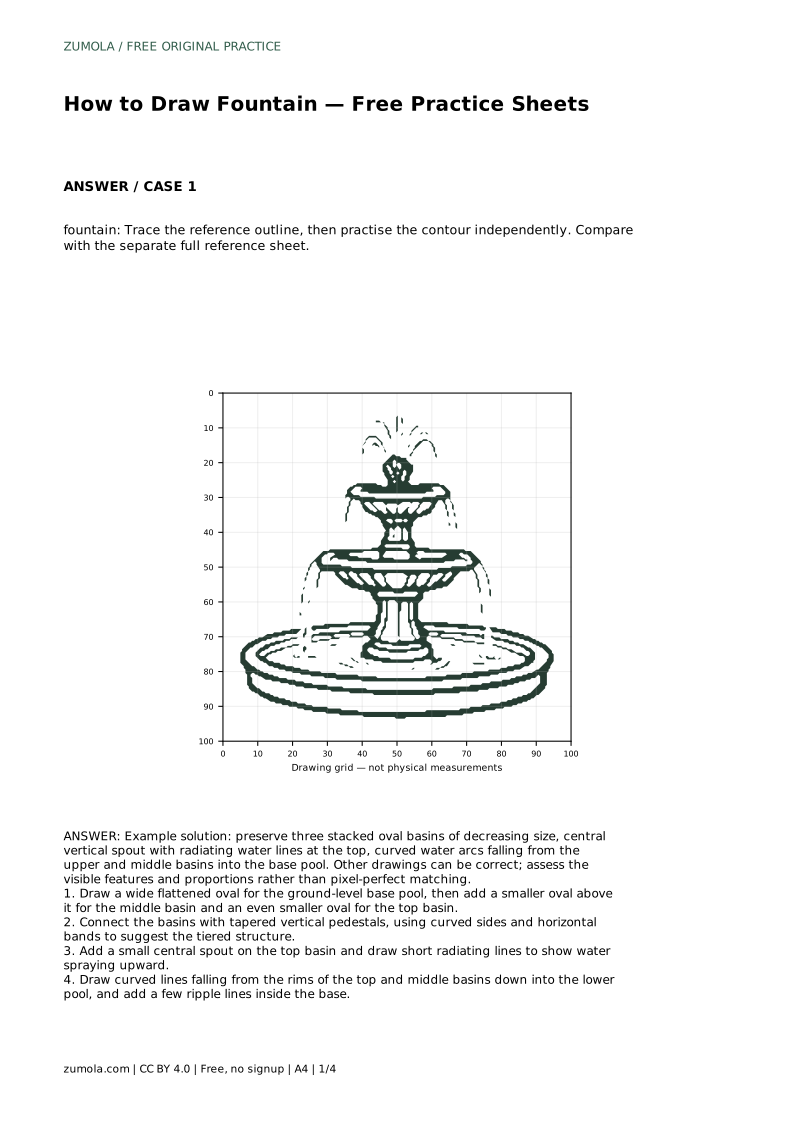
Reference diagrams
LETTER · Download PDF
A4 · Download PDF
Free original resources
Learn to draw a tiered fountain by stacking ovals, connecting pedestals, and adding a central spout with curved water arcs. Free practice sheets support each stage.
Four original cases, with reference diagrams, practice sheets and worked answers. Everything is free; no signup required.
LETTER · Download PDF
A4 · Download PDF
LETTER · Download PDF
A4 · Download PDF
LETTER · Download PDF
A4 · Download PDF
Use A4 or US Letter to match your printer. Use the stated values and conditions to solve each exercise; diagrams are not physical measuring rulers.
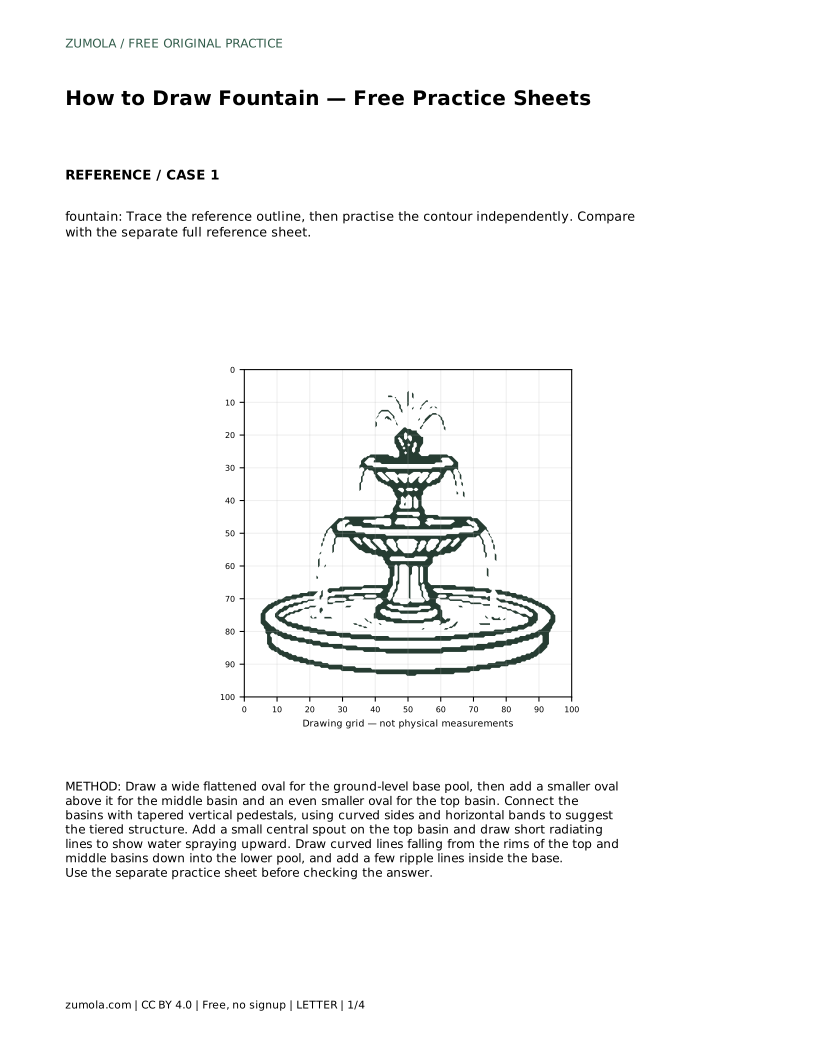
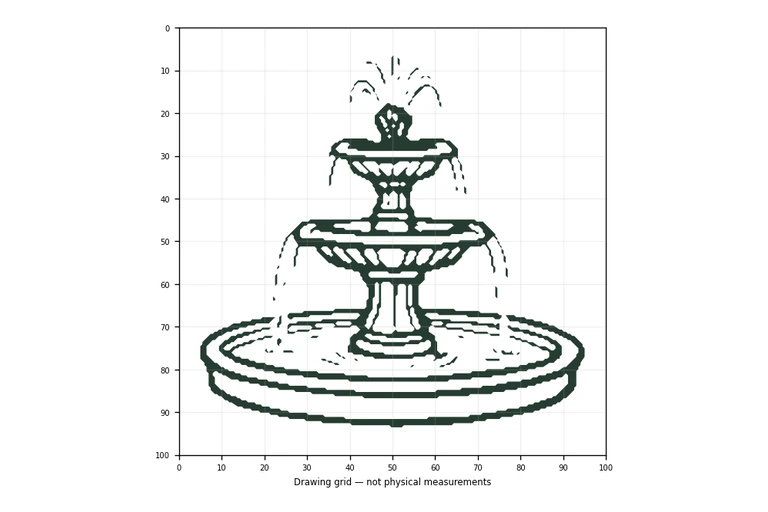
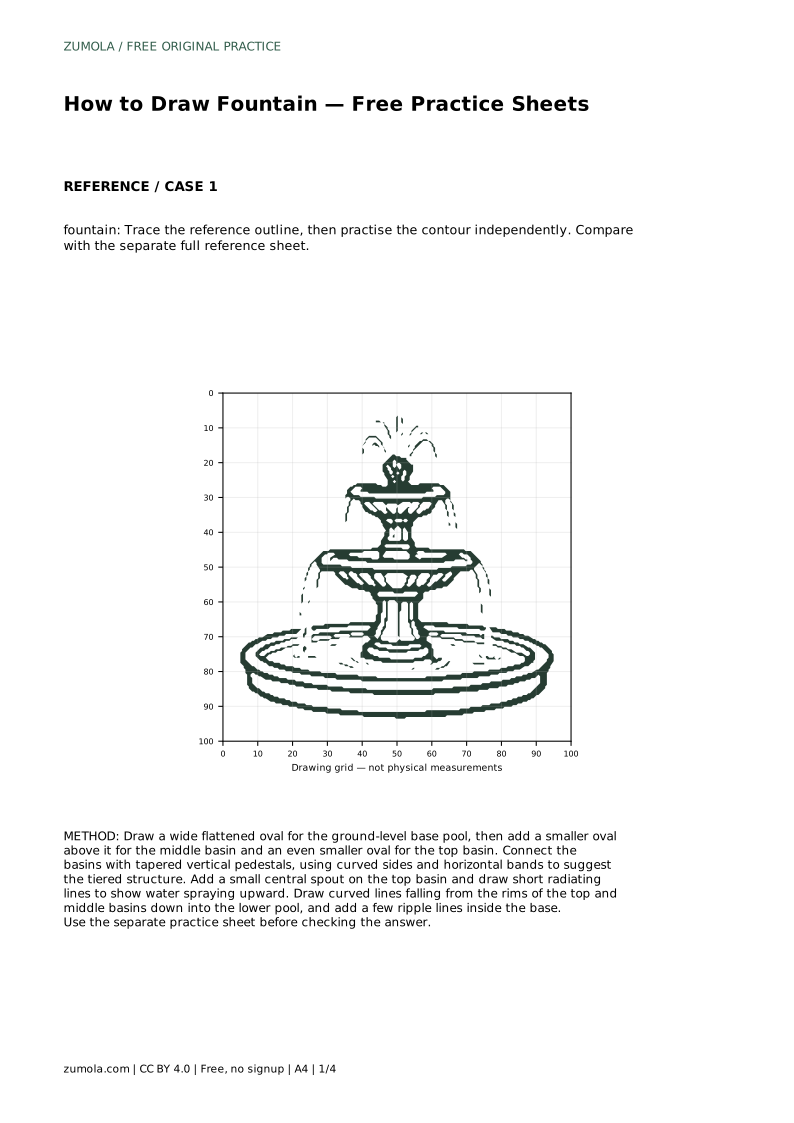
A fountain drawing reads clearly when the structure comes first and the water comes second. This page shows how to build a three-tier fountain from stacked ovals, connect the basins with tapered pedestals, and then add the spout, spray, and falling arcs that make the water look like water. The practice sheets let you trace, copy onto a grid, place a silhouette inside a frame, or complete a half-finished drawing, so you can work on the same fountain in several ways.
Start with the largest shape: a wide, flattened oval for the ground-level base pool. Flattened means the oval is much wider than it is tall, which makes it read as a pool seen from slightly above rather than a ball. Above that, draw a smaller oval for the middle basin, and above that an even smaller oval for the top basin. Keep the three ovals centered on one vertical line so the fountain looks balanced.
The ovals should decrease in size as they rise. If the middle oval is wider than the base oval, the fountain will look top-heavy. Check the spacing between the ovals before adding anything else; the gaps become the pedestals.
Join the basins with tapered vertical pedestals. Tapered means the sides narrow slightly as they rise, which suggests a carved stone support rather than a plain cylinder. Add a horizontal band near the top and bottom of each pedestal to suggest the tiered structure.
Keep the pedestals narrower than the basin rims so the ovals still overhang. The overhang is what makes the fountain look like stacked bowls rather than a single column.
Place a small central spout on the top basin. Draw short radiating lines from the spout to show water spraying upward. Then draw curved lines falling from the rims of the top and middle basins down into the lower pool. The arcs should curve outward and then down, following gravity rather than dropping straight.
Finish with a few ripple lines inside the base pool where the falling water lands. Ripples are short curved marks, not full circles, and they should sit near the landing points rather than spread across the whole pool.
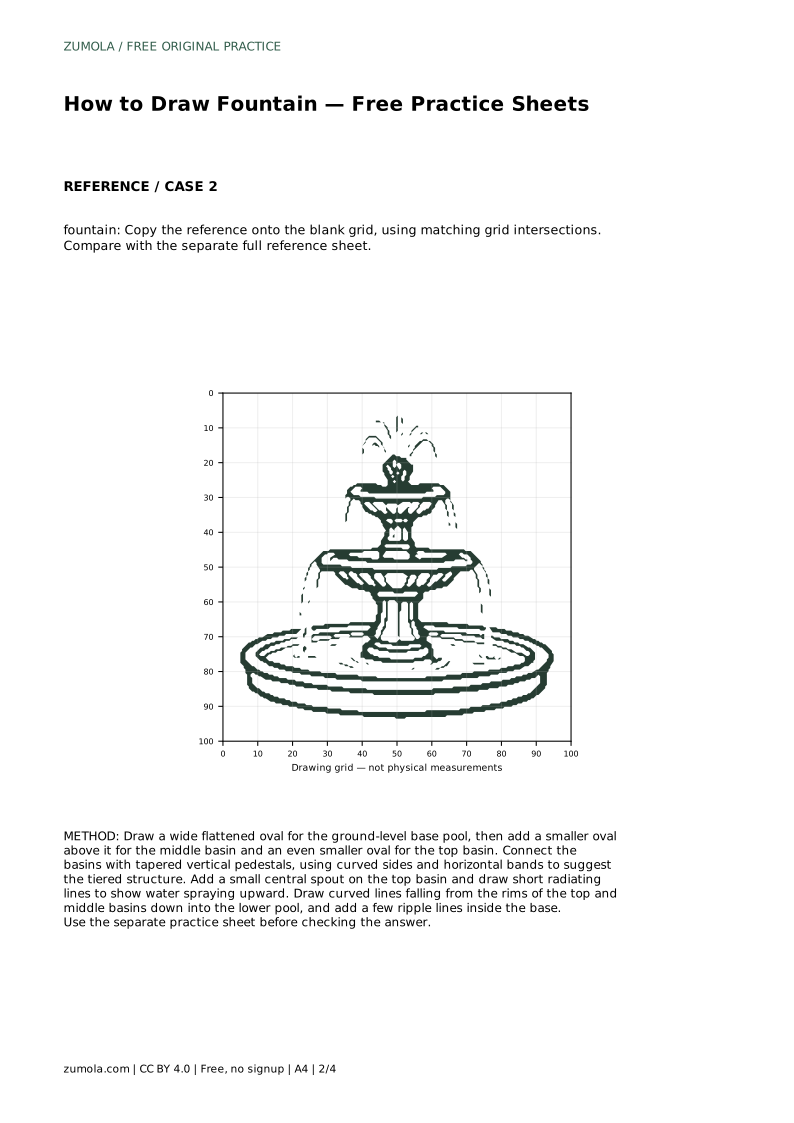
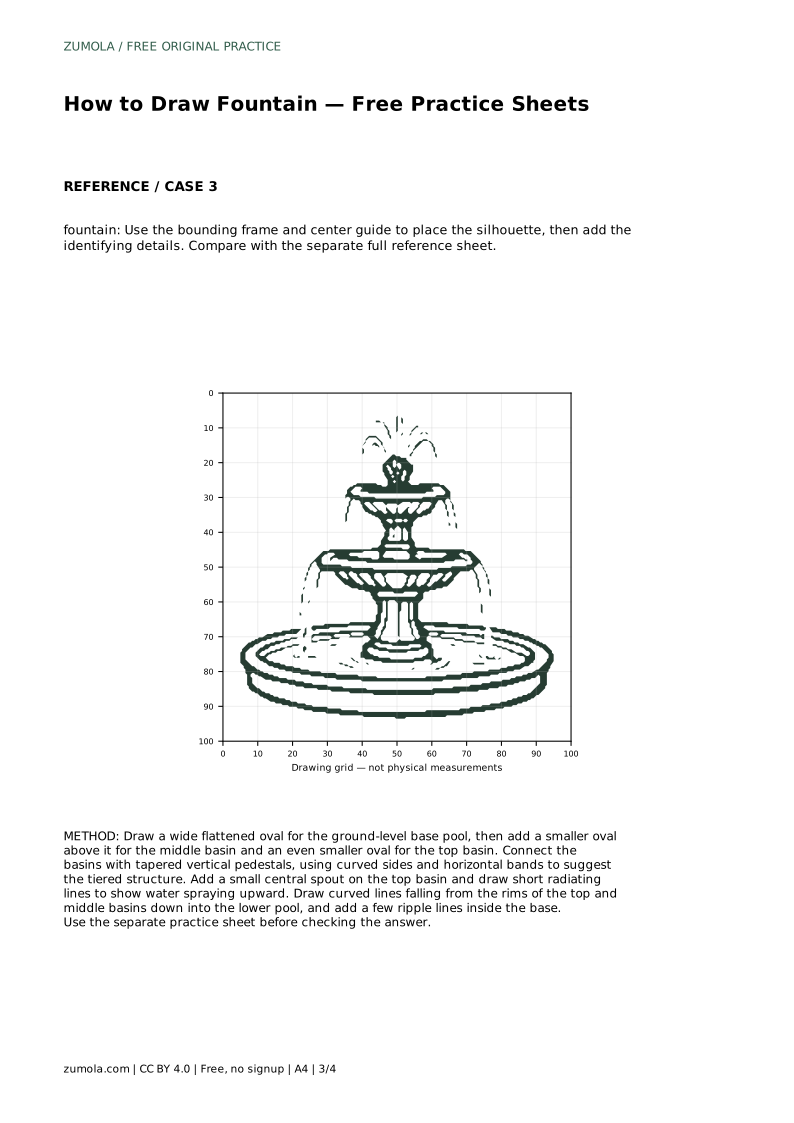
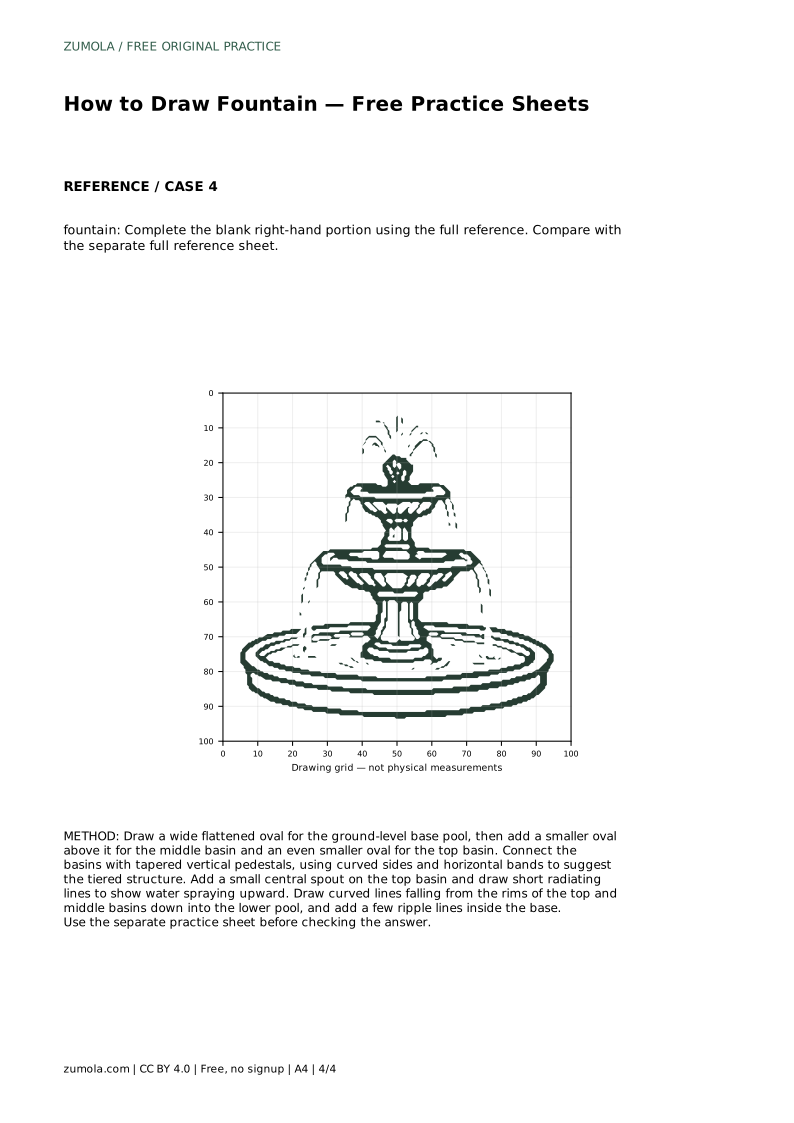
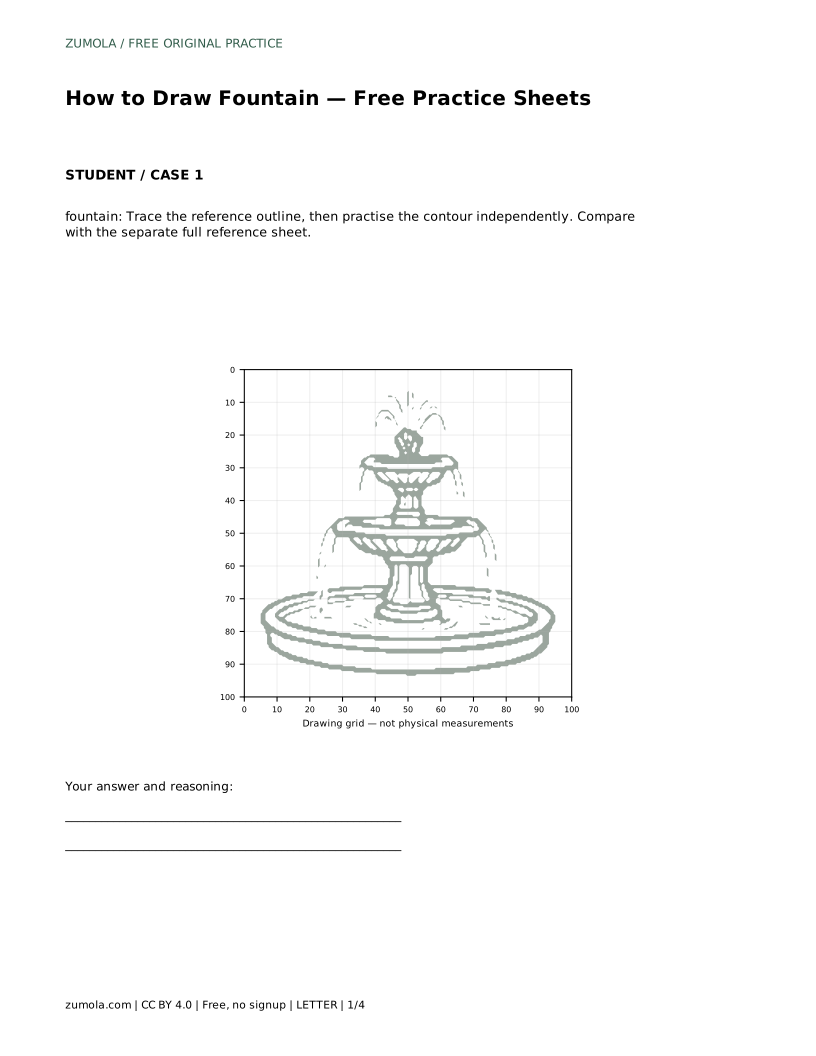
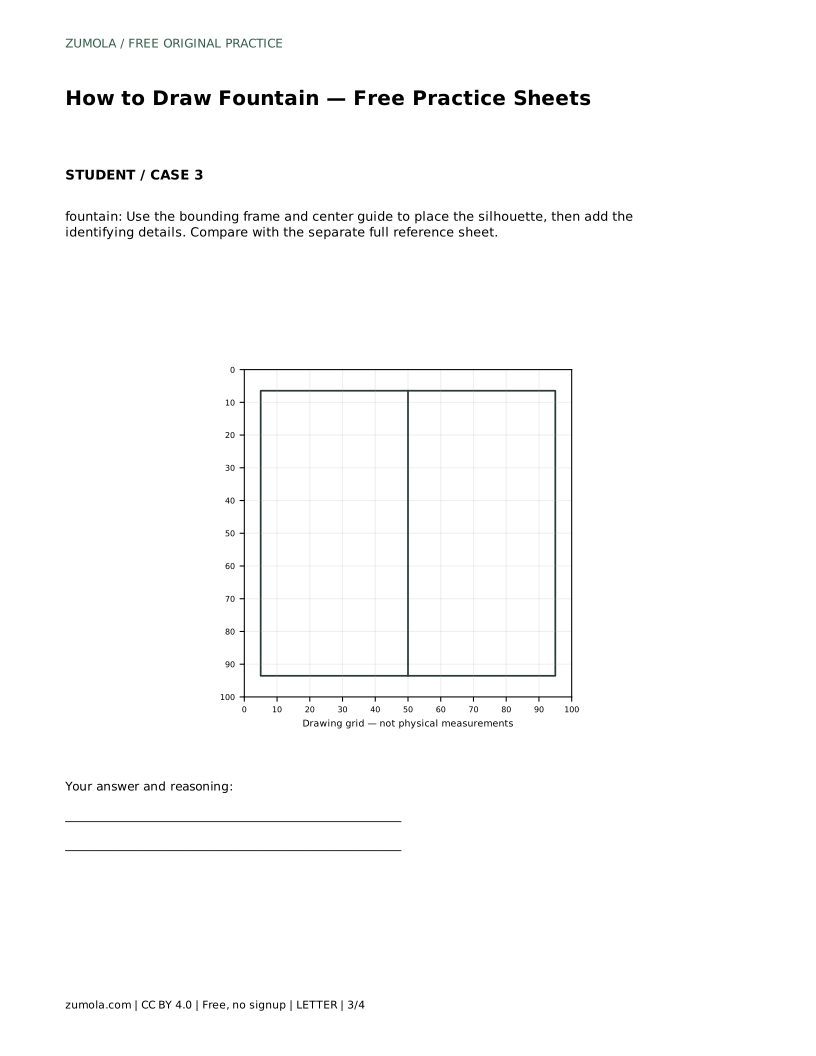
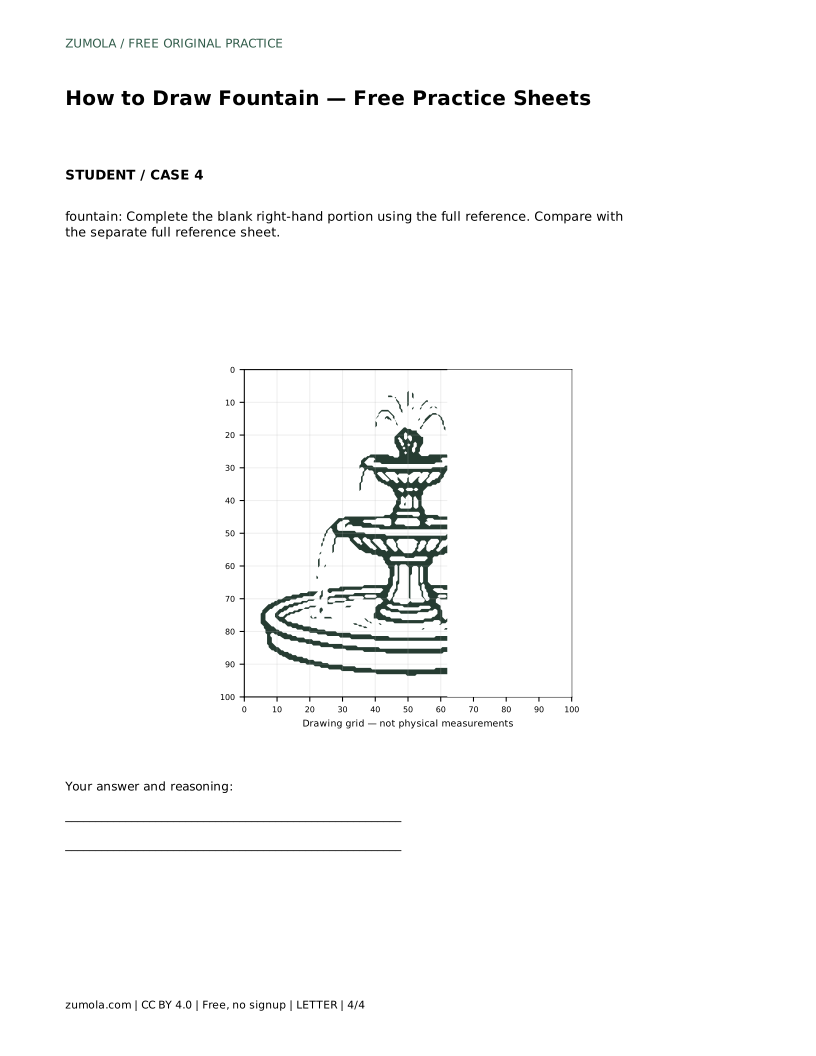
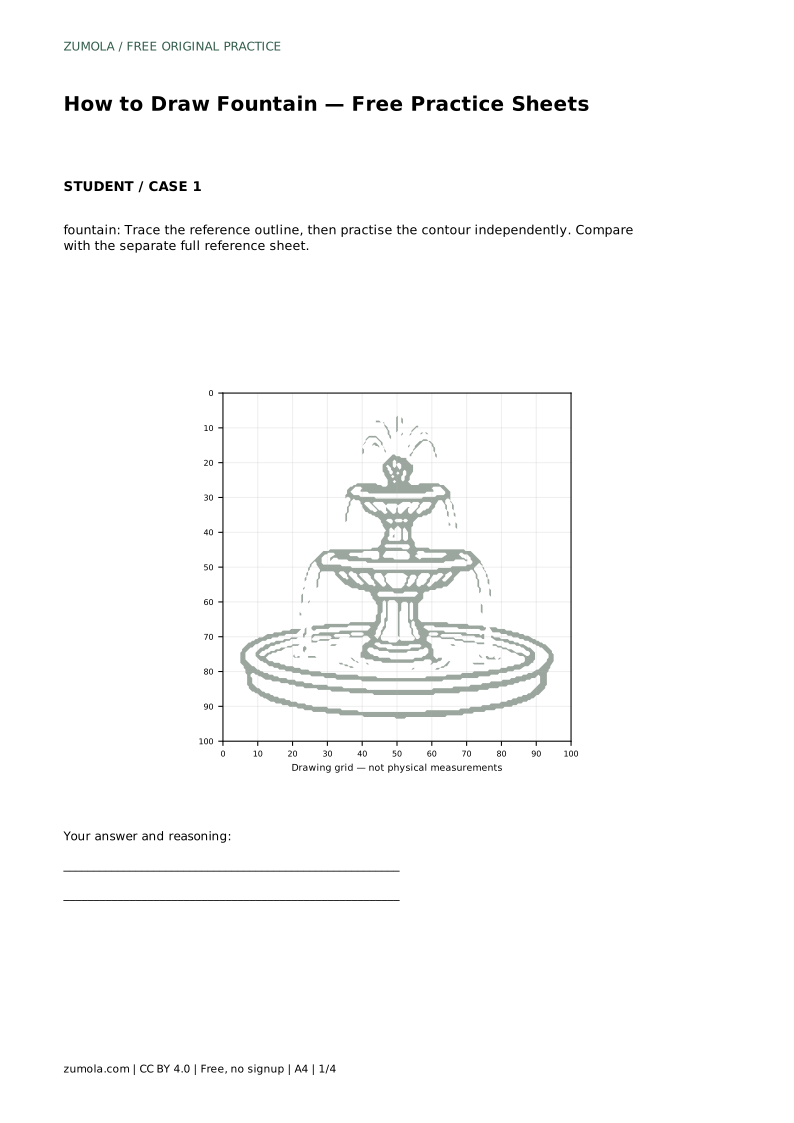
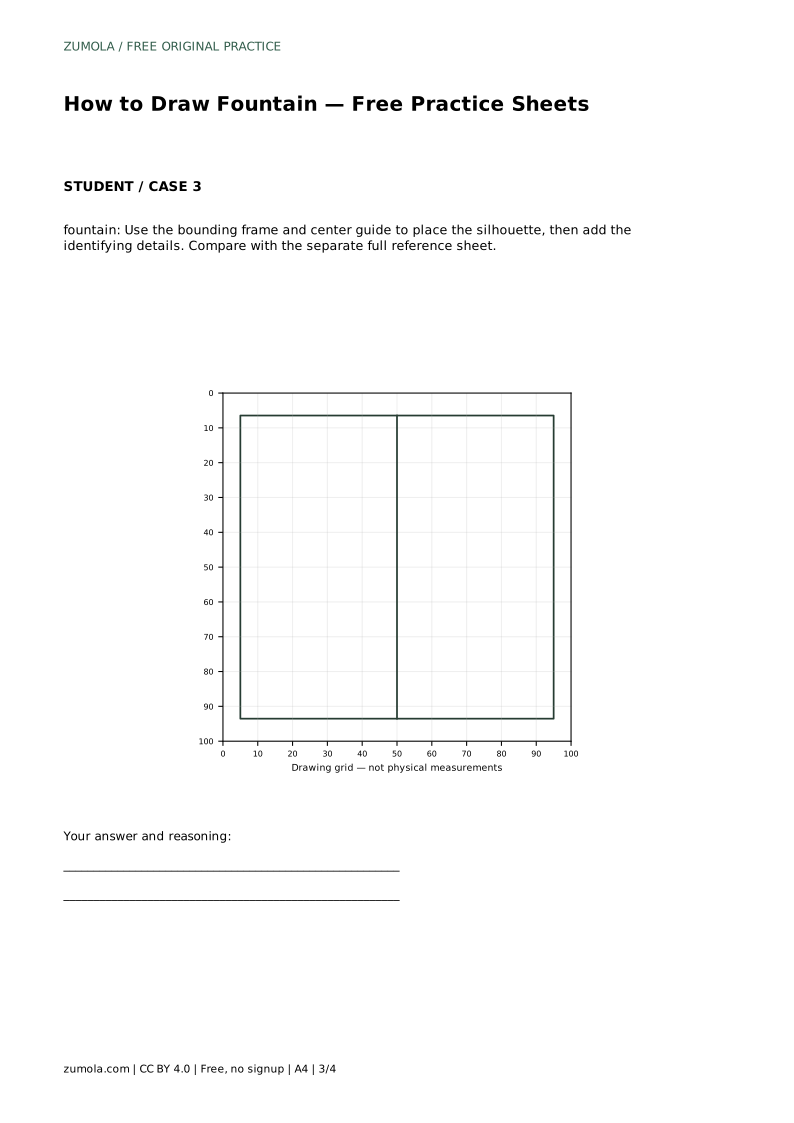
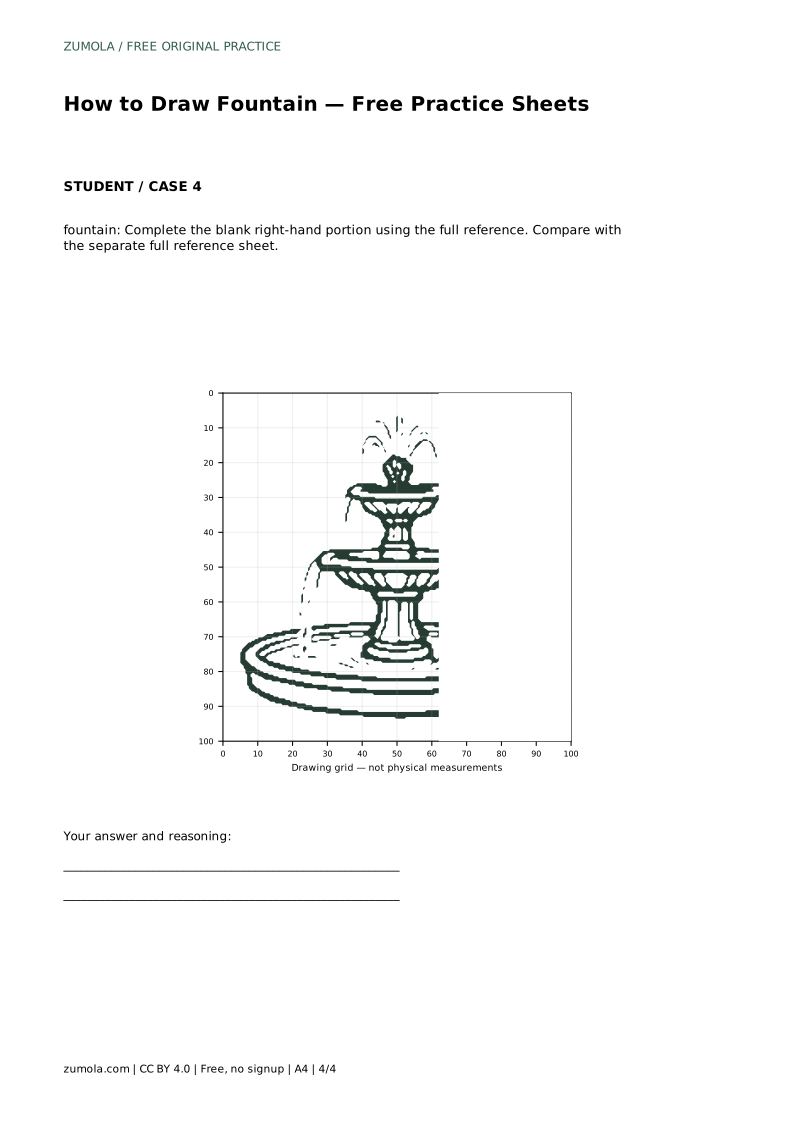
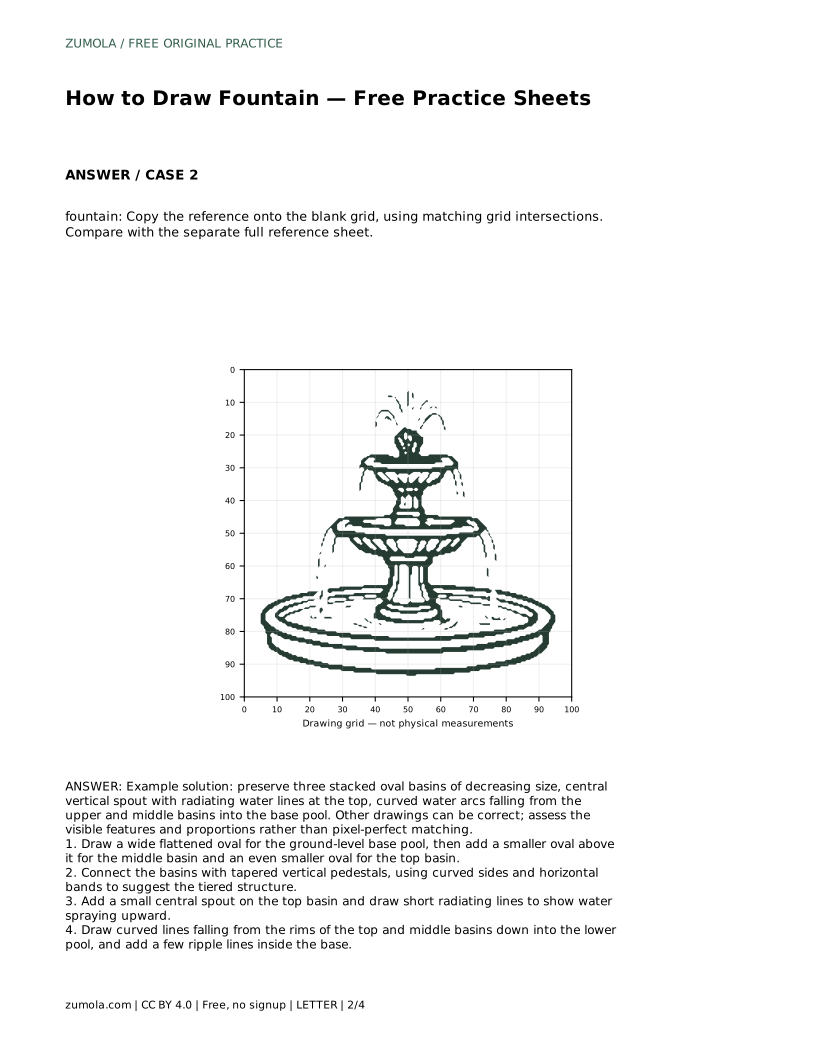
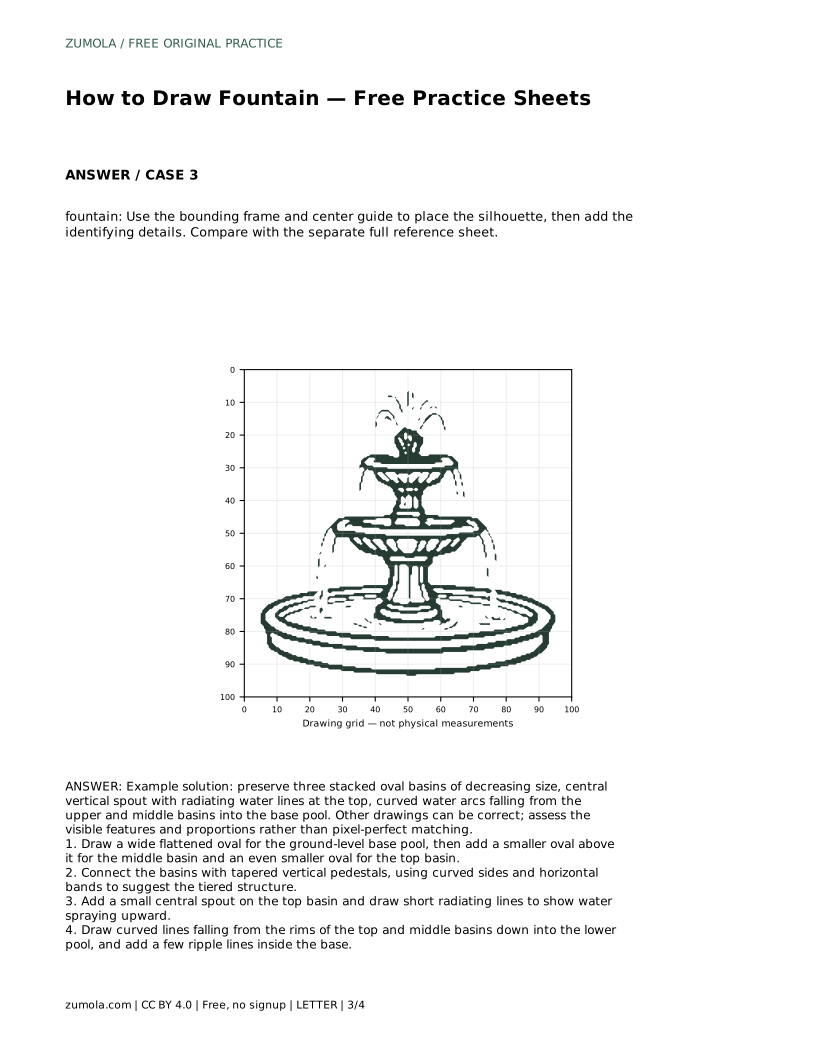
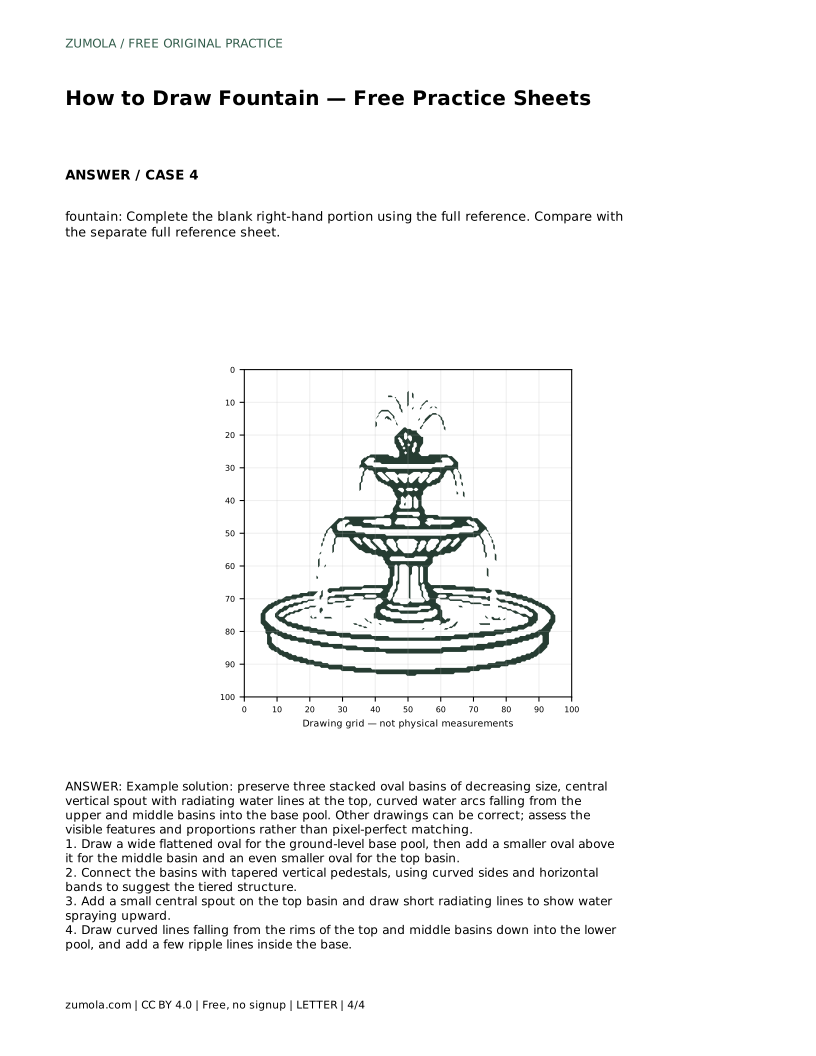
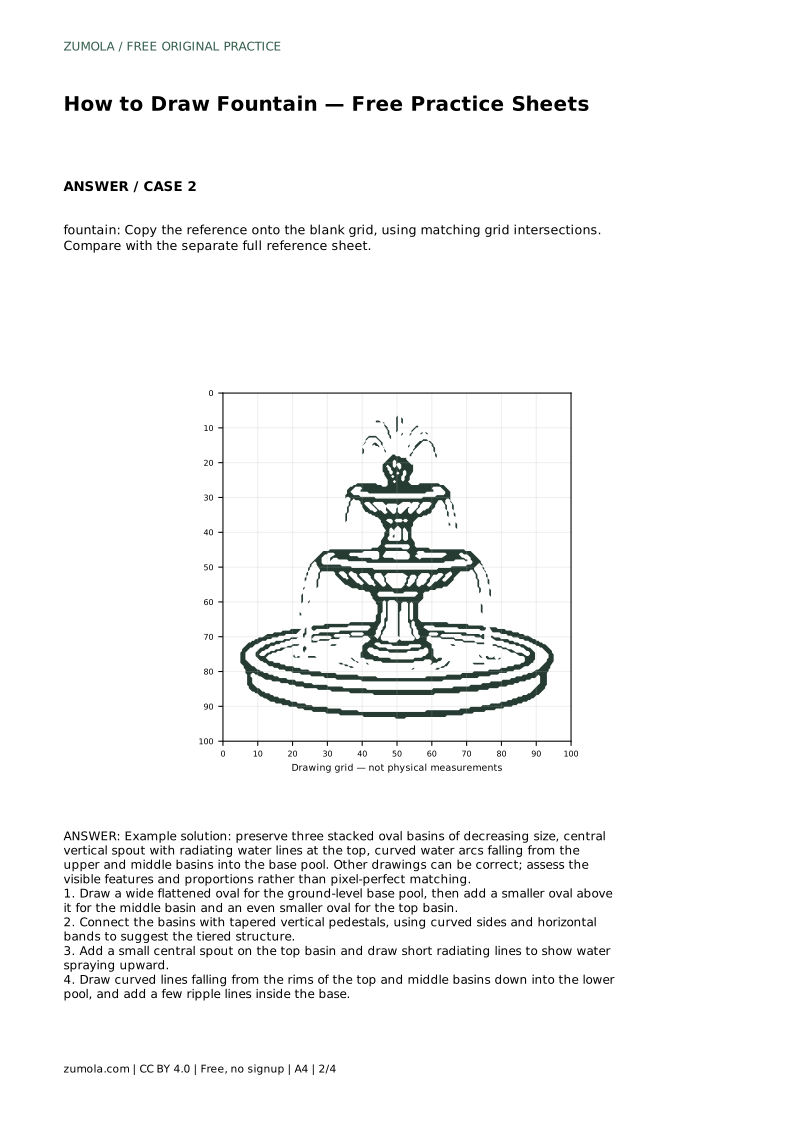
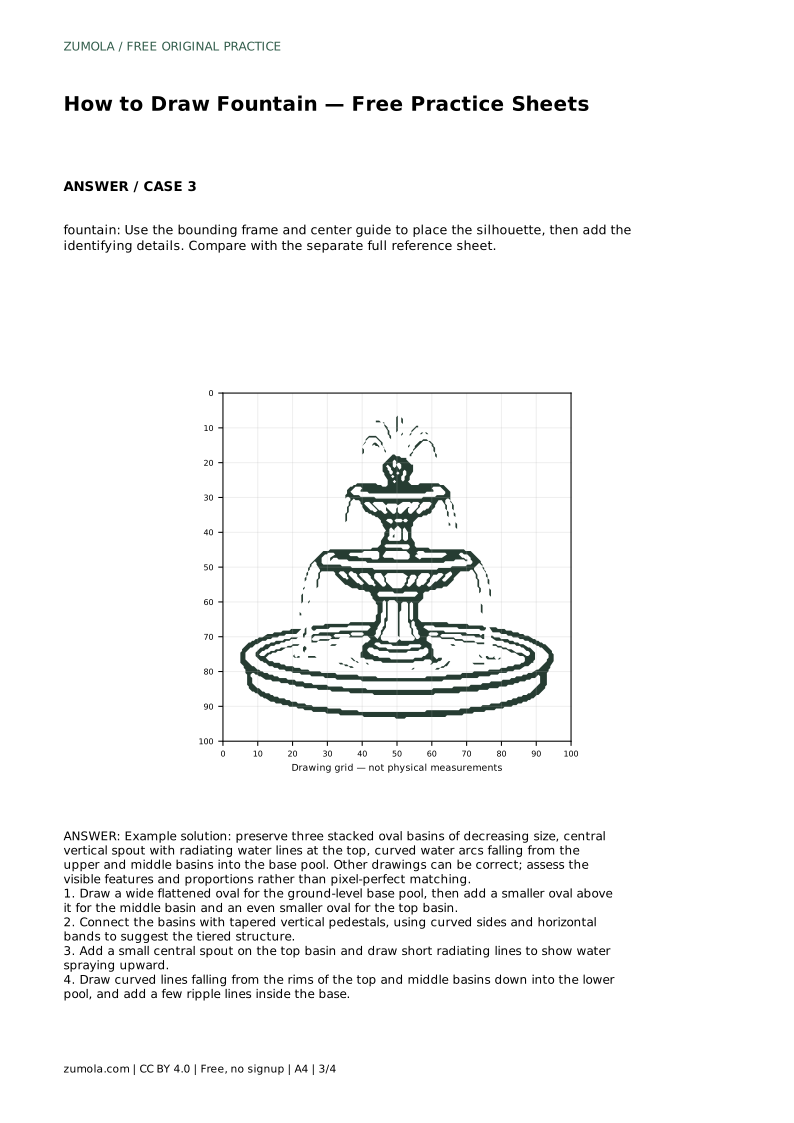
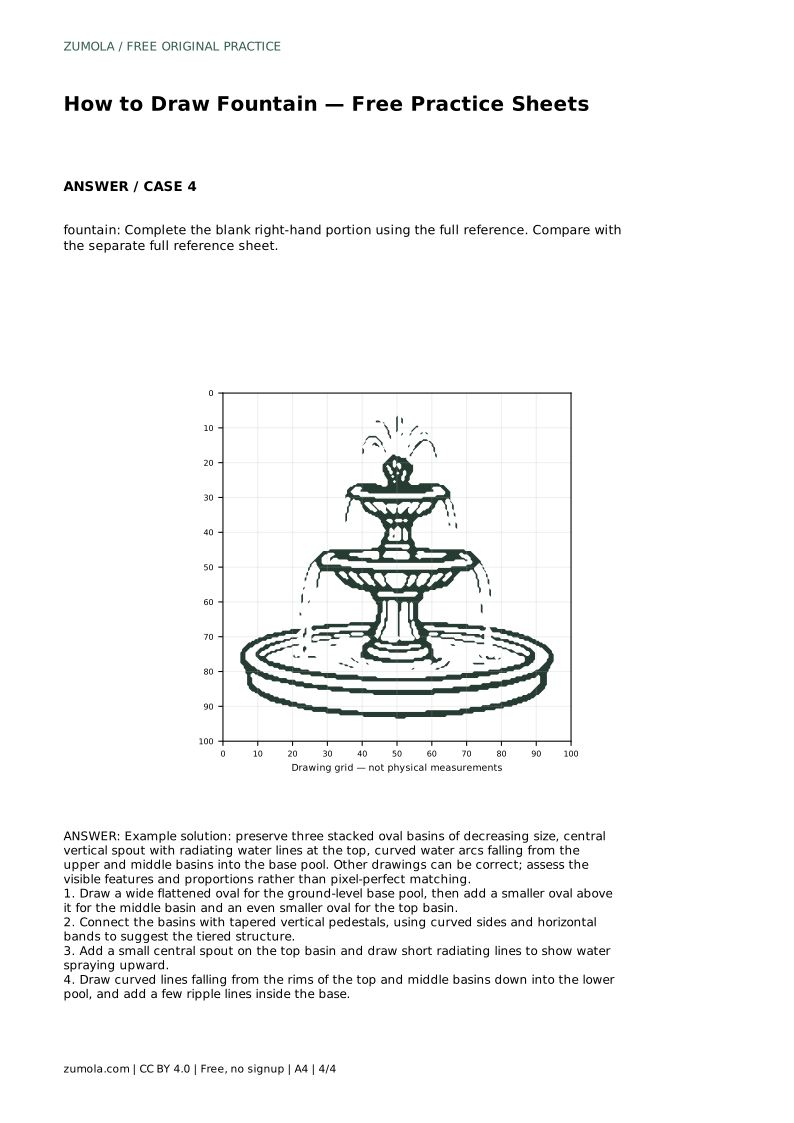
The trace sheet asks you to follow the reference outline first, then practise the contour independently and compare with the separate full reference sheet. The grid sheet asks you to copy the reference onto the blank grid using matching grid intersections. The frame sheet gives you a bounding frame and center guide so you can place the silhouette before adding details. The partial sheet asks you to complete the blank right-hand portion using the full reference.
In every case, the goal is the visible features and proportions, not a pixel-perfect match. Different line weights, ripple counts, and arc shapes can all be correct.
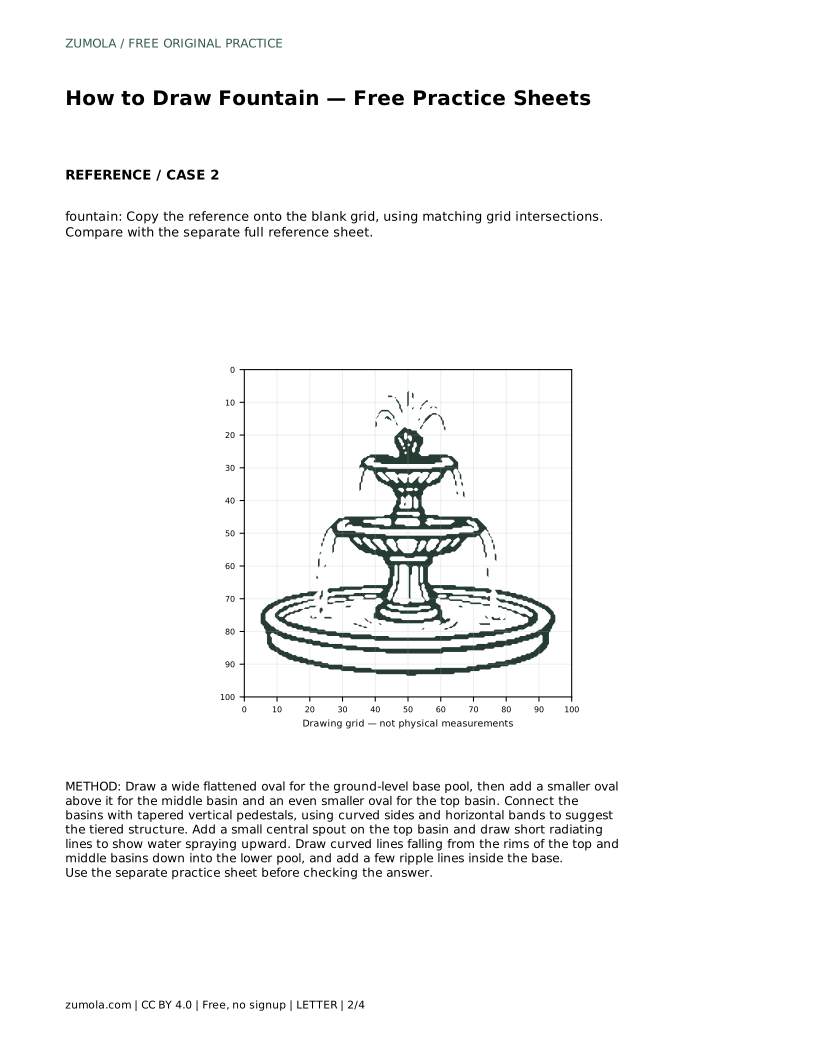
fountain: Trace the reference outline, then practise the contour independently. Compare with the separate full reference sheet.
Example solution: preserve three stacked oval basins of decreasing size, central vertical spout with radiating water lines at the top, curved water arcs falling from the upper and middle basins into the base pool. Other drawings can be correct; assess the visible features and proportions rather than pixel-perfect matching. Draw a wide flattened oval for the ground-level base pool, then add a smaller oval above it for the middle basin and an even smaller oval for the top basin. Connect the basins with tapered vertical pedestals, using curved sides and horizontal bands to suggest the tiered structure. Add a small central spout on the top basin and draw short radiating lines to show water spraying upward. Draw curved lines falling from the rims of the top and middle basins down into the lower pool, and add a few ripple lines inside the base.
Three stacked basins of decreasing size is a clear, common structure, but two or four can work if each basin is smaller than the one below.
No. The arcs should curve outward and down from the rims, but their exact shape and number can vary.
Check the ovals: they should share one vertical center line and shrink as they rise. Fixing that usually corrects the overall look.
All drawing practice · Free coordinate paper
Original resources · CC BY 4.0 · Free for personal and classroom use with attribution.