Reference diagrams
LETTER · Download PDF
A4 · Download PDF
Free original resources
Learn to draw a hand saw with a tapered blade, zigzag teeth, and pistol-grip handle. Trace, grid, and complete-the-drawing practice sheets support each step.
Four original cases, with reference diagrams, practice sheets and worked answers. Everything is free; no signup required.
LETTER · Download PDF
A4 · Download PDF
LETTER · Download PDF
A4 · Download PDF
LETTER · Download PDF
A4 · Download PDF
Use A4 or US Letter to match your printer. Use the stated values and conditions to solve each exercise; diagrams are not physical measuring rulers.
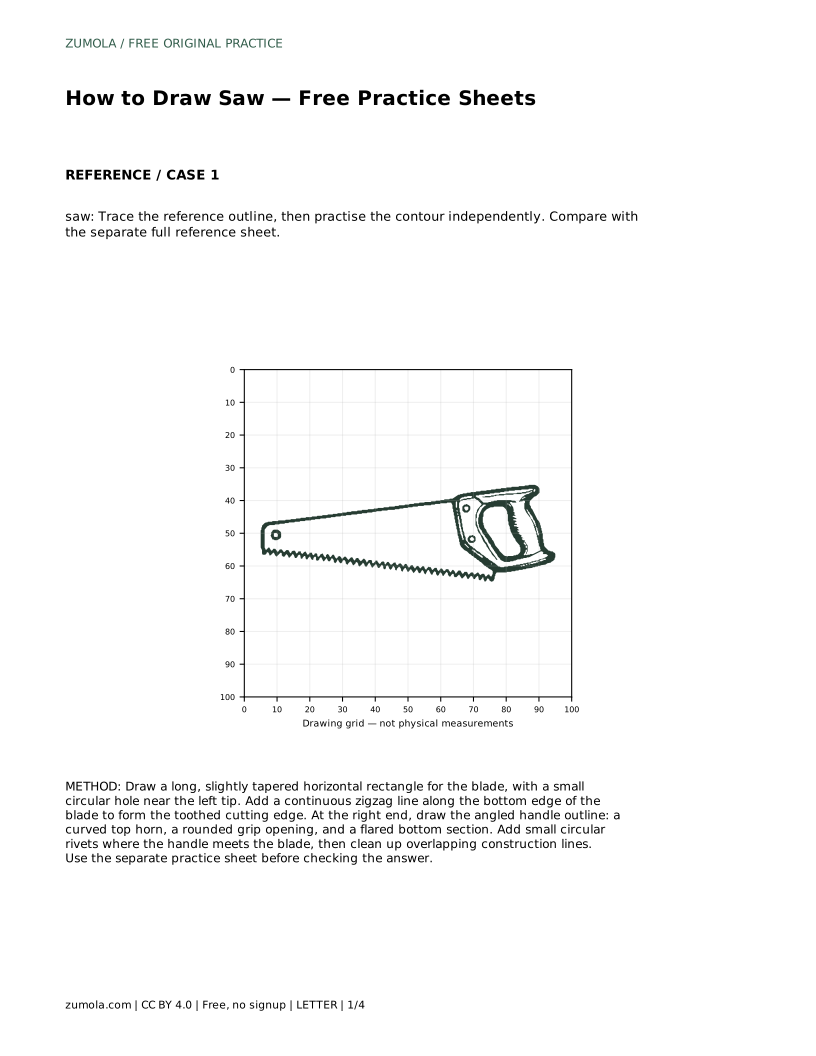
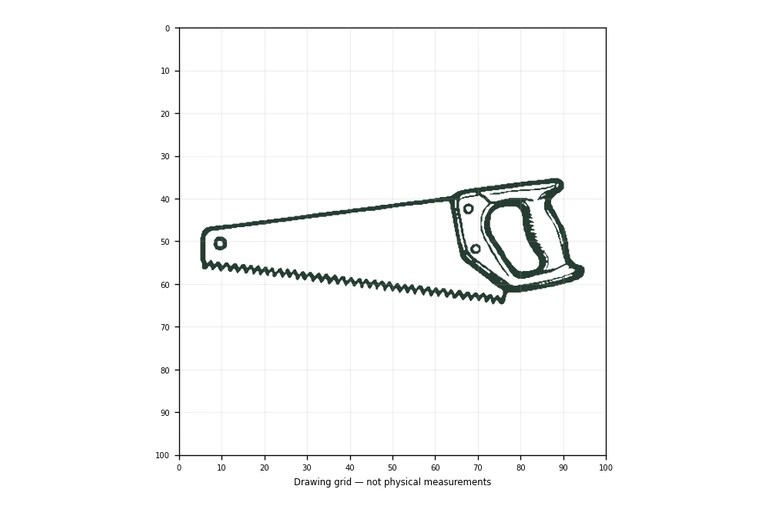
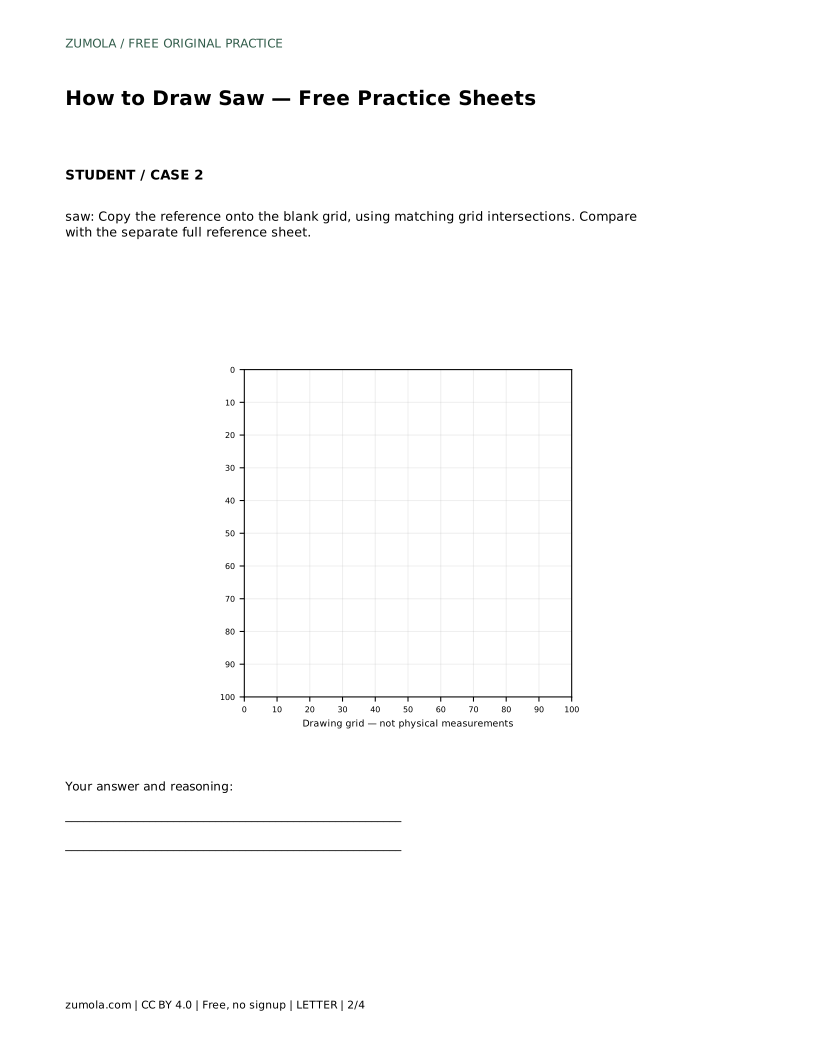
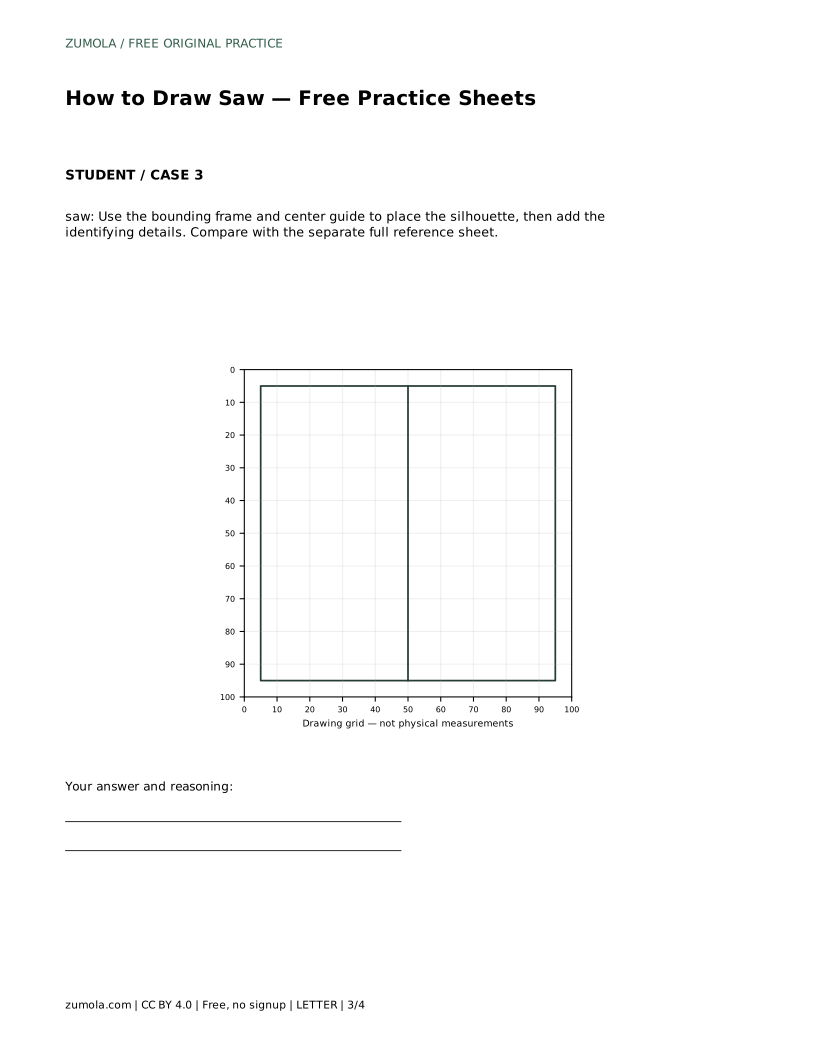
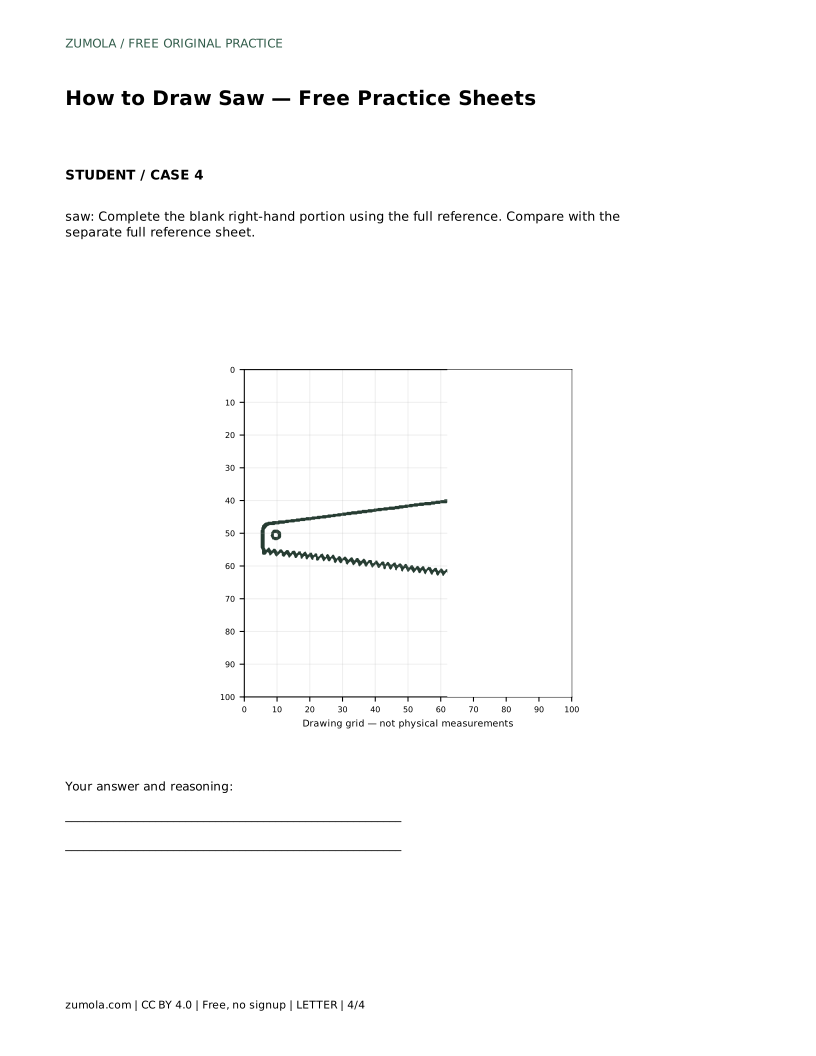
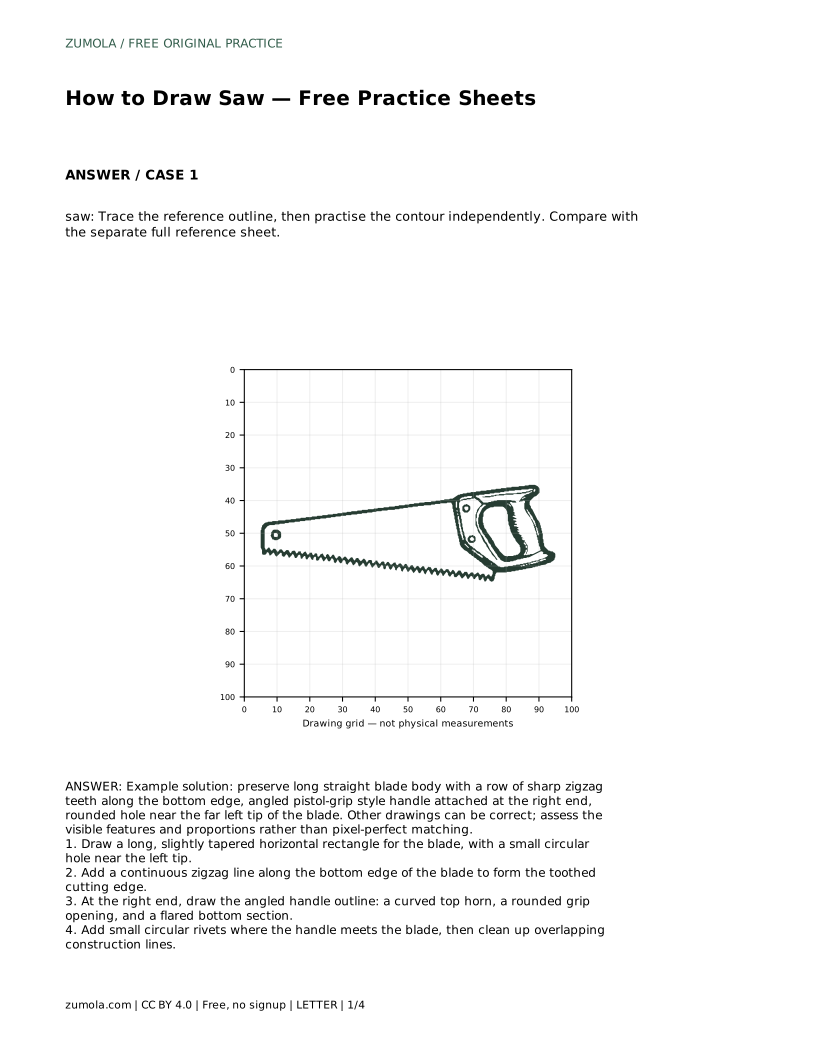
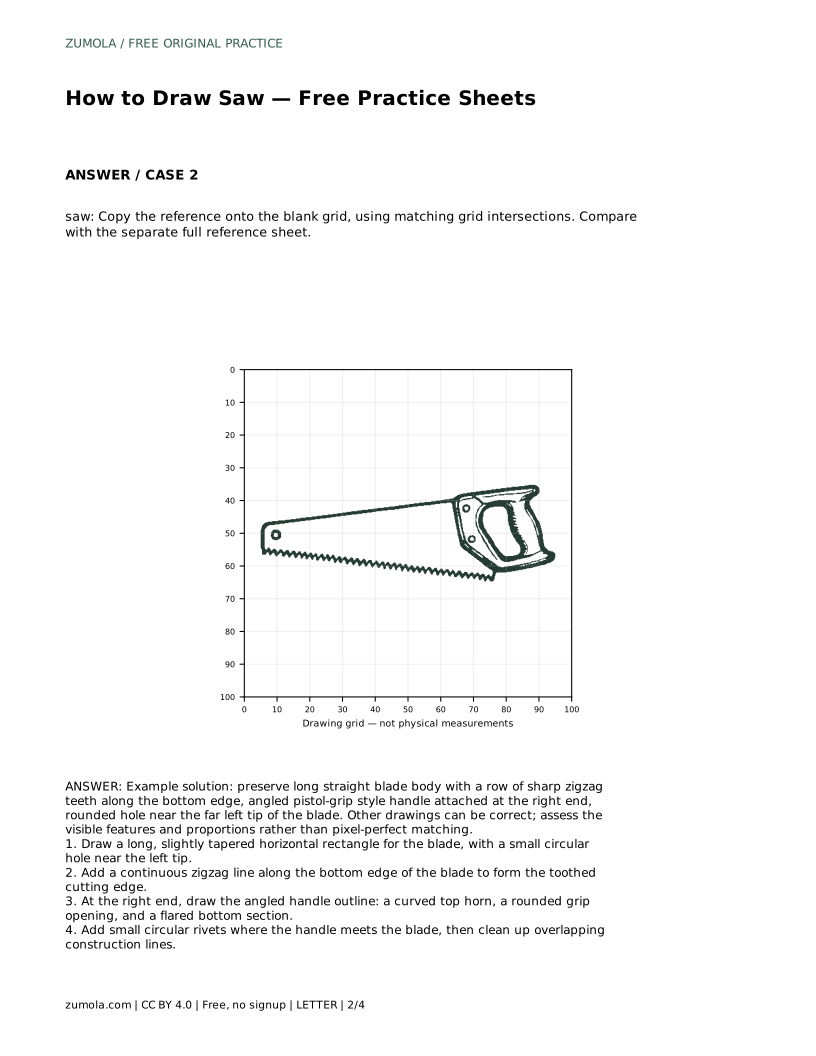
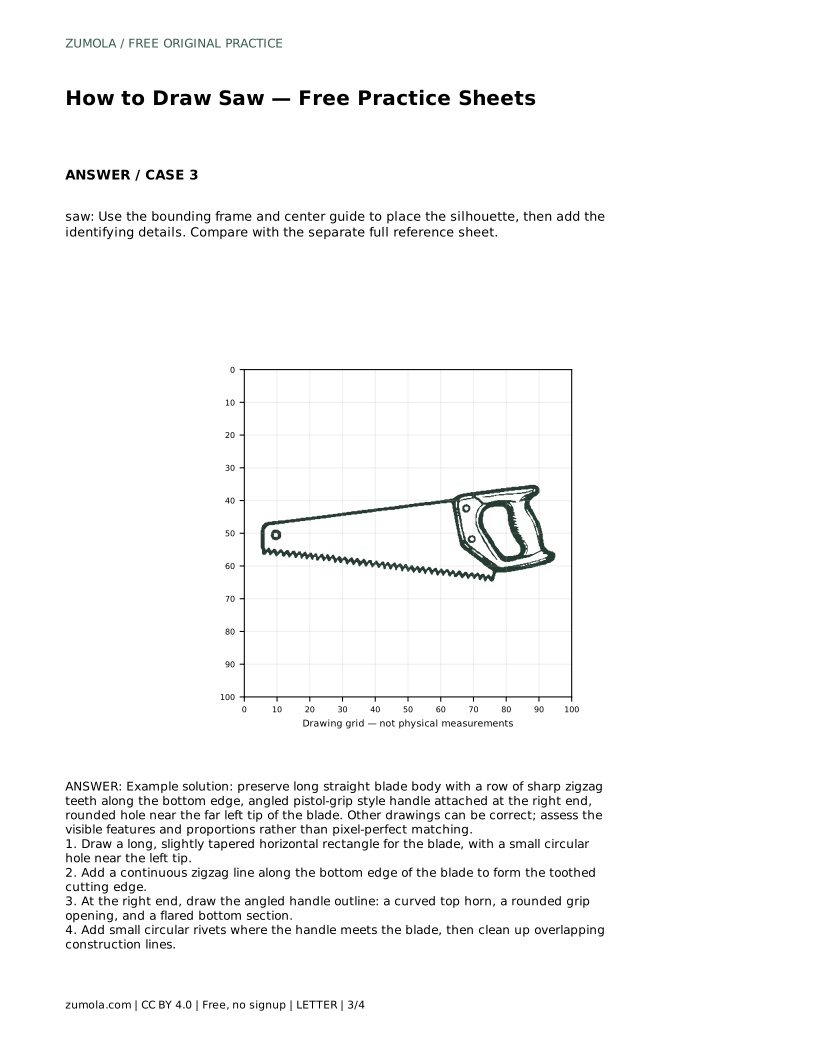
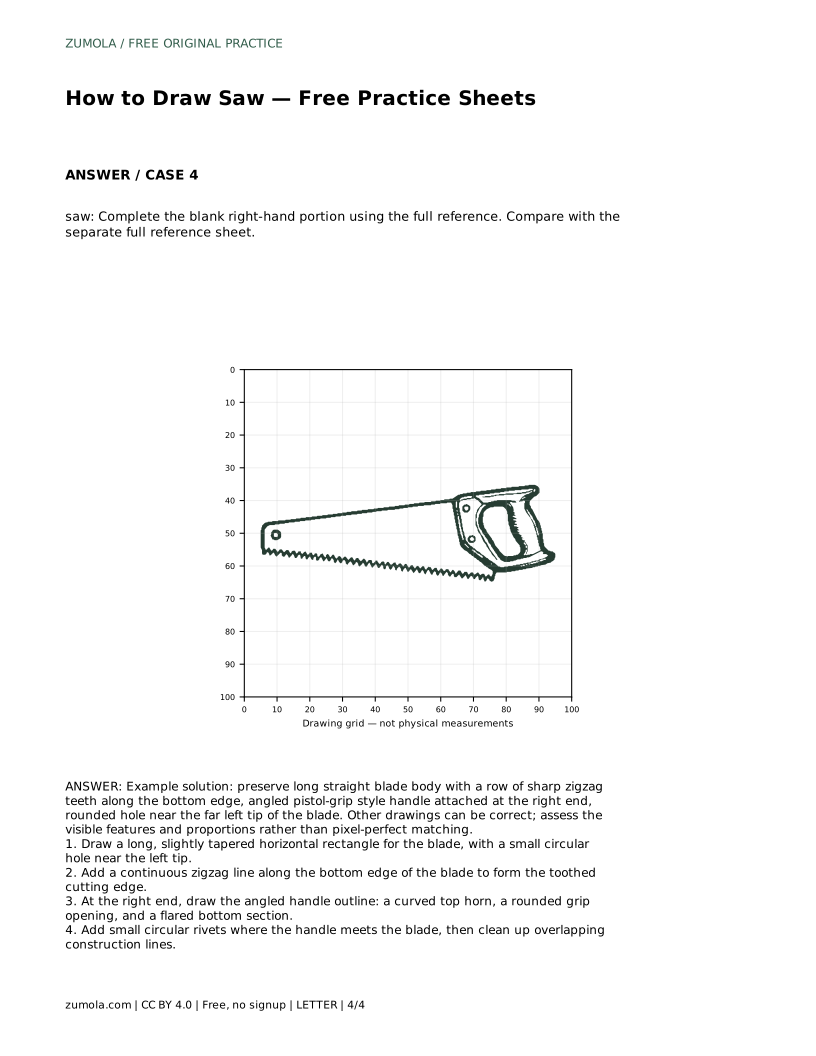
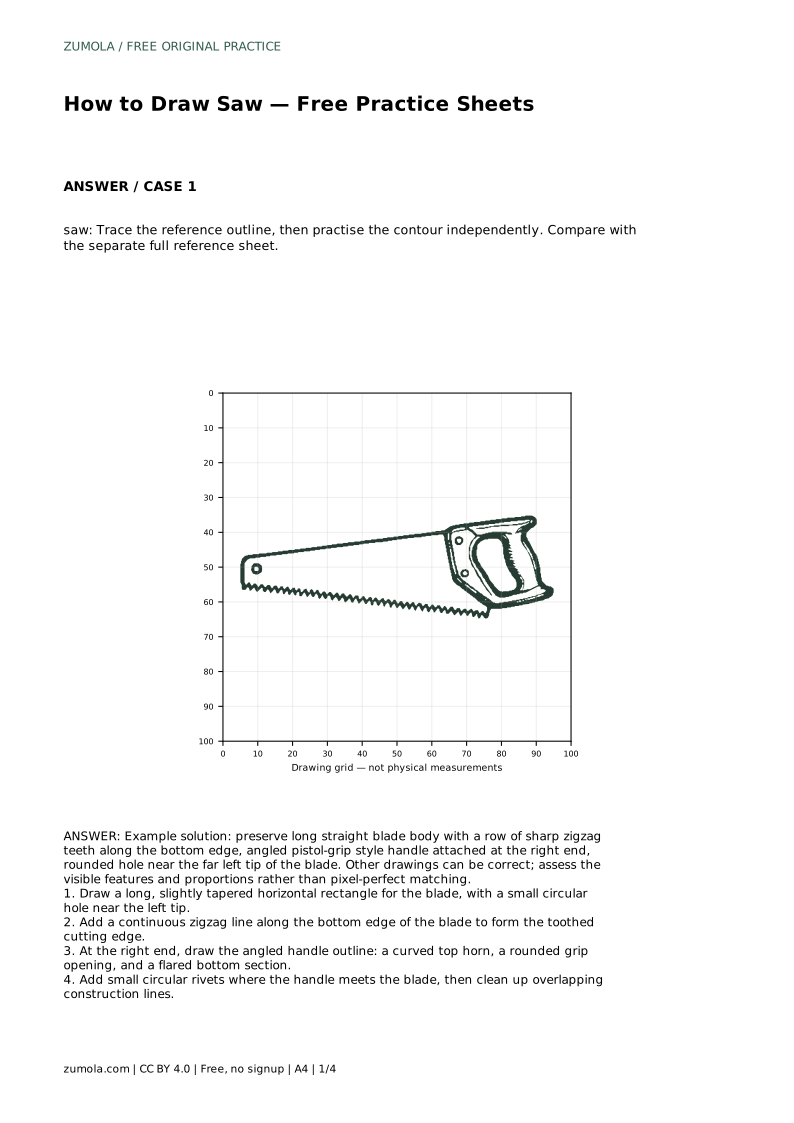
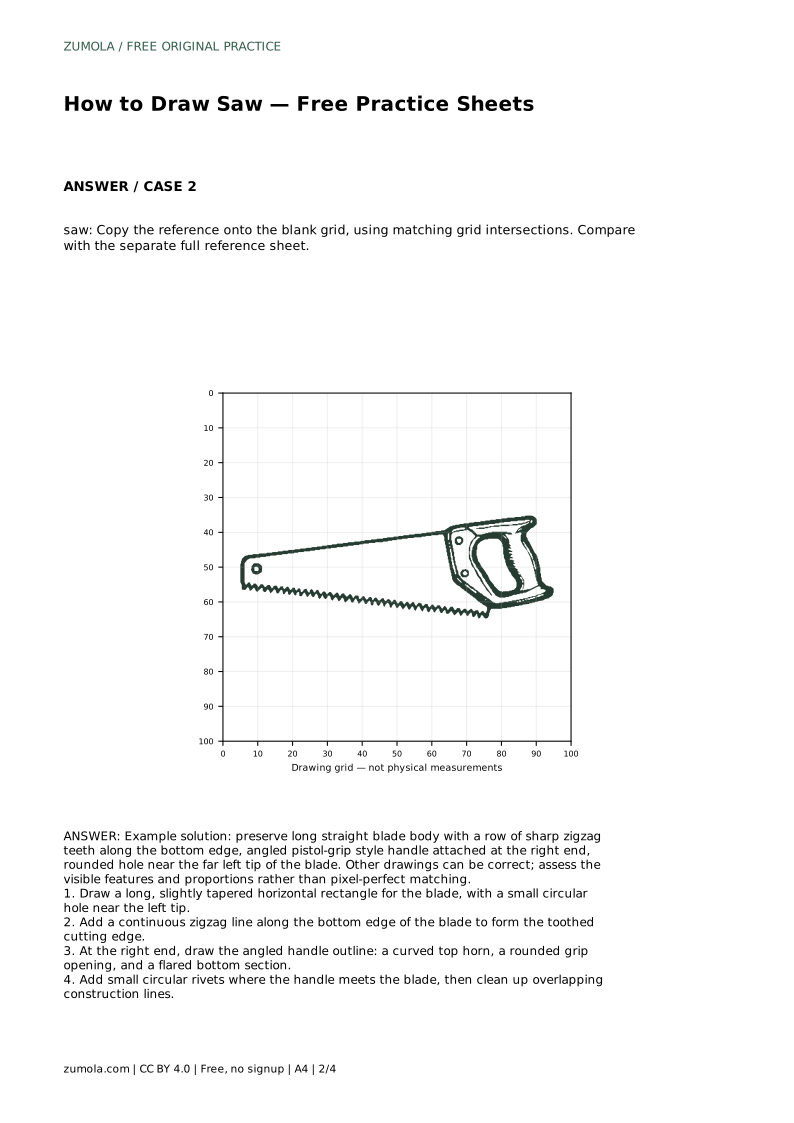
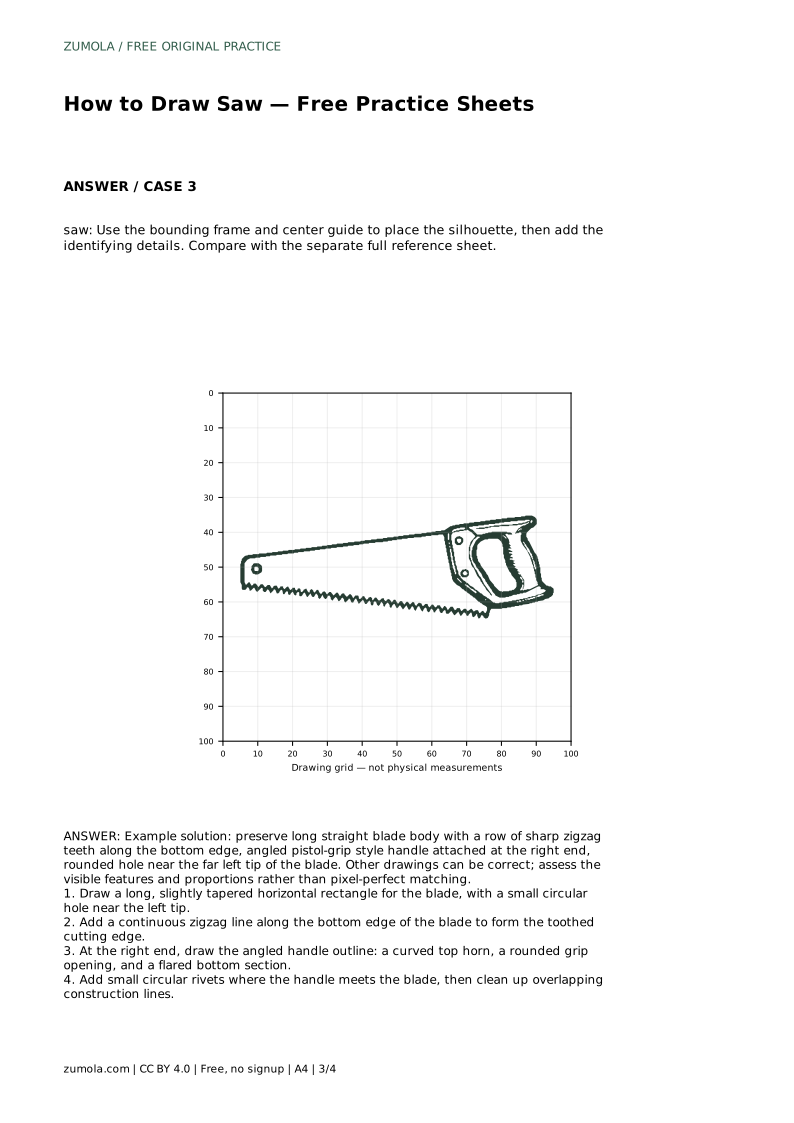
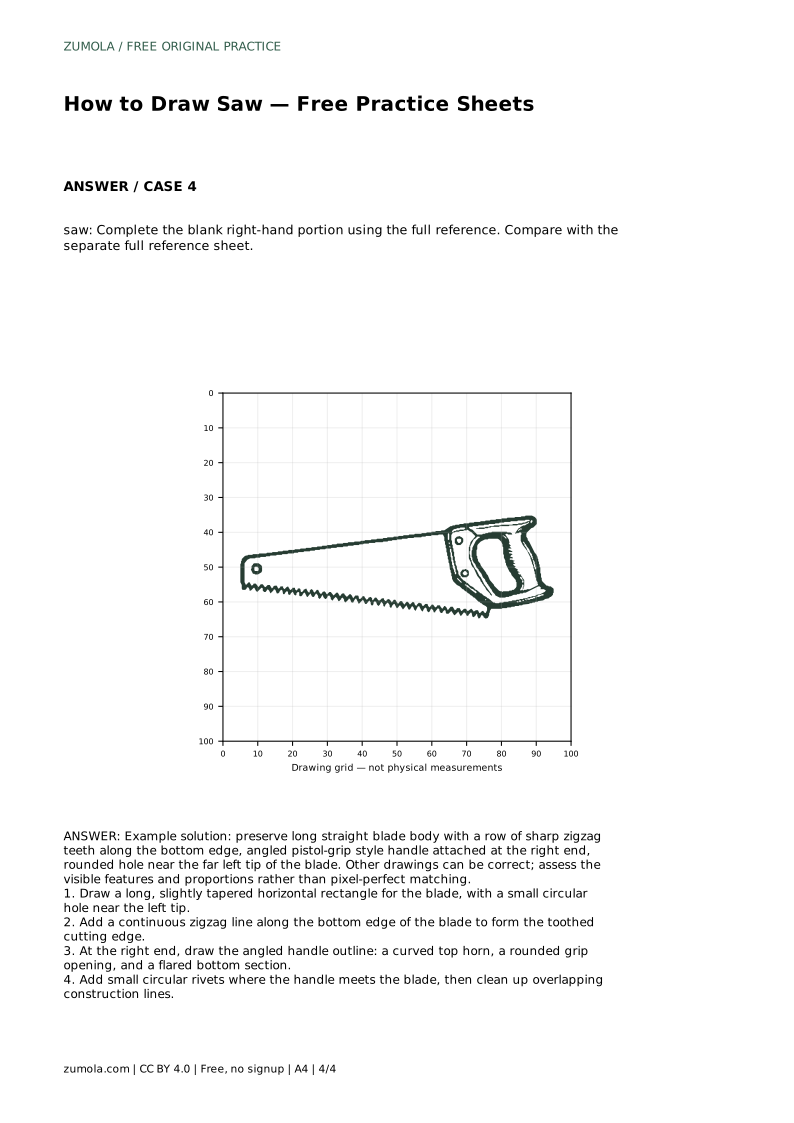
A hand saw is a good subject for learning to combine long straight edges with one repeating detail and an angled shape. This guide breaks the drawing into four stages: the blade body, the toothed edge, the handle, and the small connecting details. The practice sheets let you trace the outline first, then try the contour independently, copy onto a grid, or complete a partially drawn version. Compare your work with the separate full reference sheet and judge the visible features rather than an exact match.
Begin with the longest, simplest shape: a horizontal rectangle for the blade. Make it slightly tapered so the far left tip is a little narrower than the end that meets the handle. Keep the top edge straight and level, because that straight line gives the whole drawing its calm, stable direction. Near the left tip, draw a small circular hole. This hole is a distinctive feature of the saw and helps viewers read the shape correctly. Place it a short distance in from the tip rather than at the very edge.
Before adding teeth, check the blade's proportions. A hand saw blade is much longer than it is tall, so resist making it short and chunky. Light construction lines are useful here: you can adjust the rectangle before committing to darker lines.
The teeth run along the bottom edge of the blade. Draw them as one continuous zigzag line rather than separate triangles, so the rhythm stays even. Each tooth has a point that angles downward and slightly toward the handle end, which is typical of a crosscut-style saw. Keep the depth of the teeth consistent; uneven depth makes the blade look wavy rather than toothed.
Work from one end to the other in a steady rhythm. If a tooth comes out too large, redraw that section lightly rather than patching it with heavy strokes. The zigzag should sit directly on the blade's lower edge, not float below it.
At the right end, the handle rises above and below the blade line. Draw an angled outline with a curved top horn, a rounded grip opening, and a flared bottom section. The top horn curves forward over the blade; the grip opening is an enclosed shape you can draw as a rounded loop; the bottom flares outward to give the hand room.
Treat the handle as a silhouette first, then refine the curves. The handle should look attached to the blade, not balanced on top of it. Check that the grip opening is large enough to read clearly at the drawing's scale.
Small circular rivets sit where the handle meets the blade. Two or three are enough to suggest the connection. Place them in a short row along the joint, evenly spaced. After the rivets, erase or lighten the construction lines so the final contour reads cleanly.
Compare your drawing with the full reference sheet. Check the blade length, the tooth rhythm, the handle angle, and the hole position. Different drawings can be correct; assess the visible features and proportions rather than pixel-perfect matching.
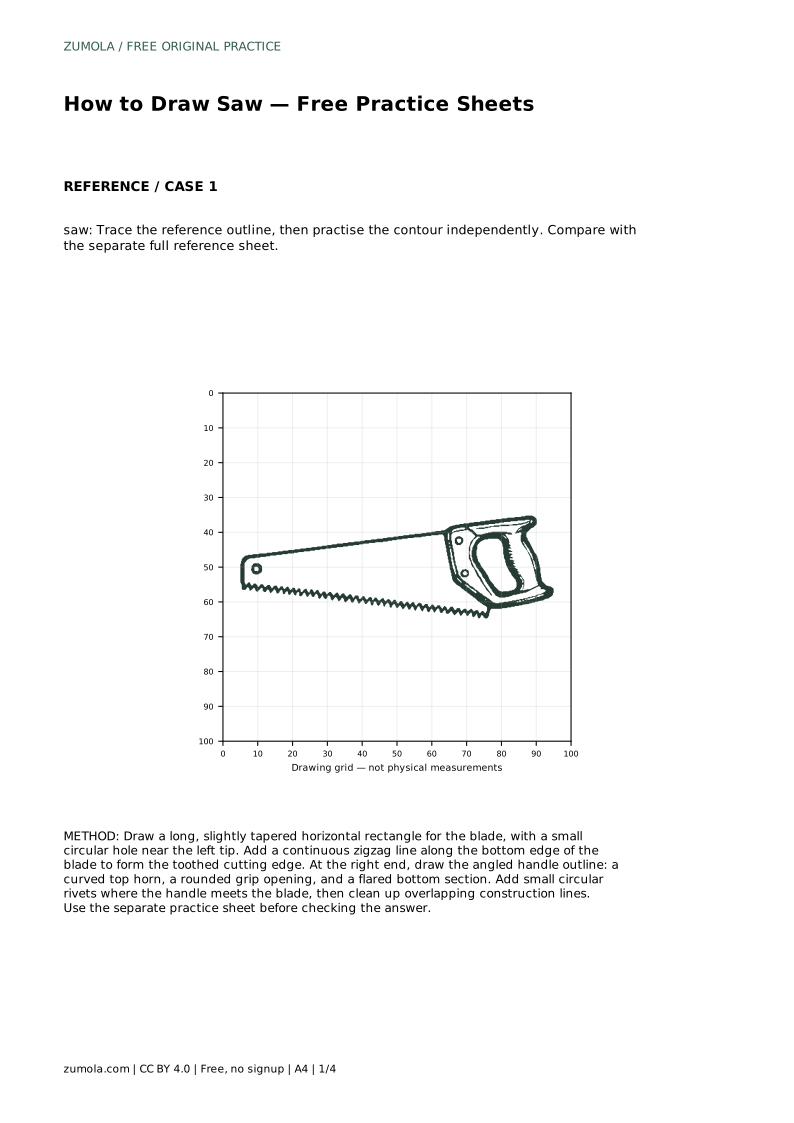
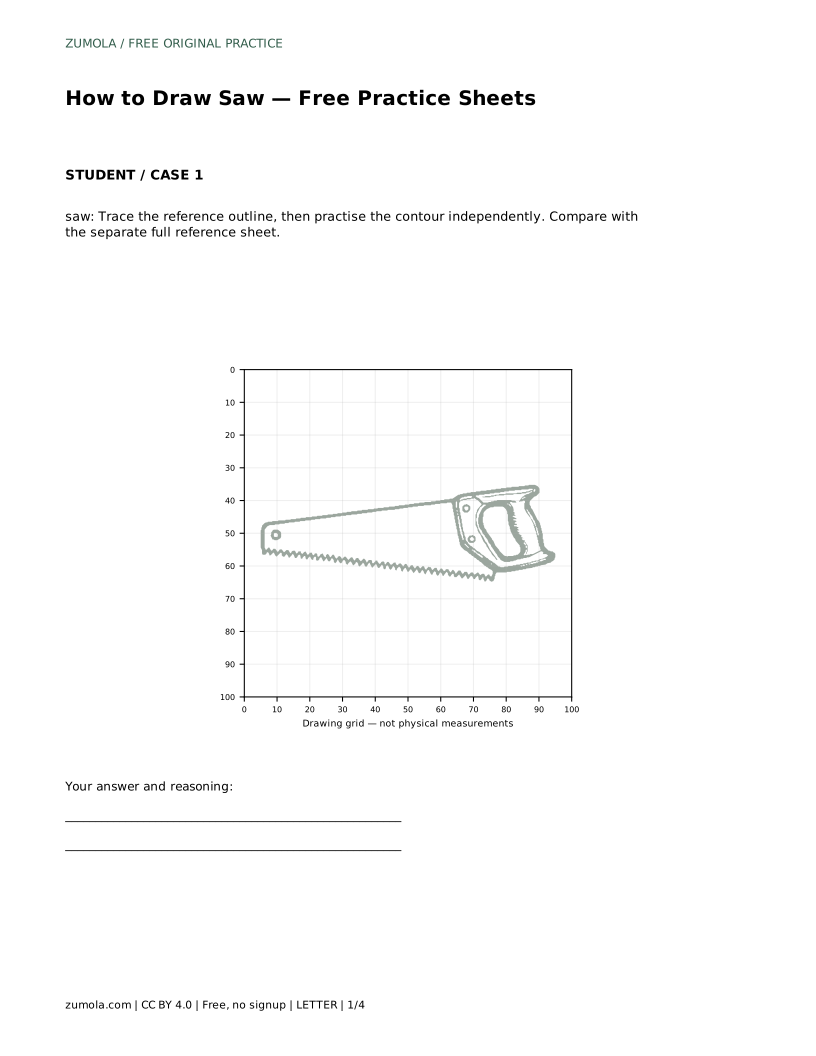
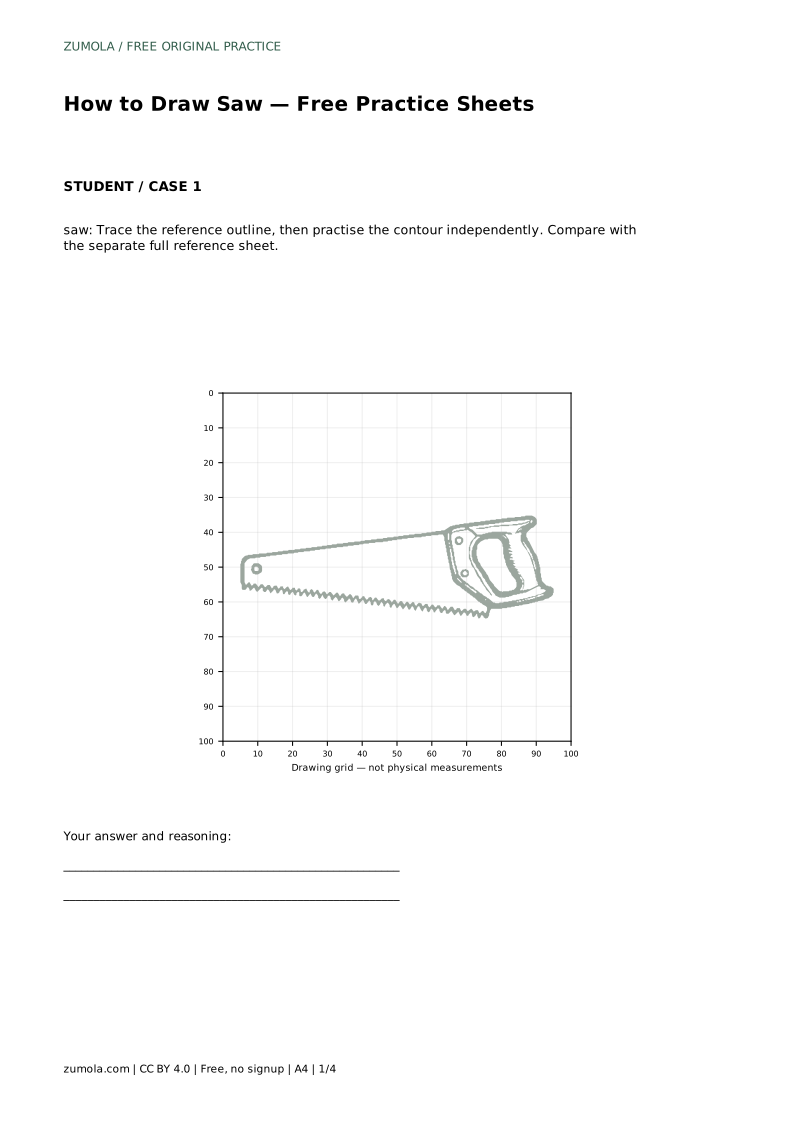
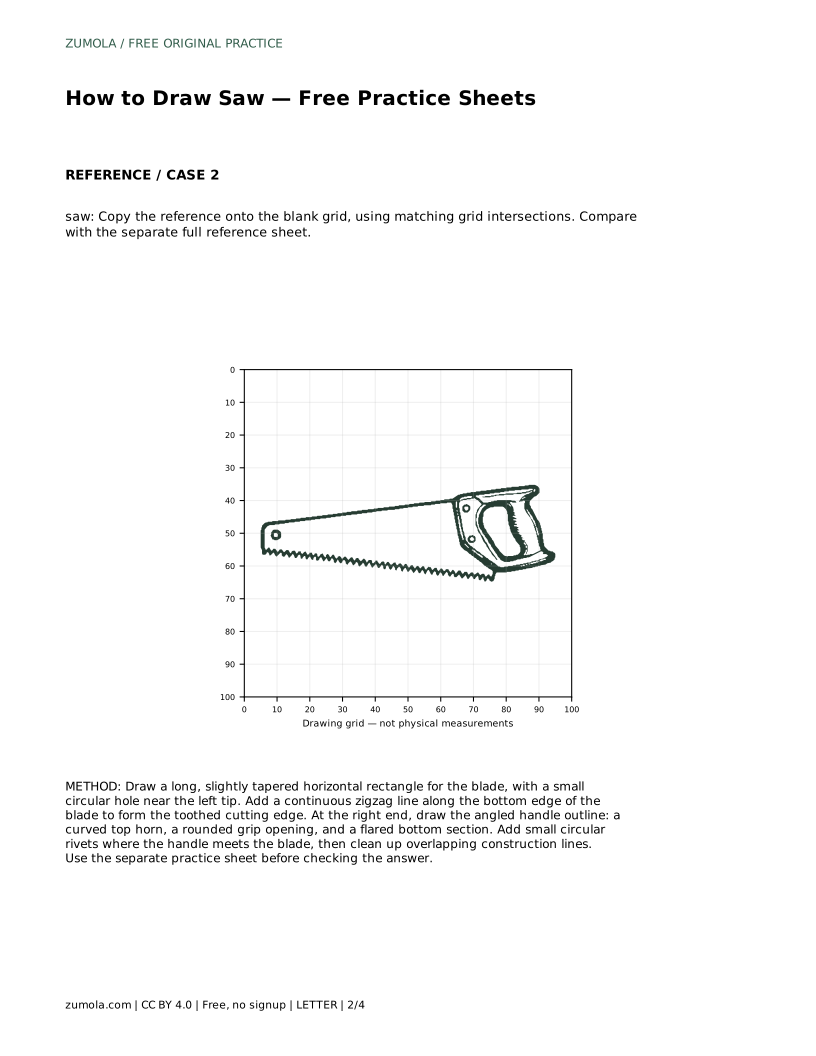
saw: Trace the reference outline, then practise the contour independently. Compare with the separate full reference sheet.
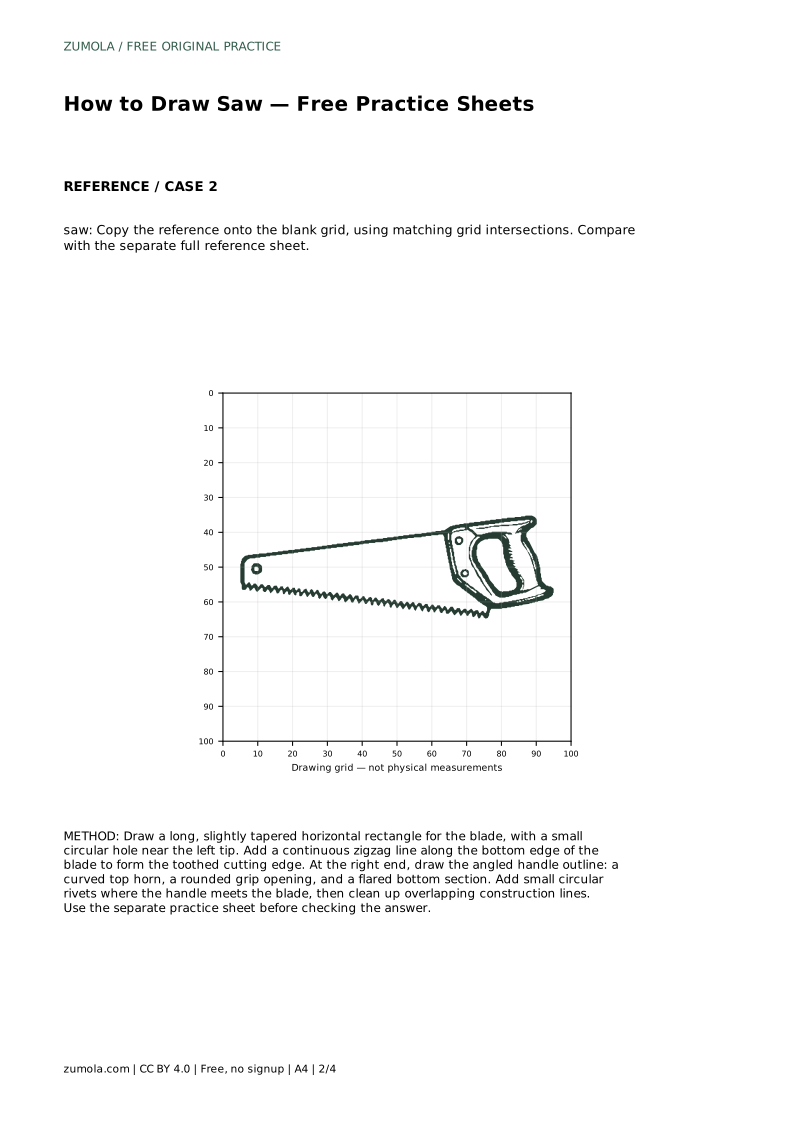
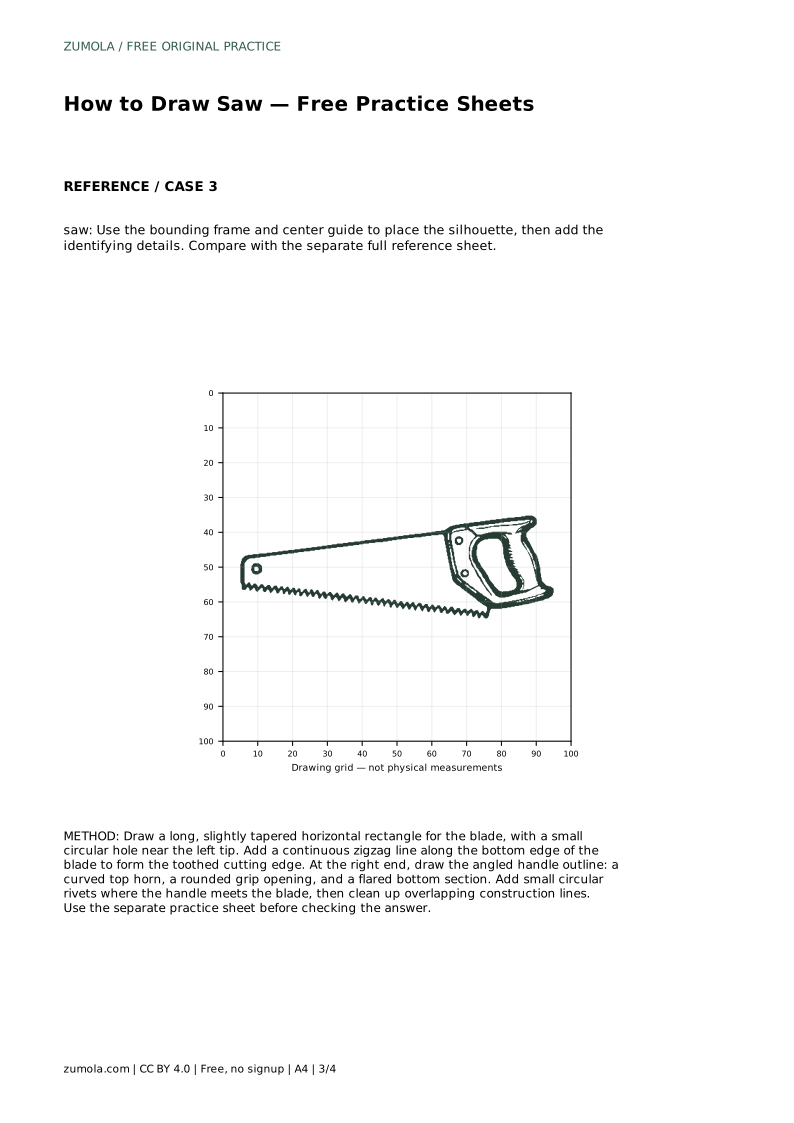
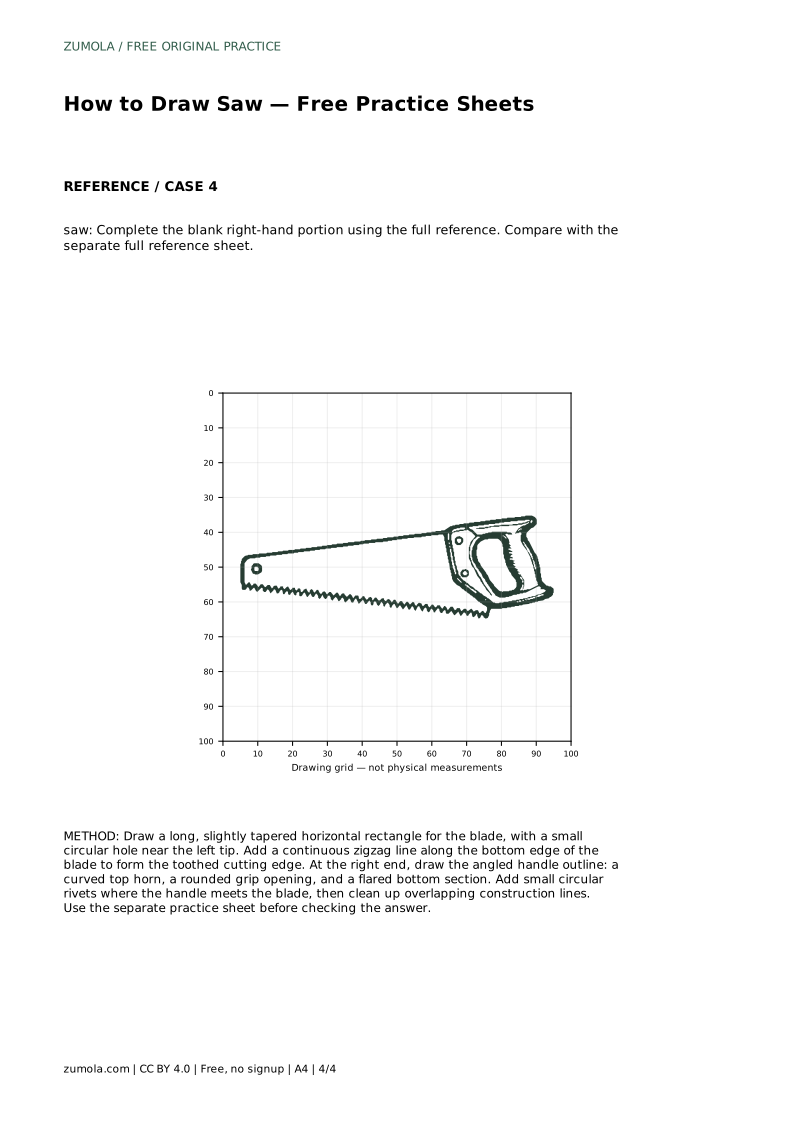
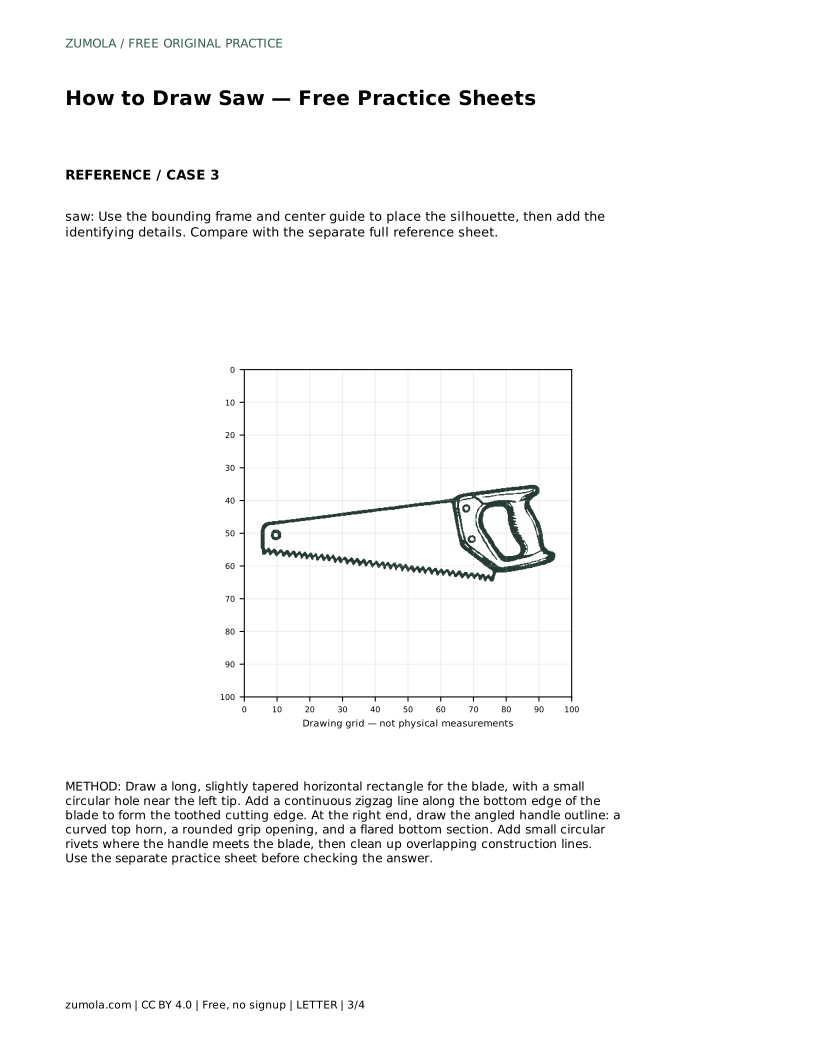
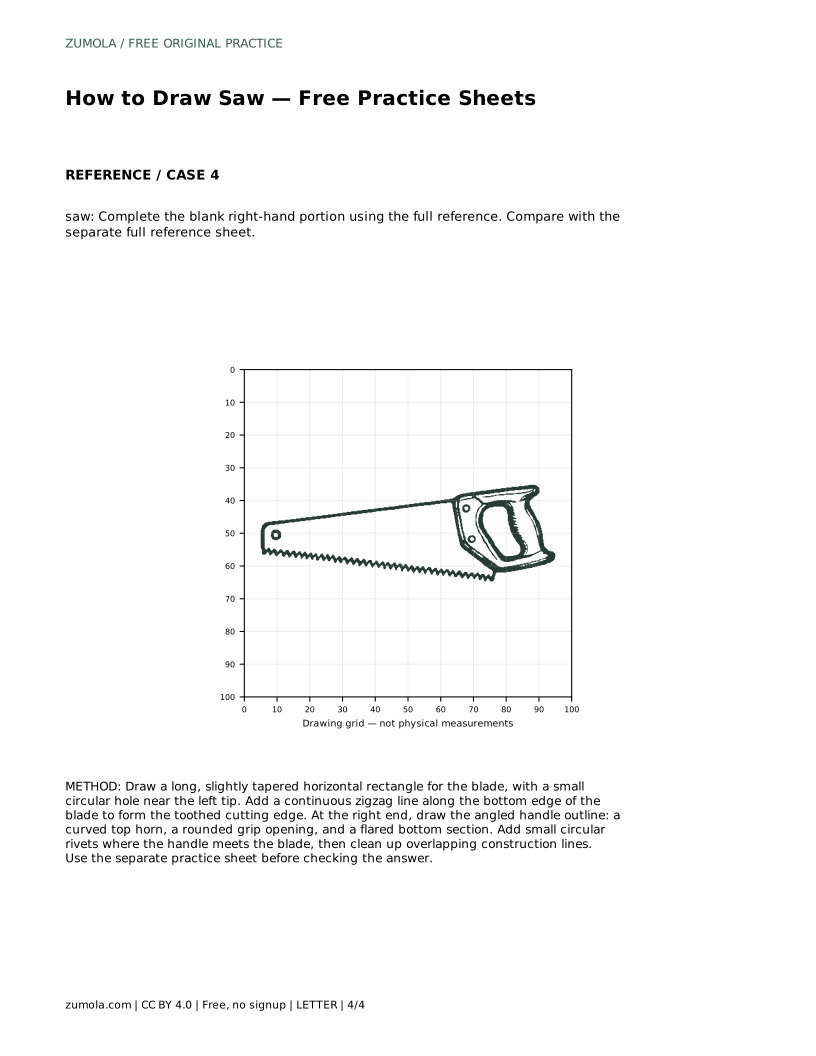
Example solution: preserve long straight blade body with a row of sharp zigzag teeth along the bottom edge, angled pistol-grip style handle attached at the right end, rounded hole near the far left tip of the blade. Other drawings can be correct; assess the visible features and proportions rather than pixel-perfect matching. Draw a long, slightly tapered horizontal rectangle for the blade, with a small circular hole near the left tip. Add a continuous zigzag line along the bottom edge of the blade to form the toothed cutting edge. At the right end, draw the angled handle outline: a curved top horn, a rounded grip opening, and a flared bottom section. Add small circular rivets where the handle meets the blade, then clean up overlapping construction lines.
Angle each tooth point downward and slightly toward the handle end. This gives the toothed edge a consistent, readable rhythm.
Two or three small circles in a short row along the handle-blade joint are enough to suggest the connection.
That is acceptable. Judge the visible features and proportions, such as blade length, tooth rhythm, handle angle, and hole position, rather than pixel-perfect matching.
All drawing practice · Free coordinate paper
Original resources · CC BY 4.0 · Free for personal and classroom use with attribution.