Reference diagrams
LETTER · Download PDF
A4 · Download PDF
Free original resources
Learn to draw a shirt by building the collar, short sleeves, button placket, body, and hem. Practice with tracing, grid, frame, and partial-reference sheets.
Four original cases, with reference diagrams, practice sheets and worked answers. Everything is free; no signup required.
LETTER · Download PDF
A4 · Download PDF
LETTER · Download PDF
A4 · Download PDF
LETTER · Download PDF
A4 · Download PDF
Use A4 or US Letter to match your printer. Use the stated values and conditions to solve each exercise; diagrams are not physical measuring rulers.
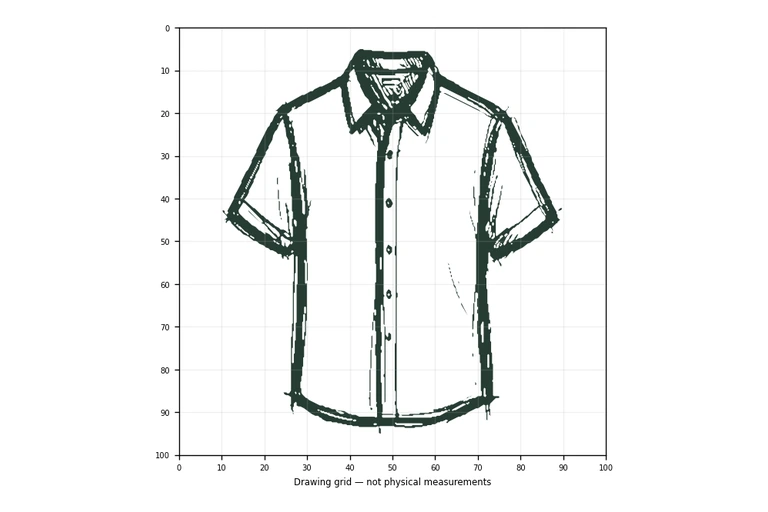
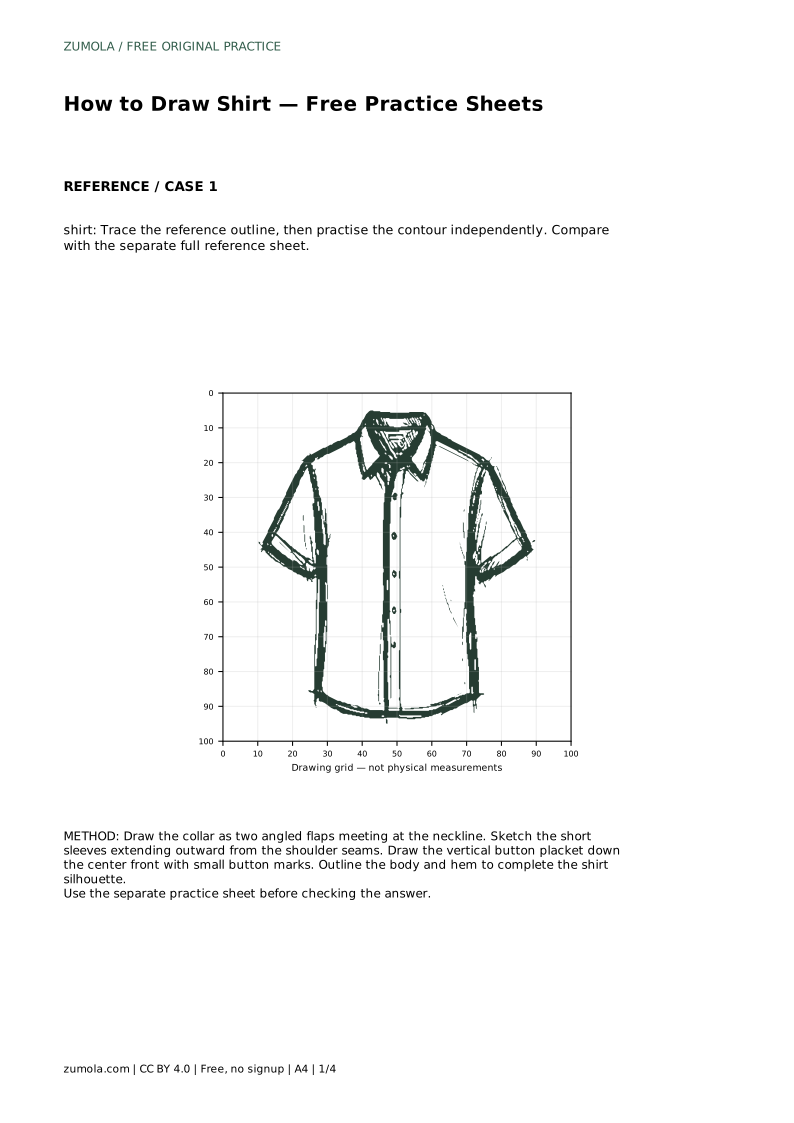
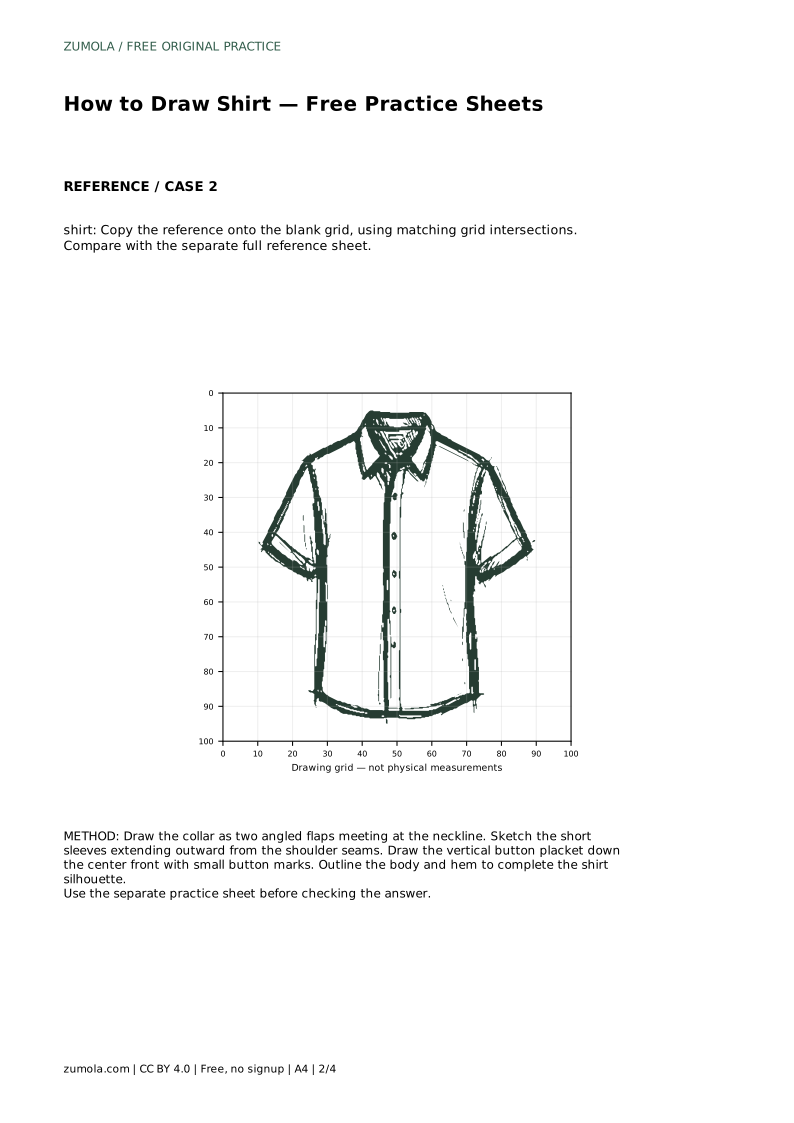
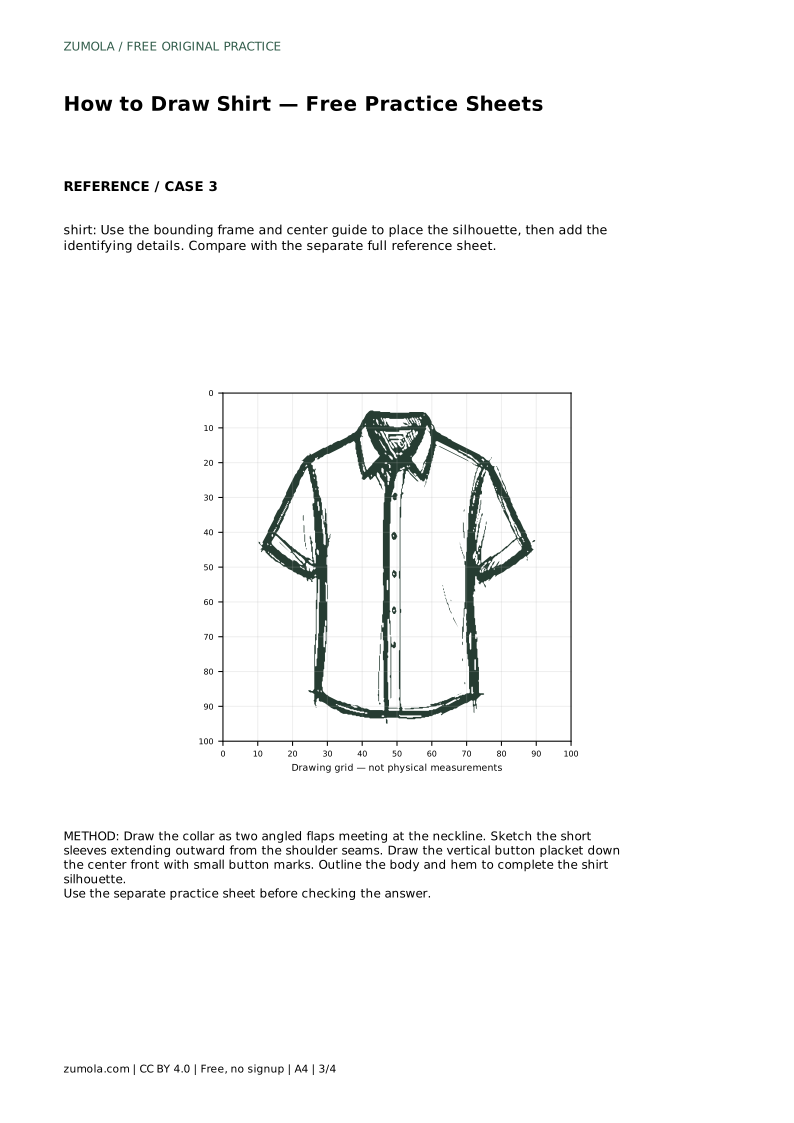
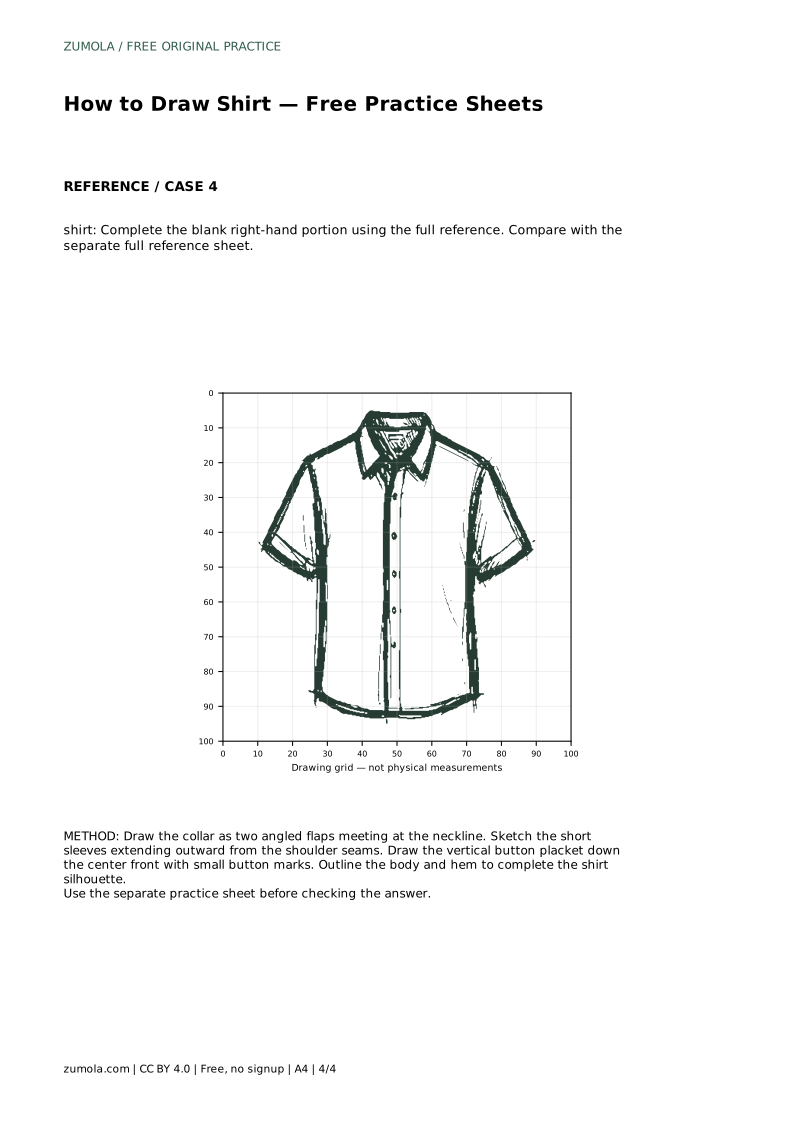
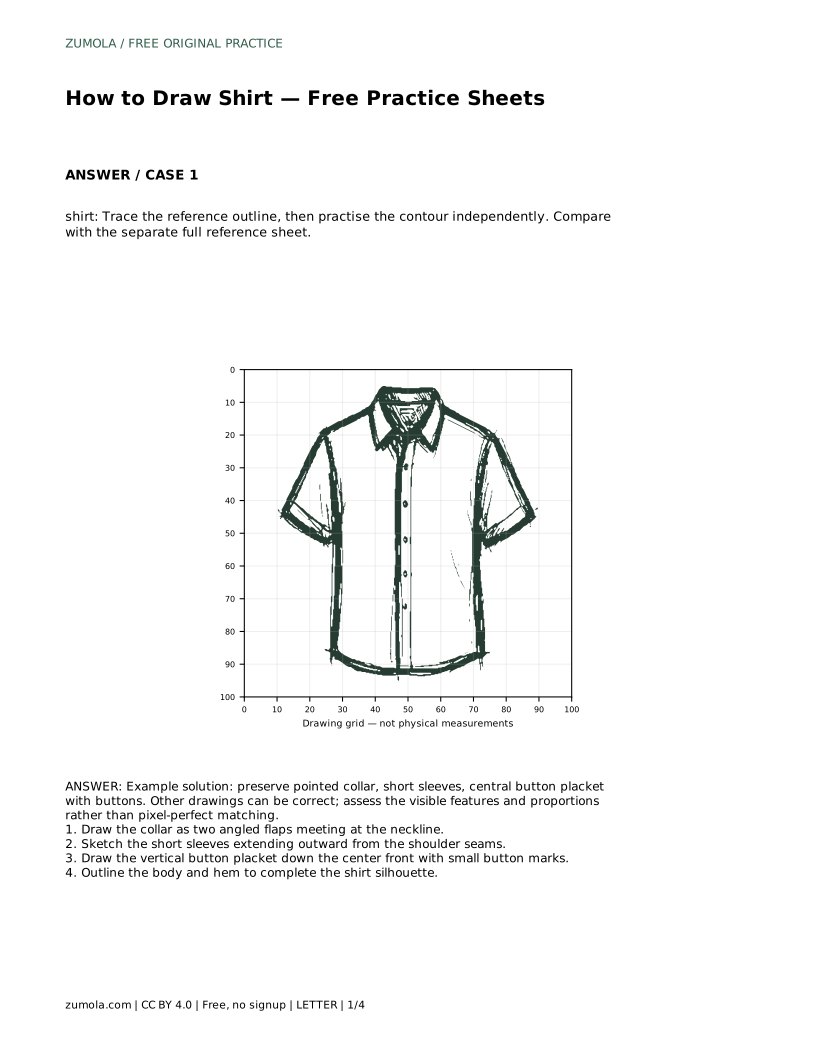
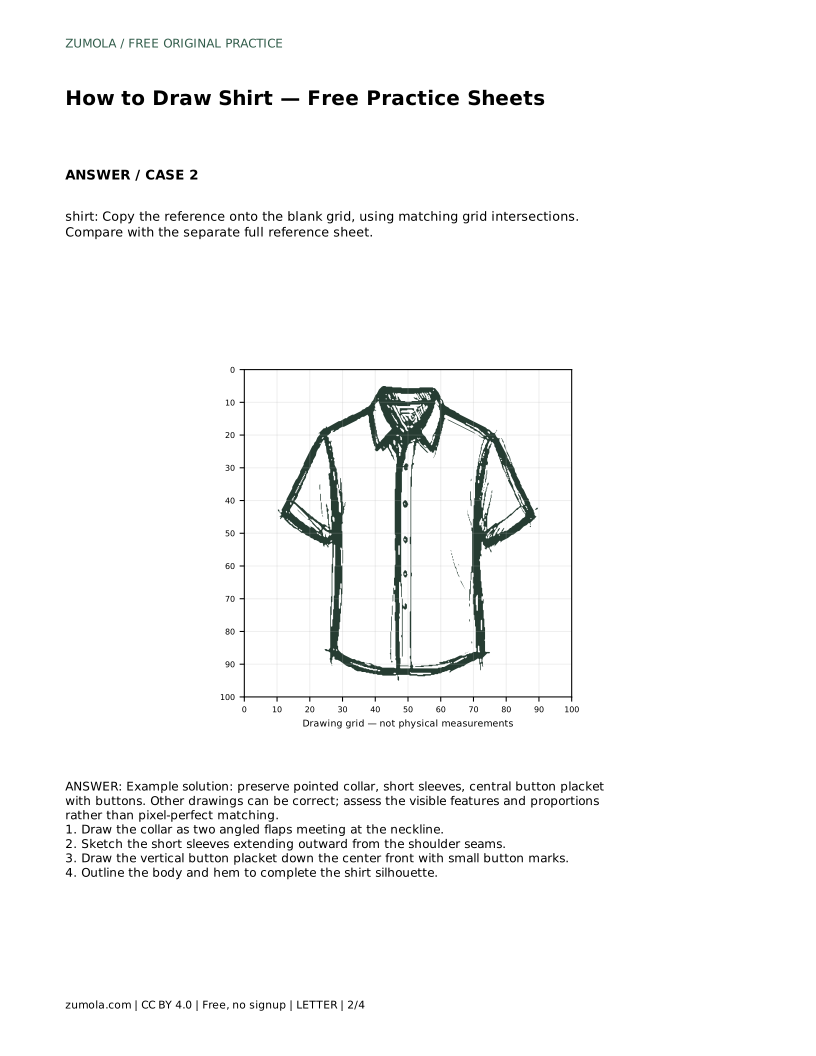
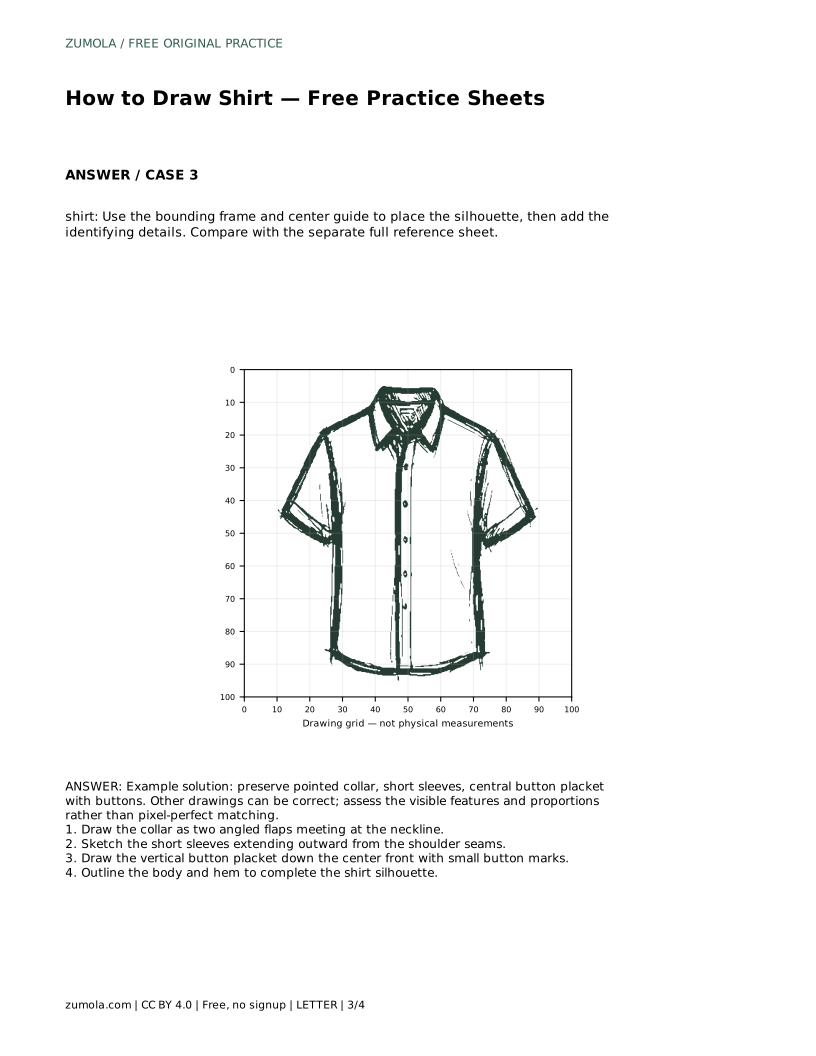
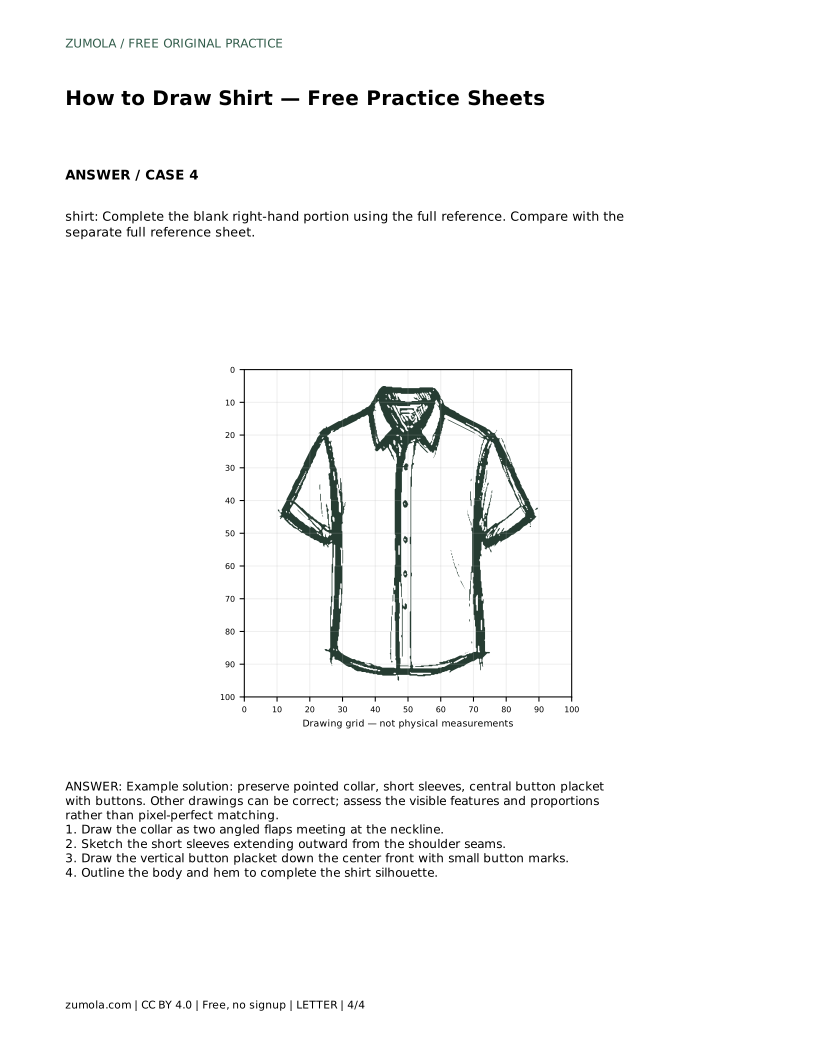
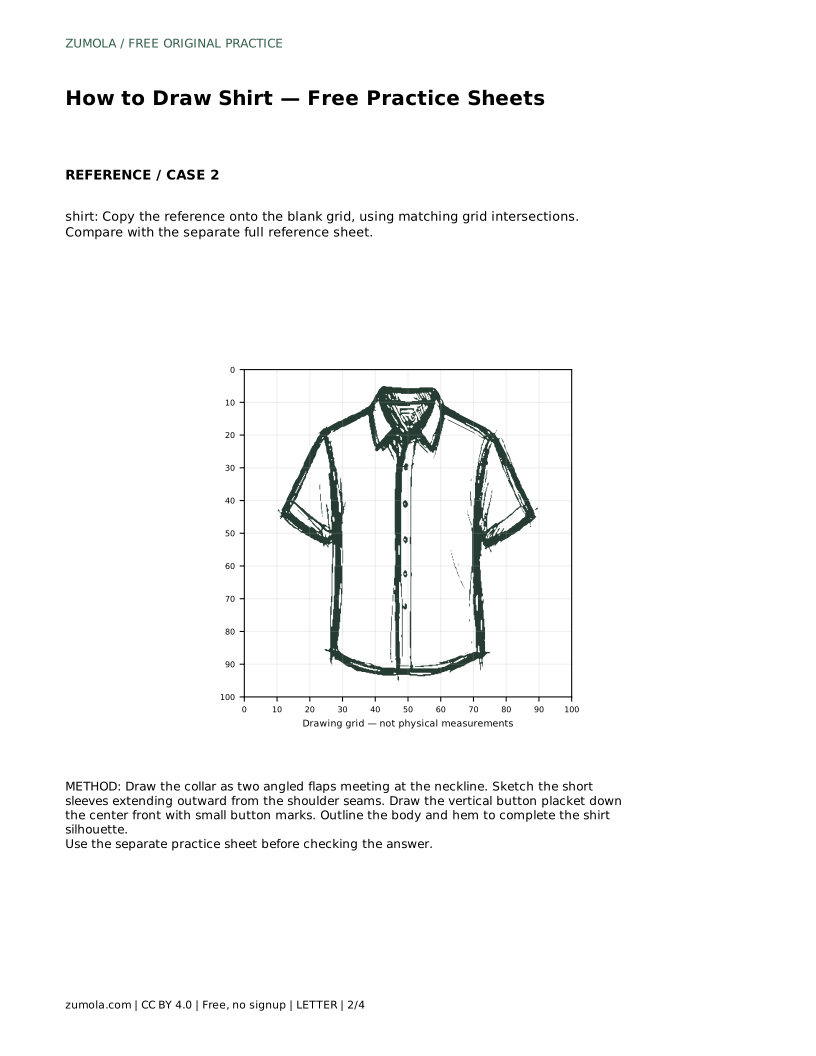
Drawing a shirt is mostly a matter of placing a few connected shapes in the right order. The collar sits at the neckline, the short sleeves grow from the shoulder seams, and a vertical placket runs down the center front with small button marks. This page explains that construction step by step and shows how to use the practice sheets: tracing the outline, copying onto a grid, placing the silhouette inside a bounding frame with a center guide, and completing a blank portion from the full reference.
Start with the collar rather than the body. A shirt collar is drawn as two angled flaps that meet at the neckline, leaving a small opening at the center. Keep the two flaps roughly symmetrical; if one points farther out than the other, the neckline will look twisted.
Next, attach the short sleeves. Each sleeve extends outward from a shoulder seam, so decide where the shoulder line ends before drawing the sleeve edge. Short sleeves usually stop partway down the upper arm, and their lower edges can angle slightly downward.
Then draw the vertical button placket down the center front. It is a narrow band, not a single line, and the buttons sit along it at even spacing. Finish by outlining the body sides and the hem, connecting the sleeve undersides to the torso so the silhouette closes cleanly.
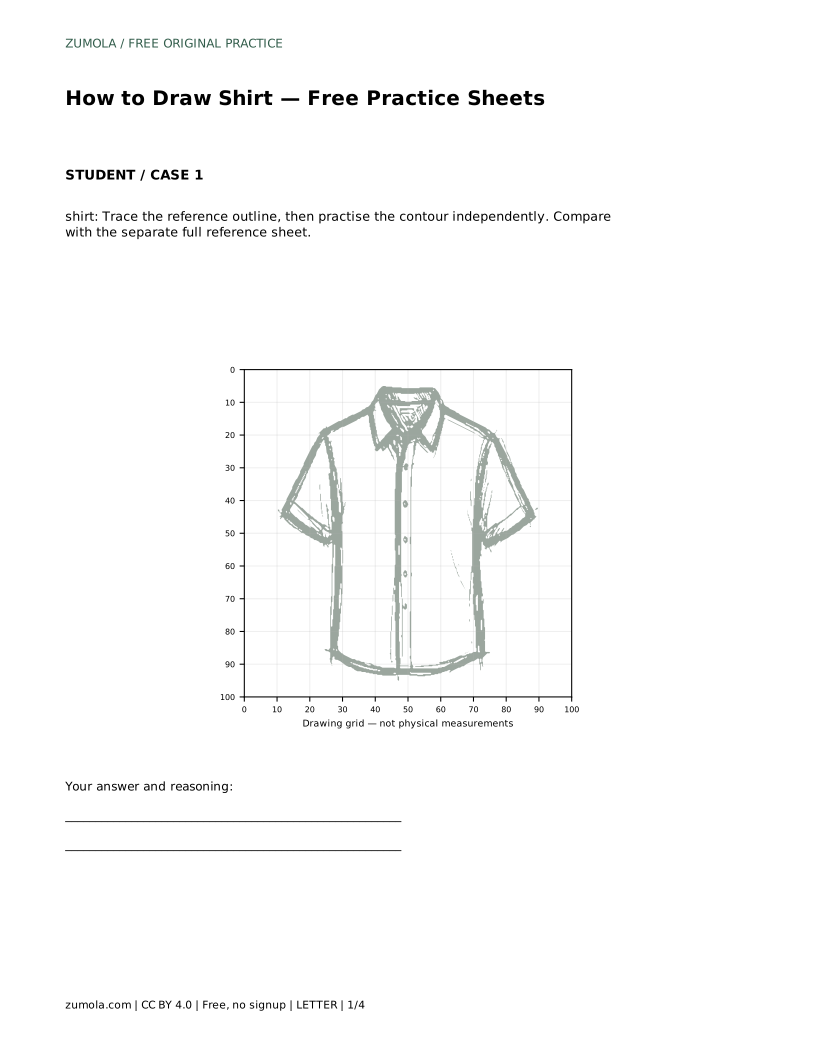
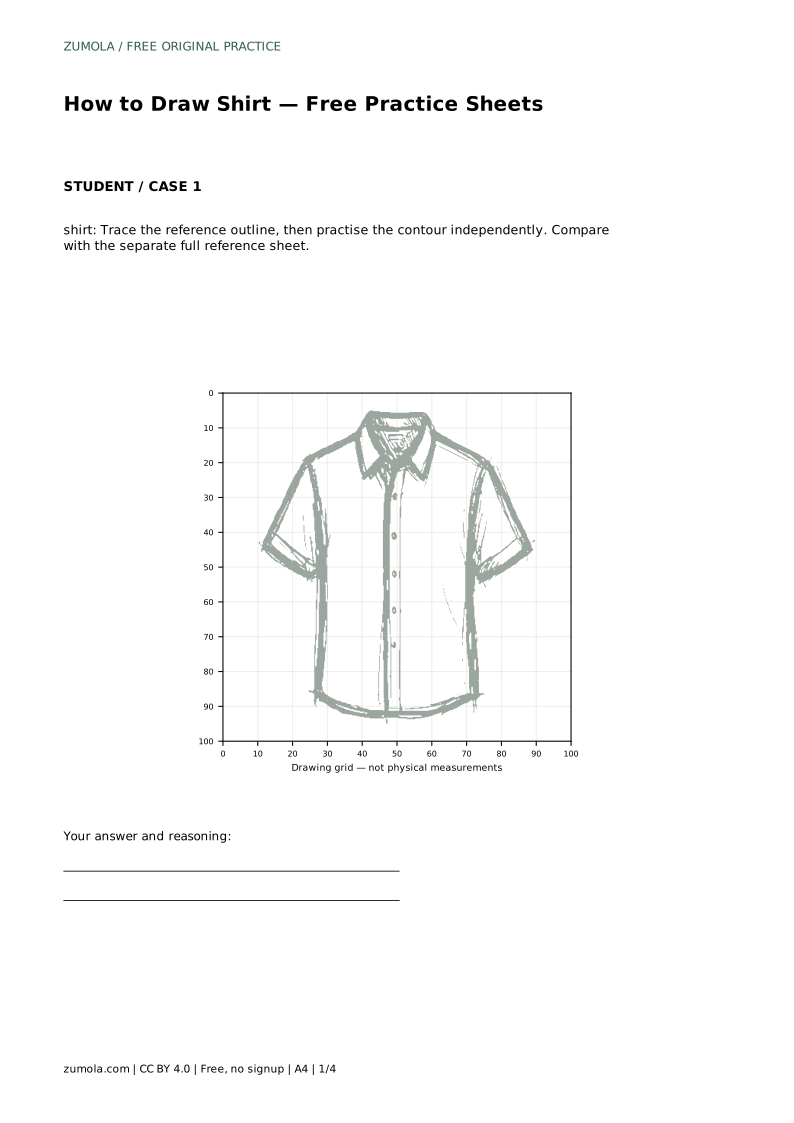
The tracing sheet asks you to follow the reference outline first, then repeat the contour on your own without the guide. The goal is to internalize the order of construction, not to produce an identical copy.
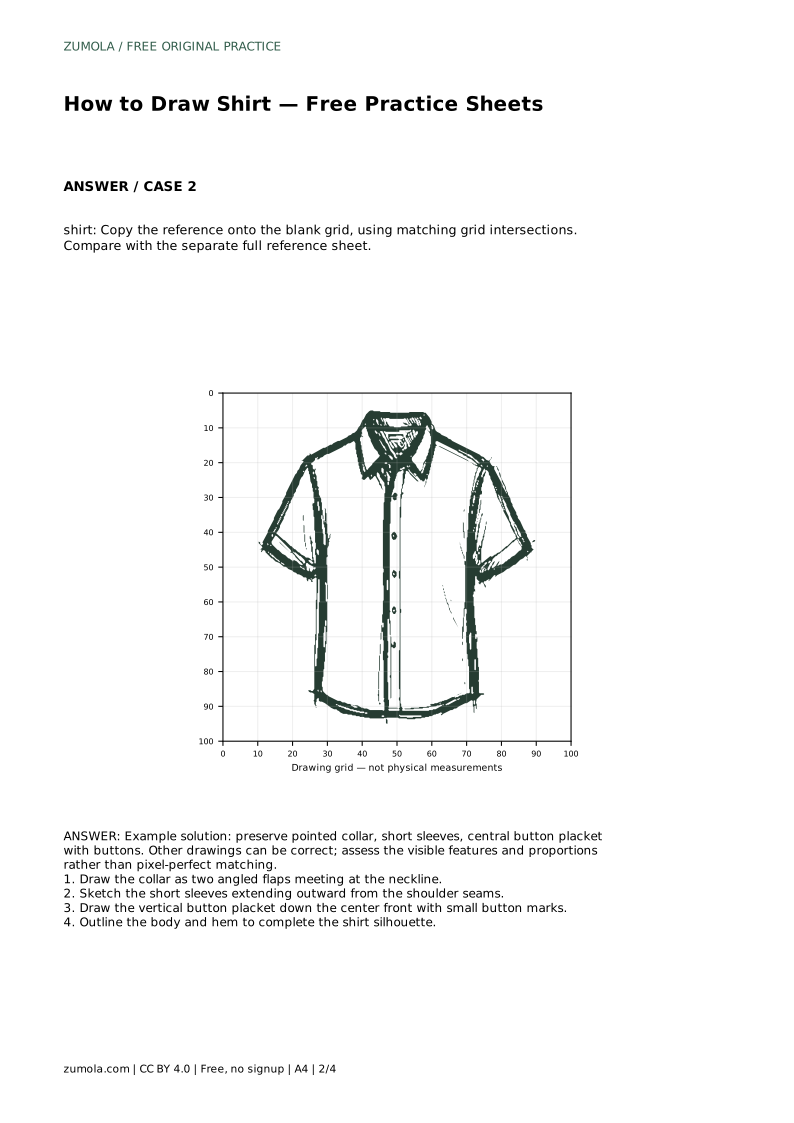
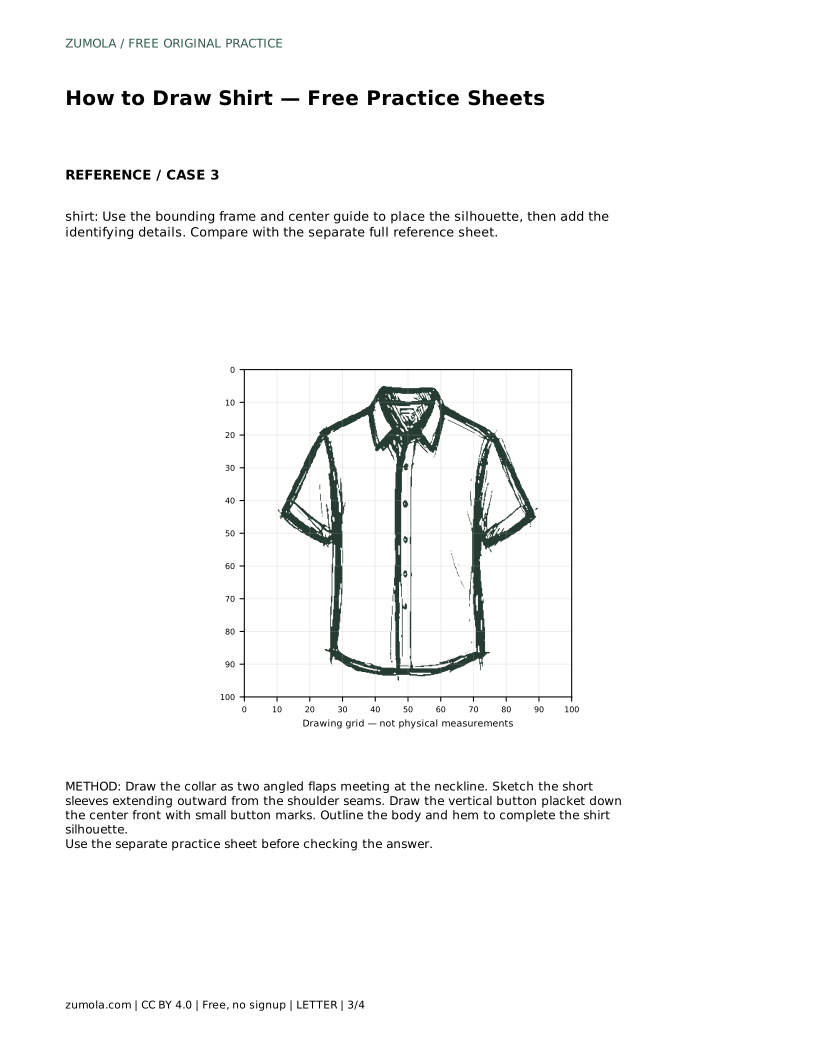
The grid sheet places the reference and a blank grid side by side. Copy each feature onto the matching grid intersection: collar flaps, shoulder seams, sleeve edges, placket, buttons, body sides, and hem. Working square by square keeps proportions from drifting.
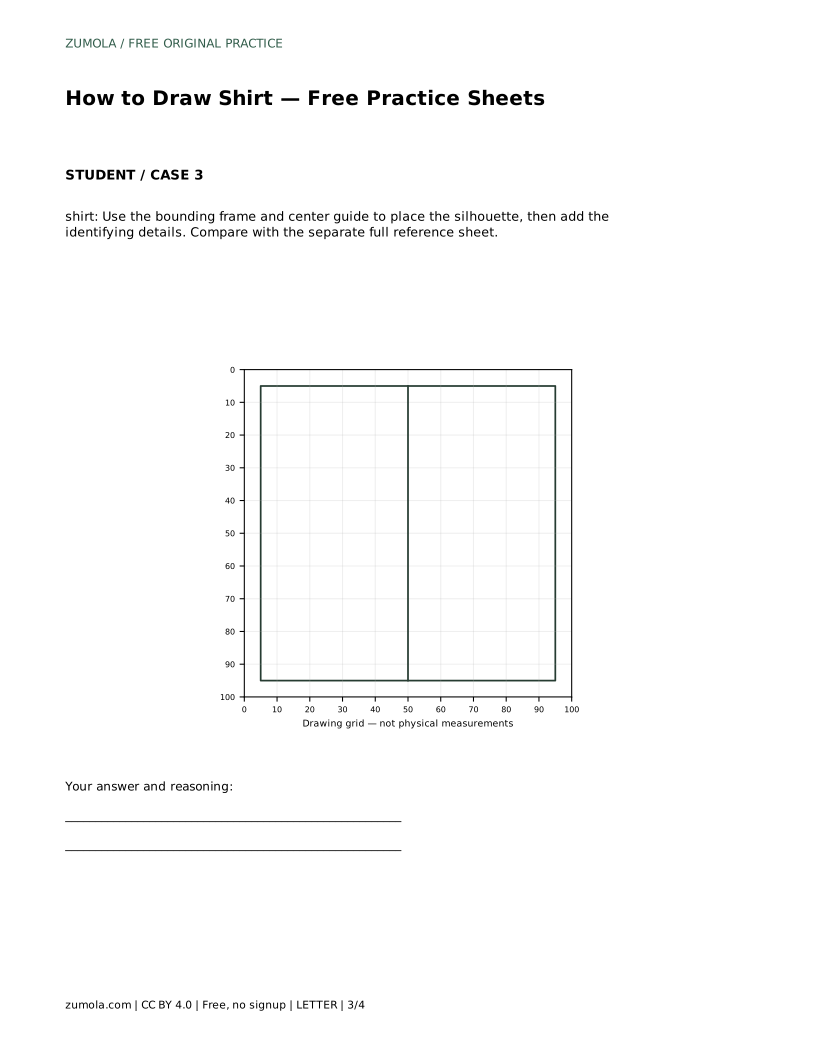
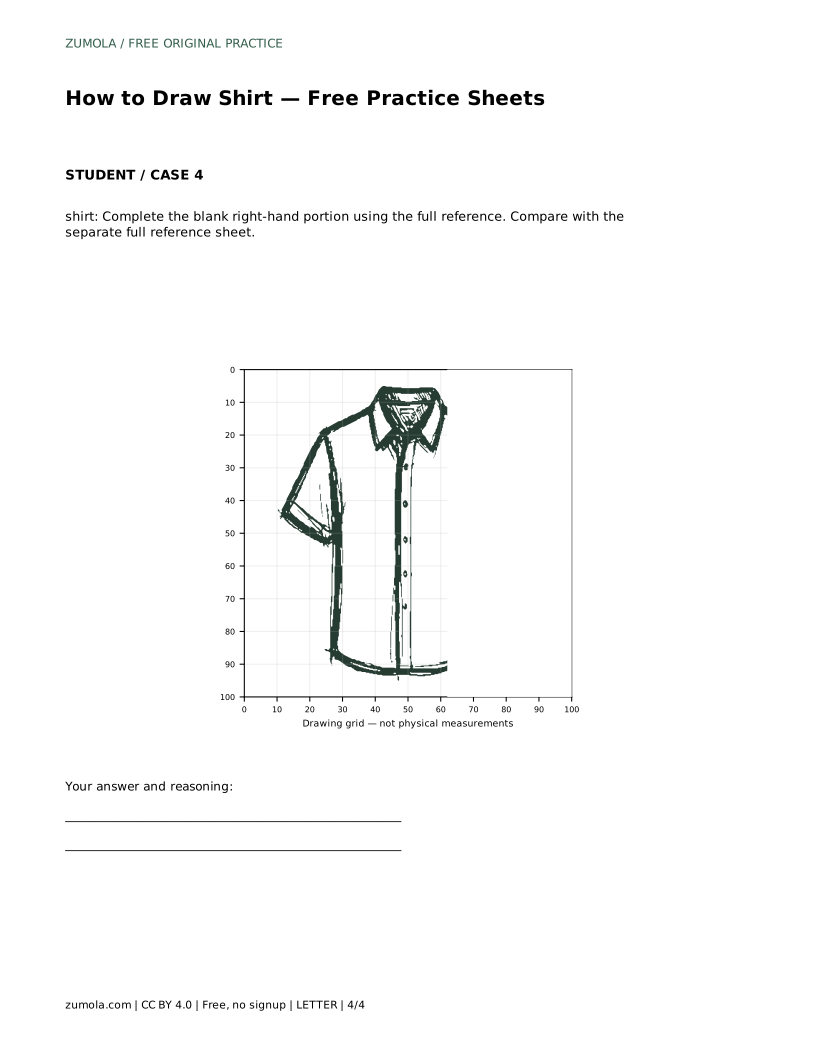
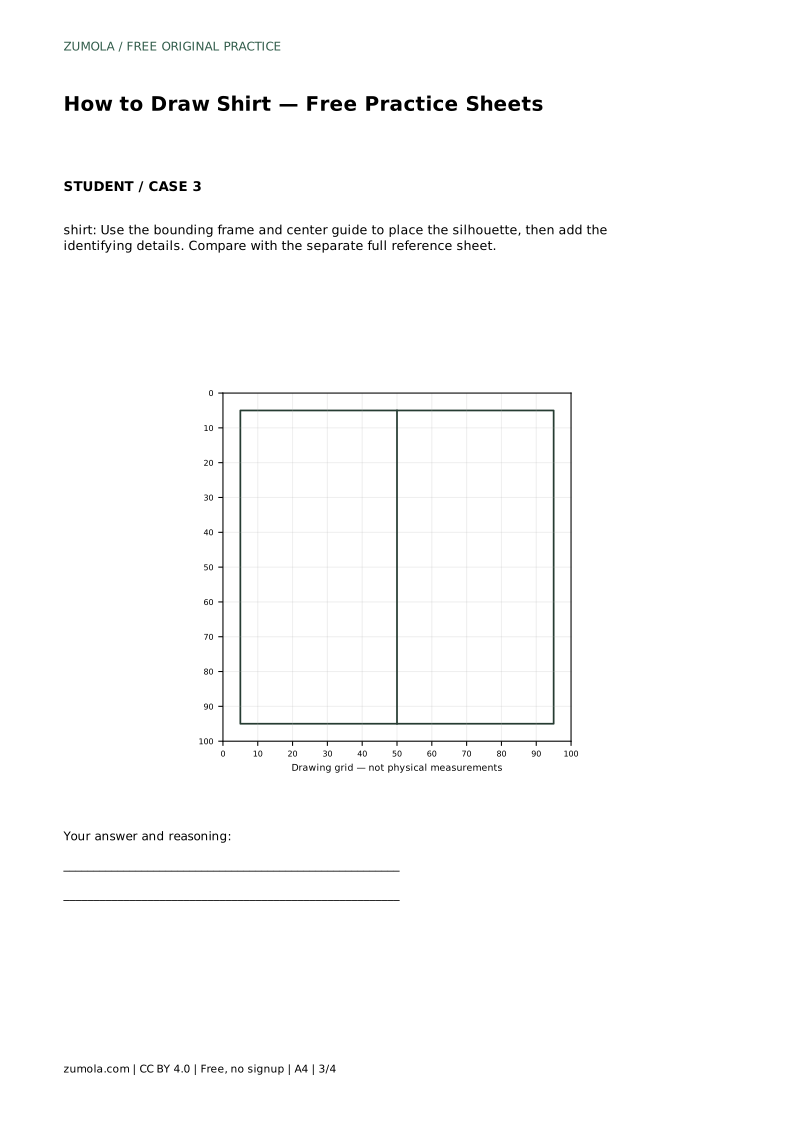
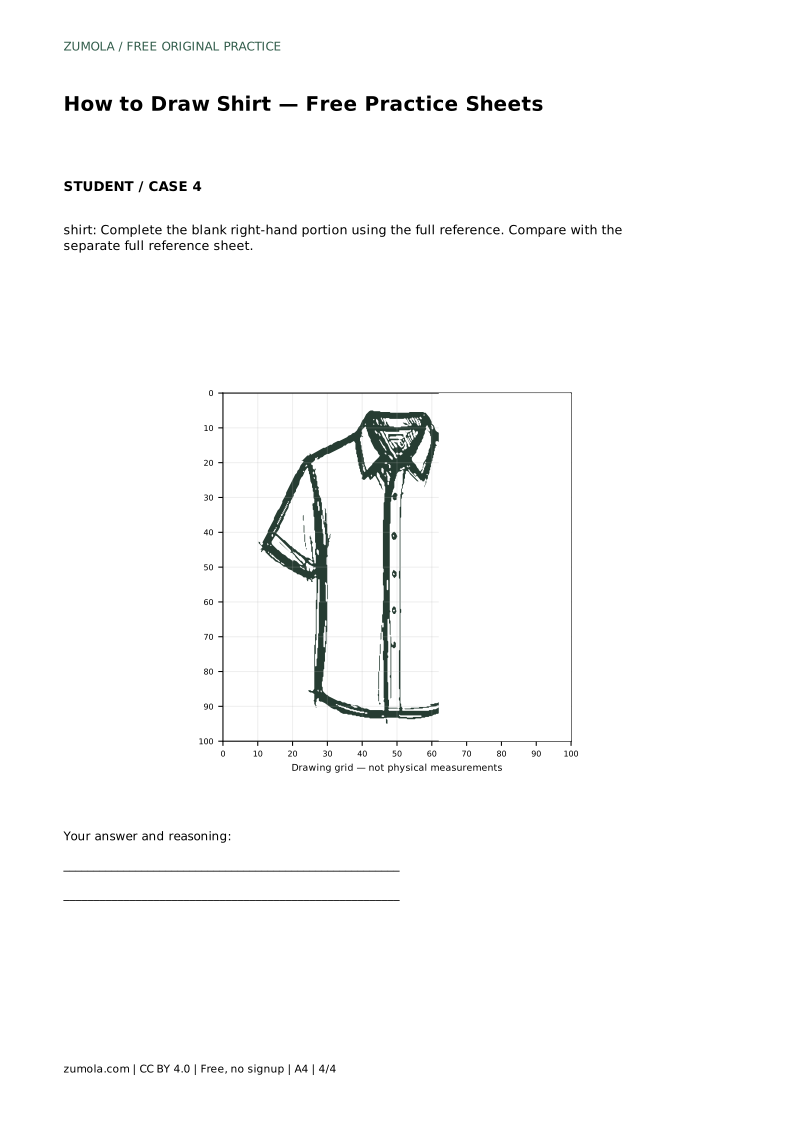
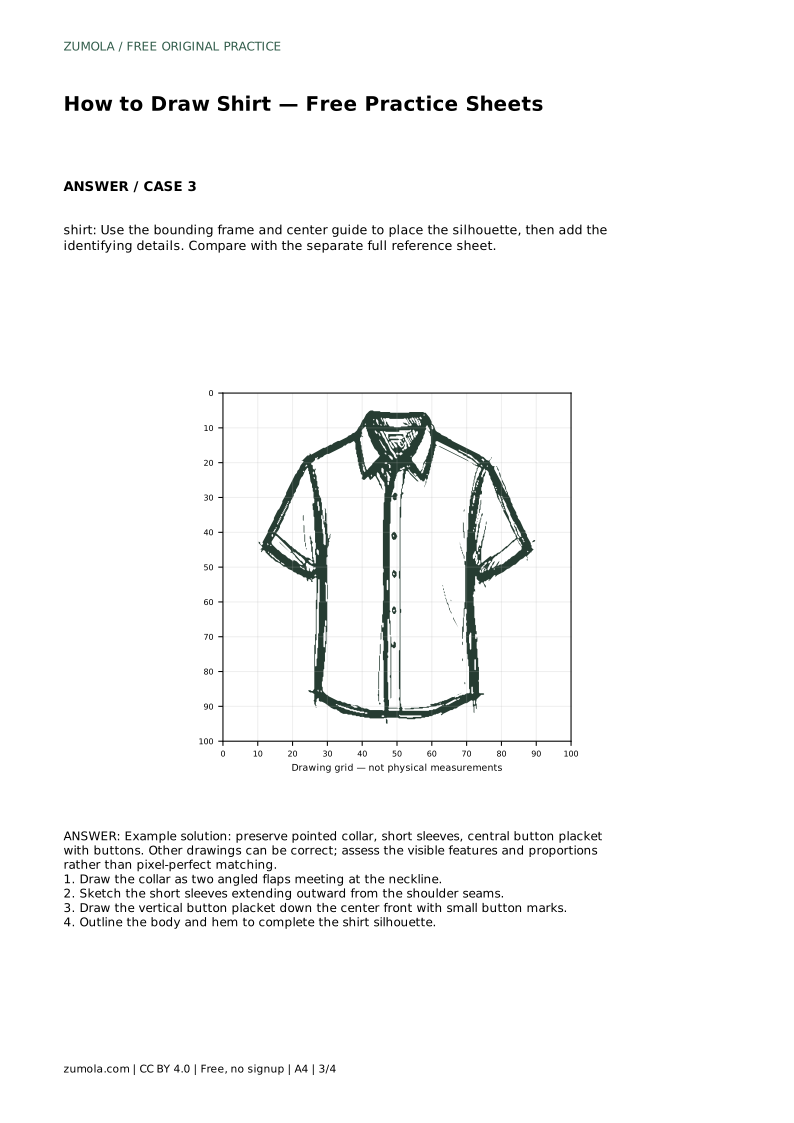
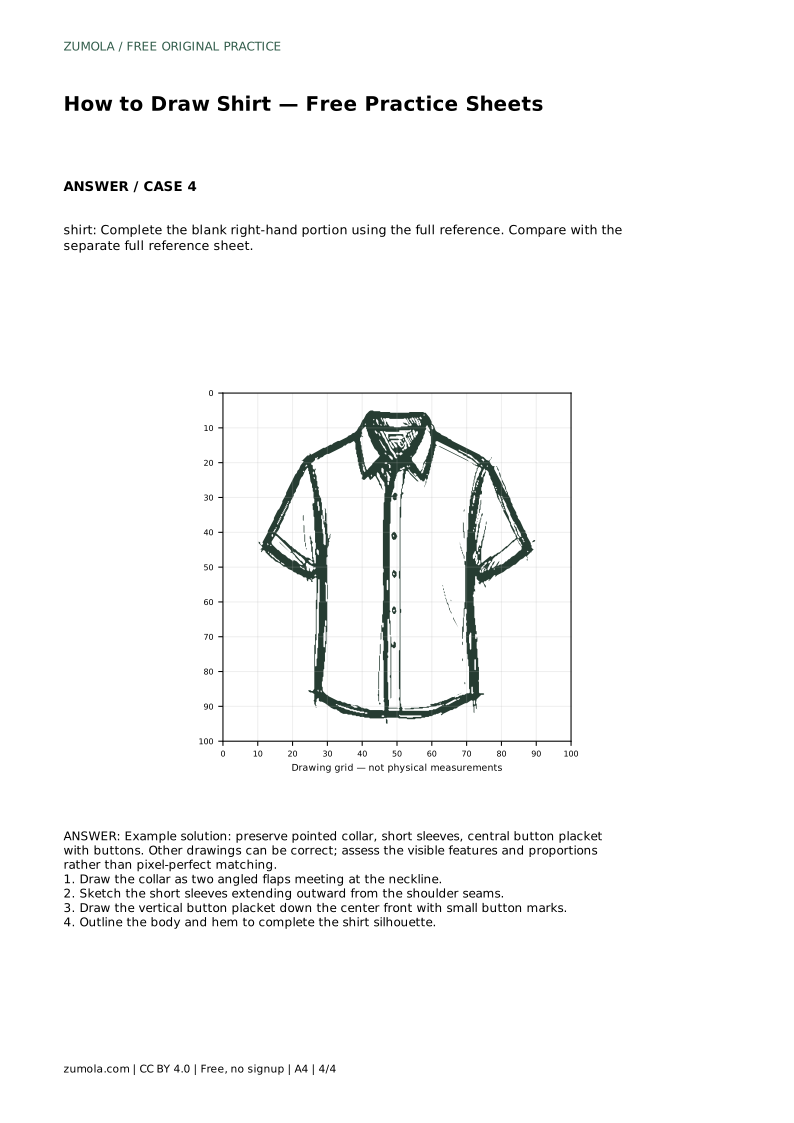
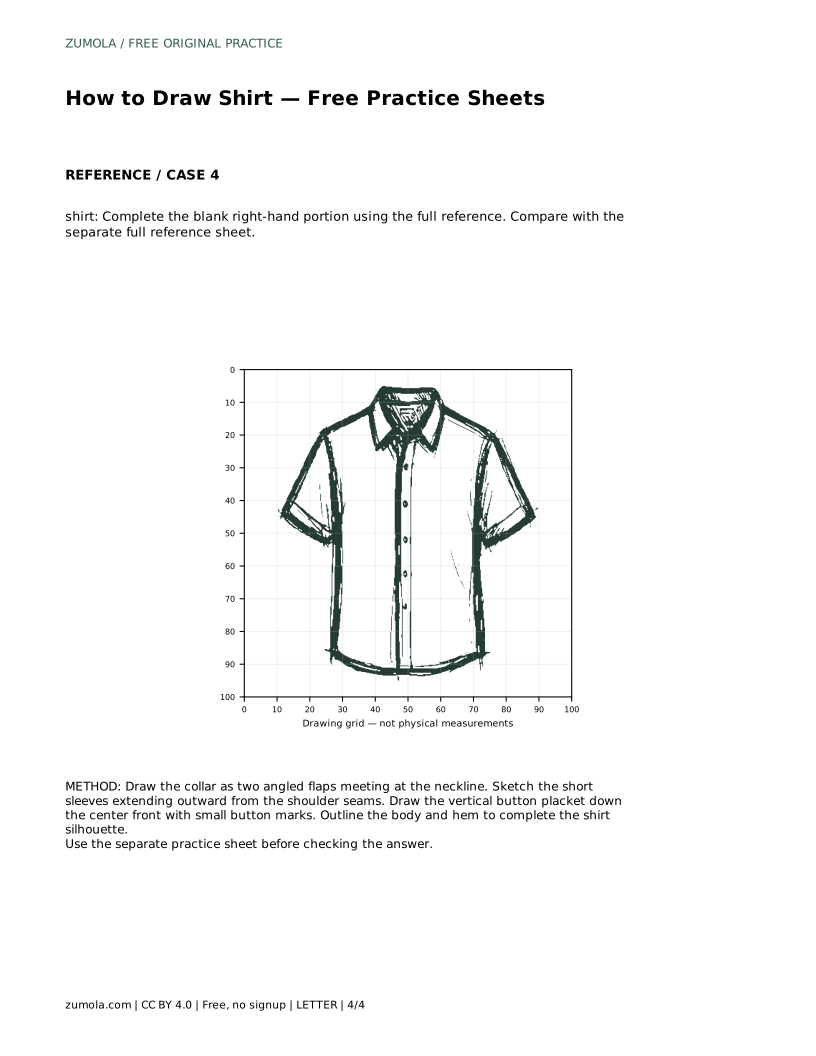
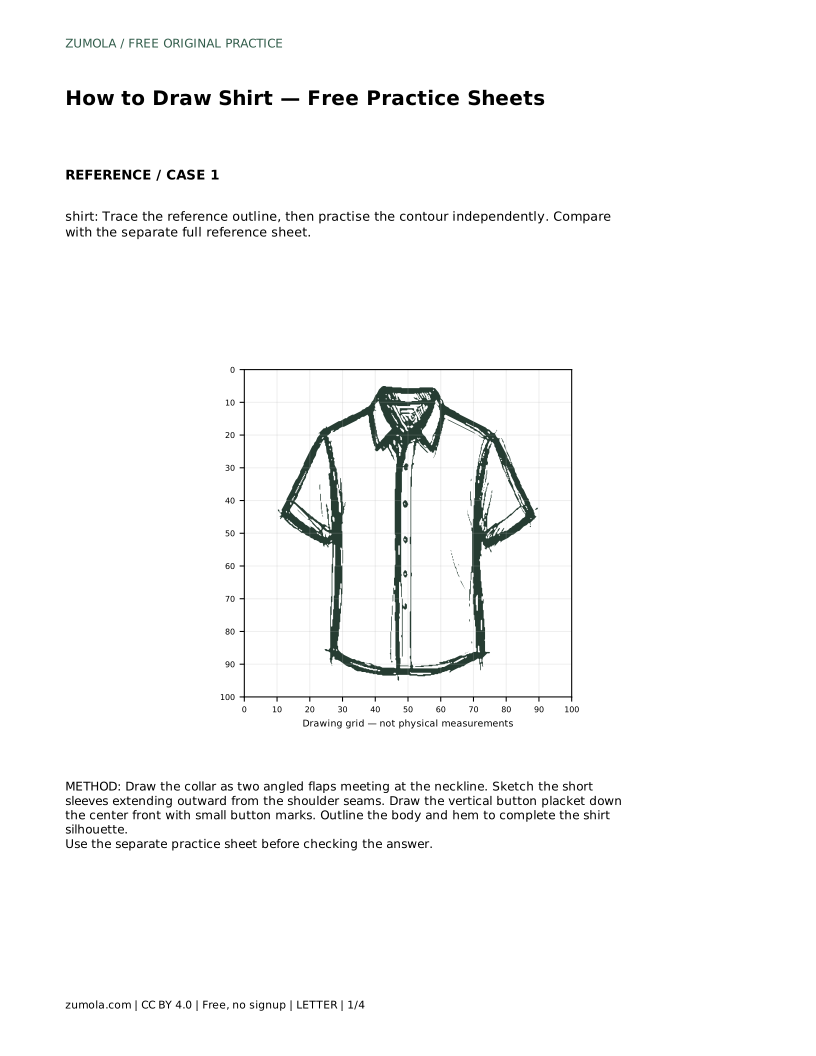
The bounding-frame sheet gives you an outer frame and a center guide. Use the center guide to keep the placket vertical and the collar balanced, and use the frame edges to judge how far the sleeves extend. The partial-reference sheet shows only part of the shirt; complete the blank portion by continuing the same construction logic from the visible side.
Compare your finished drawing with the separate full reference sheet. Check that the collar has two pointed flaps, that both sleeves are short and extend from shoulder seams, that the placket is central and vertical with visible buttons, and that the body and hem close the silhouette.
Proportions matter more than exact line placement. A shirt can be wider, narrower, or slightly longer and still read correctly. Ask whether the collar, sleeves, placket, and hem are all present and whether they connect in a believable order.
Most shirt drawings go wrong at the joins: the sleeve meets the body at an odd angle, the placket drifts off center, or the collar flaps sit unevenly. Redrawing the shoulder seam first usually corrects a sleeve that looks detached. A light center guide corrects a wandering placket.
If the hem looks crooked, check that both body sides are similar in length before drawing the bottom edge. Small adjustments at the construction stage are easier than erasing a finished outline.
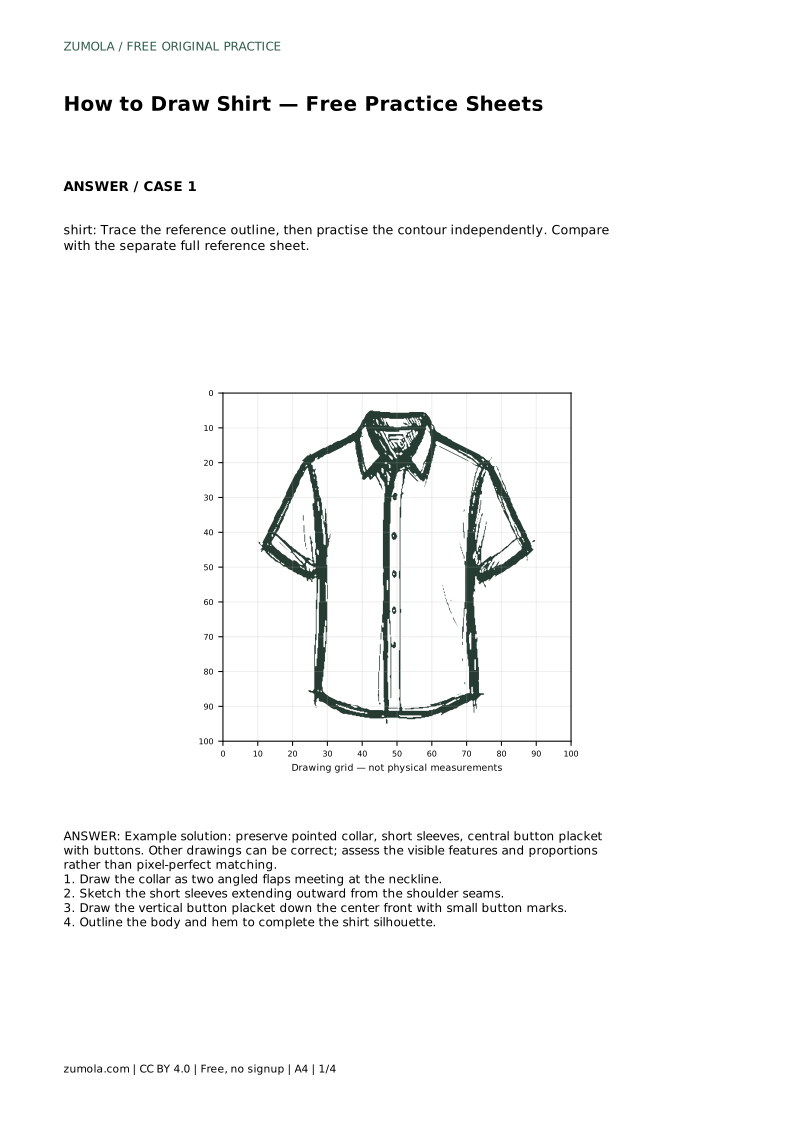
shirt: Trace the reference outline, then practise the contour independently. Compare with the separate full reference sheet.
Example solution: preserve pointed collar, short sleeves, central button placket with buttons. Other drawings can be correct; assess the visible features and proportions rather than pixel-perfect matching. Draw the collar as two angled flaps meeting at the neckline. Sketch the short sleeves extending outward from the shoulder seams. Draw the vertical button placket down the center front with small button marks. Outline the body and hem to complete the shirt silhouette.
No. Preserve the identifying features: pointed collar, short sleeves, central button placket with buttons, and a closed body and hem. Proportions and line placement can vary and still be correct.
Collar first, then short sleeves from the shoulder seams, then the vertical button placket with button marks, and finally the body outline and hem.
Study the visible half, note where the collar, sleeve, placket, and hem lines cross into the blank area, and continue those lines using the same construction order before comparing with the full reference.
All drawing practice · Free coordinate paper
Original resources · CC BY 4.0 · Free for personal and classroom use with attribution.