Reference diagrams
LETTER · Download PDF
A4 · Download PDF
Free original resources
Learn to draw a typewriter by building the body, carriage, roller, type guide, and key grid in order. Practice sheets support tracing, grid copying, and completion.
Four original cases, with reference diagrams, practice sheets and worked answers. Everything is free; no signup required.
LETTER · Download PDF
A4 · Download PDF
LETTER · Download PDF
A4 · Download PDF
LETTER · Download PDF
A4 · Download PDF
Use A4 or US Letter to match your printer. Use the stated values and conditions to solve each exercise; diagrams are not physical measuring rulers.
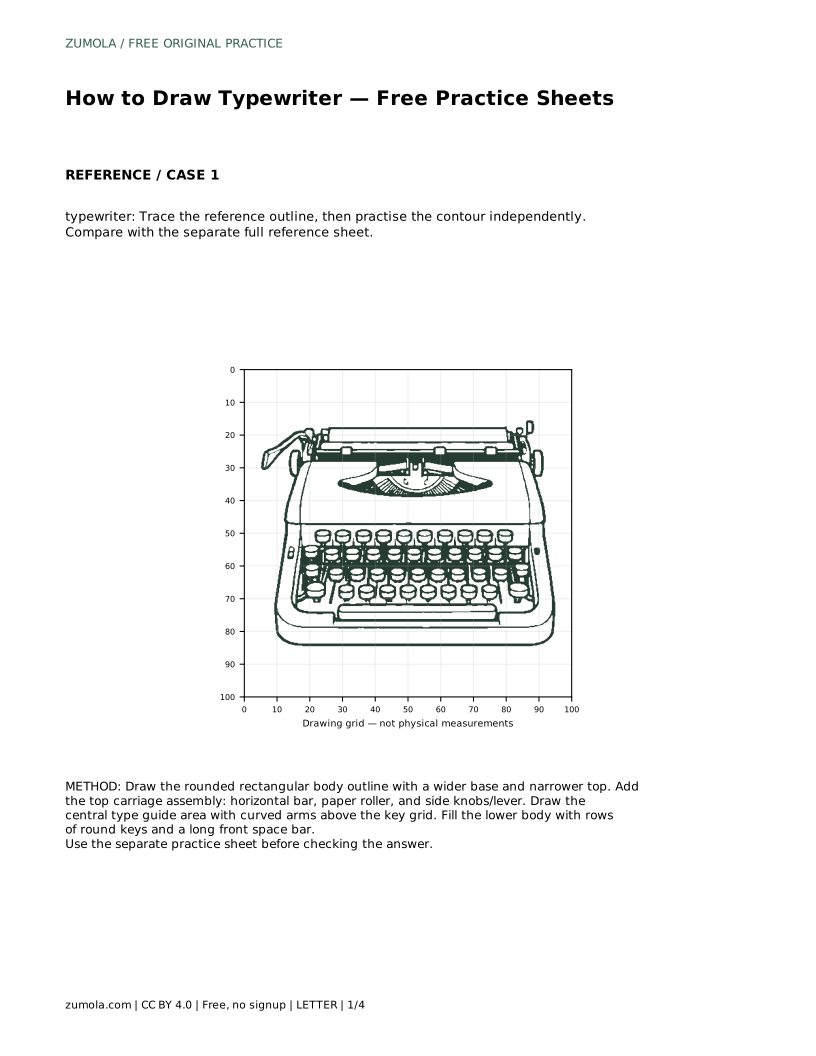
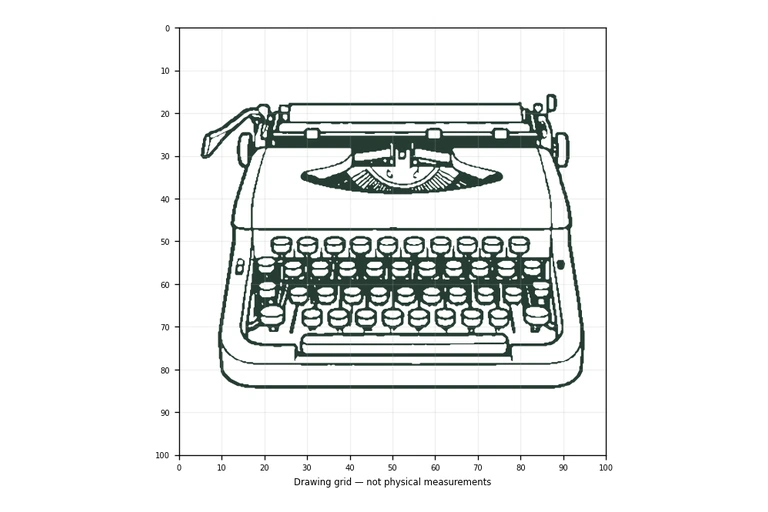
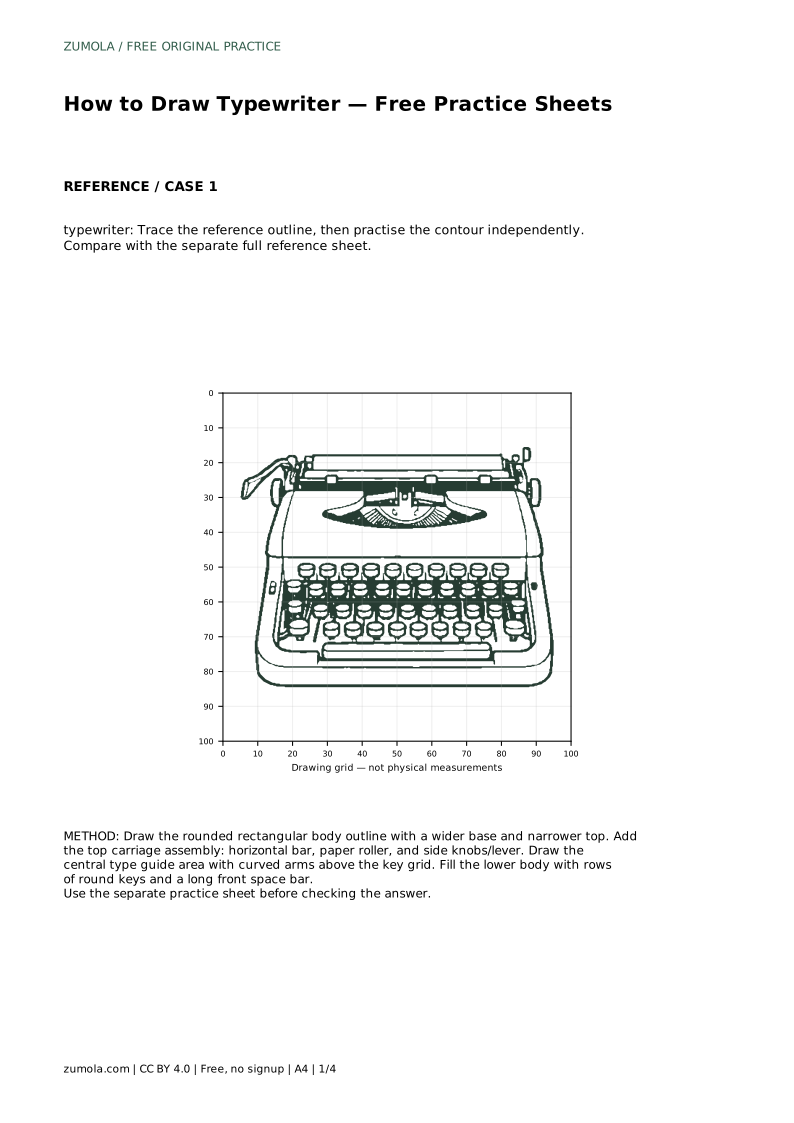
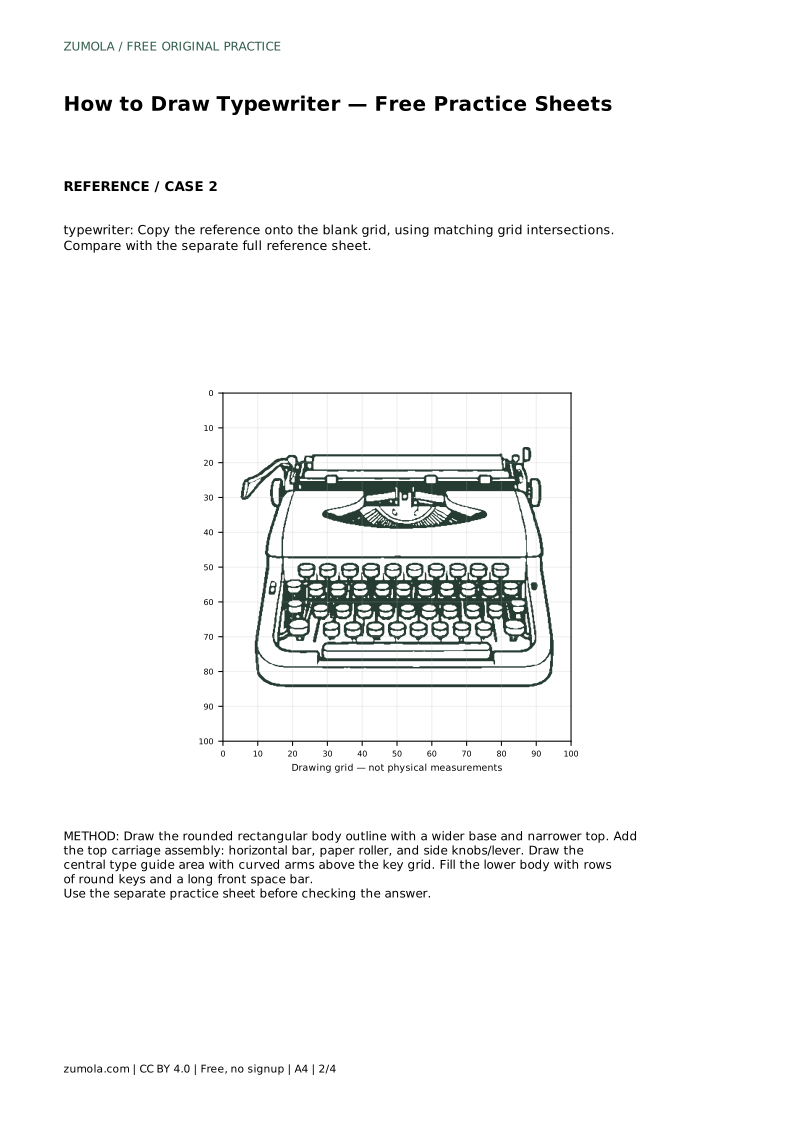
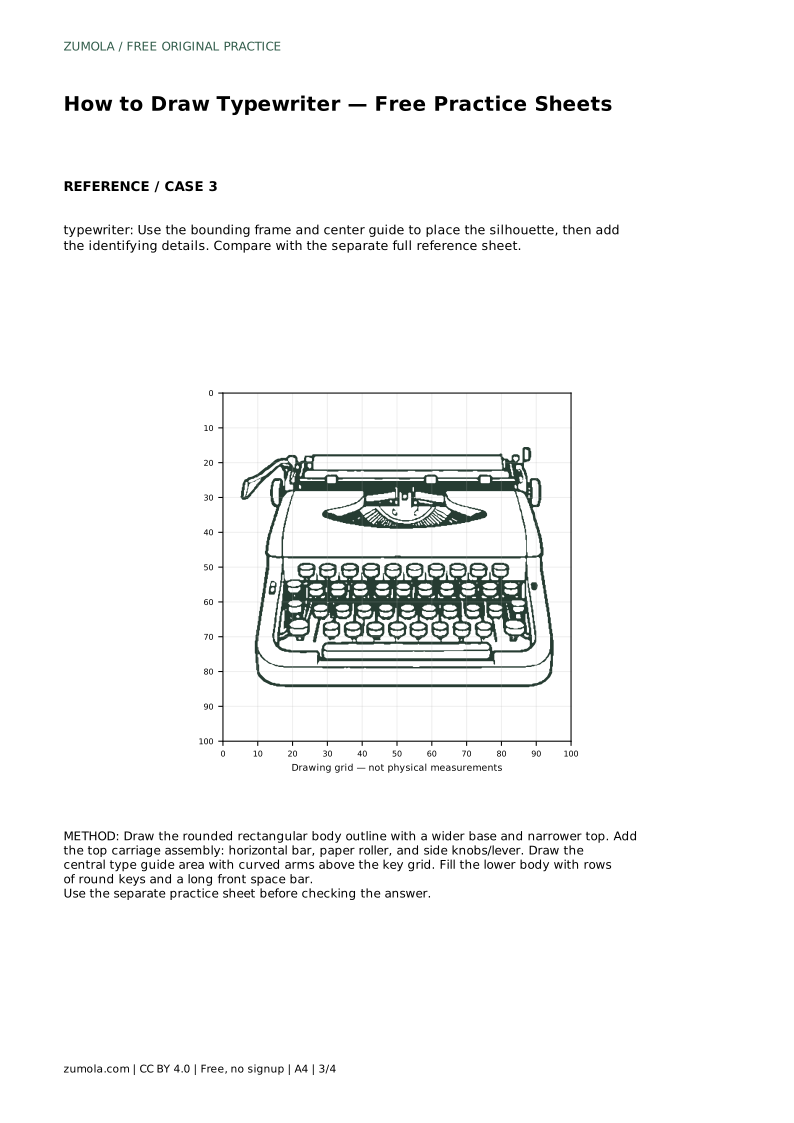
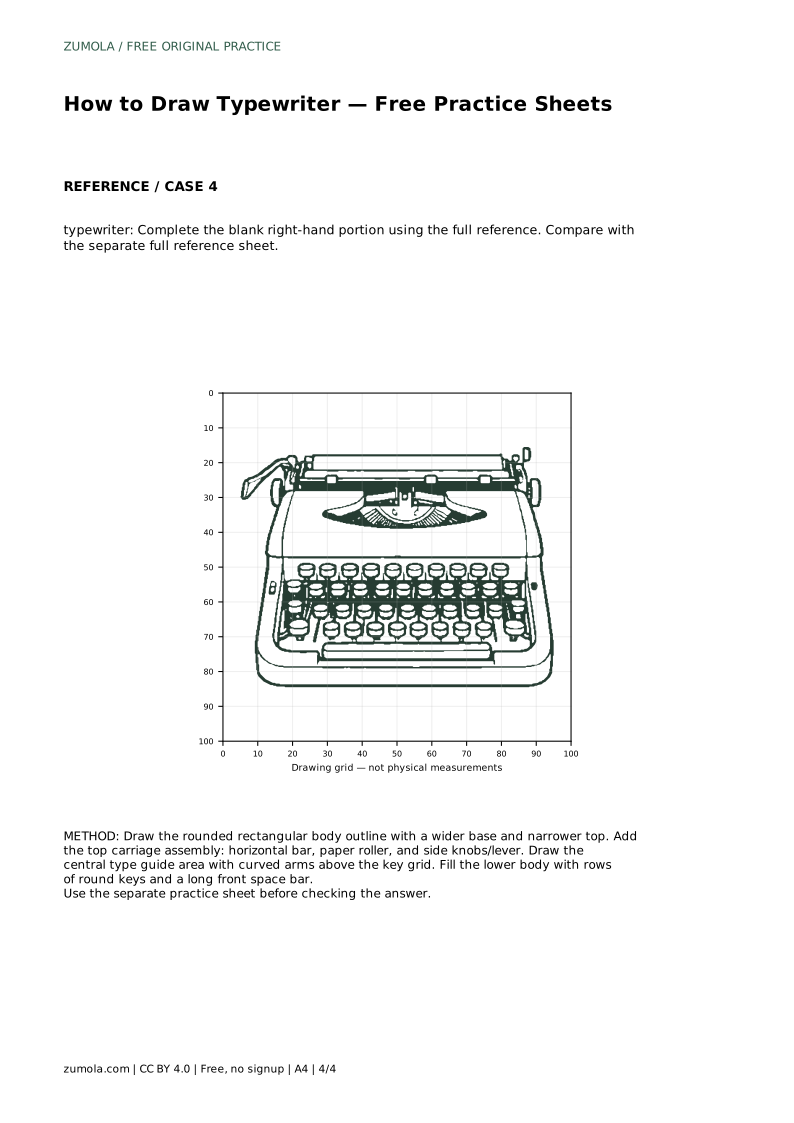
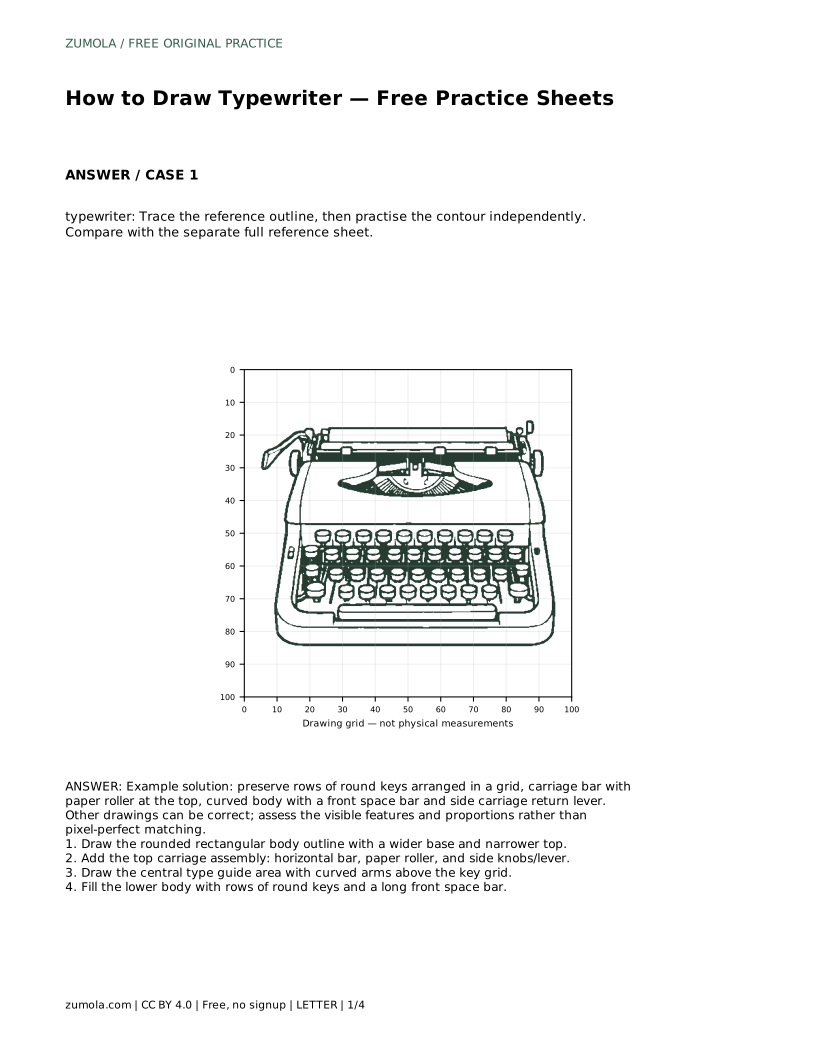
A typewriter is a good subject for learning to organize a drawing into layers: a broad body, a horizontal carriage at the top, a central type guide, and a repeating grid of round keys. This page explains a reliable order for constructing those parts and how to use the practice sheets to compare your drawing with a separate full reference. The goal is recognizable structure and sensible proportions, not an identical copy.
Begin with the largest shape: a rounded rectangular body that is wider at the base and narrower toward the top. Lightly mark the overall width and height first, then refine the corners. This outer contour controls how much room remains for the carriage and keys, so keep it simple and adjust it before adding detail.
Next, place the top carriage assembly. Draw a horizontal bar across the upper part of the body, then add the paper roller as a cylinder resting above or behind that bar. Add side knobs and a carriage return lever at one side. Keep the bar level and the roller parallel to it; a tilted carriage makes the whole machine look unstable.
Between the carriage and the keys sits the central type guide area. Draw it as a small central form with curved arms reaching up toward the roller. These curved arms are a distinctive feature, so give them a clear shape rather than a single straight line.
The keys form rows of small circles arranged in a grid across the lower body. Decide the number of rows and the number of keys per row before drawing individual circles, then space them evenly. Finish with a long front space bar below the key grid. Even spacing matters more than perfect circles; slight variation is normal in hand drawing.
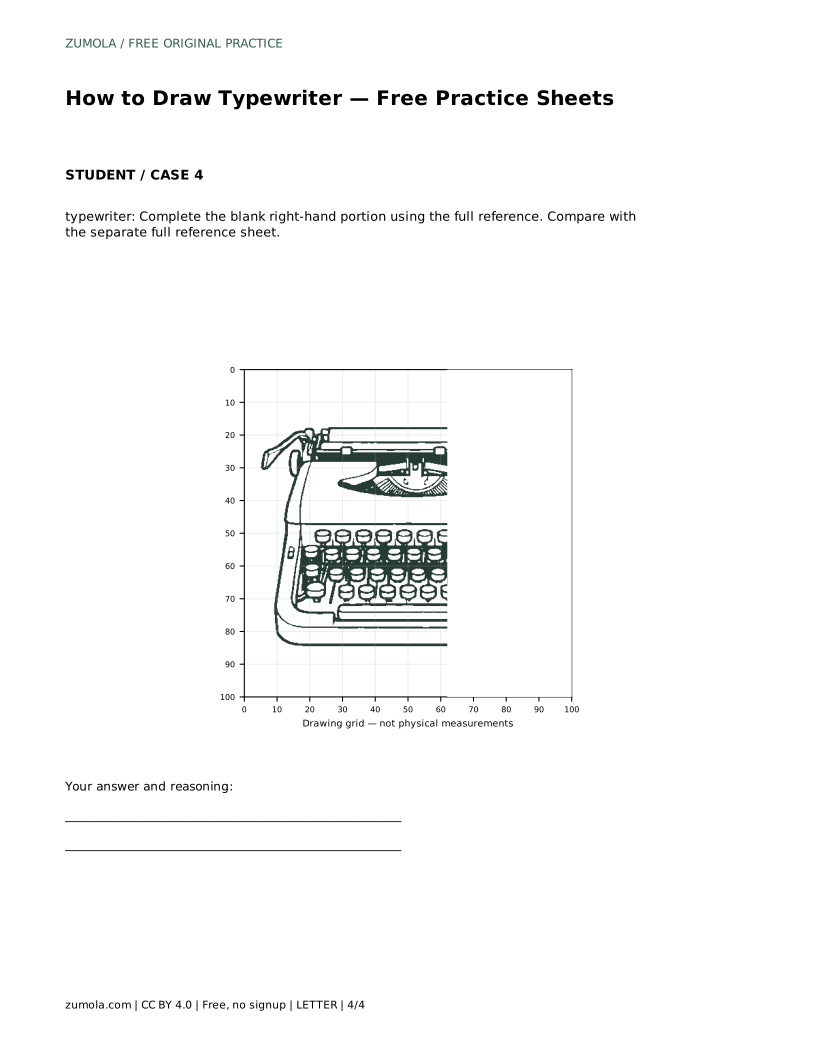
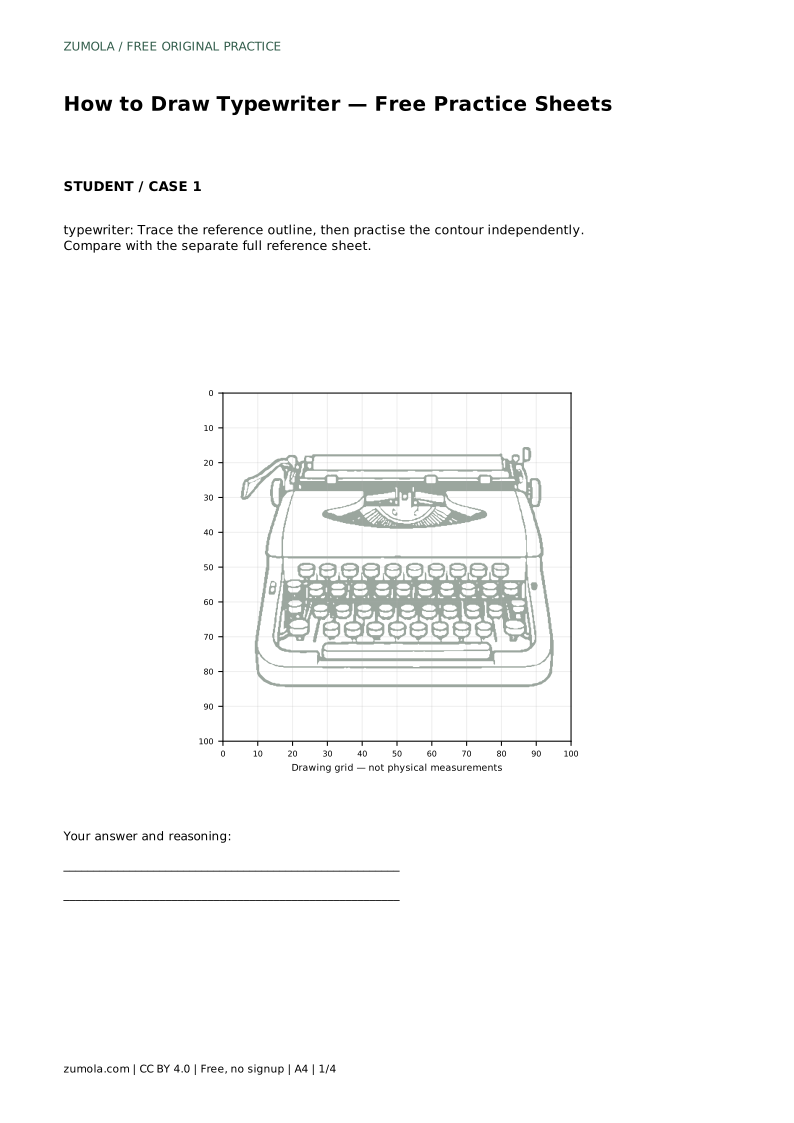
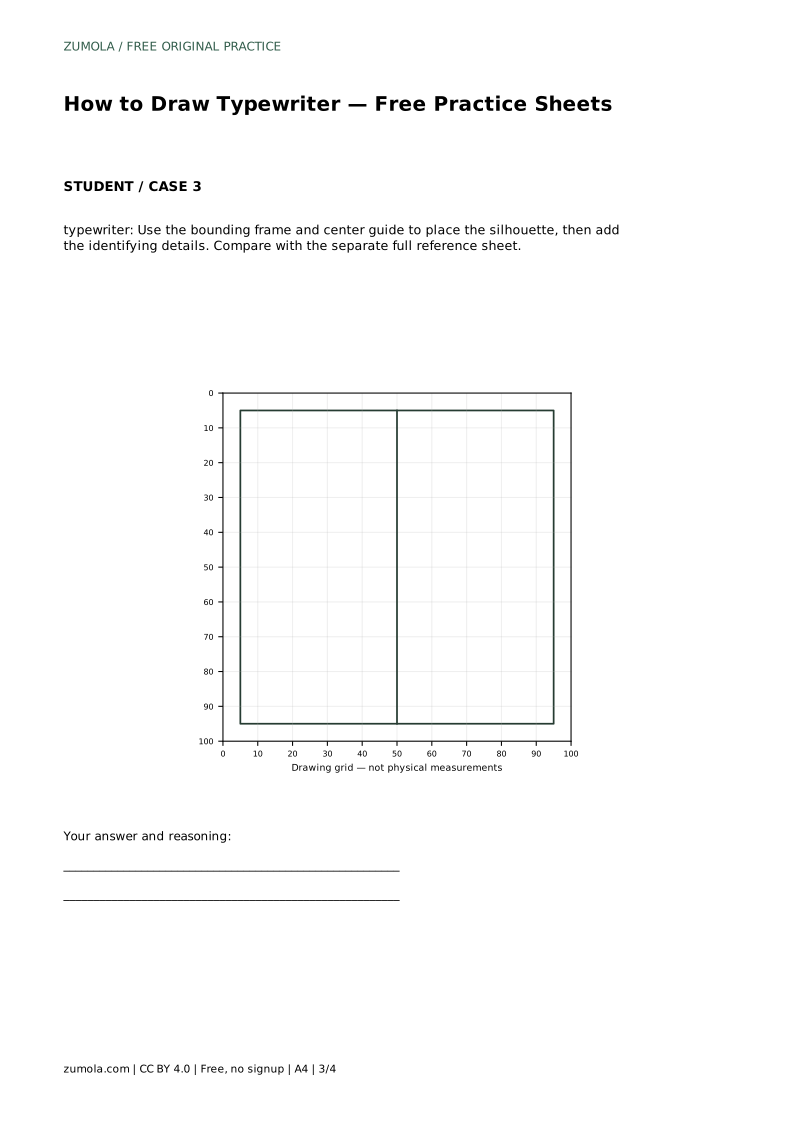
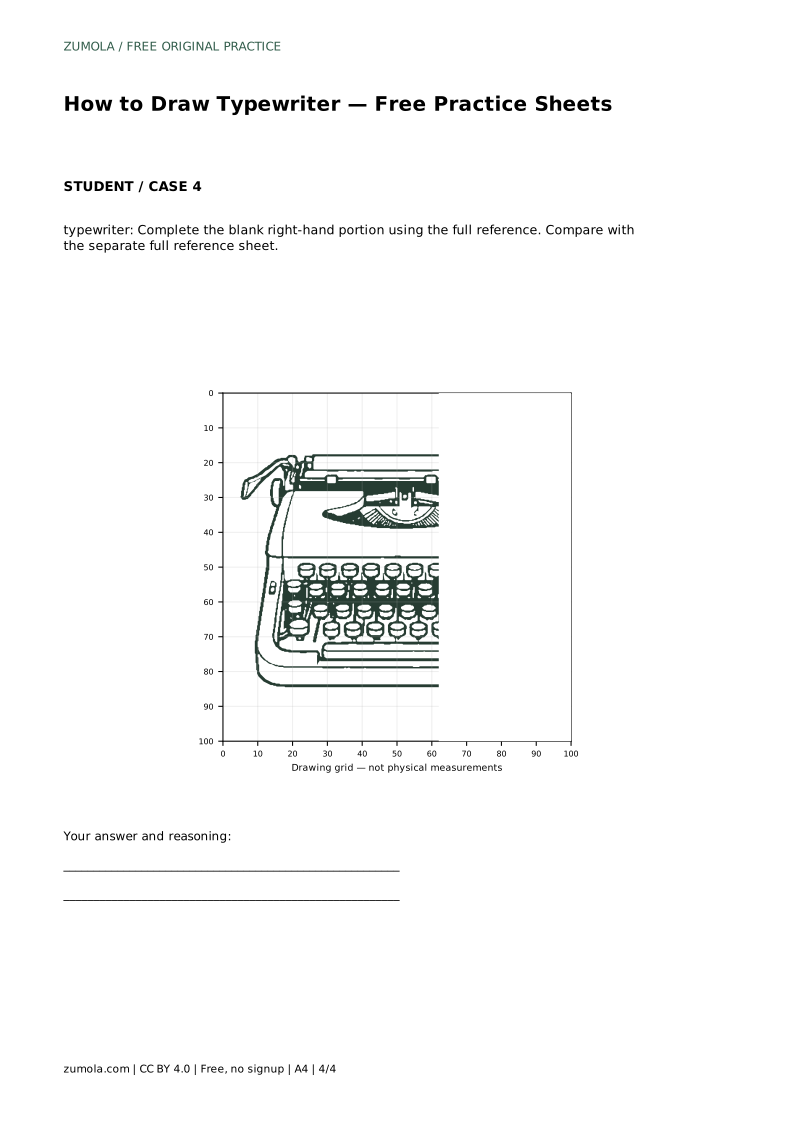
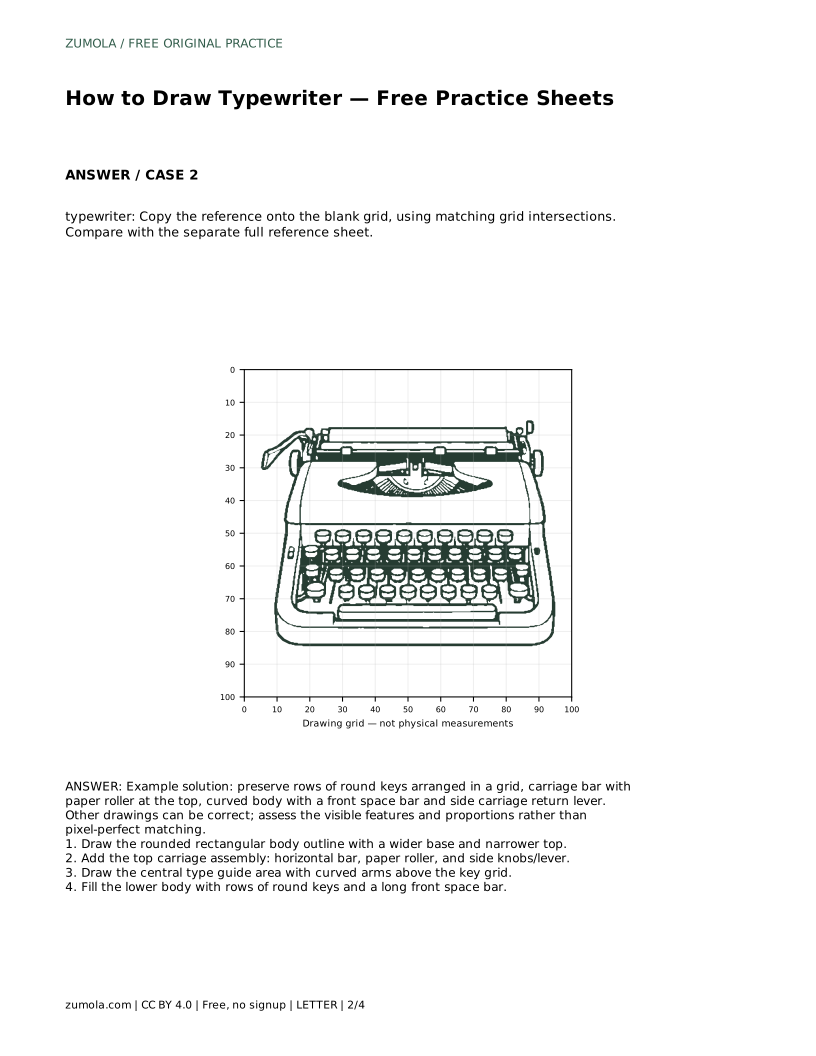
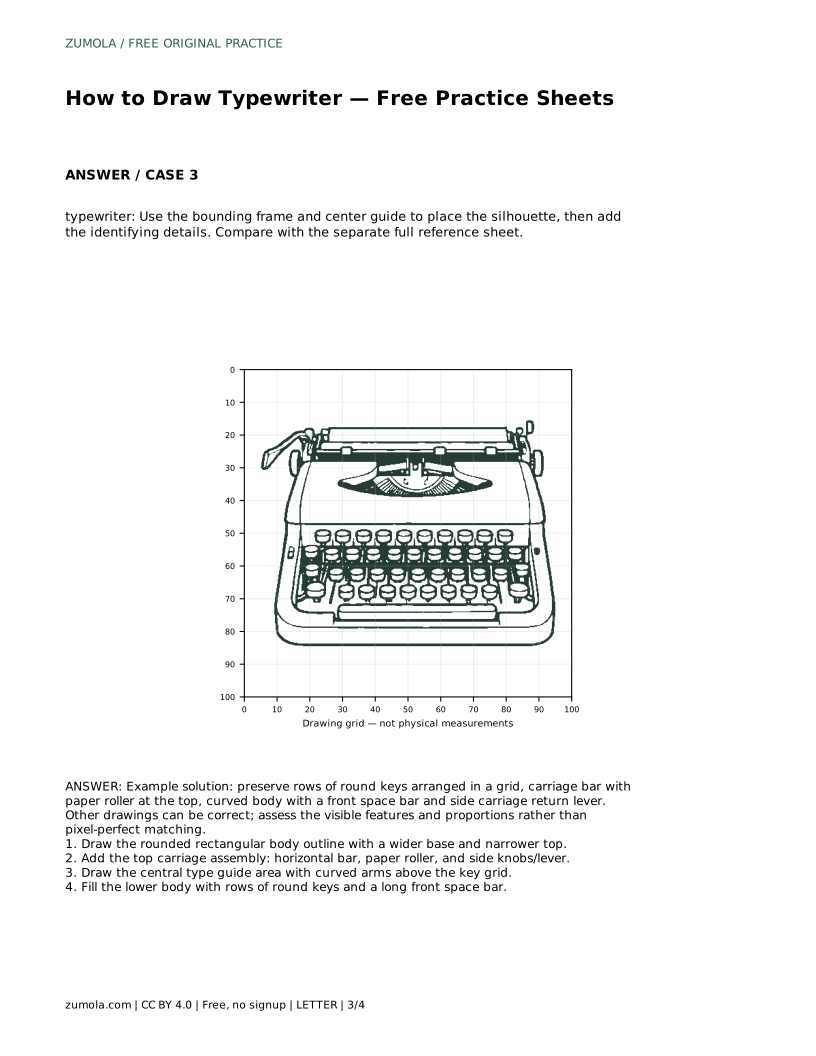
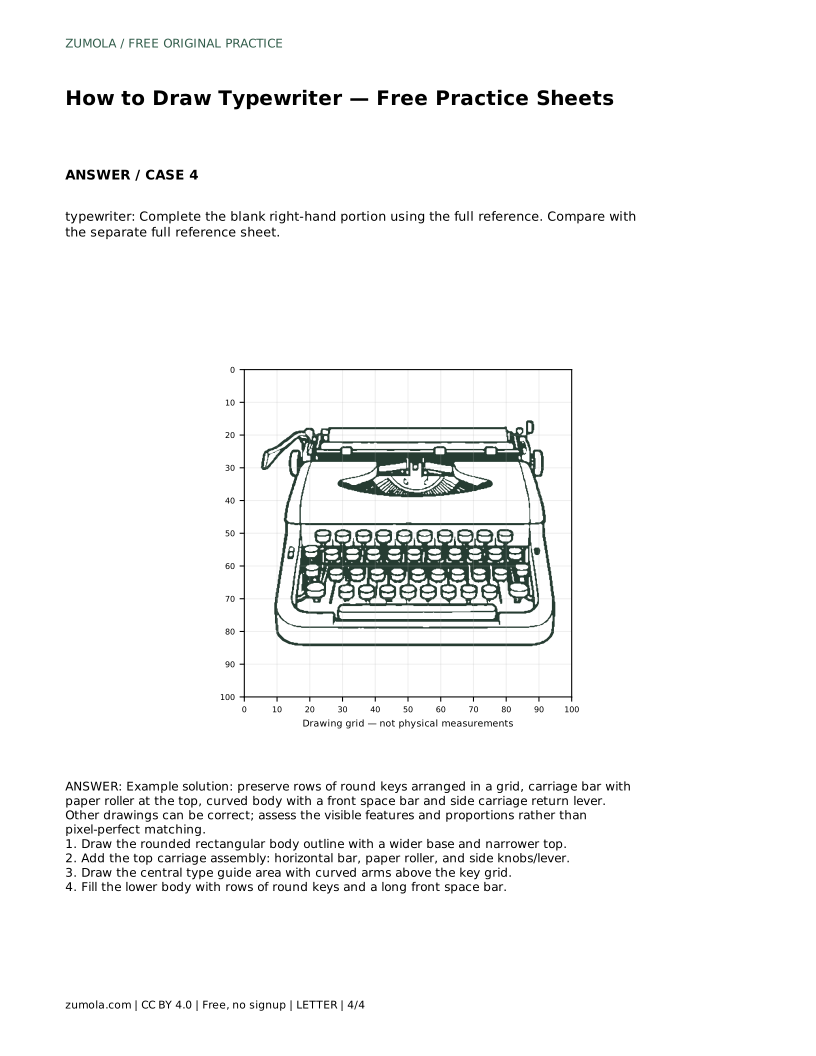
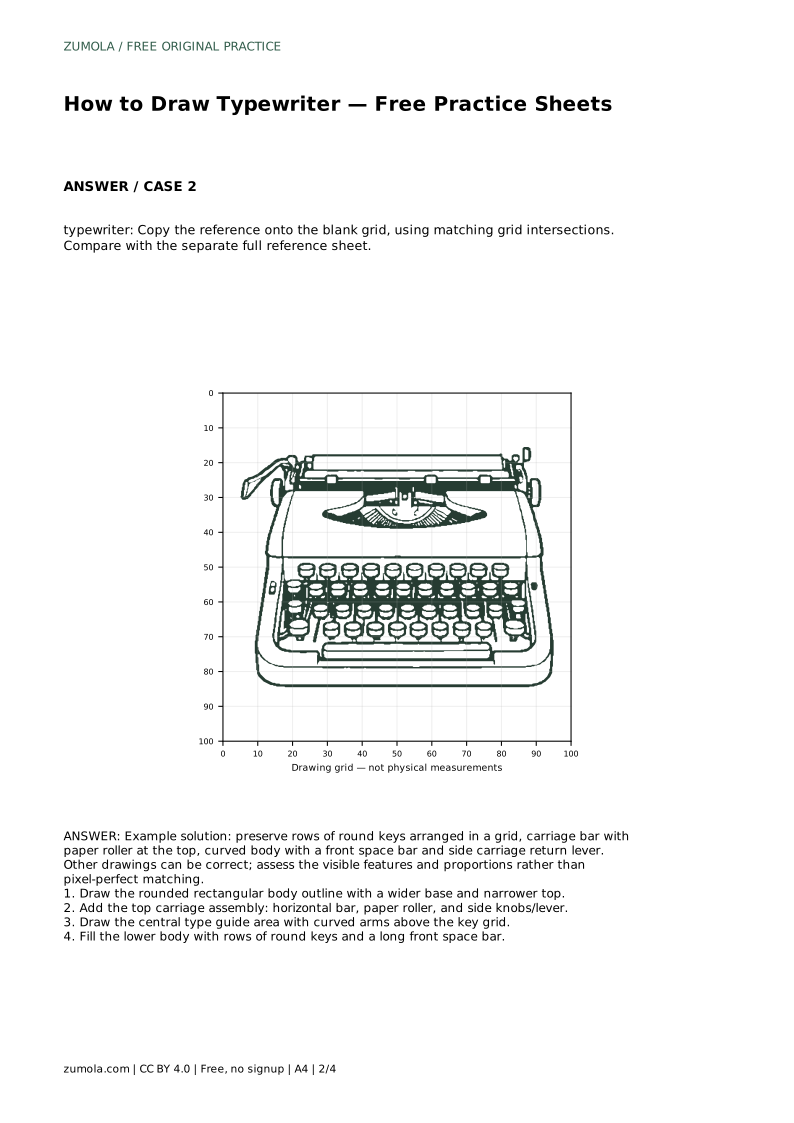
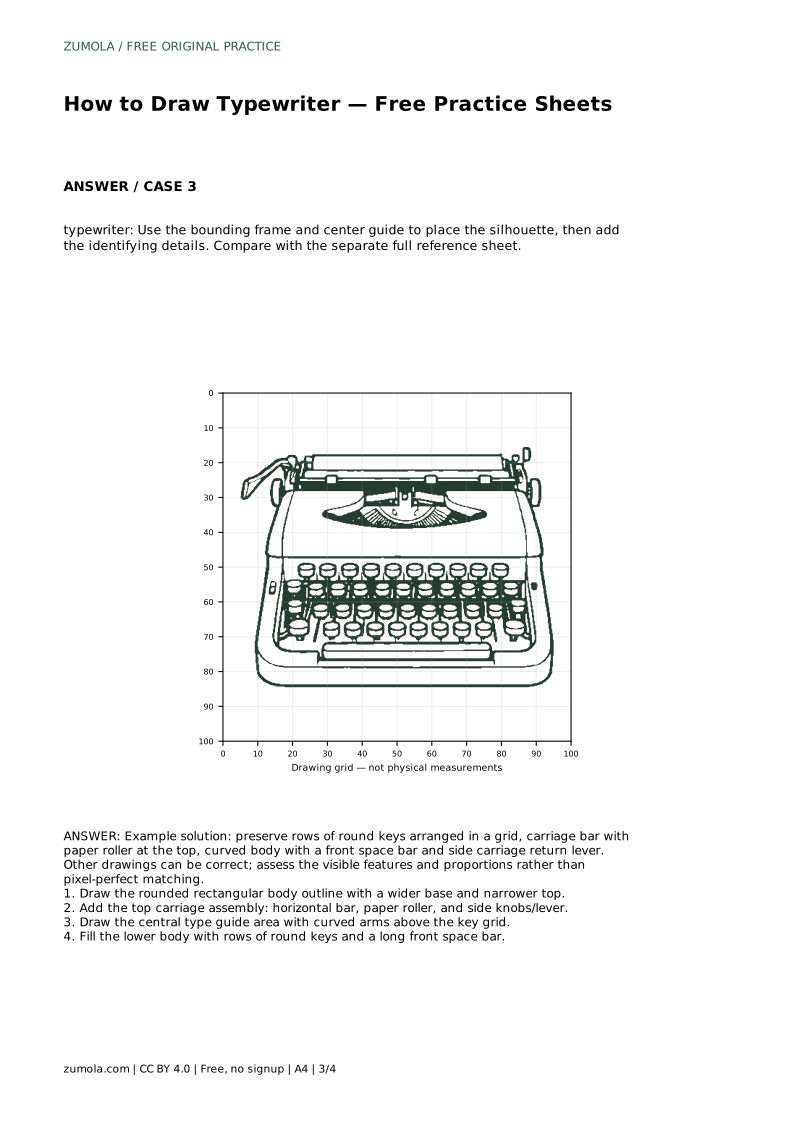
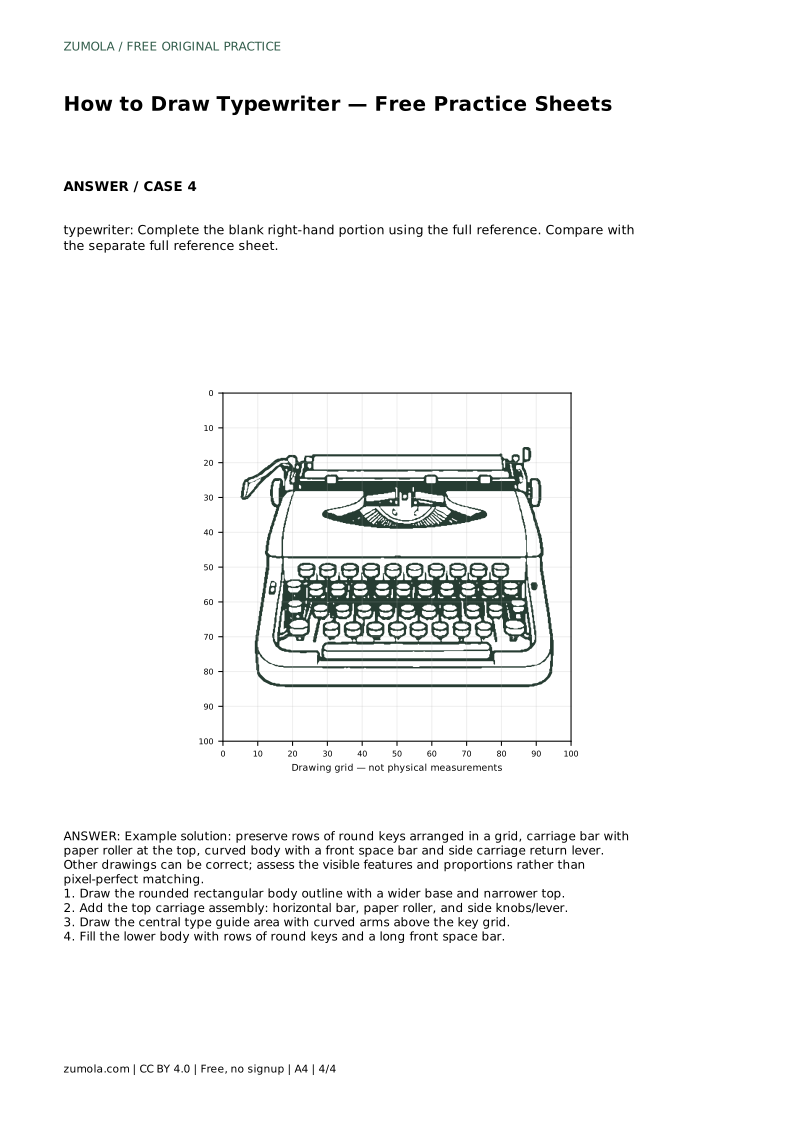
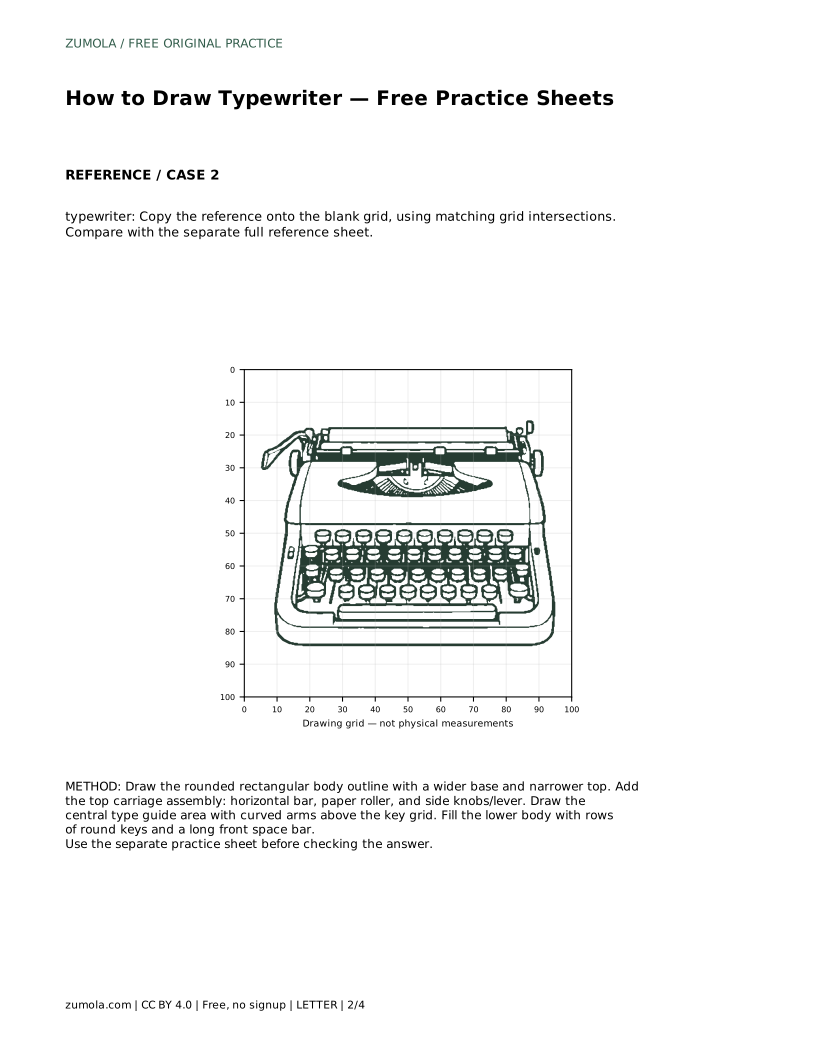
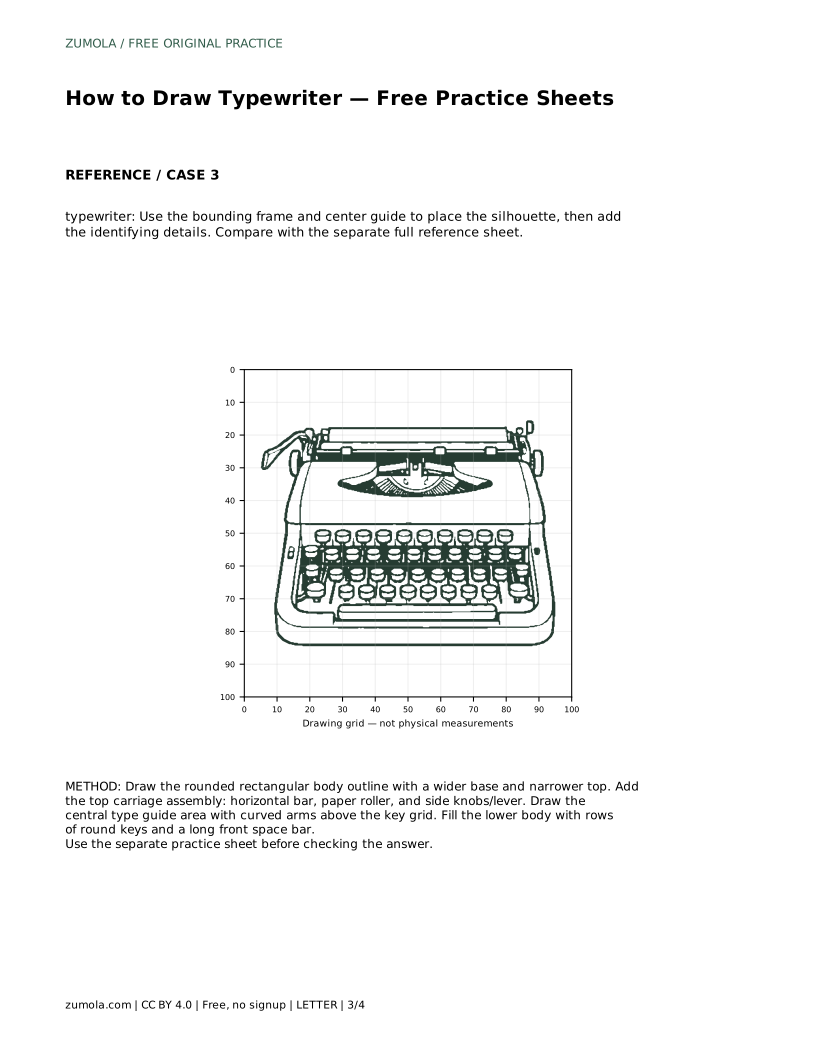
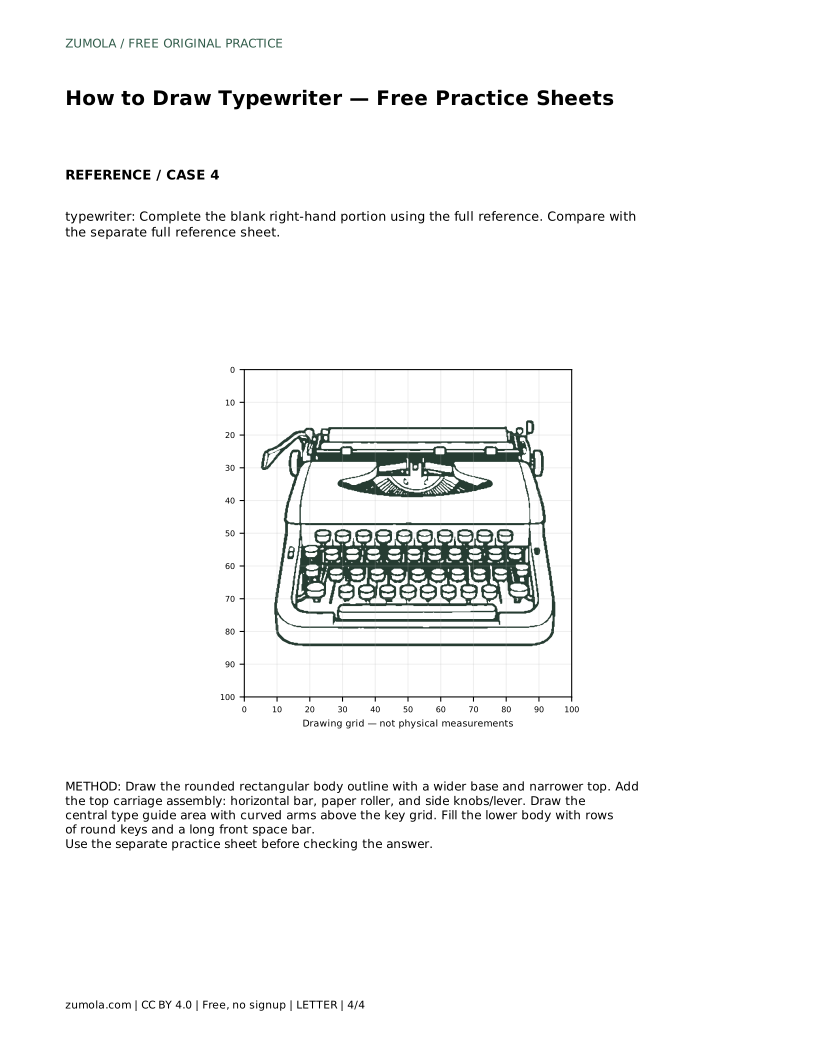
The sheets offer different levels of support. One asks you to trace the reference outline and then practise the contour independently. Another asks you to copy the reference onto a blank grid using matching grid intersections. A third uses a bounding frame and center guide to place the silhouette before adding details. A fourth provides a full reference and asks you to complete a blank right-hand portion.
After each attempt, compare your drawing with the separate full reference sheet. Check the visible features and proportions: Is the carriage level? Does the roller sit at the top? Are the keys in rows? Is the space bar present? Different drawings can be correct, so judge the structure rather than pixel-perfect matching.
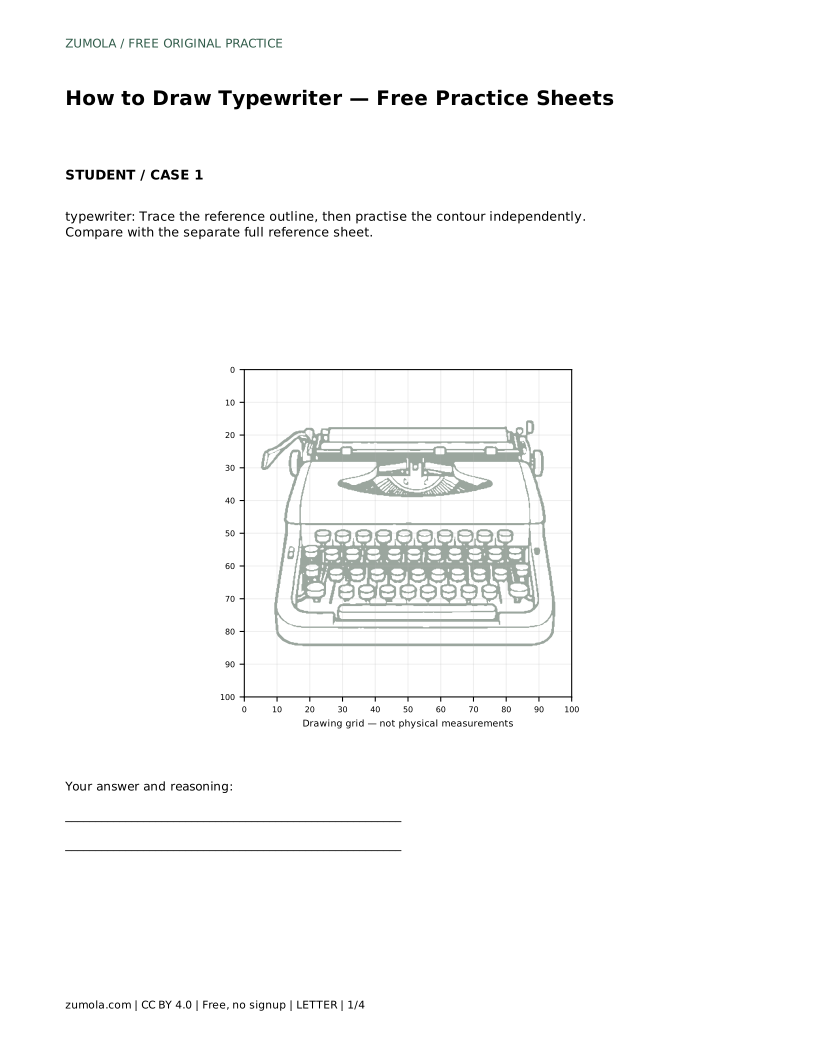
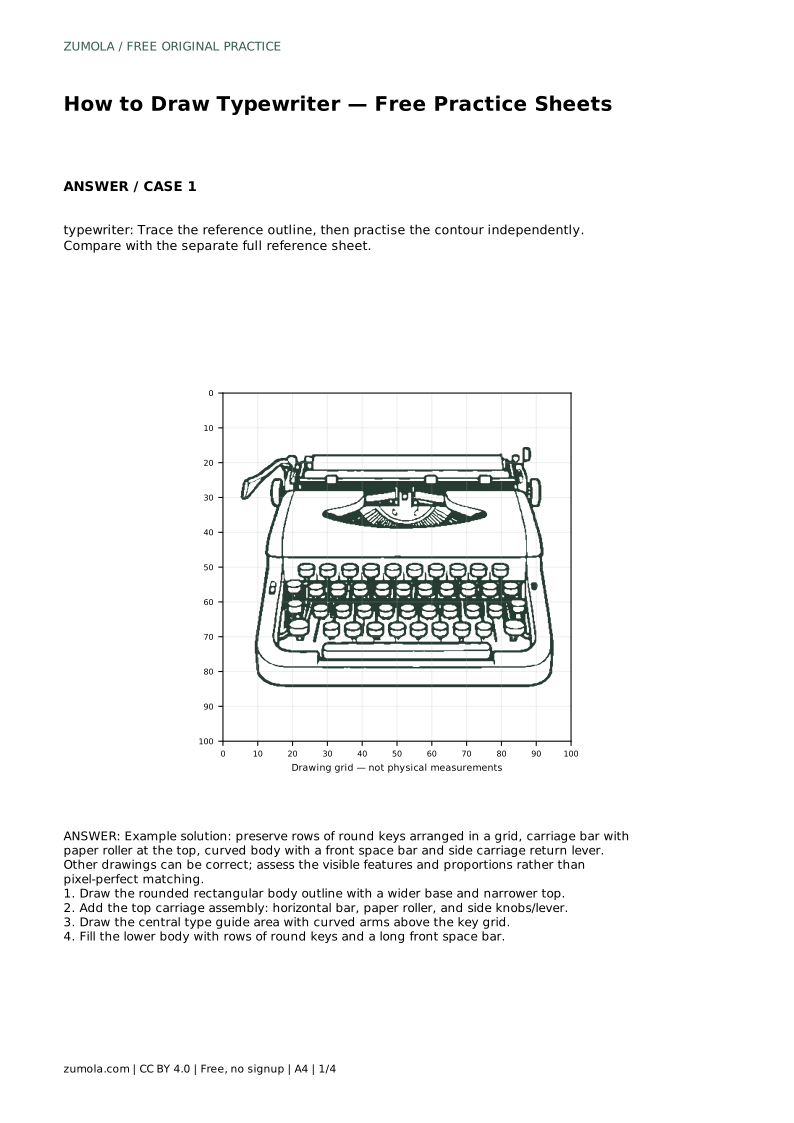
Prompt: Trace the reference outline, then practise the contour independently. Compare with the separate full reference sheet.
Example solution: preserve rows of round keys arranged in a grid, carriage bar with paper roller at the top, curved body with a front space bar and side carriage return lever. Other drawings can be correct; assess the visible features and proportions rather than pixel-perfect matching.
typewriter: Trace the reference outline, then practise the contour independently. Compare with the separate full reference sheet.
Example solution: preserve rows of round keys arranged in a grid, carriage bar with paper roller at the top, curved body with a front space bar and side carriage return lever. Other drawings can be correct; assess the visible features and proportions rather than pixel-perfect matching. Draw the rounded rectangular body outline with a wider base and narrower top. Add the top carriage assembly: horizontal bar, paper roller, and side knobs/lever. Draw the central type guide area with curved arms above the key grid. Fill the lower body with rows of round keys and a long front space bar.
No. The key grid should read as rows of round keys with even spacing. Small differences in circle size or position are acceptable.
Start with the body outline, then the carriage and roller, then the type guide, and finally the key grid and space bar.
Compare it with the full reference and check the visible features and proportions, such as a level carriage, a top roller, curved arms, key rows, and a front space bar.
All drawing practice · Free coordinate paper
Original resources · CC BY 4.0 · Free for personal and classroom use with attribution.