Reference diagrams
LETTER · Download PDF
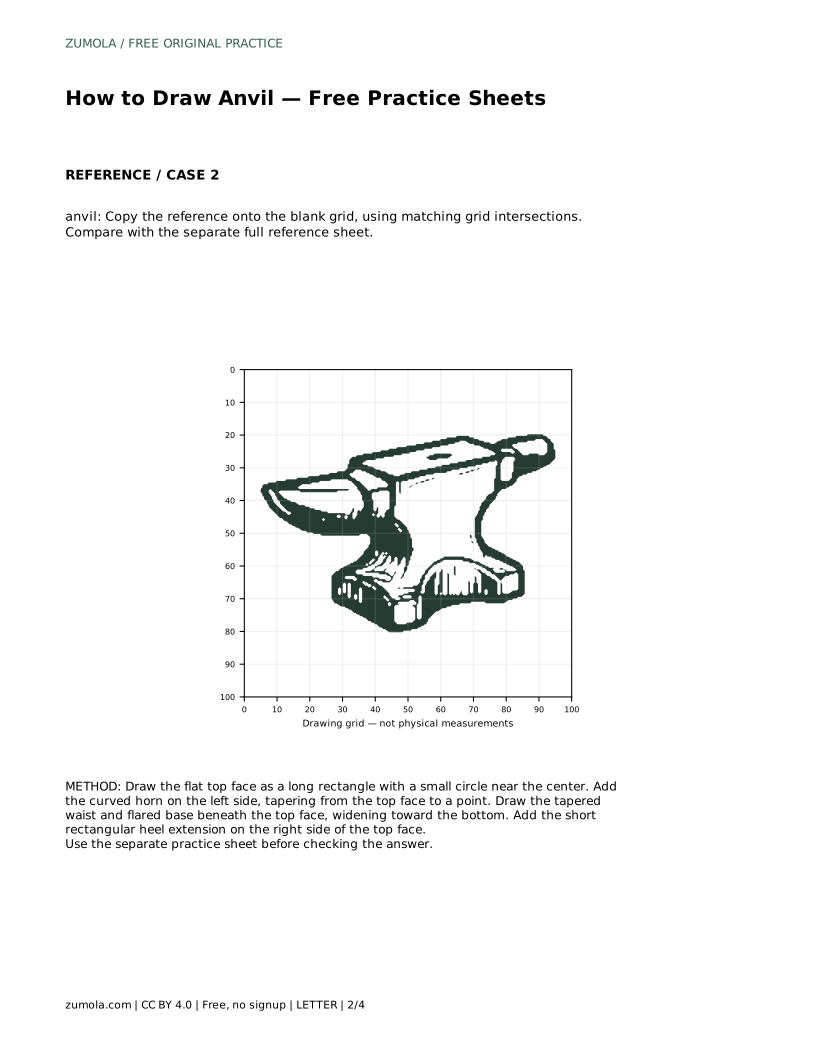
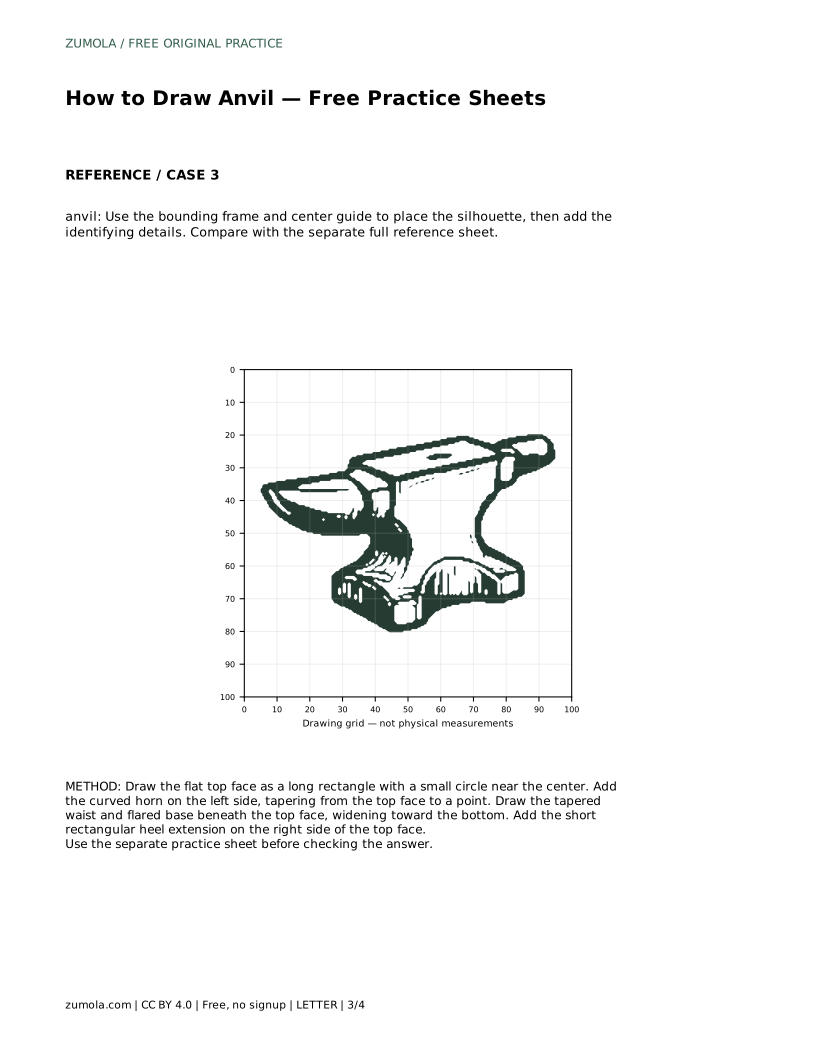
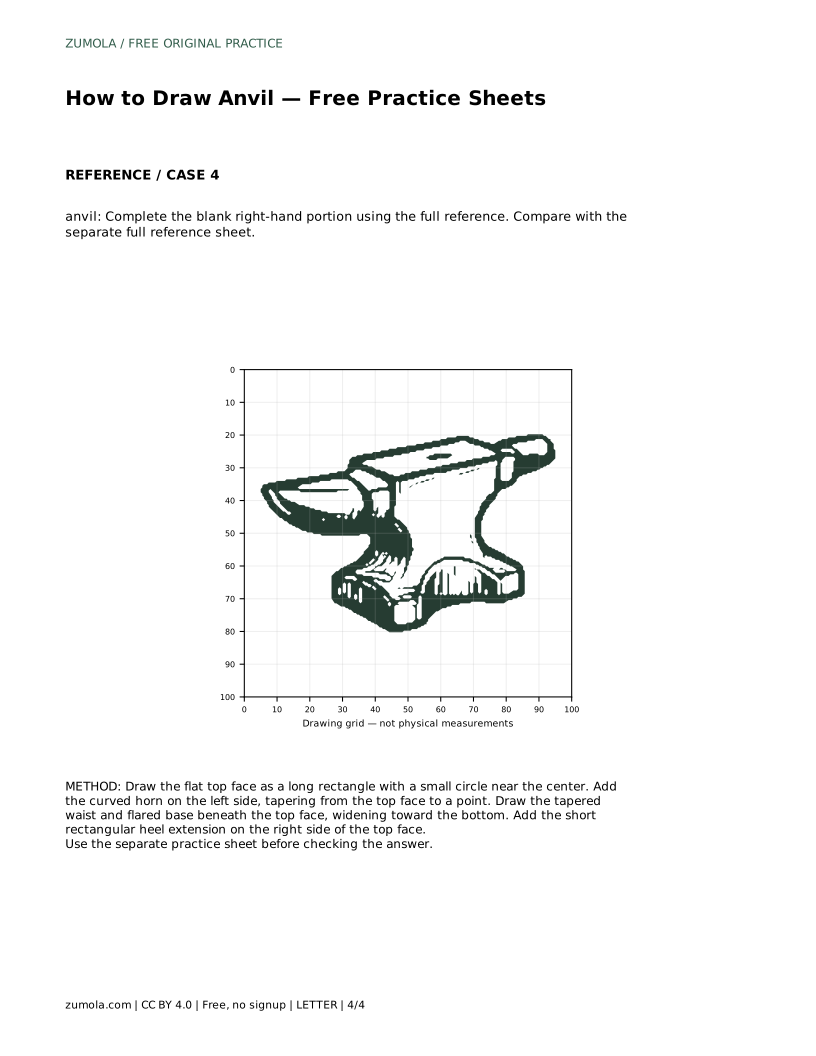
A4 · Download PDF
Free original resources
Learn to draw an anvil by building its flat top face, round hole, curved horn, tapered waist and flared base. Free practice sheets support tracing, grids and outline completion.
Four original cases, with reference diagrams, practice sheets and worked answers. Everything is free; no signup required.
LETTER · Download PDF
A4 · Download PDF
LETTER · Download PDF
A4 · Download PDF
LETTER · Download PDF
A4 · Download PDF
Use A4 or US Letter to match your printer. Use the stated values and conditions to solve each exercise; diagrams are not physical measuring rulers.
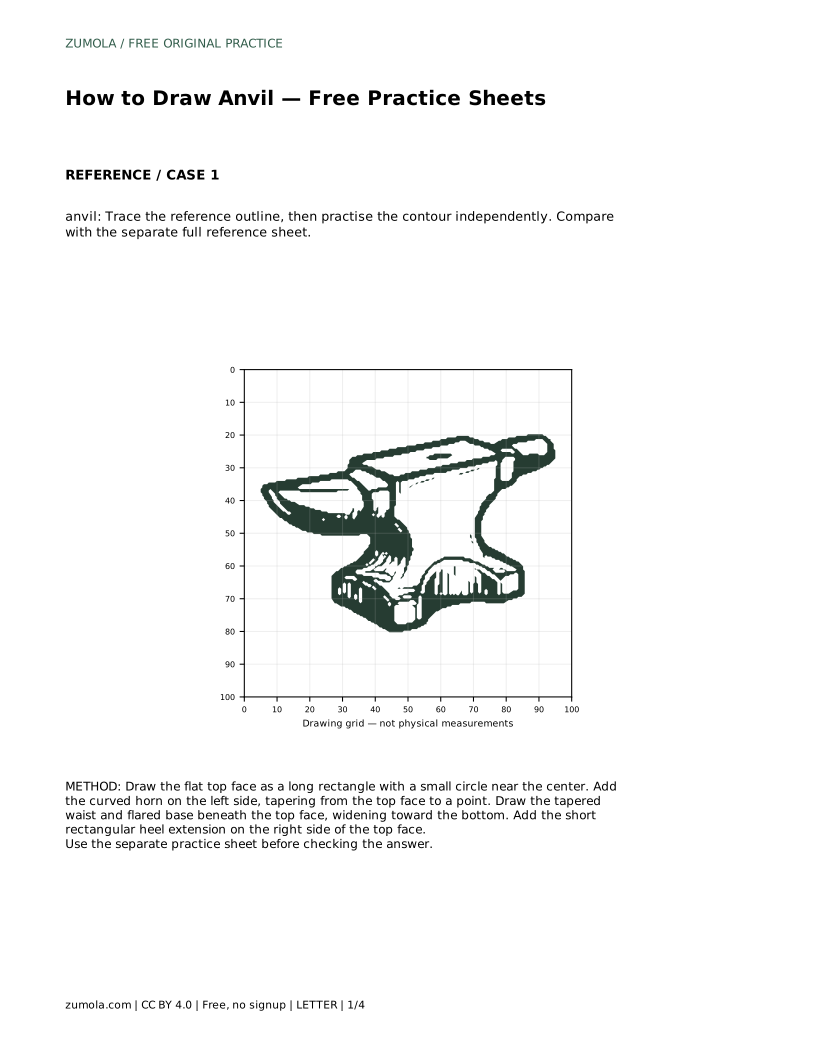
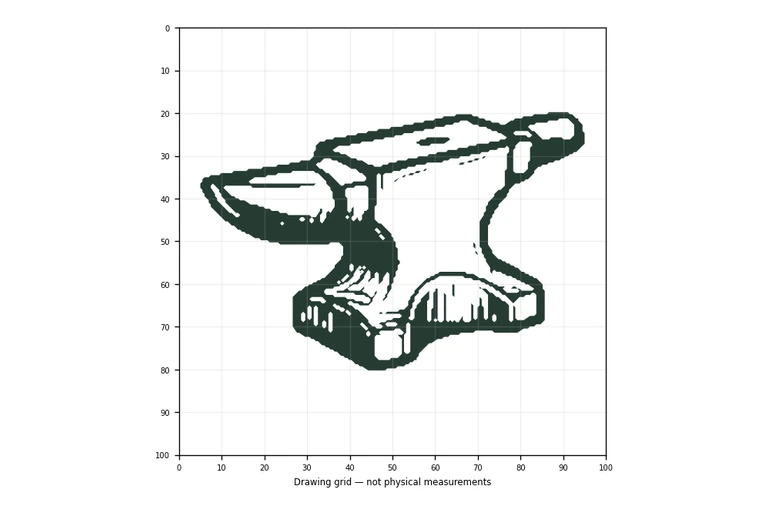
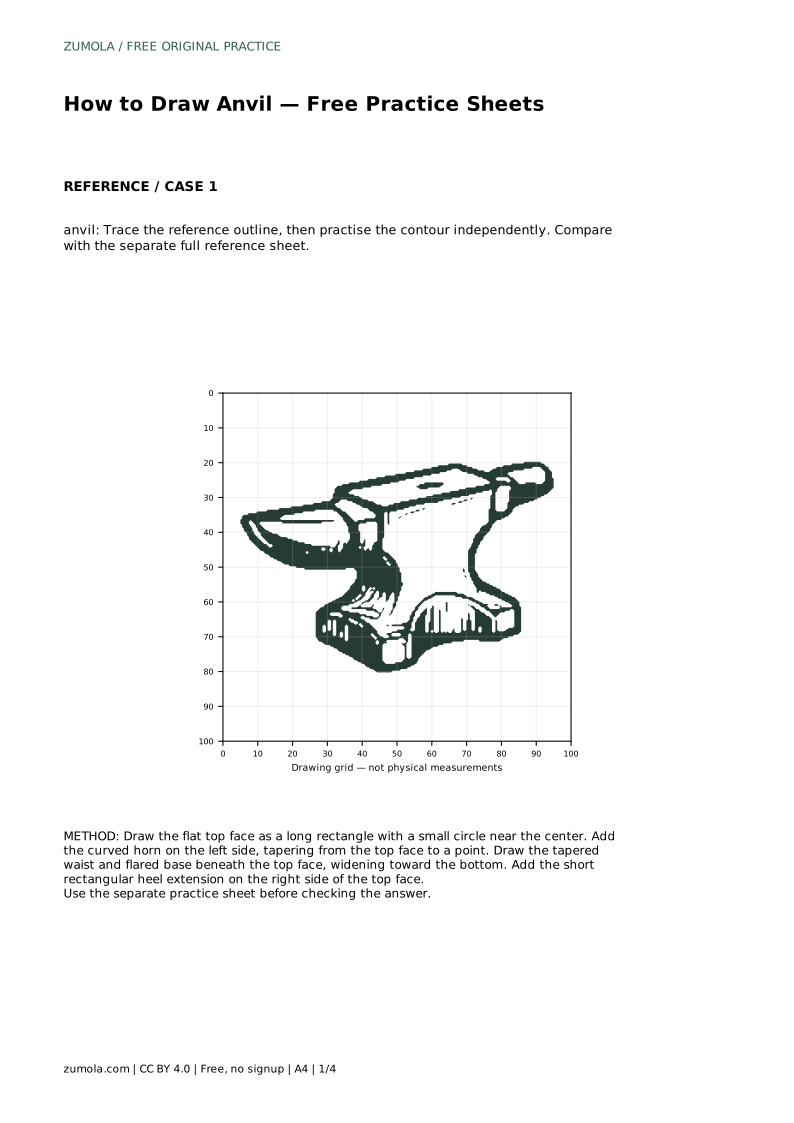
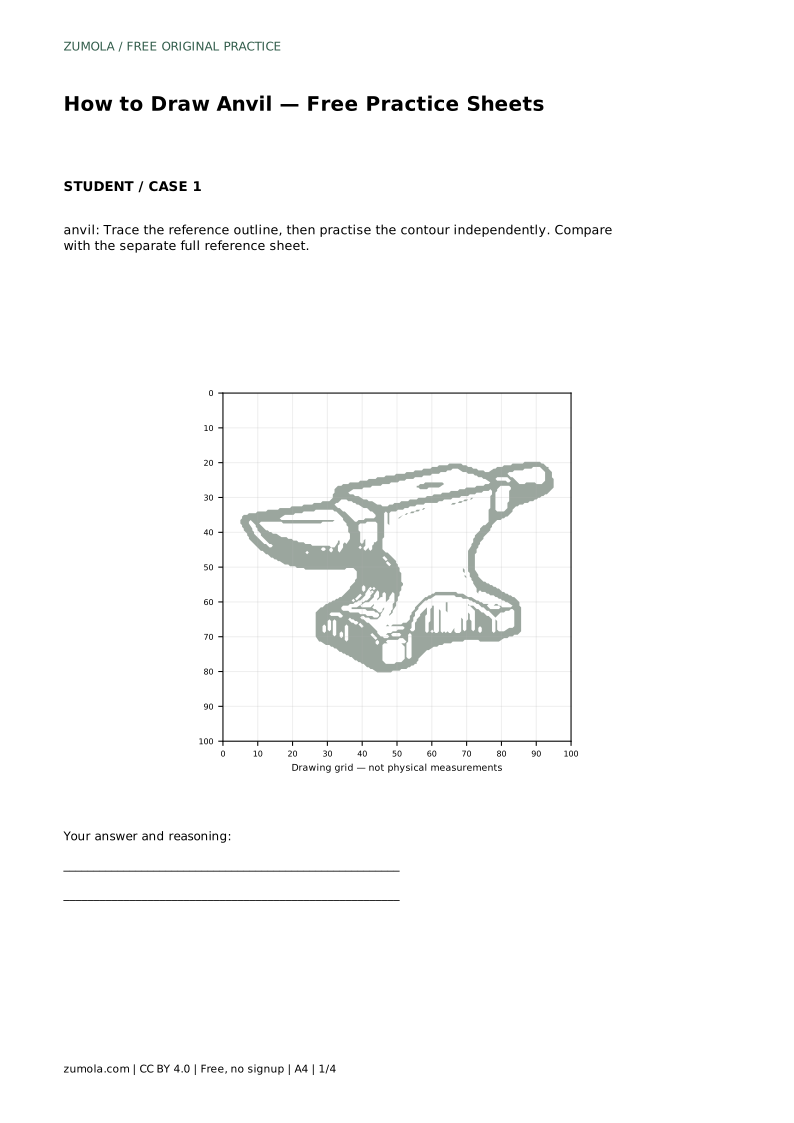
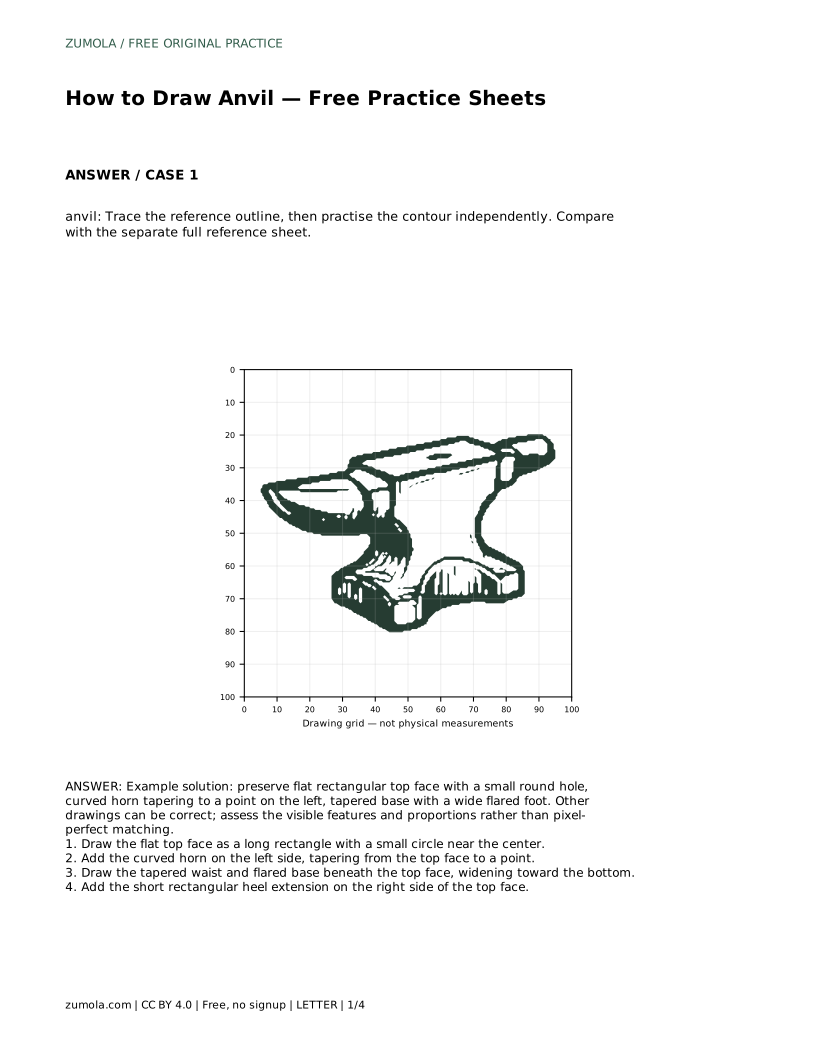
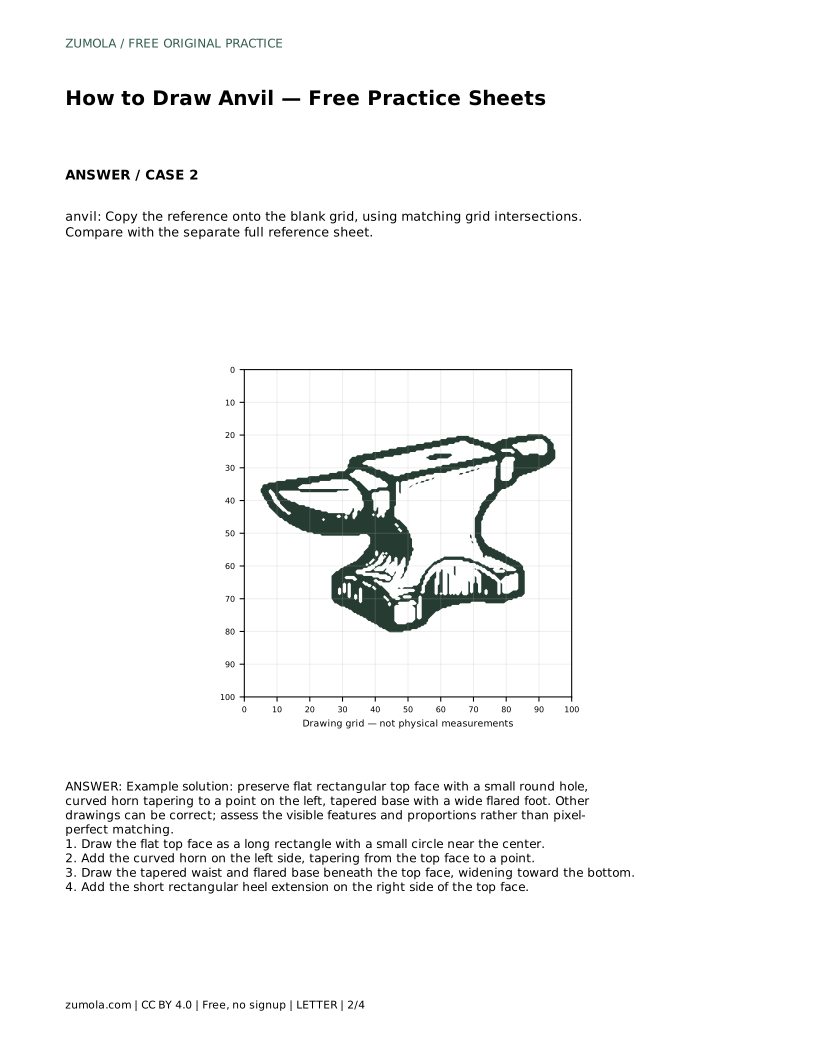
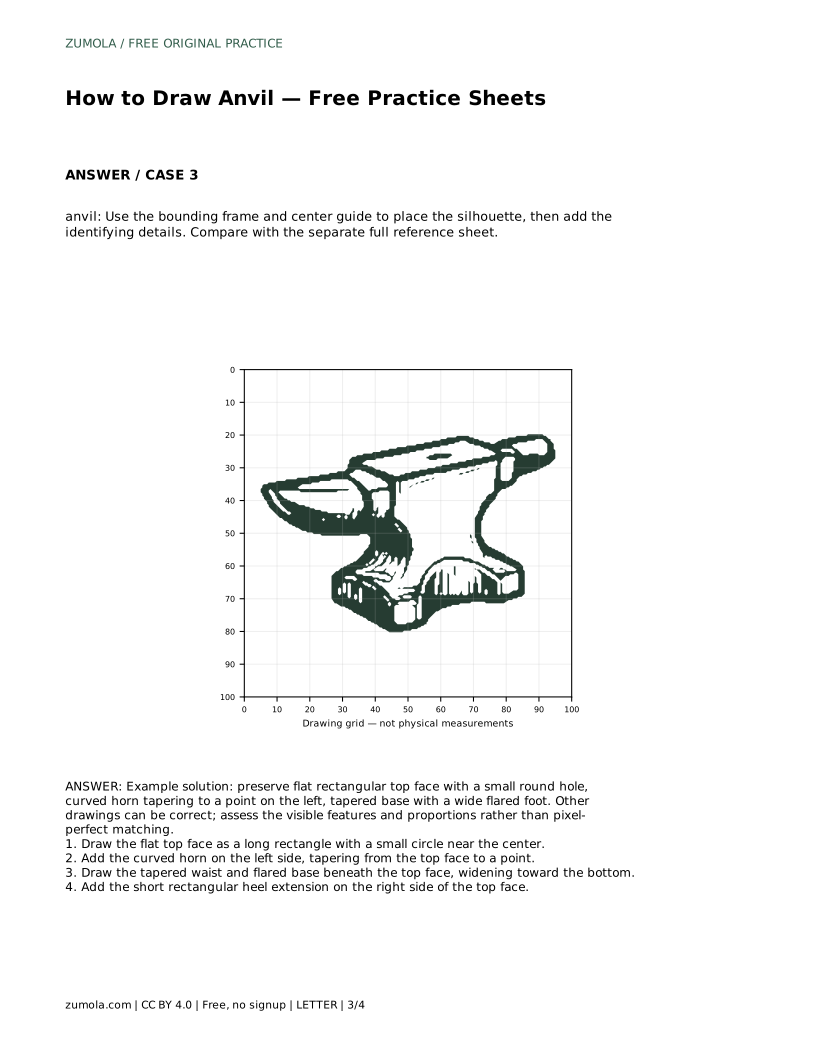
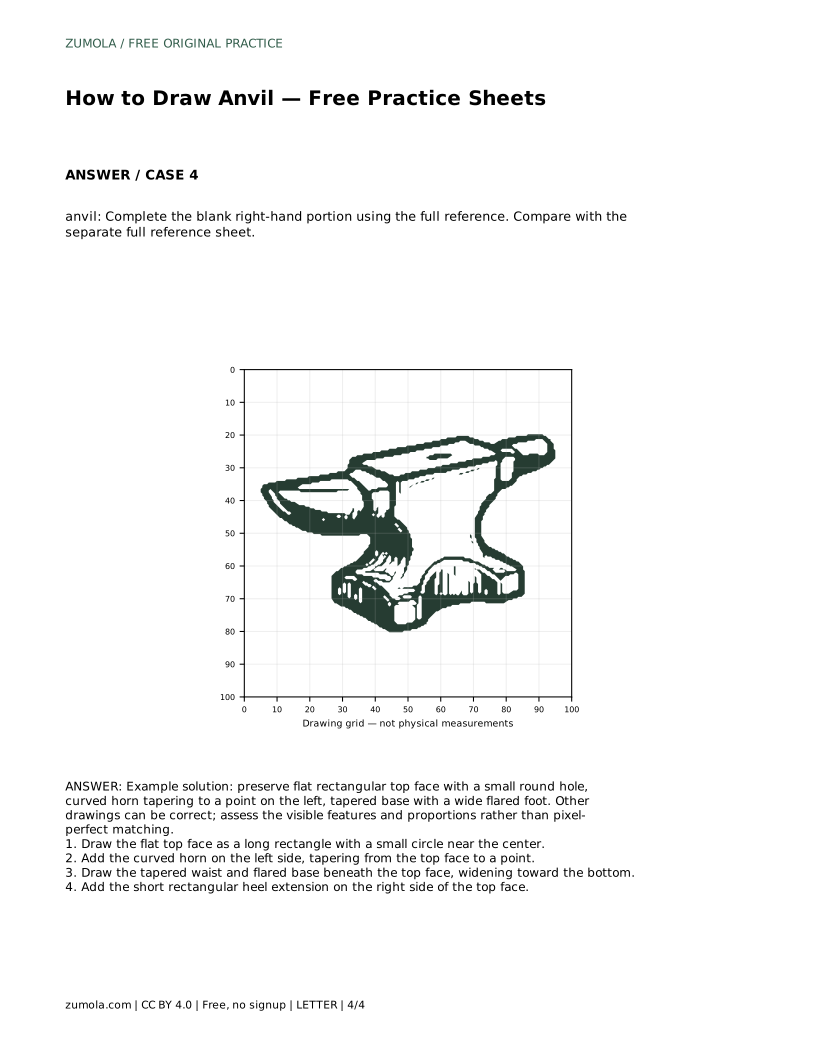
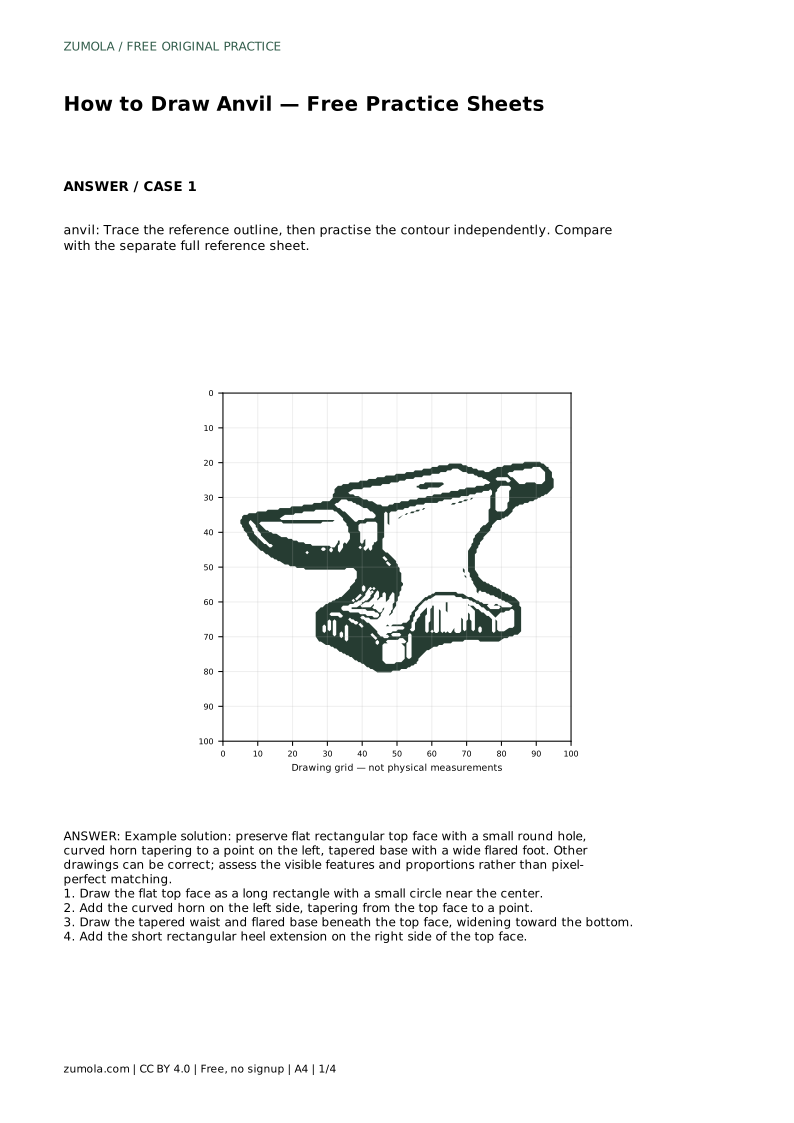
An anvil is a satisfying drawing subject because its silhouette is distinctive and built from a few clear shapes. This page shows how to construct an anvil step by step, starting with the long flat top face and adding the curved horn, the small round hole, the tapered waist and the wide flared foot. The practice sheets let you trace the outline first, then draw it independently and compare your result with the full reference.
Begin with the anvil's working surface: a long, flat rectangle that reads as the top face. Keep its front and back edges parallel so the surface looks level. Near the center of this rectangle, draw a small circle for the round hole. Its size should stay modest relative to the top face; a circle that is too large changes the character of the anvil.
On the left side, add the horn. It grows out of the top face and curves gently outward before tapering to a point. Draw the upper curve and the lower curve as separate lines so the horn has visible thickness near the body and narrows toward the tip. The point should sit roughly level with, or slightly below, the top face.
Beneath the top face, draw the waist. It narrows inward before the base widens again, which gives the anvil its familiar pinched middle. Keep the waist centered under the top face so the shape does not lean. Then draw the base, widening toward the bottom into a flared foot. The foot should look stable and broad enough to support the body above it.
On the right side of the top face, add the short rectangular heel extension. It projects outward at roughly the same level as the top face and stays compact. Together, the horn on the left and the heel on the right balance the silhouette.
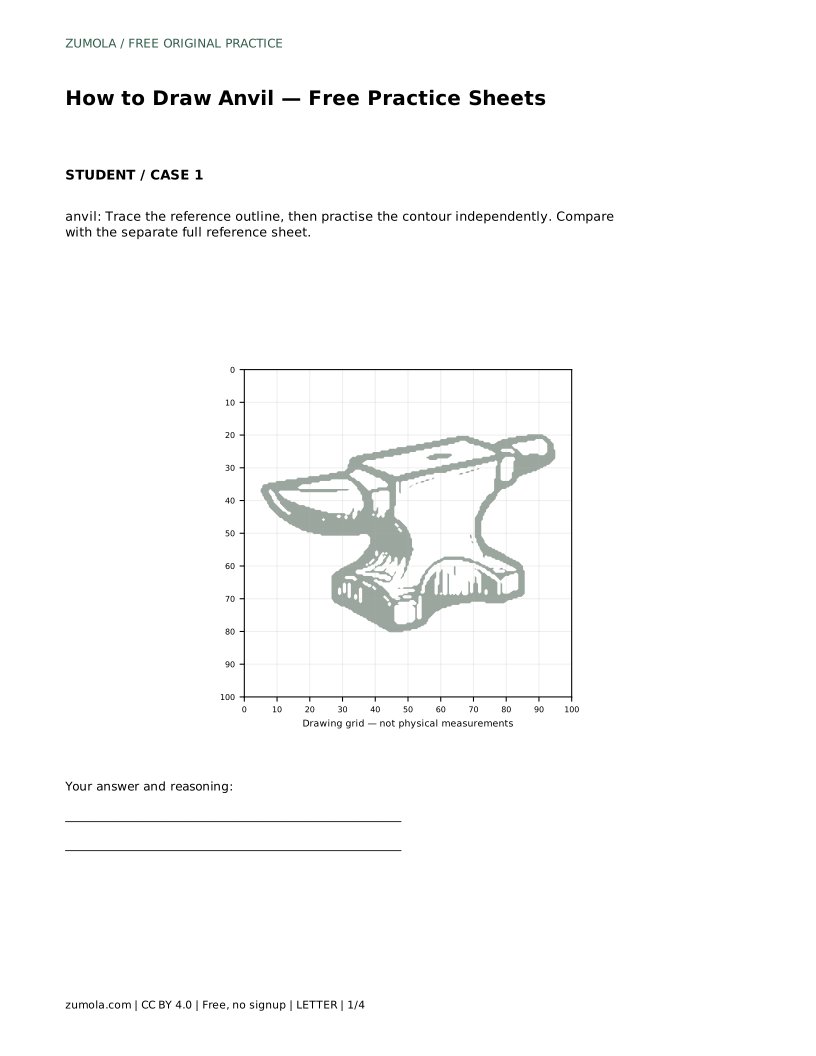
Use the tracing sheet first to feel the contour: follow the reference outline, paying attention to where the horn curves and where the waist pinches. Then move to a blank sheet and draw the anvil from the same steps without tracing. Compare your independent drawing with the separate full reference sheet.
Other drawings can be correct. Assess the visible features and proportions rather than pixel-perfect matching. A slightly different horn curve or base width is fine as long as the flat top face, small round hole, pointed horn, tapered waist and flared foot are all clearly present.
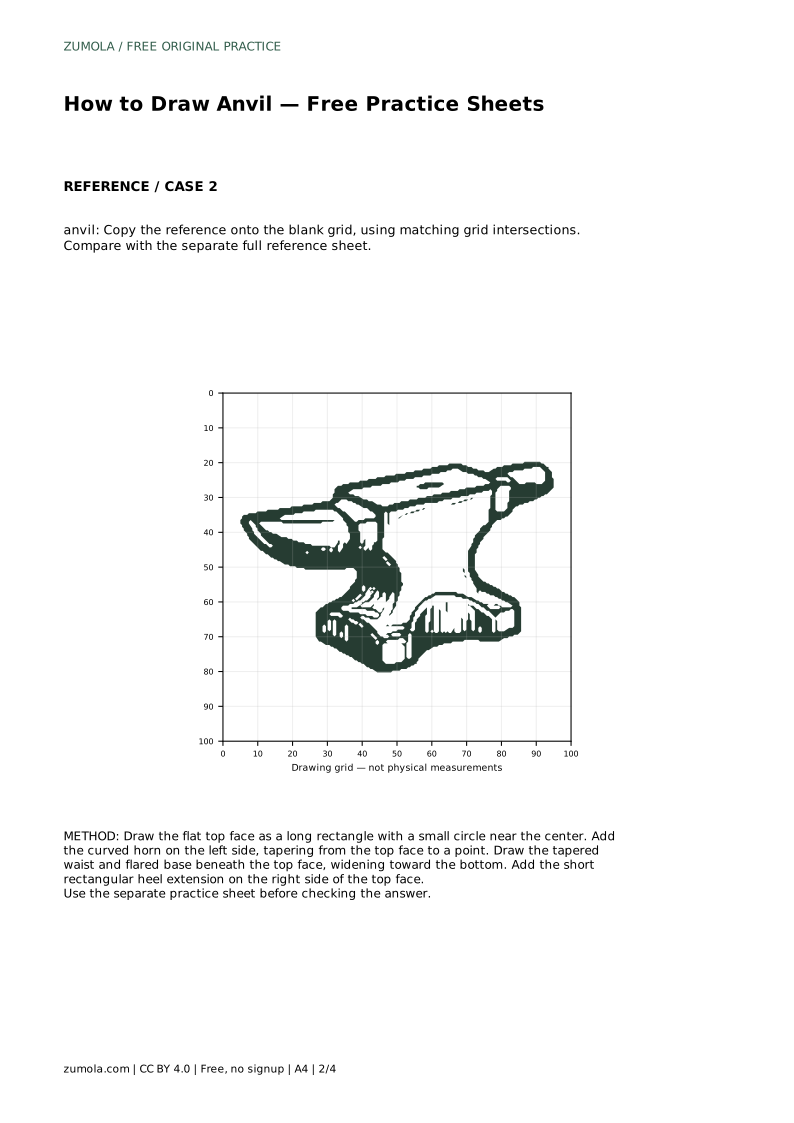
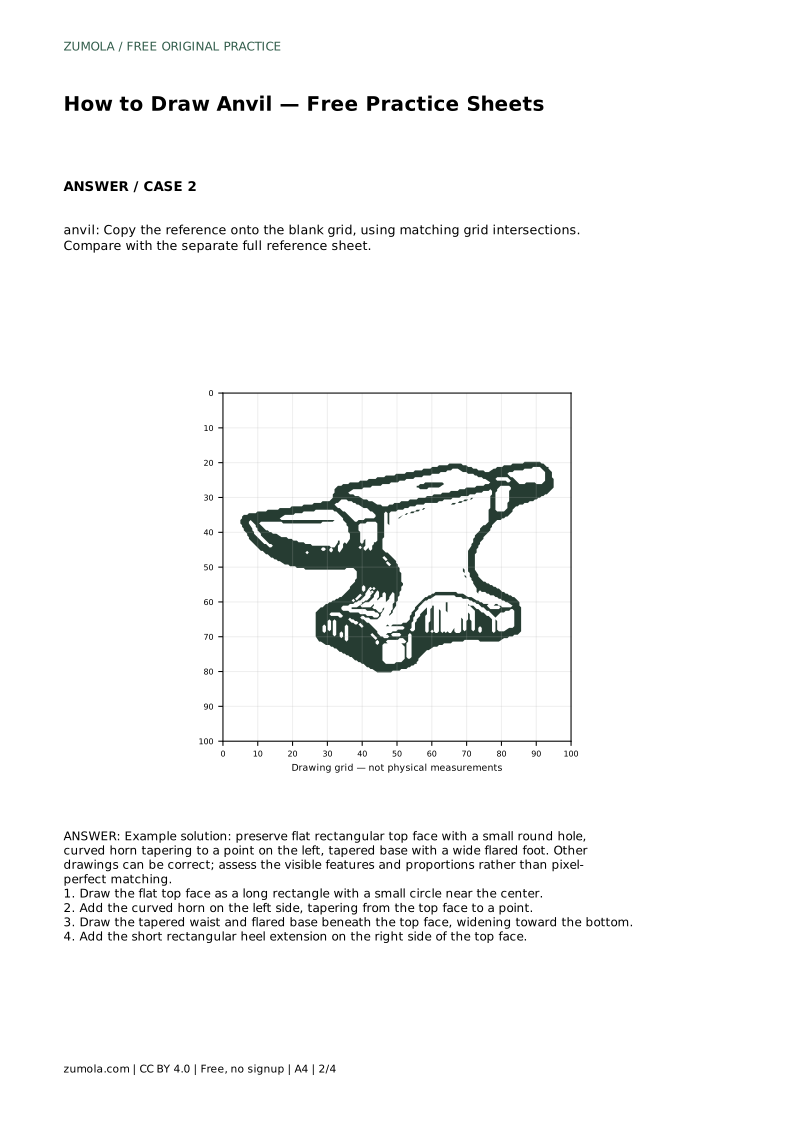
The grid sheet asks you to copy the reference onto the blank grid using matching grid intersections. Place key points first: the corners of the top face, the horn tip, the widest part of the foot and the heel corner. Connect these points with the construction steps above.
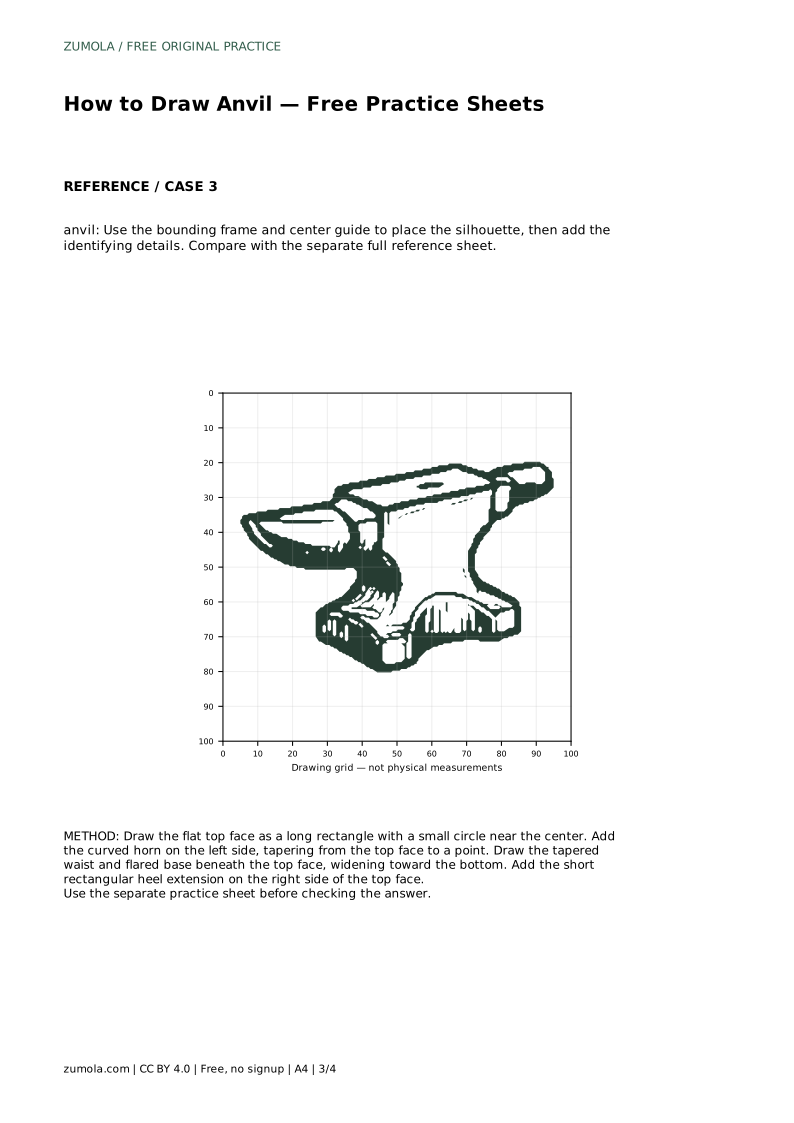
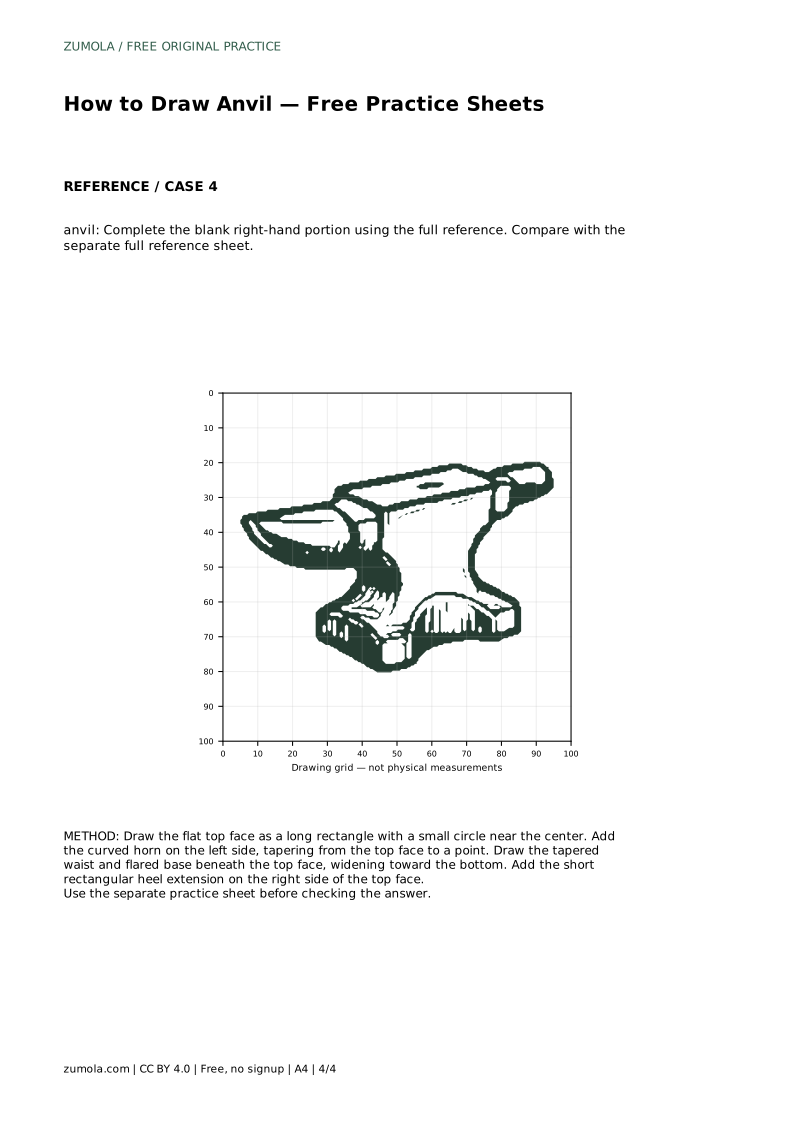
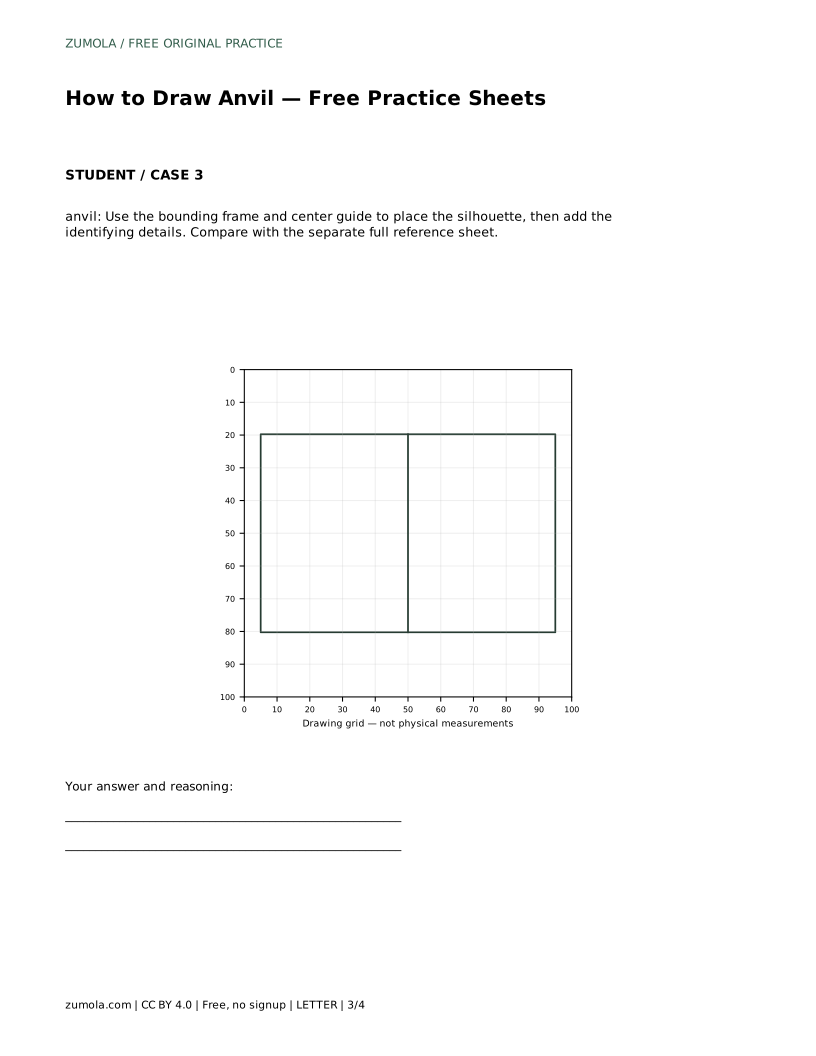
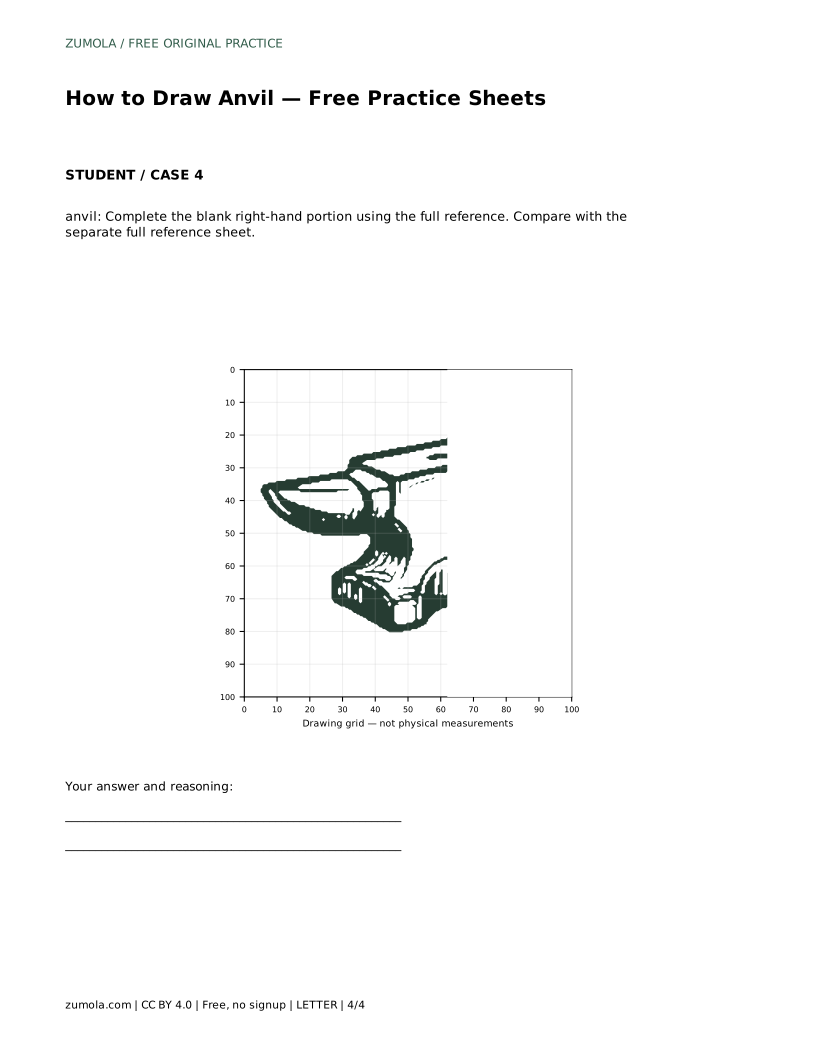
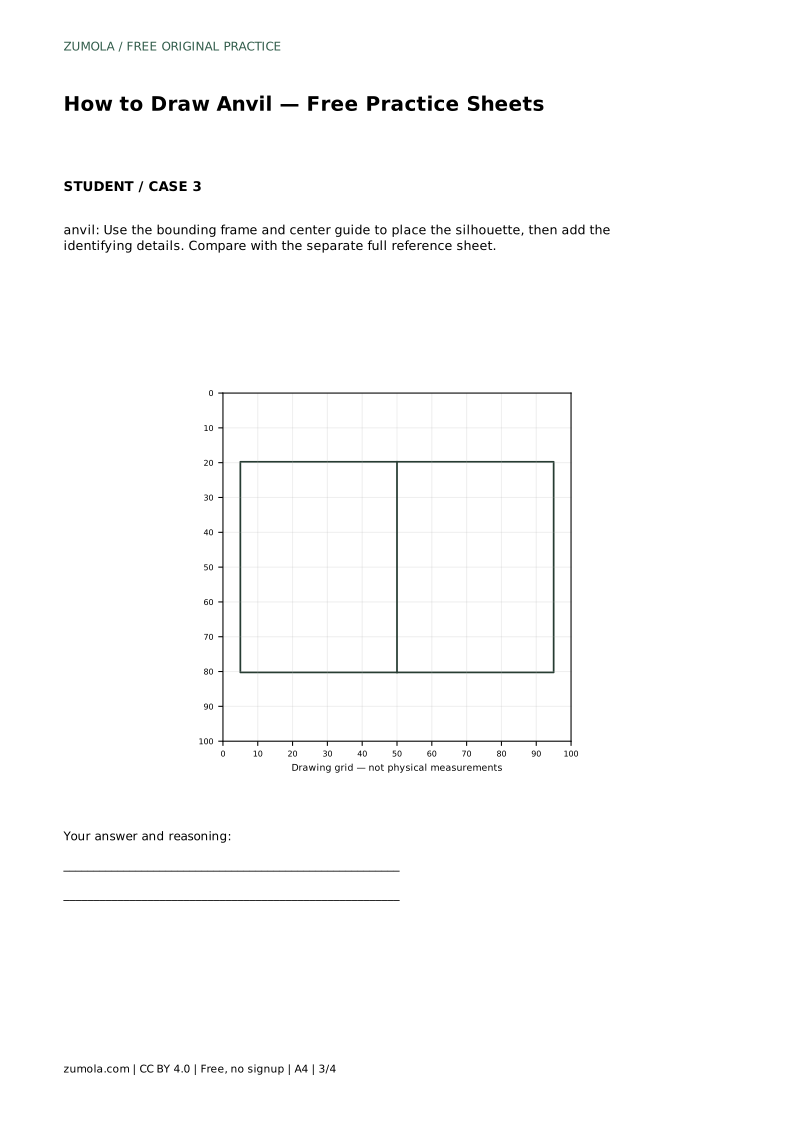
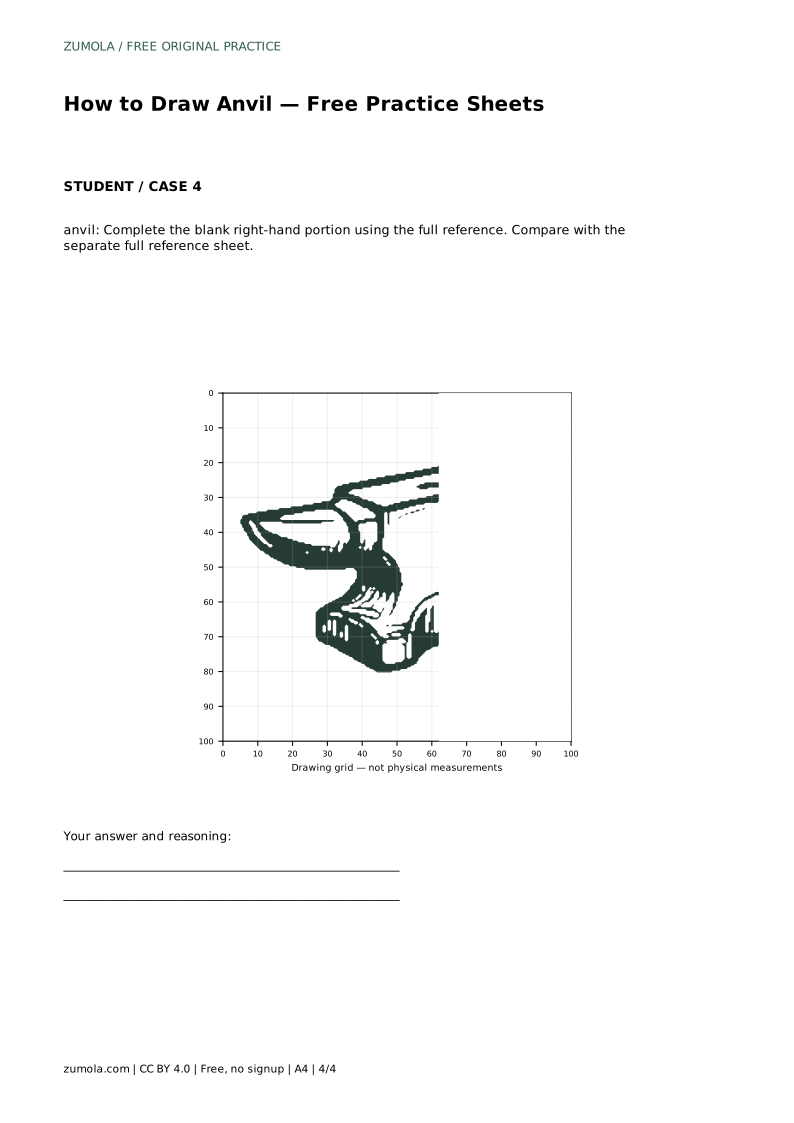
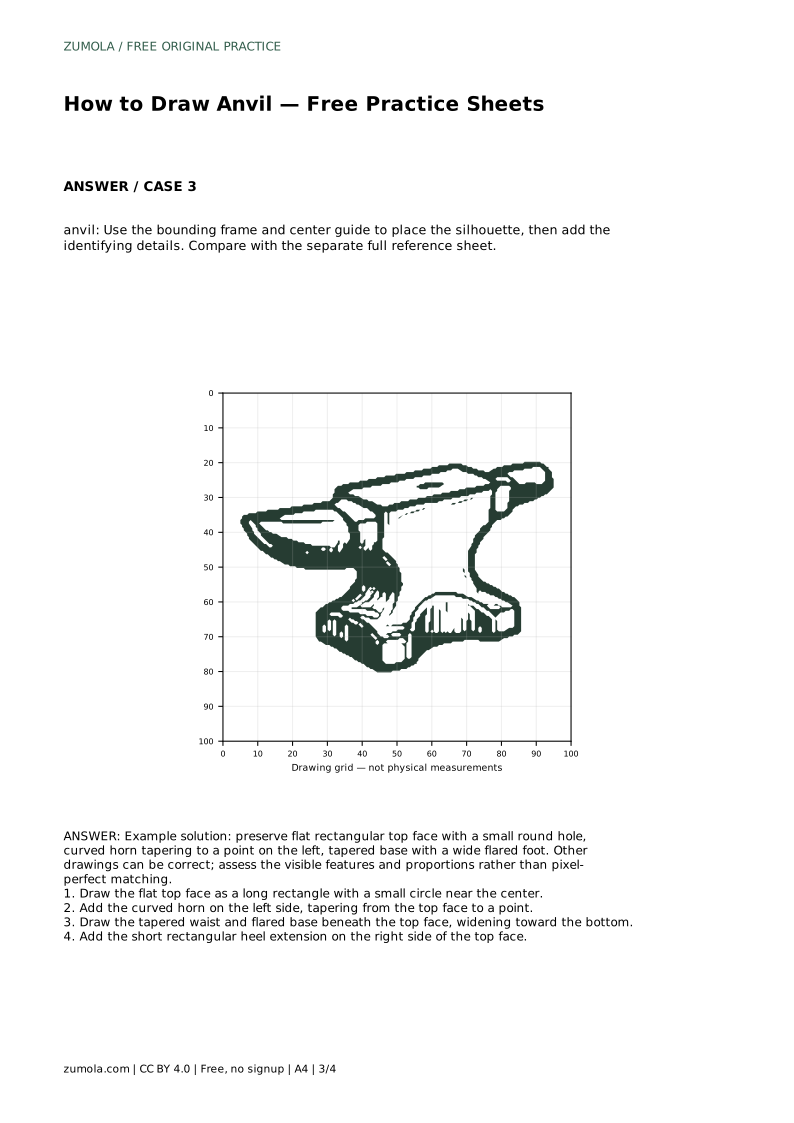
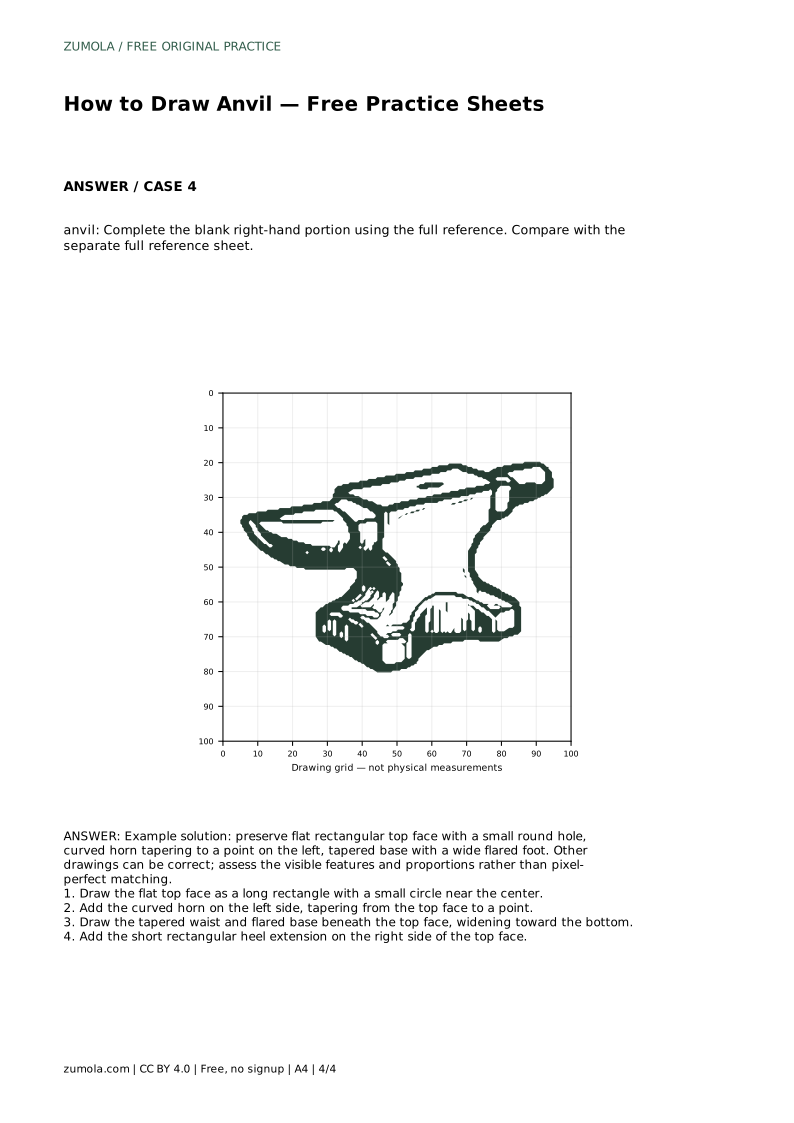
The bounding frame and center guide sheet helps you place the silhouette before adding details. Use the frame to judge overall width and height, and the center guide to keep the waist and base aligned under the top face. The partial-outline sheet asks you to complete the blank right-hand portion using the full reference, which tests whether you can continue the top face, heel and base accurately.
anvil: Trace the reference outline, then practise the contour independently. Compare with the separate full reference sheet.
Example solution: preserve flat rectangular top face with a small round hole, curved horn tapering to a point on the left, tapered base with a wide flared foot. Other drawings can be correct; assess the visible features and proportions rather than pixel-perfect matching. Draw the flat top face as a long rectangle with a small circle near the center. Add the curved horn on the left side, tapering from the top face to a point. Draw the tapered waist and flared base beneath the top face, widening toward the bottom. Add the short rectangular heel extension on the right side of the top face.
No. Other drawings can be correct. Check that the flat top face, small round hole, curved pointed horn, tapered waist and flared foot are present and reasonably proportioned.
Start with the tracing sheet to learn the contour, then draw independently on a blank sheet and compare with the full reference.
Keep the top face level, center the waist and base beneath it, and balance the horn on the left against the short heel on the right.
All drawing practice · Free coordinate paper
Original resources · CC BY 4.0 · Free for personal and classroom use with attribution.