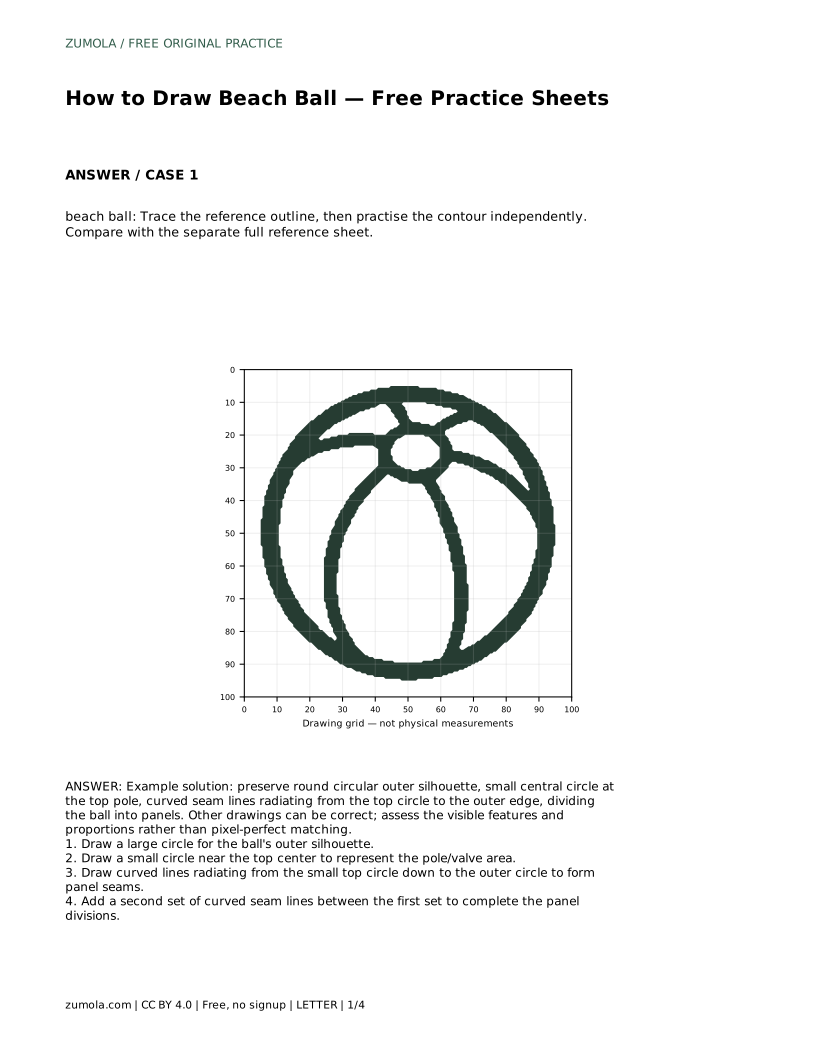
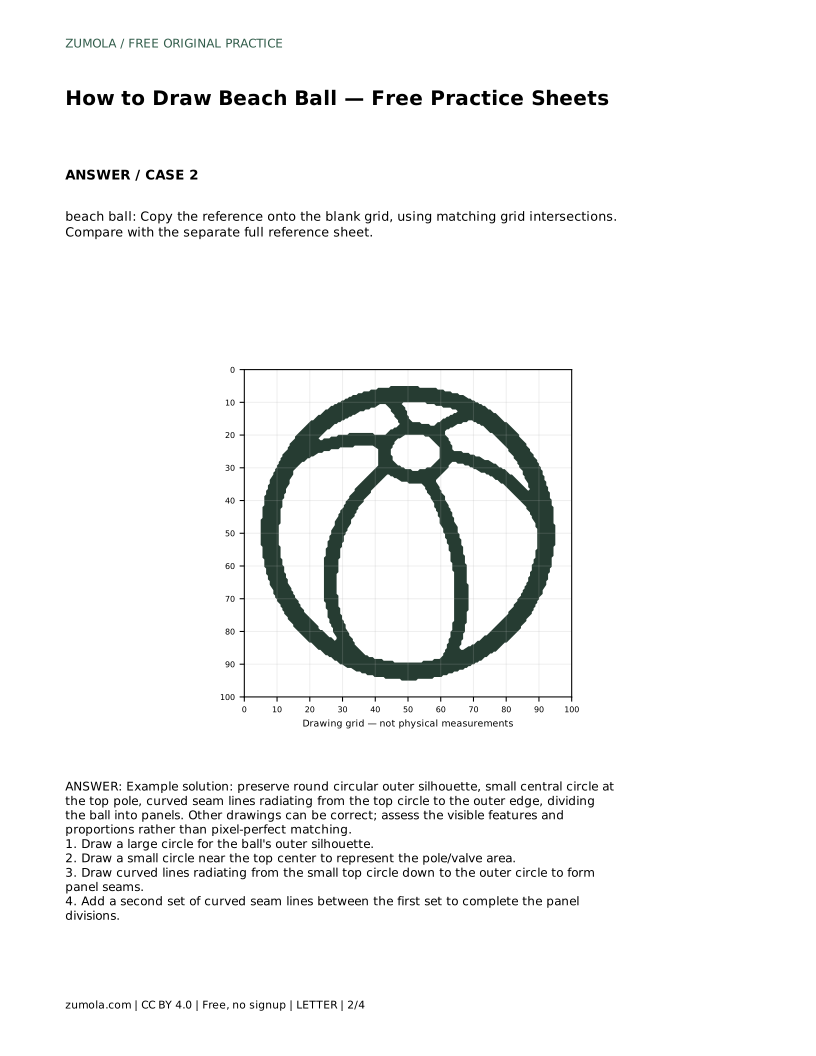
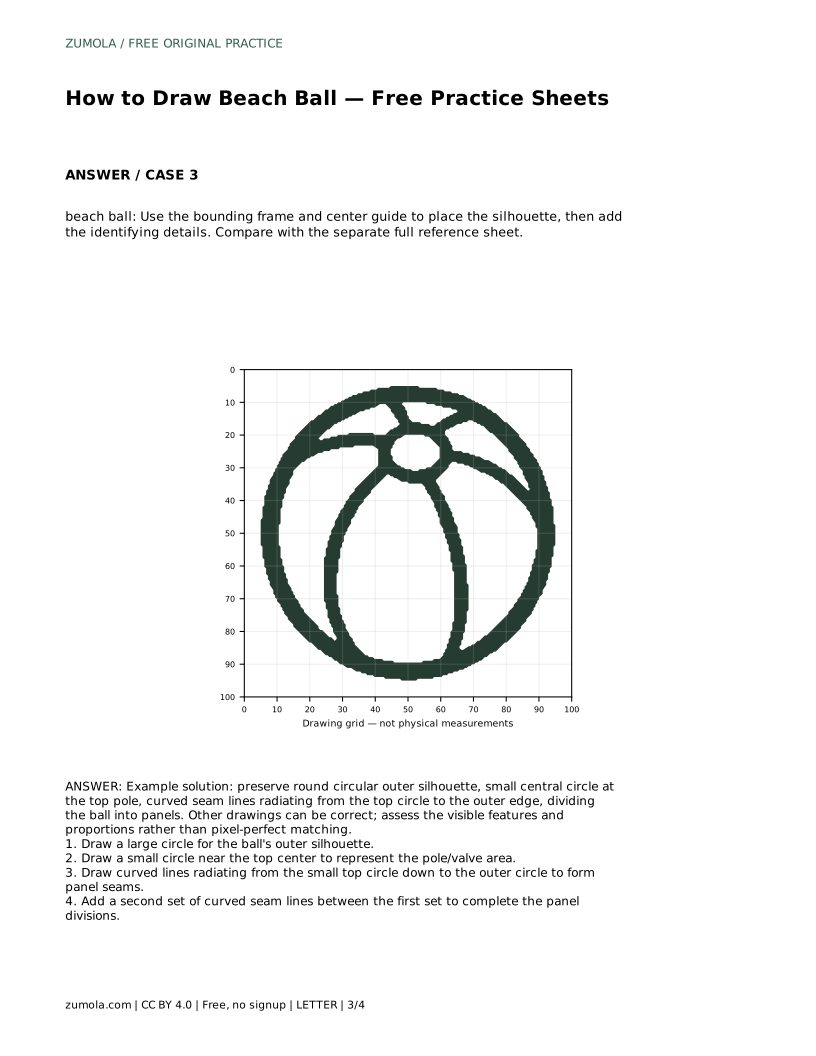
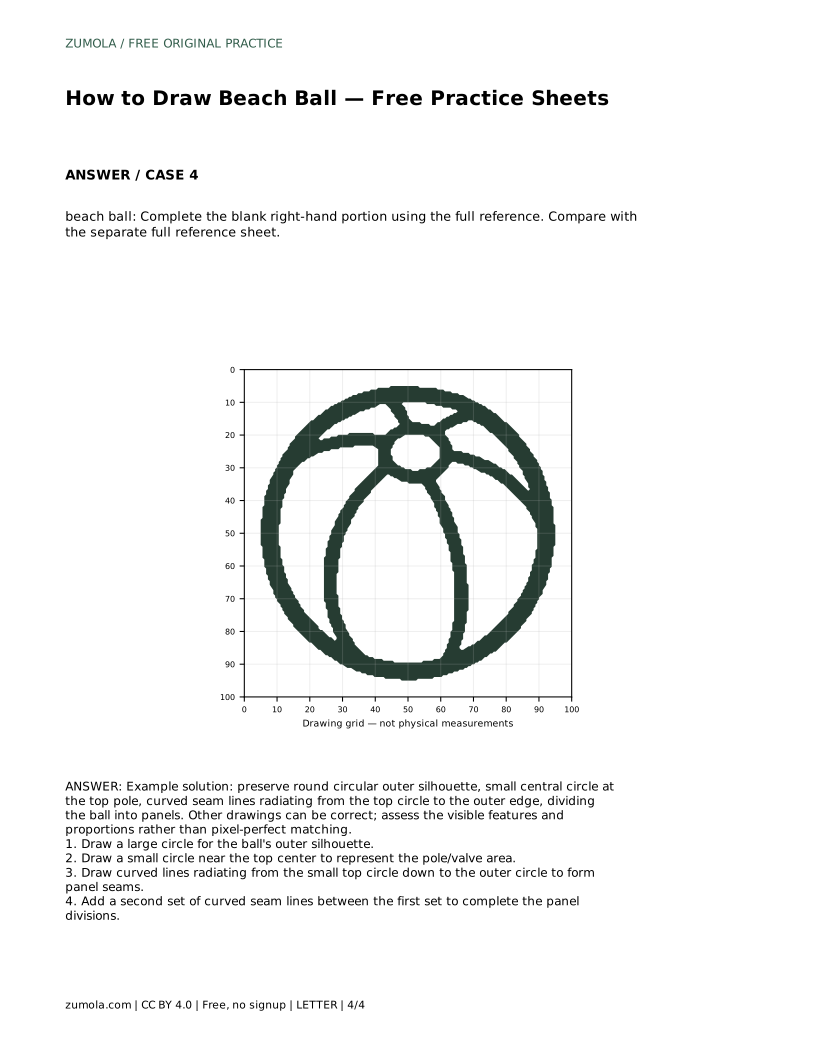
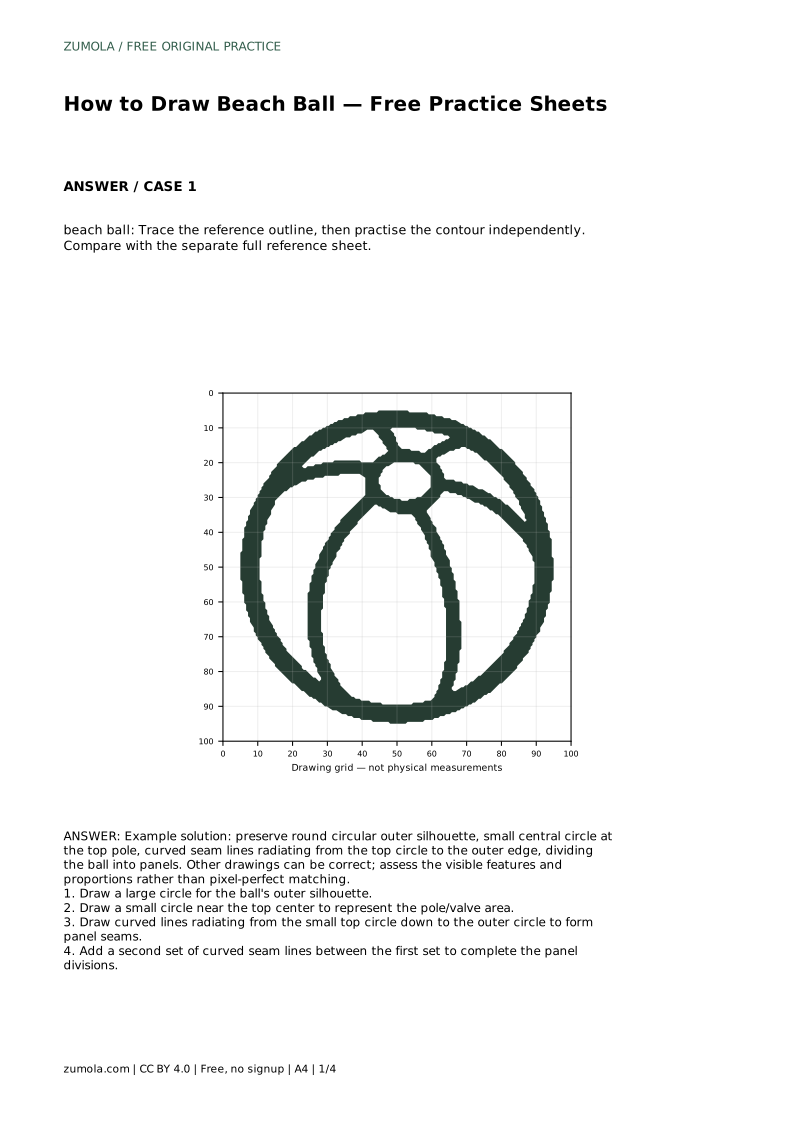
Reference diagrams
LETTER · Download PDF
A4 · Download PDF
Free original resources
Learn to draw a beach ball with a round silhouette, a small top pole circle, and curved panel seams. Free printable practice sheets support tracing, grids, and completion.
Four original cases, with reference diagrams, practice sheets and worked answers. Everything is free; no signup required.
LETTER · Download PDF
A4 · Download PDF
LETTER · Download PDF
A4 · Download PDF
LETTER · Download PDF
A4 · Download PDF
Use A4 or US Letter to match your printer. Use the stated values and conditions to solve each exercise; diagrams are not physical measuring rulers.
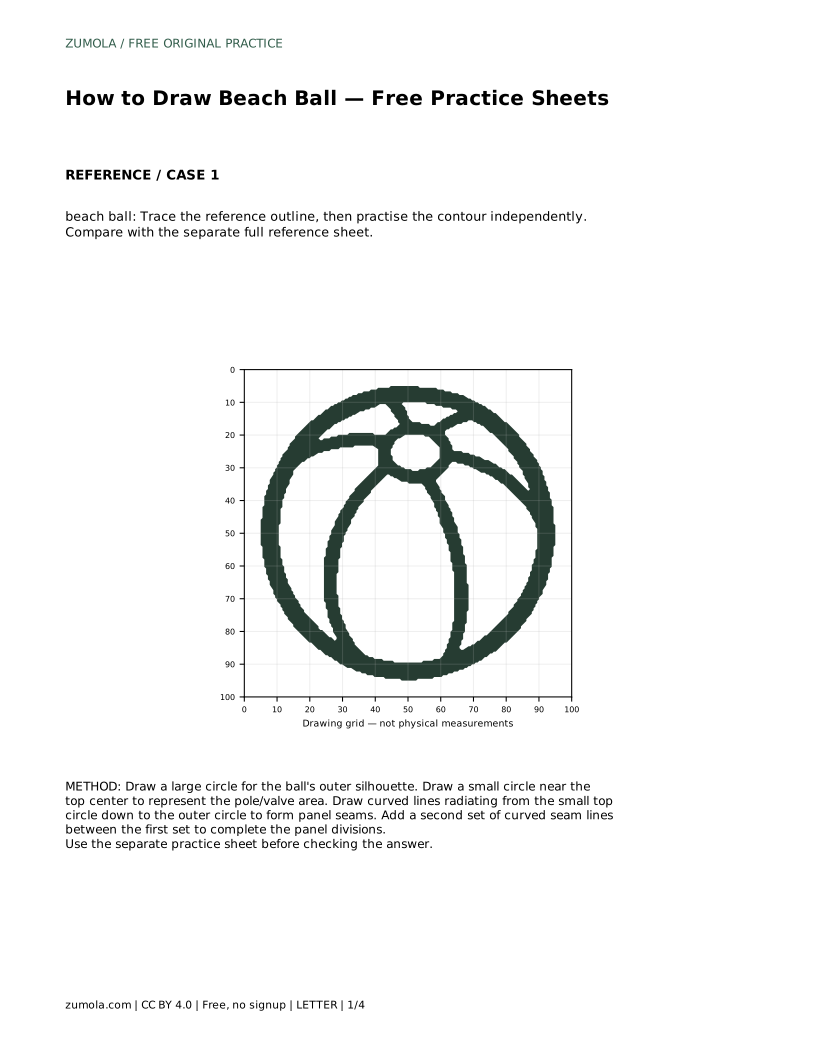
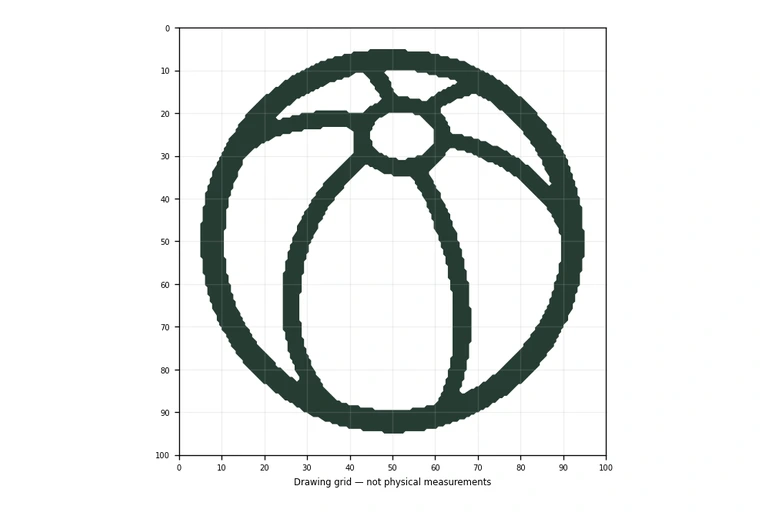
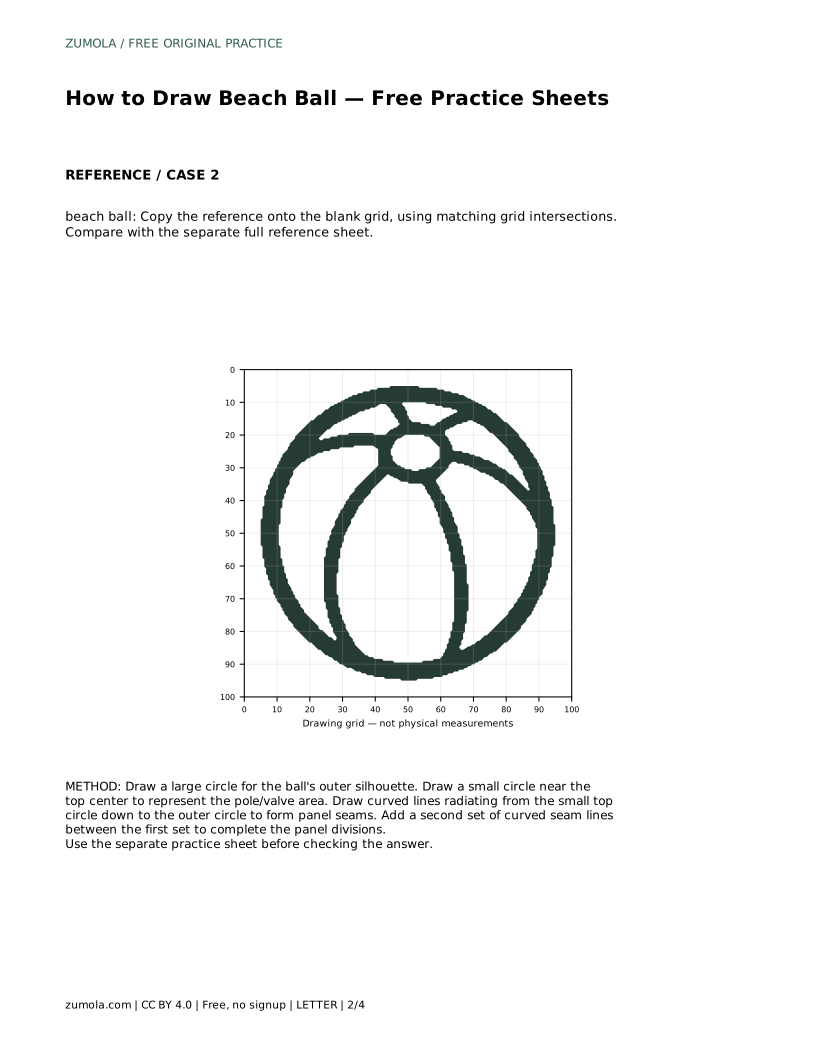
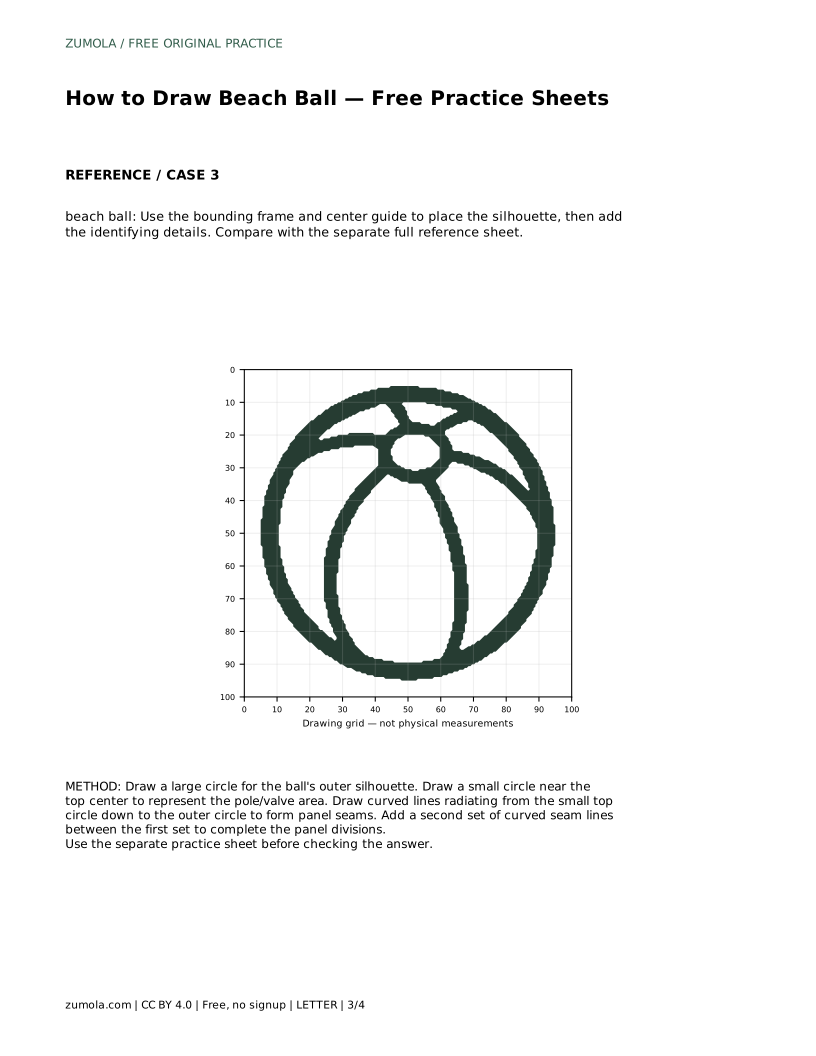
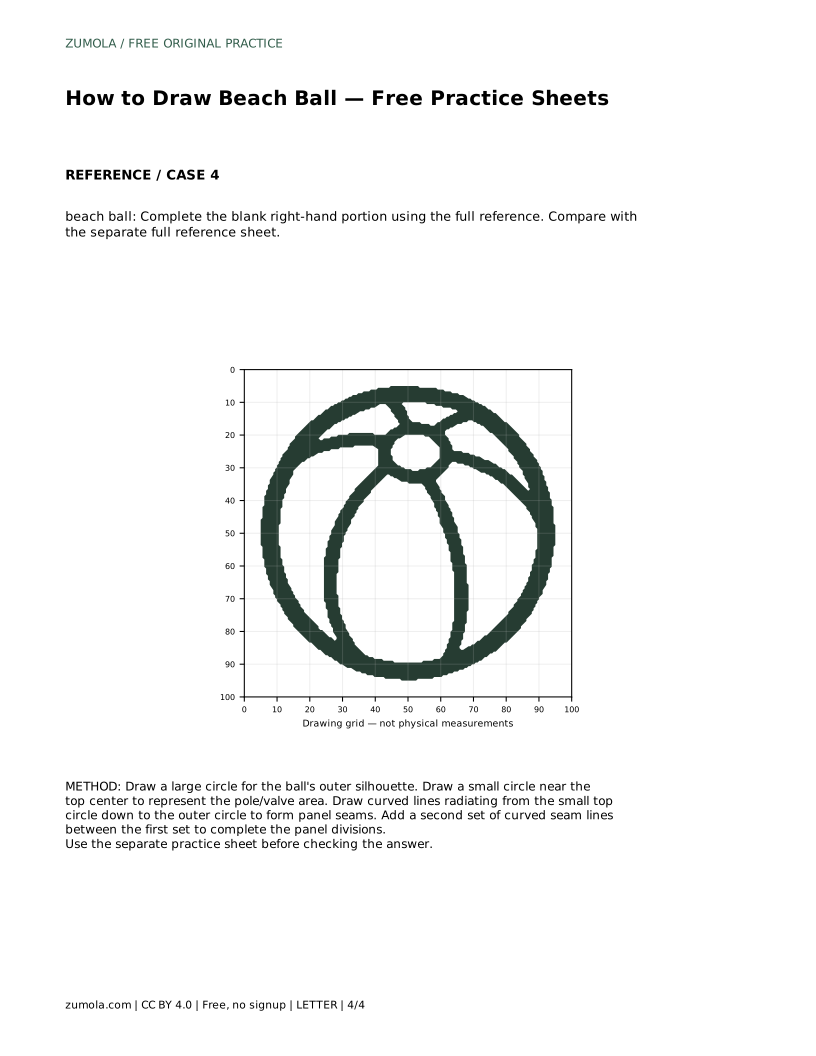
A beach ball is easy to recognize because of its round outer shape and the curved seams that divide the surface into panels. This guide explains how to build that shape step by step, starting with the outer circle and the small circle at the top pole, then adding seams that curve outward to the edge. The practice sheets let you trace a reference outline, copy onto a grid, use a bounding frame and center guide, or complete a partially drawn ball.
Begin by drawing a large circle for the ball's outer silhouette. Keep the outline round rather than oval, because the ball is seen as a sphere from this viewpoint. Next, draw a small circle near the top center of the large circle. This small circle represents the pole or valve area where the panels meet. Its position matters: if it sits too far to one side, the panel seams will look unbalanced.
Place the small circle so it is clearly inside the large circle and close to the top. Leave enough space between the small circle and the outer edge for the curved seams to travel downward. A light sketch helps here, since you can adjust the small circle before committing to the seams.
From the small top circle, draw curved lines that travel down to the outer circle. These lines are the panel seams. They should curve gently rather than run straight, because they follow the rounded surface of the ball. Space the first set of seams evenly around the small circle so the panels look consistent.
After the first set of seams is in place, add a second set of curved seam lines between them. This completes the panel divisions and gives the ball its familiar segmented look. Keep every seam ending at the outer circle, and avoid letting seams cross each other. The small top circle should remain visible as the meeting point.
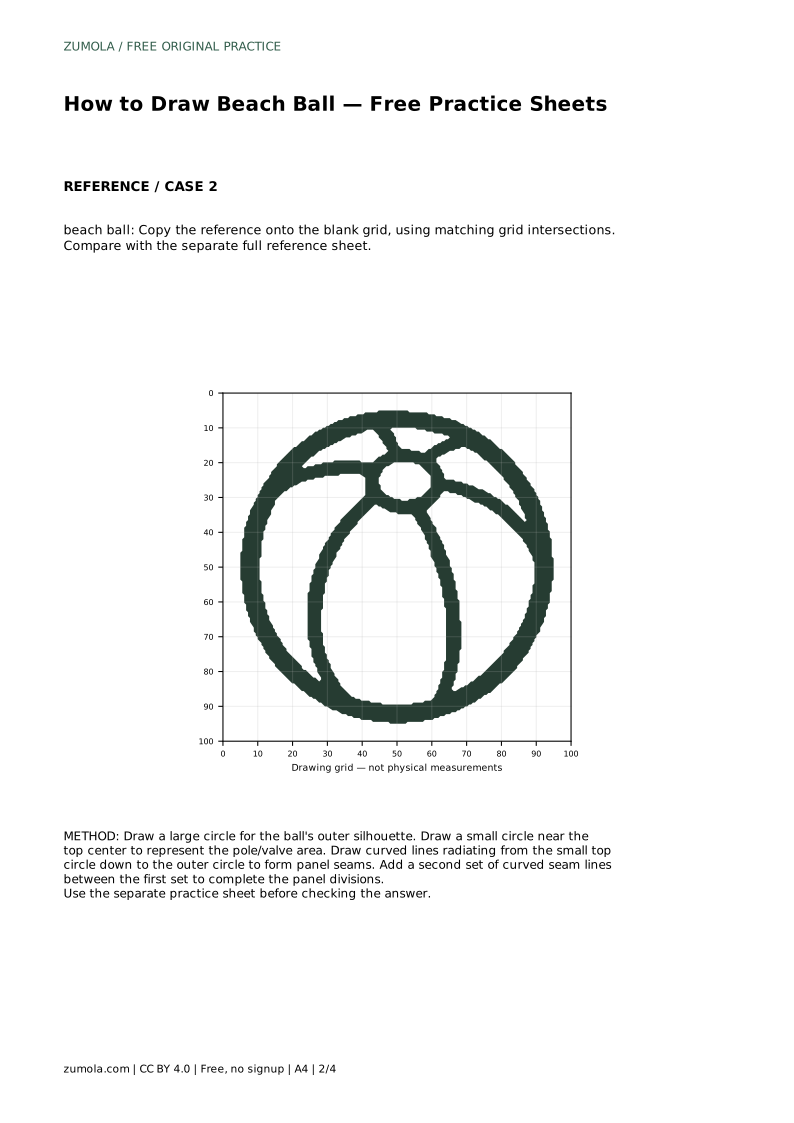
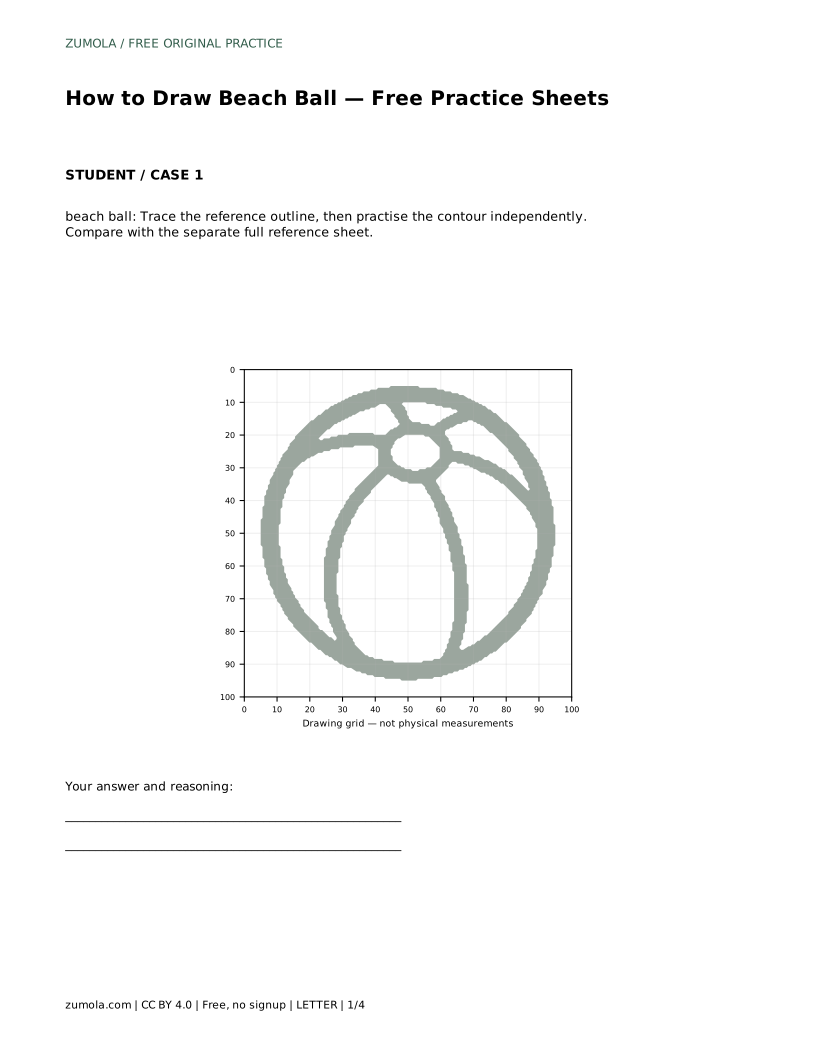
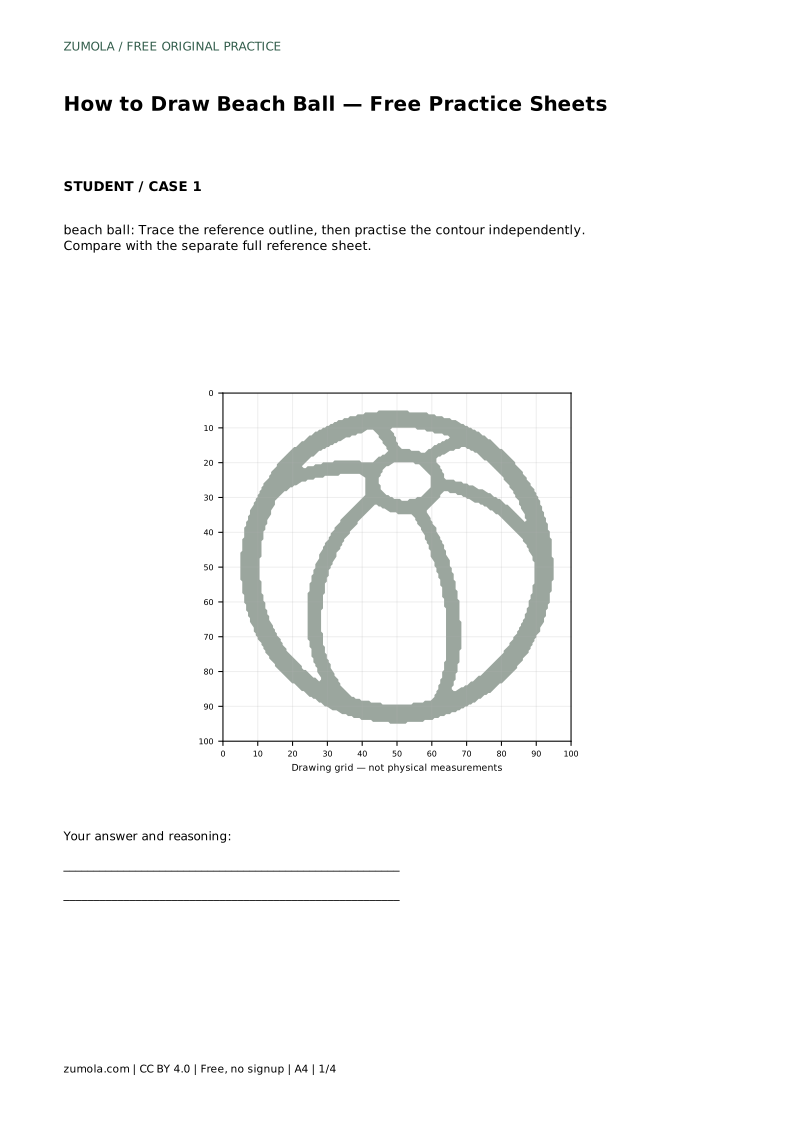
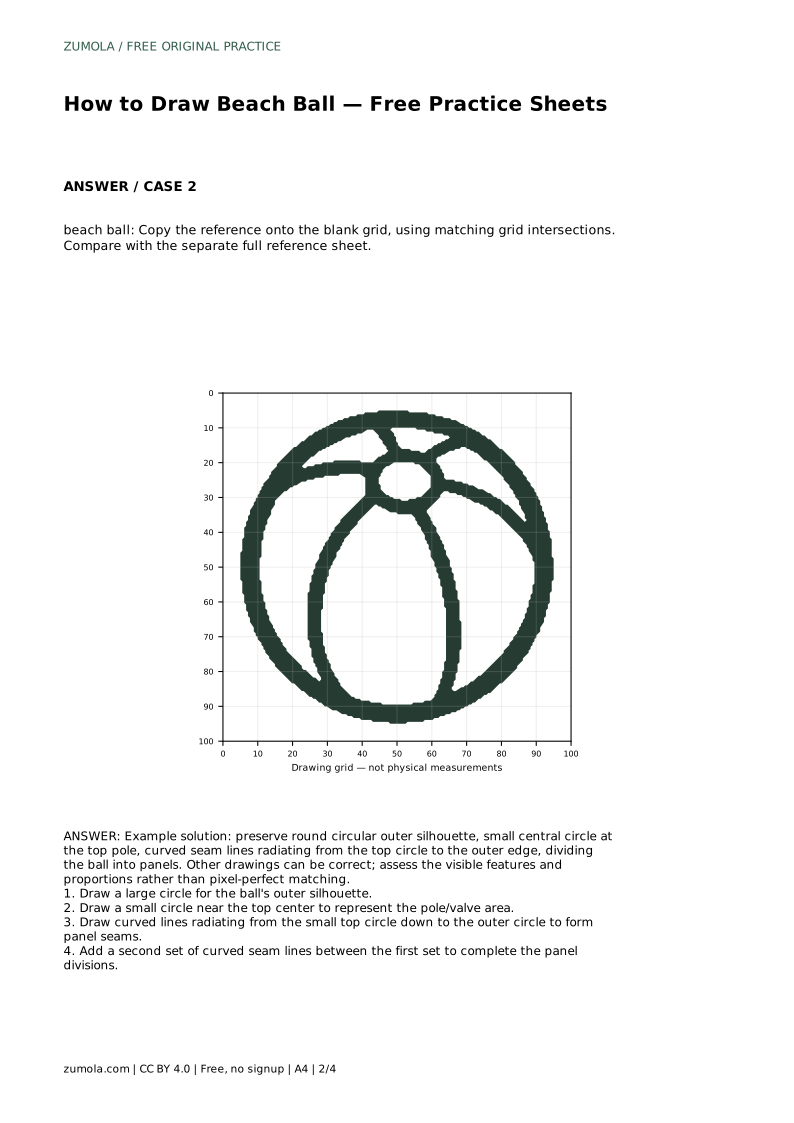
The tracing format asks you to follow the reference outline first, then practise the contour independently. Compare your drawing with the separate full reference sheet rather than expecting an exact match. The grid format asks you to copy the reference onto a blank grid using matching grid intersections, which helps with placement and proportion.
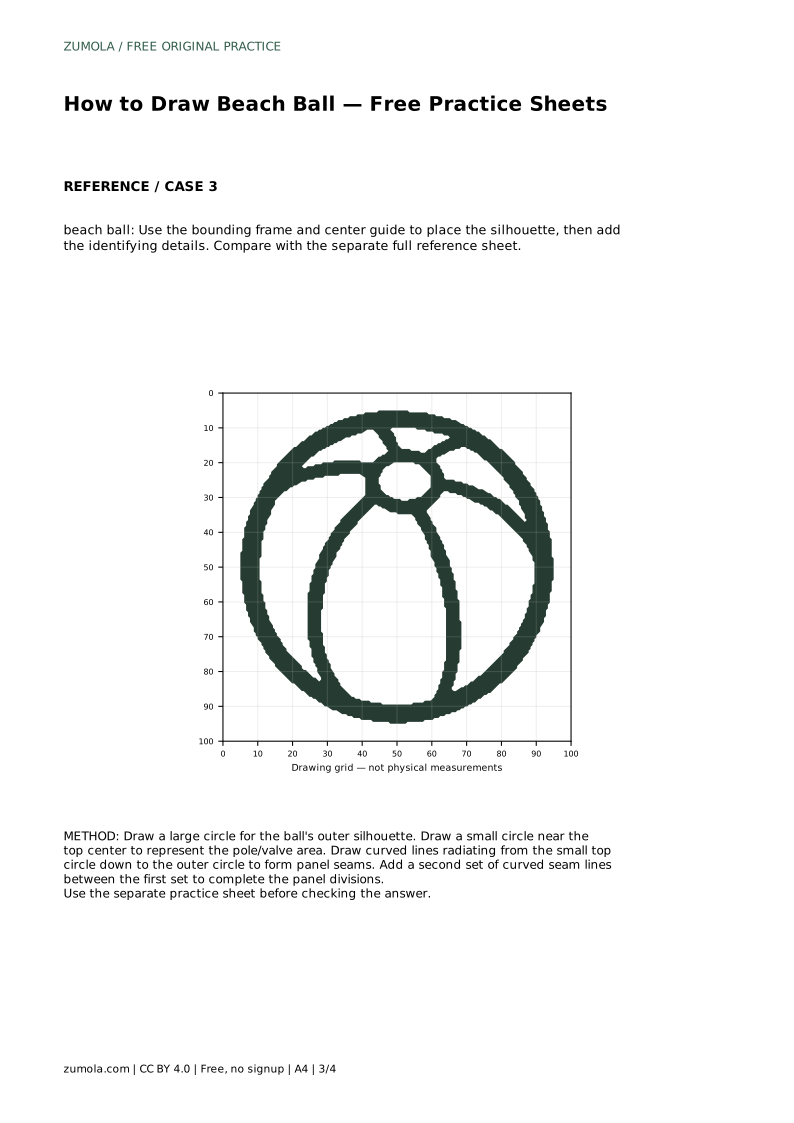
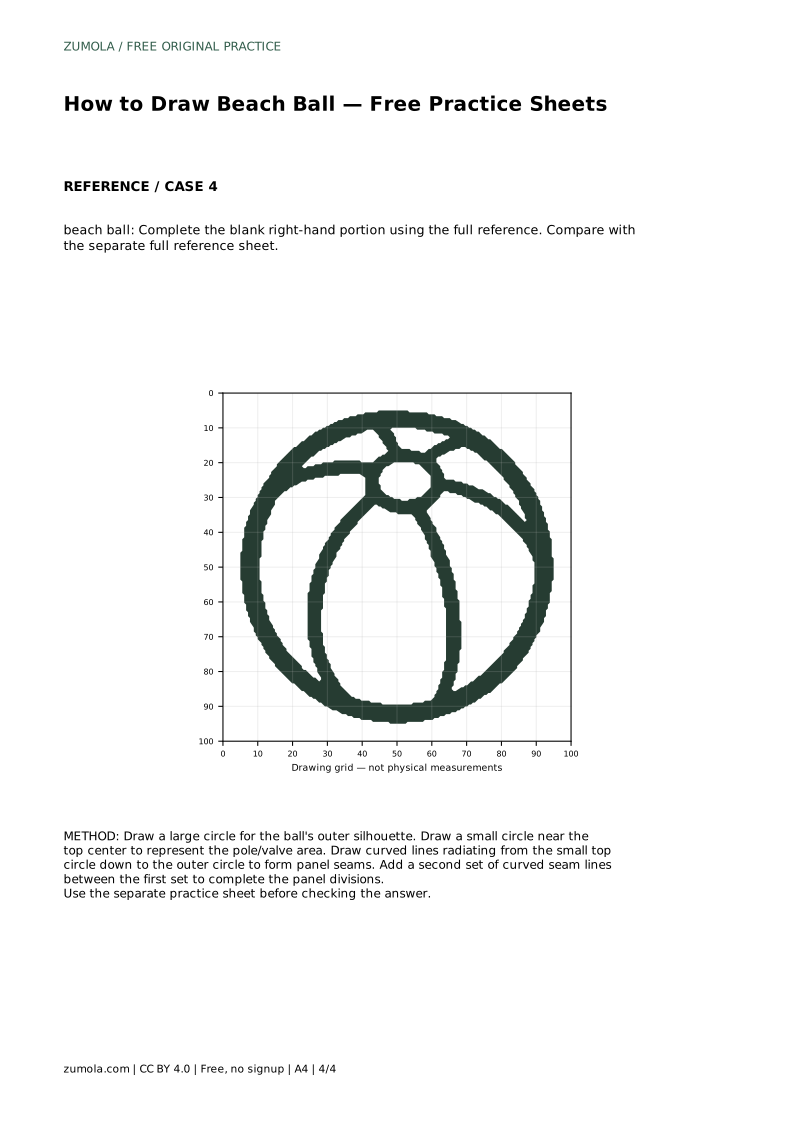
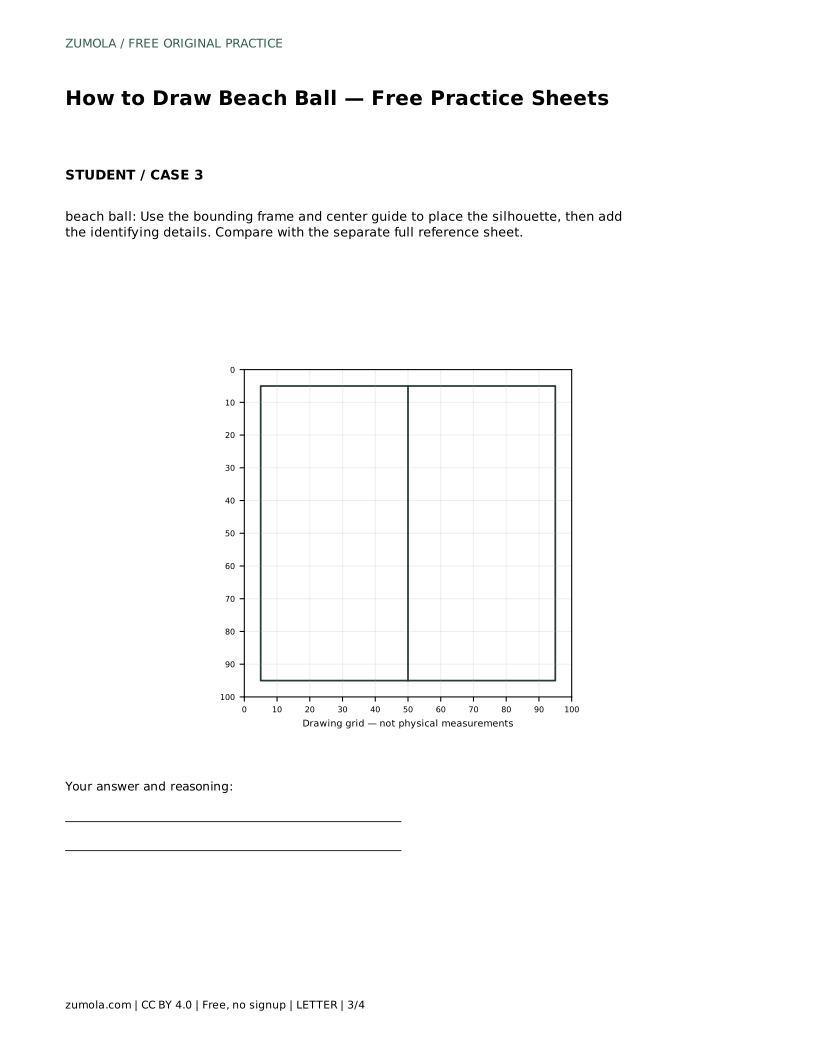
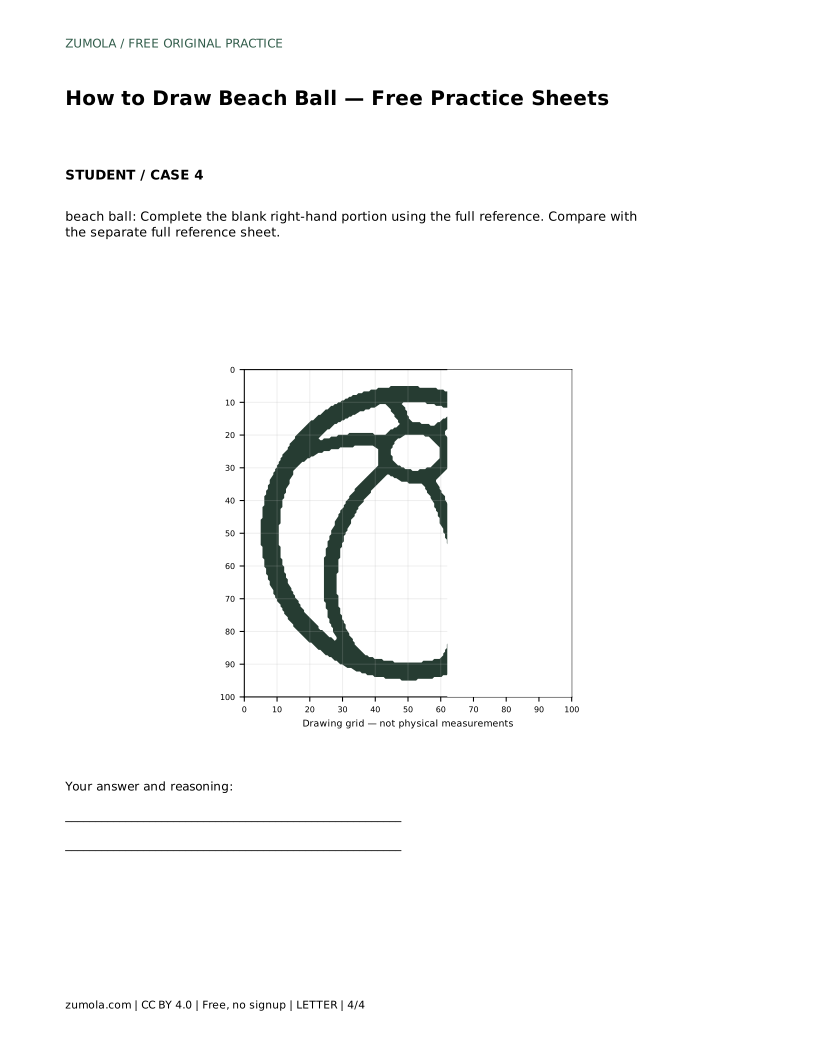
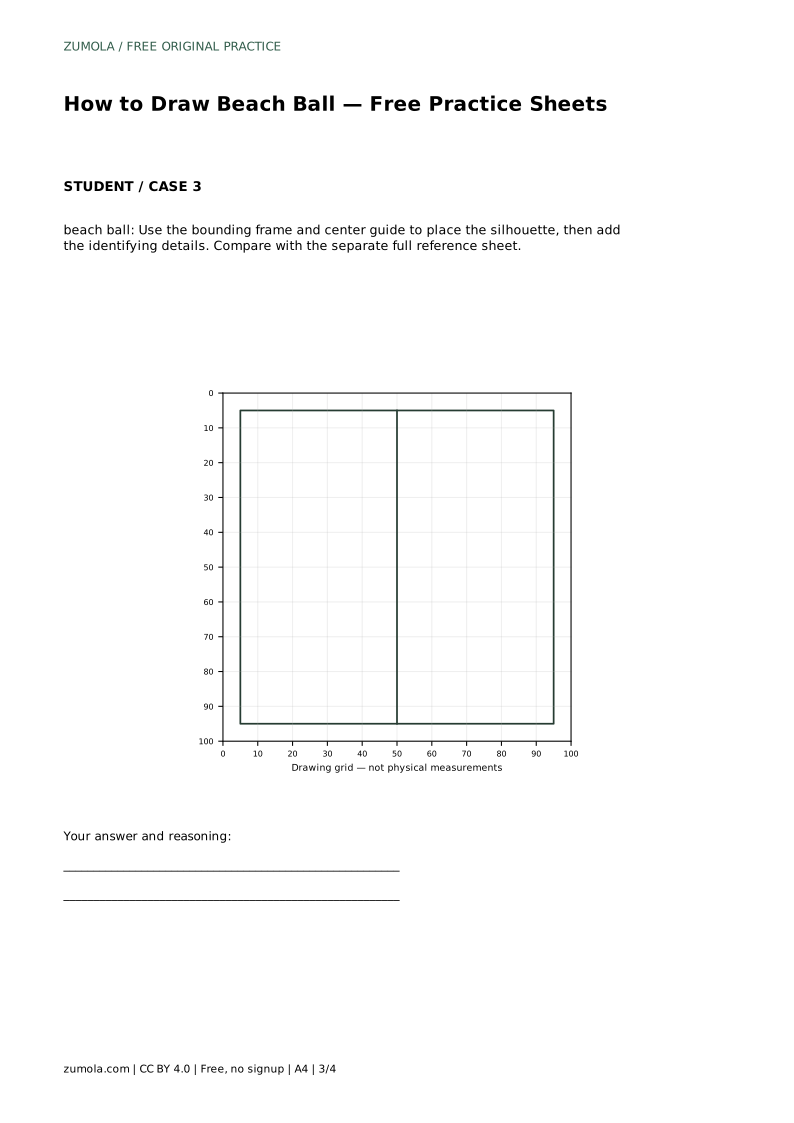
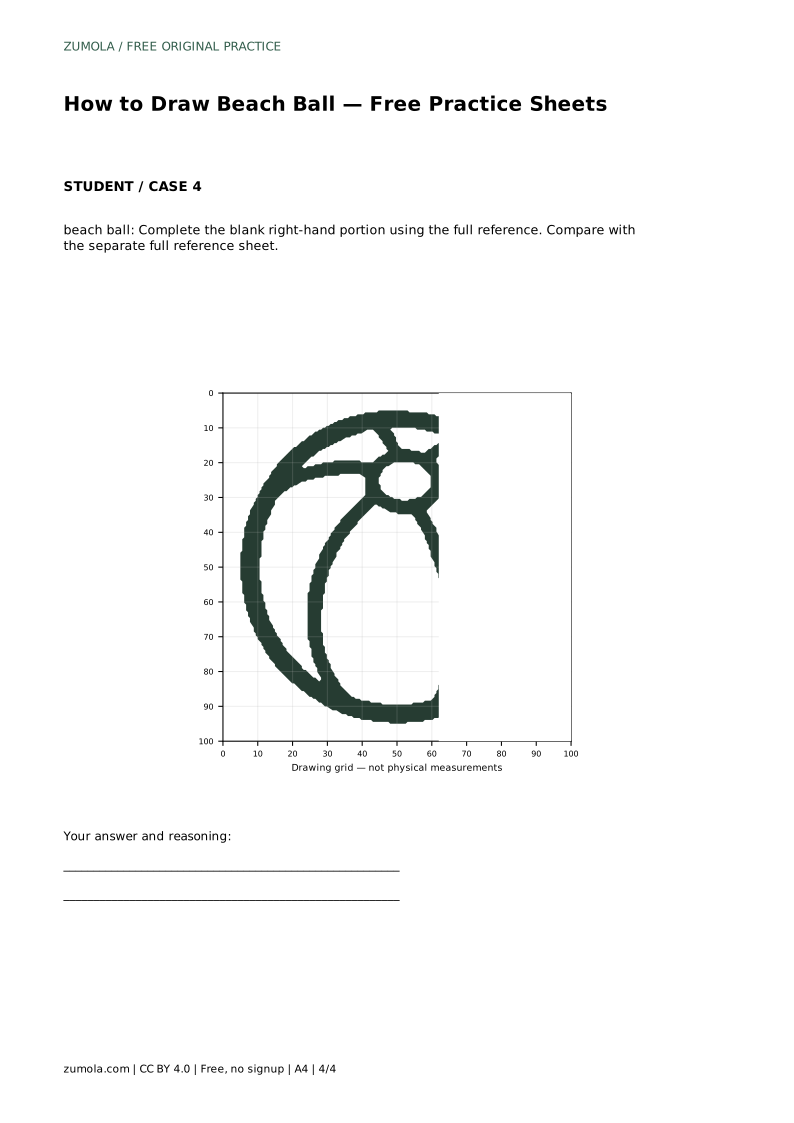
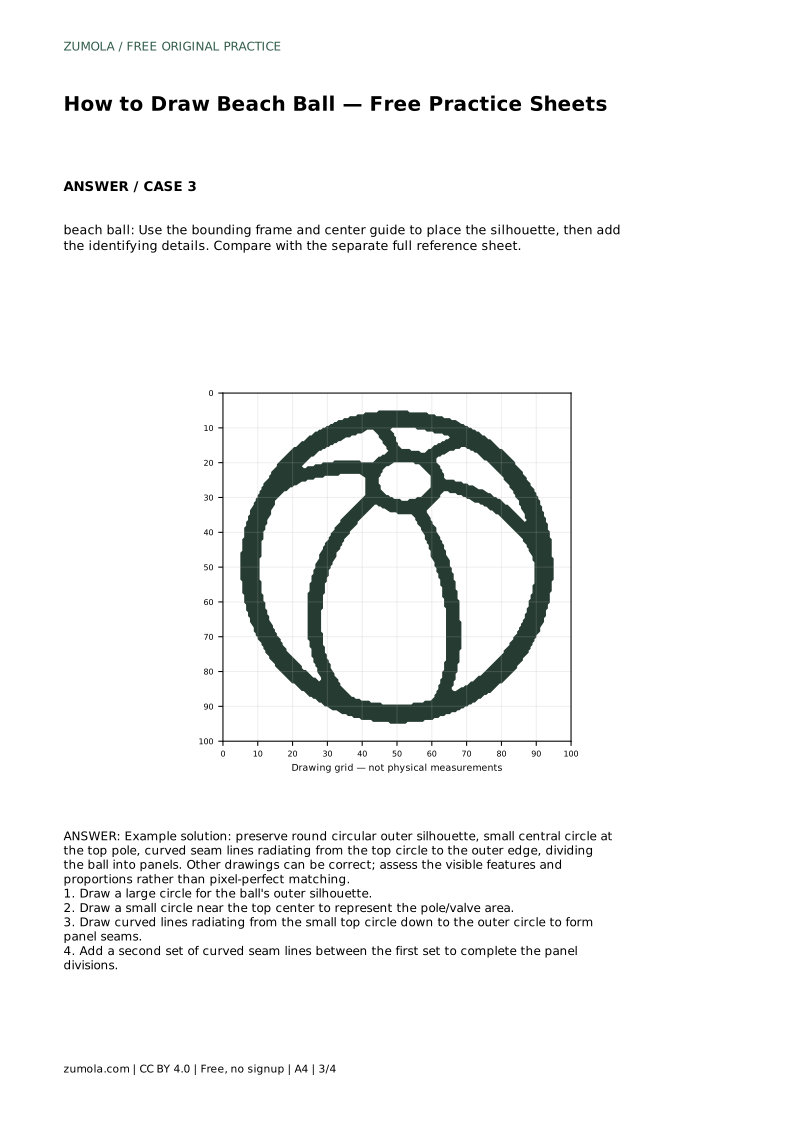
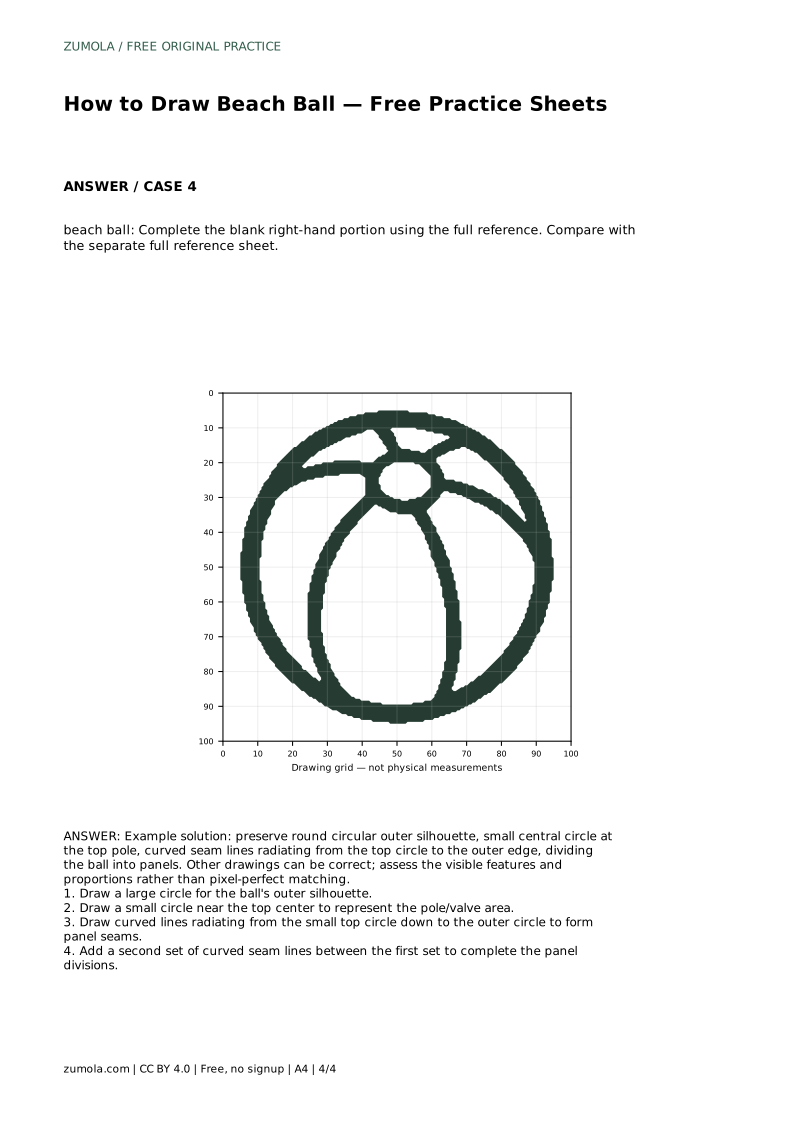
The bounding frame and center guide format helps you place the silhouette before adding the identifying details. The completion format gives you a blank right-hand portion to finish using the full reference. In every format, the goal is to preserve the round outer silhouette, the small central circle at the top pole, and the curved seam lines that divide the ball into panels.
A beach ball drawing can be correct in many ways. Assess the visible features and proportions rather than pixel-perfect matching. Check that the outer silhouette is round, the small top circle is present and near the top center, and the curved seams radiate from that circle to the outer edge. Also check that the seams divide the ball into panels without crossing.
Use the rubric below to review your work. If a feature is missing or misplaced, redraw that part lightly and adjust before adding darker lines.
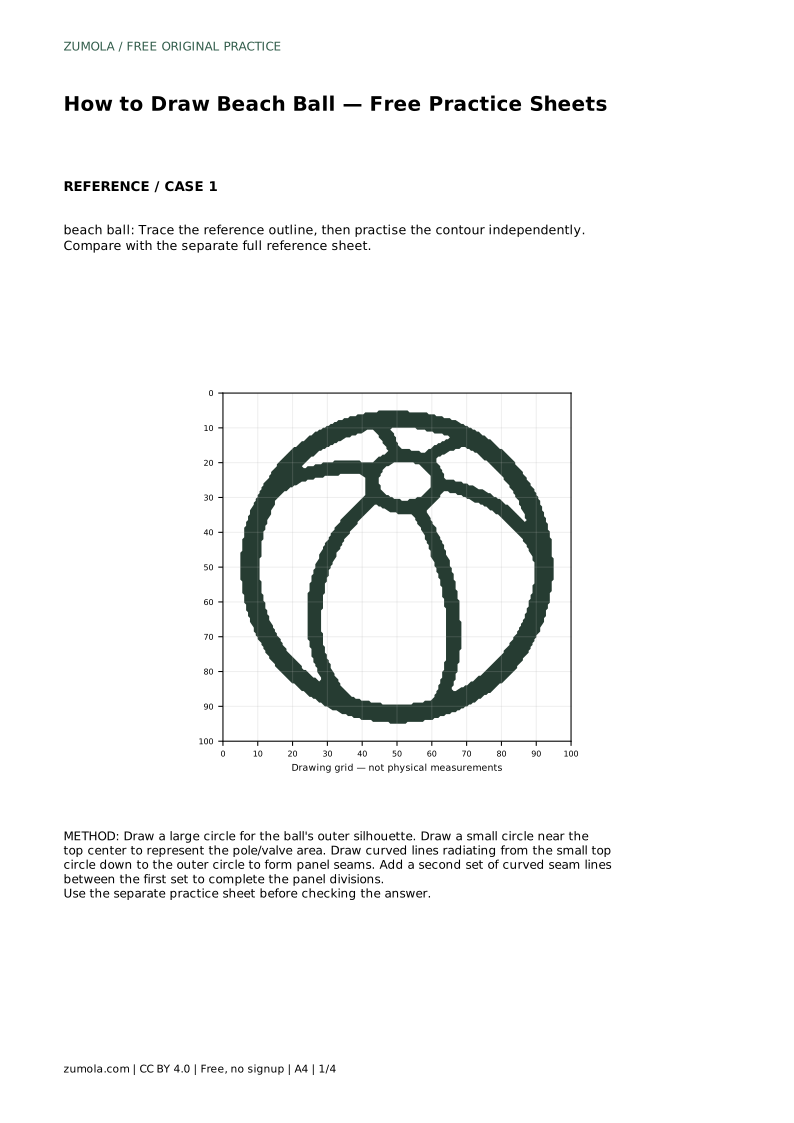
beach ball: Trace the reference outline, then practise the contour independently. Compare with the separate full reference sheet.
Example solution: preserve round circular outer silhouette, small central circle at the top pole, curved seam lines radiating from the top circle to the outer edge, dividing the ball into panels. Other drawings can be correct; assess the visible features and proportions rather than pixel-perfect matching. Draw a large circle for the ball's outer silhouette. Draw a small circle near the top center to represent the pole/valve area. Draw curved lines radiating from the small top circle down to the outer circle to form panel seams. Add a second set of curved seam lines between the first set to complete the panel divisions.
Draw a large round circle. The ball is seen as a sphere, so the outer silhouette should not be oval.
Place it near the top center of the large circle, inside the outline, with enough room around it for the curved seams.
No. Other drawings can be correct. Assess the visible features and proportions rather than pixel-perfect matching.
All drawing practice · Free coordinate paper
Original resources · CC BY 4.0 · Free for personal and classroom use with attribution.