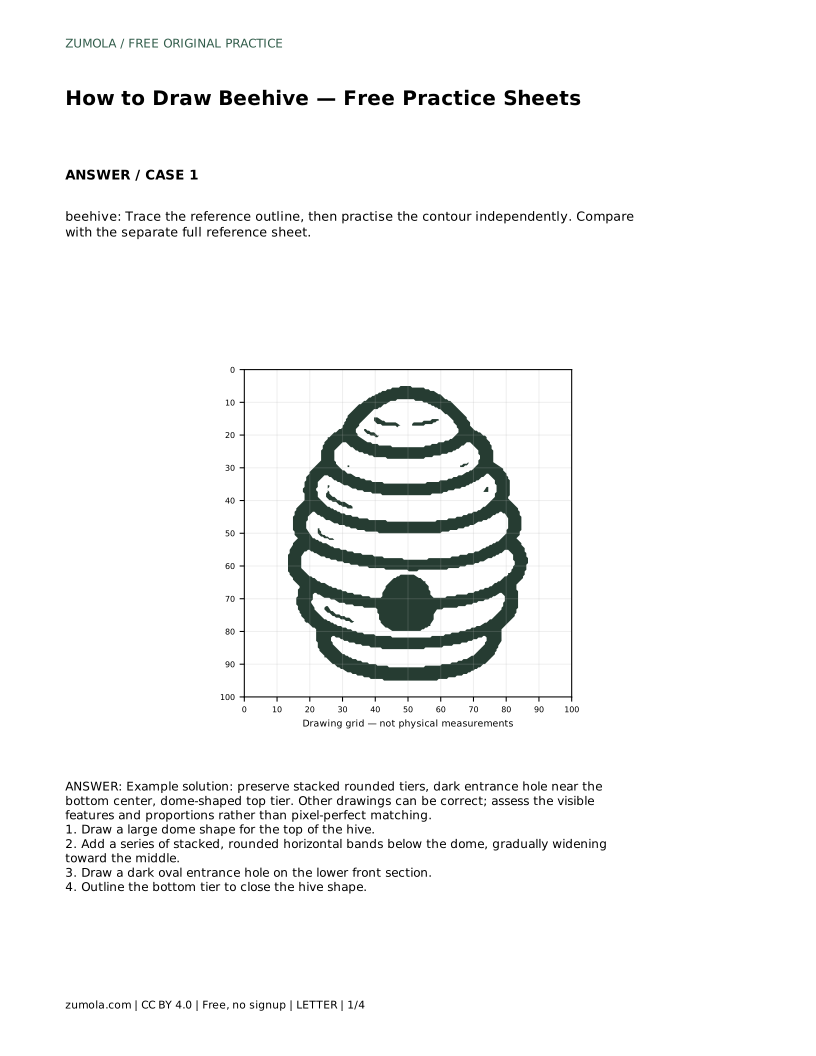
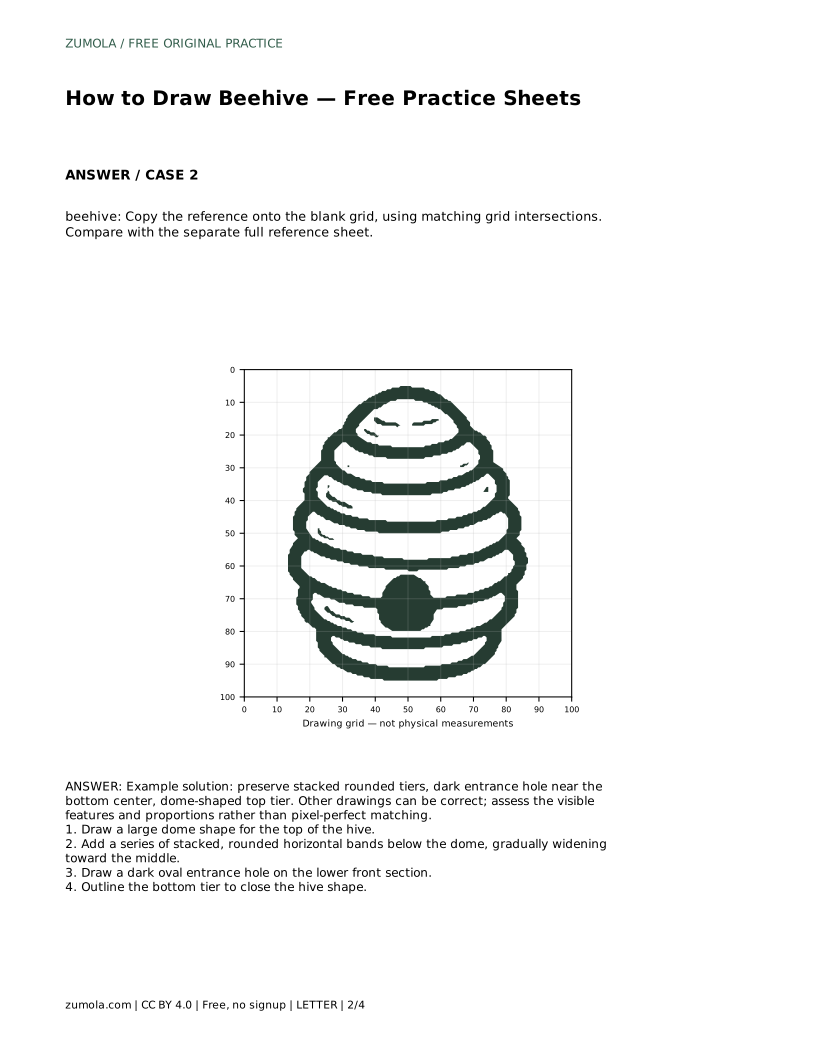
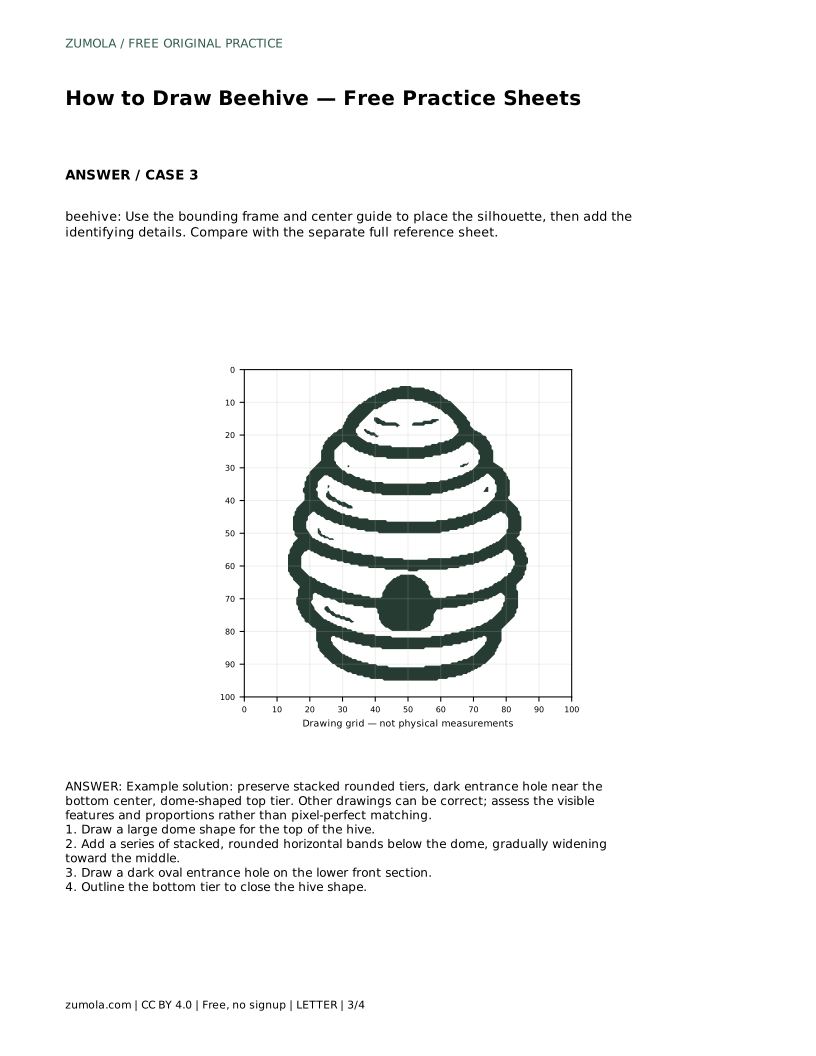
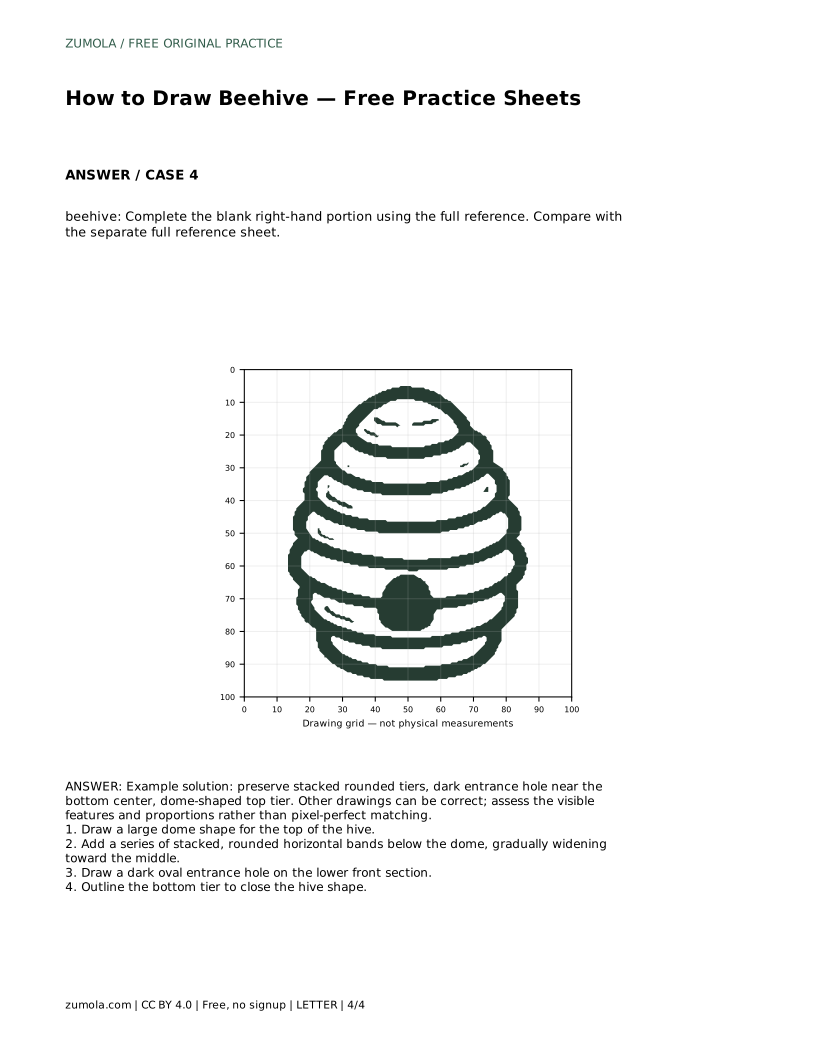
Reference diagrams
LETTER · Download PDF
A4 · Download PDF
Free original resources
Learn to draw a beehive by building a dome top, stacked rounded tiers, and a dark entrance. Trace, grid, and complete-the-drawing practice included.
Four original cases, with reference diagrams, practice sheets and worked answers. Everything is free; no signup required.
LETTER · Download PDF
A4 · Download PDF
LETTER · Download PDF
A4 · Download PDF
LETTER · Download PDF
A4 · Download PDF
Use A4 or US Letter to match your printer. Use the stated values and conditions to solve each exercise; diagrams are not physical measuring rulers.
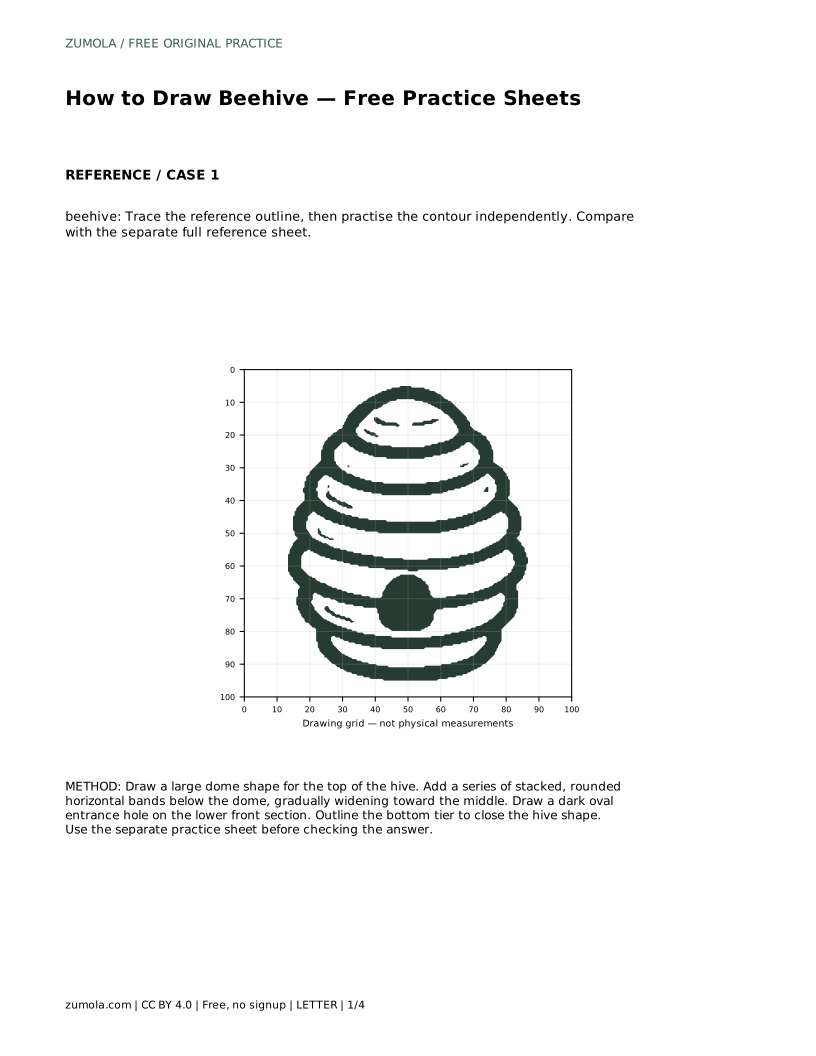
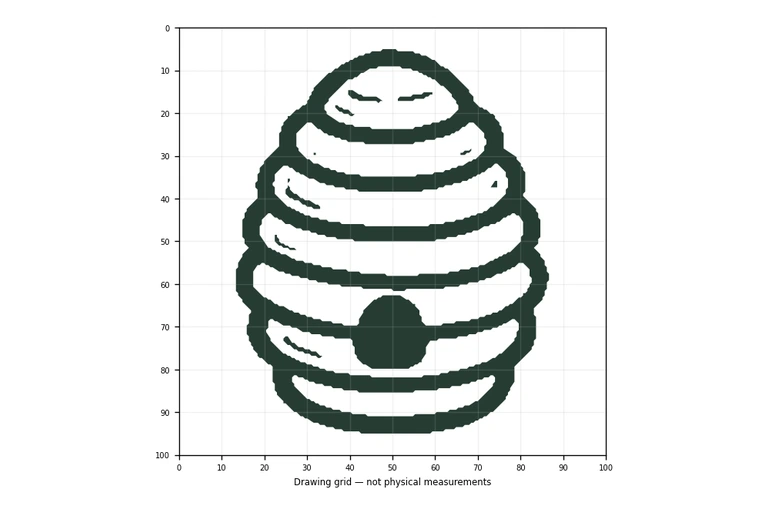
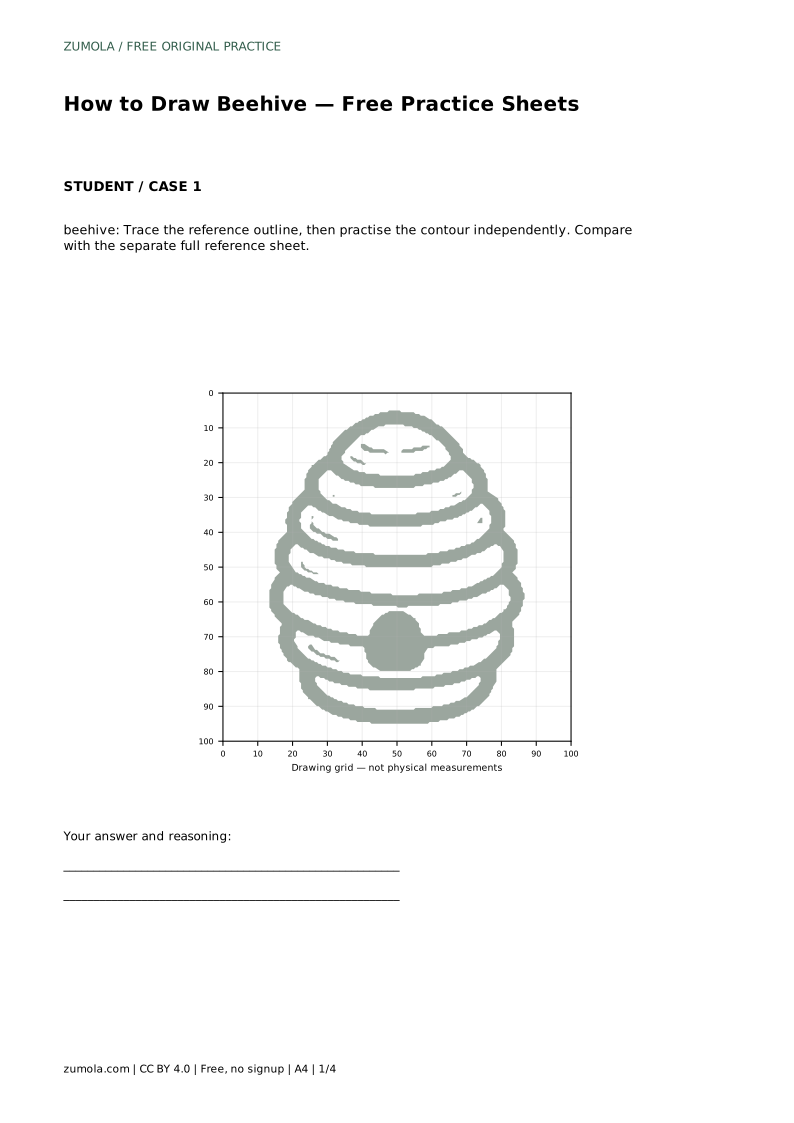
A beehive drawing is mostly a study in stacked shapes: a rounded dome on top, a series of horizontal bands that swell toward the middle, and a small dark entrance near the lower front. This page explains how to build that silhouette step by step, then how to use tracing, grid-copy, and partial-completion sheets to practise it. Because drawings can differ and still be correct, you will judge your work by visible features and proportions, not by pixel-perfect matching.
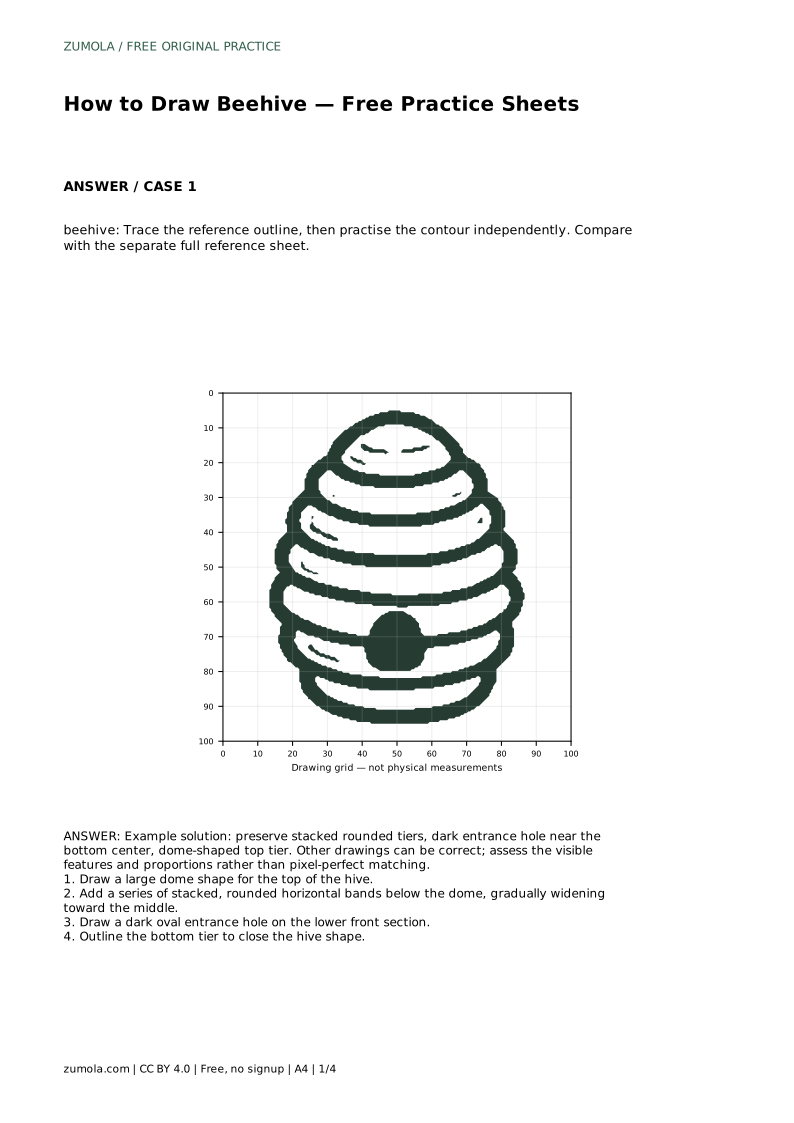
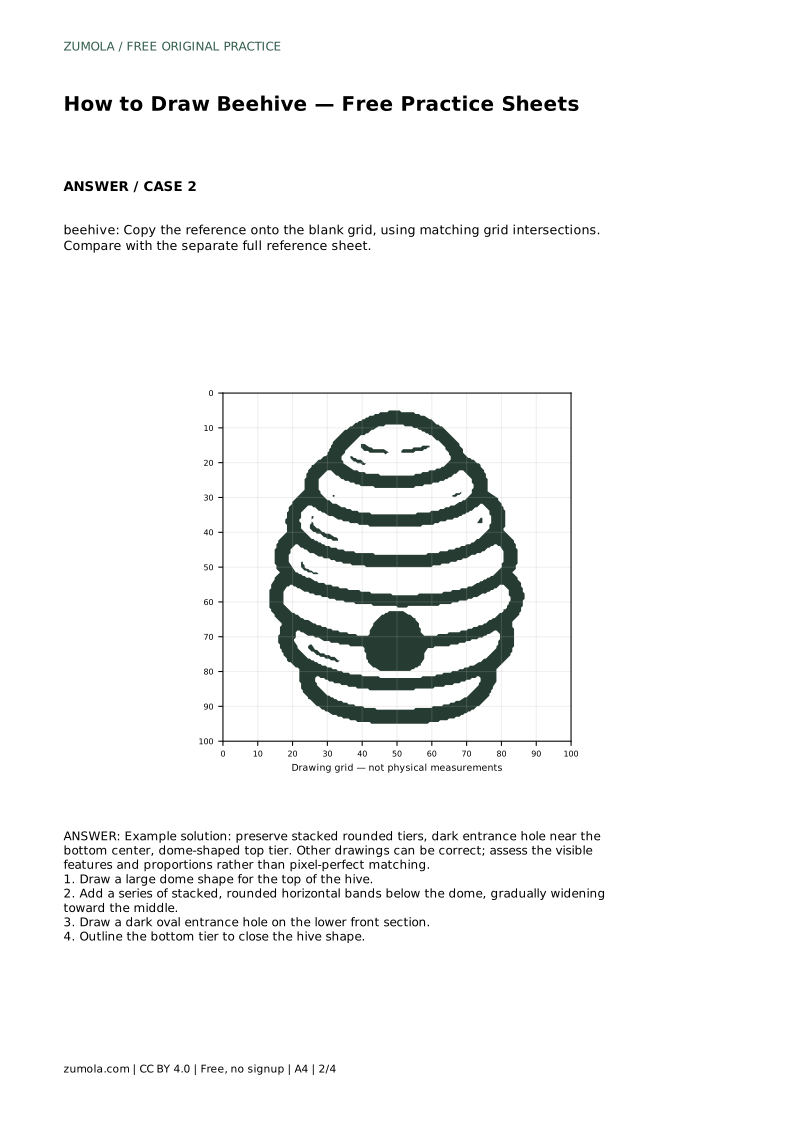
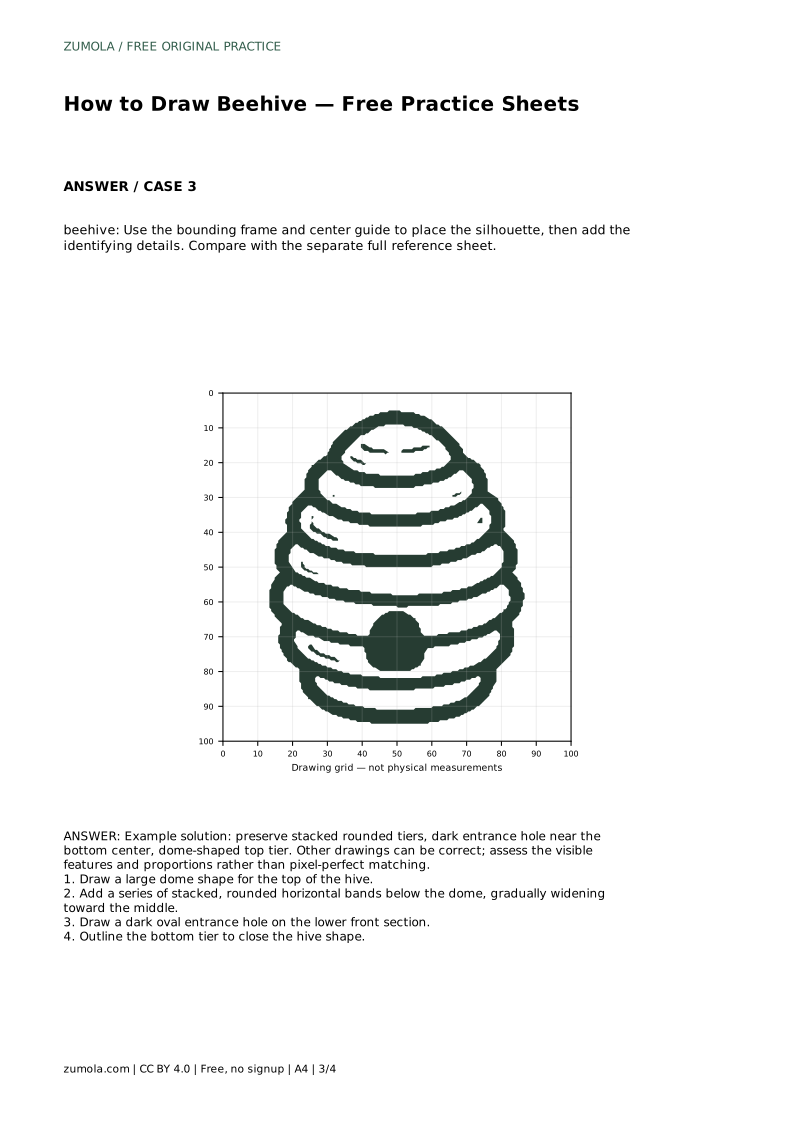
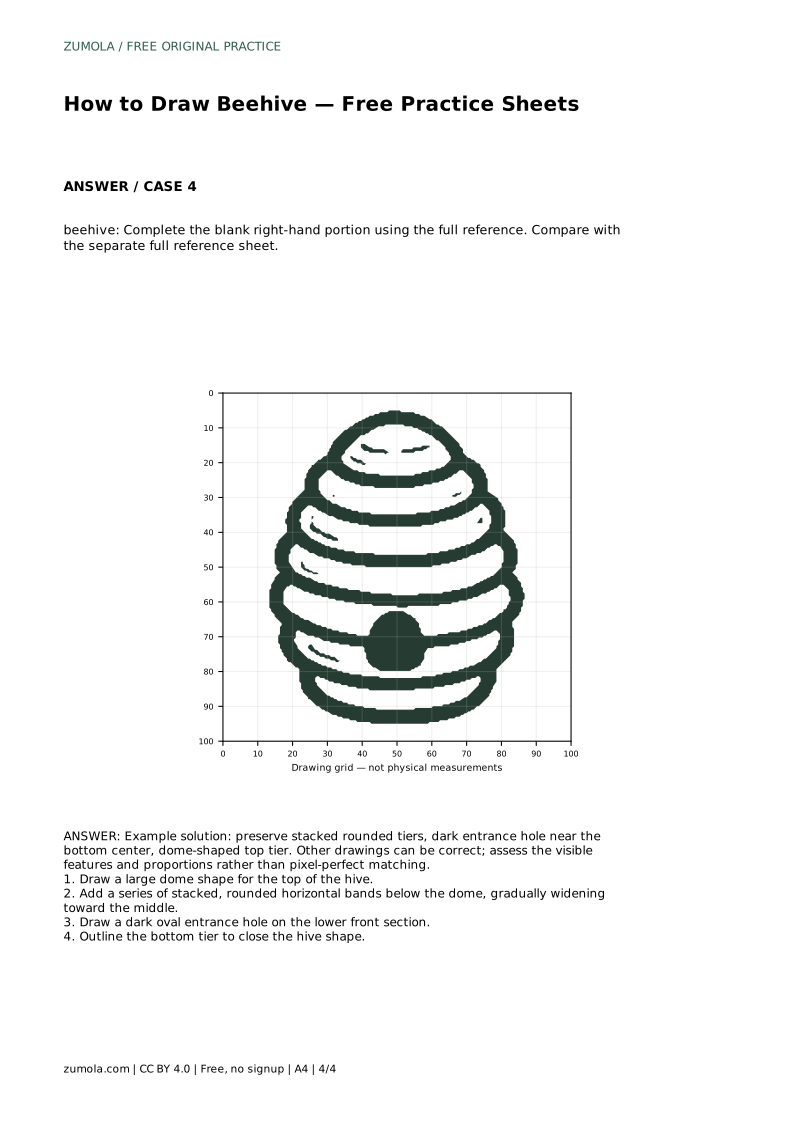
Start with the biggest shape and work downward. The top tier is a broad dome, wider than it is tall, sitting like a cap on the stack. Below it, add rounded horizontal bands. Each band is a shallow curve that meets the band above and below, so the hive reads as one continuous form rather than a pile of separate ovals.
Let the middle bands be the widest, then narrow slightly toward the base. That gentle bulge gives the hive its familiar bell-like profile. Keep the bands roughly parallel to each other; uneven spacing makes the hive look tilted or unstable.
Only after the silhouette is settled should you add the entrance. Place a dark oval on the lower front section, centered or close to center, and keep it small relative to the hive. A large entrance changes the character of the drawing and can make the hive look like a cave.
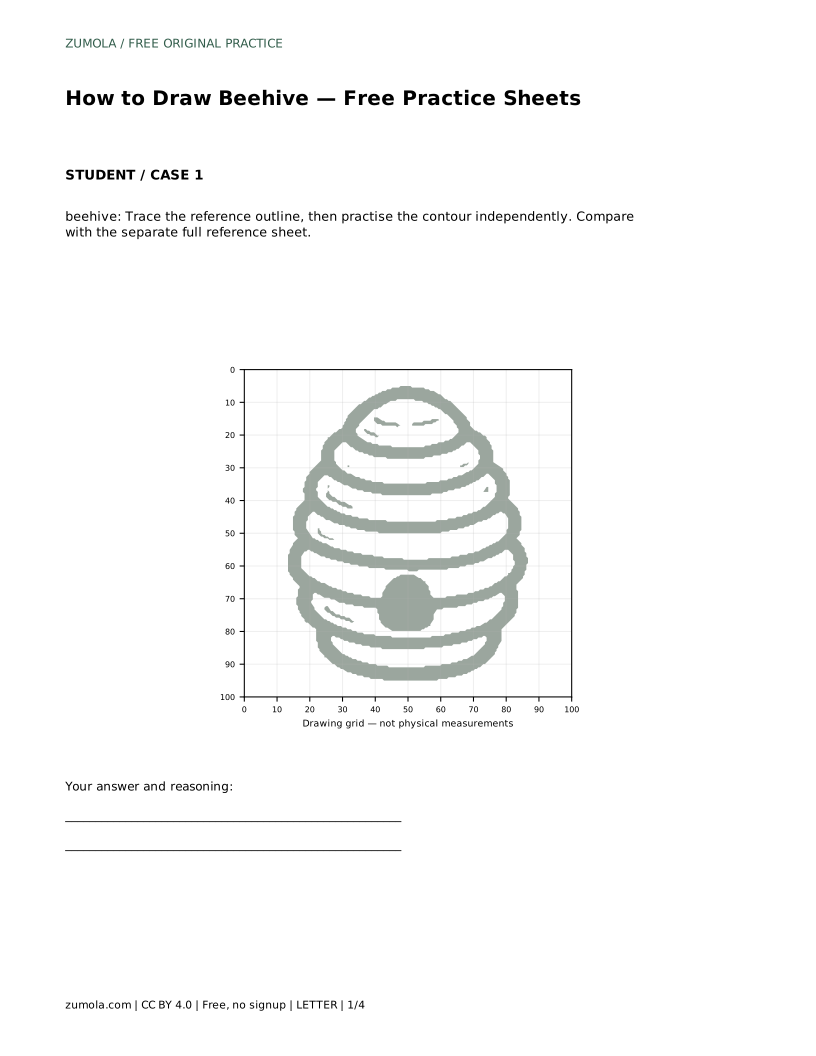
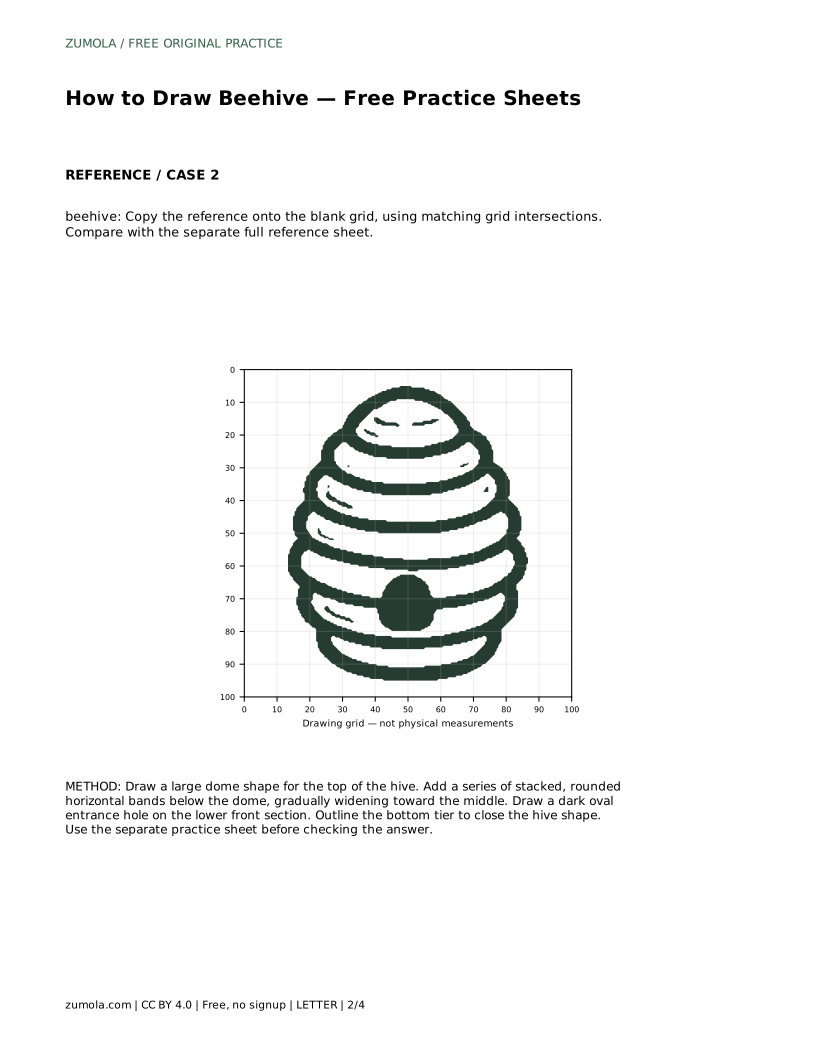
The tracing sheet asks you to follow the reference outline first, then repeat the contour on your own without the guide. The point of the second pass is to notice which curves your hand remembers and which ones you still need to check.
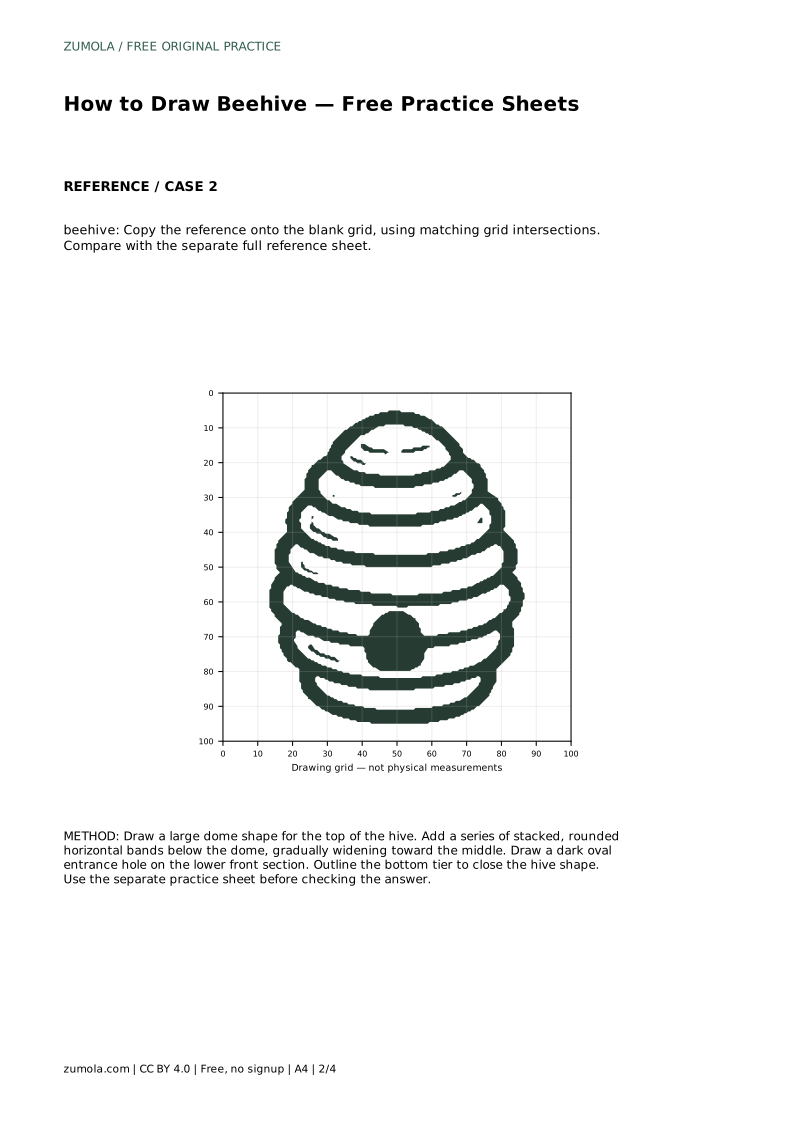
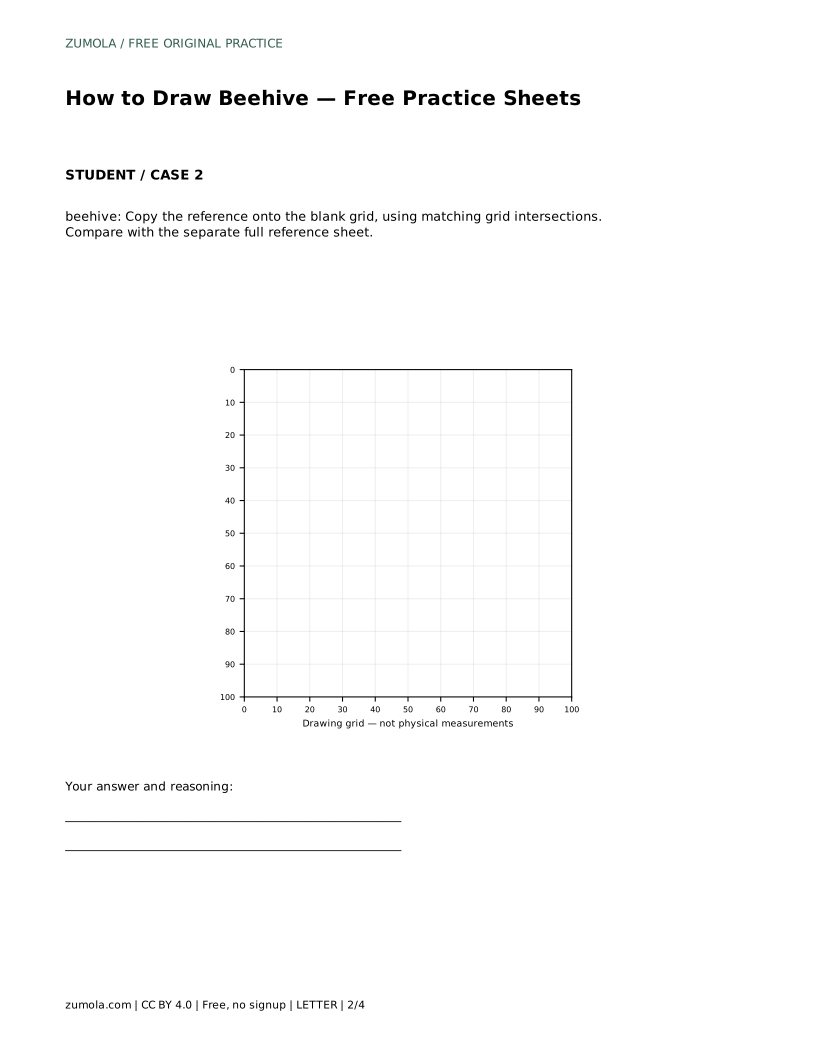
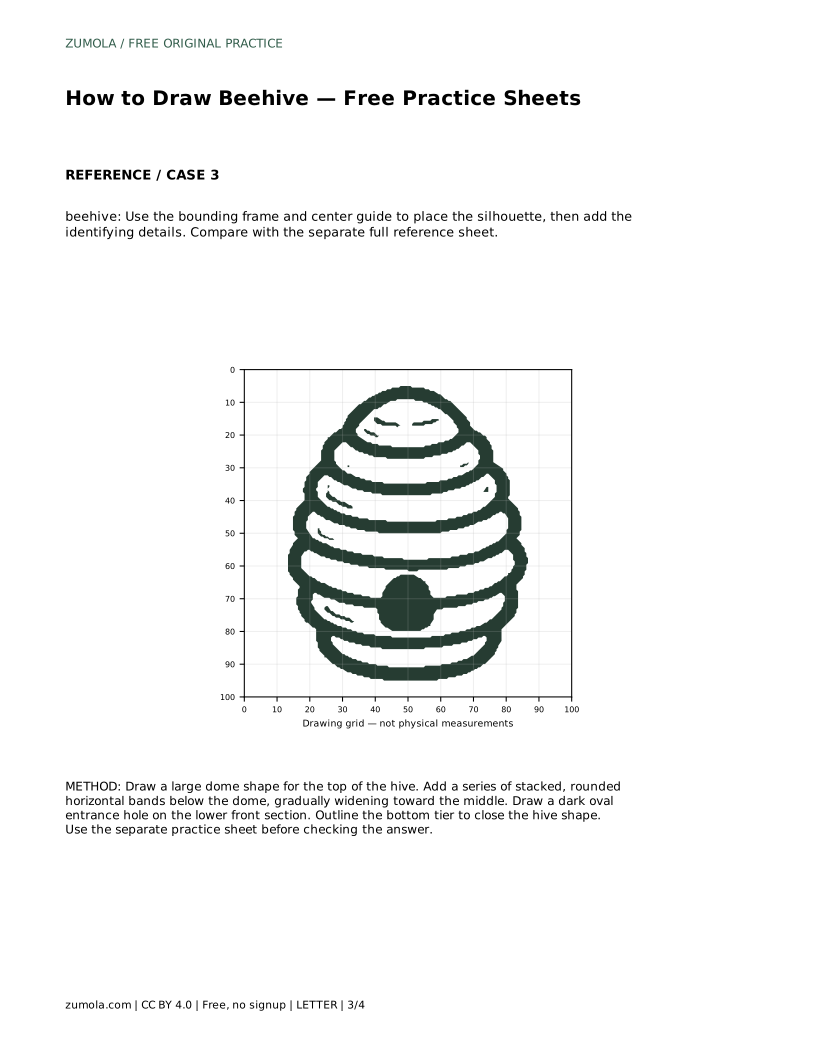
The grid sheet places the reference and a blank grid side by side. Copy the drawing by matching where each curve crosses grid intersections rather than by estimating distances by eye. Work one band at a time so the stack stays aligned.
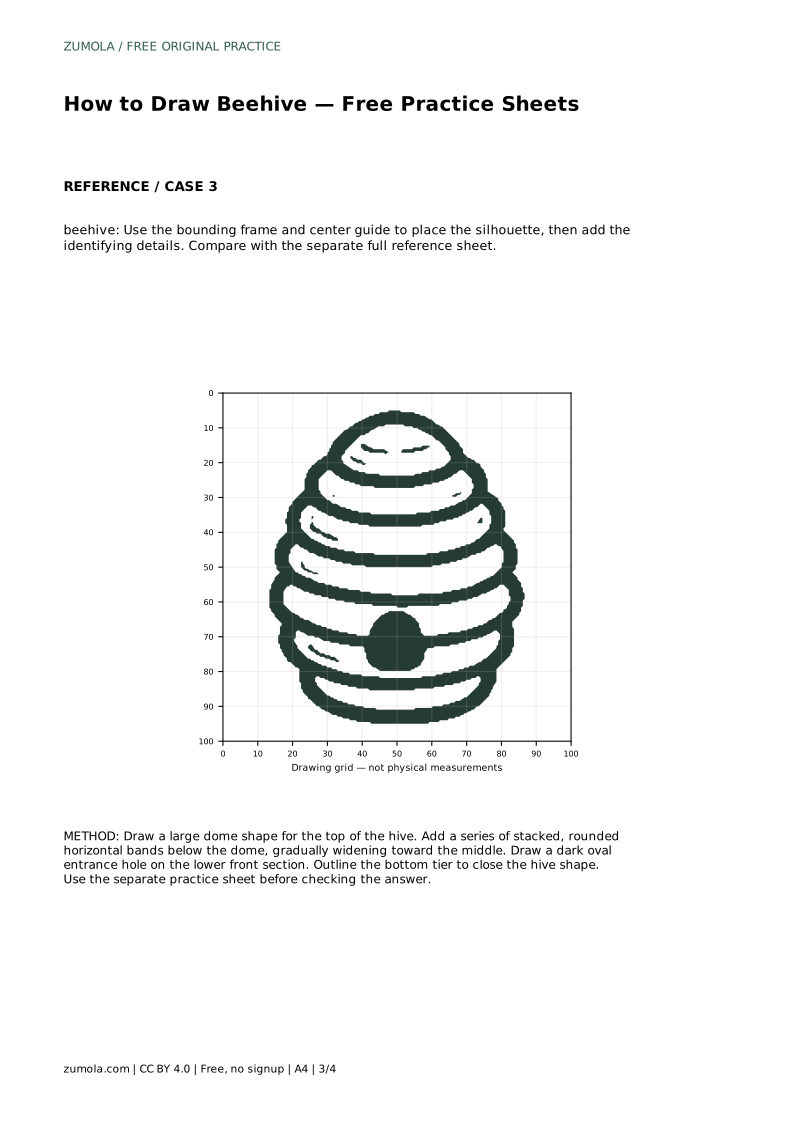
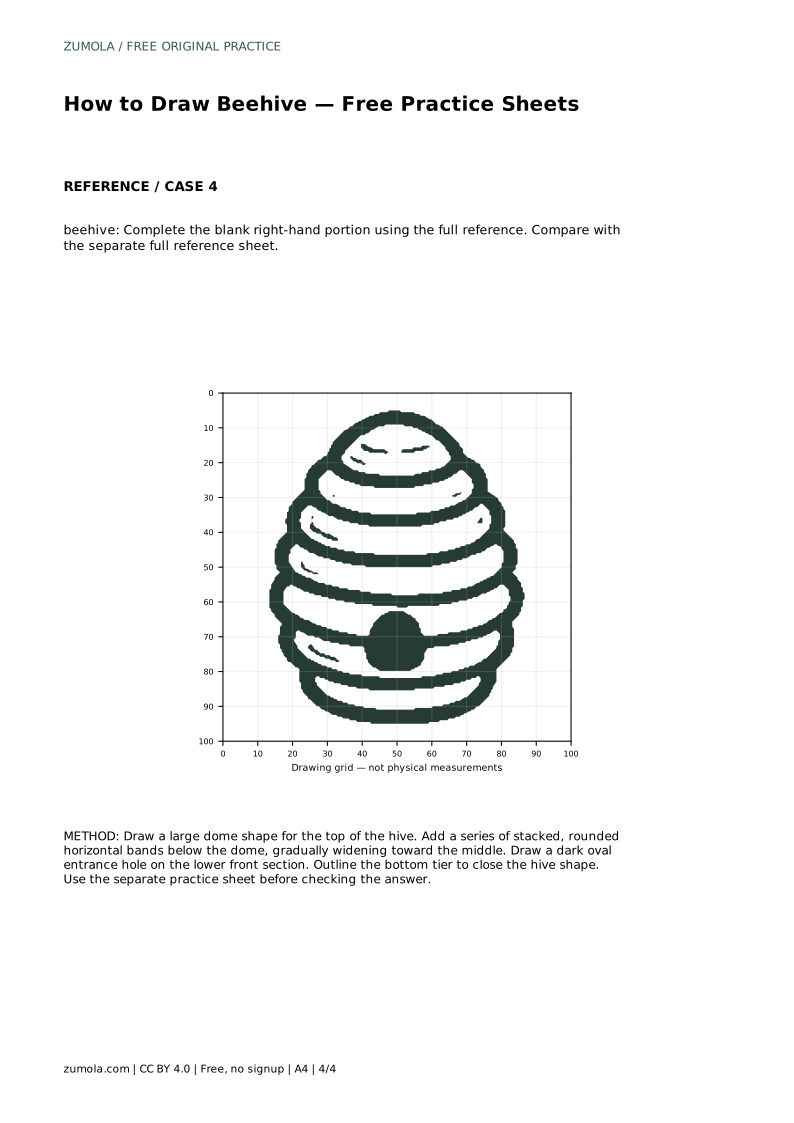
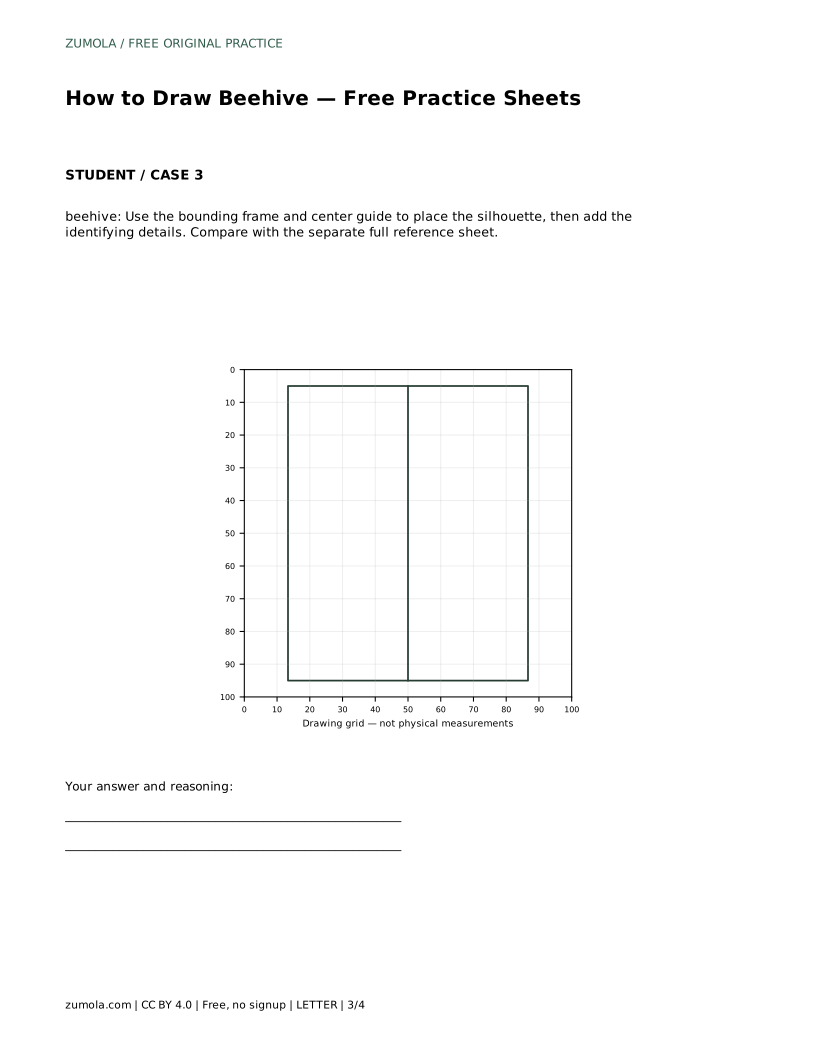
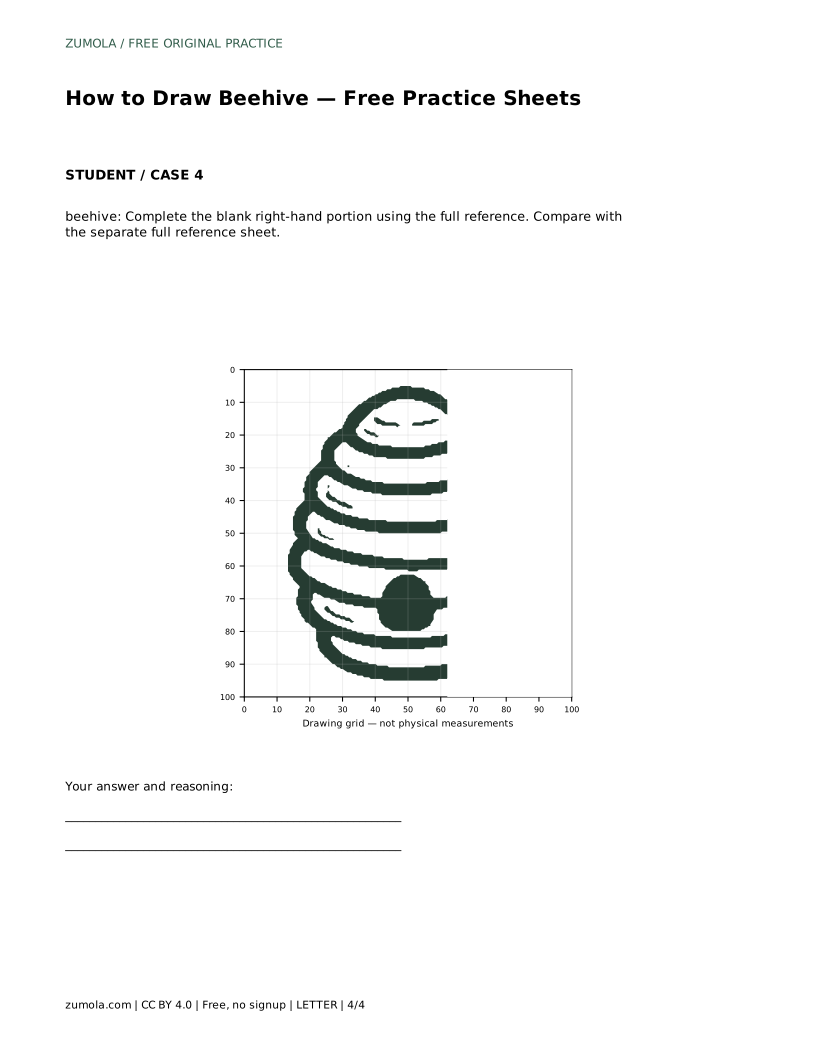
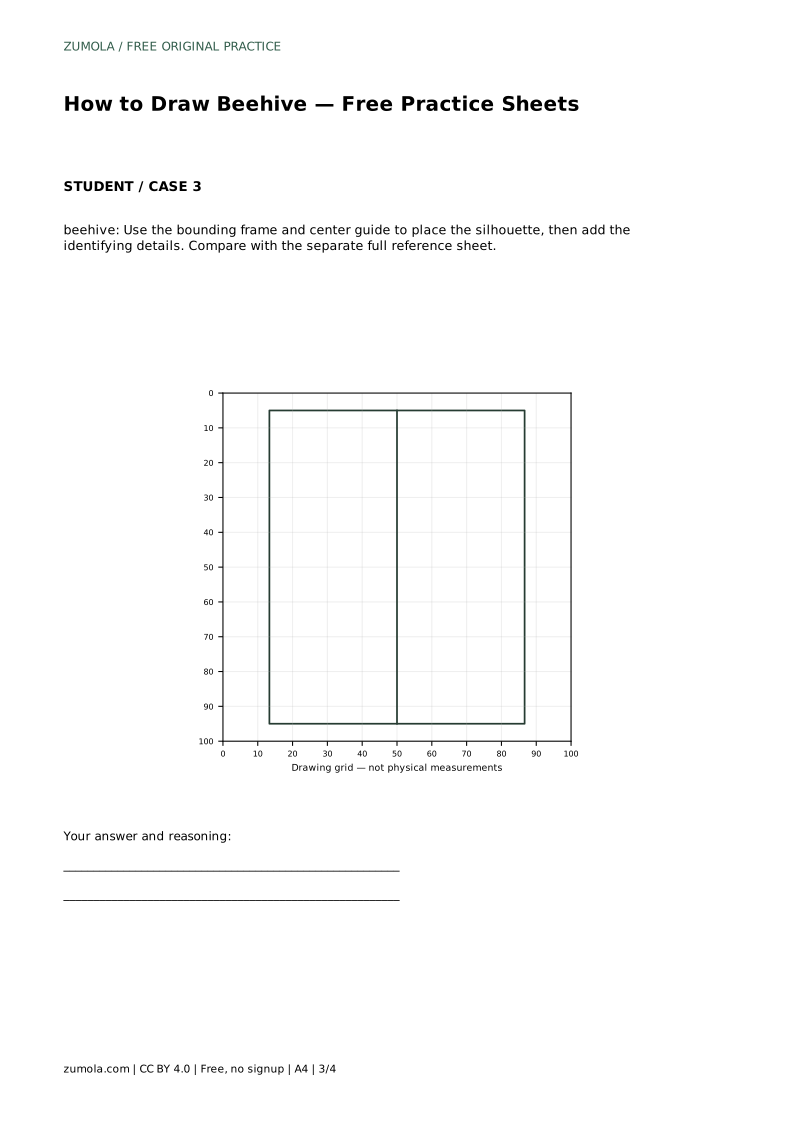
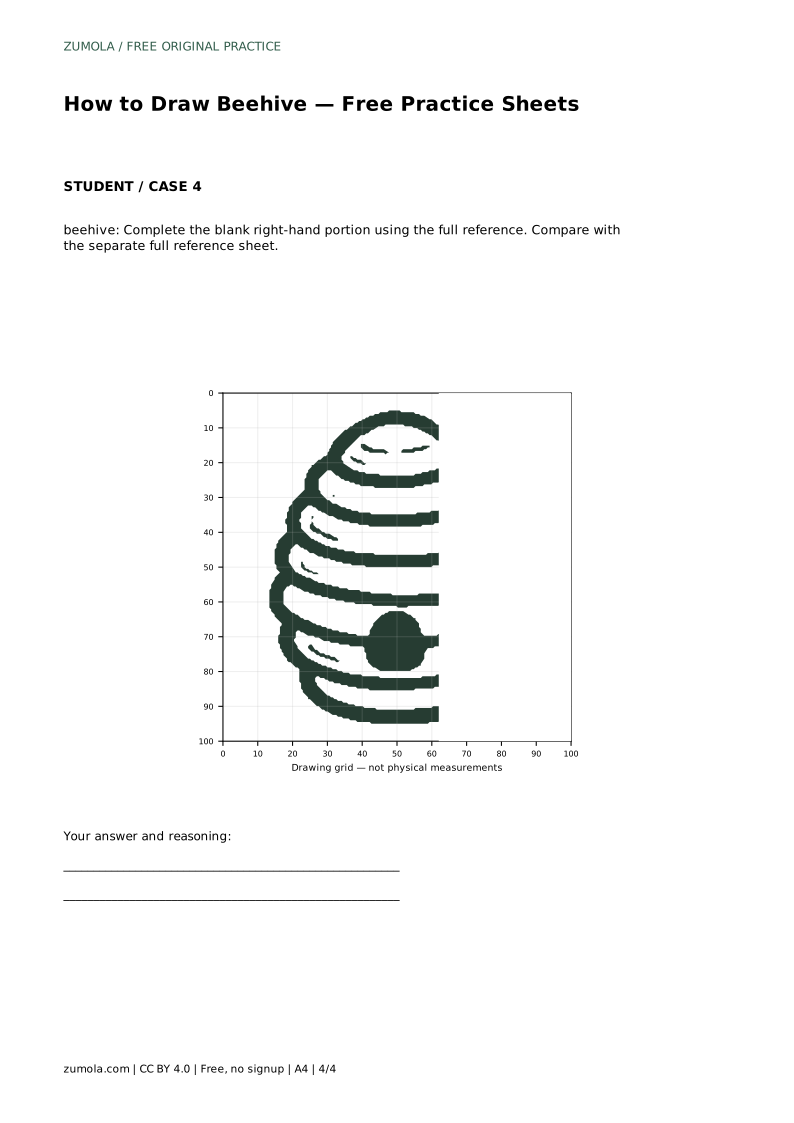
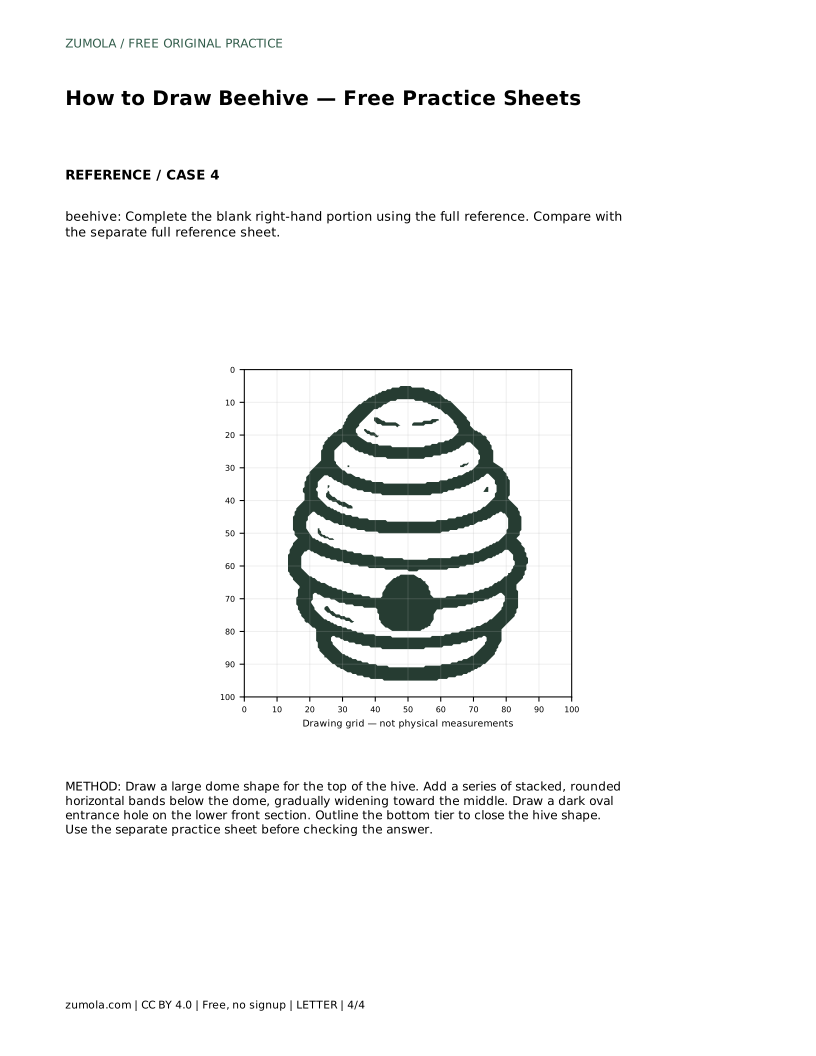
The bounding-frame sheet gives you an outer frame and a center guide. Use them to place the overall silhouette before adding bands or the entrance. The partial-completion sheet shows only the left portion of the hive; finish the right side by continuing each band across at the same height and curvature.
Compare your finished drawing with the separate full reference sheet, not with a memory of it. Ask whether the dome sits on top, whether the bands stack in order and widen toward the middle, and whether the entrance is small and low. Those features matter more than exact line placement.
Proportions are the next check. The hive should be taller than it is wide, with the widest point somewhere near the middle. If your drawing is much wider than tall, or if the top tier is larger than the middle bands, adjust the outline before adding detail.
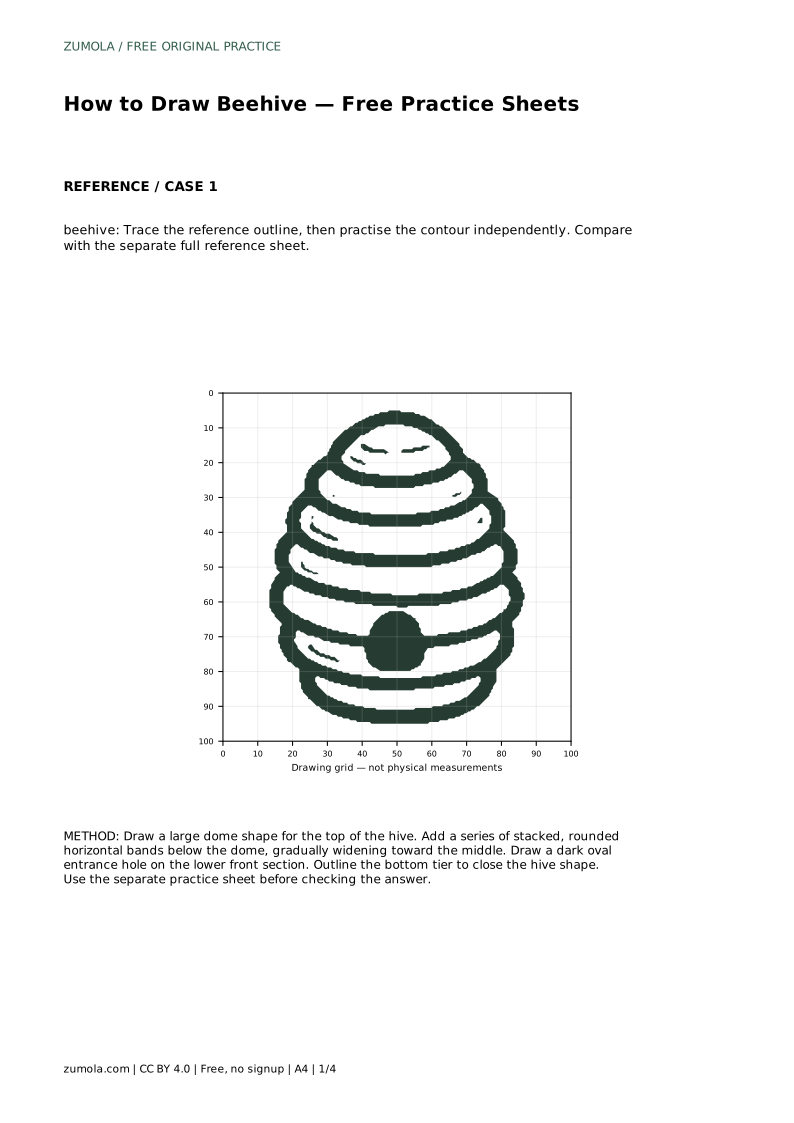
beehive: Trace the reference outline, then practise the contour independently. Compare with the separate full reference sheet.
Example solution: preserve stacked rounded tiers, dark entrance hole near the bottom center, dome-shaped top tier. Other drawings can be correct; assess the visible features and proportions rather than pixel-perfect matching. Draw a large dome shape for the top of the hive. Add a series of stacked, rounded horizontal bands below the dome, gradually widening toward the middle. Draw a dark oval entrance hole on the lower front section. Outline the bottom tier to close the hive shape.
No. Preserve the stacked rounded tiers, the dome-shaped top, and the dark entrance near the bottom center. Other drawings can be correct; assess visible features and proportions rather than pixel-perfect matching.
Begin with the tracing sheet to learn the contour, then move to the grid or bounding-frame sheet to practise placing the shape without a full guide.
Compare height to width. The hive should be taller than wide, with its widest point near the middle and a top dome smaller than the middle bands.
All drawing practice · Free coordinate paper
Original resources · CC BY 4.0 · Free for personal and classroom use with attribution.