Reference diagrams
LETTER · Download PDF
A4 · Download PDF
Free original resources
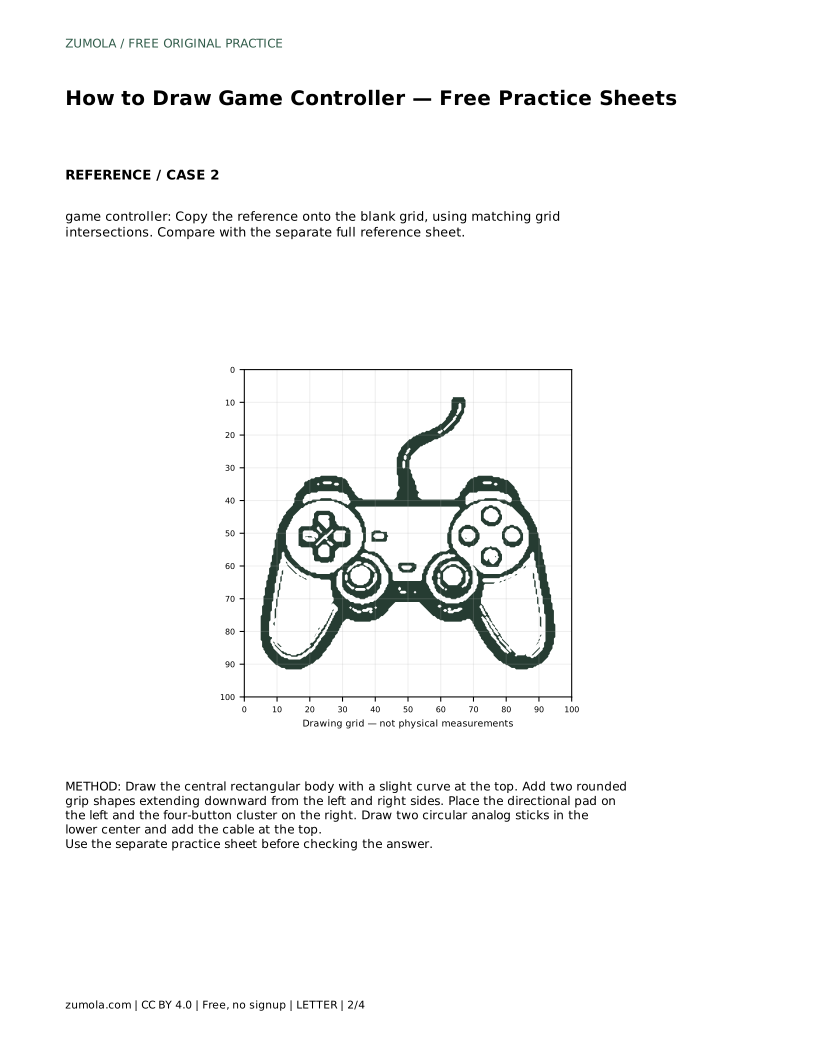
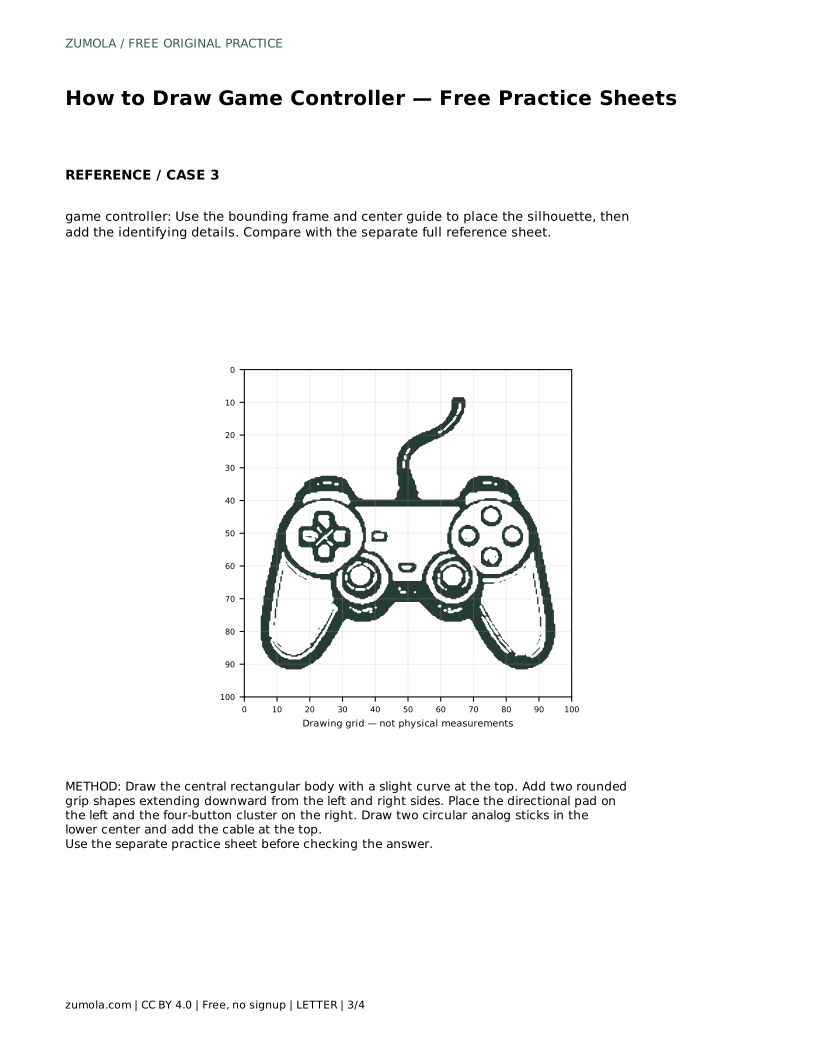
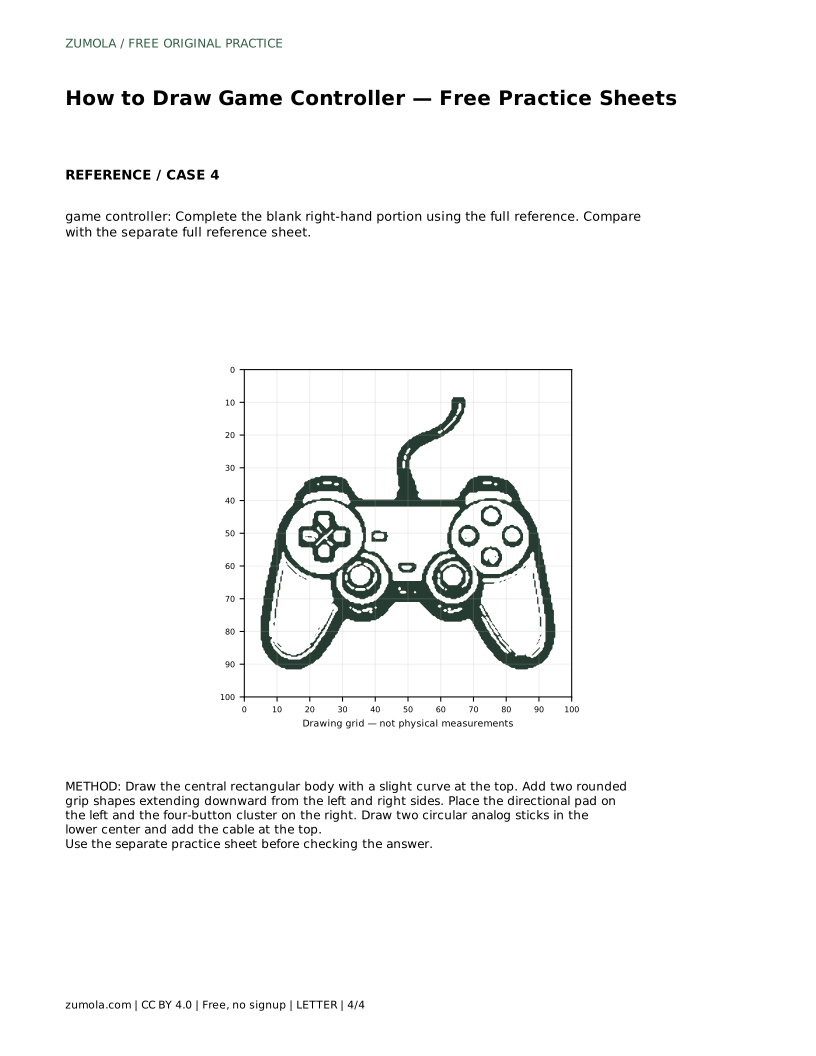
Learn to draw a game controller by tracing, copying a grid, and completing a partial outline. Build the body, grips, buttons, and analog sticks in order.
Four original cases, with reference diagrams, practice sheets and worked answers. Everything is free; no signup required.
LETTER · Download PDF
A4 · Download PDF
LETTER · Download PDF
A4 · Download PDF
LETTER · Download PDF
A4 · Download PDF
Use A4 or US Letter to match your printer. Use the stated values and conditions to solve each exercise; diagrams are not physical measuring rulers.
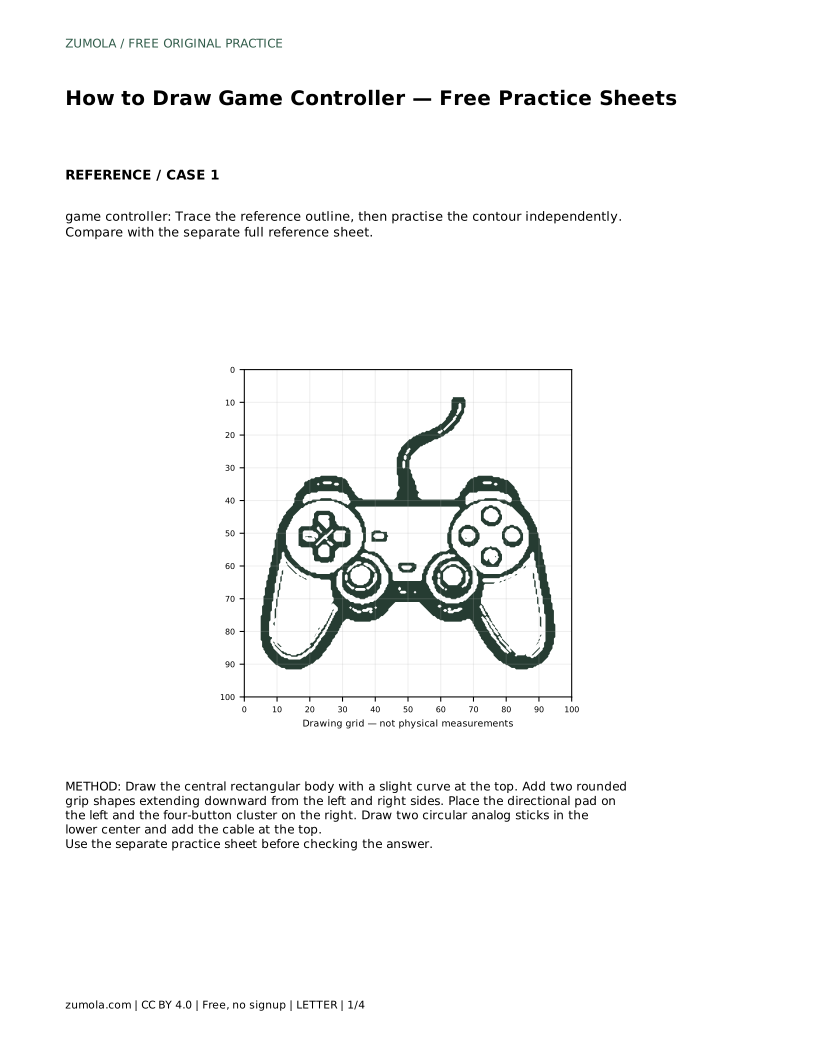
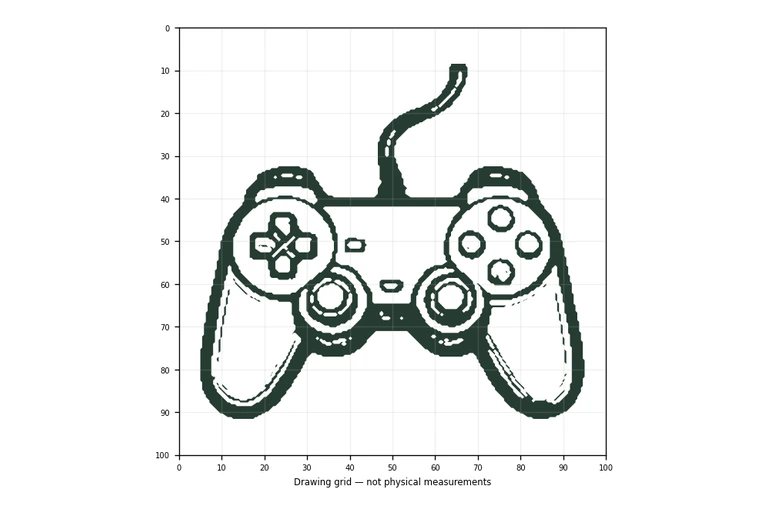
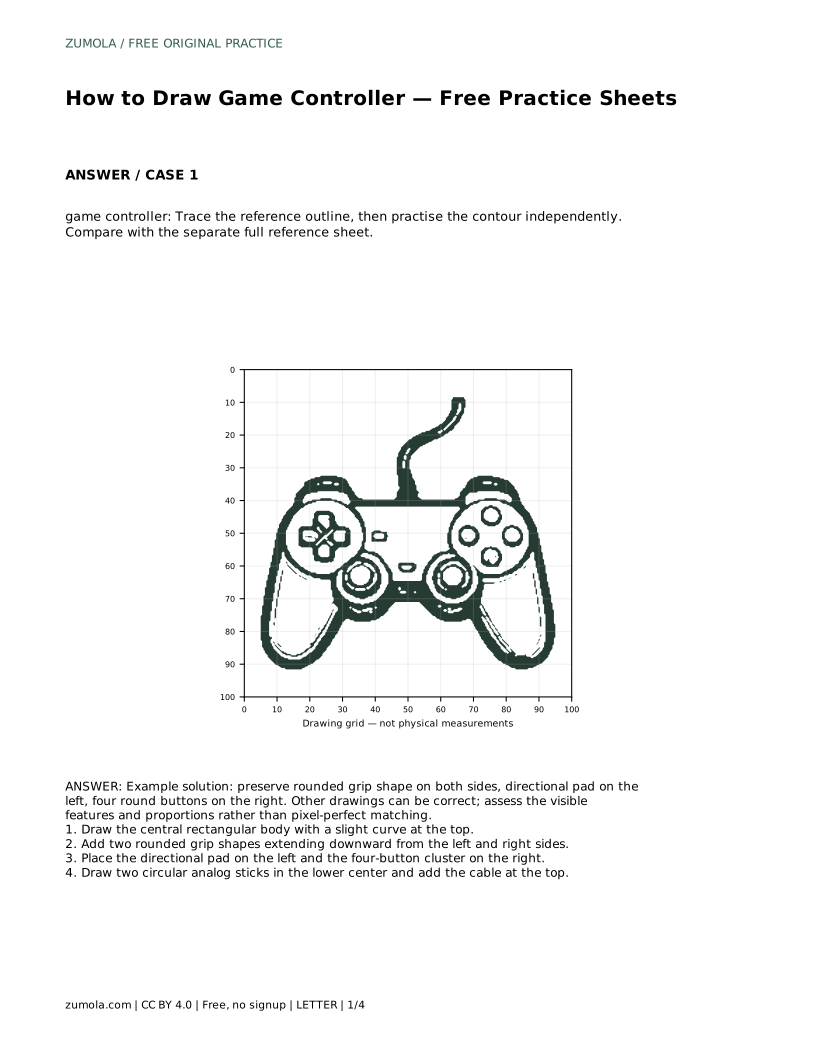
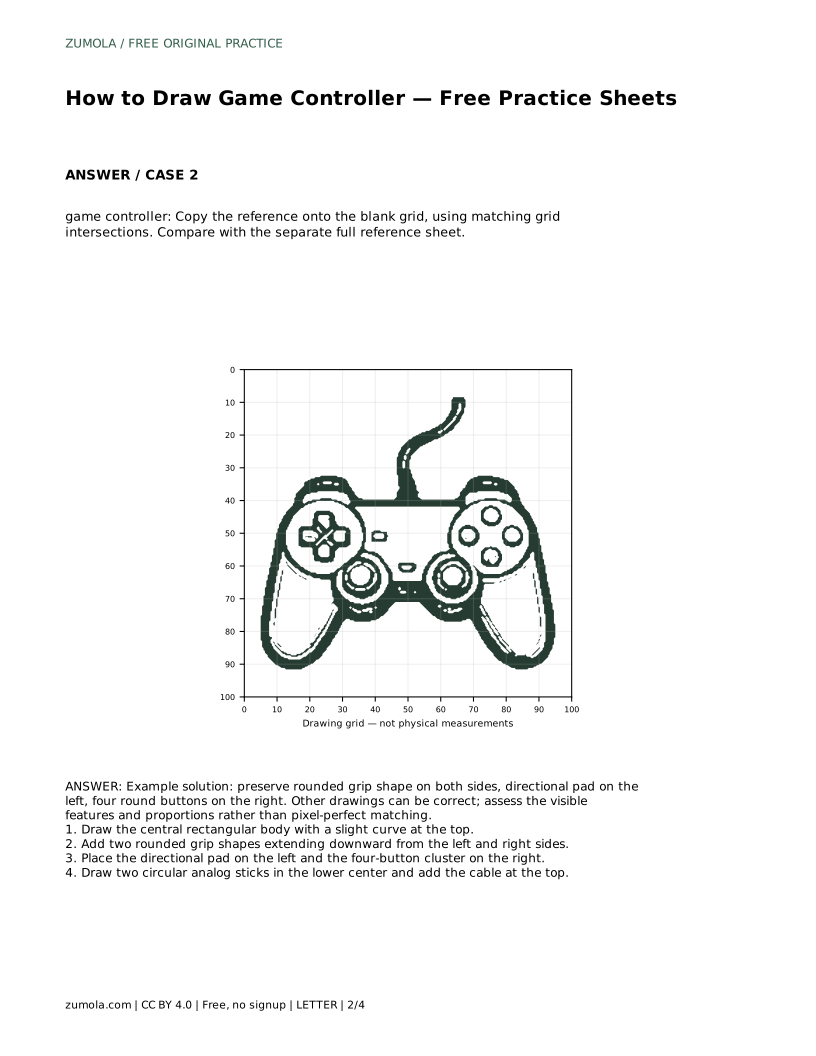
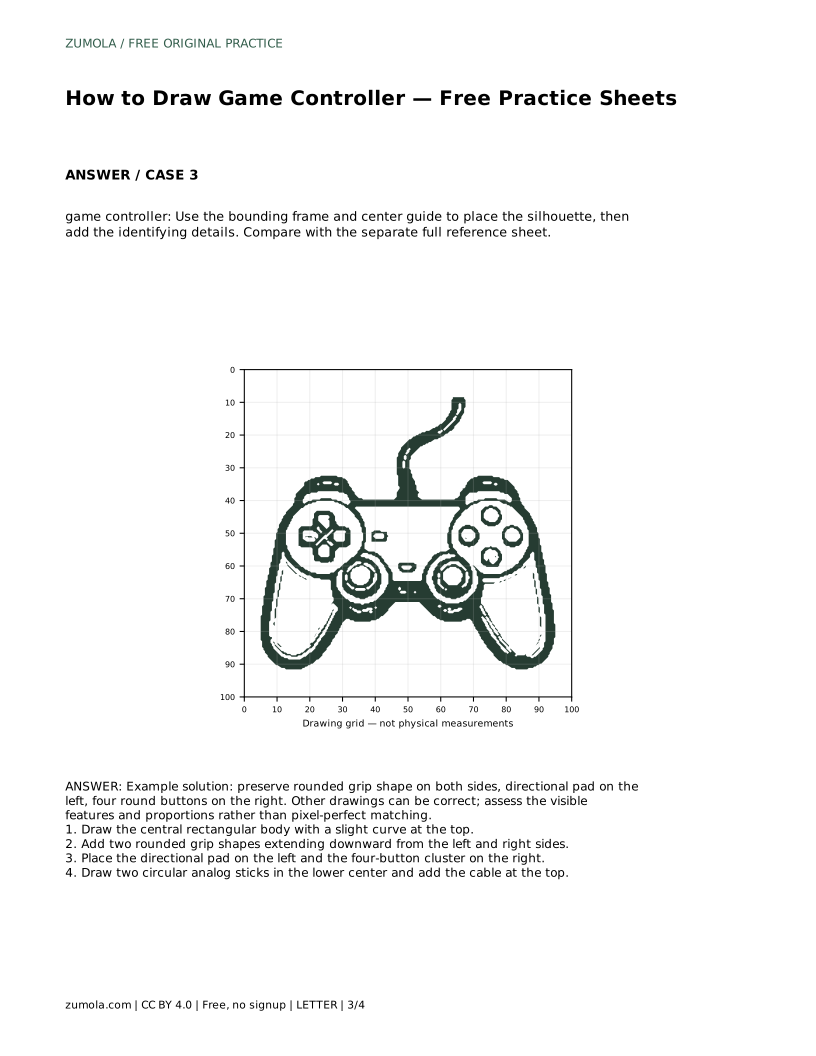
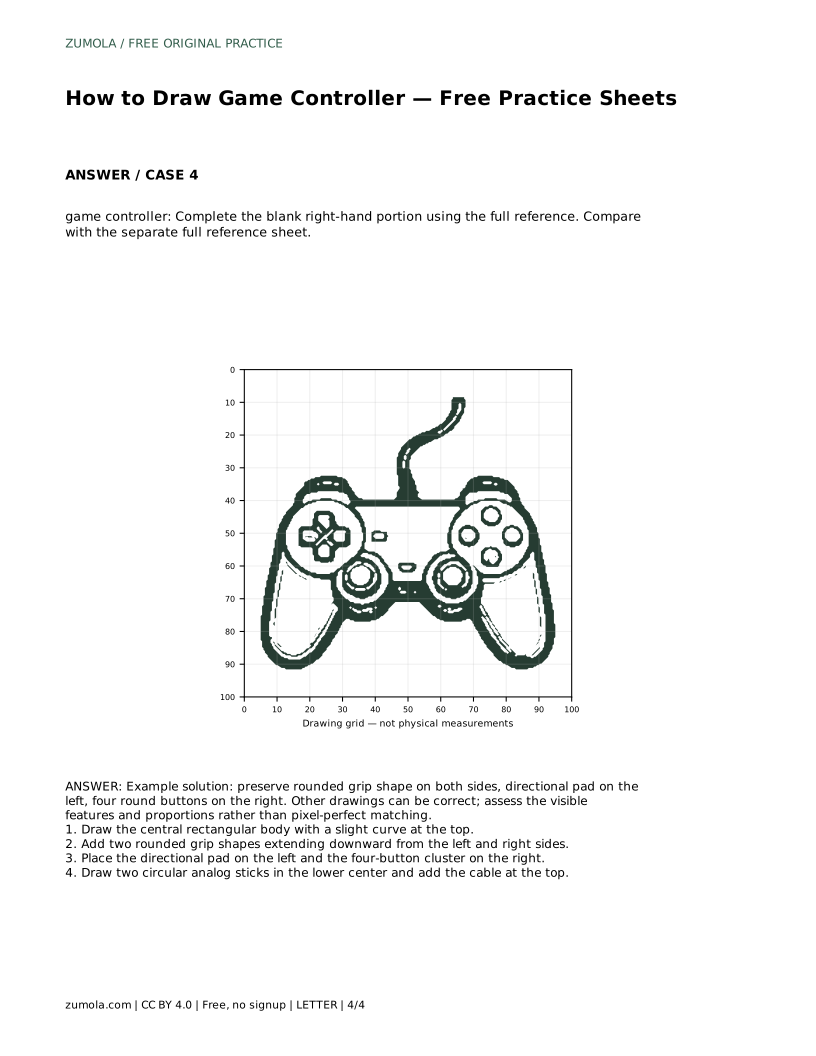
Drawing a game controller is mostly a matter of placing a few clear shapes in the right order. Start with the central body, add the two rounded grips, then position the directional pad, the four-button cluster, and the analog sticks. The practice sheets let you trace a reference outline, copy it onto a grid, or complete a partial drawing, so you can build the same skill in several ways.
Treat the controller as a body plus two grips before you draw any buttons. The central body is a rectangle with a slight upward curve along the top edge. The grips extend downward from the left and right sides and curve outward, so the silhouette looks like a wide shape with two rounded arms. Keep the two grips similar in size; a controller reads as balanced when the left and right sides echo each other.
Once the outline is steady, add the controls. The directional pad sits on the left, the four round buttons sit on the right, and two circular analog sticks sit in the lower center. Finish with the cable at the top. Drawing details last keeps you from crowding small features into a body that is still changing shape.
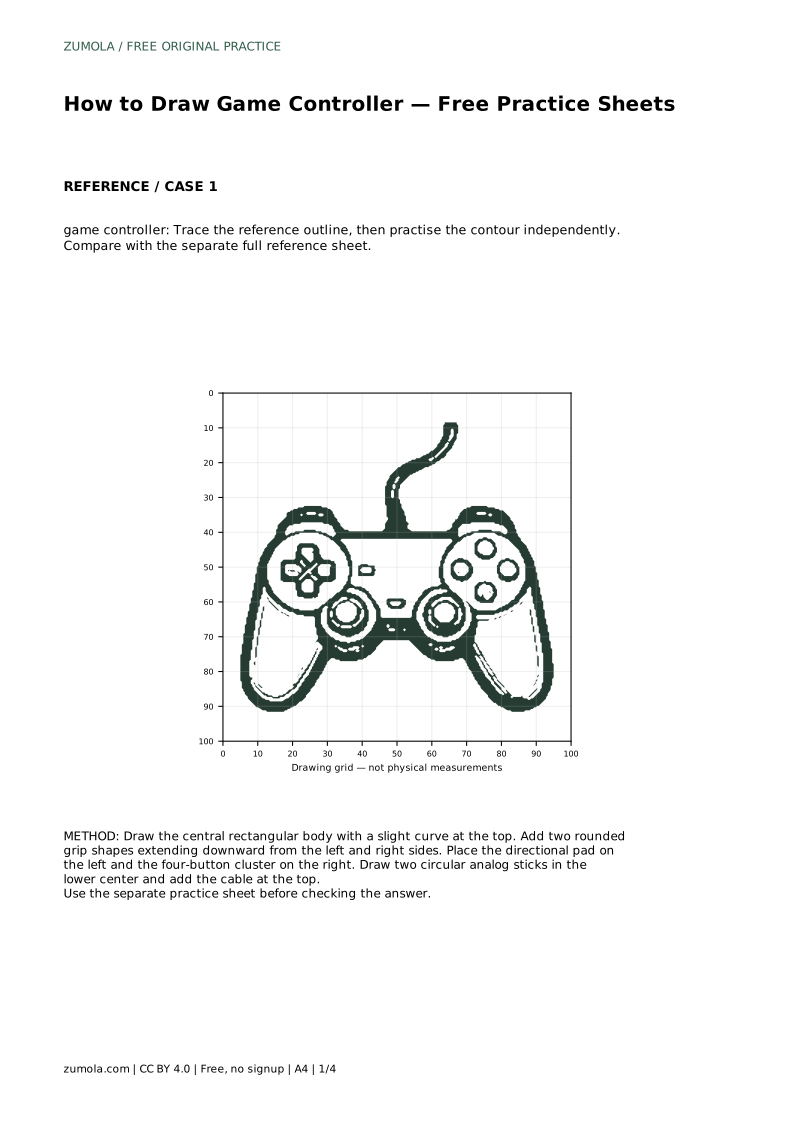
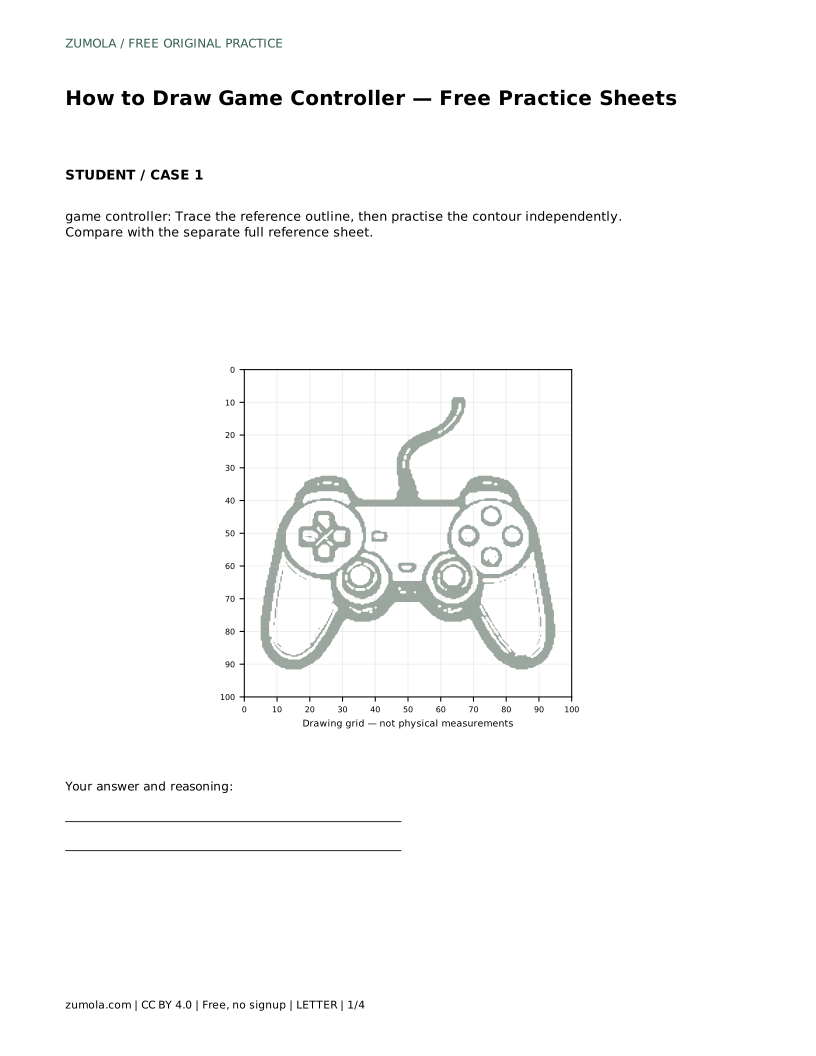
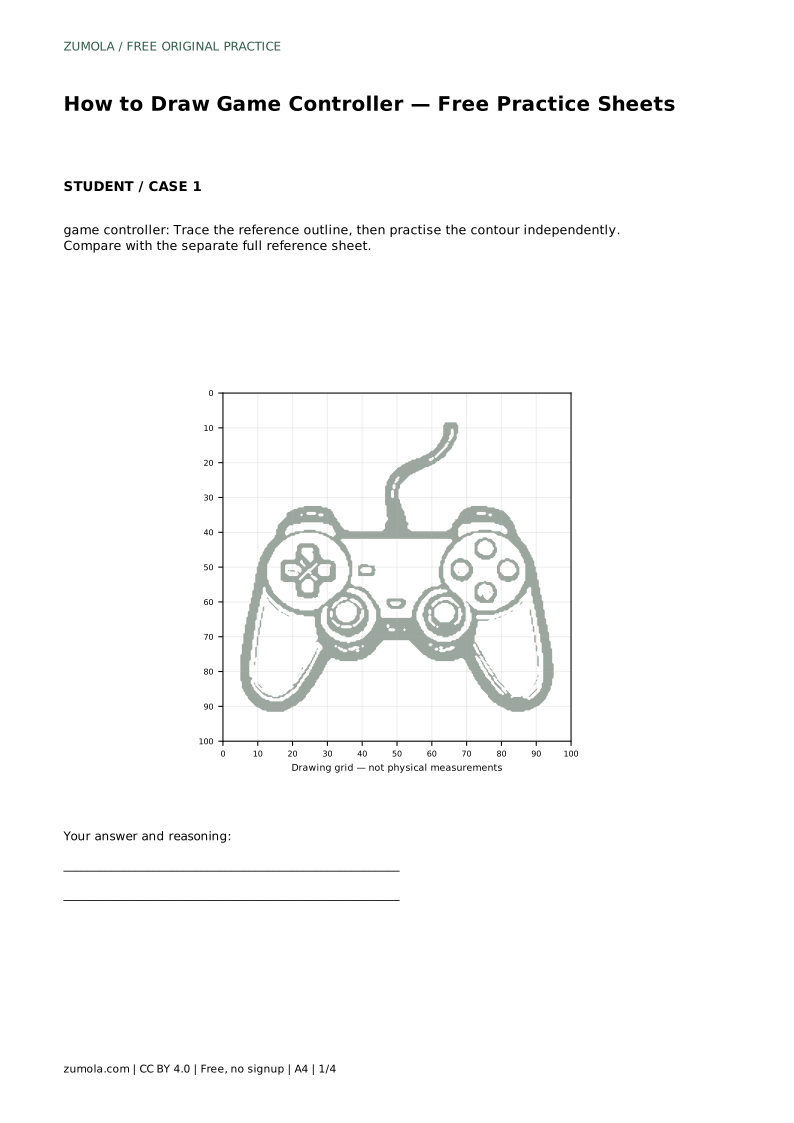
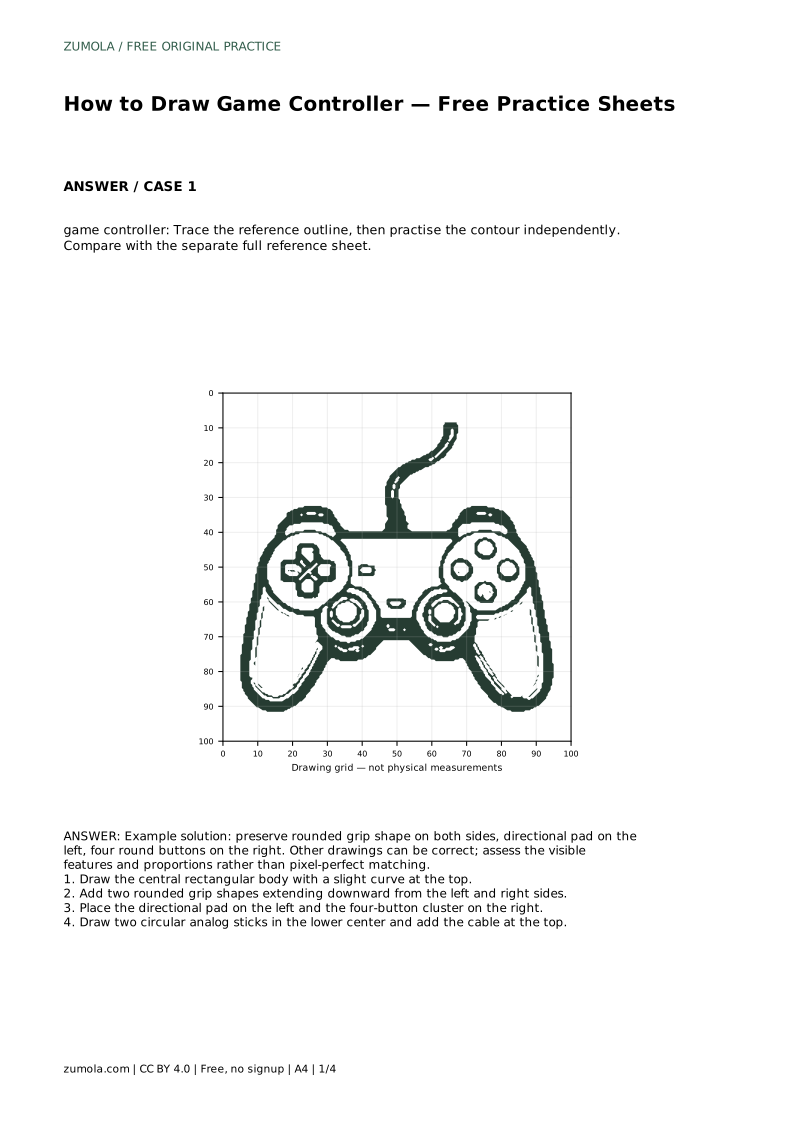
The trace sheet asks you to follow the reference outline first, then practise the contour independently. Tracing teaches the path of the line; the independent pass shows whether you can reproduce it without help. Compare your result with the separate full reference sheet rather than with your traced line.
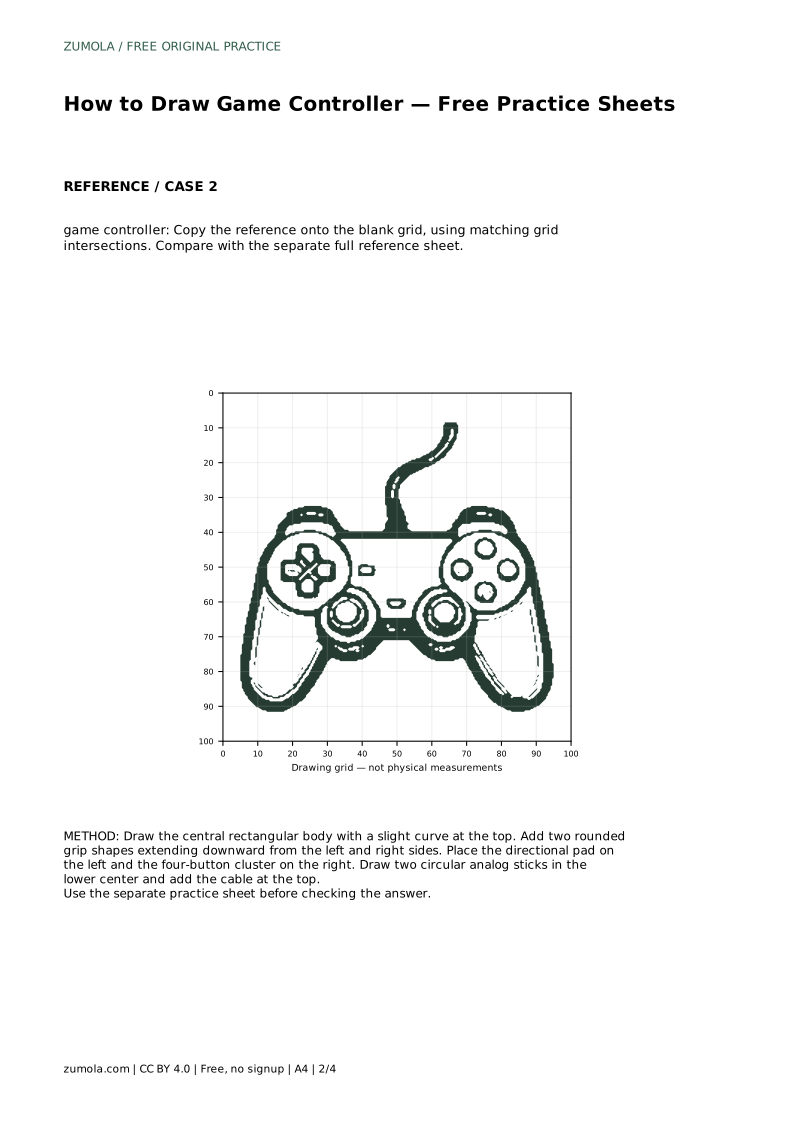
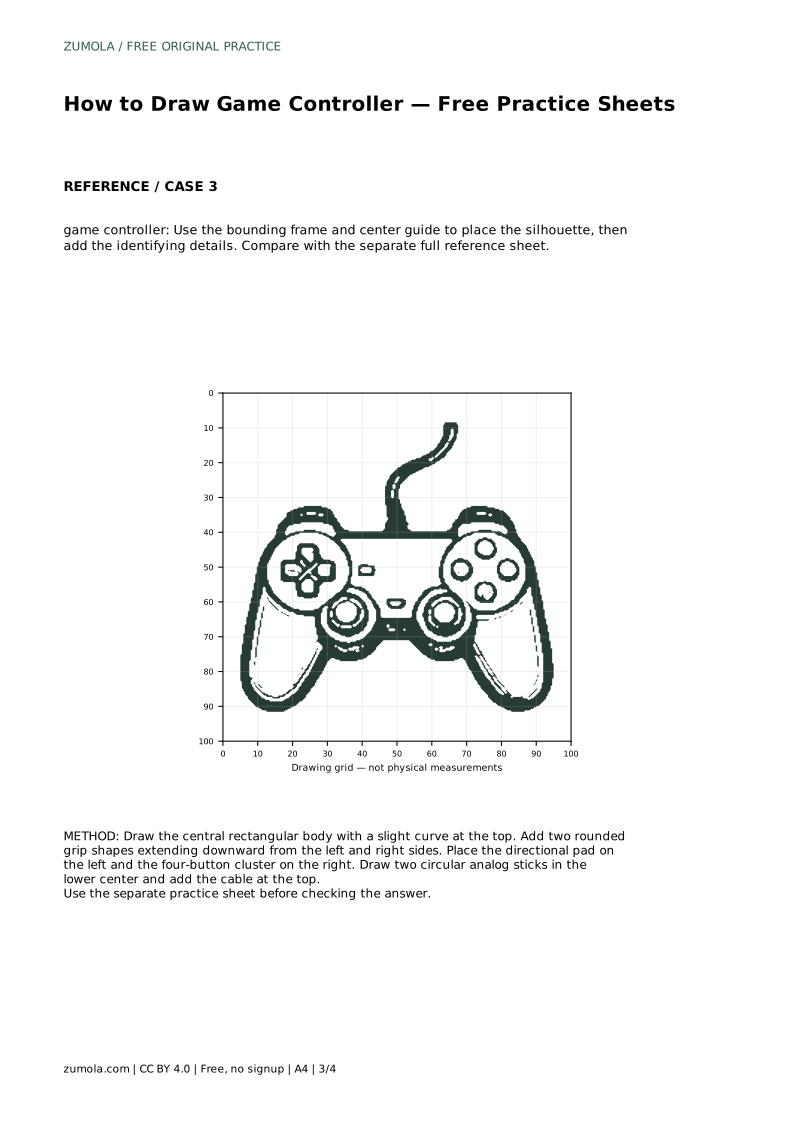
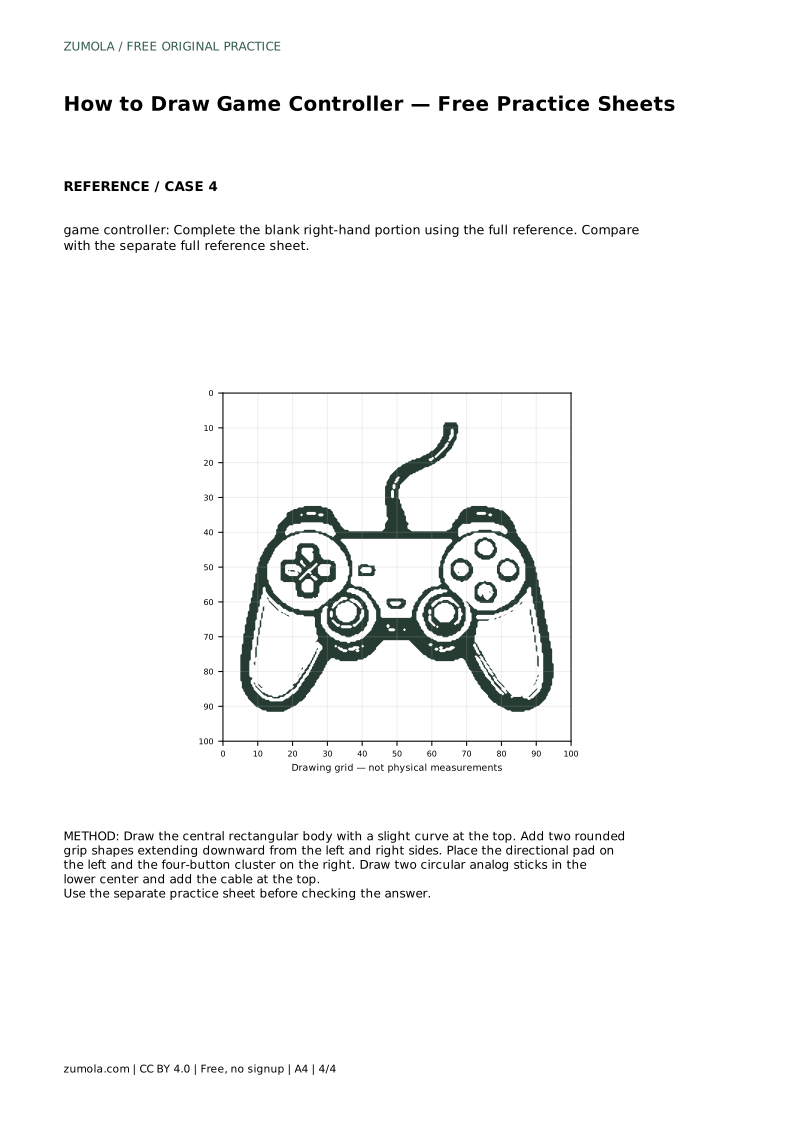
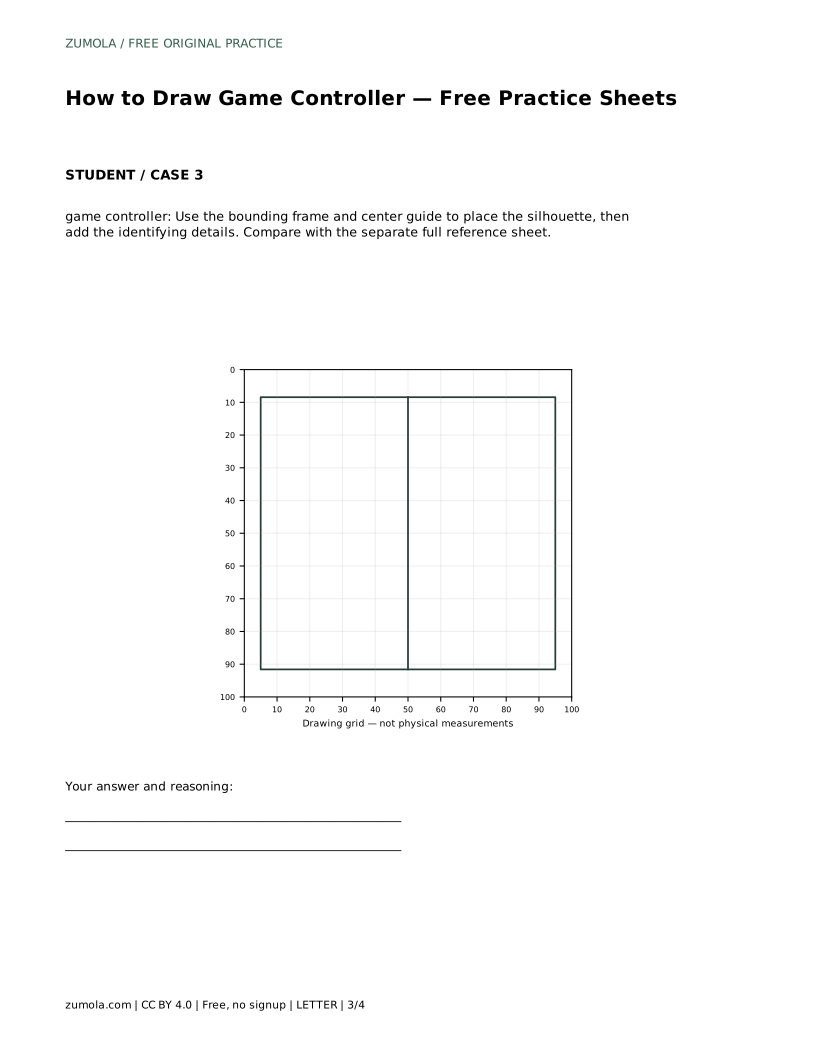
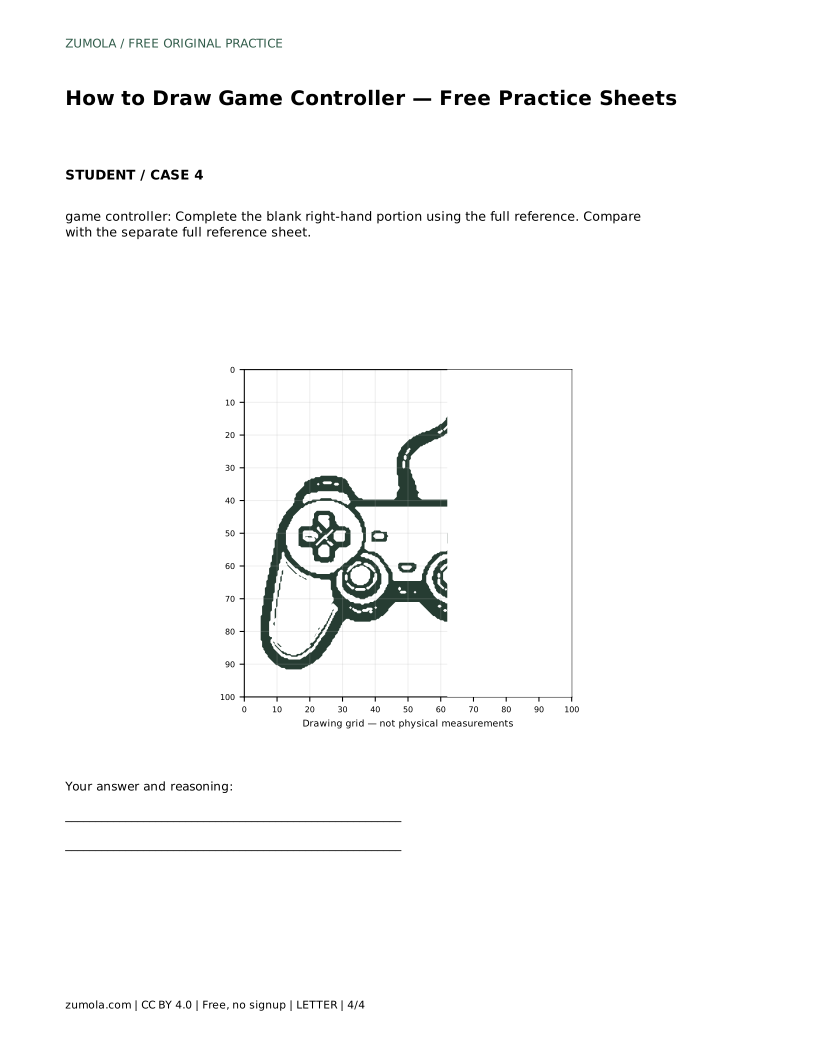
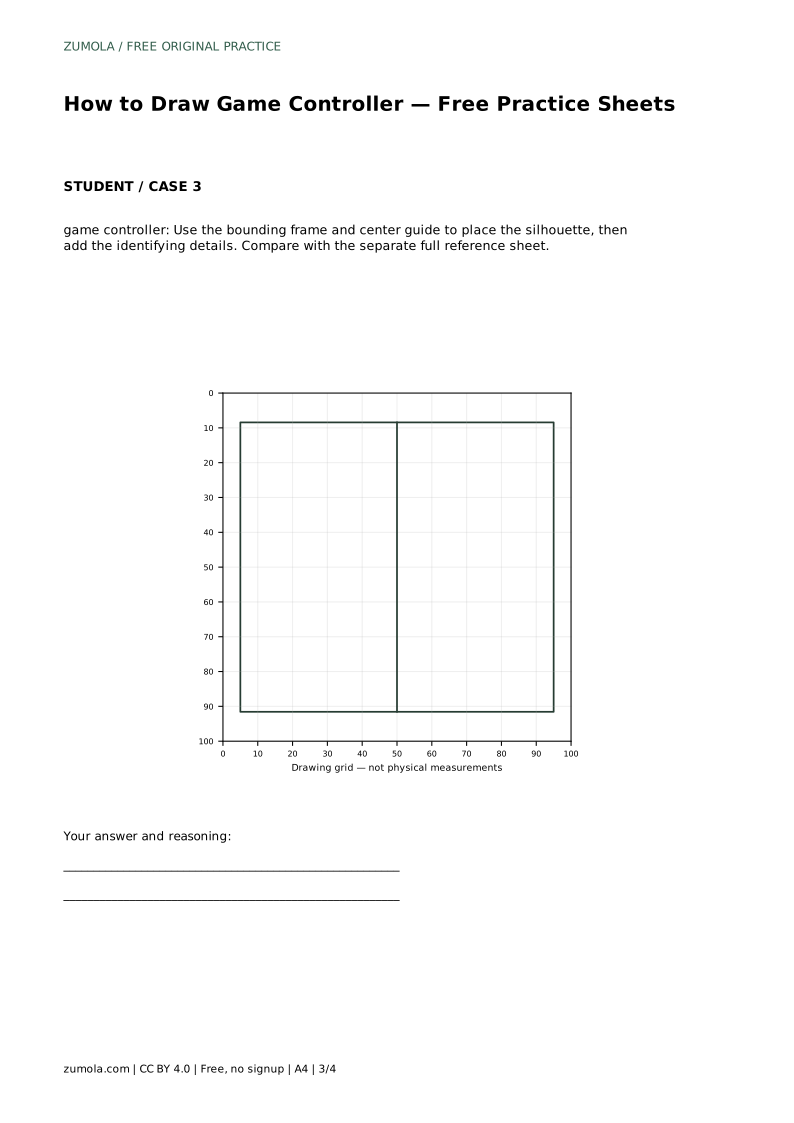
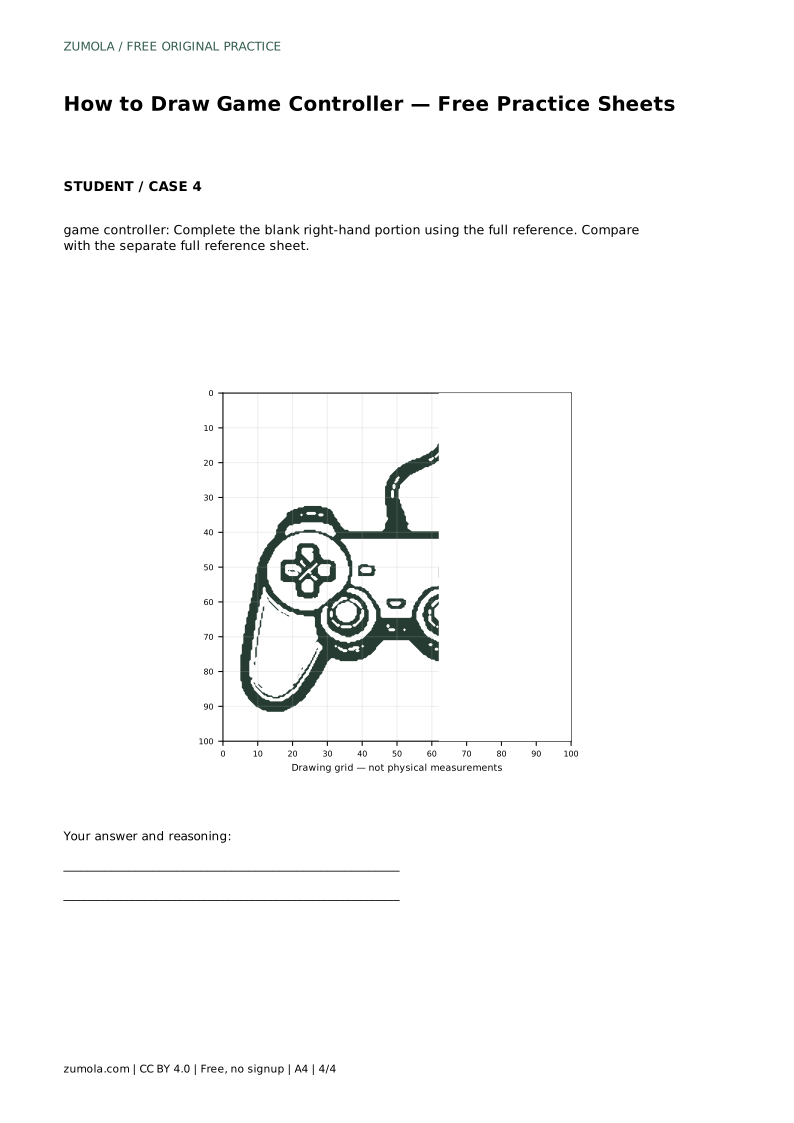
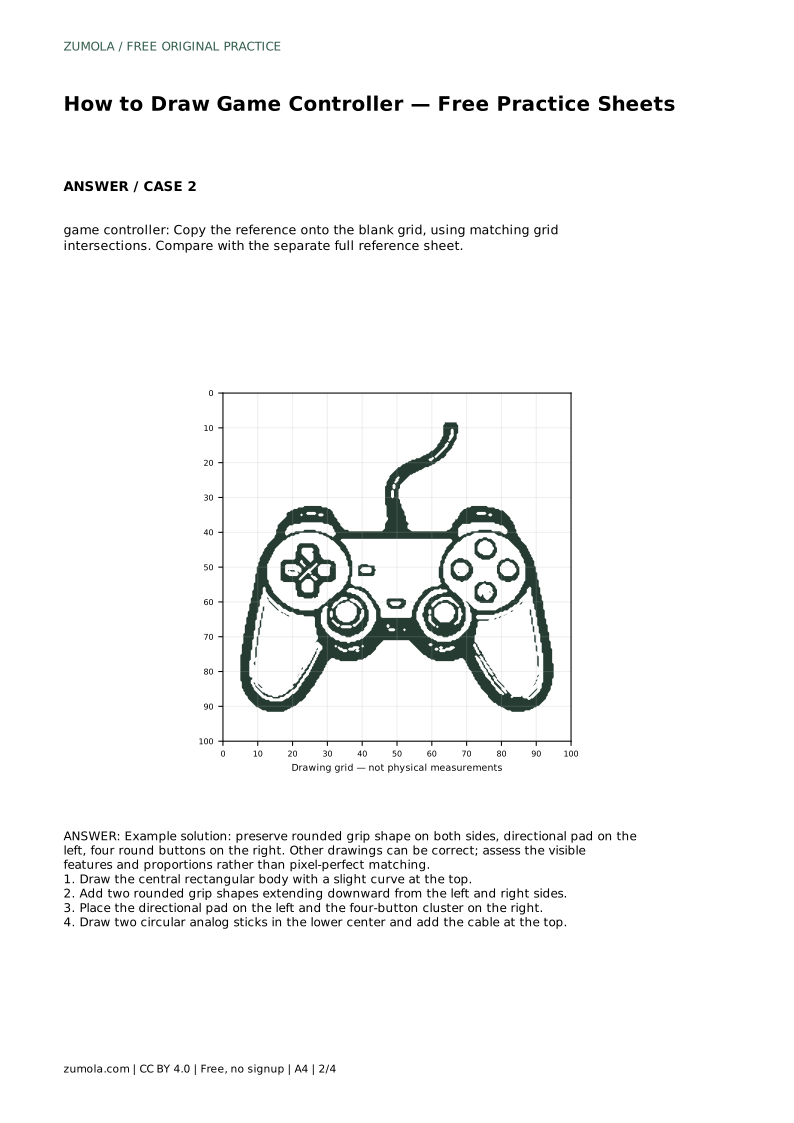
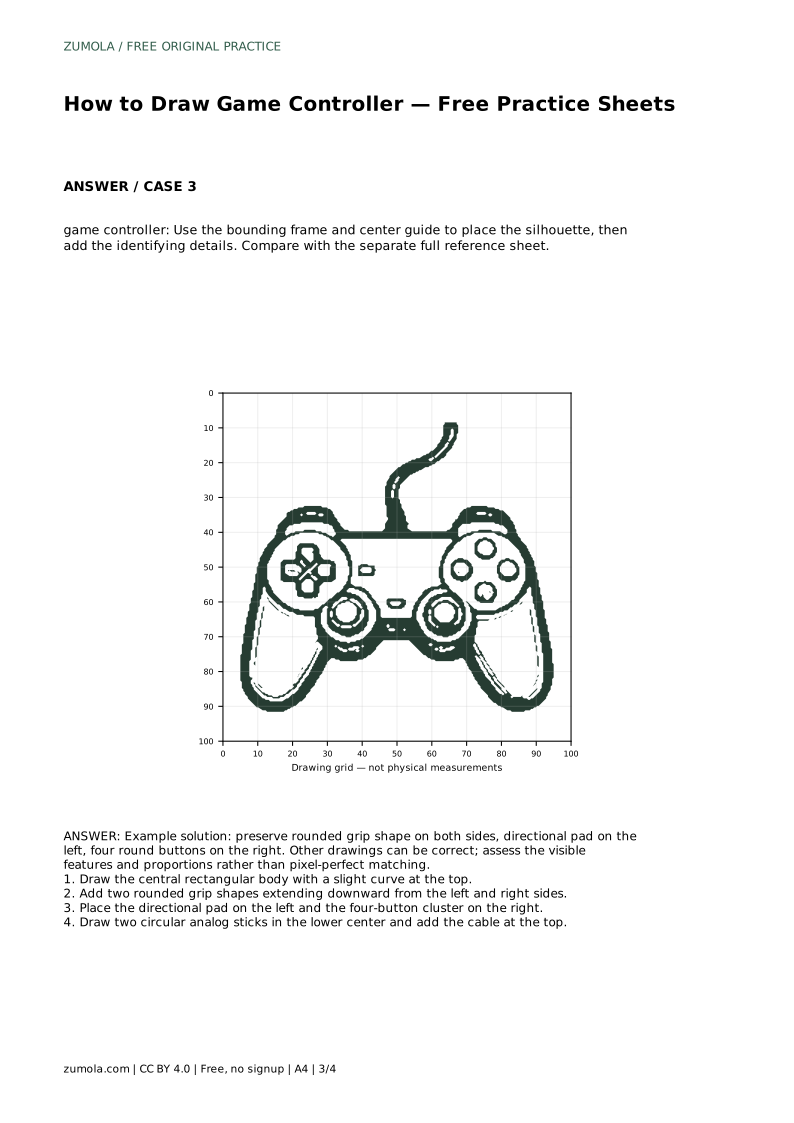
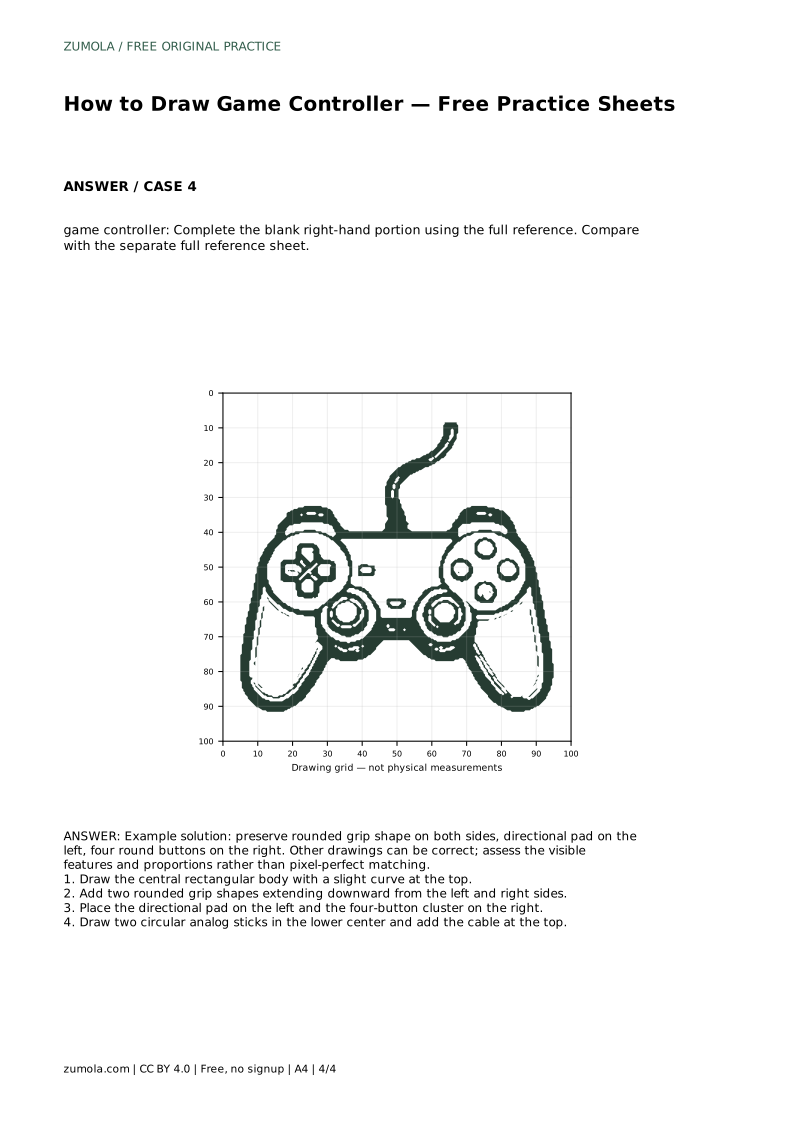
The grid sheet asks you to copy the reference onto a blank grid using matching grid intersections. Use the grid to judge where the body ends, how far the grips reach, and where the buttons sit relative to the body. The bounding-frame sheet gives you a center guide for placing the silhouette before you add details. The partial sheet gives you the left side and asks you to complete the blank right-hand portion from the full reference, which tests whether you can mirror the grips and controls.
A controller drawing can be correct in many ways. What matters is whether the visible features are present and whether the proportions hold together. Check that both grips are rounded and roughly equal, that the directional pad is on the left, that four round buttons sit on the right, and that two analog sticks sit in the lower center. Then check the cable at the top.
If something looks off, compare the distance from the body to each grip and the spacing between the buttons. Adjust the large shapes first; small details are easier to move once the outline is settled.
Use light lines for the body and grips, then firm up the outline once the shape is settled. Keep the buttons evenly spaced so the cluster reads as four separate circles. Leave a little space between the analog sticks and the grips so the lower center stays clear. These habits make the drawing easy to read at any size.
game controller: Trace the reference outline, then practise the contour independently. Compare with the separate full reference sheet.
Example solution: preserve rounded grip shape on both sides, directional pad on the left, four round buttons on the right. Other drawings can be correct; assess the visible features and proportions rather than pixel-perfect matching. Draw the central rectangular body with a slight curve at the top. Add two rounded grip shapes extending downward from the left and right sides. Place the directional pad on the left and the four-button cluster on the right. Draw two circular analog sticks in the lower center and add the cable at the top.
No. Several drawings can be correct. Assess whether the rounded grips, the left directional pad, the four right-hand buttons, the two lower-center analog sticks, and the top cable are visible and reasonably proportioned.
Start with the trace sheet to learn the outline, then move to the grid or bounding-frame sheet to practise placement without tracing. Use the partial sheet when you can complete the missing side from the full reference.
Place the two circular analog sticks in the lower center of the body, below the directional pad and button cluster and clear of the grips.
All drawing practice · Free coordinate paper
Original resources · CC BY 4.0 · Free for personal and classroom use with attribution.