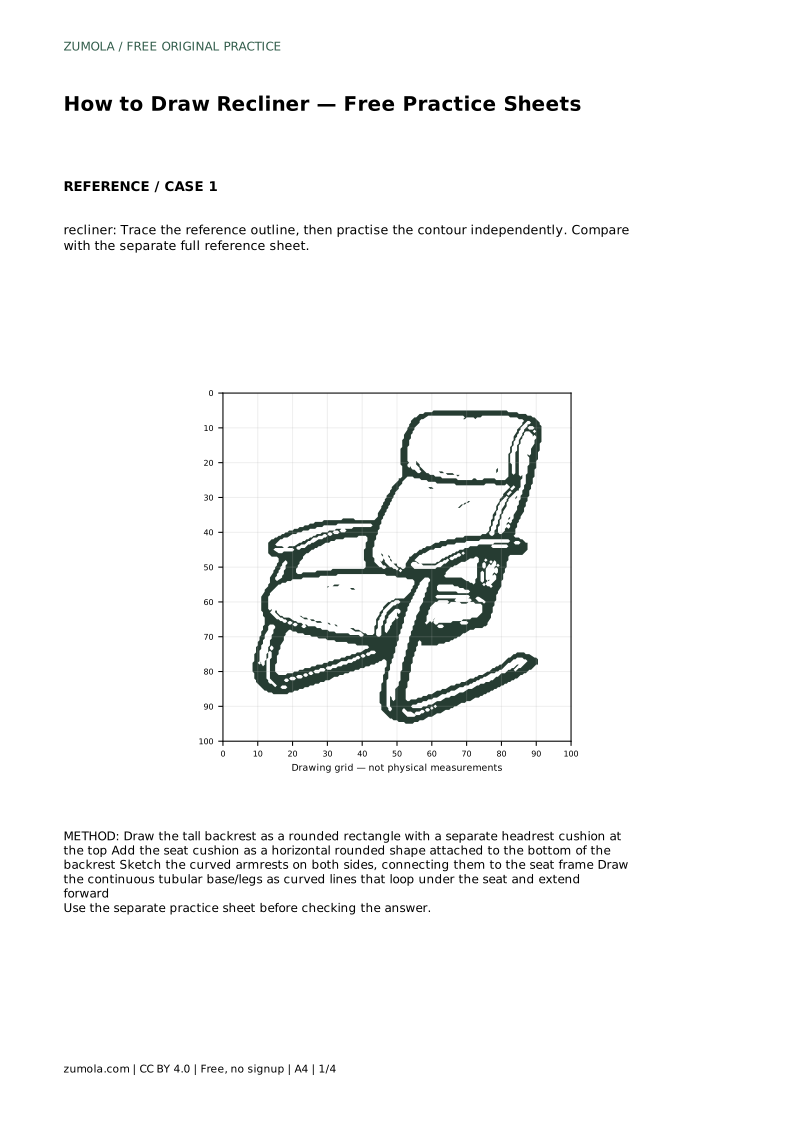
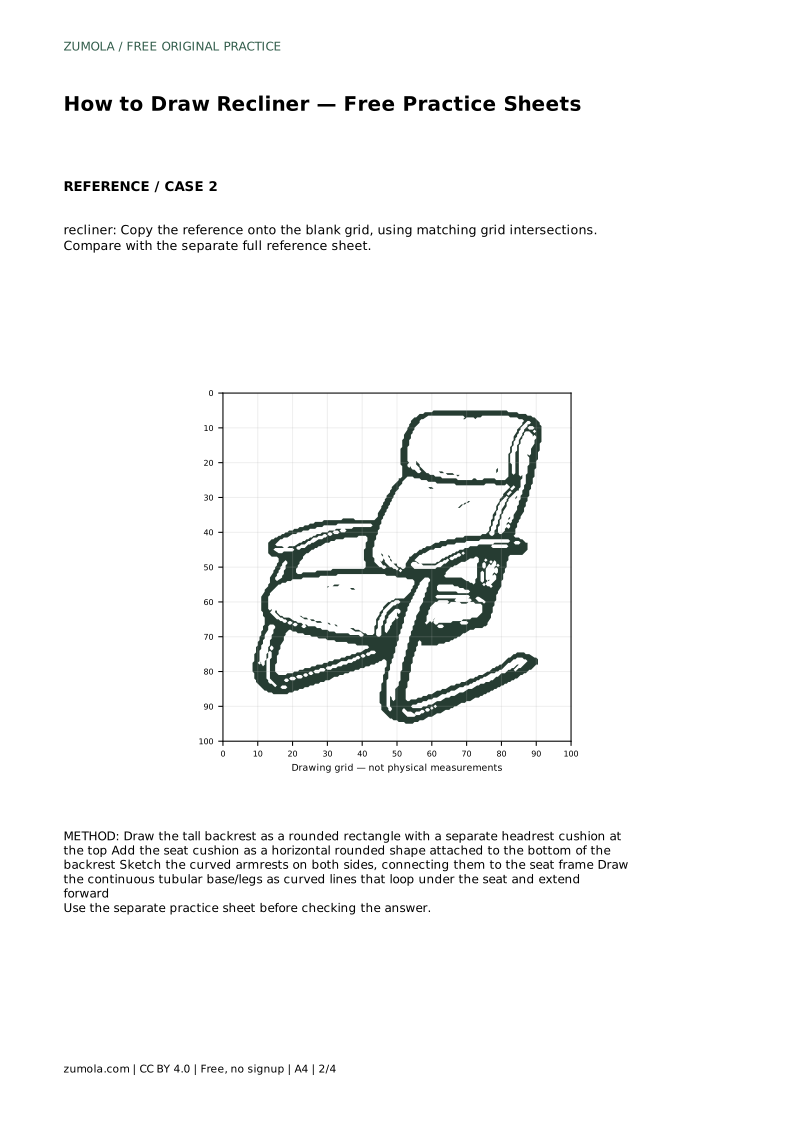
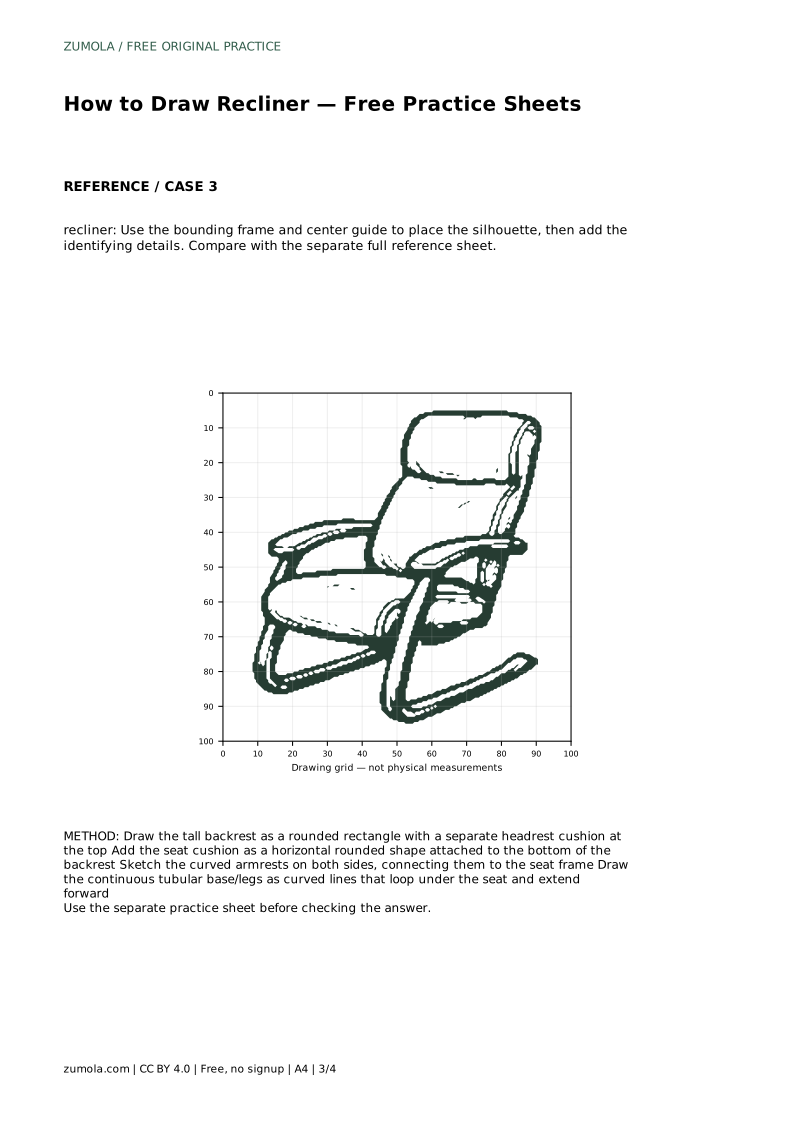
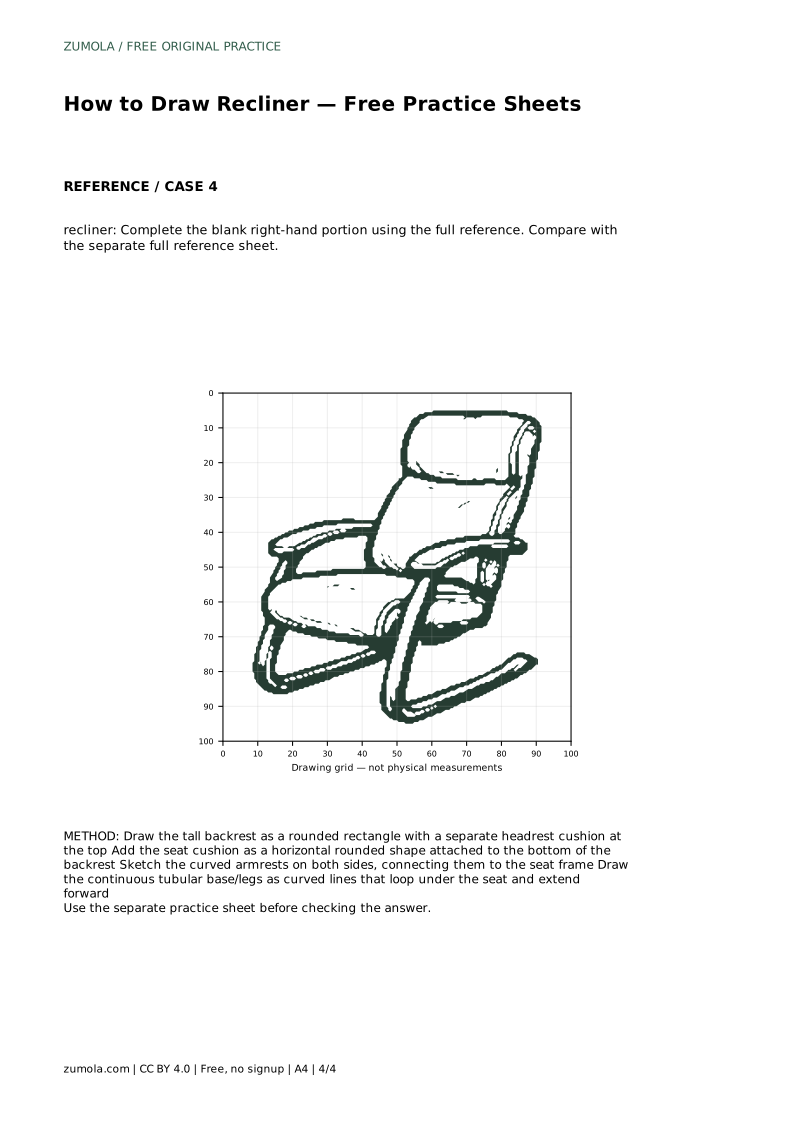
Reference diagrams
LETTER · Download PDF
A4 · Download PDF
Free original resources
Learn to draw a recliner by building its tall padded backrest, separate headrest, curved armrests, and continuous sled-style tubular base in clear stages.
Four original cases, with reference diagrams, practice sheets and worked answers. Everything is free; no signup required.
LETTER · Download PDF
A4 · Download PDF
LETTER · Download PDF
A4 · Download PDF
LETTER · Download PDF
A4 · Download PDF
Use A4 or US Letter to match your printer. Use the stated values and conditions to solve each exercise; diagrams are not physical measuring rulers.
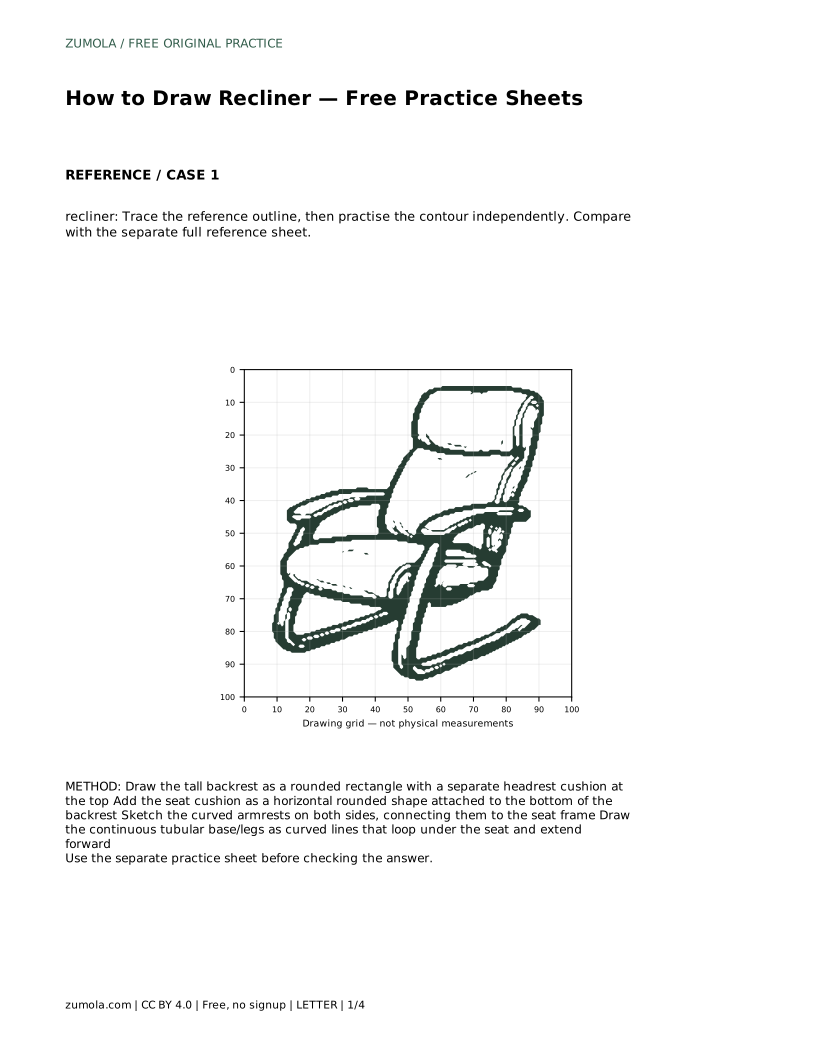
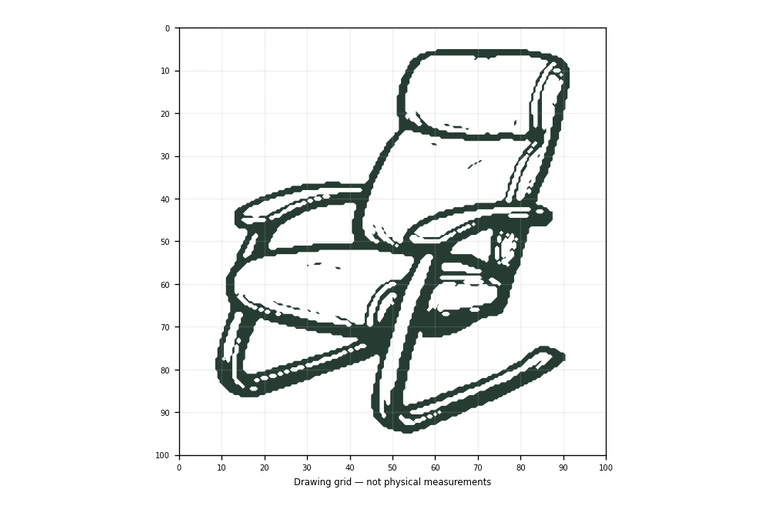
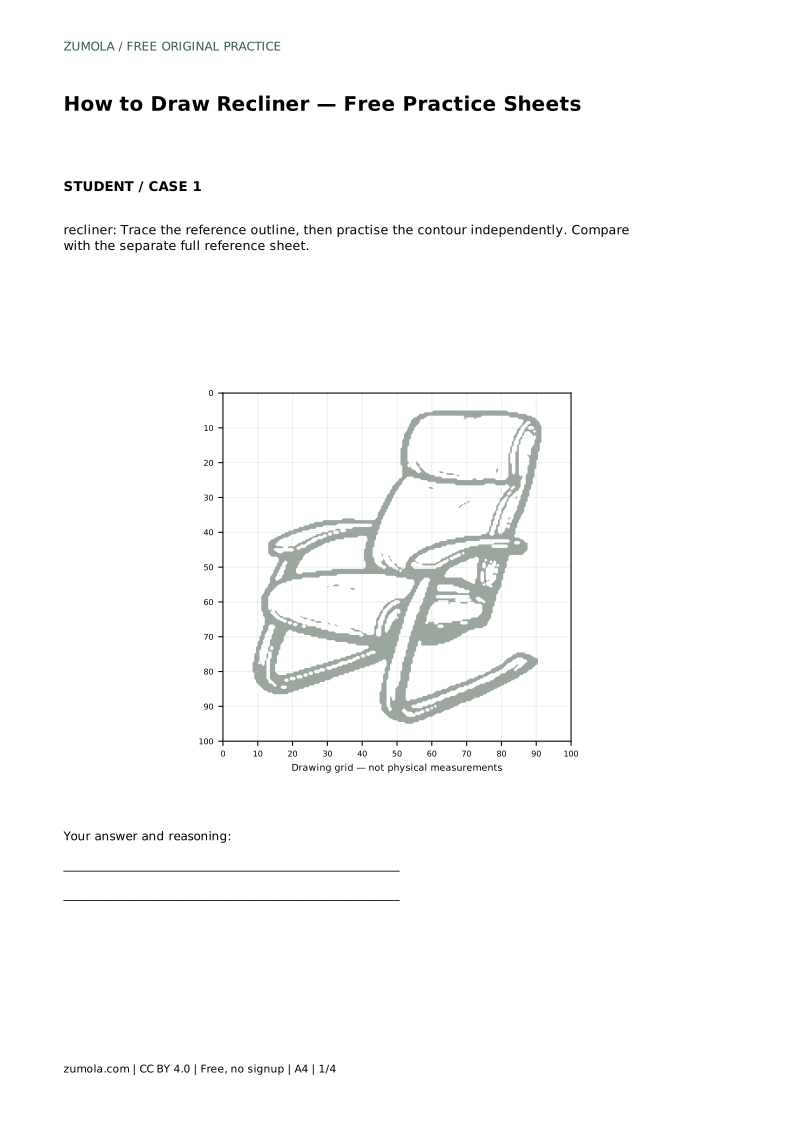
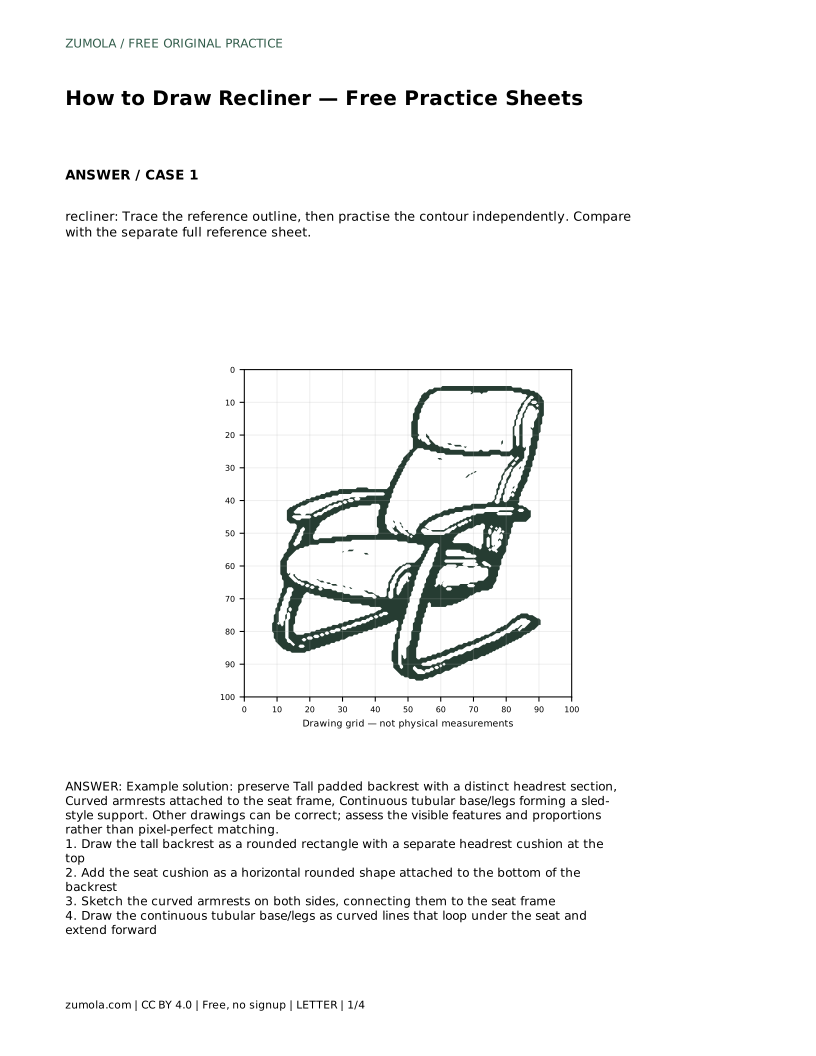
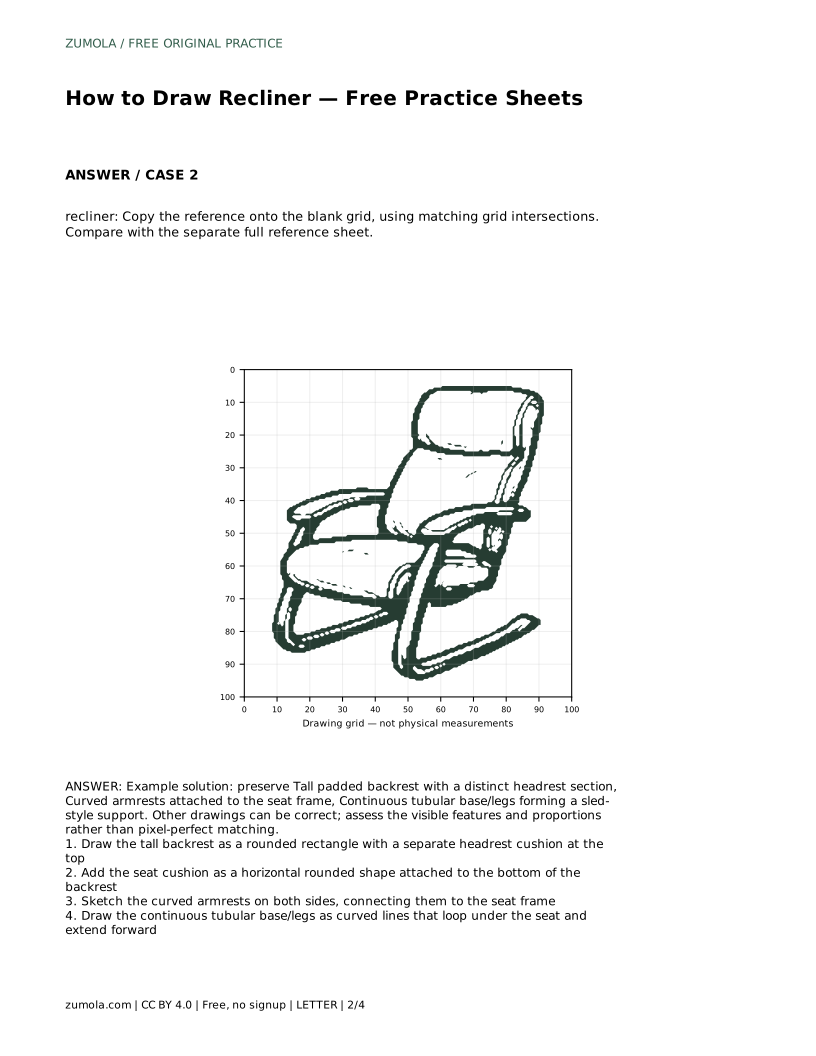
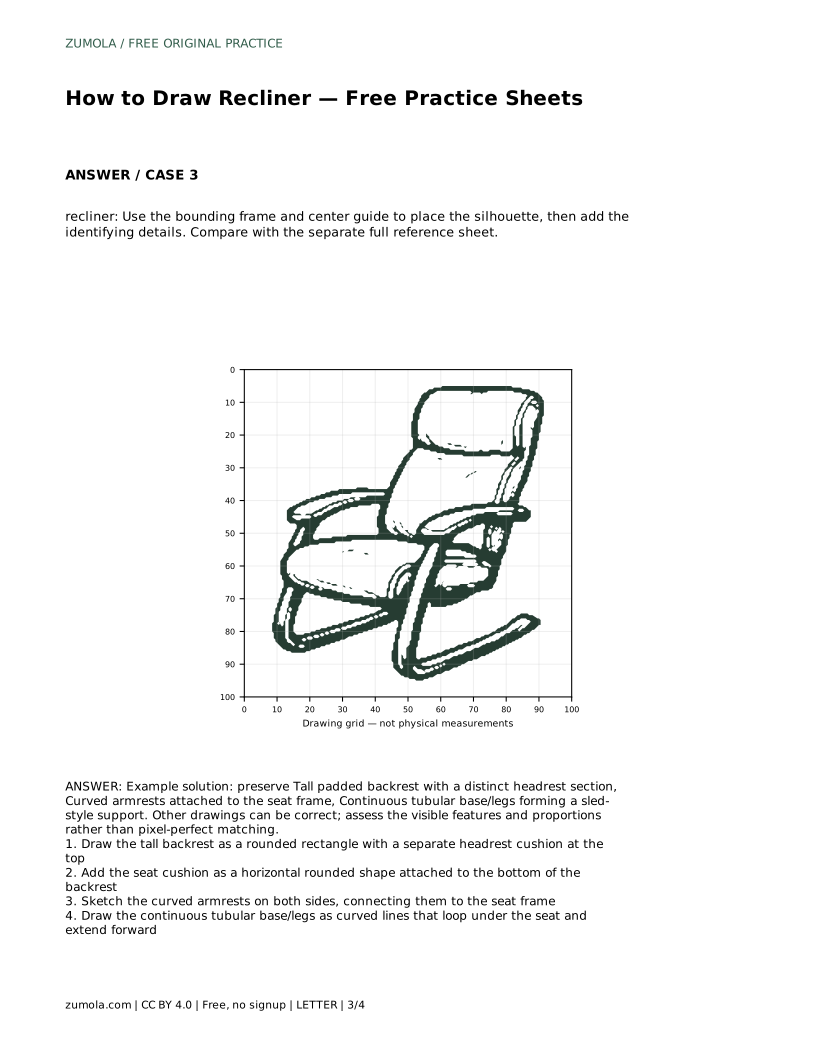
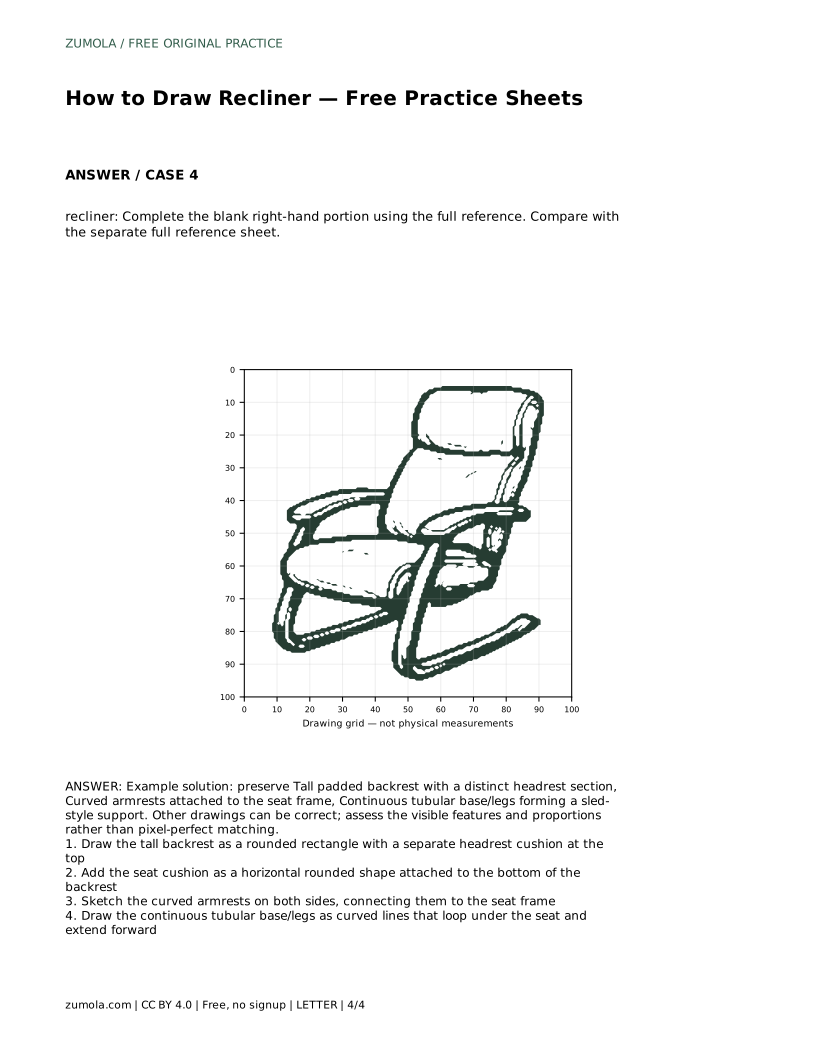
A recliner is easier to draw when you treat it as a set of connected shapes rather than one outline. The tall padded backrest, the distinct headrest cushion, the seat, the curved armrests, and the continuous tubular base each have a clear job. This guide shows how to place those parts in order, how to check proportions, and how to use tracing, grid, and partial-reference practice sheets to build independence.
Begin with the largest vertical shape: the tall padded backrest. Draw it as a rounded rectangle, slightly wider at the top than at the base if your reference shows that taper. Keep the sides gently curved so the shape reads as padding rather than a flat board.
At the top of the backrest, add a separate headrest section. This is a smaller rounded cushion that sits across the upper part of the backrest. Give it its own outline so the two padded sections remain visually distinct. Check that the headrest spans most of the backrest width but leaves a small margin on each side.
The seat cushion is a horizontal rounded shape attached to the bottom of the backrest. Its front edge should project forward from the backrest, and its depth should look comfortable rather than thin. Align the seat's back edge with the lower part of the backrest so the two shapes connect cleanly.
Next, sketch the curved armrests on both sides. Each armrest begins near the middle of the backrest and sweeps forward and down toward the seat frame. The curve should feel continuous, not angular. Where the armrest meets the seat, show a clear attachment point so the drawing reads as one piece of furniture.
The base is a continuous tubular support that loops under the seat and extends forward, often called a sled-style base. Draw it as a pair of curved lines that run beneath the seat, bend at the front, and return toward the back. Keep the tube width consistent along its length.
Because the base is continuous, avoid breaking it into separate legs. Follow the loop from one end to the other in a single pass. Check that the base sits below the seat and that the forward extension is roughly level with the floor line you have chosen.
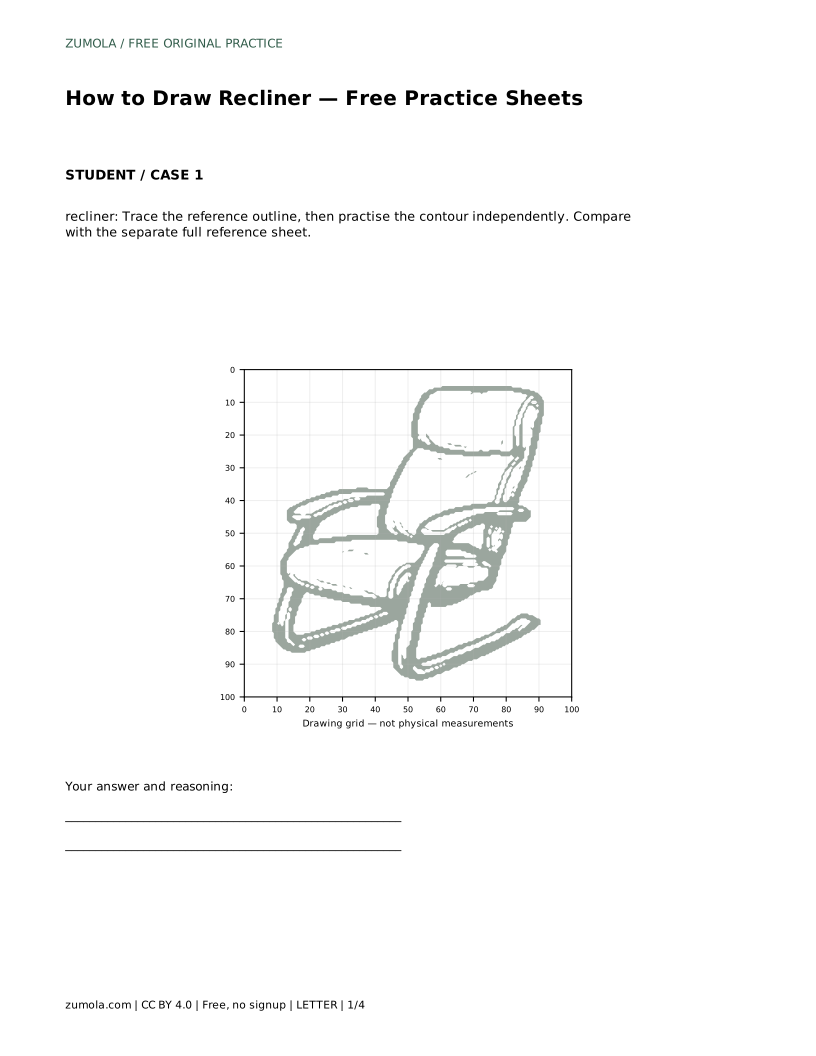
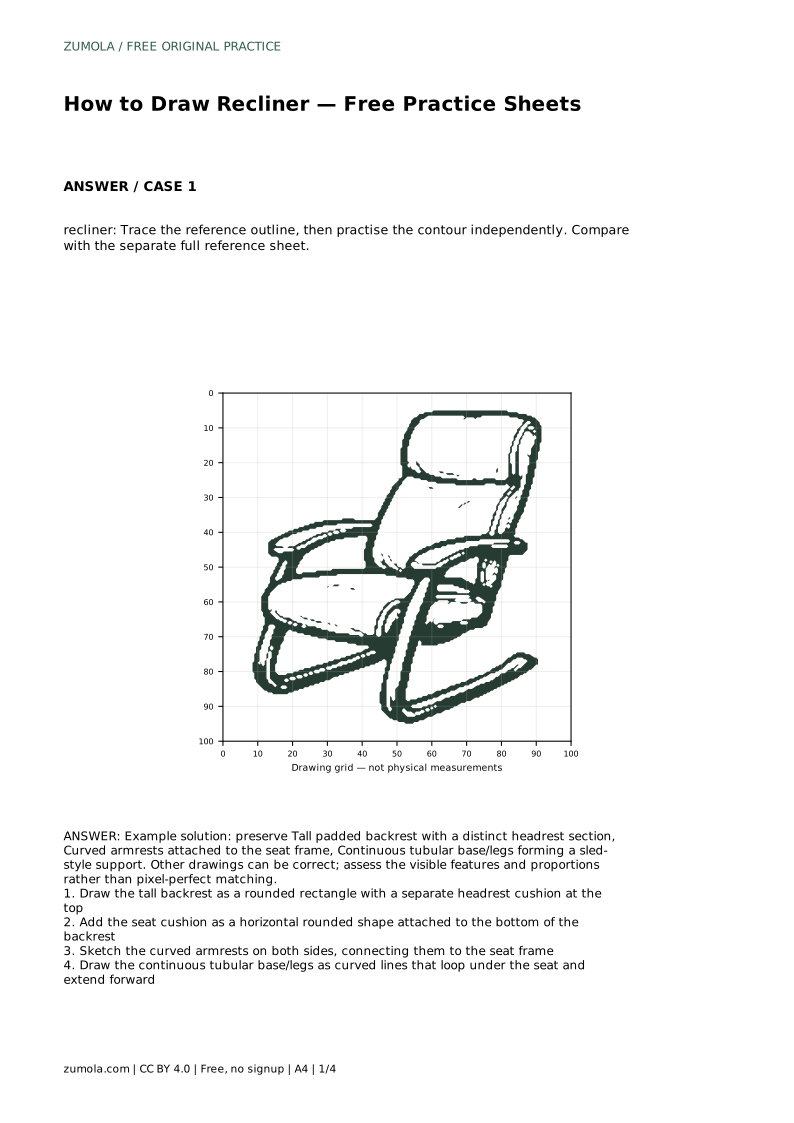
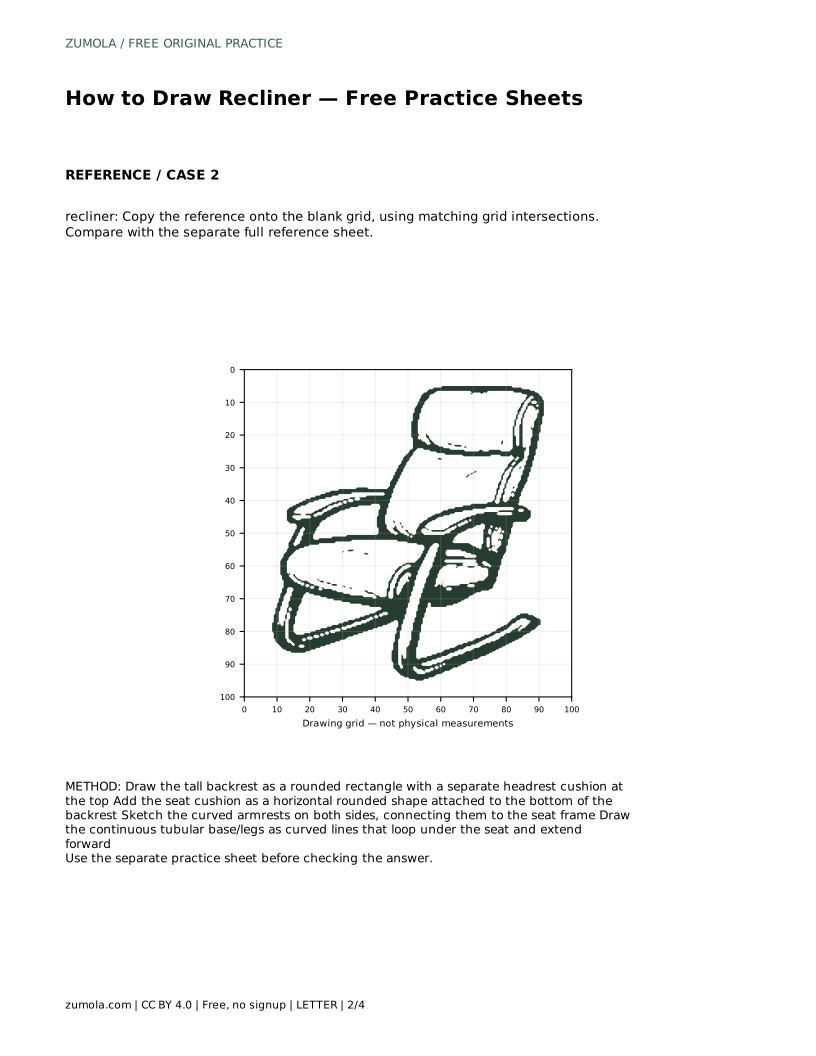
Tracing the reference outline first helps you feel the proportions of the backrest, armrests, and base. After one traced pass, put the tracing aside and draw the contour independently, then compare with the separate full reference sheet.
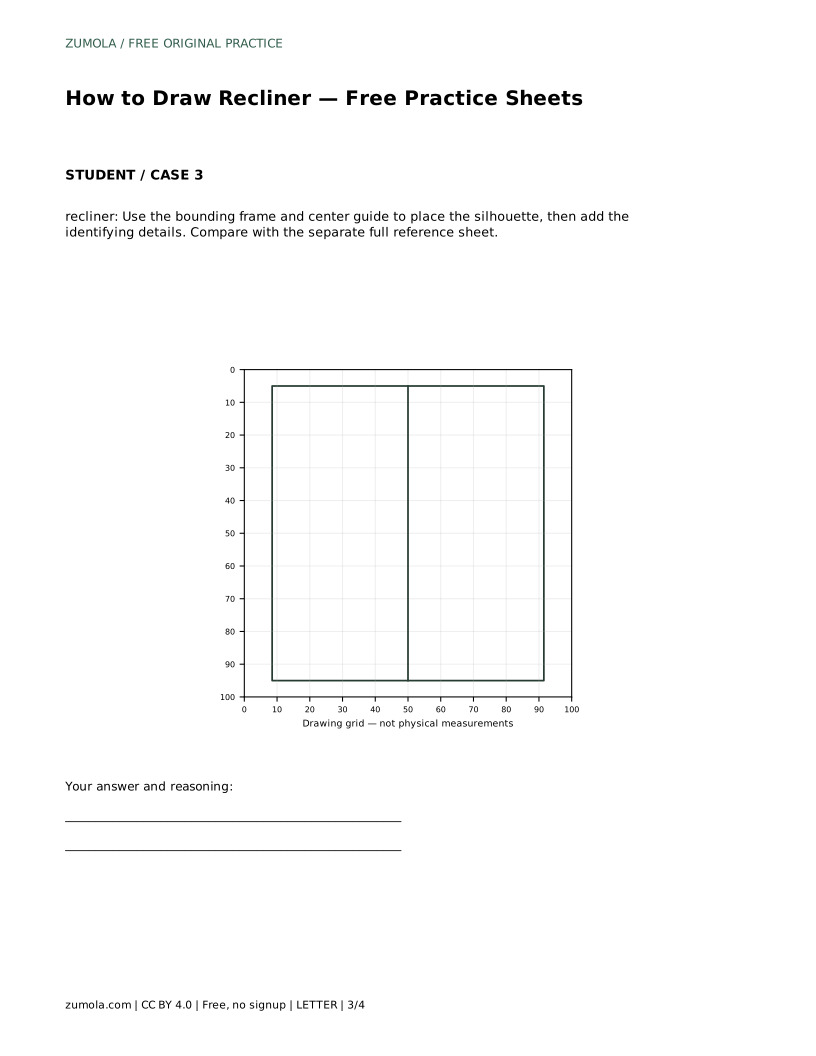
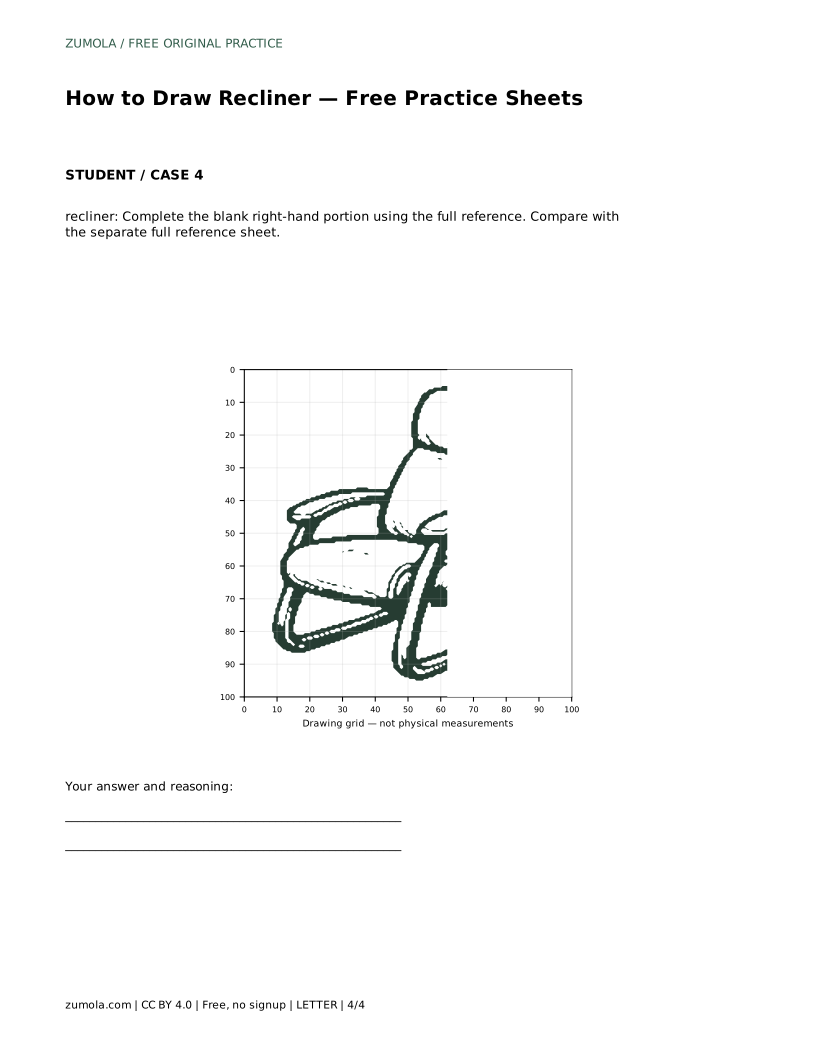
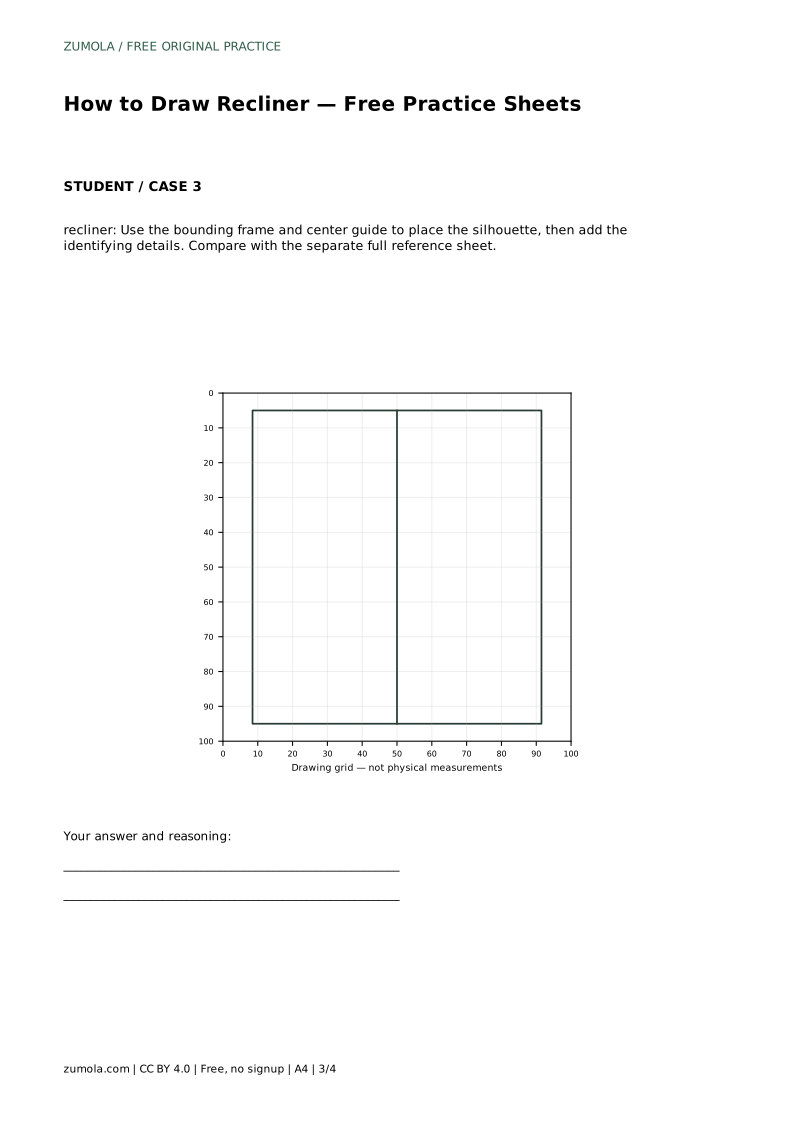
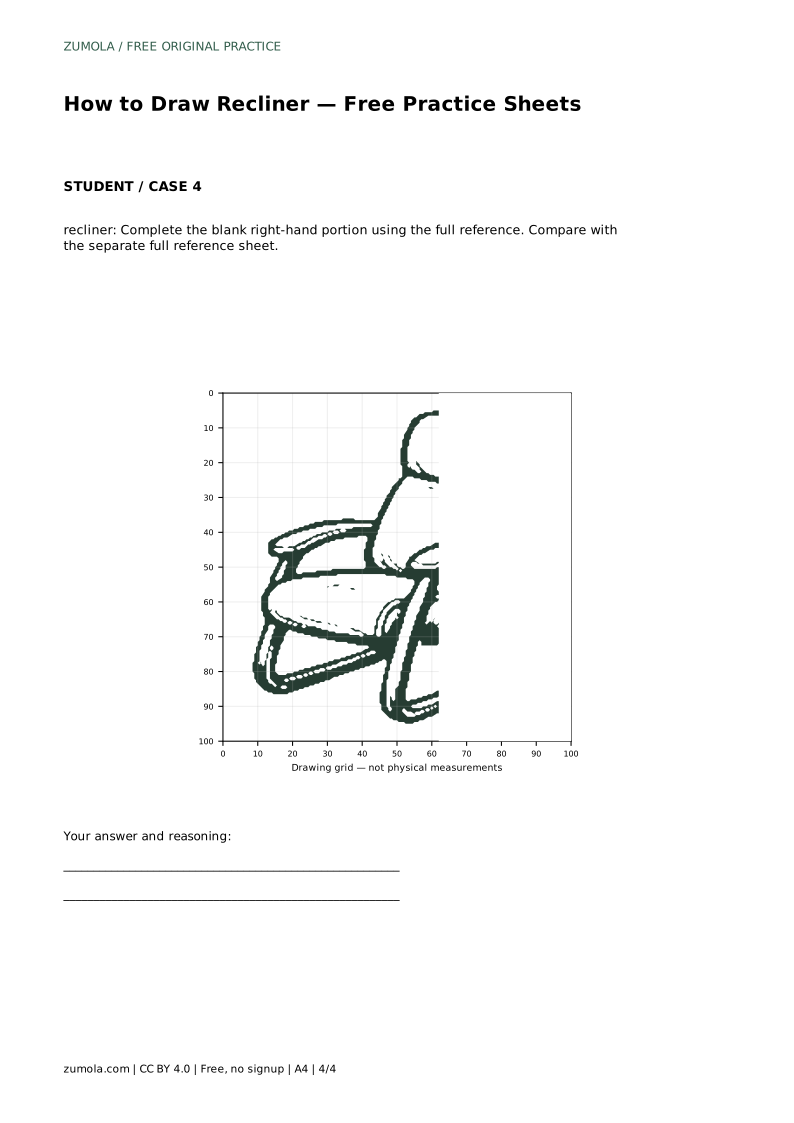
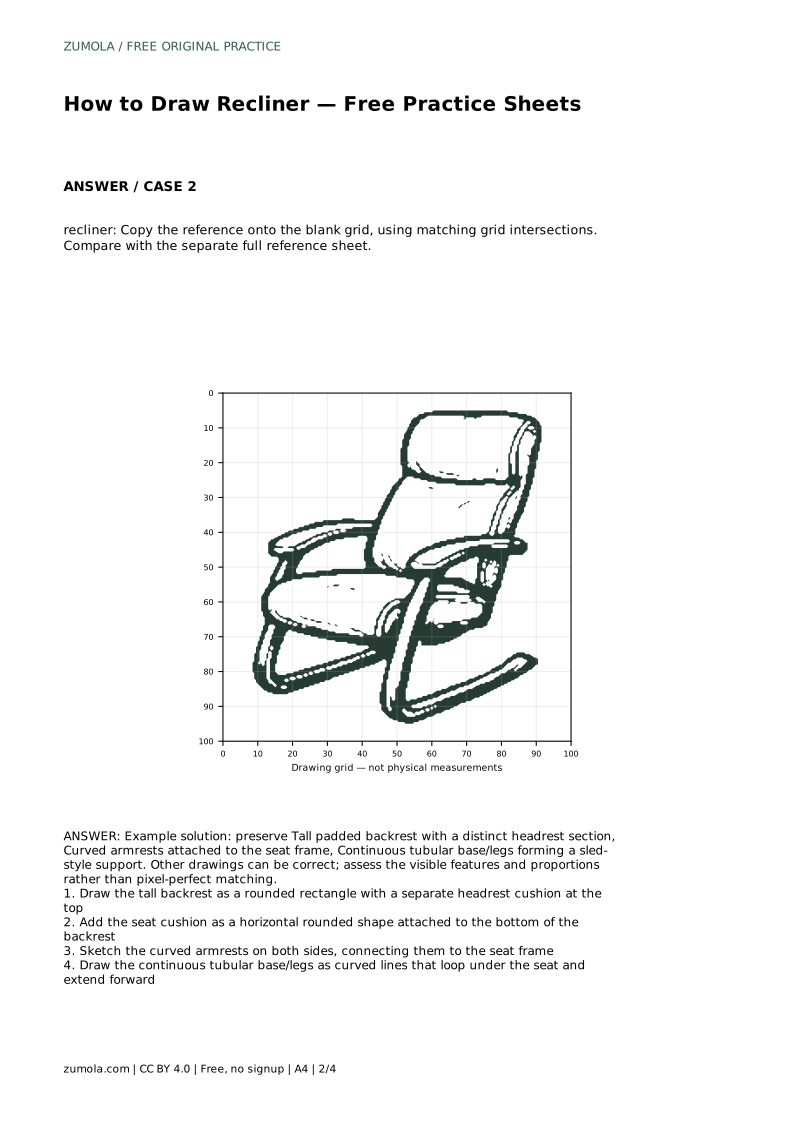
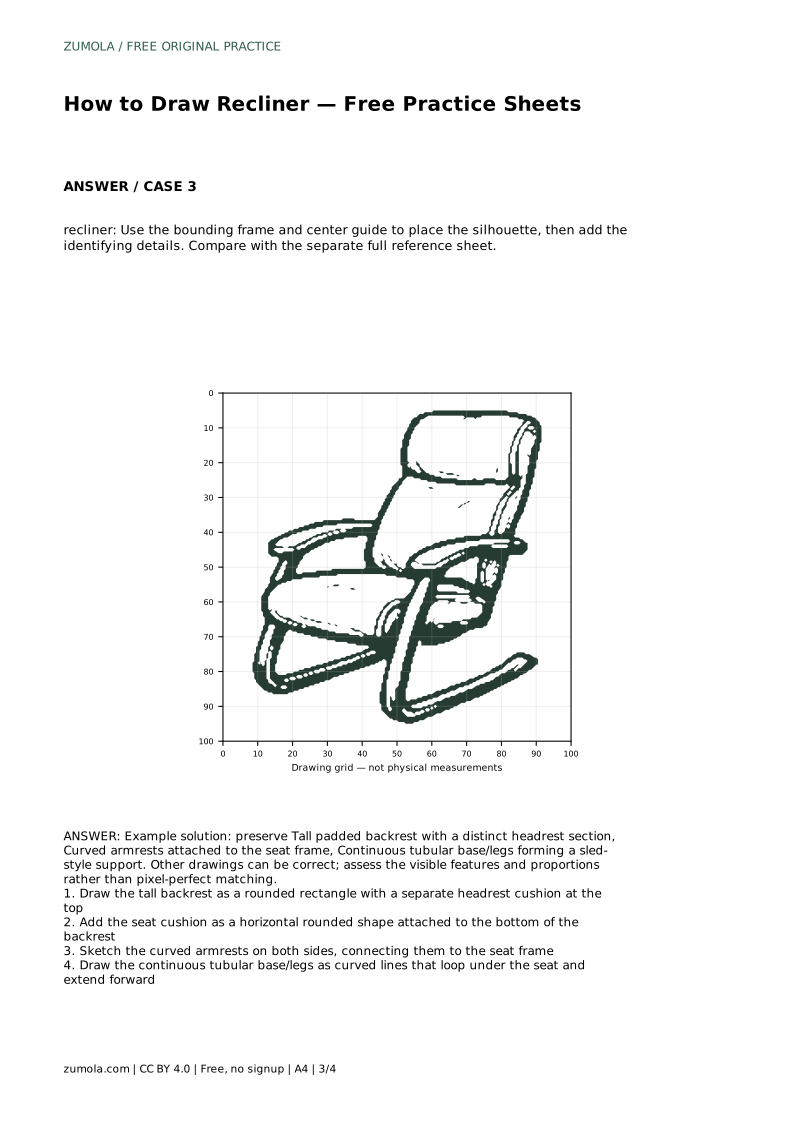
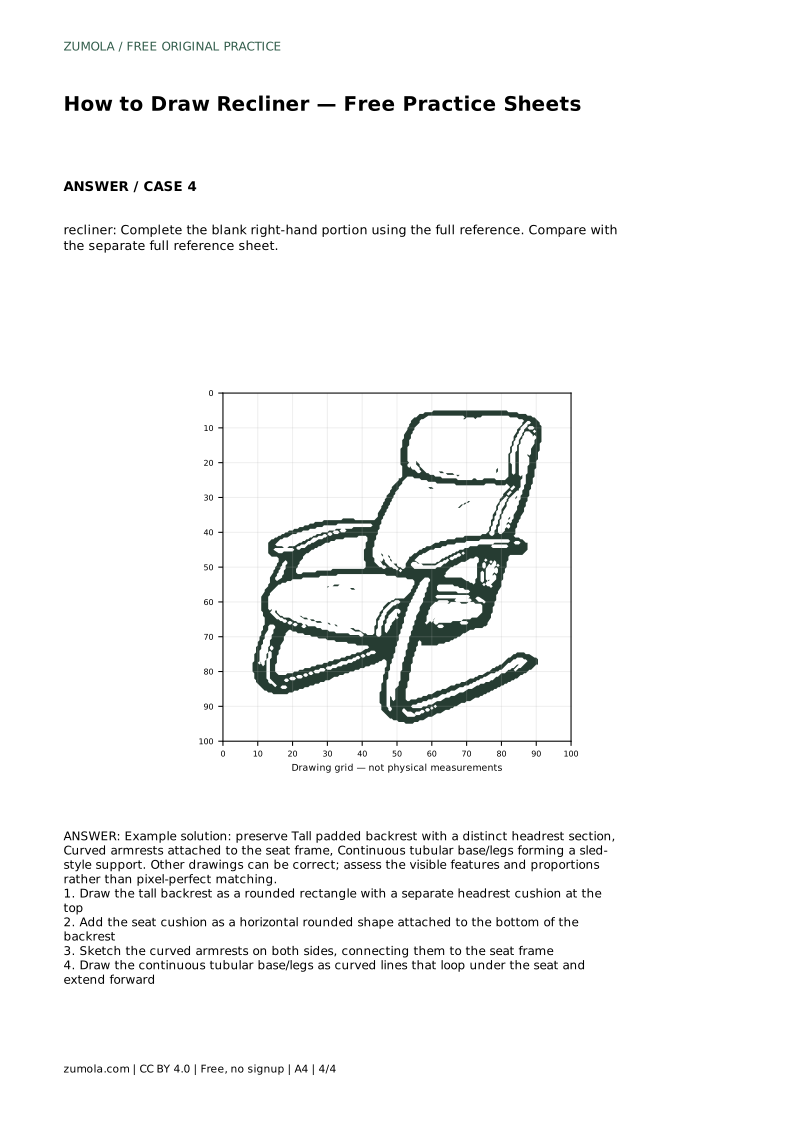
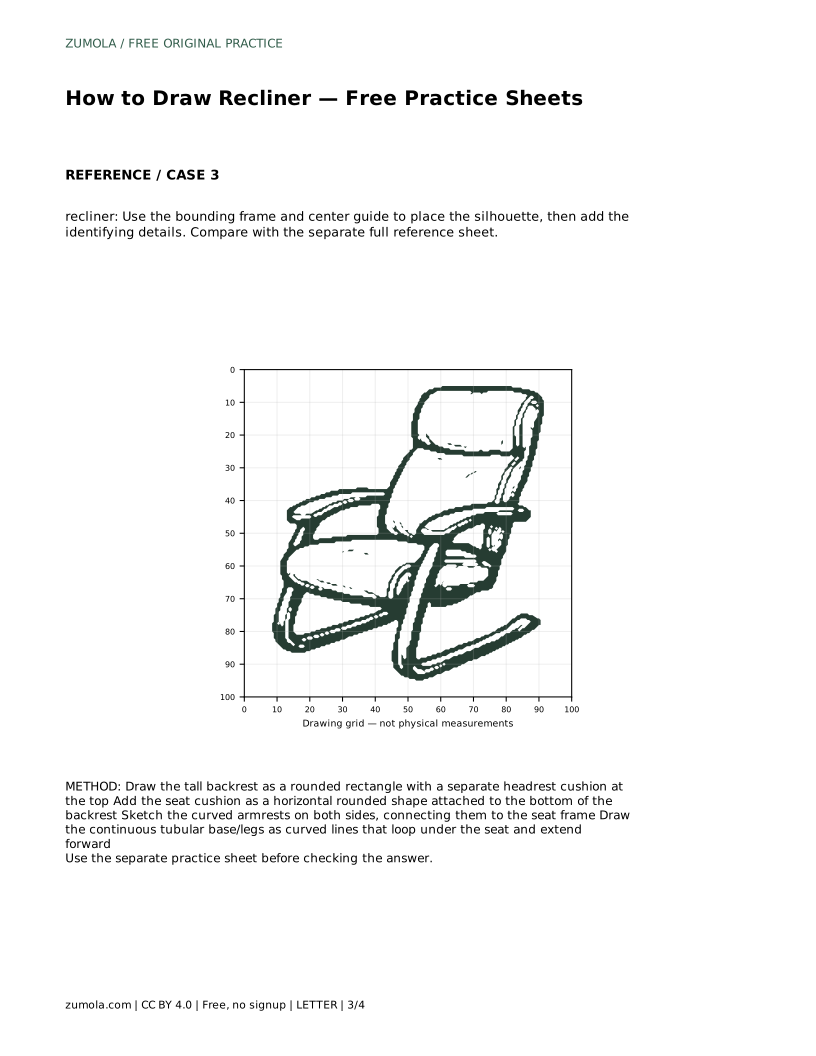
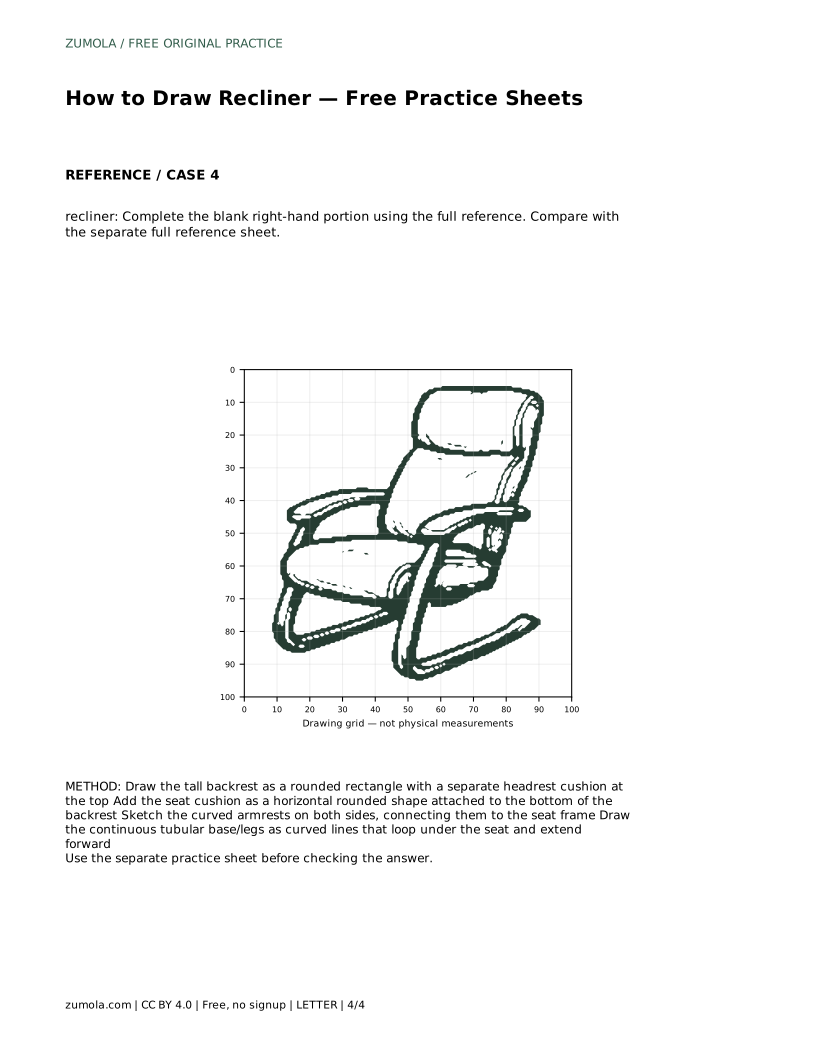
Grid practice asks you to copy the reference onto a blank grid using matching intersections. This trains placement and scale. A bounding frame with a center guide helps you position the overall silhouette before adding details. A partial-reference sheet, where the right-hand portion is blank, tests whether you can complete the missing side using the full reference. In every case, compare your finished drawing with the reference and note which feature drifted.
recliner: Trace the reference outline, then practise the contour independently. Compare with the separate full reference sheet.
Example solution: preserve Tall padded backrest with a distinct headrest section, Curved armrests attached to the seat frame, Continuous tubular base/legs forming a sled-style support. Other drawings can be correct; assess the visible features and proportions rather than pixel-perfect matching. Draw the tall backrest as a rounded rectangle with a separate headrest cushion at the top Add the seat cushion as a horizontal rounded shape attached to the bottom of the backrest Sketch the curved armrests on both sides, connecting them to the seat frame Draw the continuous tubular base/legs as curved lines that loop under the seat and extend forward
No. Several drawings can be correct. Assess whether the tall padded backrest, distinct headrest, curved armrests attached to the seat frame, and continuous tubular base are all visible and proportionally sensible.
Start with the tracing sheet to learn the contour, then move to the grid or bounding-frame sheet to practice placement without tracing.
Compare the height of the backrest to the depth of the seat, and check that both armrests sit at the same height. Use the full reference sheet as your comparison.
All drawing practice · Free coordinate paper
Original resources · CC BY 4.0 · Free for personal and classroom use with attribution.