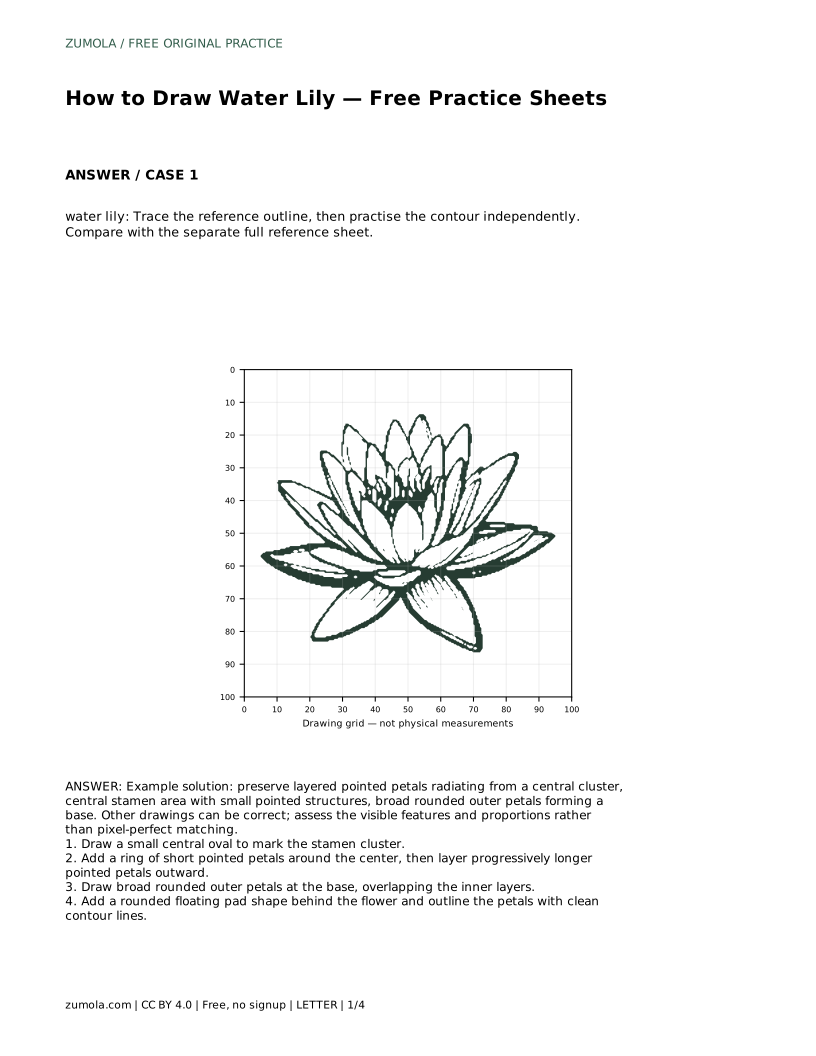
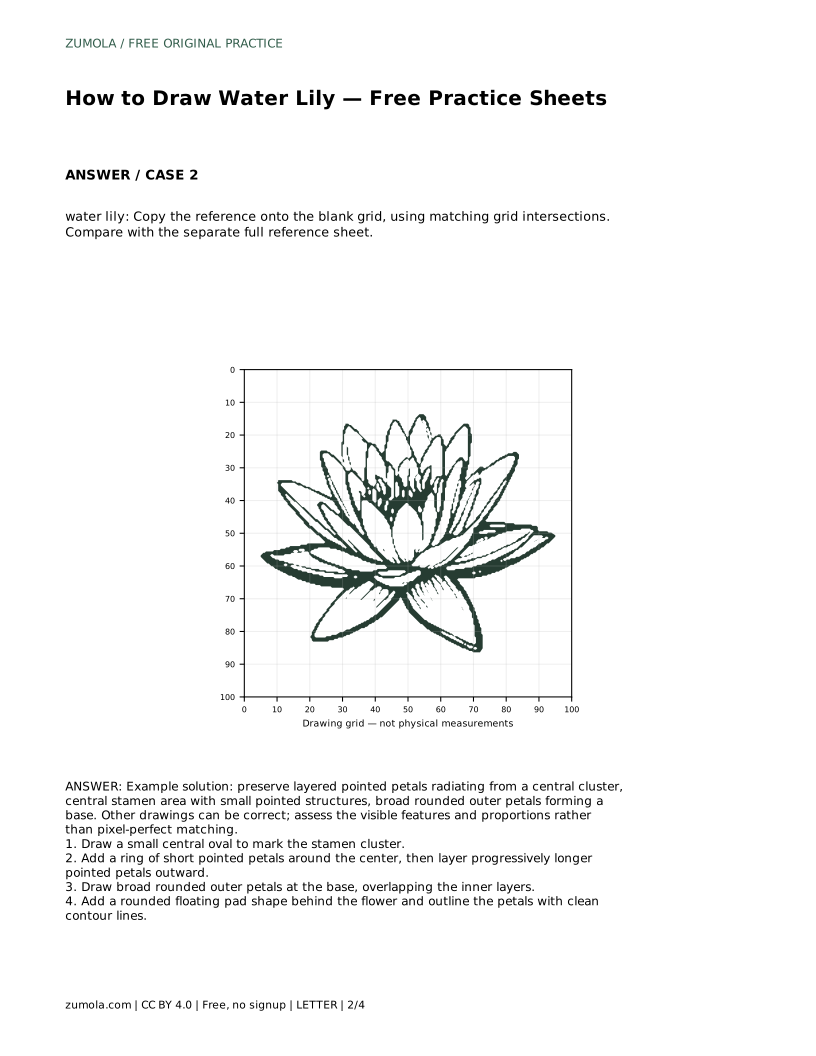
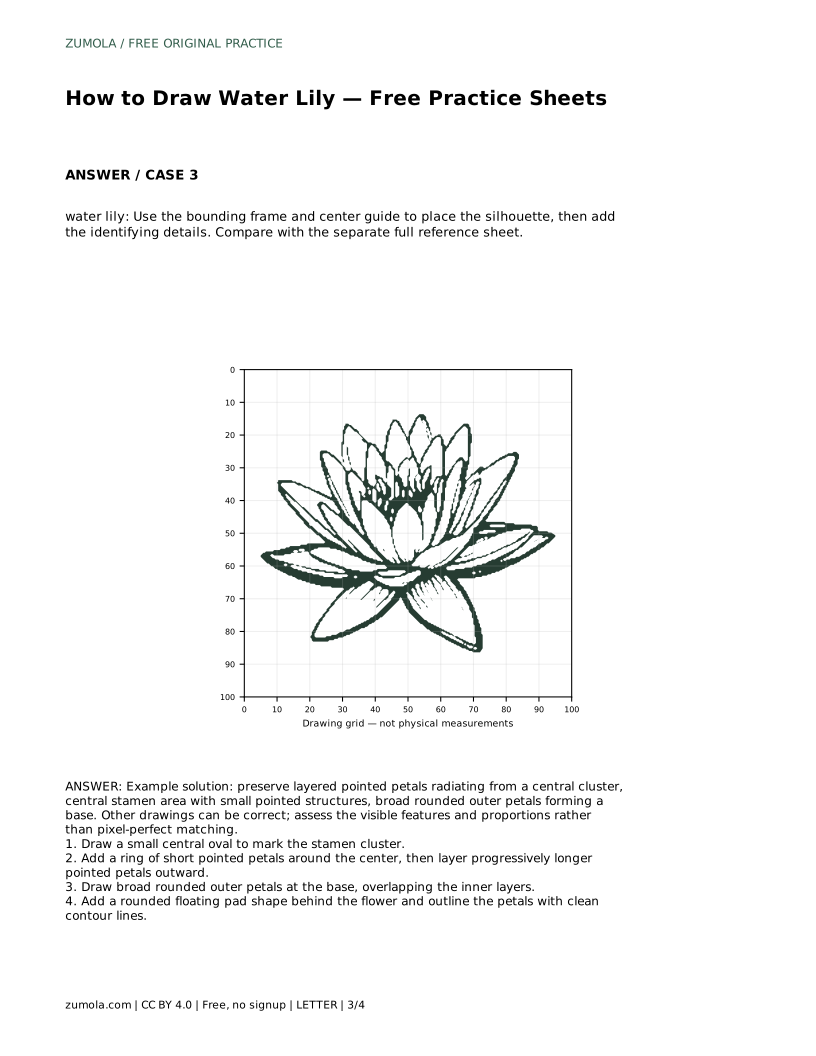
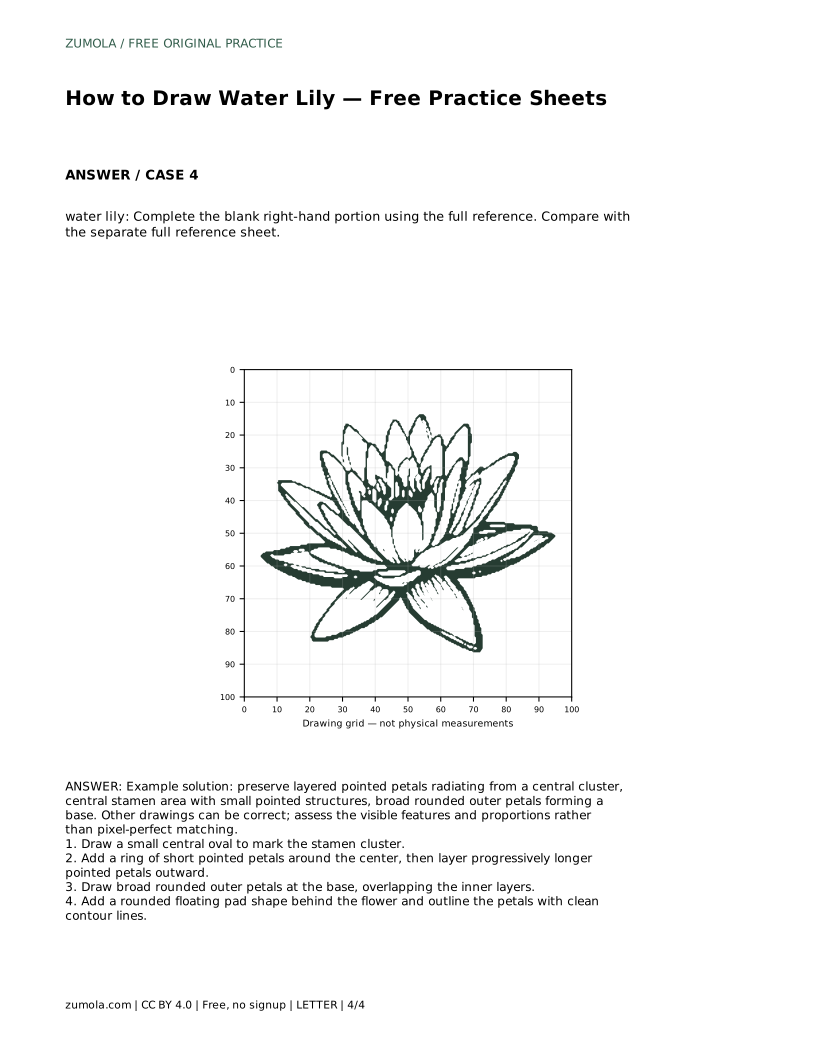
Reference diagrams
LETTER · Download PDF
A4 · Download PDF
Free original resources
Learn to draw a water lily by building a central stamen cluster, layered pointed petals, broad outer petals, and a rounded floating pad, with a feature-based rubric.
Four original cases, with reference diagrams, practice sheets and worked answers. Everything is free; no signup required.
LETTER · Download PDF
A4 · Download PDF
LETTER · Download PDF
A4 · Download PDF
LETTER · Download PDF
A4 · Download PDF
Use A4 or US Letter to match your printer. Use the stated values and conditions to solve each exercise; diagrams are not physical measuring rulers.
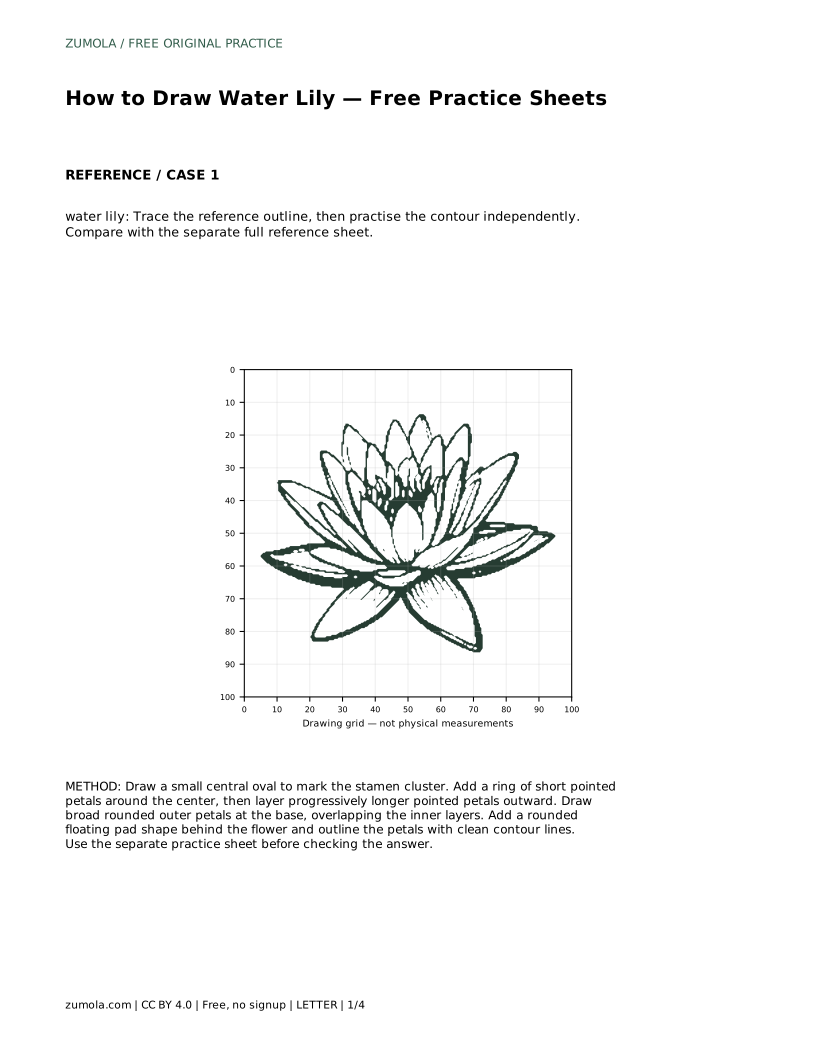
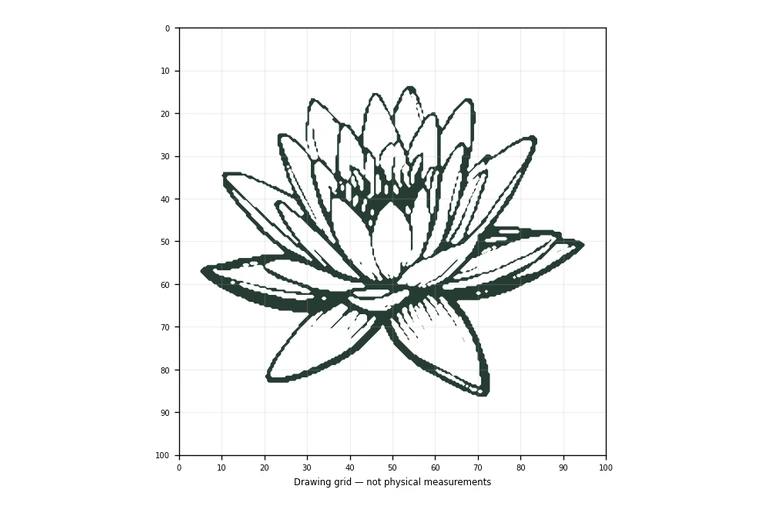
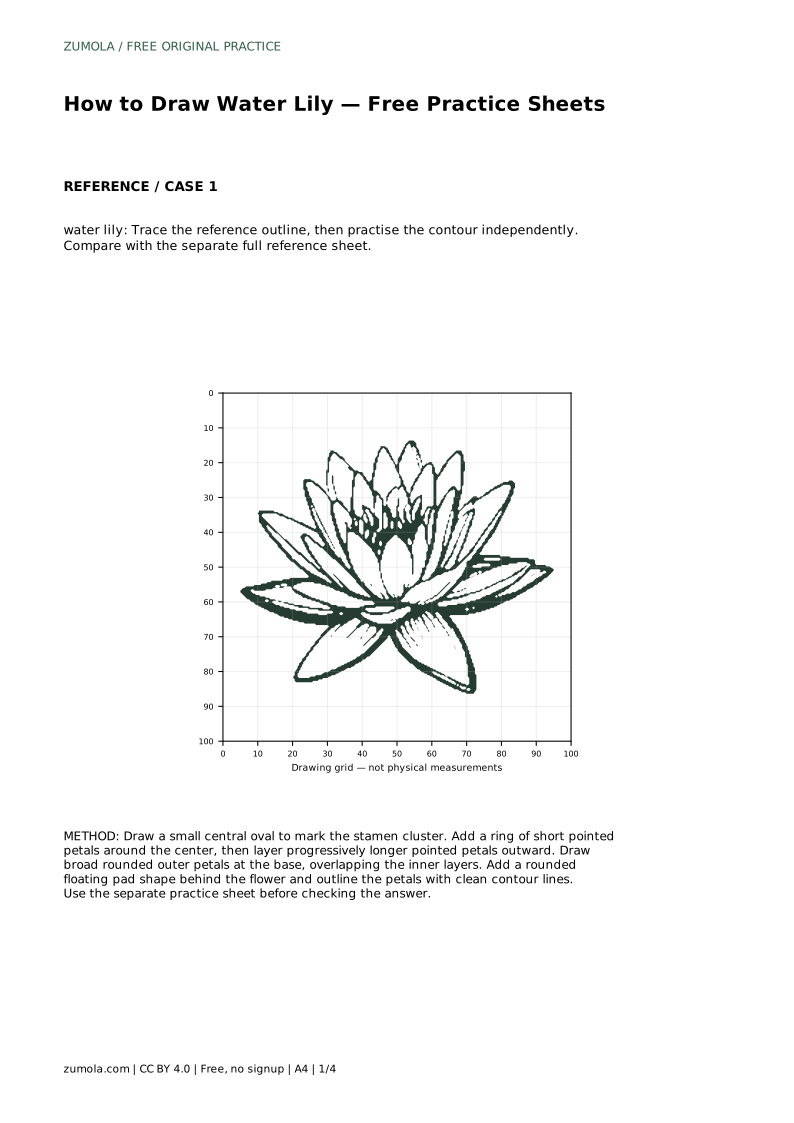
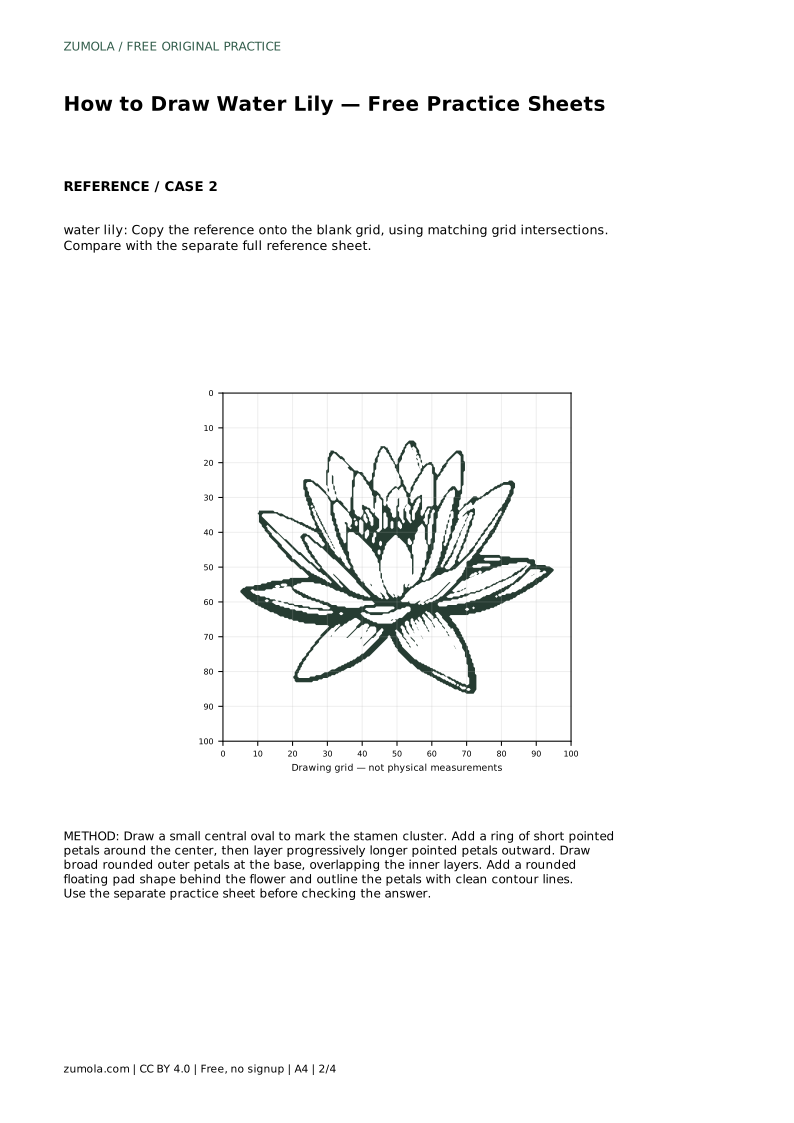
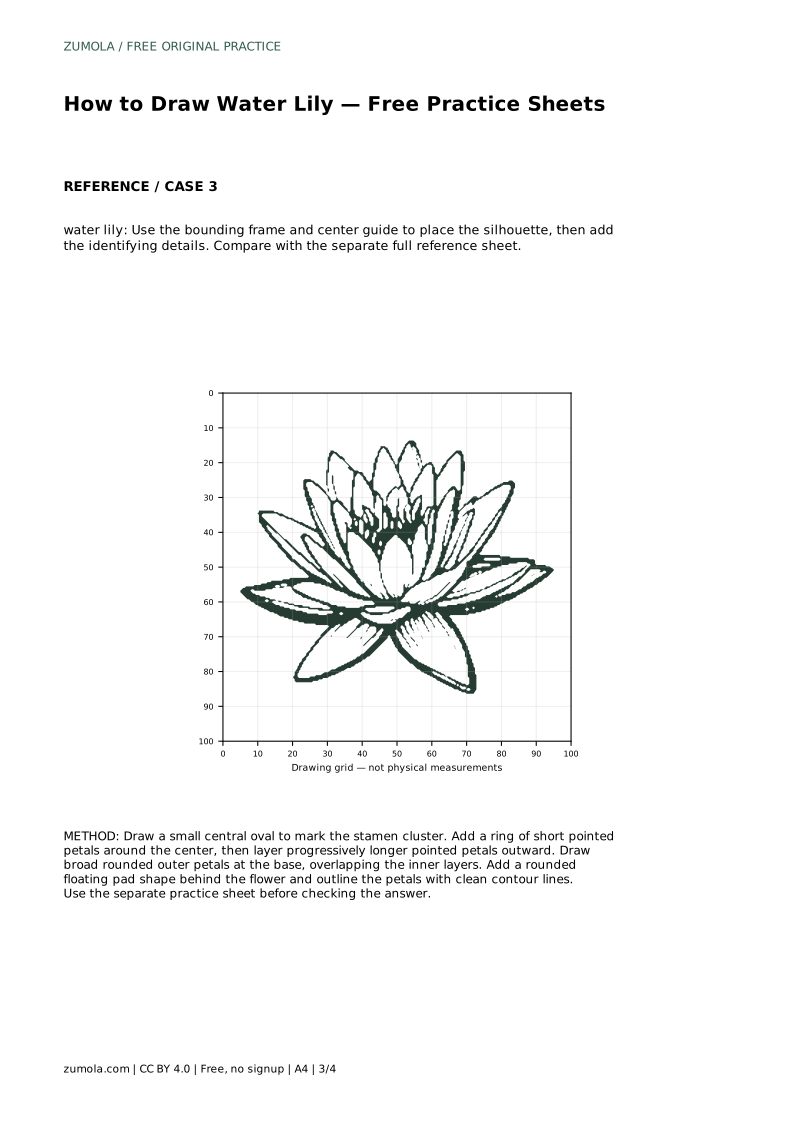
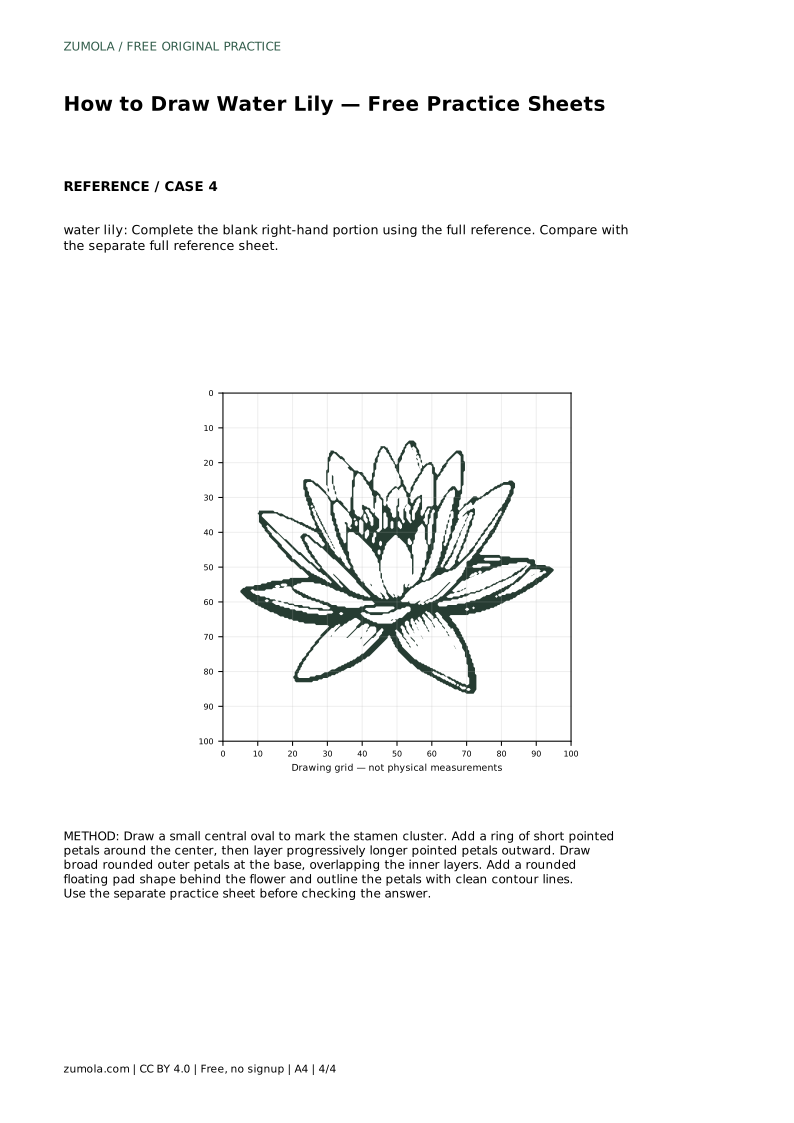
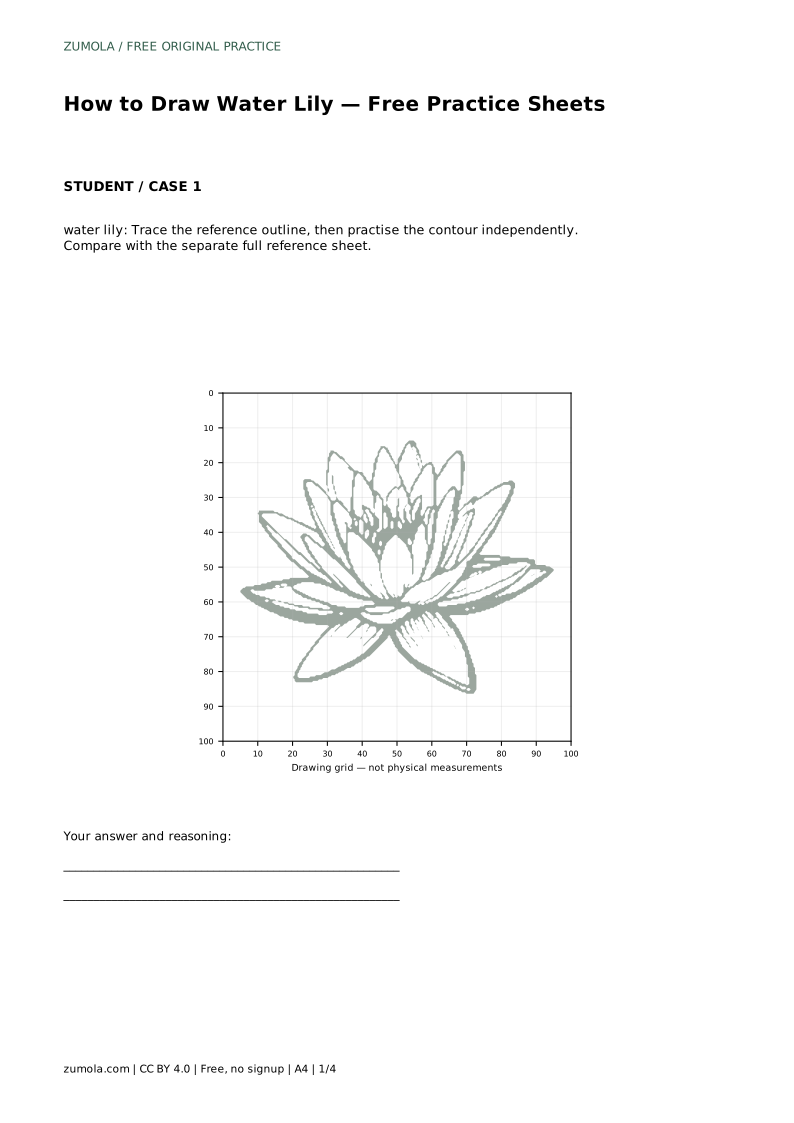
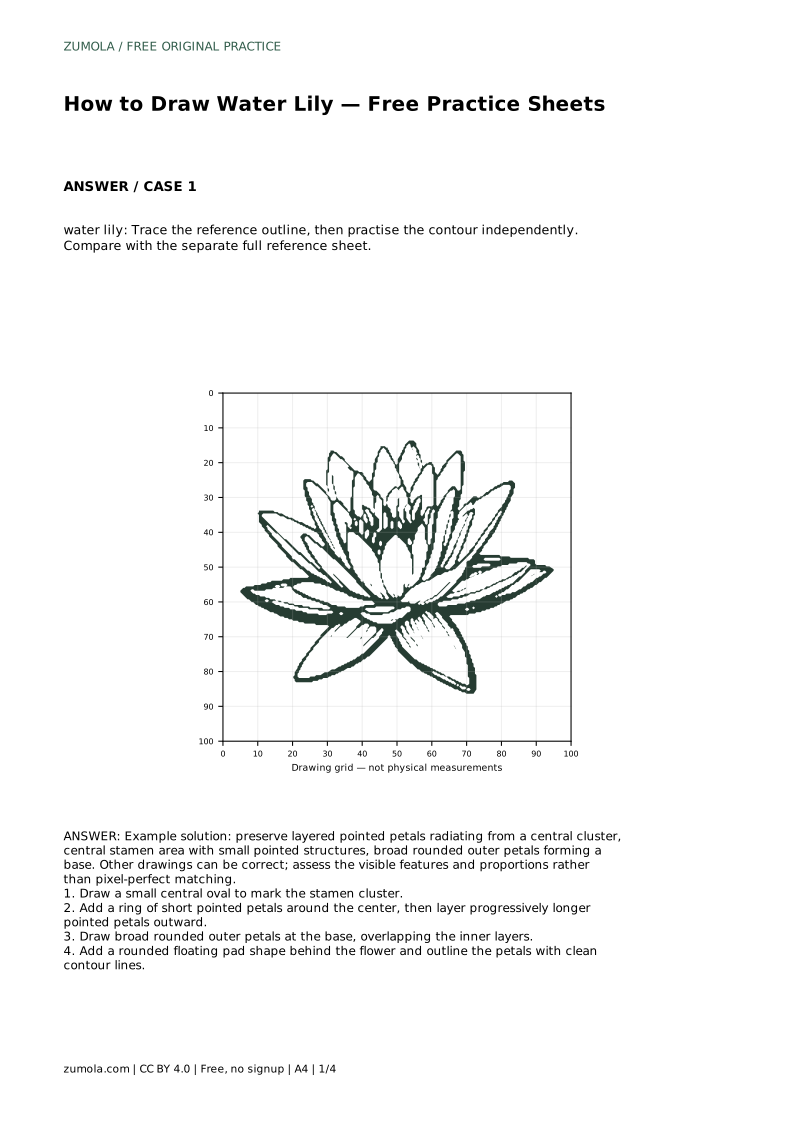
A water lily drawing reads clearly when the flower looks built in layers rather than drawn as one flat star. Start with a small central oval for the stamen cluster, ring it with short pointed petals, add longer pointed petals outward, then place broad rounded outer petals at the base. Finish with a rounded floating pad behind the flower and clean contour lines. The practice sheets let you trace, grid-copy, or complete a partial drawing, but the goal is understanding the structure, not matching every pixel.
Treat the water lily as a set of concentric rings. The center is a compact oval marking the stamen cluster. Around it, draw a first ring of short pointed petals. A second ring uses longer pointed petals, and the outermost layer uses broad rounded petals that form a base under the flower. Each ring should overlap the one inside it slightly, so the flower looks layered rather than flat.
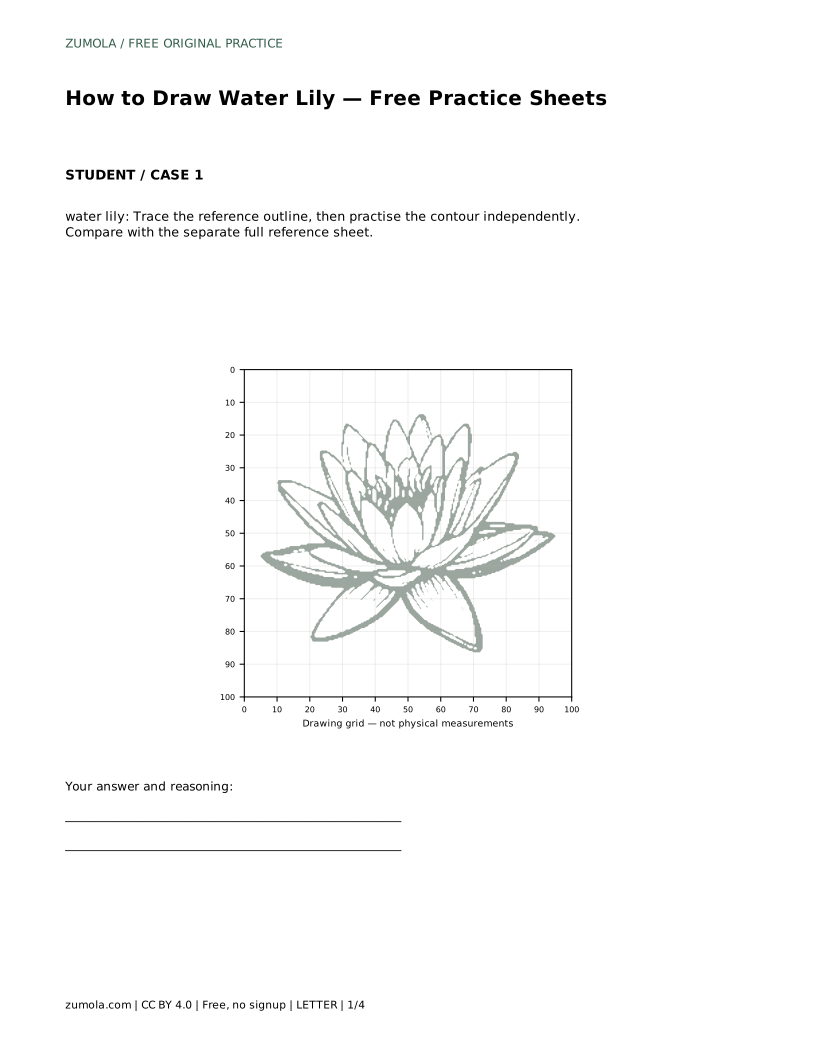
Keep the pointed petals radiating from the center. They do not need identical lengths or angles, but they should point outward consistently. The broad outer petals sit lower and wider, giving the flower a stable base. When you trace the reference outline, notice how the inner petals stay small and the outer petals carry most of the silhouette.
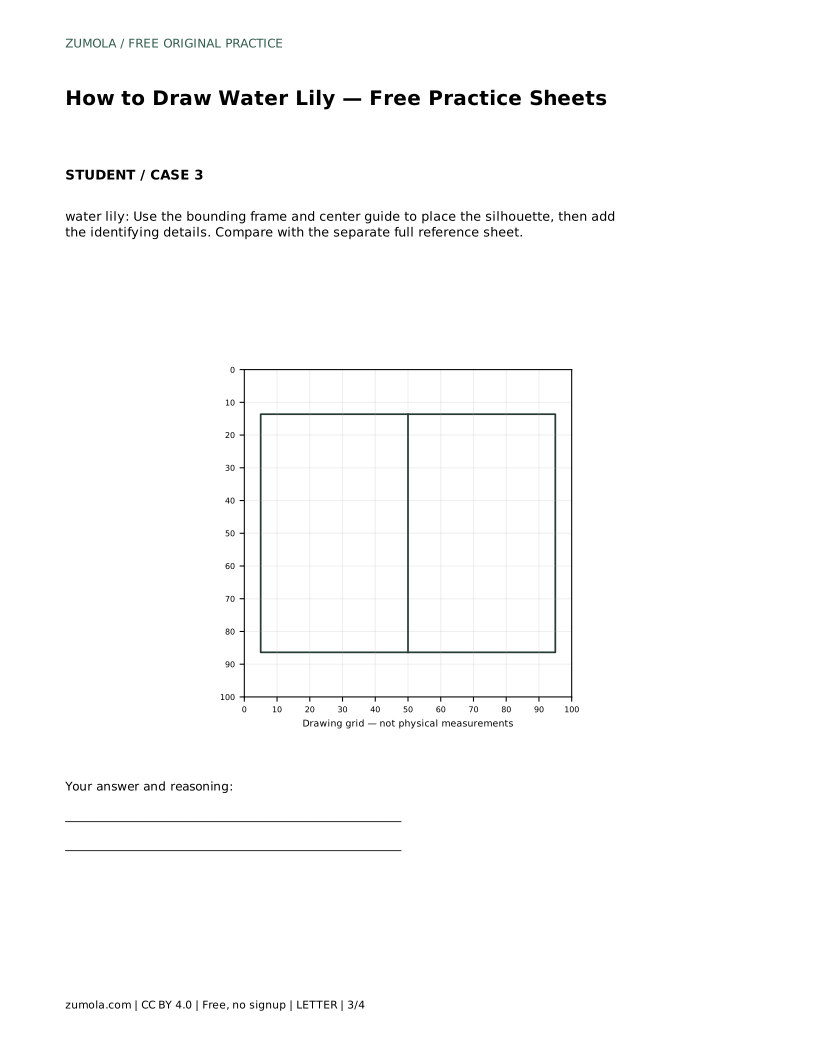
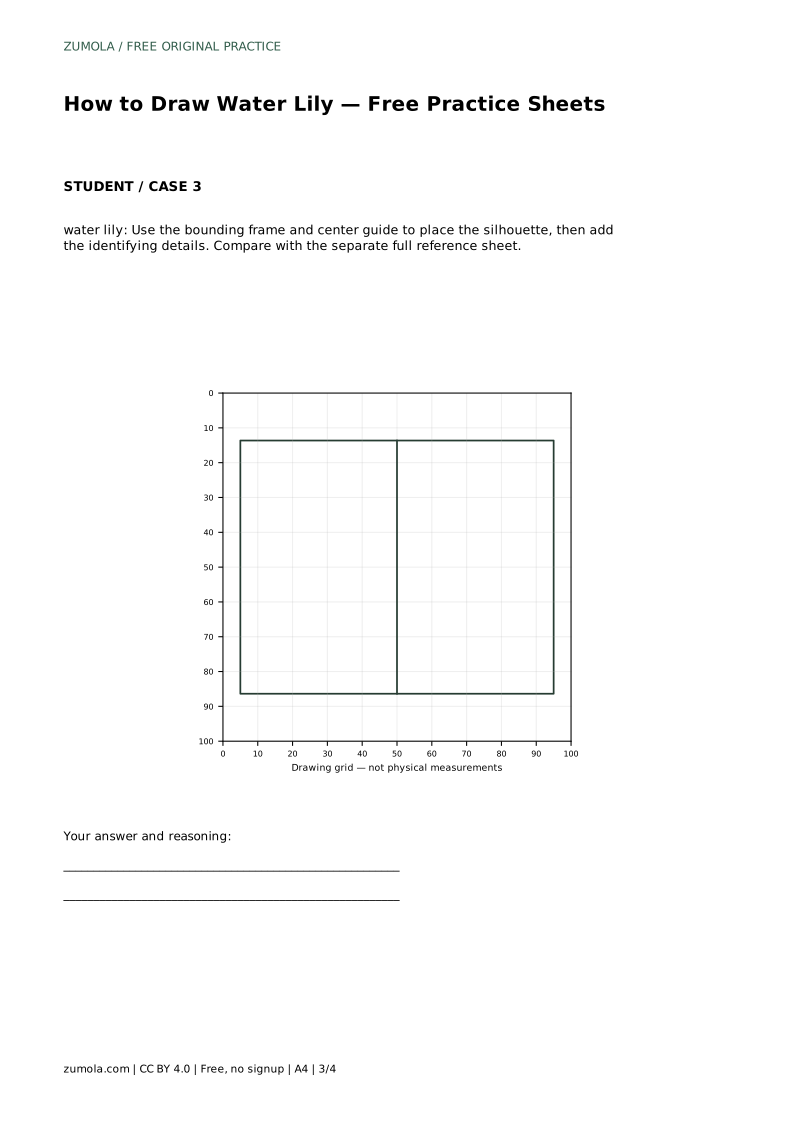
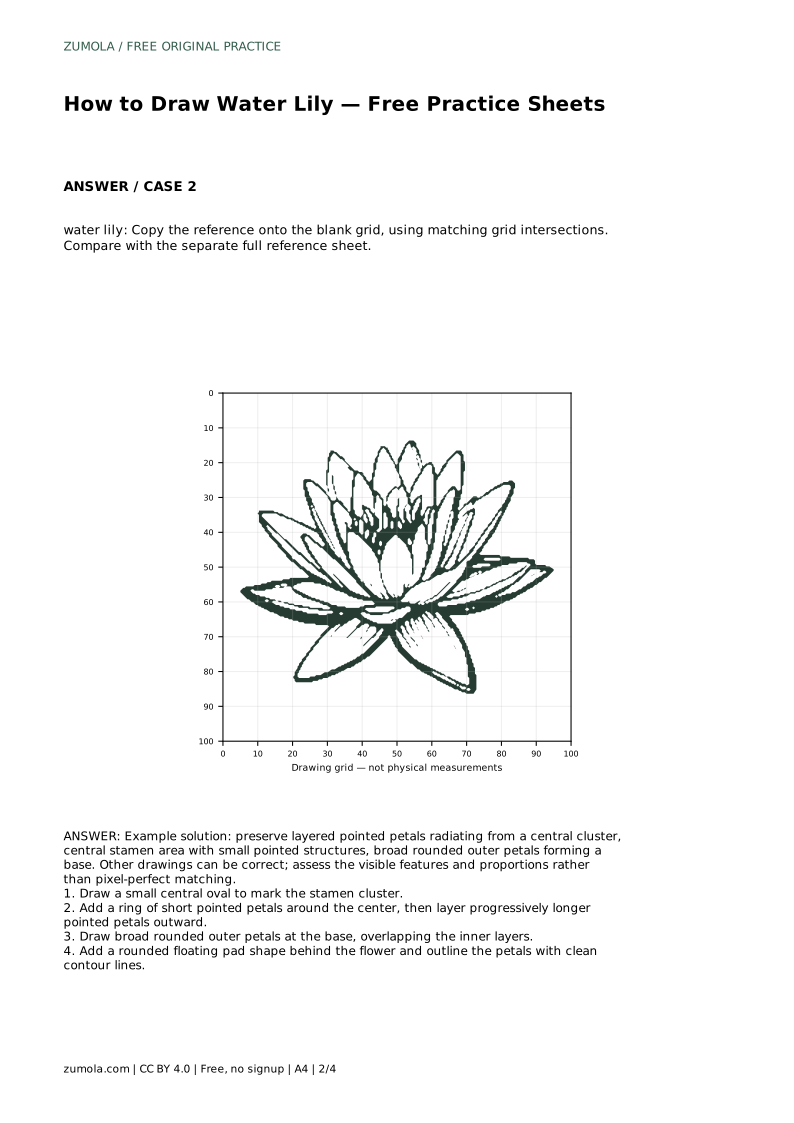
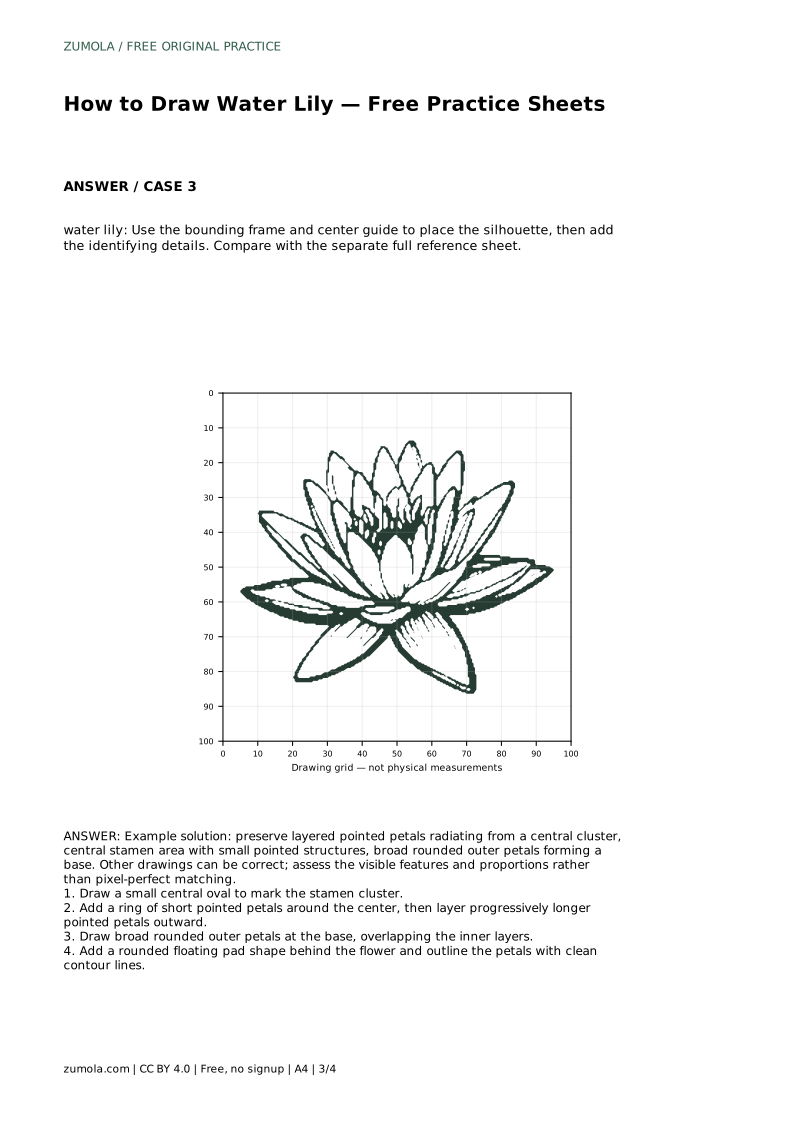
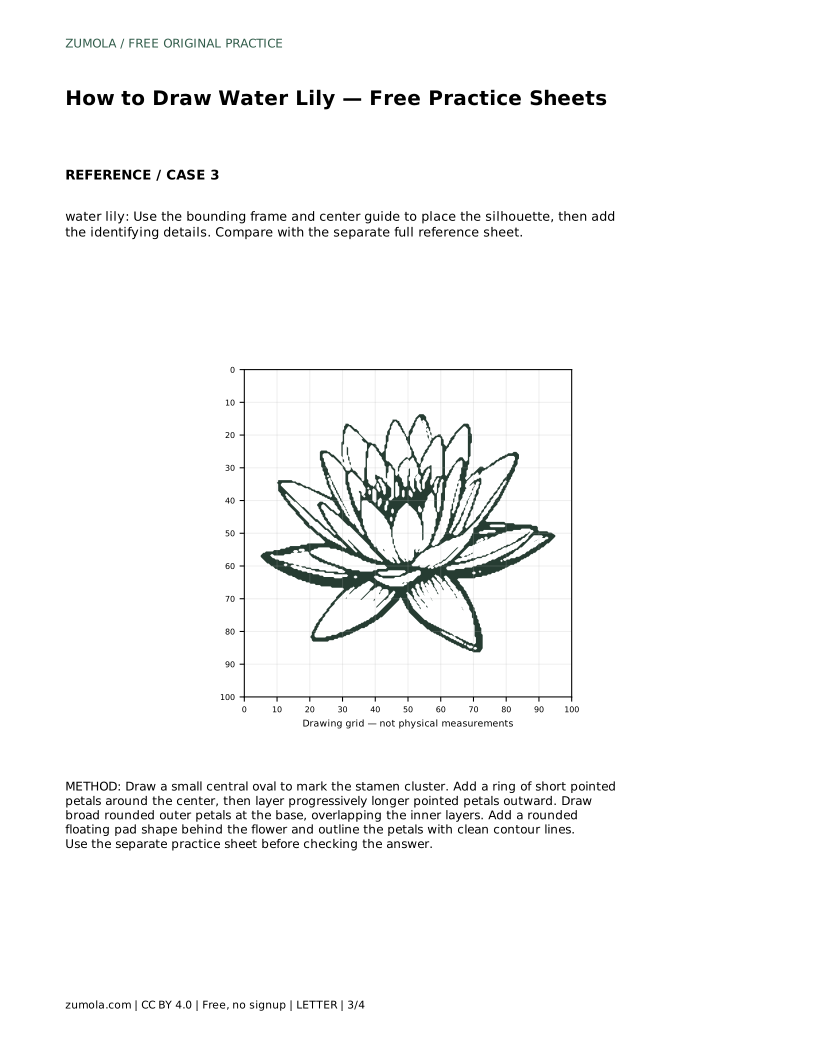
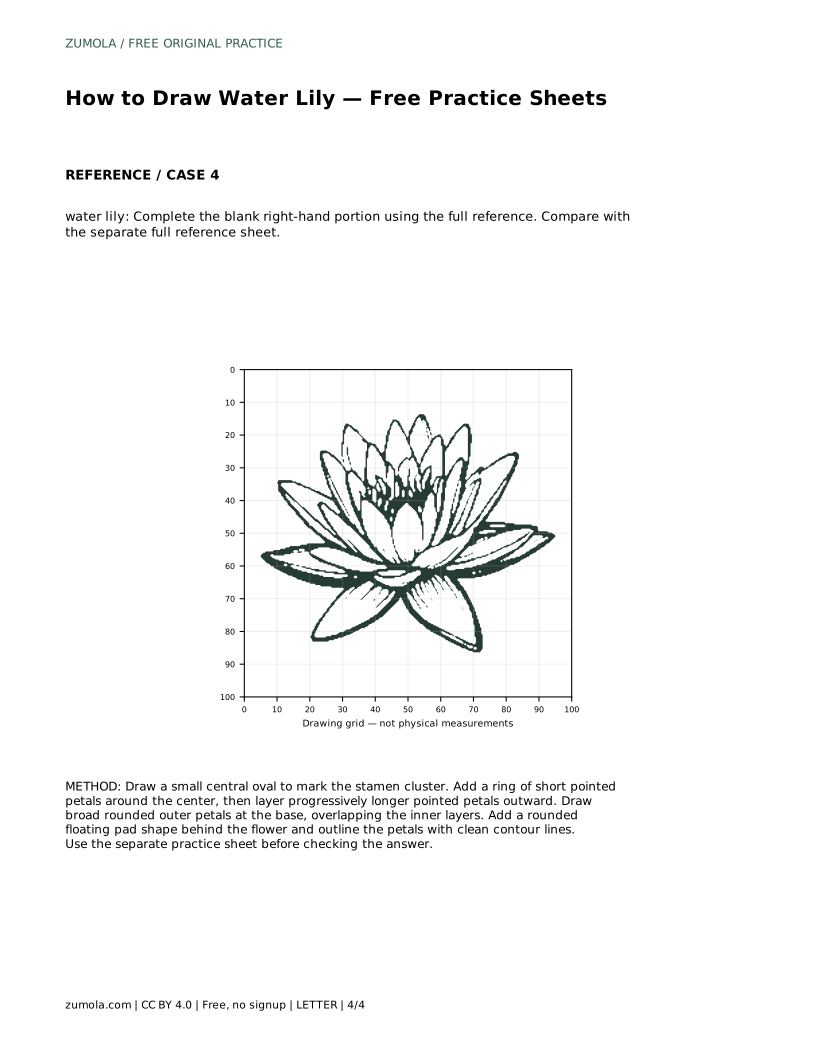
On a grid sheet, use matching intersections to place the center oval and the outer edge of the broad petals. The grid helps you compare distances, such as how far the longest petal reaches from the center compared with the pad's width. On a bounding-frame sheet, use the frame and center guide to position the silhouette first, then add the identifying details.
The floating pad is a rounded shape behind the flower, not a second flower. Let it sit slightly off-center so the bloom does not look pinned to the middle. Where the pad meets the flower, keep the overlap clear: the flower should appear in front.
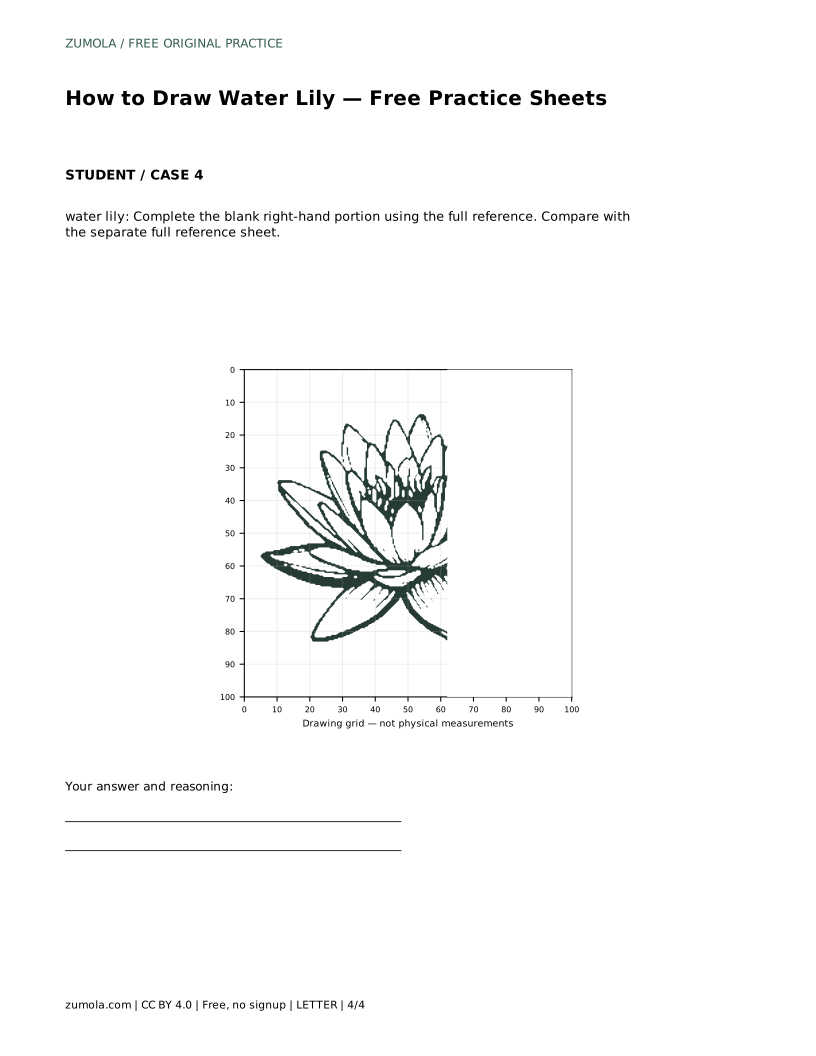
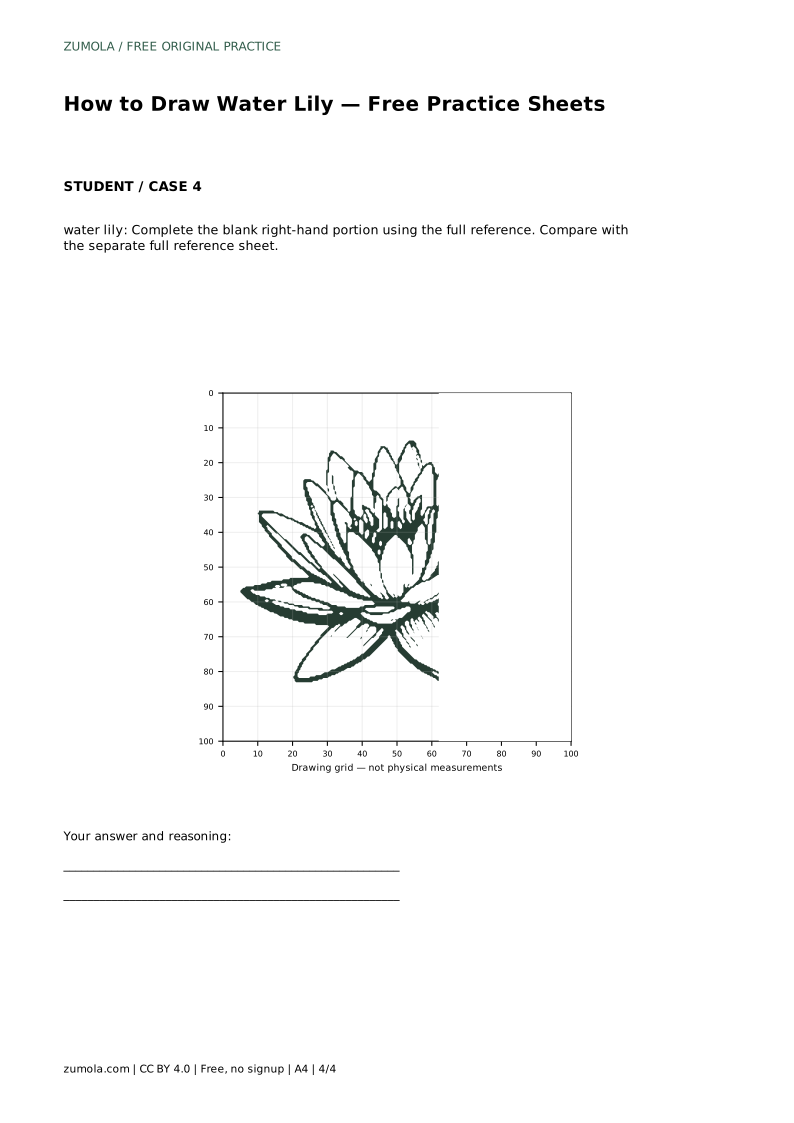
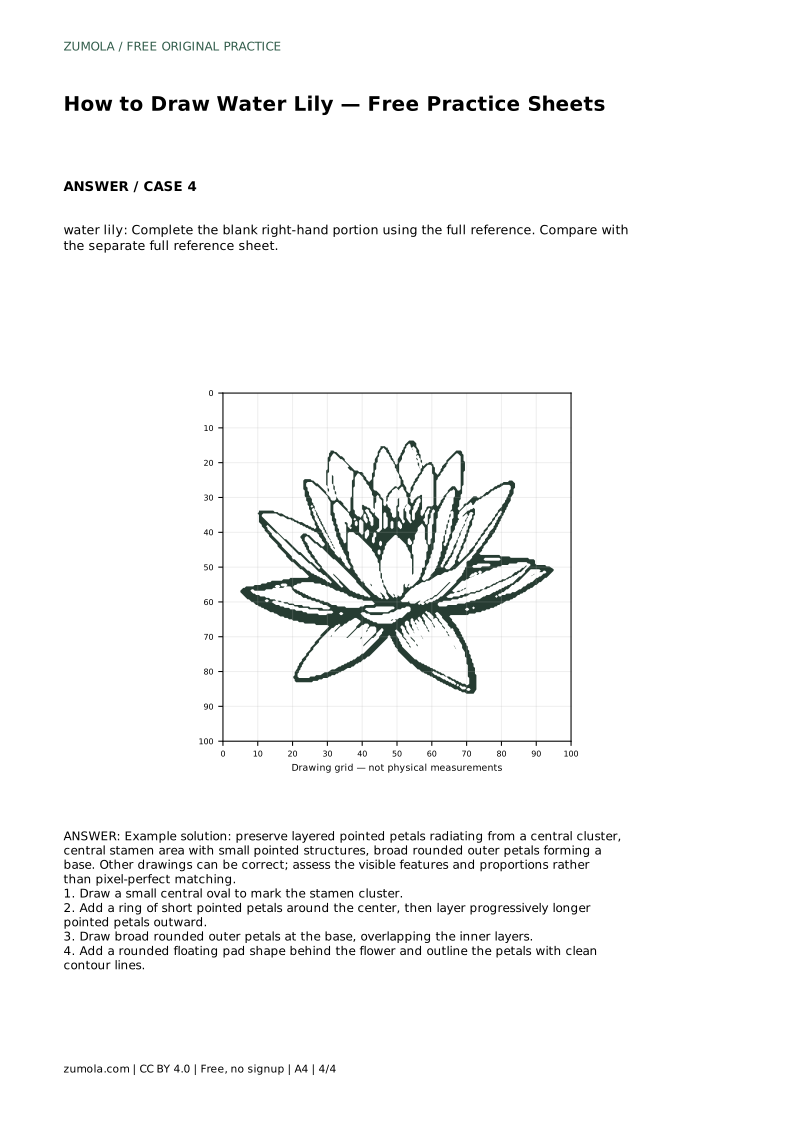
Tracing builds familiarity with the layered outline. Grid copying builds proportion sense. The bounding frame builds placement. Completing a blank right-hand portion builds recall, because you must infer the missing petals from the visible half. Use the separate full reference sheet to compare after drawing, not as a line-by-line crutch.
Art has multiple valid outcomes. A water lily can be drawn with slightly different petal counts, widths, or pad shapes and still be correct. Assess visible features and proportions rather than pixel-perfect matching.
A strong water lily drawing shows layered pointed petals radiating from a central cluster, a central stamen area with small pointed structures, and broad rounded outer petals forming a base. The pad should read as a rounded floating shape behind the flower. Contour lines should be clean enough that each petal layer is distinguishable.
This is a drawing exercise, not a clinical anatomy study. The stamen cluster is a visual marker, not a botanical diagram. Keep the shapes simple and readable.
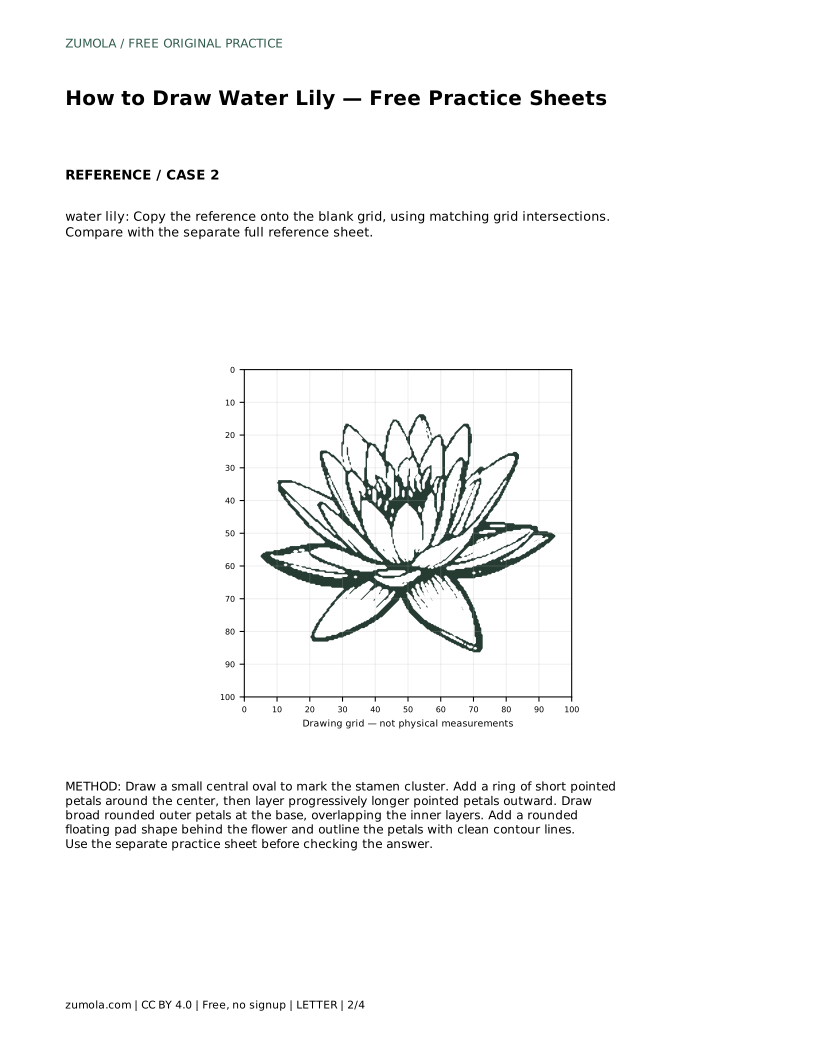
water lily: Trace the reference outline, then practise the contour independently. Compare with the separate full reference sheet.
Example solution: preserve layered pointed petals radiating from a central cluster, central stamen area with small pointed structures, broad rounded outer petals forming a base. Other drawings can be correct; assess the visible features and proportions rather than pixel-perfect matching. Draw a small central oval to mark the stamen cluster. Add a ring of short pointed petals around the center, then layer progressively longer pointed petals outward. Draw broad rounded outer petals at the base, overlapping the inner layers. Add a rounded floating pad shape behind the flower and outline the petals with clean contour lines.
There is no fixed count. Use enough short inner petals to ring the center, a middle ring of longer pointed petals, and a few broad outer petals. The layers matter more than an exact number.
It can overlap slightly behind the flower, but the flower should stay in front. Keep the pad rounded and wide enough to read as a separate floating shape.
The grid helps with placement, but the full reference sheet is the comparison source. Draw first, then compare features and proportions.
All drawing practice · Free coordinate paper
Original resources · CC BY 4.0 · Free for personal and classroom use with attribution.