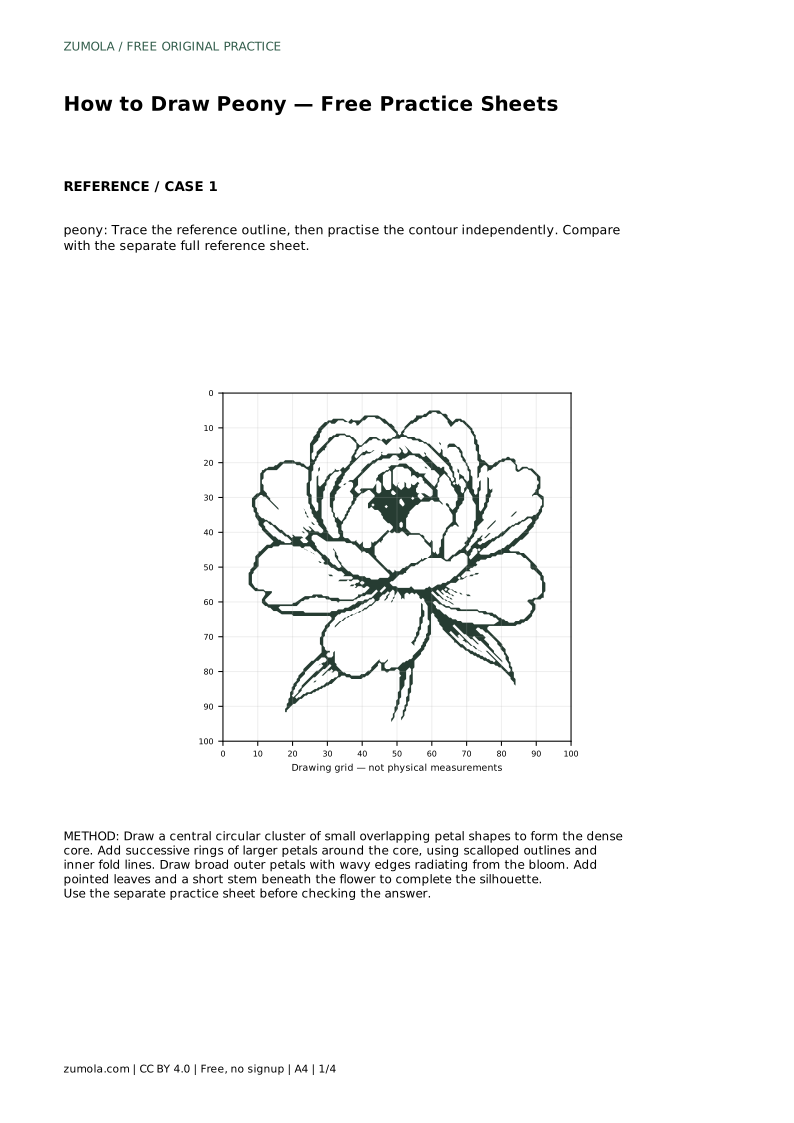
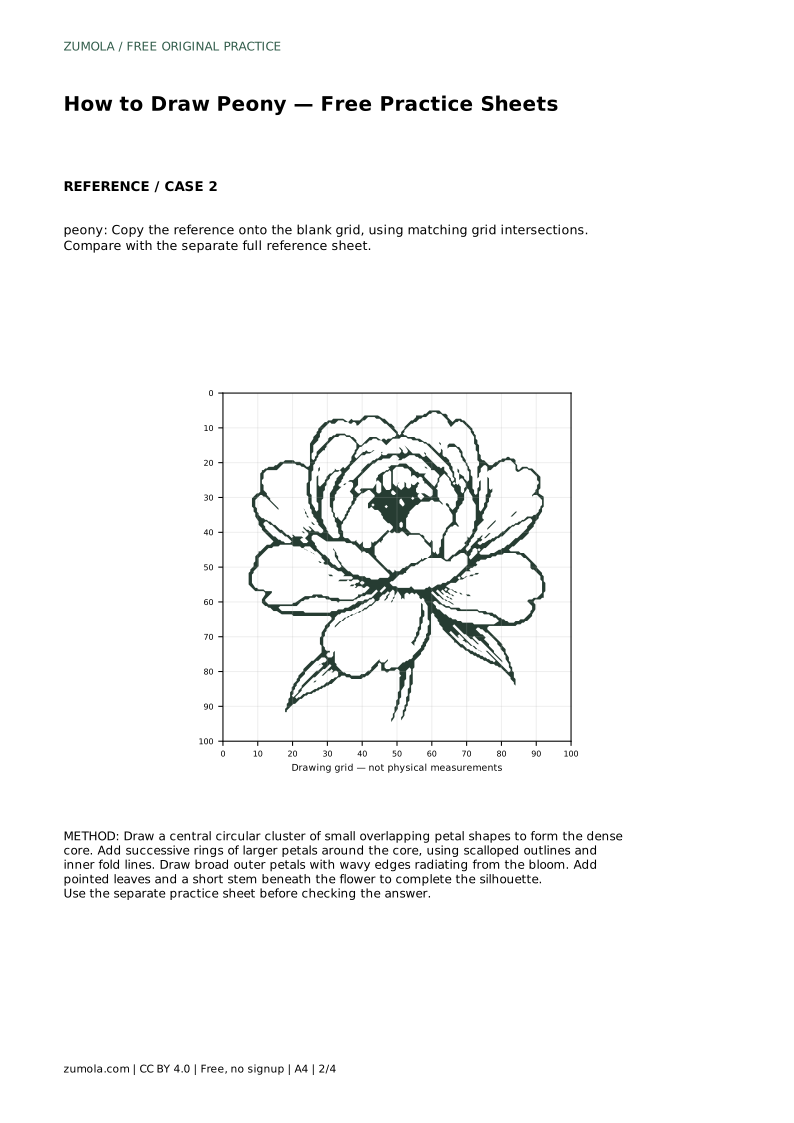
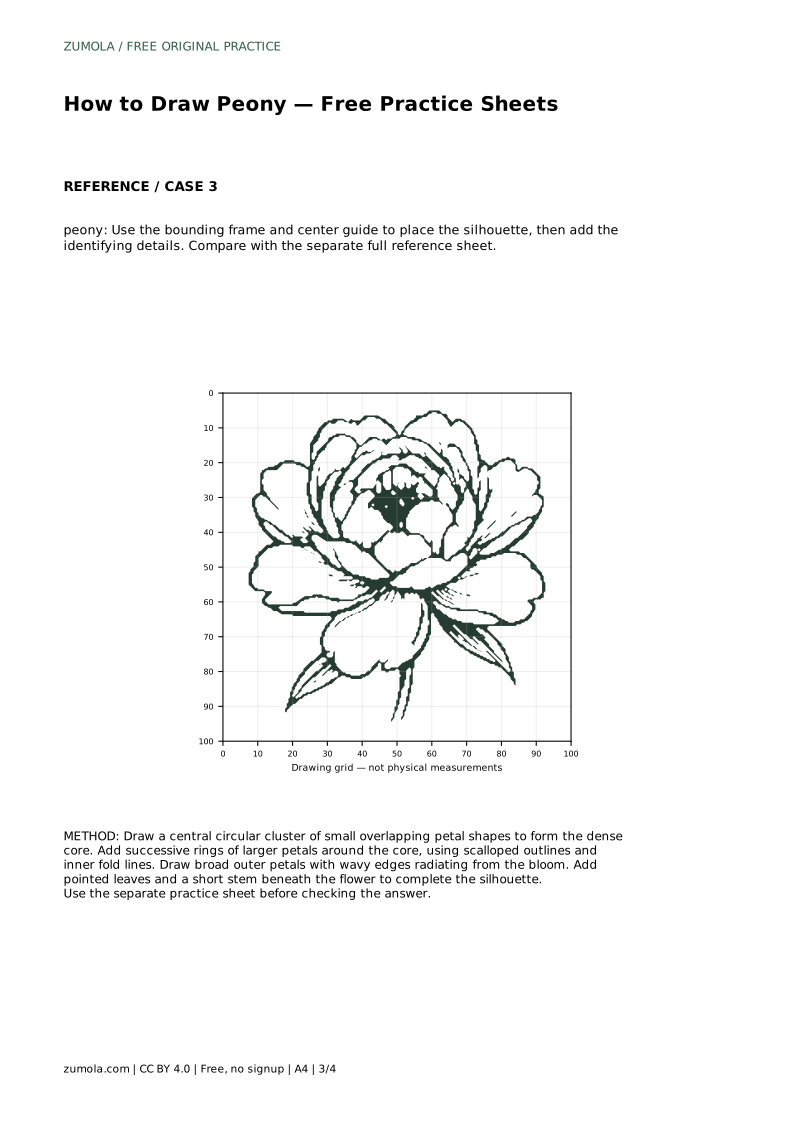
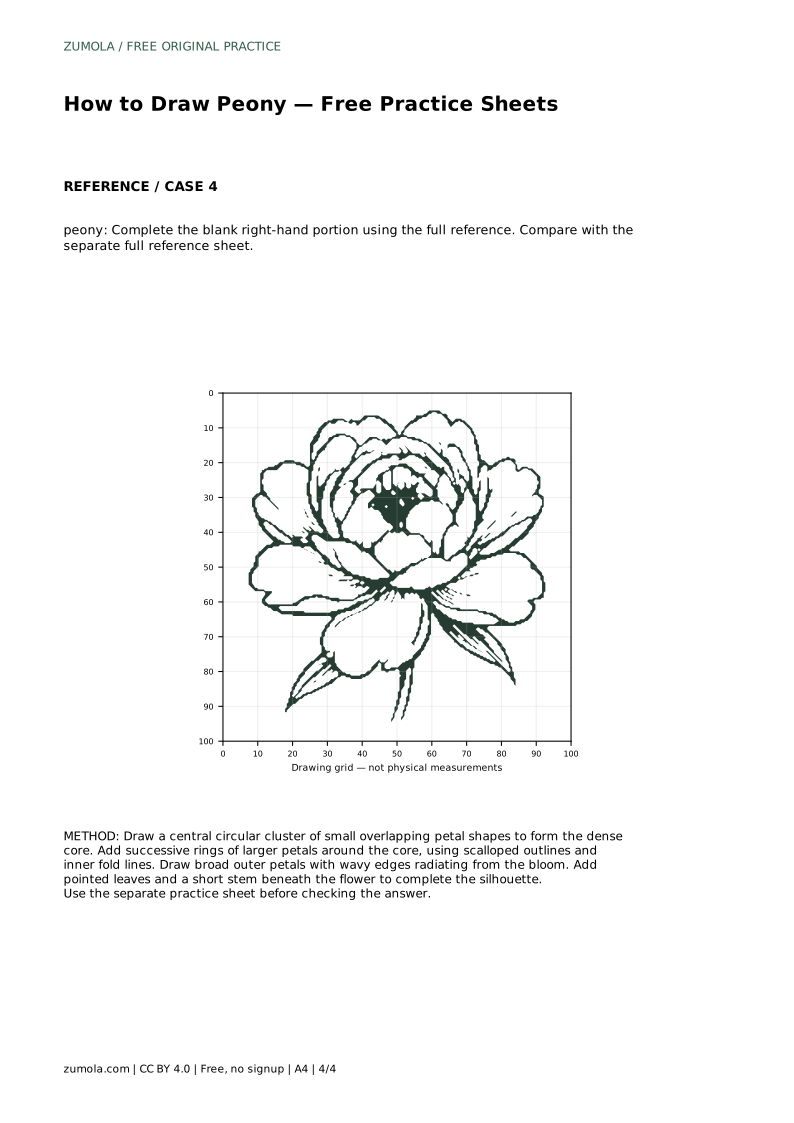
Reference diagrams
LETTER · Download PDF
A4 · Download PDF
Free original resources
Learn to draw a peony by building a dense ruffled bloom from a small central core outward, then adding broad outer petals, pointed leaves, and a short stem.
Four original cases, with reference diagrams, practice sheets and worked answers. Everything is free; no signup required.
LETTER · Download PDF
A4 · Download PDF
LETTER · Download PDF
A4 · Download PDF
LETTER · Download PDF
A4 · Download PDF
Use A4 or US Letter to match your printer. Use the stated values and conditions to solve each exercise; diagrams are not physical measuring rulers.
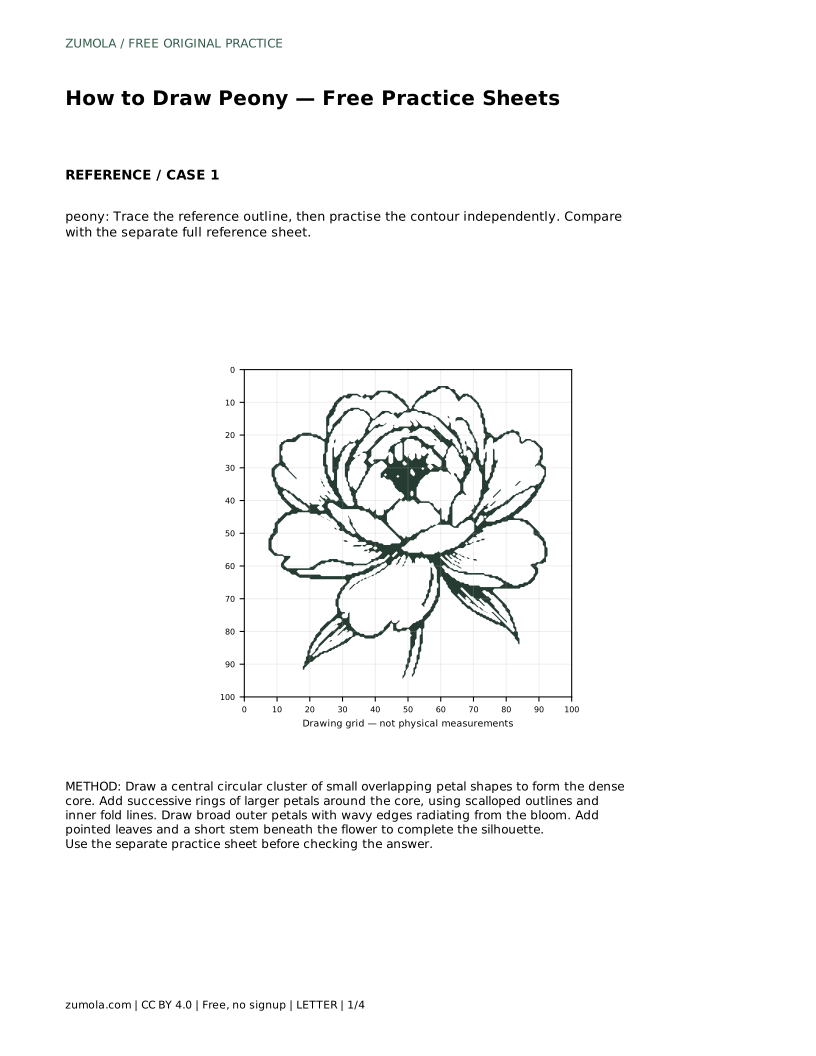
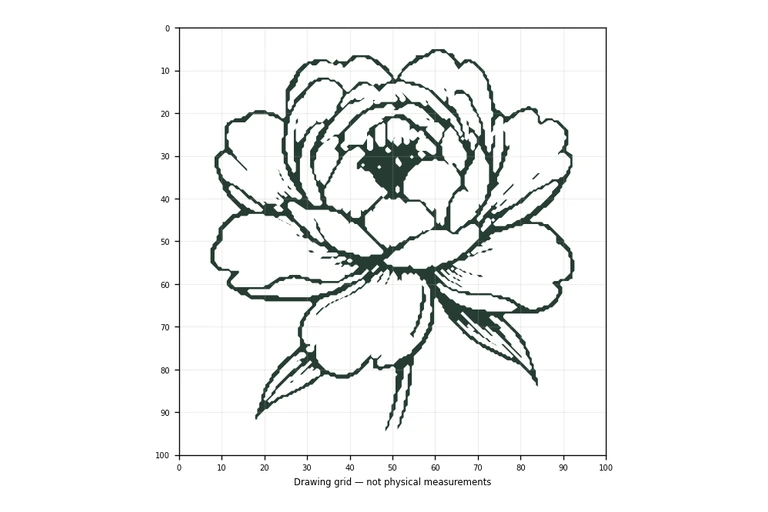
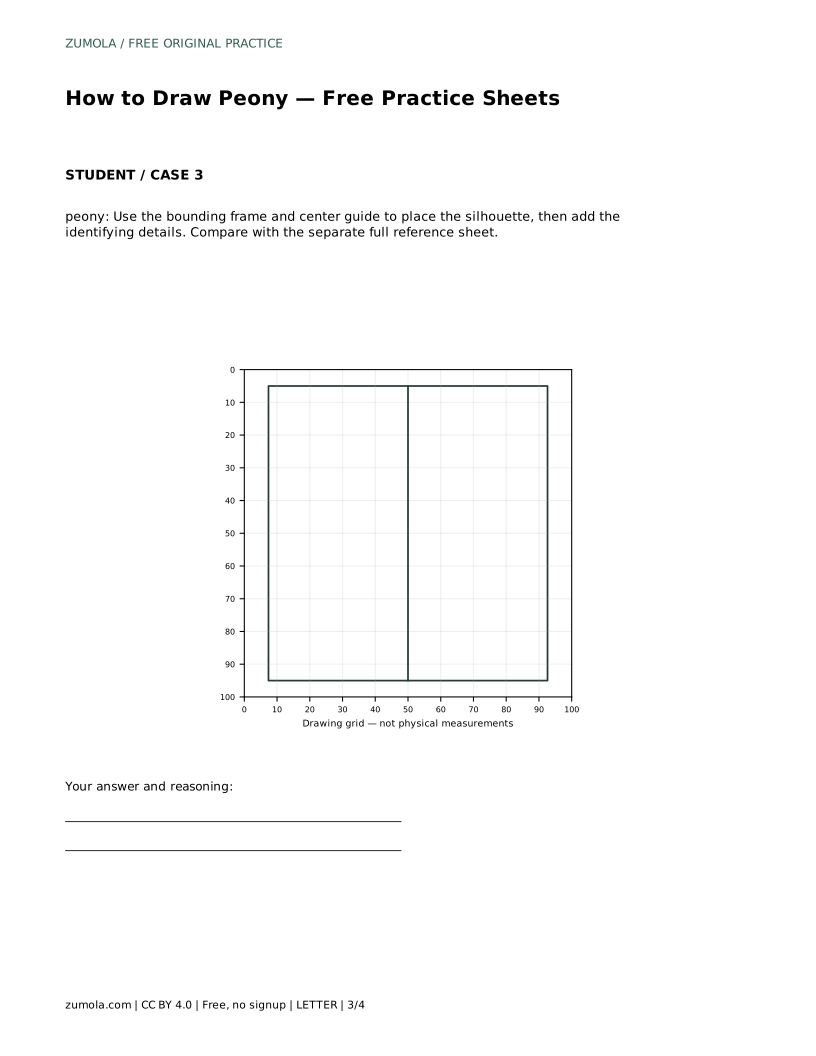
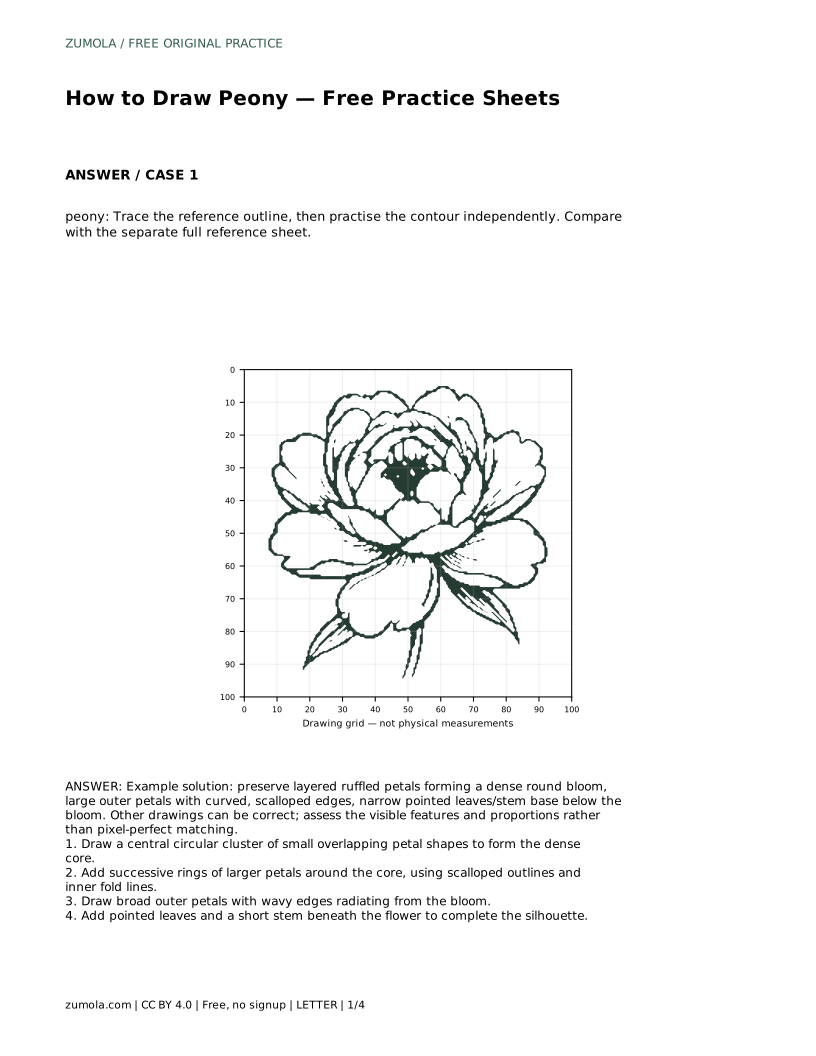
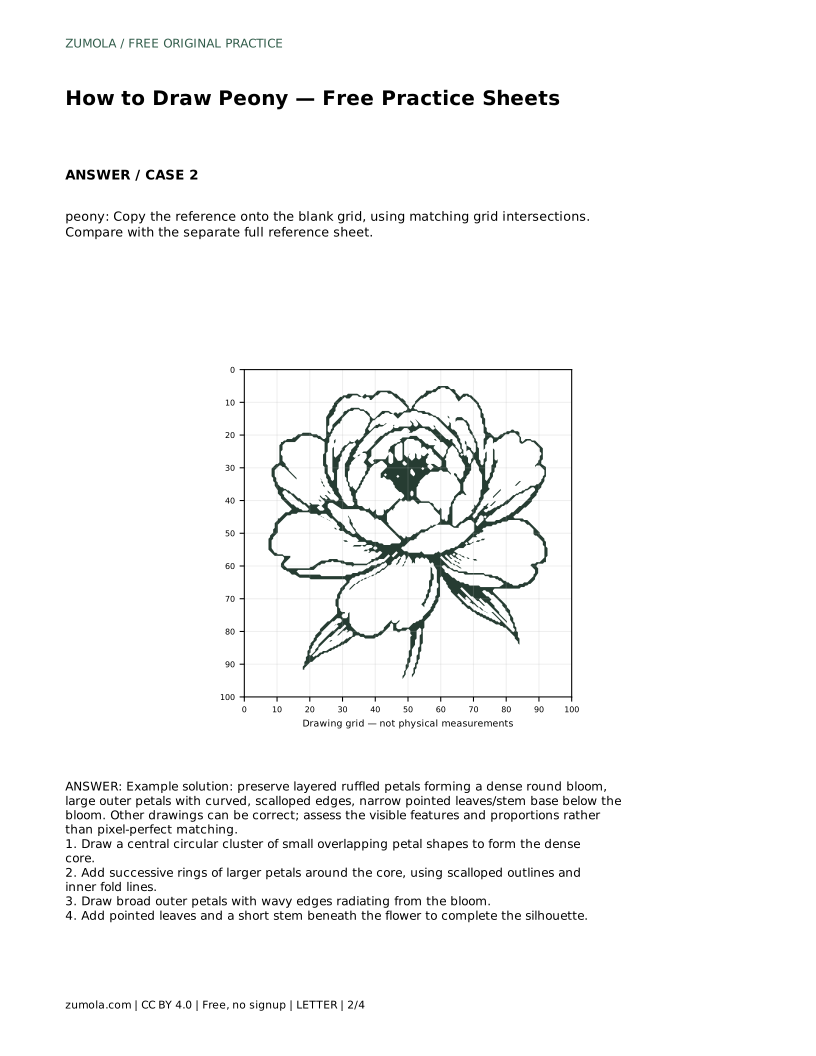
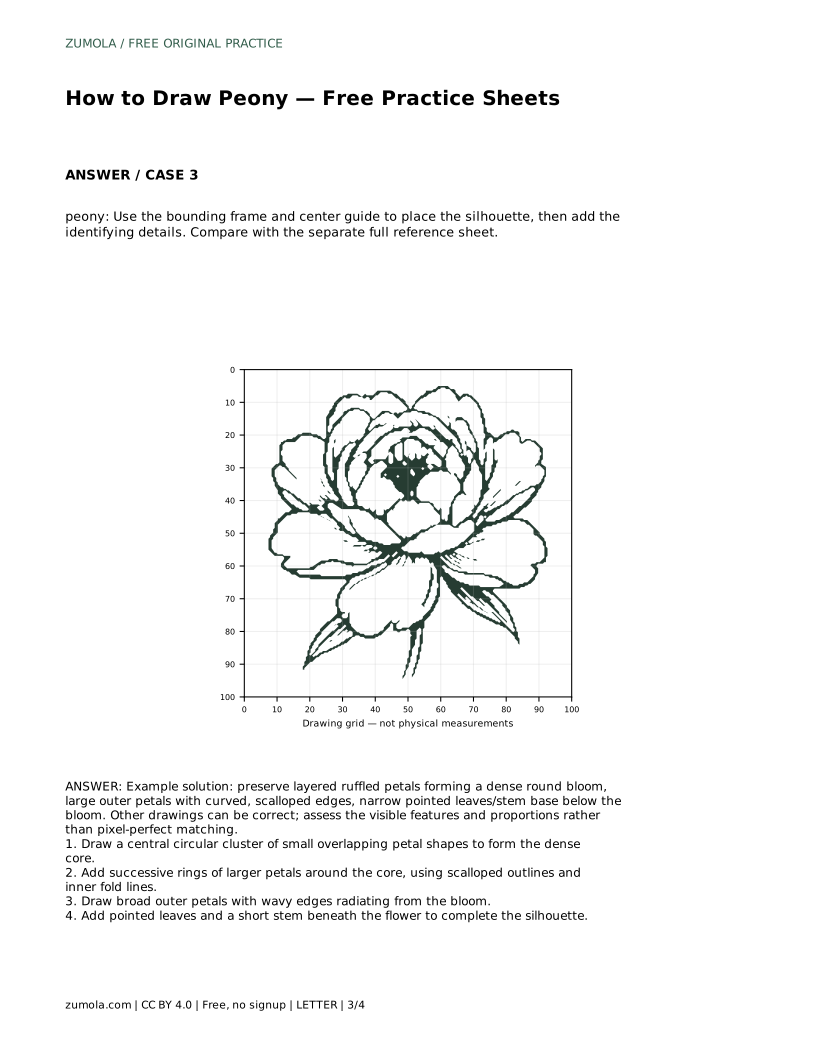
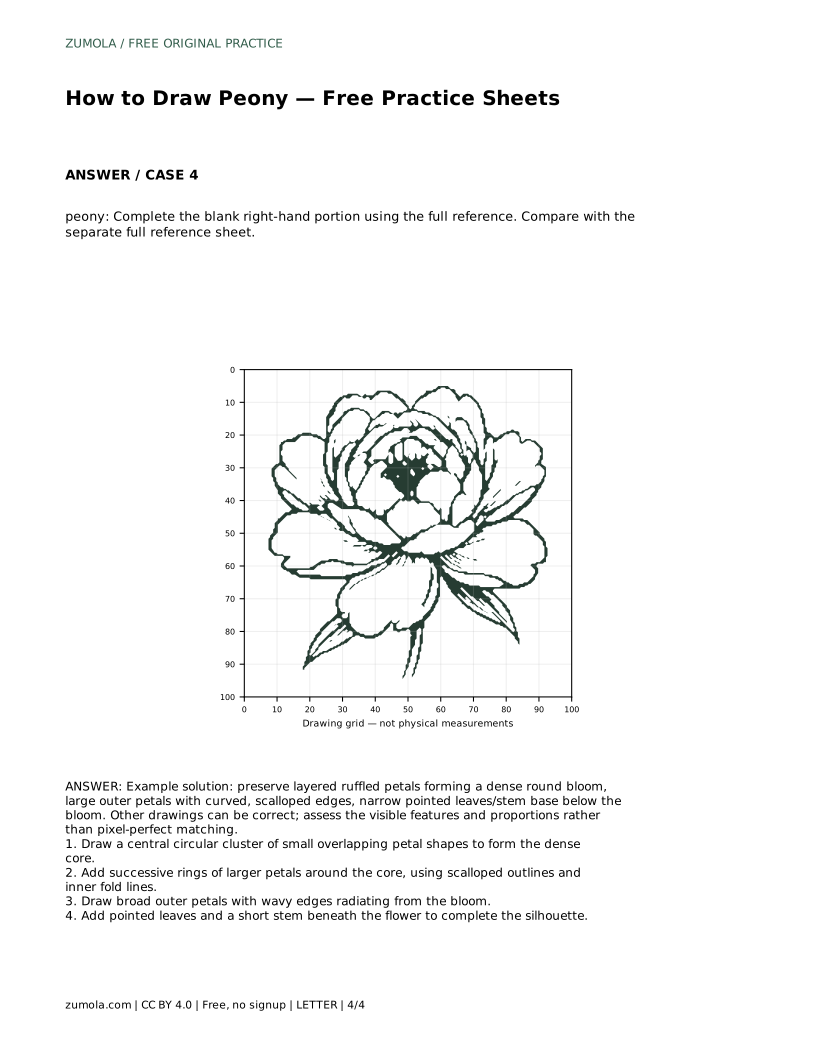
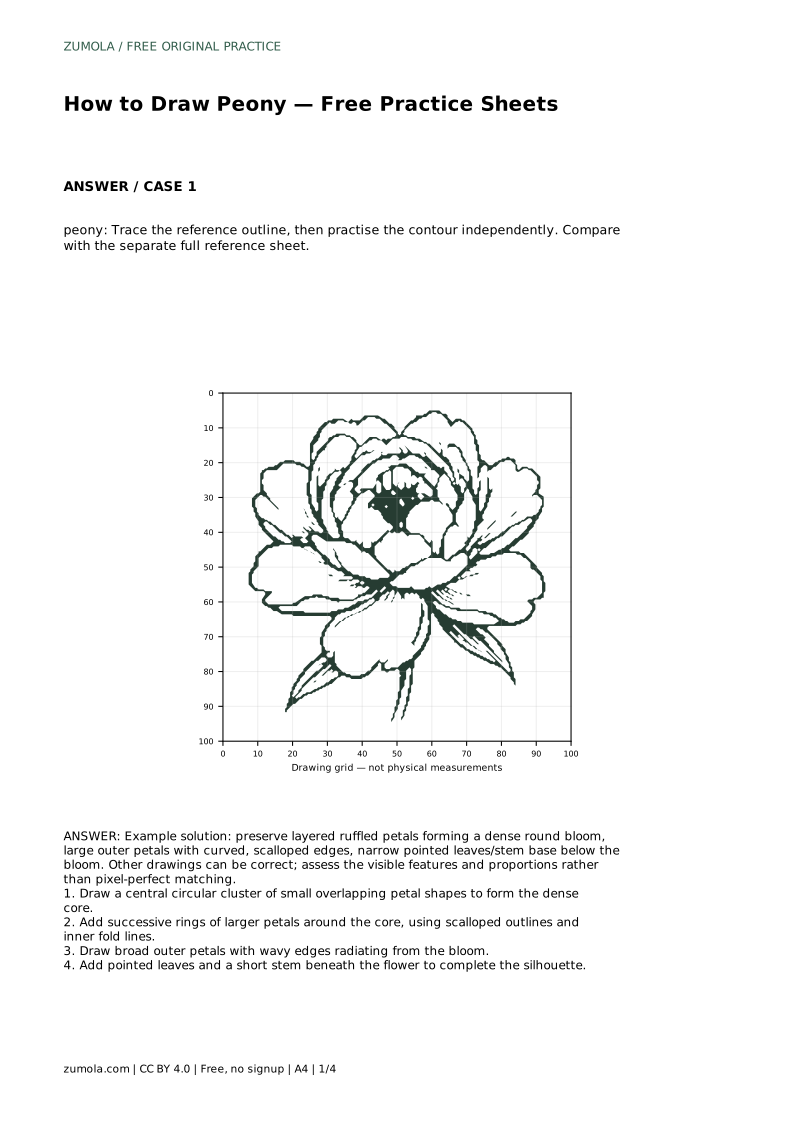
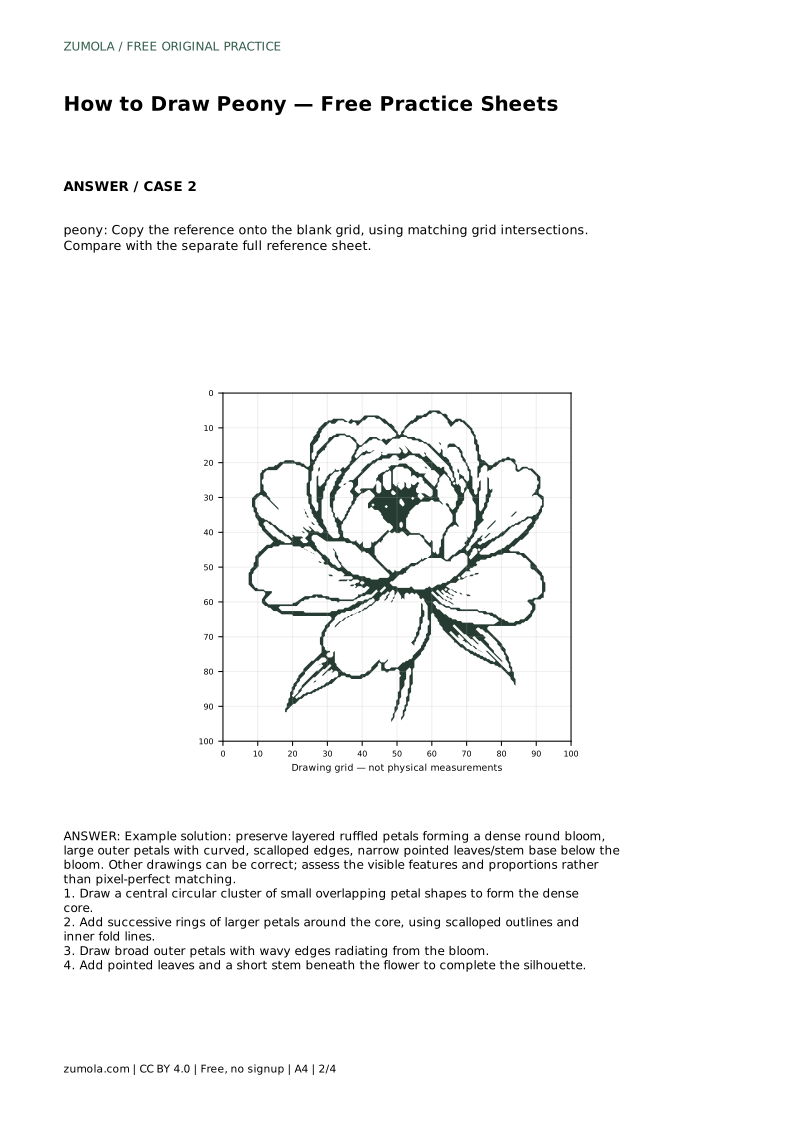
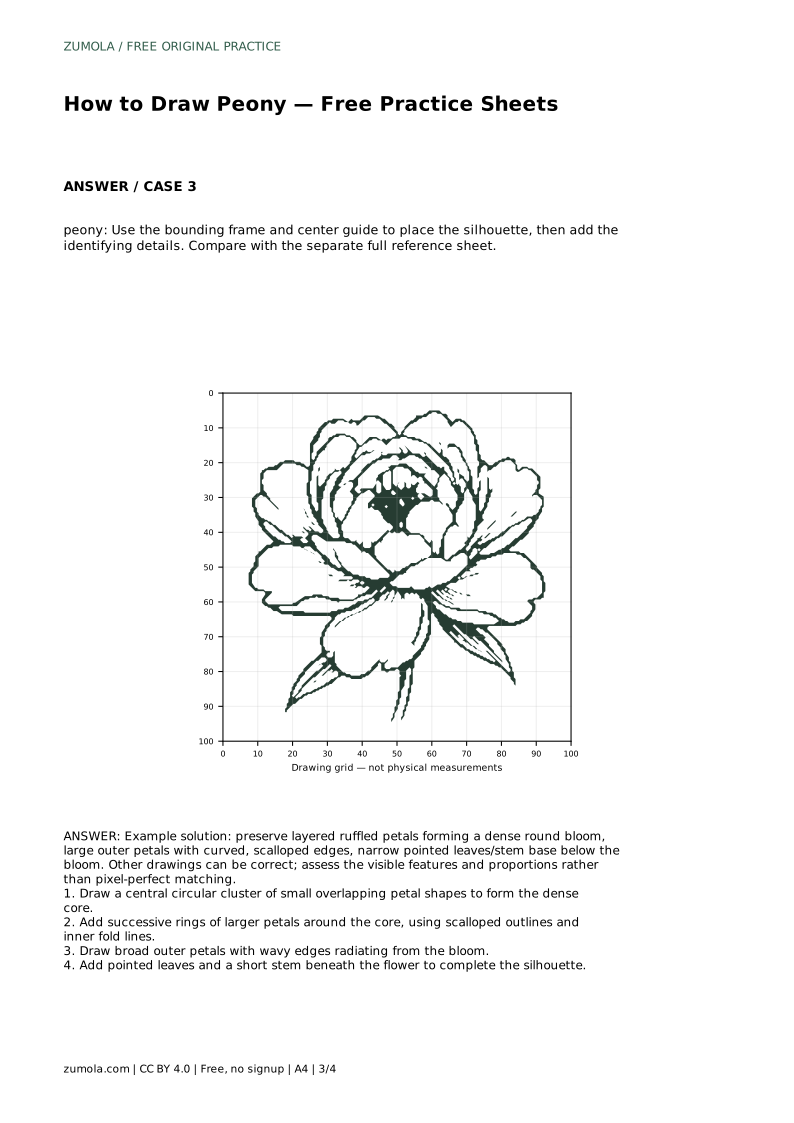
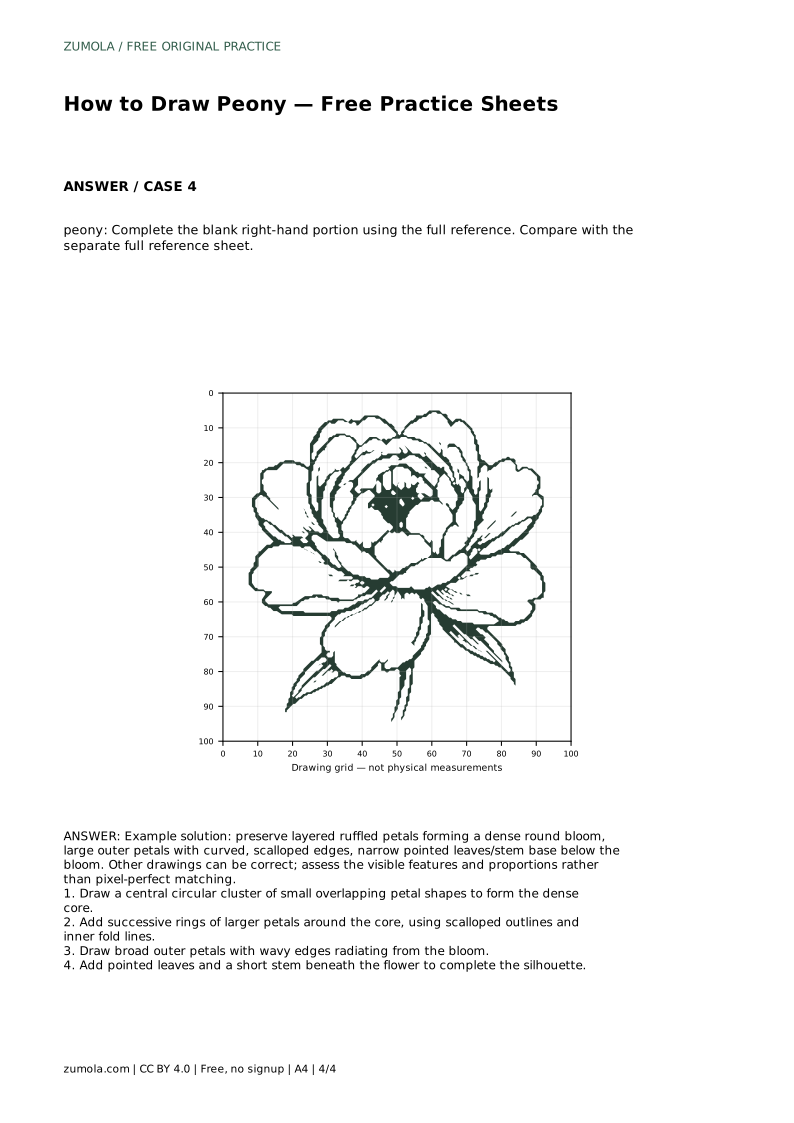
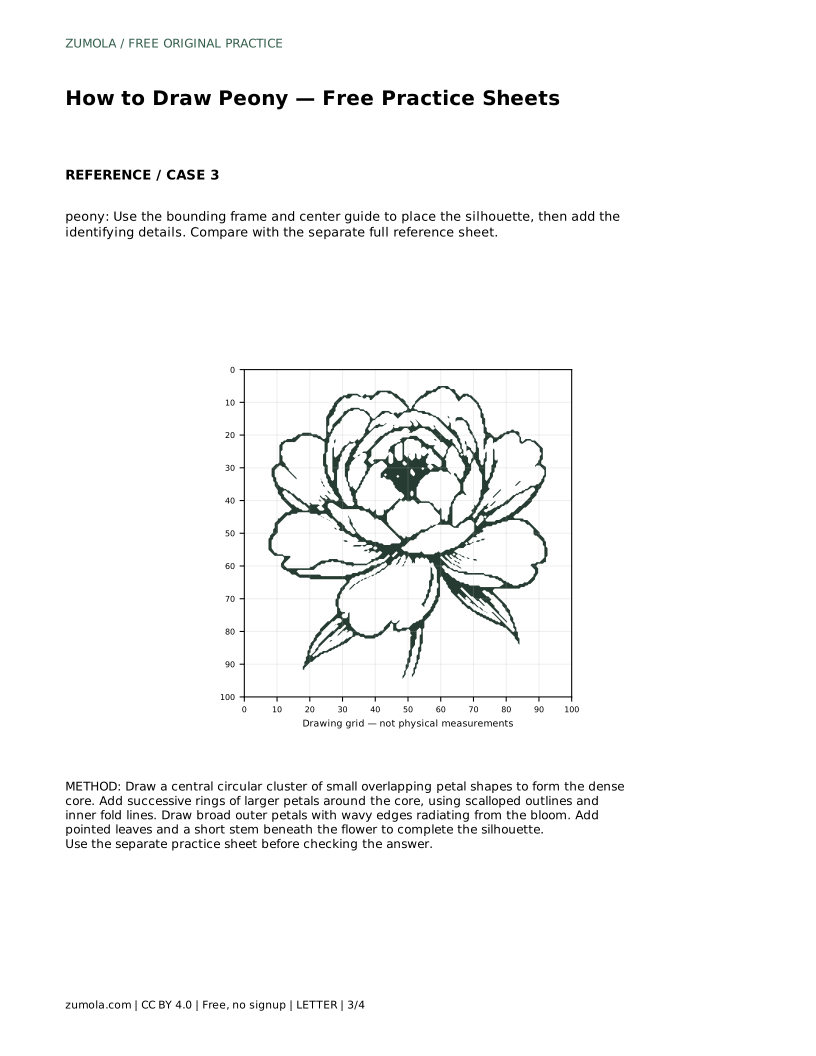
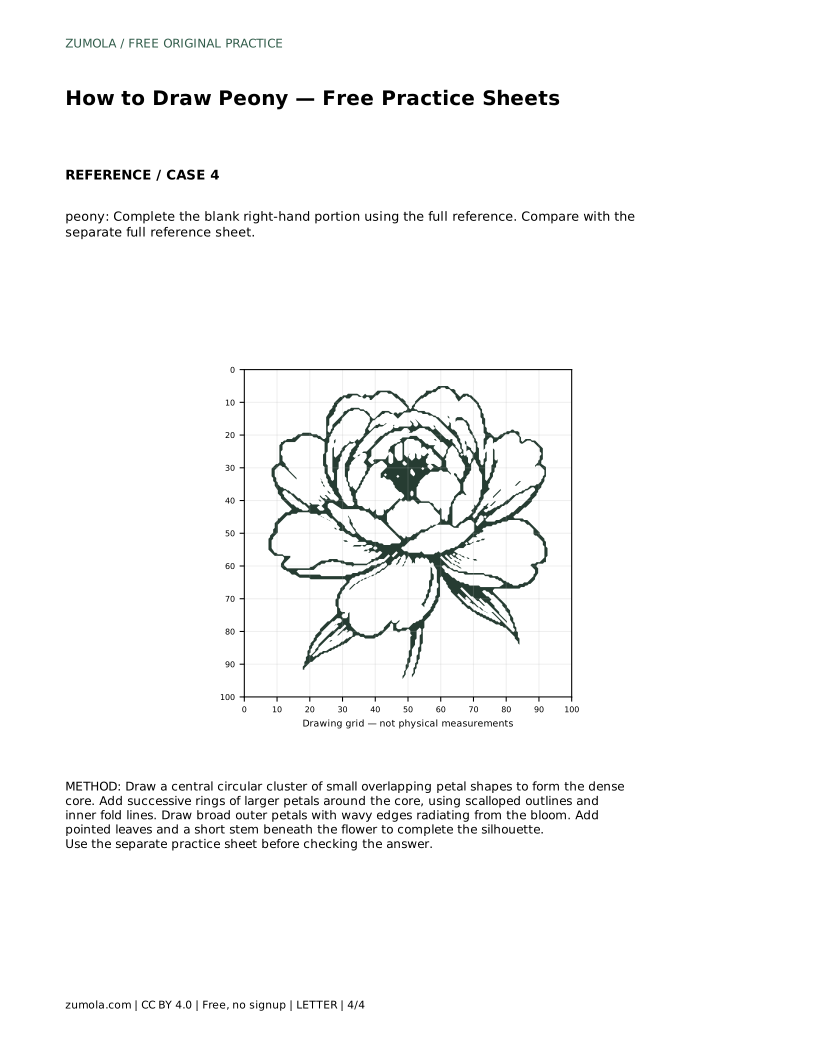
A peony reads as a peony because of its structure: a tight, crowded center of small overlapping petals, widening rings of larger ruffled petals, and a broad outer layer with wavy edges. Below the bloom sit narrow pointed leaves and a short stem. This page explains how to build that structure step by step, whether you trace an outline, copy onto a grid, or work from a bounding frame and center guide.
Begin at the middle of the bloom rather than the outer edge. Draw a small circular cluster of overlapping petal shapes, each one partly hidden by the next. Keep these shapes small and close together; the center of a peony looks crowded, not open. Overlap matters more than individual petal accuracy here, because the cluster creates the dense round mass the rest of the flower wraps around.
Work lightly at this stage. You are establishing placement and density, not final outlines. If the core drifts off center, later rings will lean with it.
Add successive rings of larger petals around the core. Each ring should be noticeably bigger than the one inside it, and each petal should use a scalloped outline with a short inner fold line to suggest curling. The fold lines matter: they tell the eye that petals cup and bend rather than lie flat.
Then draw the broad outer petals with wavy edges radiating from the bloom. These are the largest shapes and set the overall silhouette. Keep the bloom roughly round; if one outer petal stretches far beyond the others, the flower will look lopsided rather than full.
Below the bloom, add narrow pointed leaves and a short stem. The leaves should taper to points and sit close to the stem base, completing the silhouette beneath the flower. Keep the leaf shapes simple; the bloom is the focus.
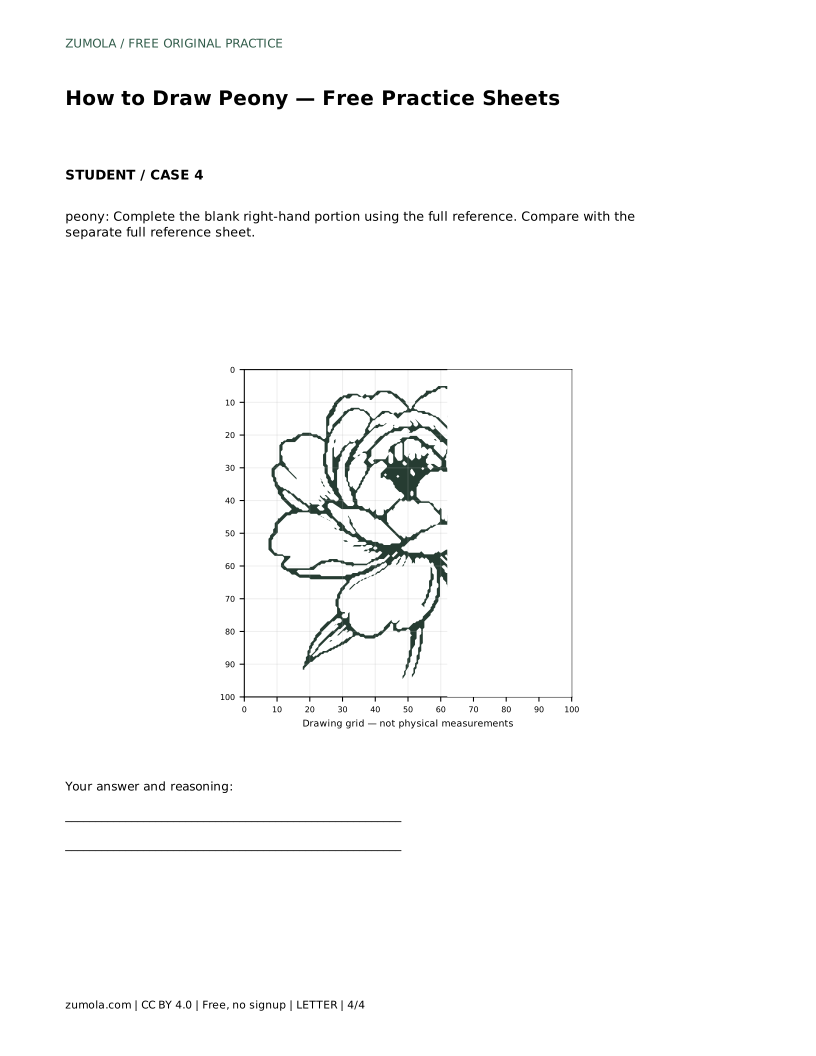
When you compare your drawing with the full reference sheet, judge visible features and proportions rather than pixel-perfect matching. Ask whether the center is dense, whether the rings grow outward in size, whether outer petals are broad and wavy, and whether pointed leaves and a stem sit below the bloom. Several different drawings can all be correct peonies.
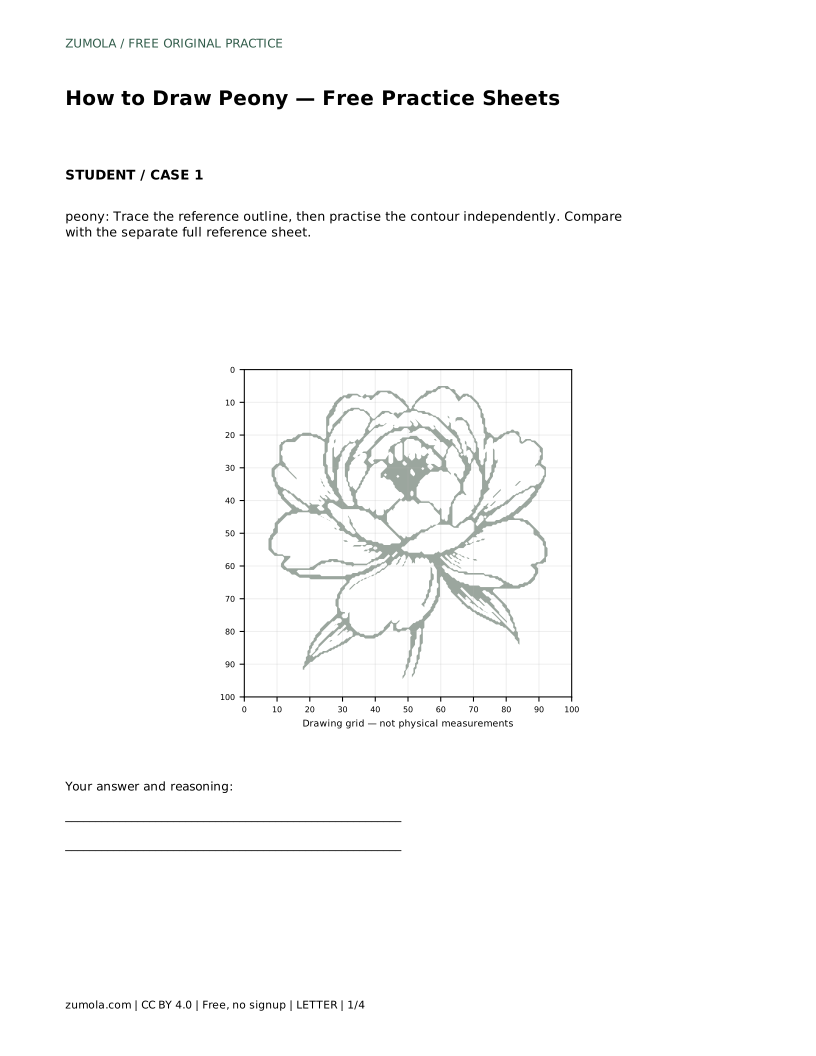
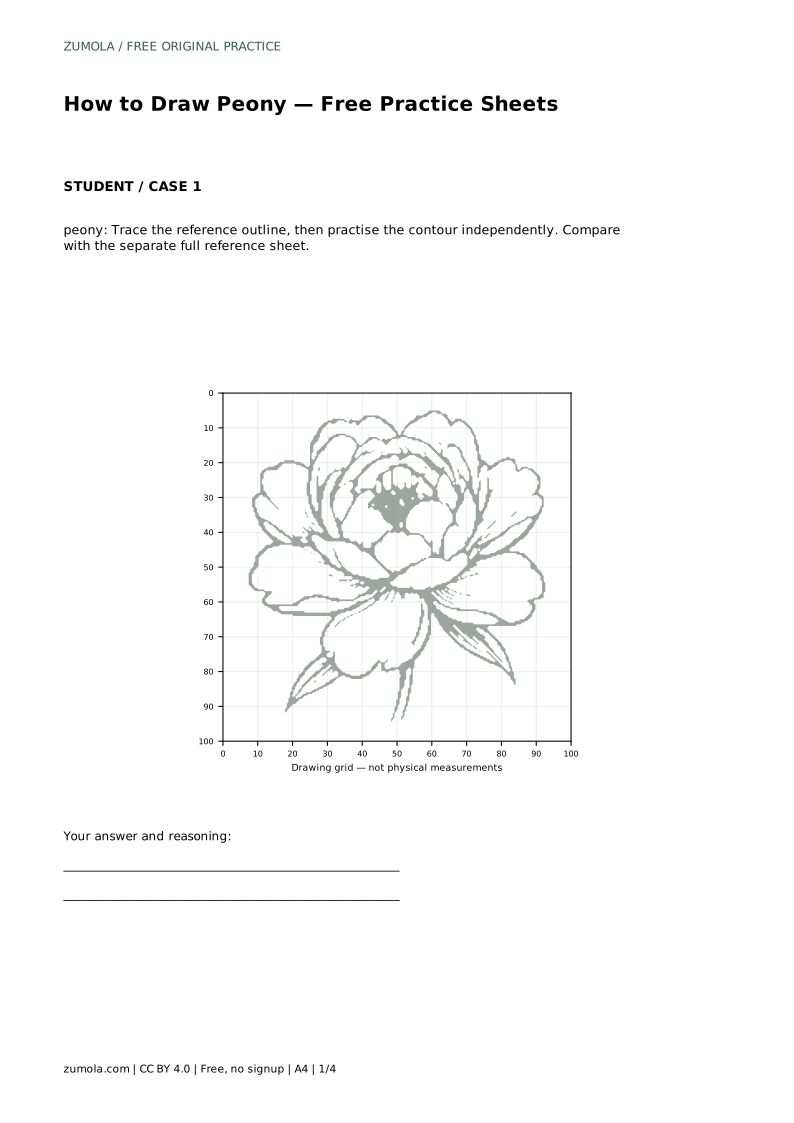
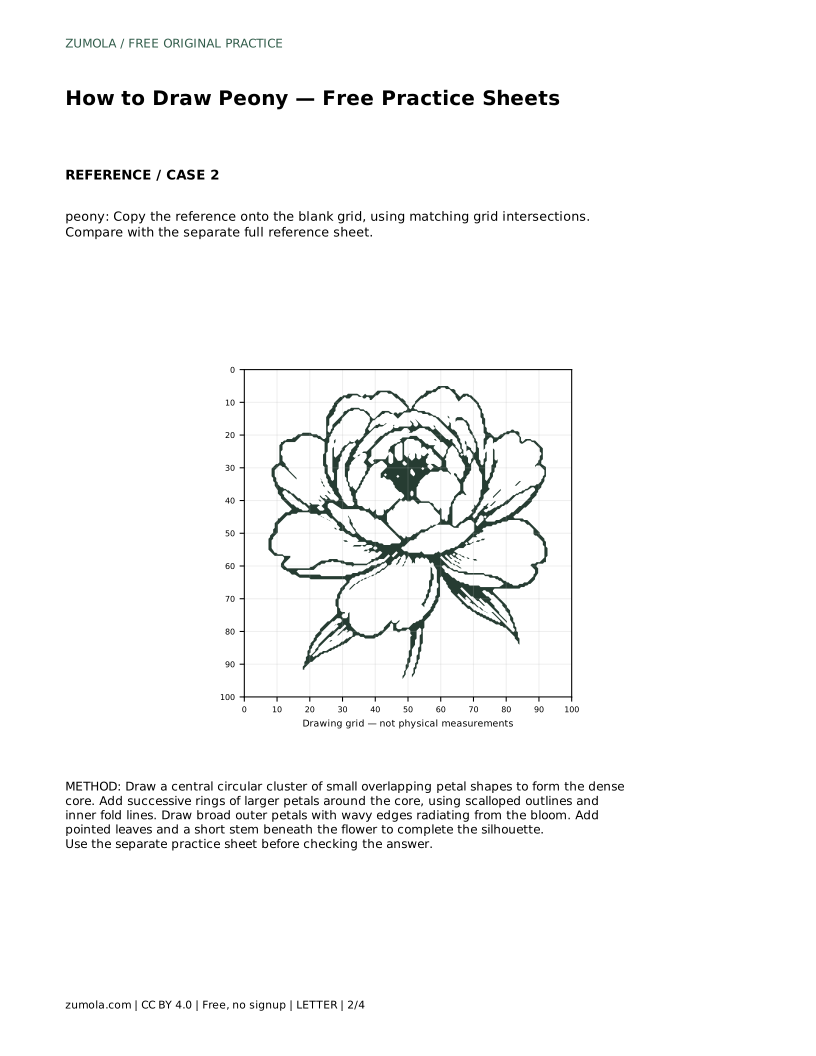
peony: Trace the reference outline, then practise the contour independently. Compare with the separate full reference sheet.
Example solution: preserve layered ruffled petals forming a dense round bloom, large outer petals with curved, scalloped edges, narrow pointed leaves/stem base below the bloom. Other drawings can be correct; assess the visible features and proportions rather than pixel-perfect matching. Draw a central circular cluster of small overlapping petal shapes to form the dense core. Add successive rings of larger petals around the core, using scalloped outlines and inner fold lines. Draw broad outer petals with wavy edges radiating from the bloom. Add pointed leaves and a short stem beneath the flower to complete the silhouette.
Tracing the reference outline first helps you feel the layered petal shapes. Then practise the contour independently and compare with the full reference sheet.
There is no fixed count. Aim for a crowded core, at least one larger ring around it, and a broad outer layer, adjusting the number until the bloom looks full and round.
The combination of a dense ruffled center, layered rings of scalloped petals, broad wavy outer petals, and narrow pointed leaves with a short stem below the bloom.
All drawing practice · Free coordinate paper
Original resources · CC BY 4.0 · Free for personal and classroom use with attribution.