Reference diagrams
LETTER · Download PDF
A4 · Download PDF
Free original resources
Learn to draw a cherry blossom by anchoring the center, spacing five notched petals, and adding stamens. Includes tracing, grid, and frame practice methods.
Four original cases, with reference diagrams, practice sheets and worked answers. Everything is free; no signup required.
LETTER · Download PDF
A4 · Download PDF
LETTER · Download PDF
A4 · Download PDF
LETTER · Download PDF
A4 · Download PDF
Use A4 or US Letter to match your printer. Use the stated values and conditions to solve each exercise; diagrams are not physical measuring rulers.
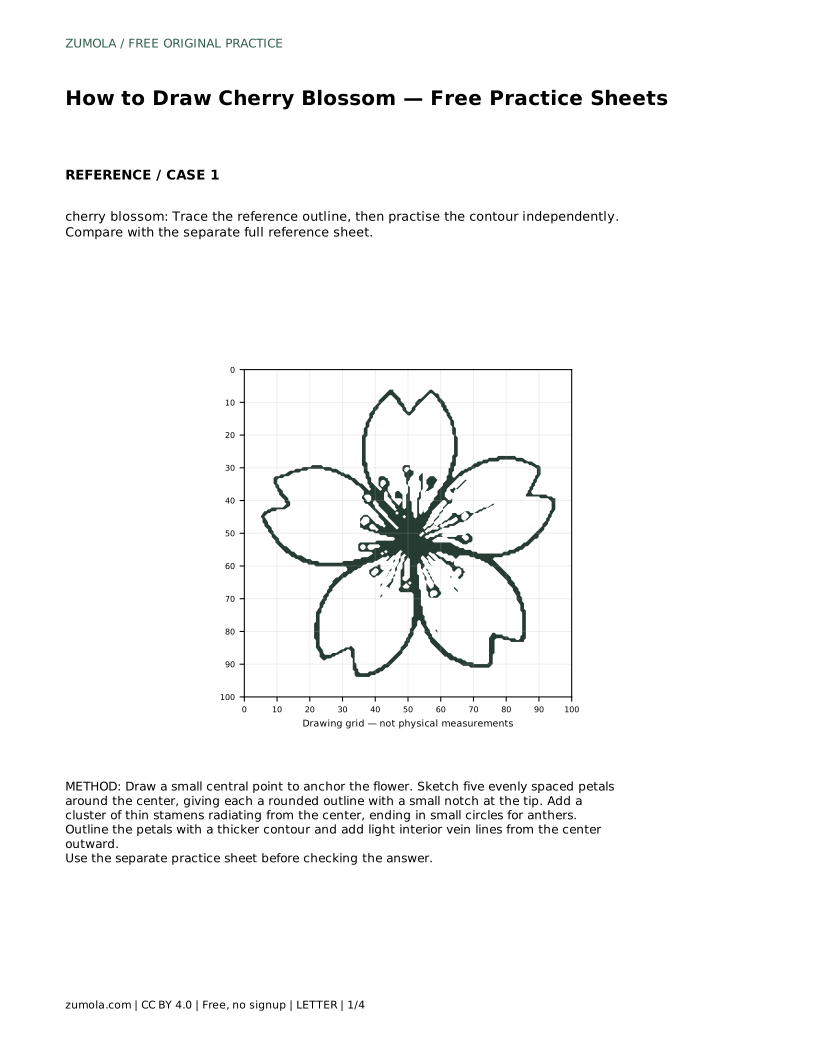
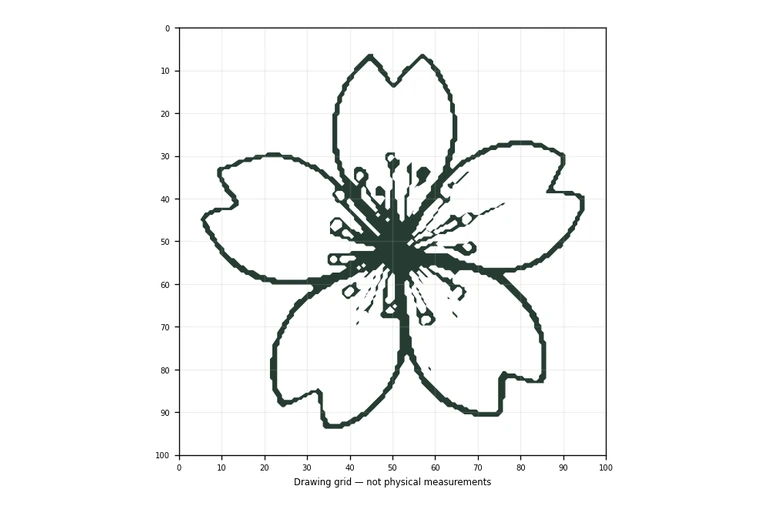
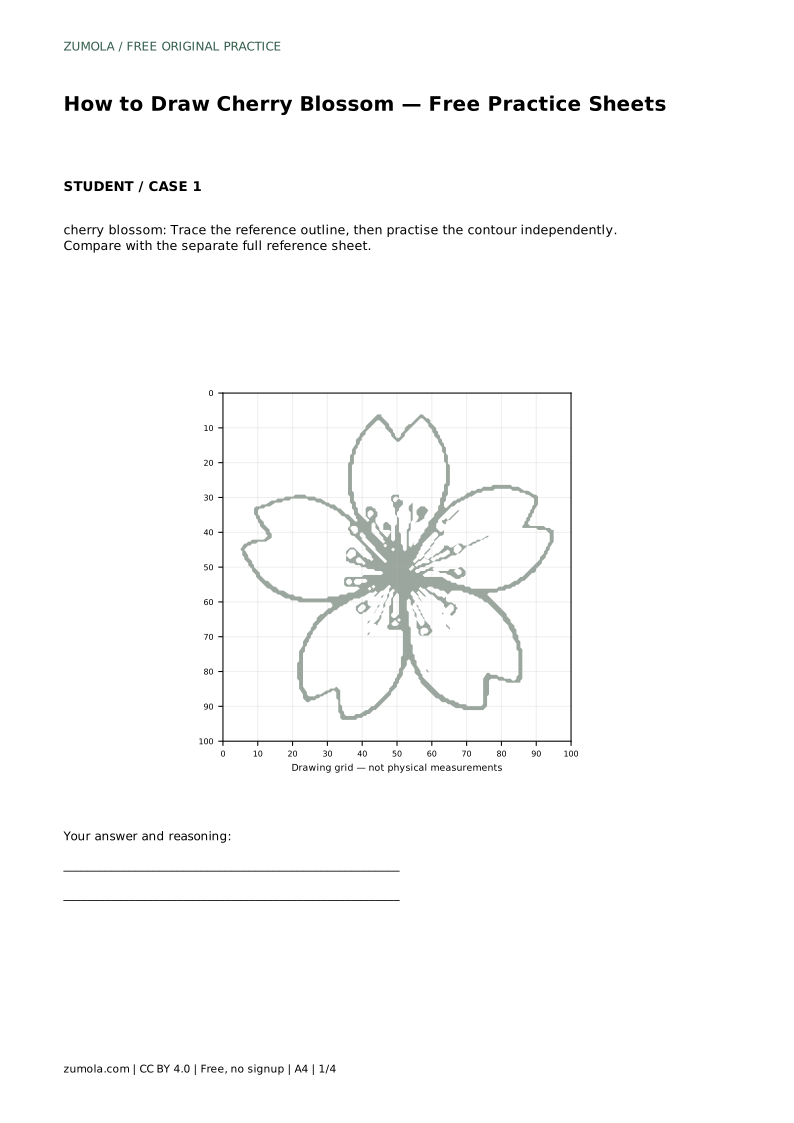
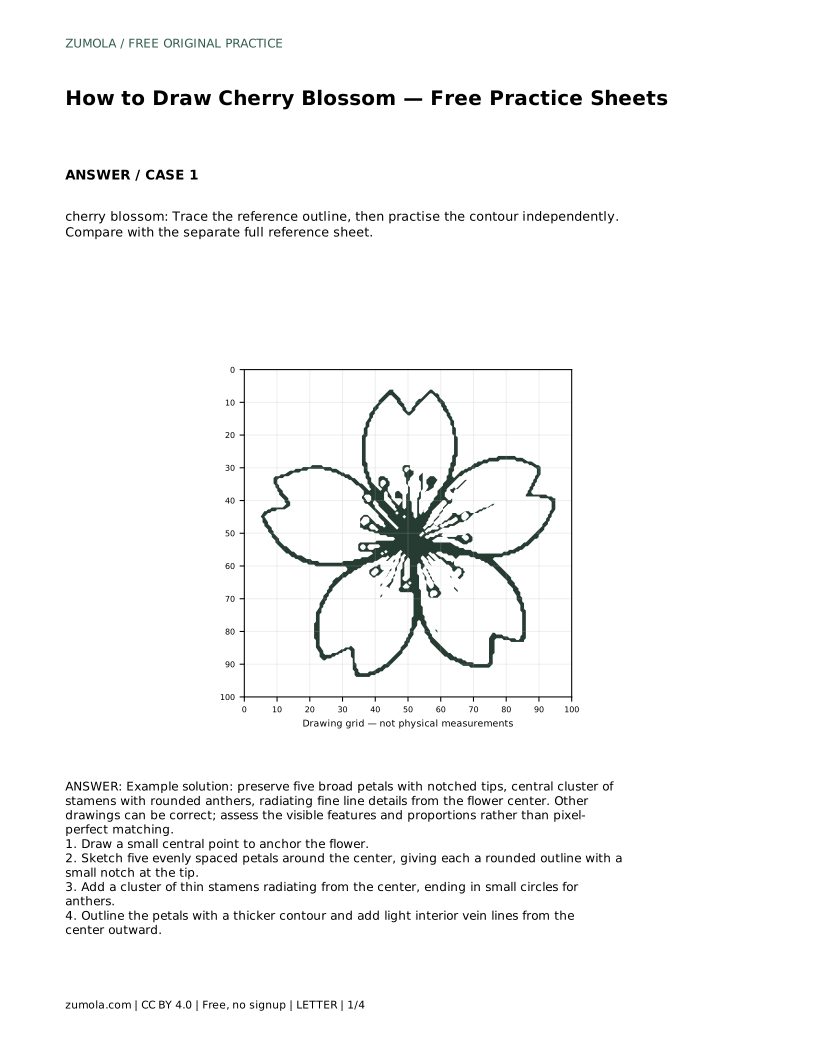
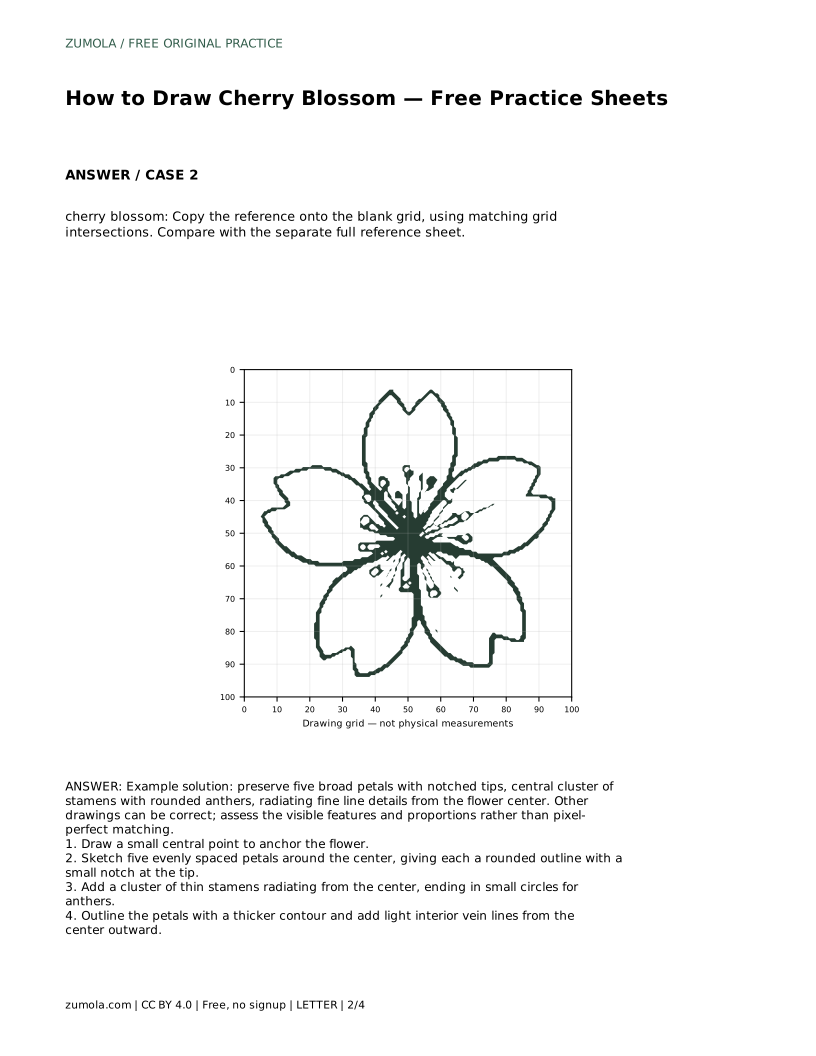
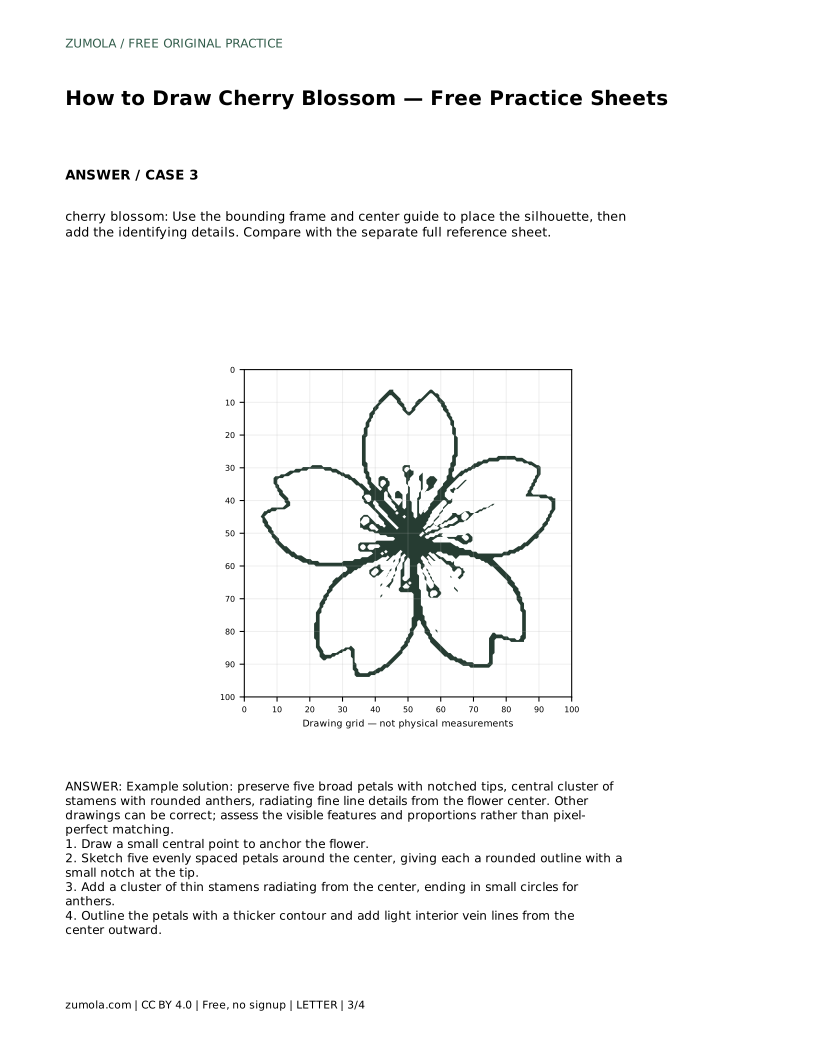
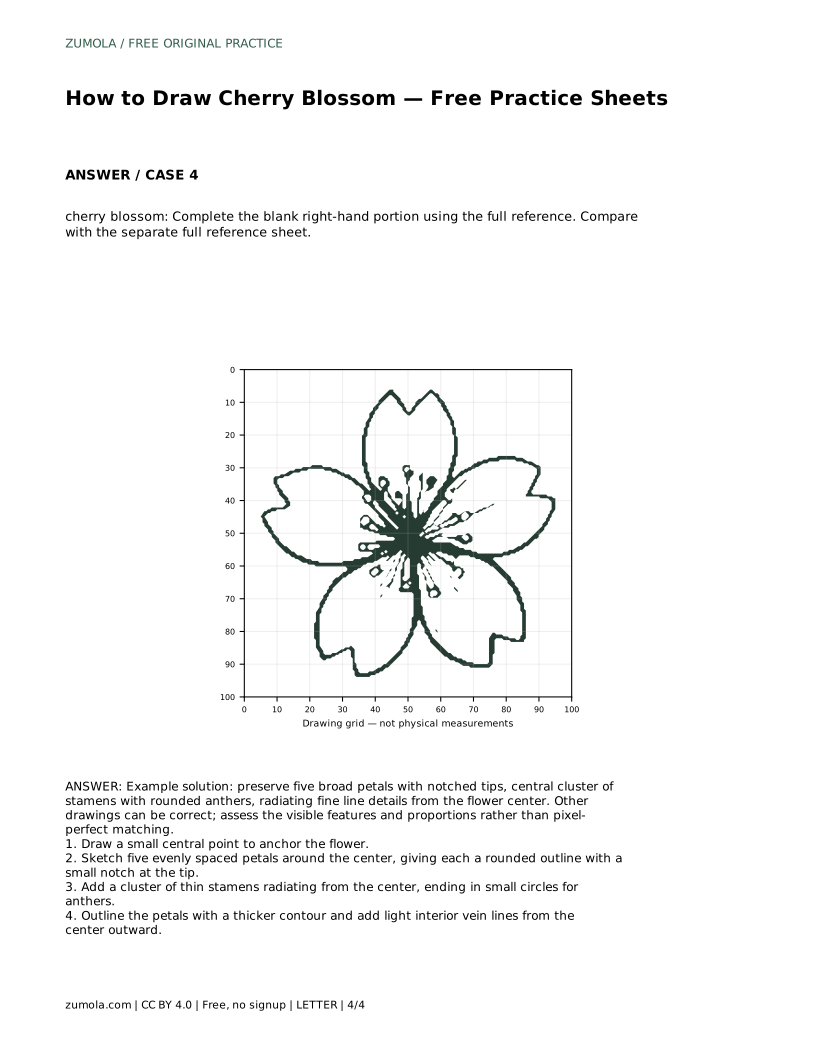
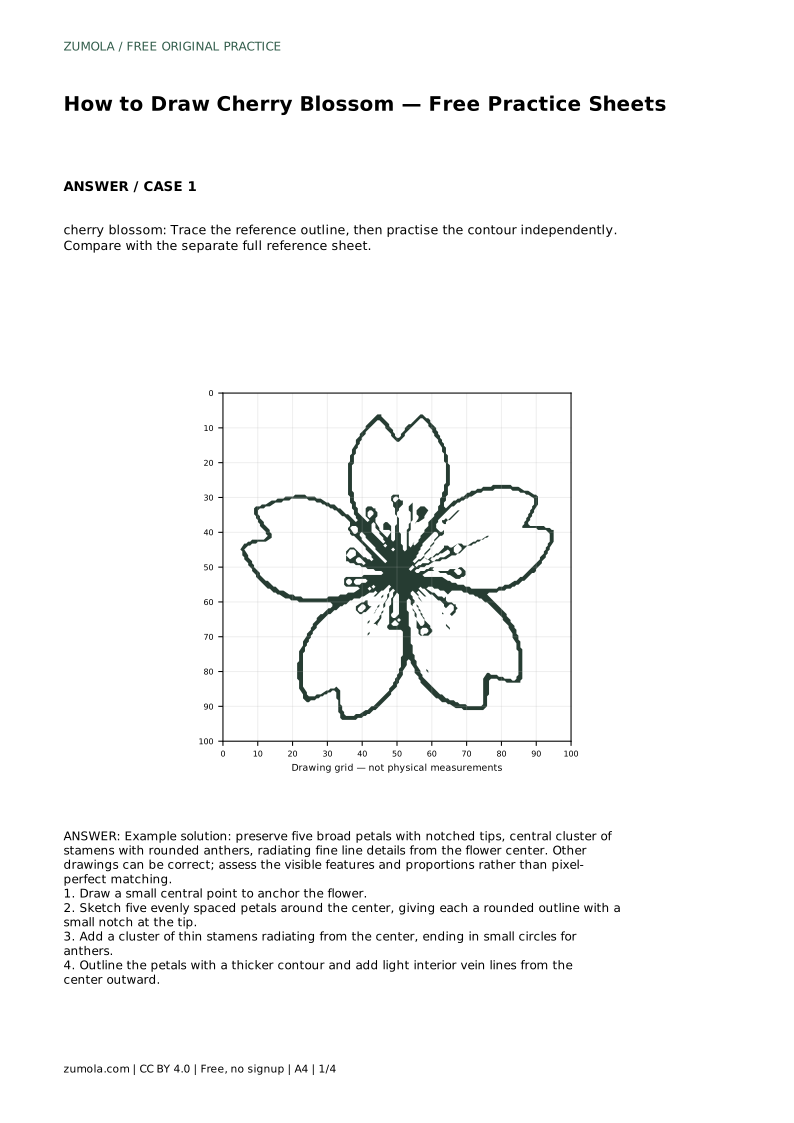
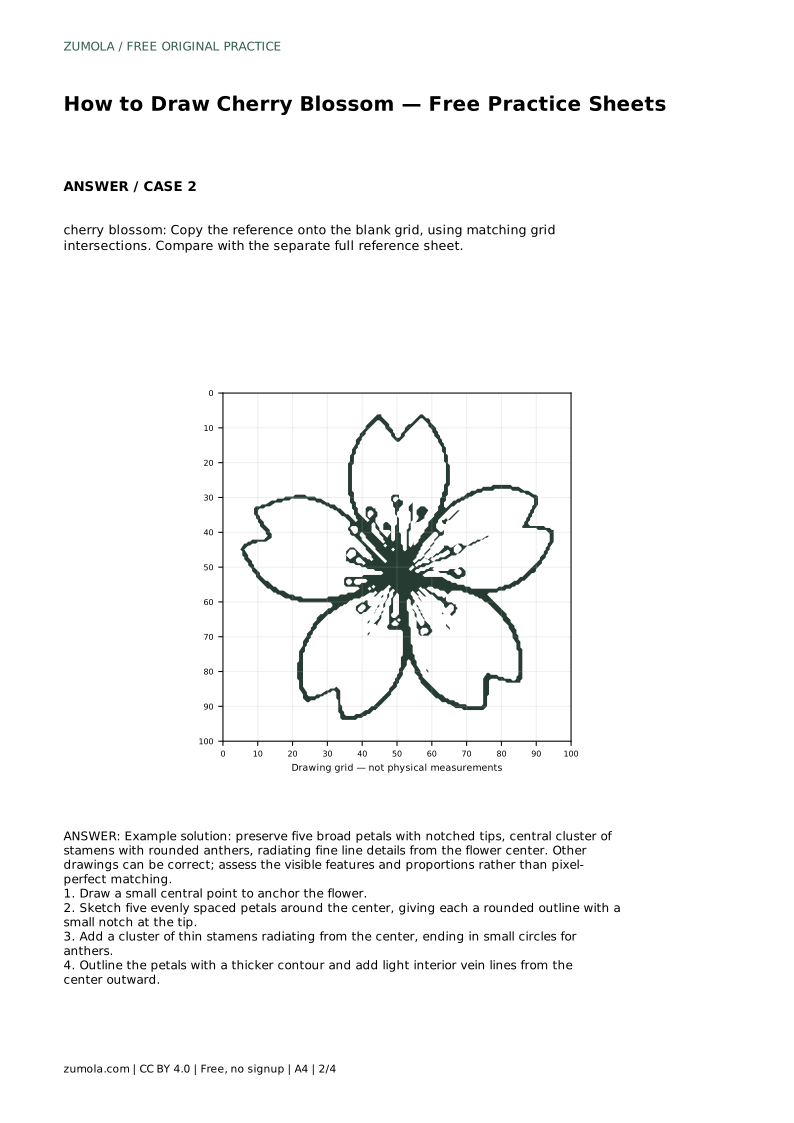
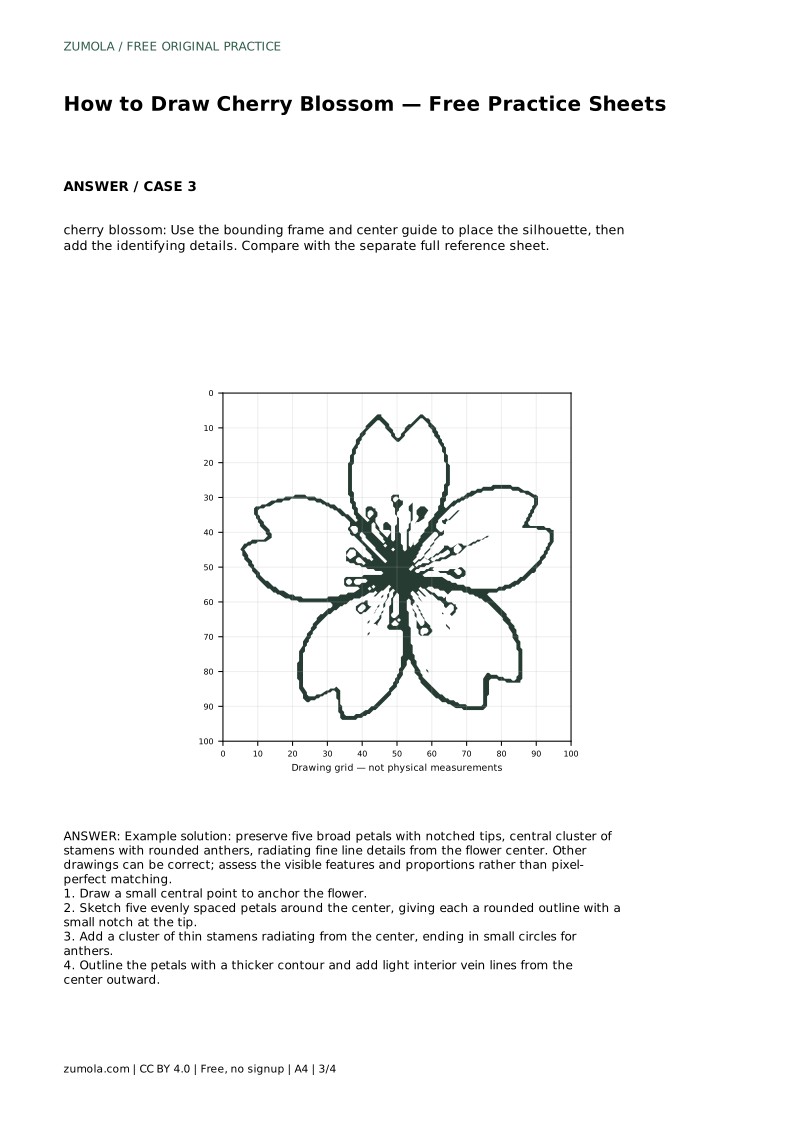
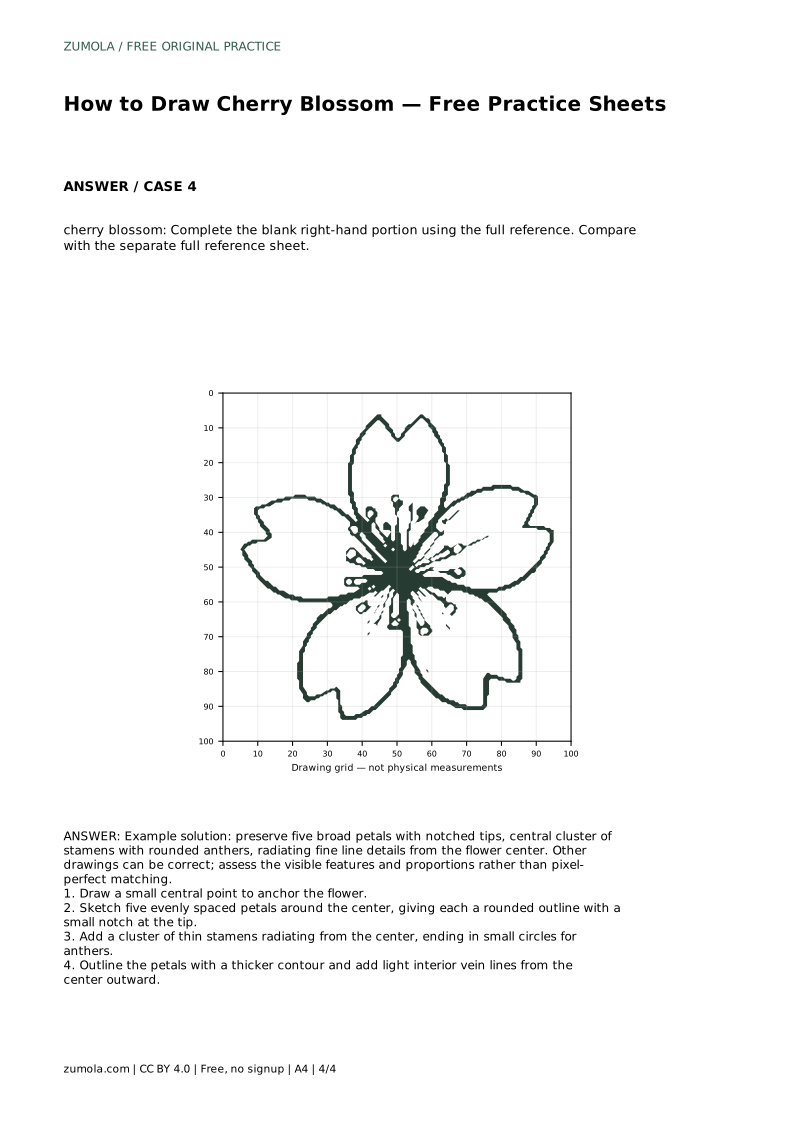
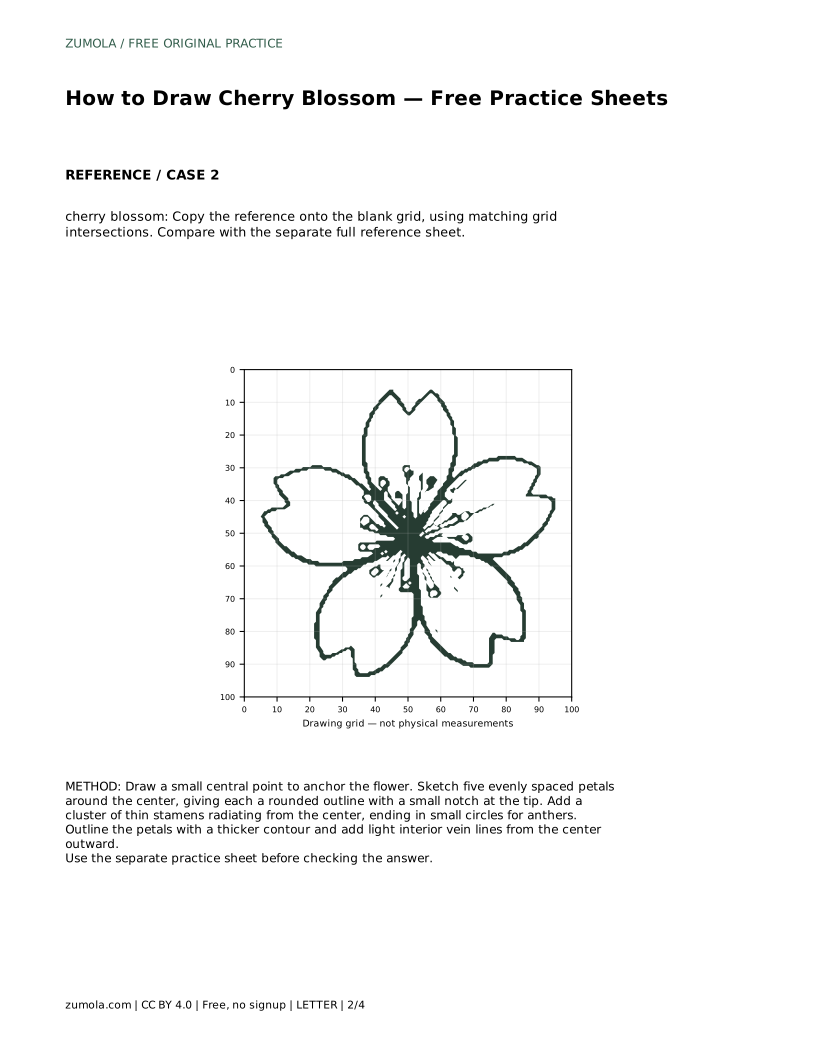
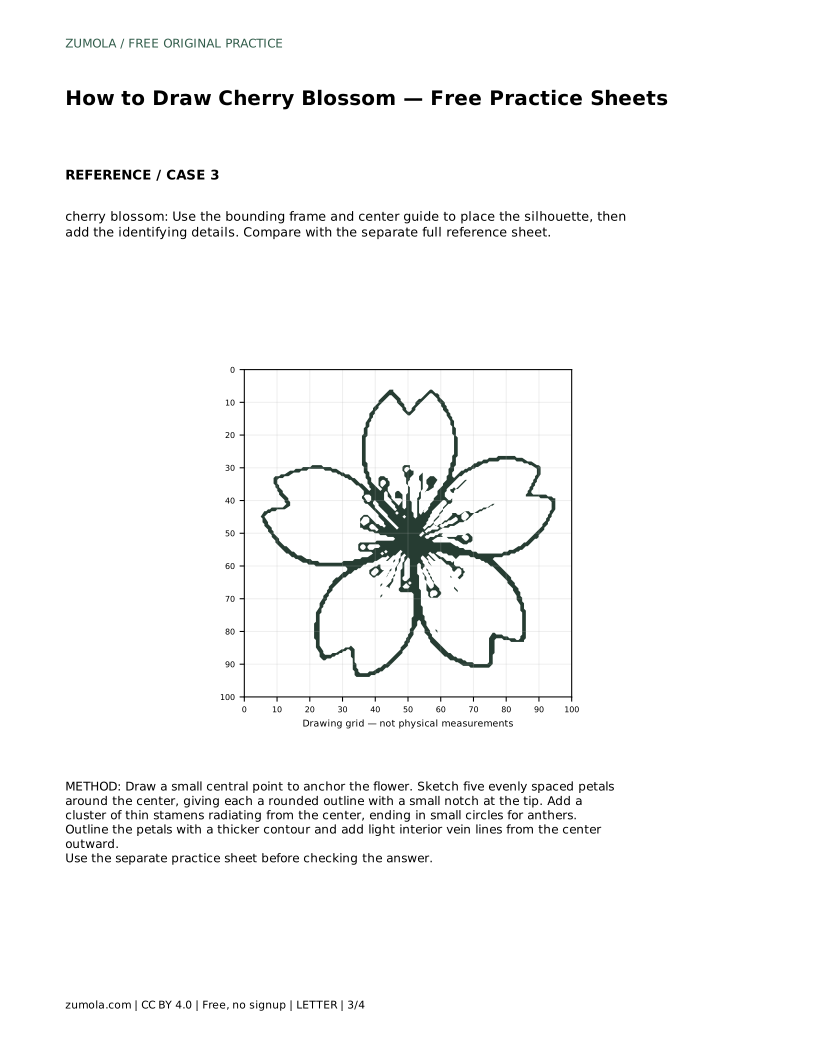
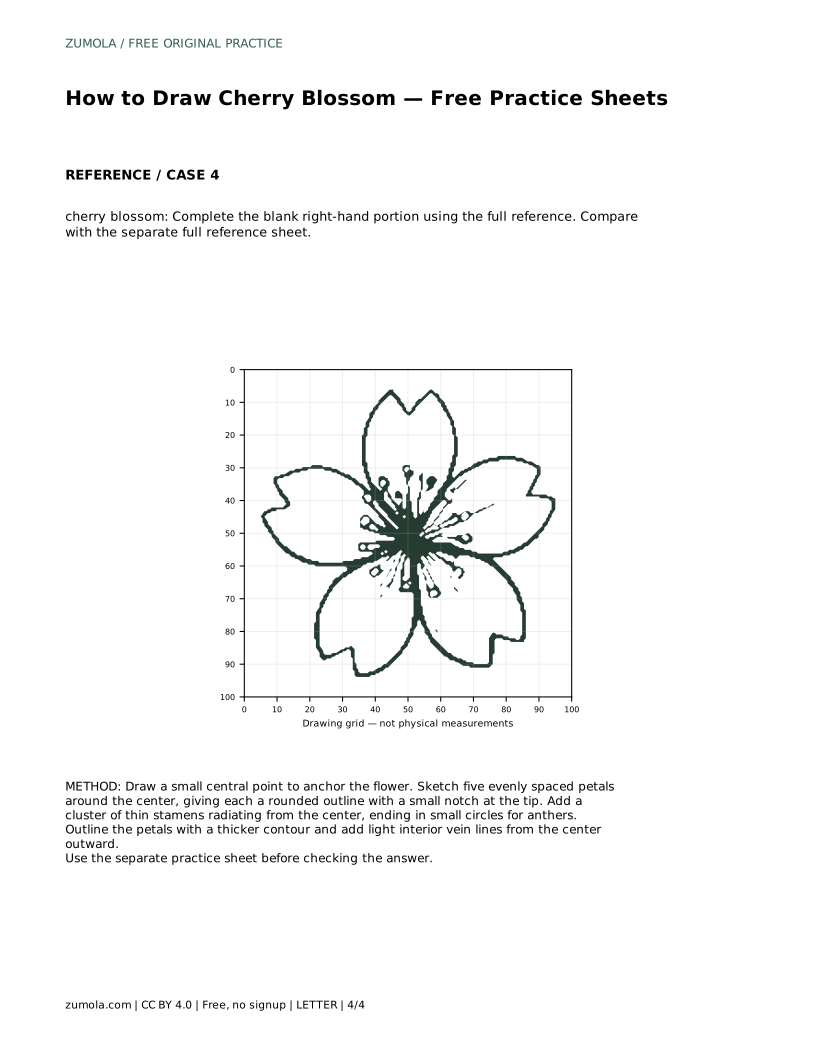
A cherry blossom drawing is recognizable because of a few clear features: five broad petals, a small notch at each petal tip, and a tight cluster of thin stamens with rounded anthers at the center. This page explains how to build those features in order, starting from a single center point. You can practise by tracing a reference outline, copying onto a blank grid, or placing the silhouette inside a bounding frame before adding details.
Every reliable cherry blossom drawing begins with one small central point. That point is the anchor for the stamens and the meeting place of the petals. Without it, petals tend to drift and the flower looks lopsided. Mark the point lightly, then imagine five evenly spaced directions around it, roughly like the points of a star but softer and wider.
Sketch each petal as a broad, rounded shape that widens away from the center. At the outer tip of each petal, add a small notch, a shallow inward dip. The notch is one of the clearest identifying details, so keep it visible rather than smoothing it away. Check spacing before committing: five petals should share the circle around the center without overlapping heavily or leaving large gaps.
Inside the flower, draw a cluster of thin lines radiating outward from the center point. End several of them with small circles for anthers. Keep the lines fine and slightly varied in length so the cluster looks natural rather than mechanical. The stamens should stay within the petal area and remain clearly separate from the petal outlines.
Once the stamens are placed, strengthen the petal contours with a thicker line. Then add light interior vein lines running from near the center outward toward each petal tip. These lines should be faint and sparse; they suggest the petal surface without turning the flower into a web. Leave the notches and outer edges clean so the silhouette stays readable.
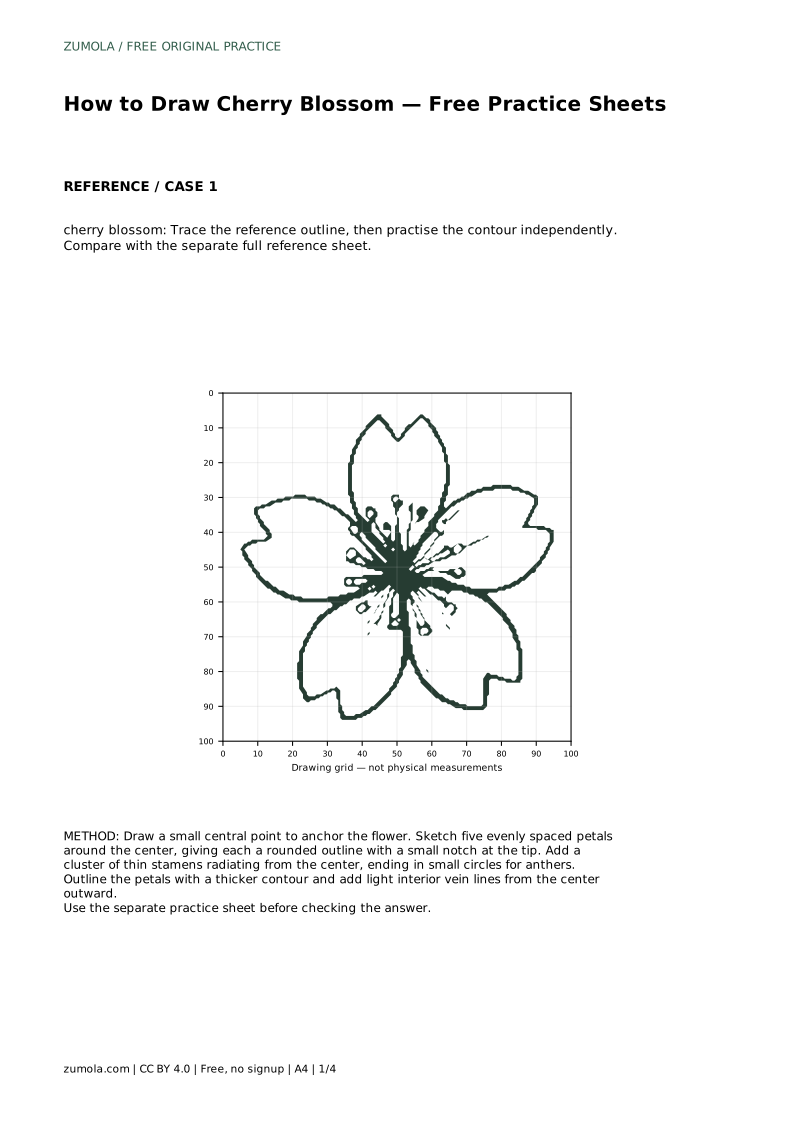
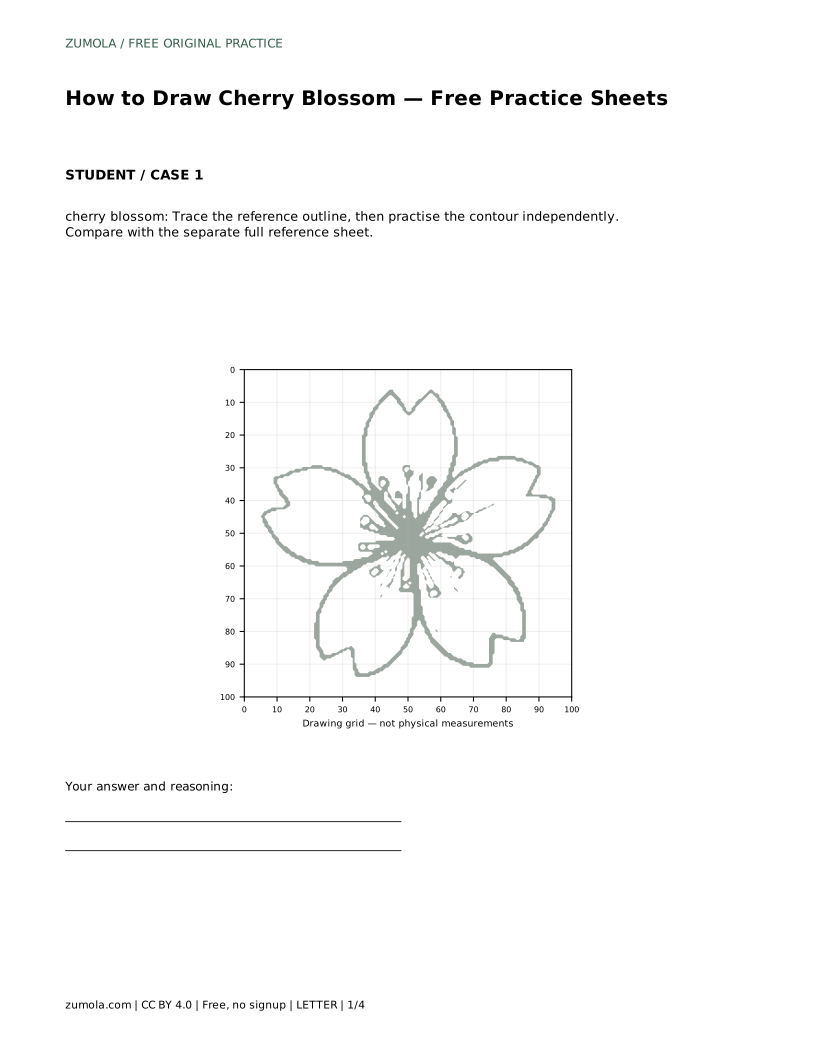
Tracing a reference outline first builds familiarity with the contour, including the notched tips and the width of each petal. After tracing once, set the reference aside and draw the contour independently, then compare with the full reference sheet. This separates copying from recalling the shape.
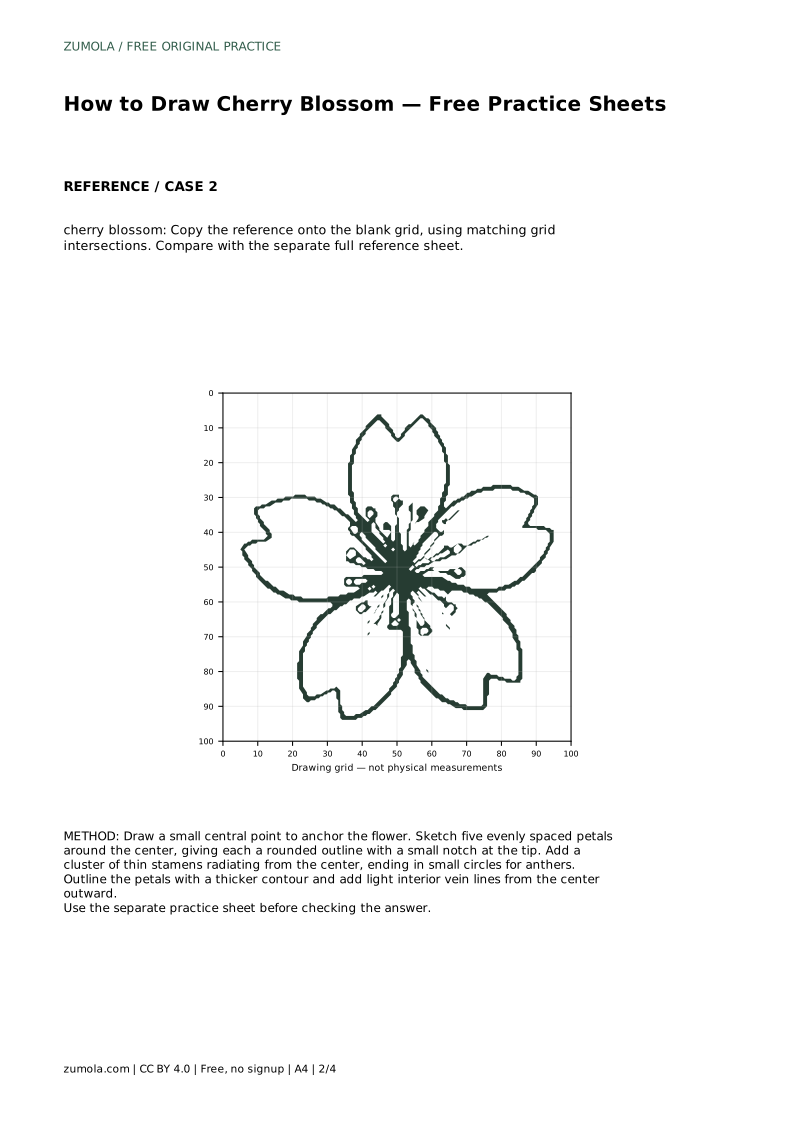
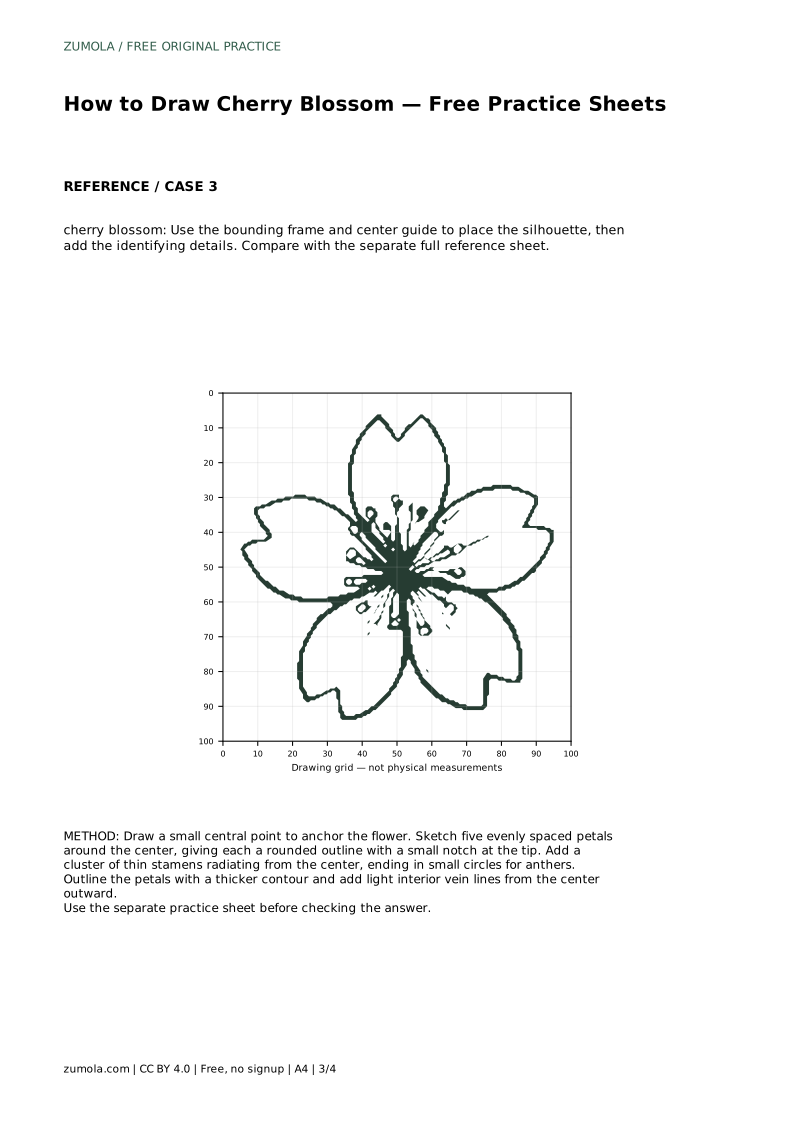
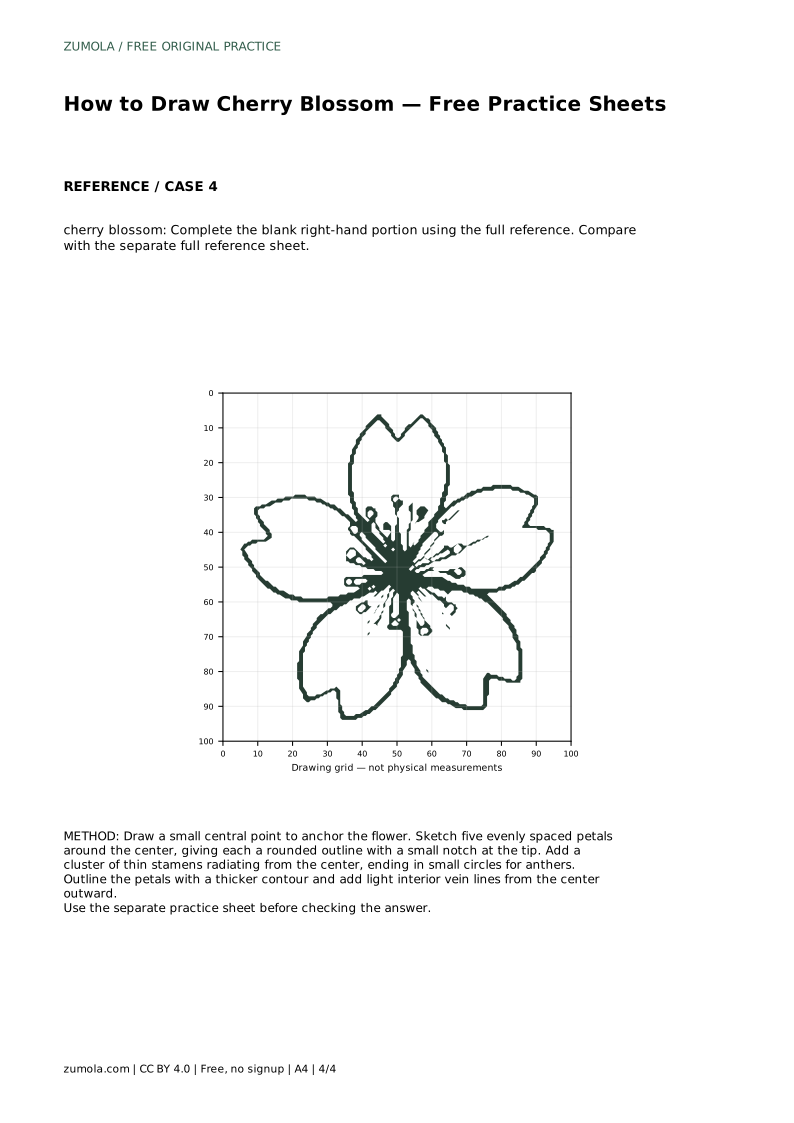
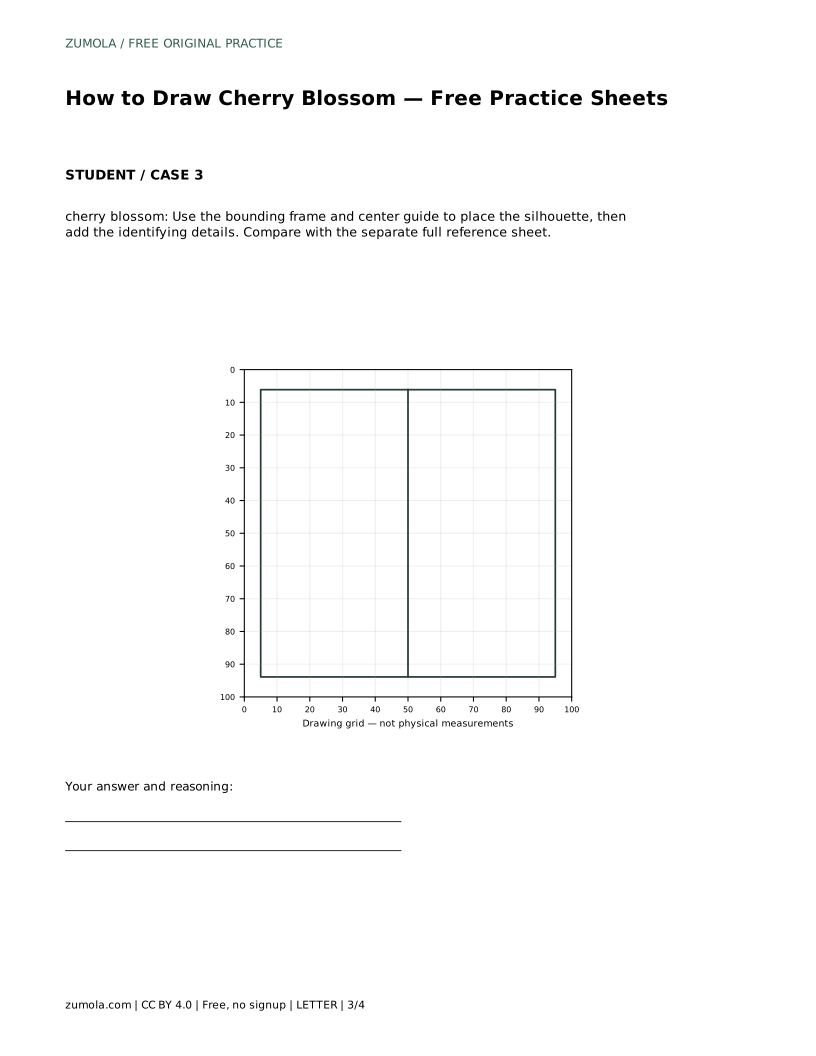
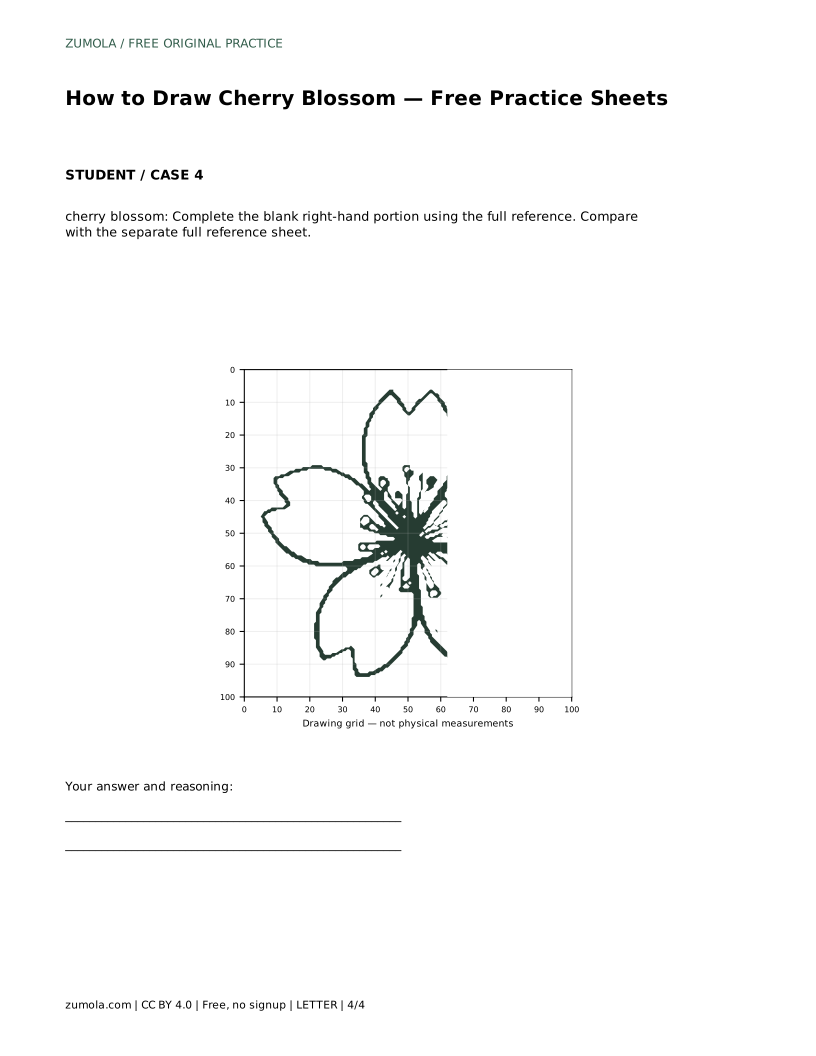
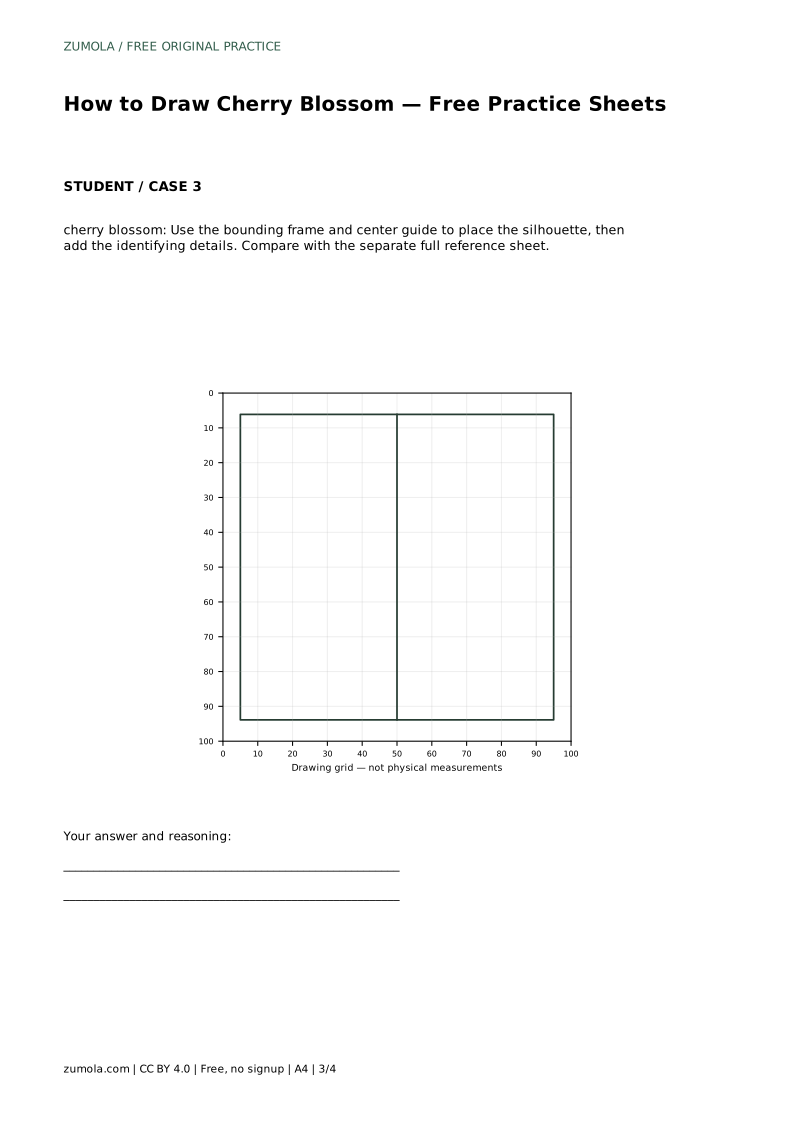
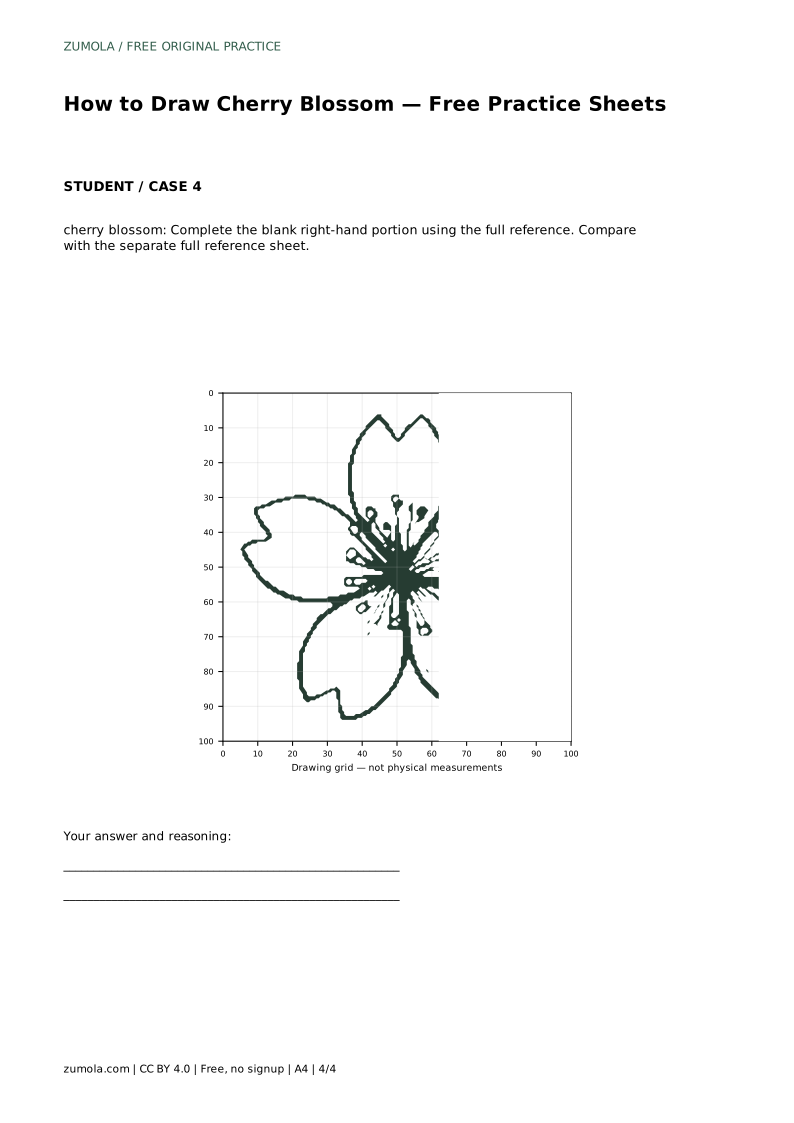
A blank grid lets you copy the reference by matching grid intersections, which trains proportion and placement. A bounding frame with a center guide helps you place the overall silhouette before adding identifying details. A partial copy, where the right-hand portion is blank, asks you to complete the flower using the full reference. Each method targets a different skill, so choose the one that matches what you want to improve.
Cherry blossom art has many valid outcomes, so judge visible features rather than pixel-perfect matching. Ask whether five broad petals are present, whether each tip shows a notch, whether the stamens form a central cluster with rounded anthers, and whether fine lines radiate from the center. Proportion and spacing matter more than exact line placement.
This is a drawing exercise, not a botanical or clinical anatomy study. The goal is a clear, recognizable flower built from the features above, drawn with control and compared honestly against the reference.
Most problems come from skipping the center point or rushing petal spacing. Correcting those two habits improves nearly every attempt.
cherry blossom: Trace the reference outline, then practise the contour independently. Compare with the separate full reference sheet.
Example solution: preserve five broad petals with notched tips, central cluster of stamens with rounded anthers, radiating fine line details from the flower center. Other drawings can be correct; assess the visible features and proportions rather than pixel-perfect matching. Draw a small central point to anchor the flower. Sketch five evenly spaced petals around the center, giving each a rounded outline with a small notch at the tip. Add a cluster of thin stamens radiating from the center, ending in small circles for anthers. Outline the petals with a thicker contour and add light interior vein lines from the center outward.
Use five broad petals spaced around a central point, each with a small notch at the tip. Five is the standard count for this flower.
Tracing first helps you learn the contour, but follow it with an independent attempt and compare against the full reference sheet so you are recalling the shape, not just copying it.
No. Cherry blossom art has multiple valid outcomes. Assess the visible features, such as five notched petals and a central stamen cluster, rather than pixel-perfect matching.
All drawing practice · Free coordinate paper
Original resources · CC BY 4.0 · Free for personal and classroom use with attribution.