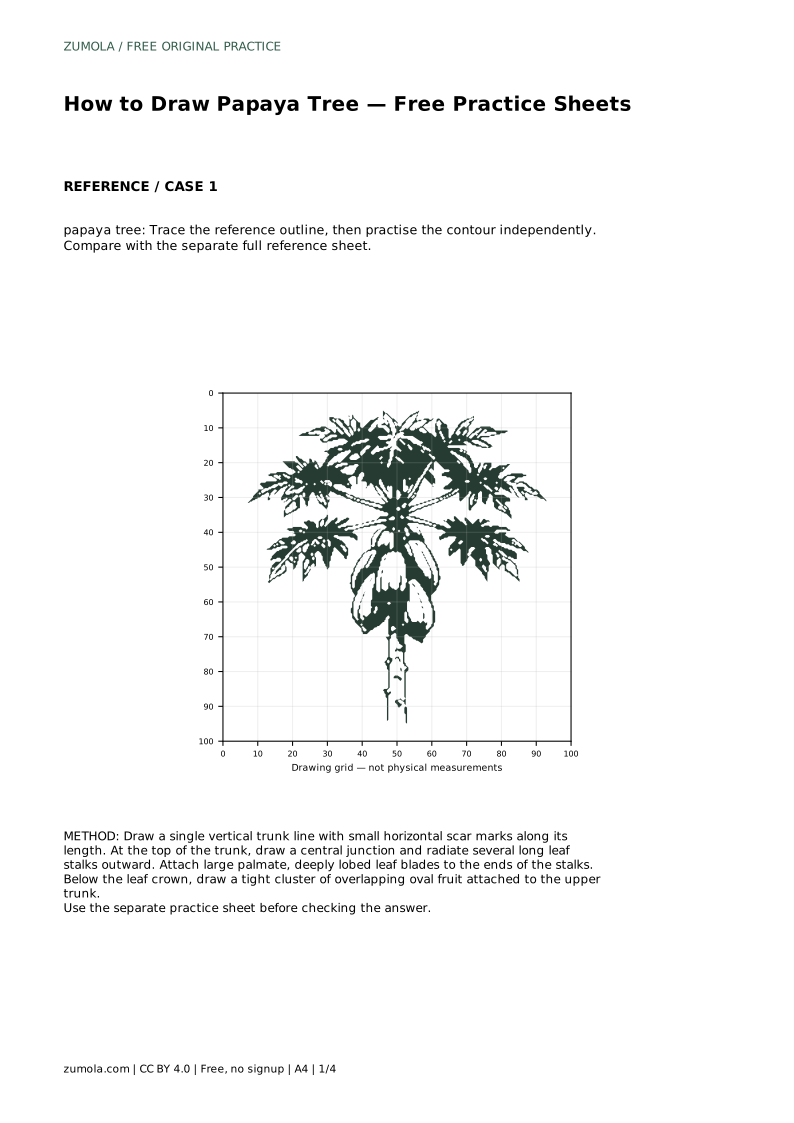
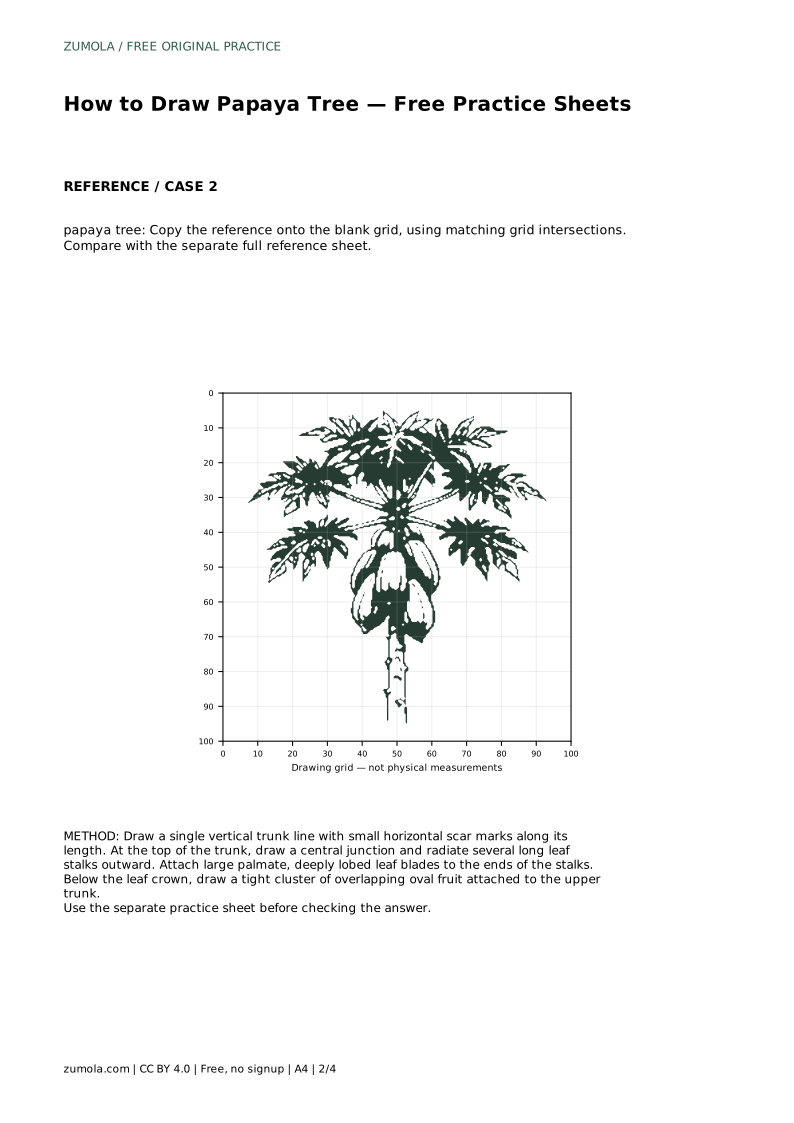
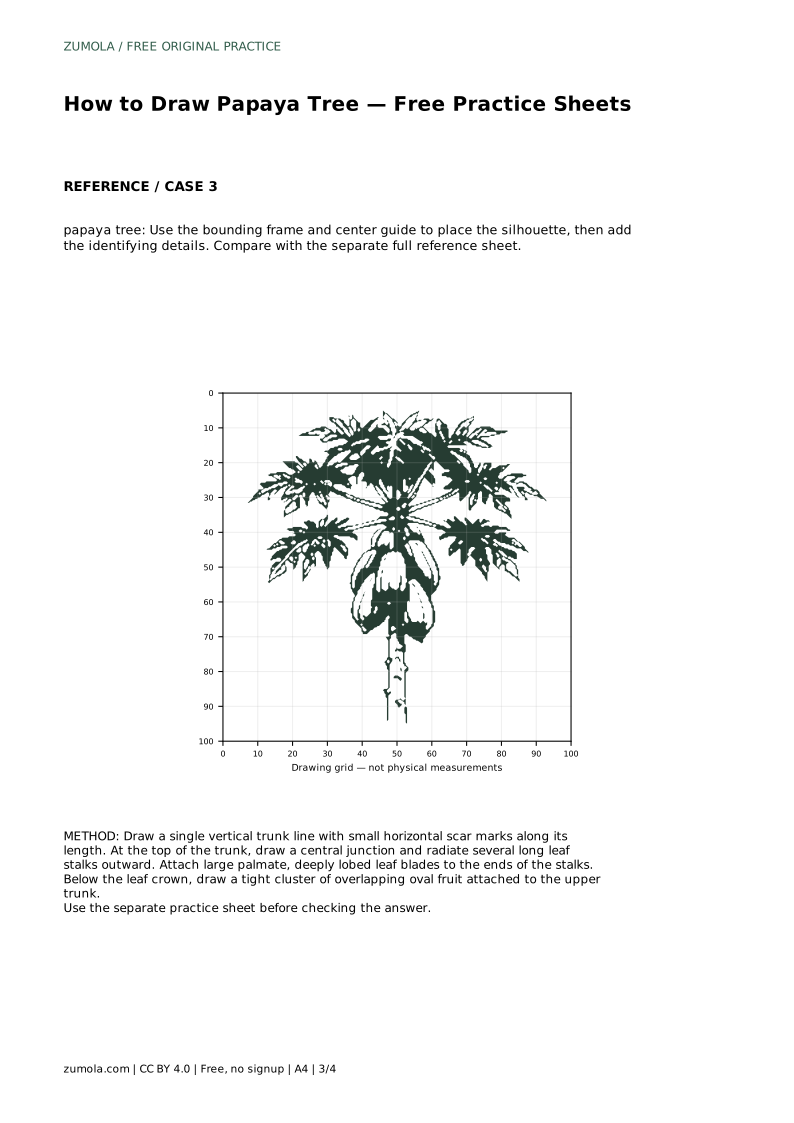
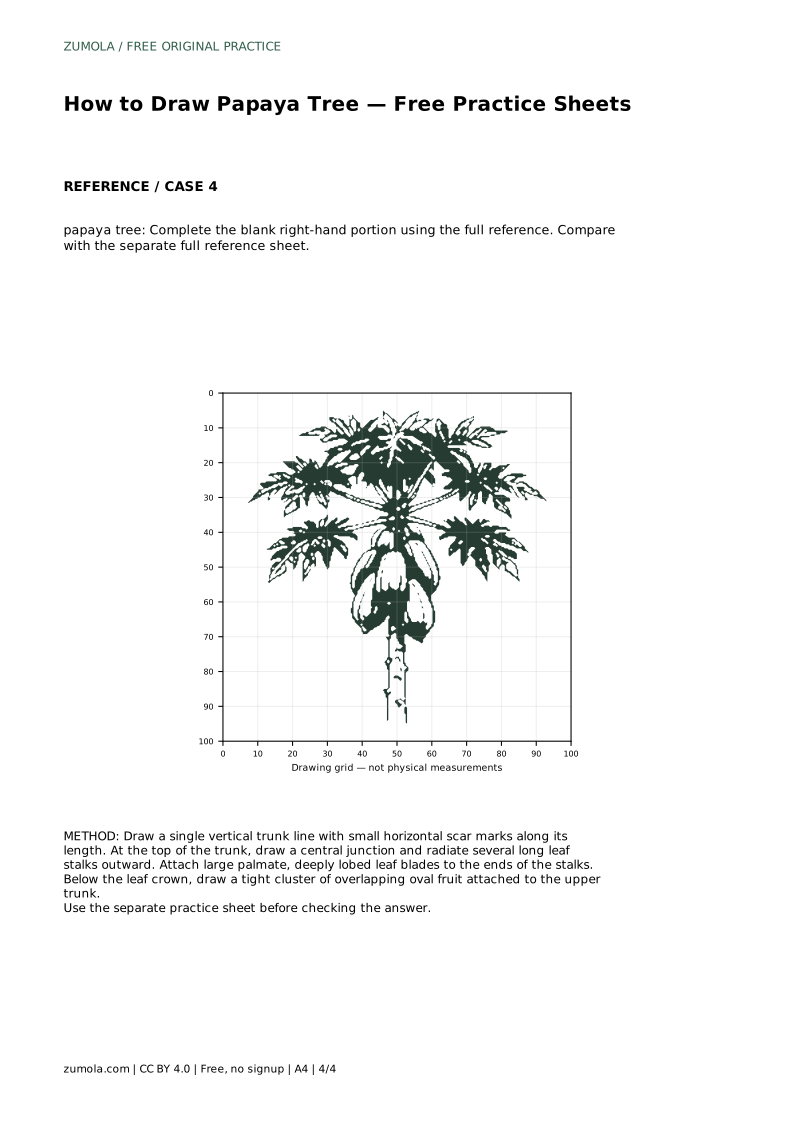
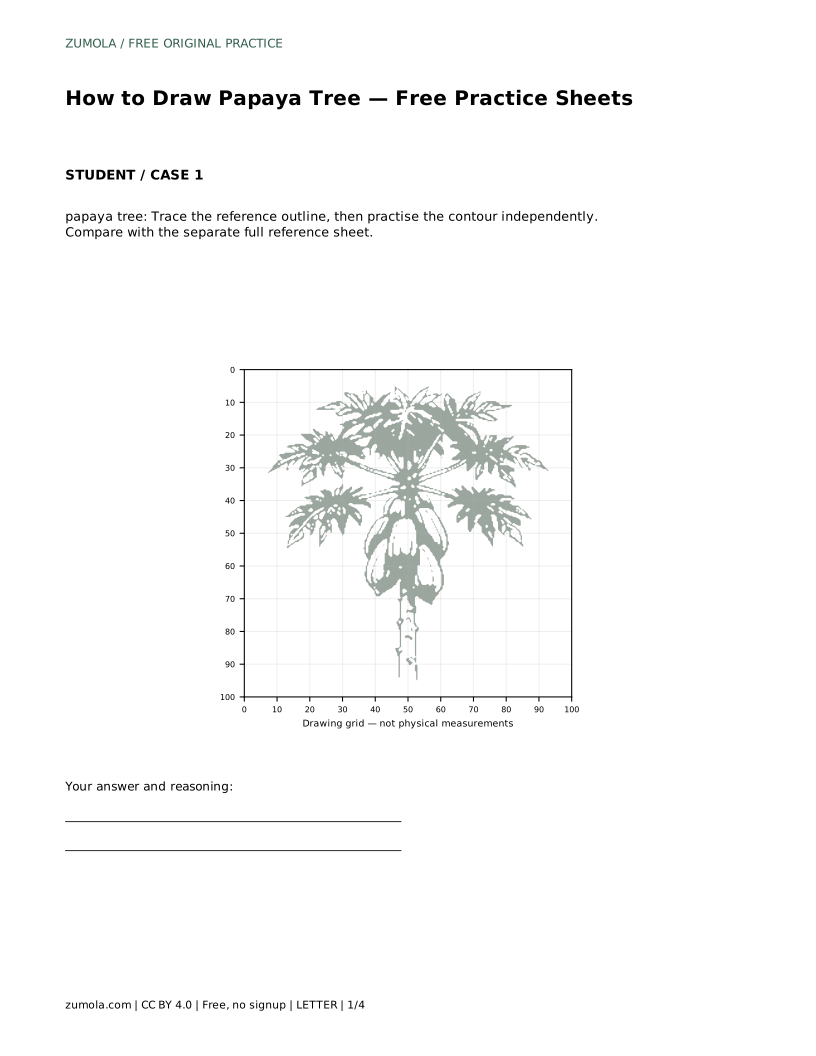
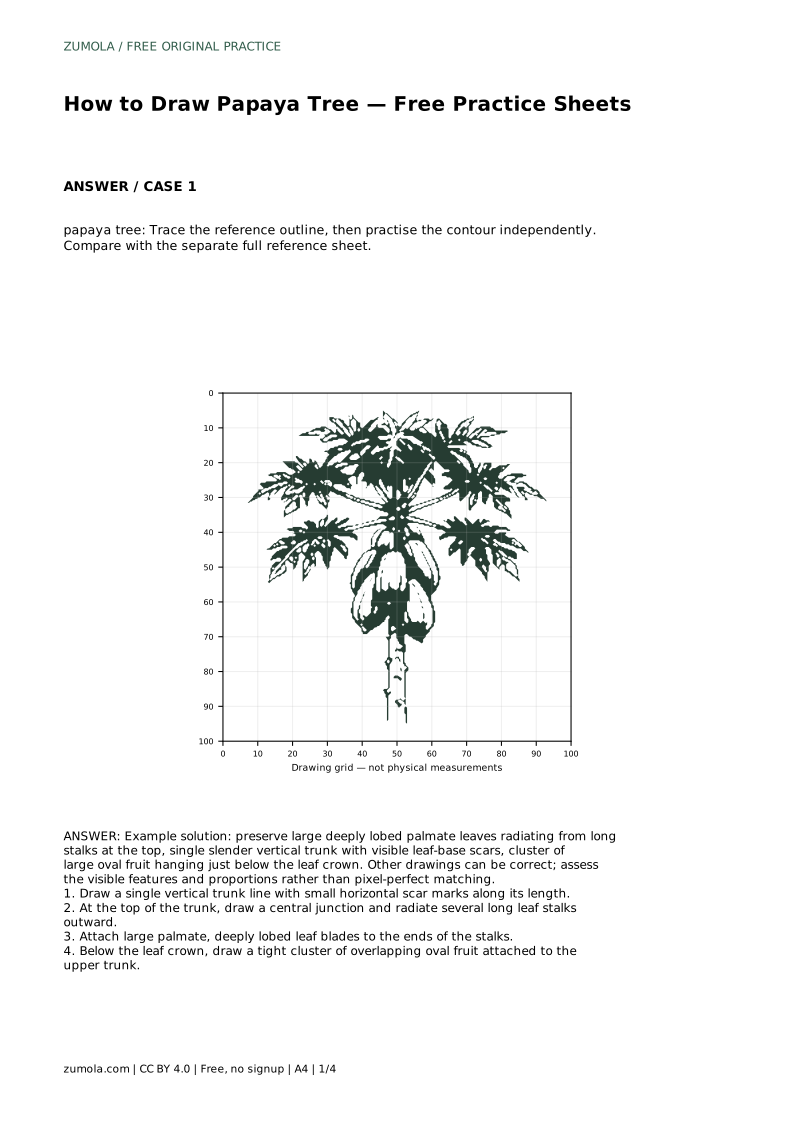
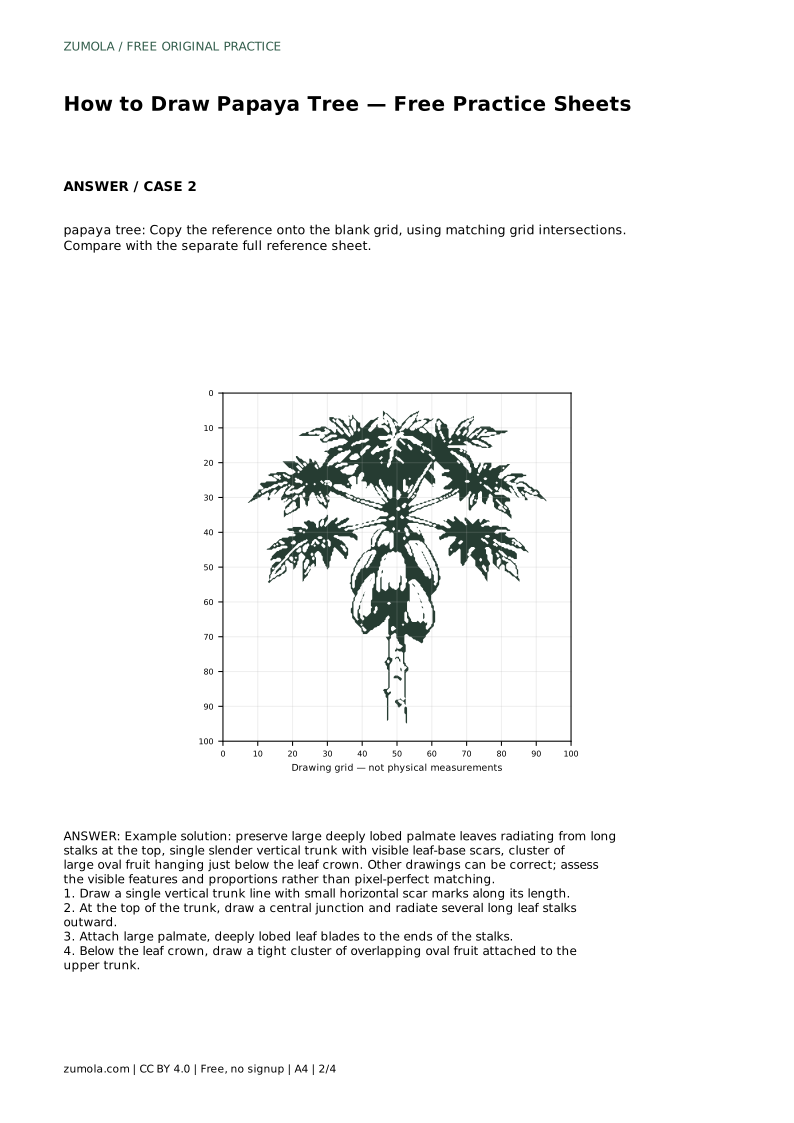
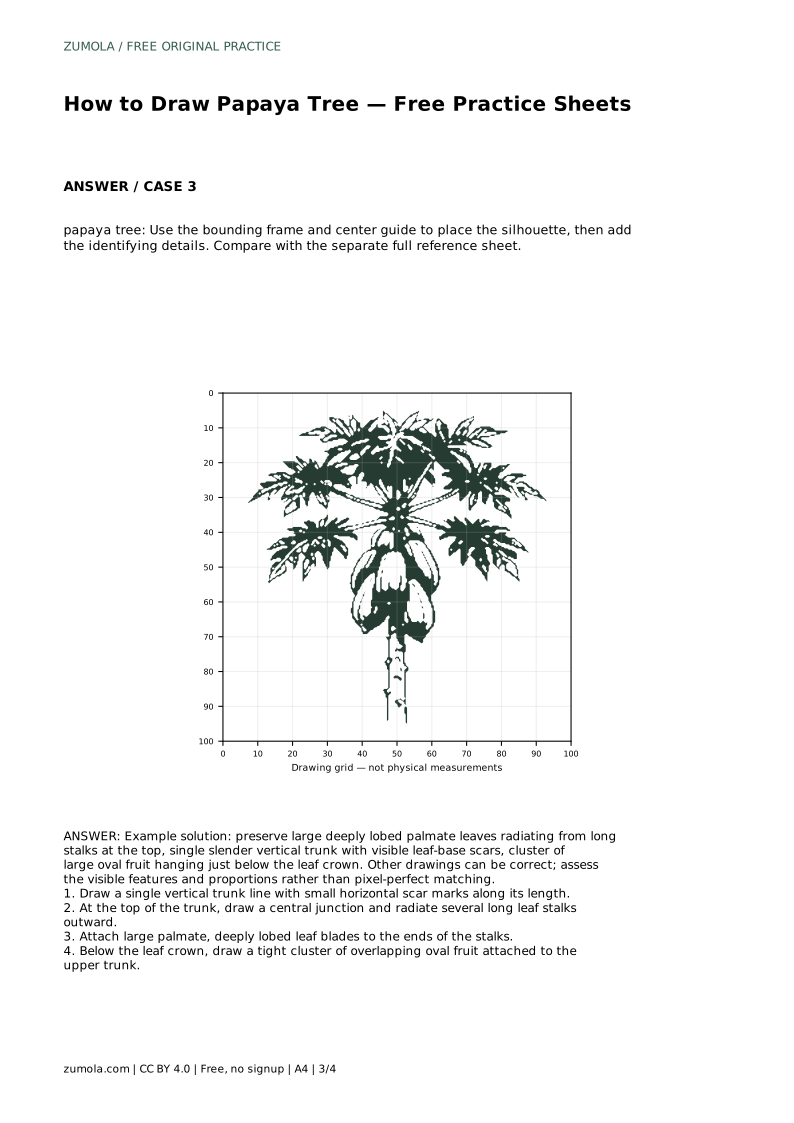
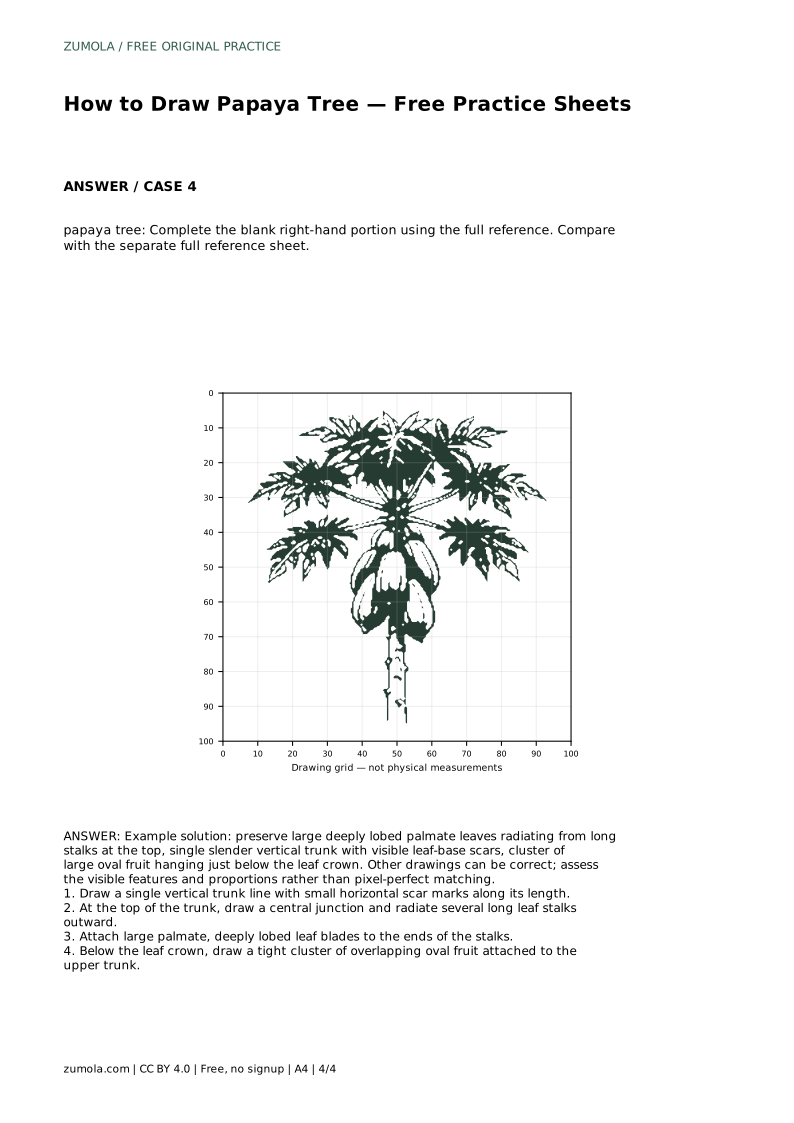
Reference diagrams
LETTER · Download PDF
A4 · Download PDF
Free original resources
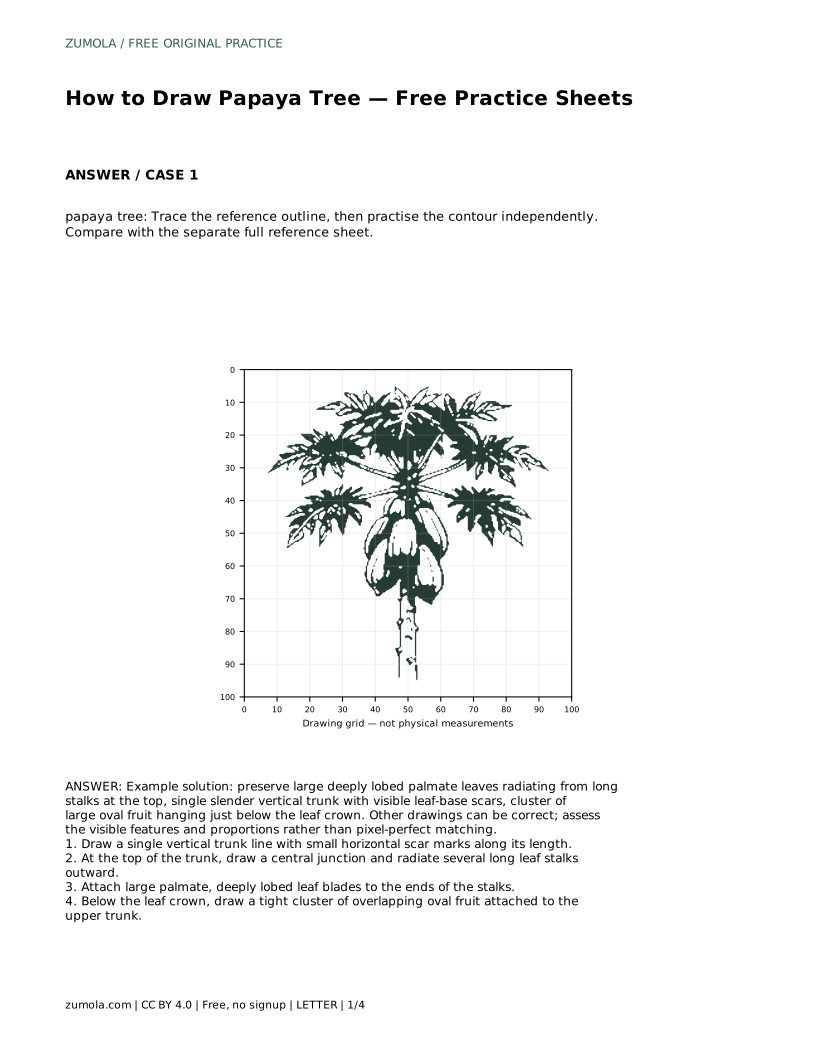
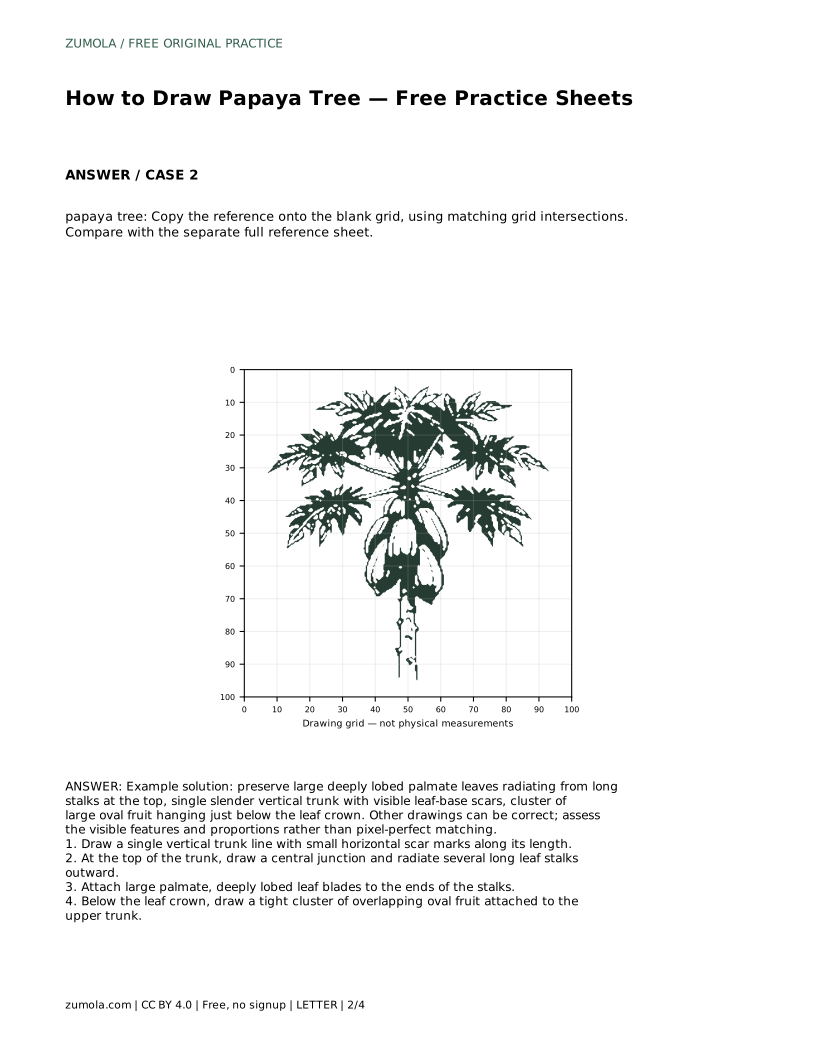
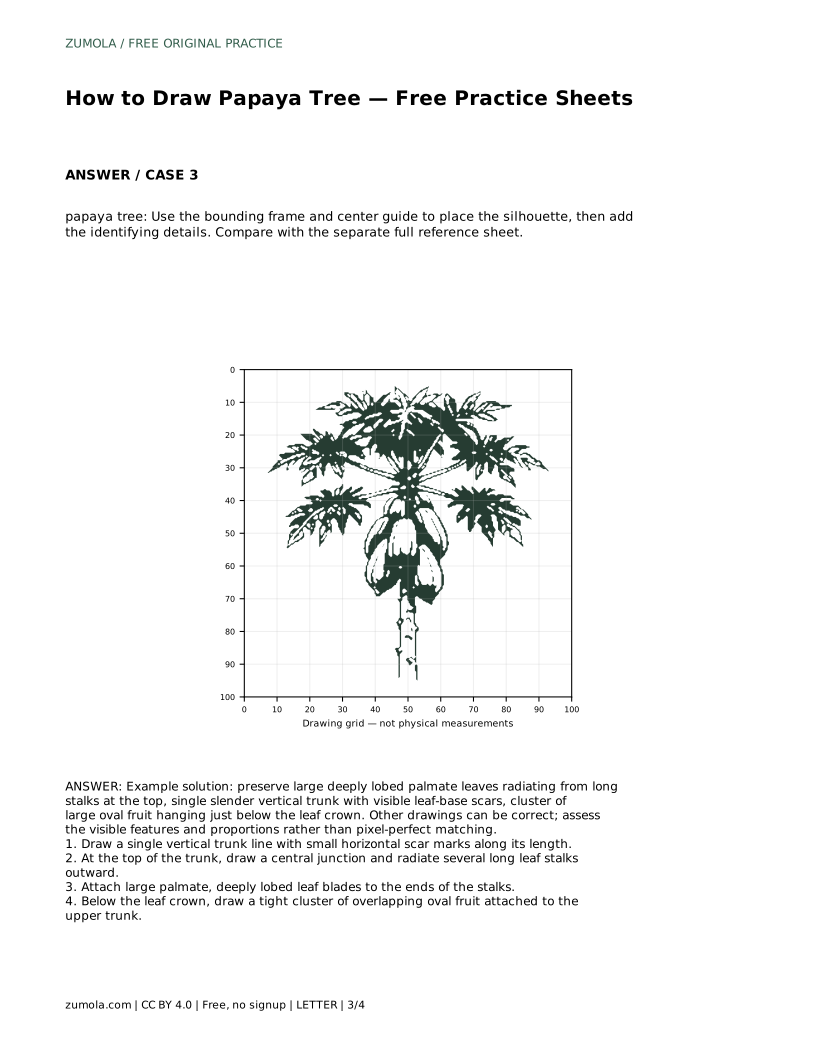
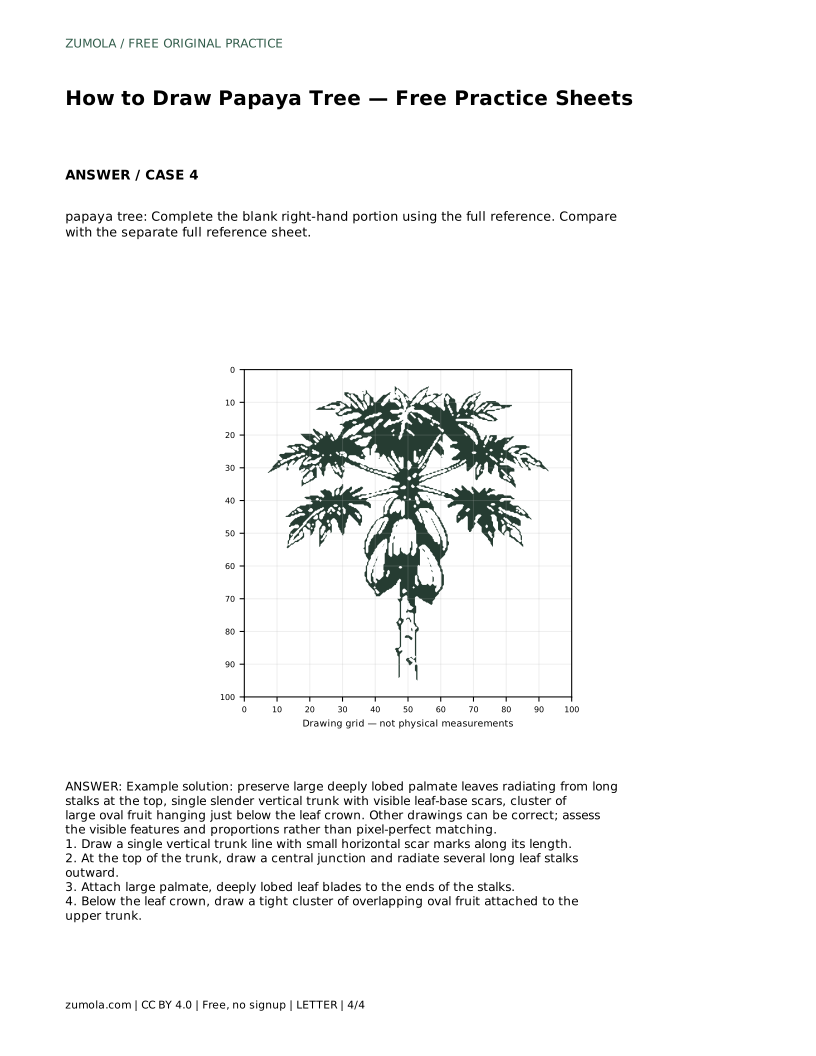
Learn to draw a papaya tree by building a slender scarred trunk, a crown of long-stalked lobed leaves, and a hanging cluster of oval fruit.
Four original cases, with reference diagrams, practice sheets and worked answers. Everything is free; no signup required.
LETTER · Download PDF
A4 · Download PDF
LETTER · Download PDF
A4 · Download PDF
LETTER · Download PDF
A4 · Download PDF
Use A4 or US Letter to match your printer. Use the stated values and conditions to solve each exercise; diagrams are not physical measuring rulers.
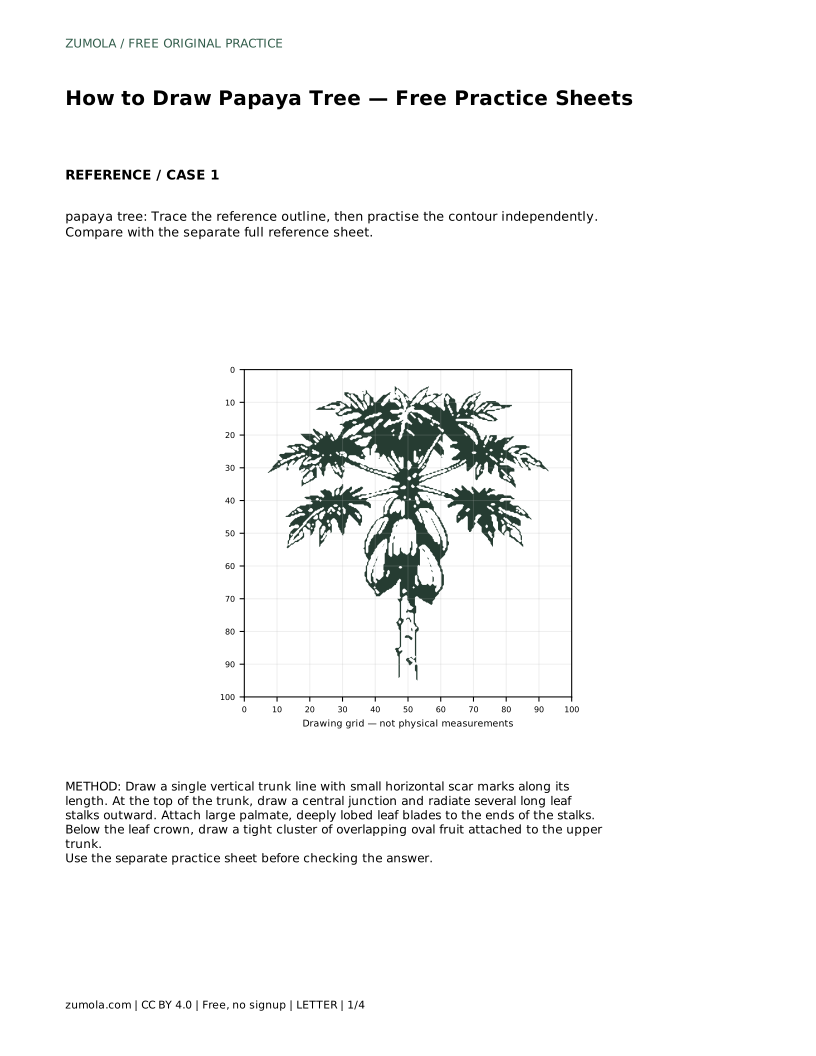
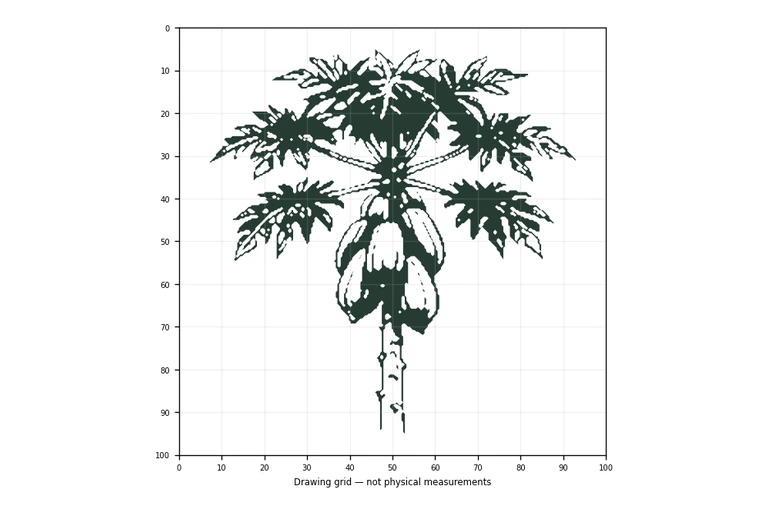
A papaya tree is easy to recognise once you know its three key parts: one slender upright trunk, a crown of large deeply lobed leaves on long stalks, and a tight cluster of oval fruit hanging just below the leaves. This page explains how to build those parts in order, then practise them with tracing, grid, frame and partial-completion sheets.
Begin with a single vertical line for the trunk. Papaya trunks are slender and usually unbranched, so keep one clear stem rather than splitting it into limbs. Add small horizontal marks along its length to suggest the scars left by old leaf bases. Space these marks fairly evenly and keep them short; they are texture, not branches.
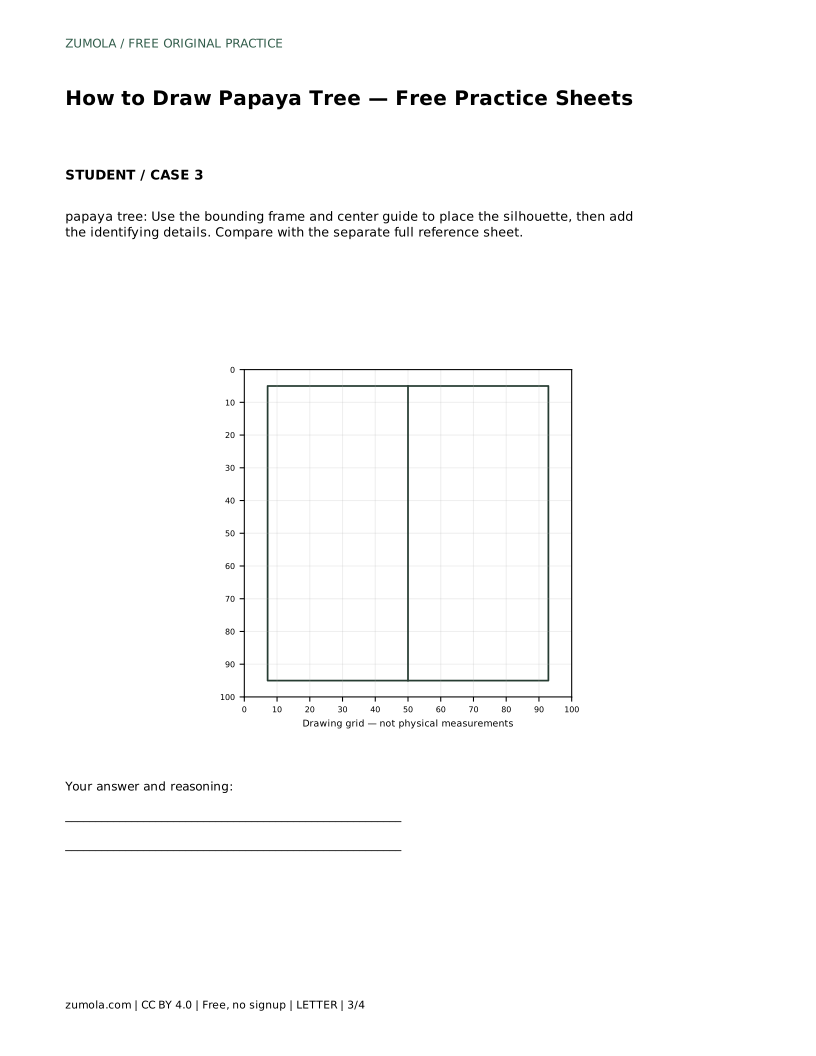
Decide the trunk height before adding anything else. The leaf crown sits at the top, and the fruit hangs below it, so a tall trunk leaves room for both. A light centre guide helps you keep the trunk straight while you work.
At the top of the trunk, draw a central junction where the leaf stalks meet. From this point, radiate several long stalks outward and slightly upward. Each stalk ends in a large palmate leaf blade with deep lobes, so the blade looks like a broad hand with separated fingers rather than a solid oval.
Vary the stalk angles so the crown looks open and radial. Keep the stalks noticeably longer than the leaf blades are wide; that long-stalked look is part of what makes a papaya tree read correctly. Overlap a few leaves to show depth, but leave gaps so the crown does not become a solid mass.
Papaya fruit hangs close to the upper trunk, just beneath the leaf crown. Draw a tight cluster of overlapping ovals attached to the trunk, not dangling from the leaf stalks. Keep the ovals large relative to the trunk width, and let them overlap so the cluster reads as a group.
Place the cluster high on the trunk. If the fruit sits halfway down, the drawing starts to look like a different tree. Check the order: trunk, crown, then fruit just below the crown.
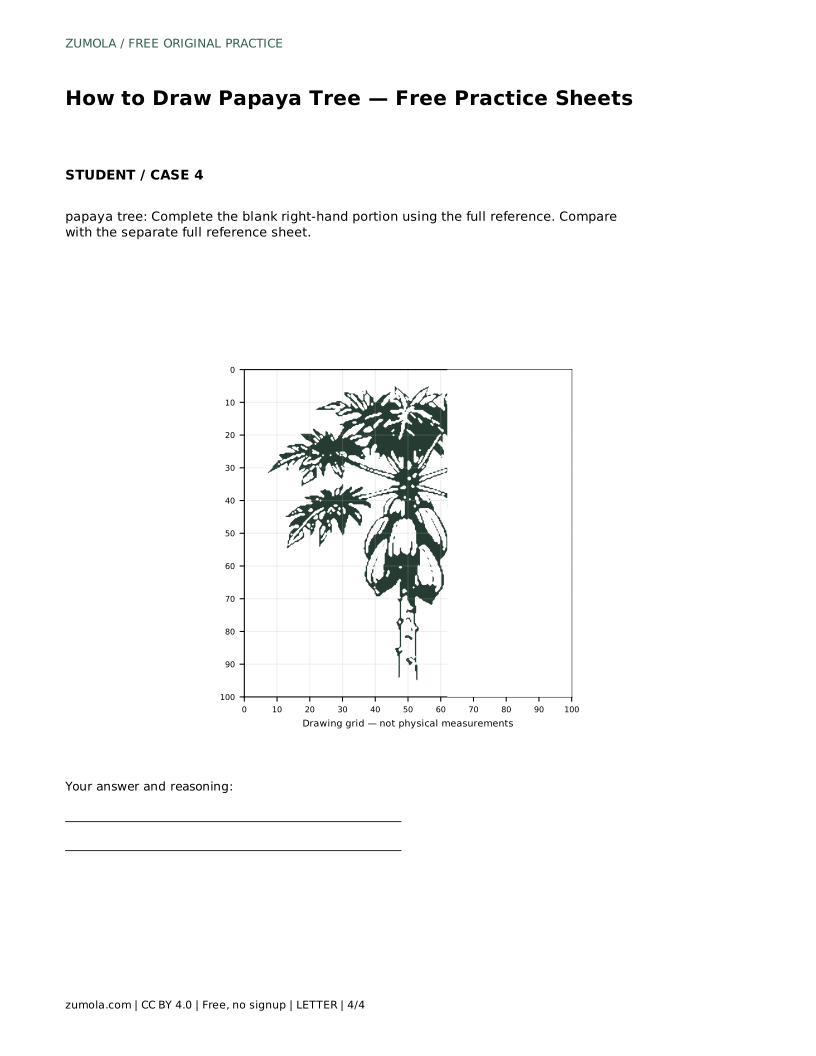
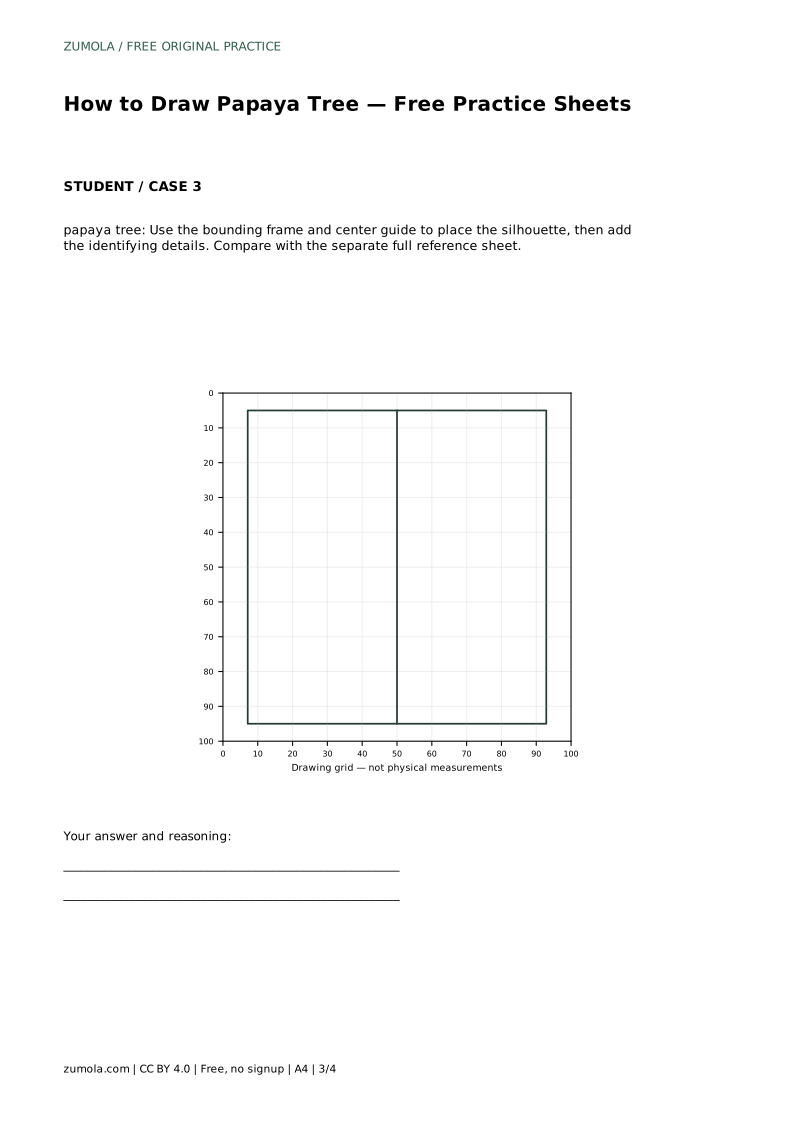
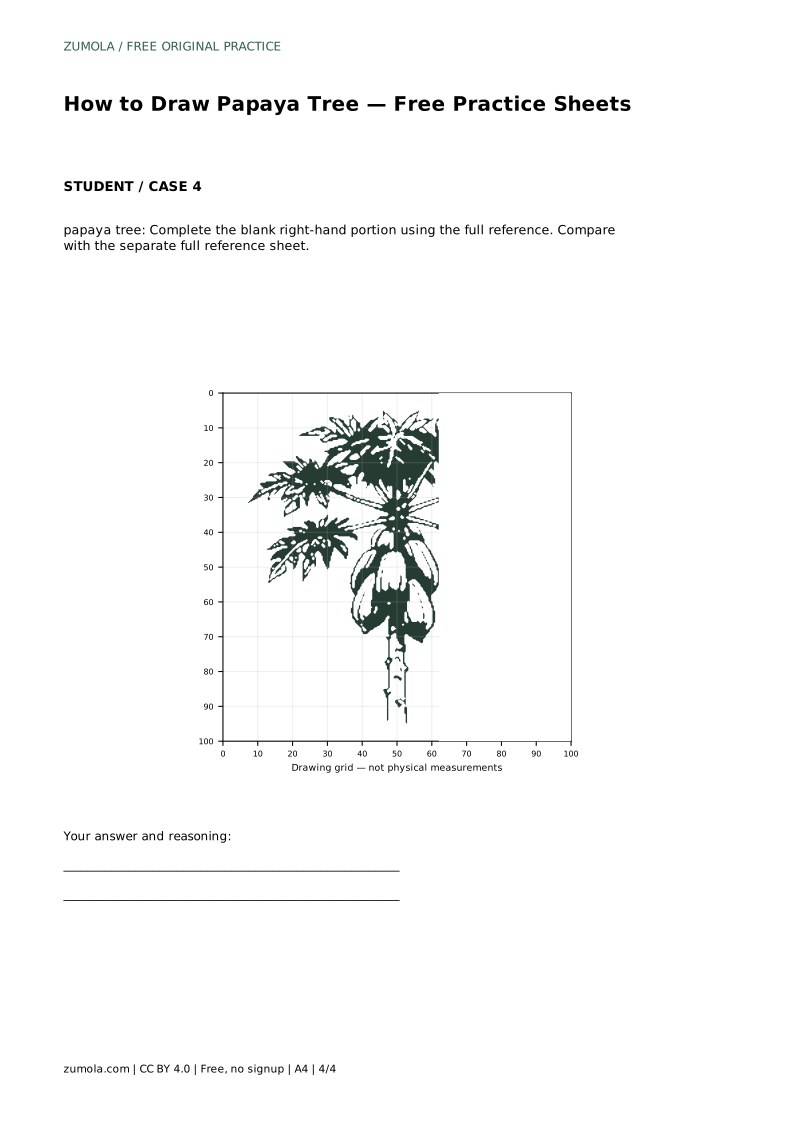
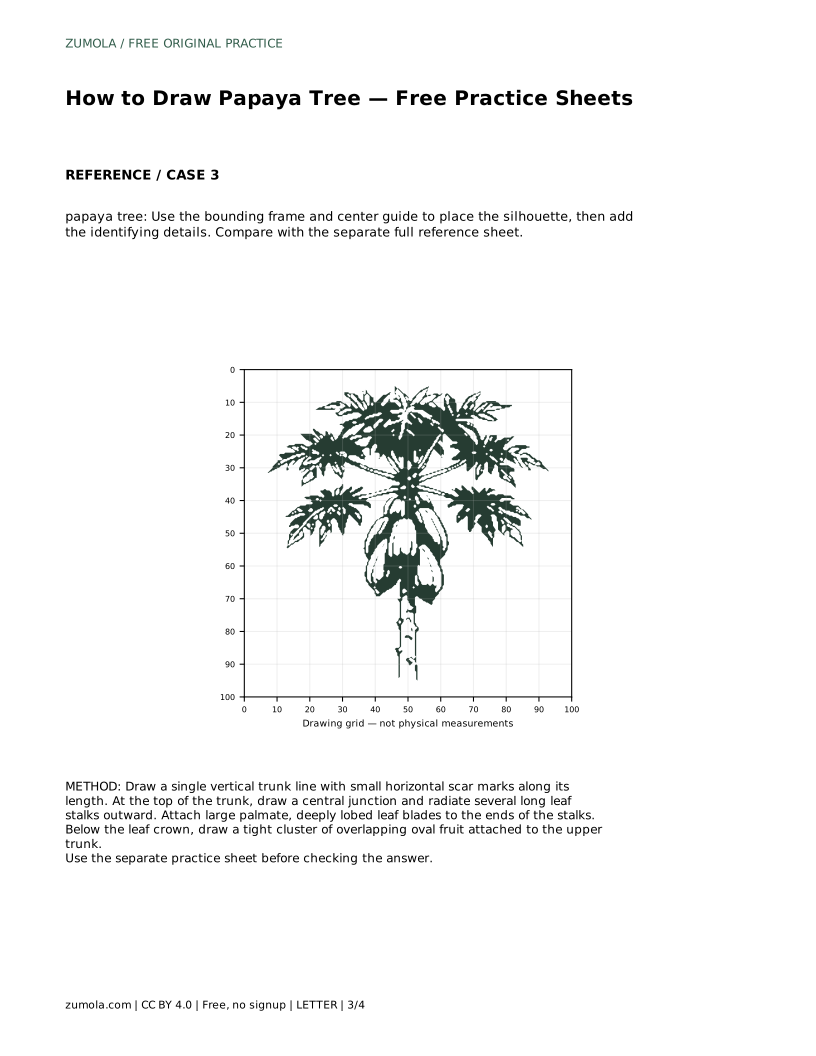
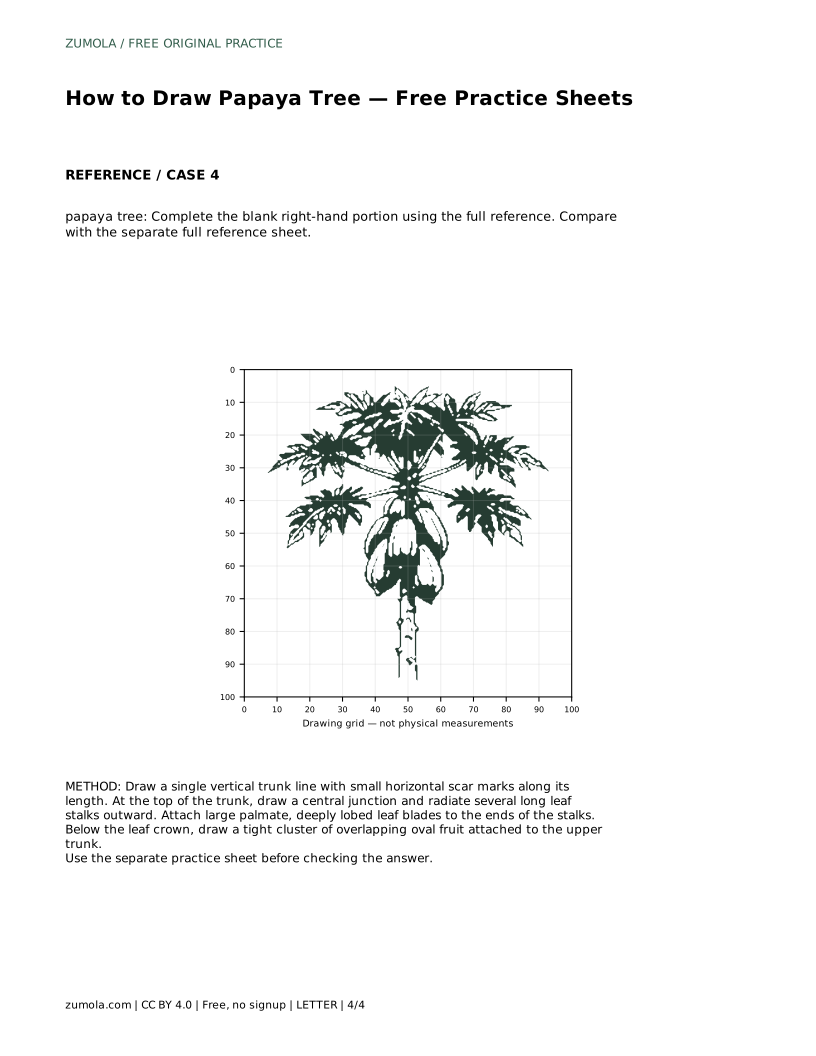
The practice sheets each isolate a different skill. Tracing the reference outline builds familiarity with the contour. Copying onto a blank grid trains proportion and placement using matching intersections. The bounding frame and centre guide help you position the silhouette before adding details. The partial-completion sheet asks you to finish the blank right-hand portion from the full reference.
After each attempt, compare your drawing with the separate full reference sheet. Ask whether the trunk is single and upright, the leaves are large, lobed and long-stalked, and the fruit cluster sits just below the crown. Several drawings can be correct; judge the visible features and proportions rather than pixel-perfect matching.
This is a drawing exercise, not a botanical or clinical diagram. You are capturing recognisable features and proportions, not labelling plant anatomy. Treat the leaf lobes, scar marks and fruit ovals as shapes to observe and reproduce.
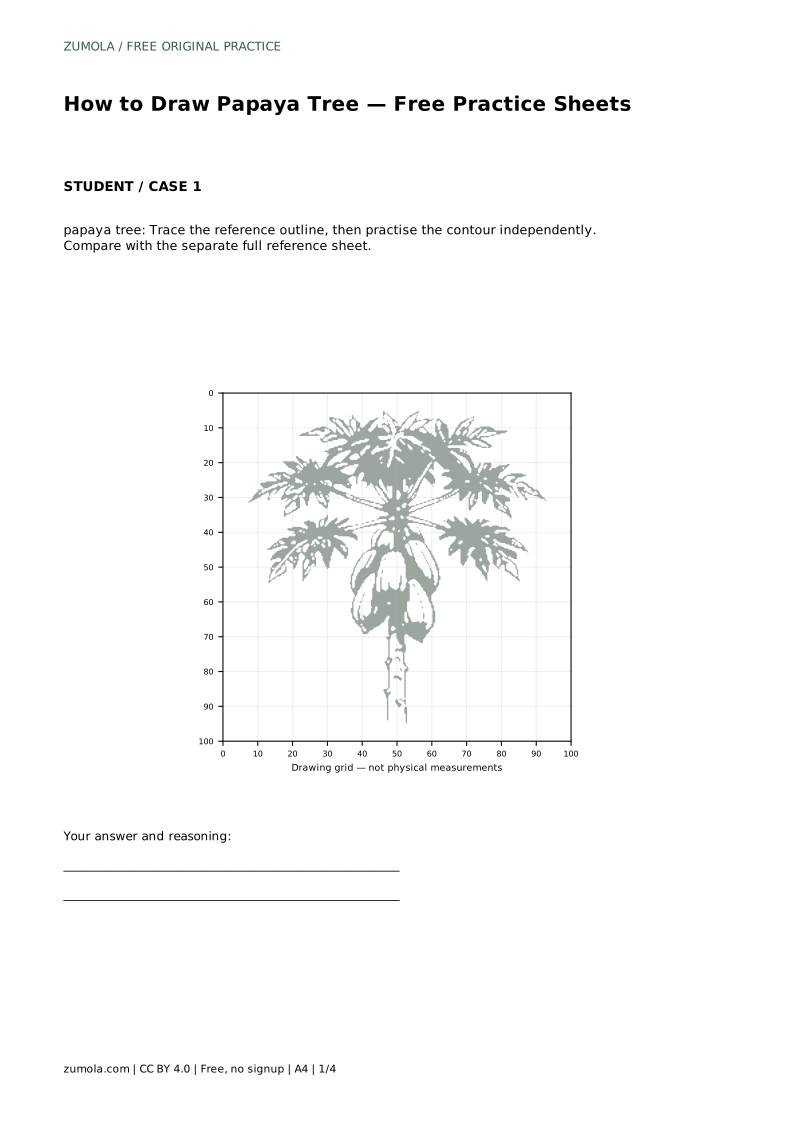
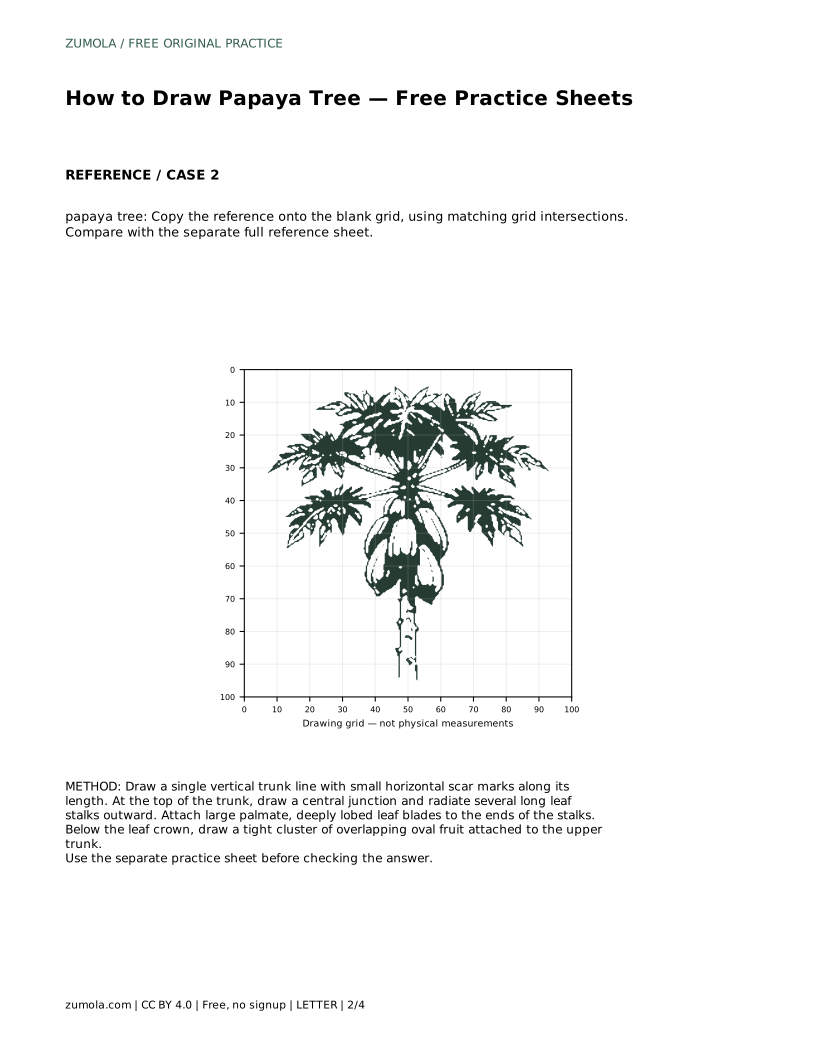
papaya tree: Trace the reference outline, then practise the contour independently. Compare with the separate full reference sheet.
Example solution: preserve large deeply lobed palmate leaves radiating from long stalks at the top, single slender vertical trunk with visible leaf-base scars, cluster of large oval fruit hanging just below the leaf crown. Other drawings can be correct; assess the visible features and proportions rather than pixel-perfect matching. Draw a single vertical trunk line with small horizontal scar marks along its length. At the top of the trunk, draw a central junction and radiate several long leaf stalks outward. Attach large palmate, deeply lobed leaf blades to the ends of the stalks. Below the leaf crown, draw a tight cluster of overlapping oval fruit attached to the upper trunk.
There is no fixed number. Use enough long-stalked lobed leaves to make an open radial crown, overlapping a few and leaving gaps between others.
Just below the leaf crown, attached to the upper trunk as a tight cluster of overlapping ovals.
No. Compare visible features and proportions. Different drawings can be correct if the trunk, lobed leaves and fruit cluster read clearly.
All drawing practice · Free coordinate paper
Original resources · CC BY 4.0 · Free for personal and classroom use with attribution.