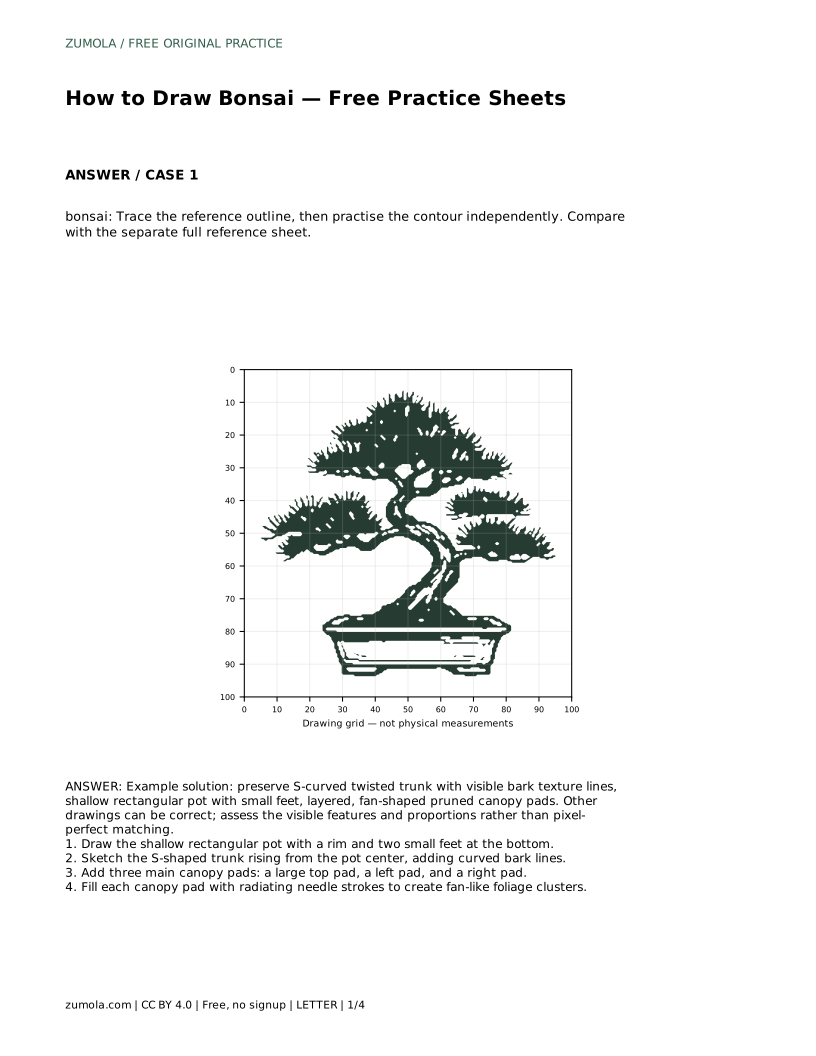
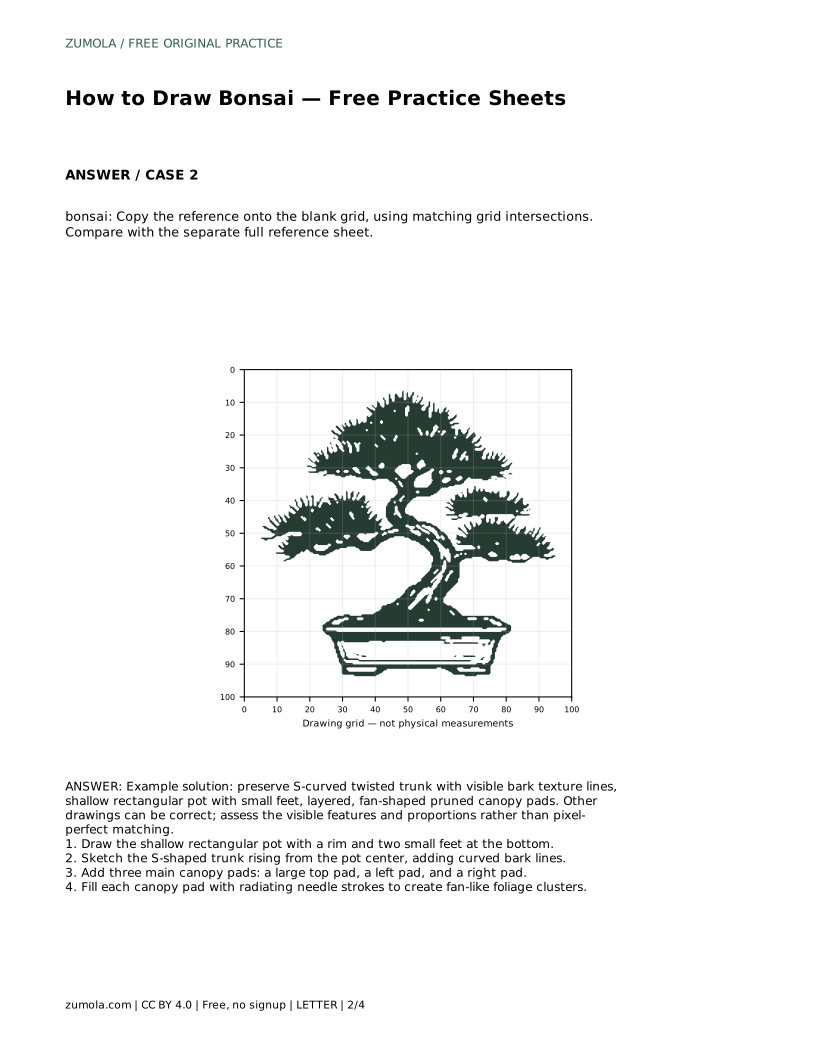
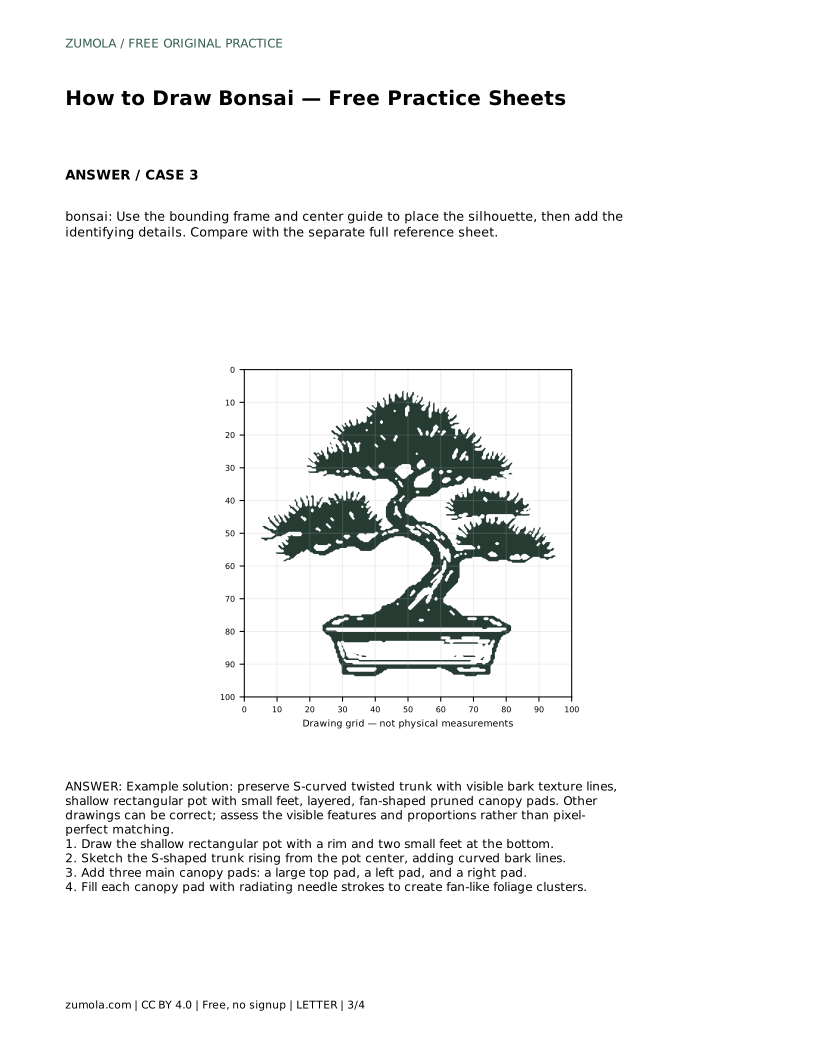
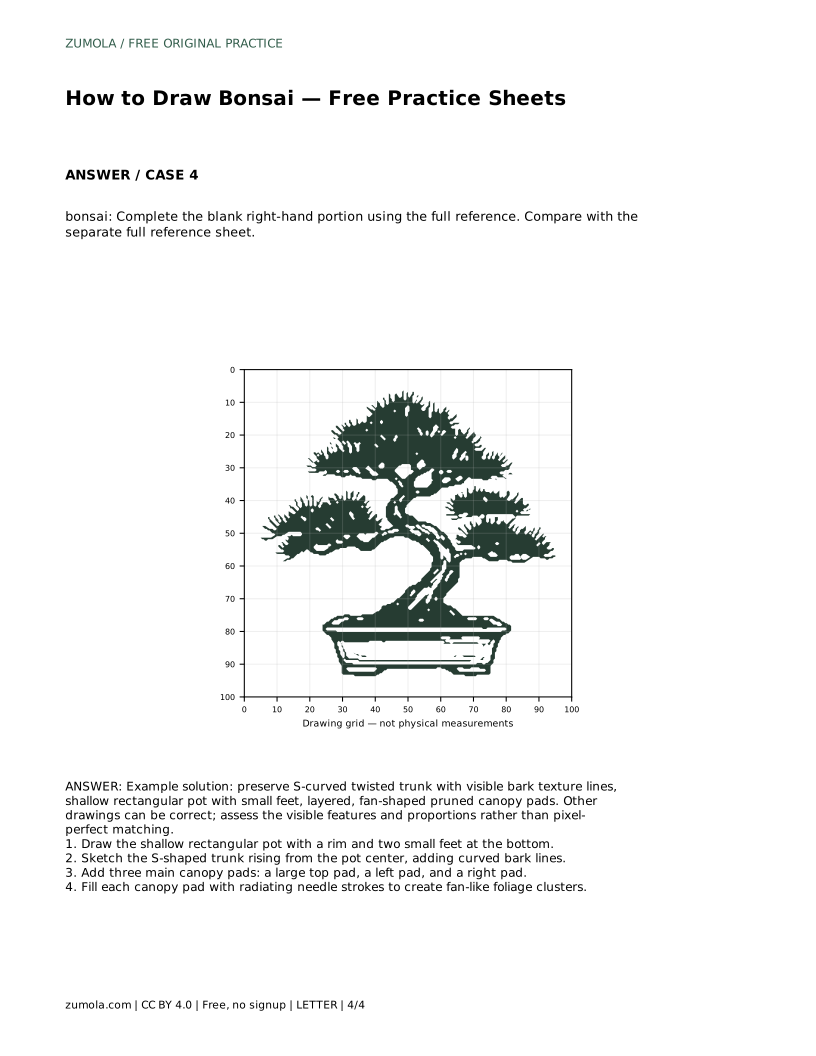
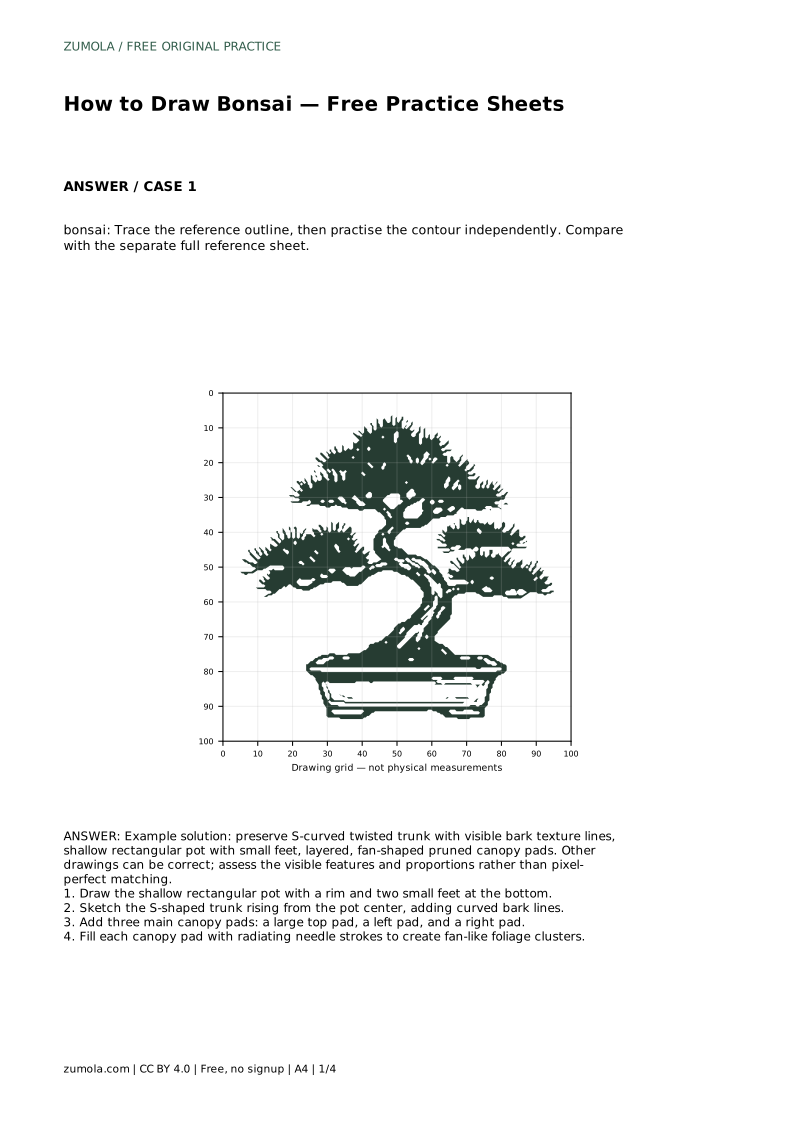
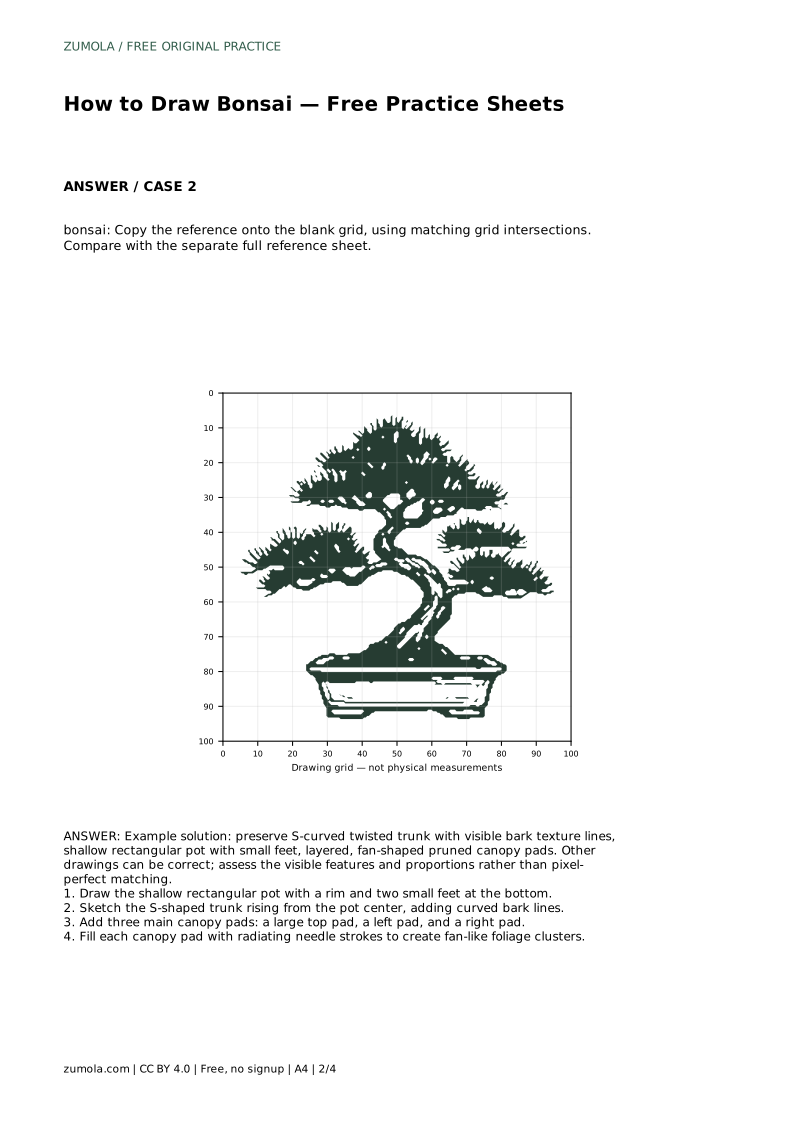
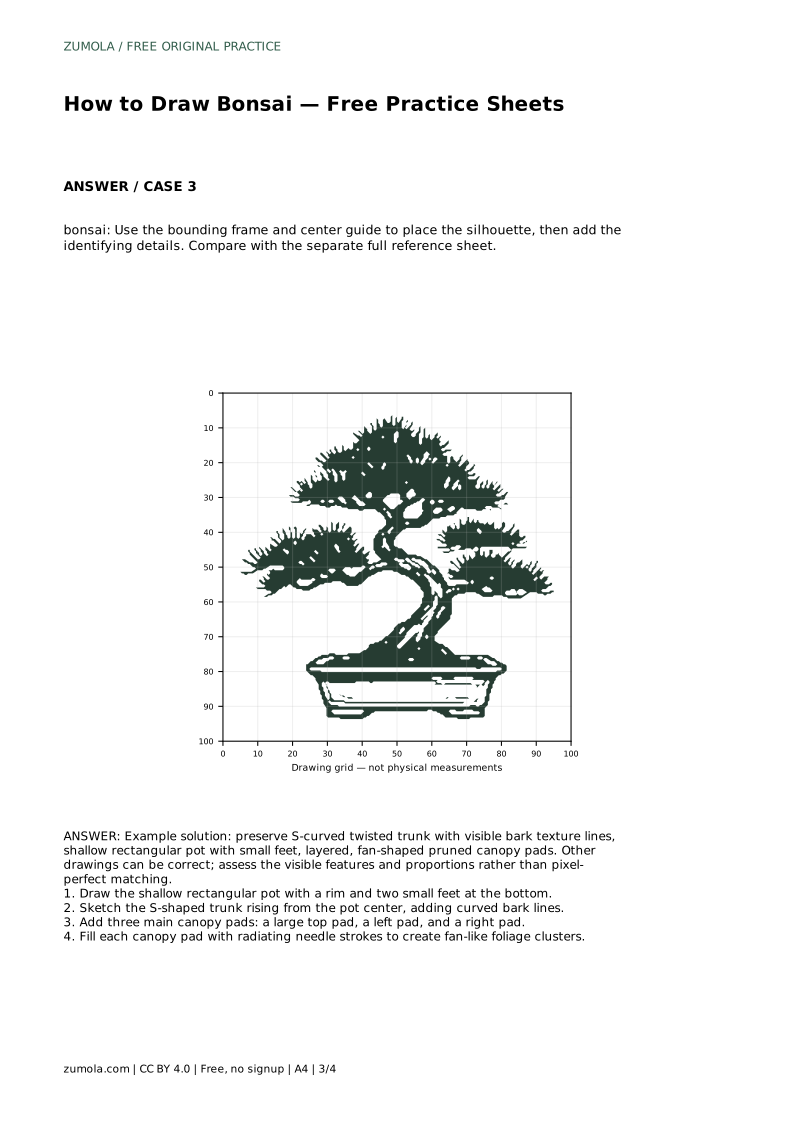
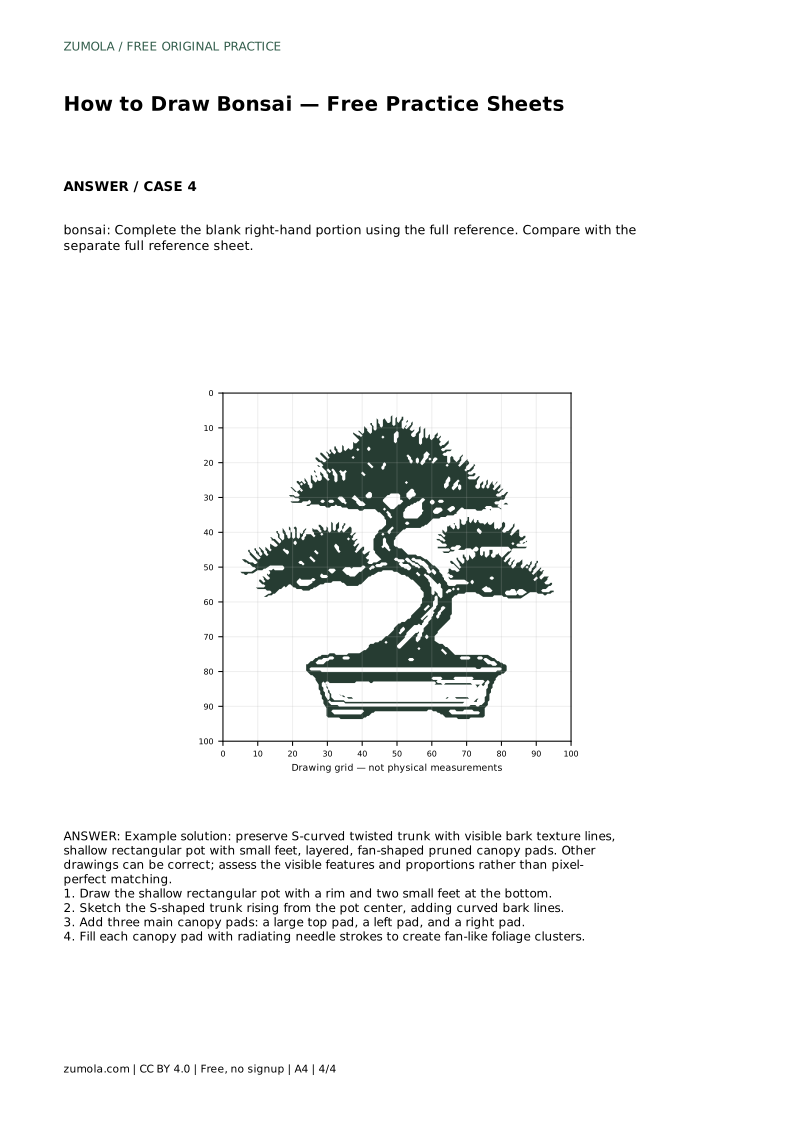
Reference diagrams
LETTER · Download PDF
A4 · Download PDF
Free original resources
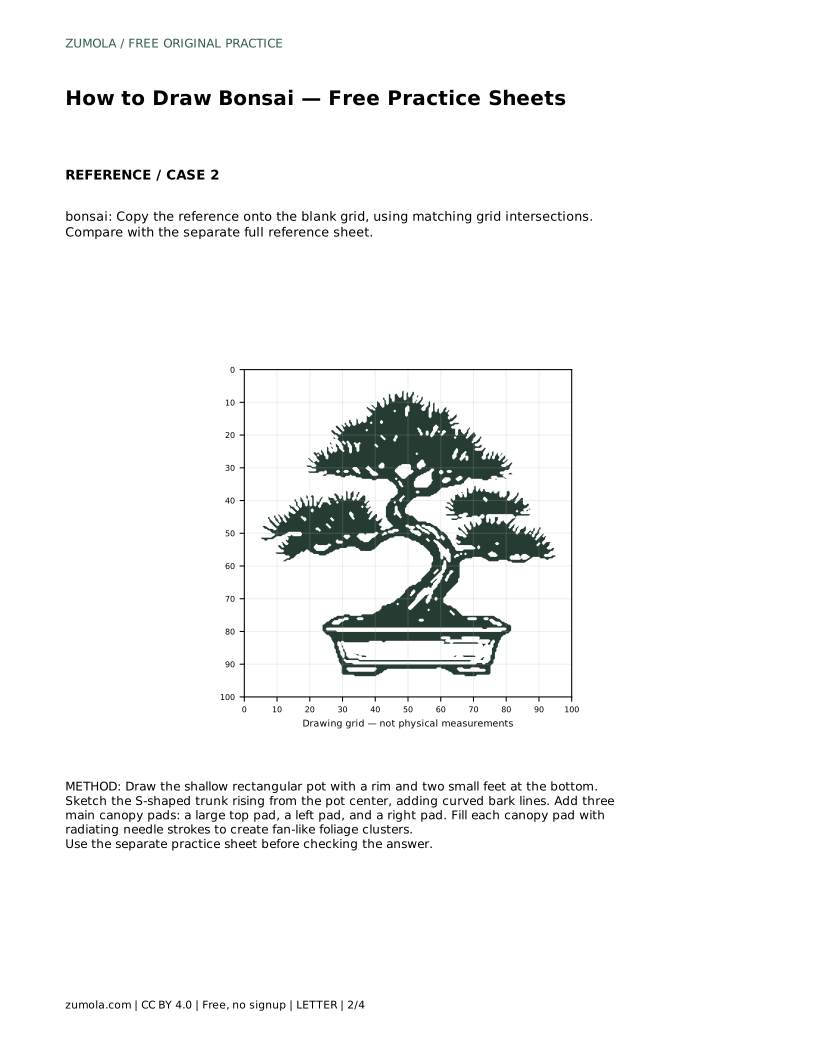
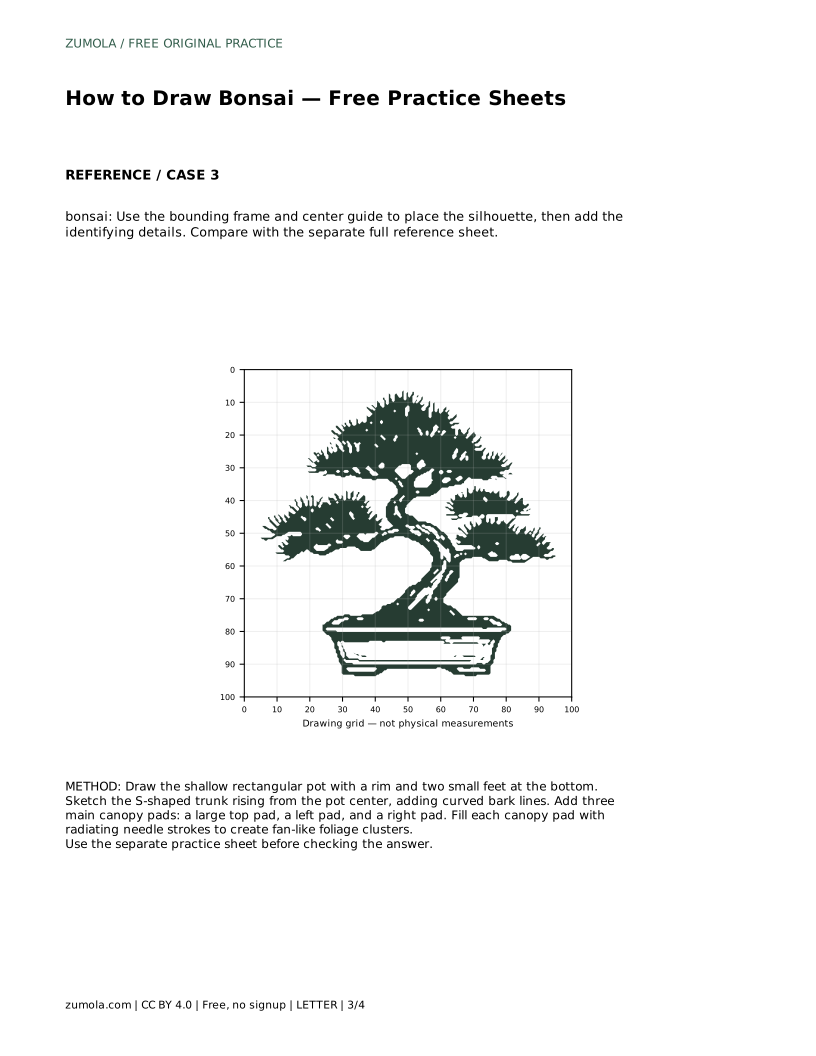
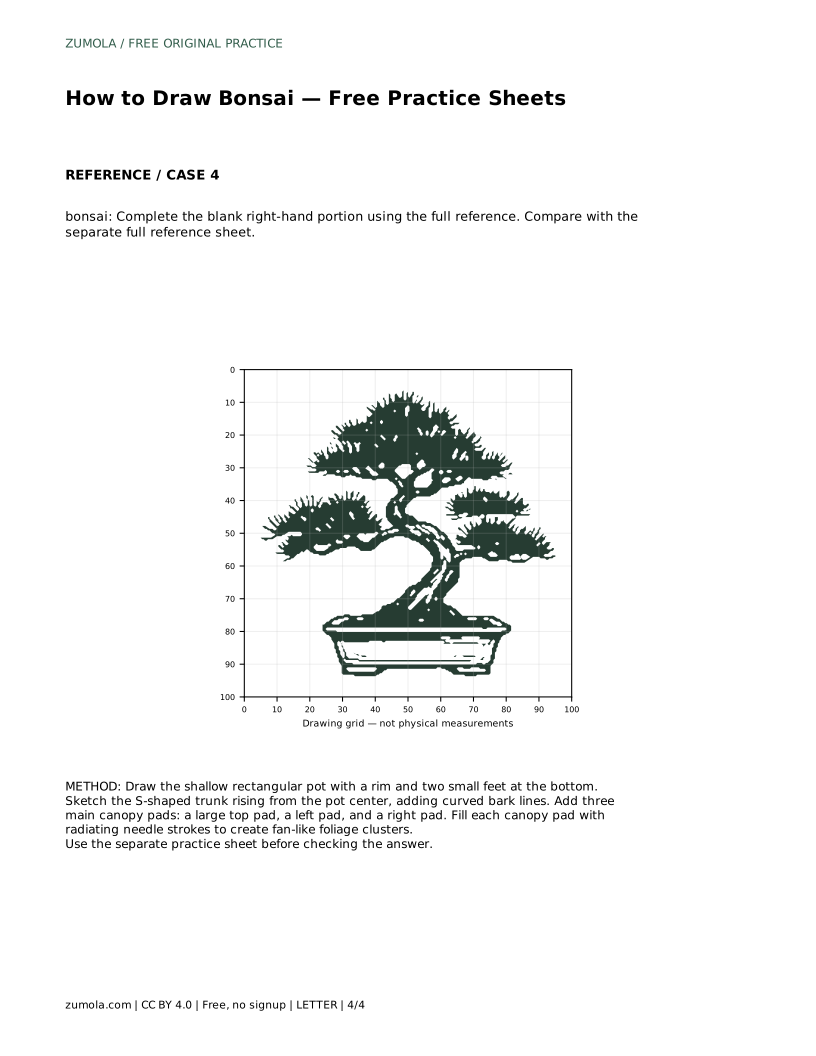
Learn to draw a bonsai with a shallow pot, S-curved trunk, bark lines, and three fan-shaped canopy pads. Trace, then draw the contour independently.
Four original cases, with reference diagrams, practice sheets and worked answers. Everything is free; no signup required.
LETTER · Download PDF
A4 · Download PDF
LETTER · Download PDF
A4 · Download PDF
LETTER · Download PDF
A4 · Download PDF
Use A4 or US Letter to match your printer. Use the stated values and conditions to solve each exercise; diagrams are not physical measuring rulers.
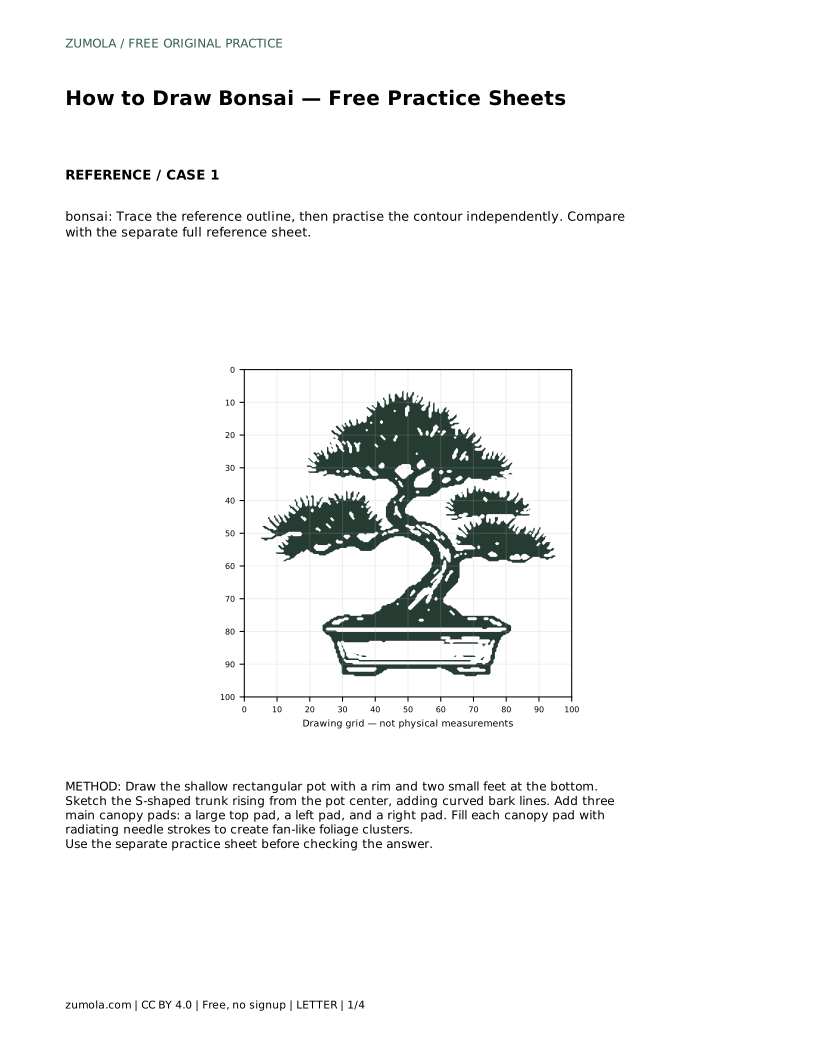
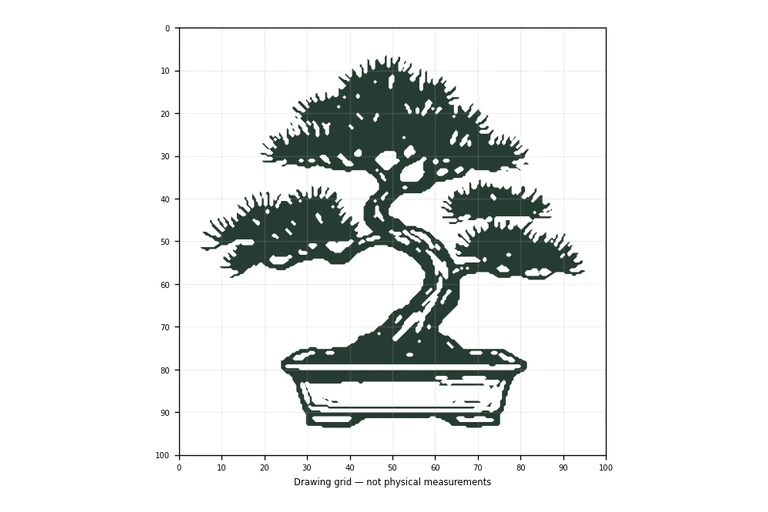
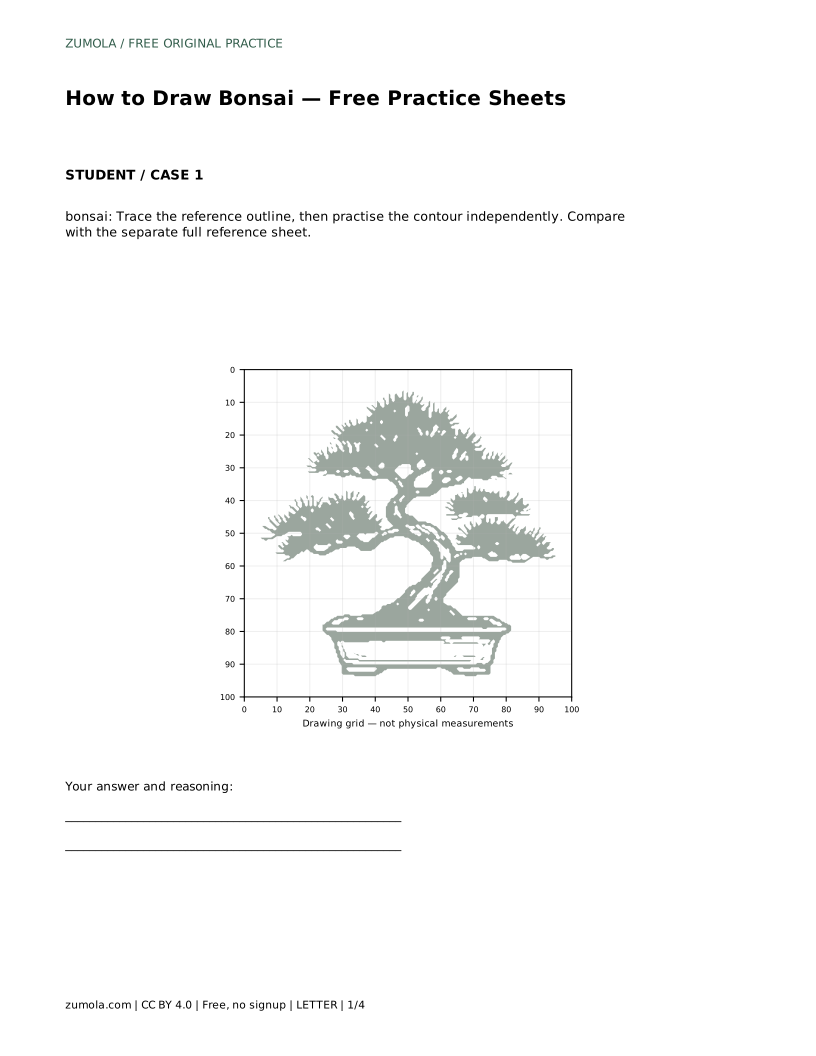
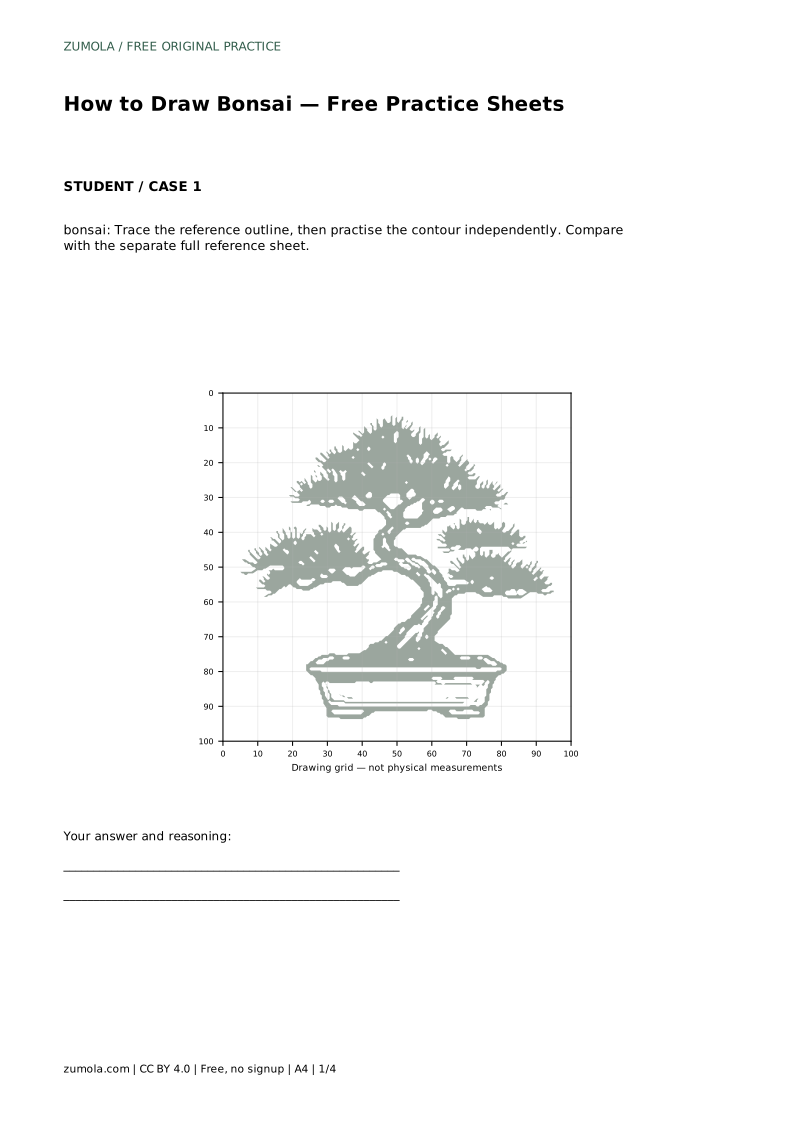
A bonsai drawing reads clearly when three parts agree: a shallow pot that anchors the plant, a twisted trunk that rises from the pot's center, and pruned foliage arranged as layered pads. This page teaches that structure through tracing and independent contour practice. Begin by tracing the reference outline, then draw the same contour without tracing. Compare your work with the separate full reference sheet and judge visible features and proportions, not pixel-perfect matching.
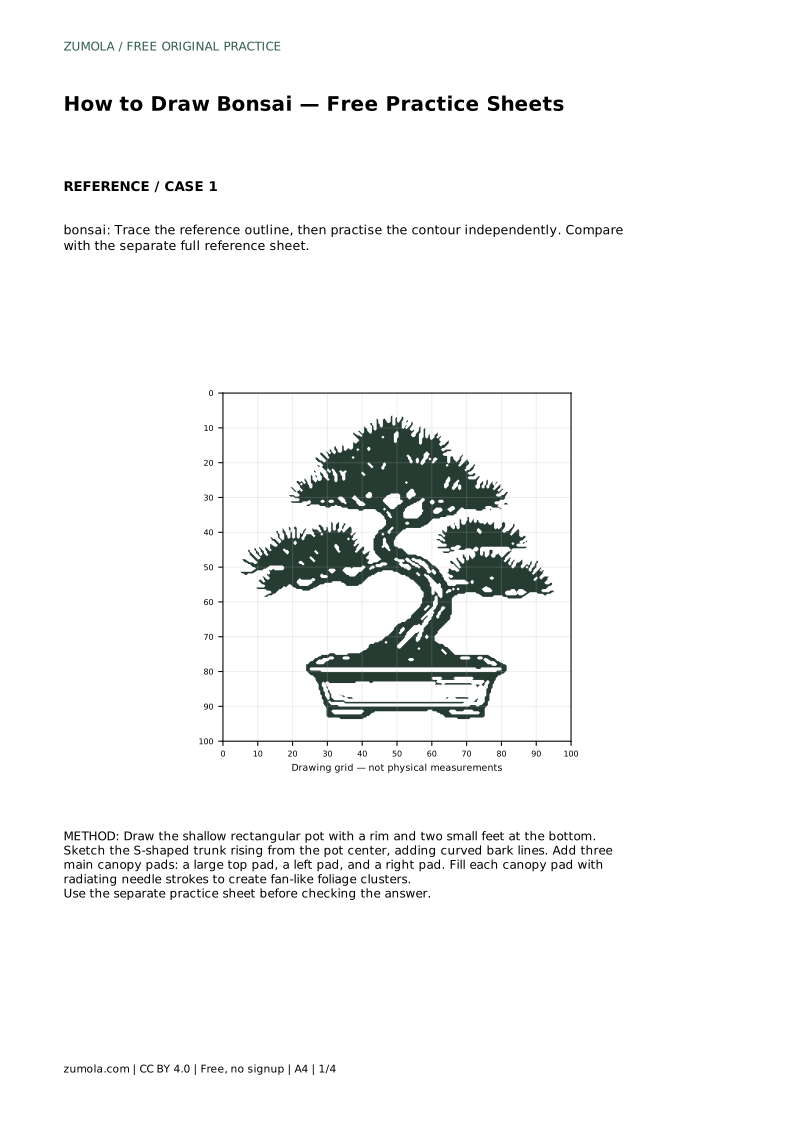
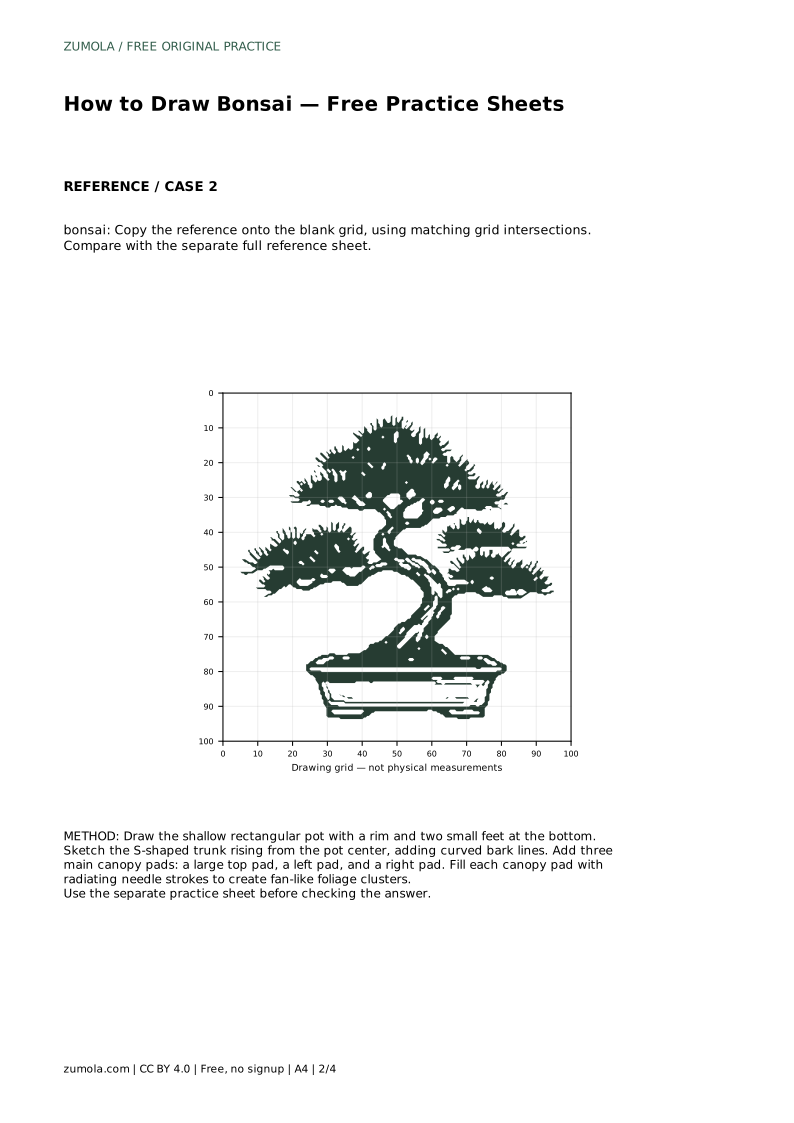
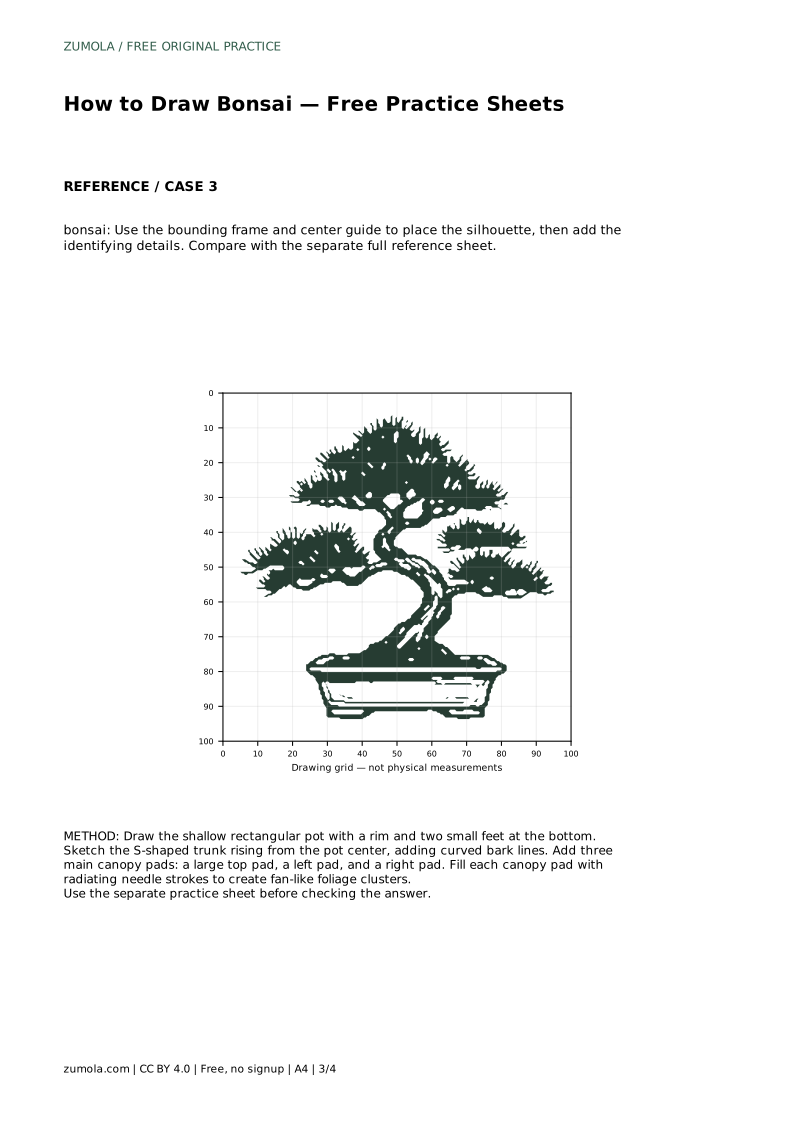
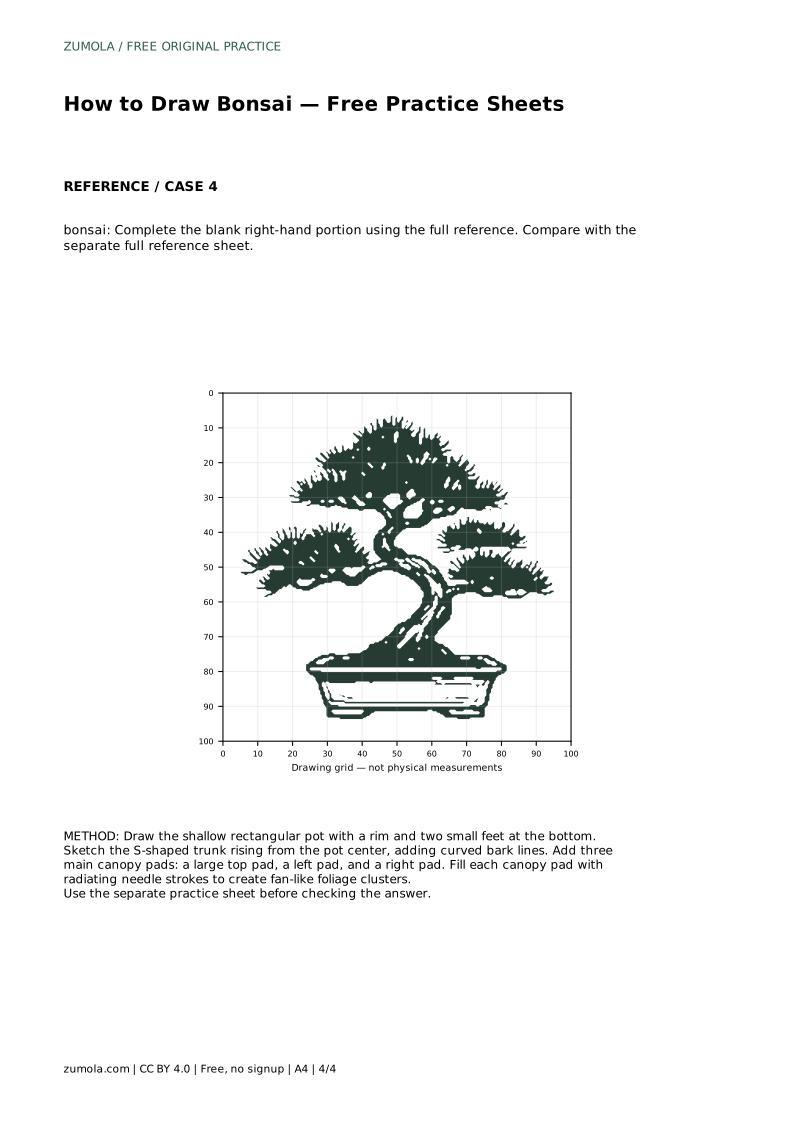
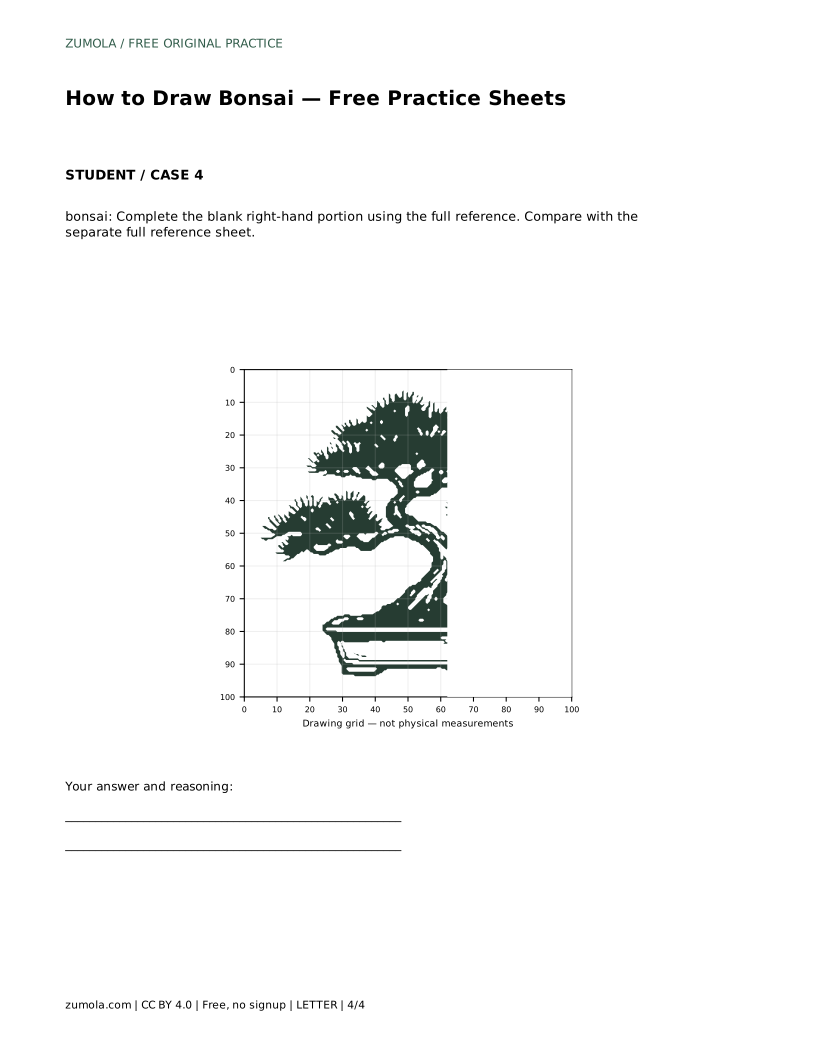
Before drawing, study the reference as a set of relationships. The pot is a shallow rectangle with a rim and two small feet at the bottom. The trunk starts at the pot's center and rises in an S curve, so its direction changes twice. Bark texture appears as curved lines that follow the trunk rather than crossing it at random. The foliage forms three main pads: a large top pad, a left pad, and a right pad. Each pad is fan-shaped and layered, with radiating needle strokes that spread outward from the pad's base.
Treat these features as the drawing's checklist. A correct bonsai drawing preserves the S-curved twisted trunk, visible bark texture lines, the shallow rectangular pot with small feet, and layered, fan-shaped pruned canopy pads. Proportions matter: the trunk should look tall enough to support the canopy, and the pot should stay visibly shallow rather than becoming a deep bowl.
Tracing builds recognition of the outline: where the trunk bends, how wide each pad sits, and how the pot's rim meets the trunk base. Keep your pencil light so the traced line stays easy to adjust. After tracing, set the reference aside and redraw the contour from memory on a fresh area. This second pass is the real practice, because it shows which relationships you have internalized.
When the independent contour is finished, compare it with the separate full reference sheet. Check the S curve, the three pad positions, and the pot's depth. If a pad sits too high or the trunk leans too far, redraw that section rather than erasing the whole drawing. Small corrections preserve the overall structure you have already built.
Bark lines should curve with the trunk. Draw a few long lines along each bend, then add shorter lines between them to suggest texture without filling the trunk solid. Keep the lines visible rather than crowding them, since the trunk's twist is the drawing's main structural signal.
For each canopy pad, start at the pad's inner base and draw strokes that radiate outward toward the pad's edge. Fan-shaped pads look pruned rather than wild when their outer edges stay rounded and layered. The top pad is largest; the left and right pads sit lower and smaller. Leave small gaps between pads so the layered arrangement remains readable.
Bonsai art has multiple valid outcomes, so avoid treating one reference as the only correct answer. Instead, assess whether the visible features and proportions are present. A drawing with a different trunk angle or pad shape can still be correct if the shallow pot, twisted trunk, bark texture, and layered fan-shaped canopy are clear. Use the rubric below to review your own sheet or a class set consistently.
bonsai: Trace the reference outline, then practise the contour independently. Compare with the separate full reference sheet.
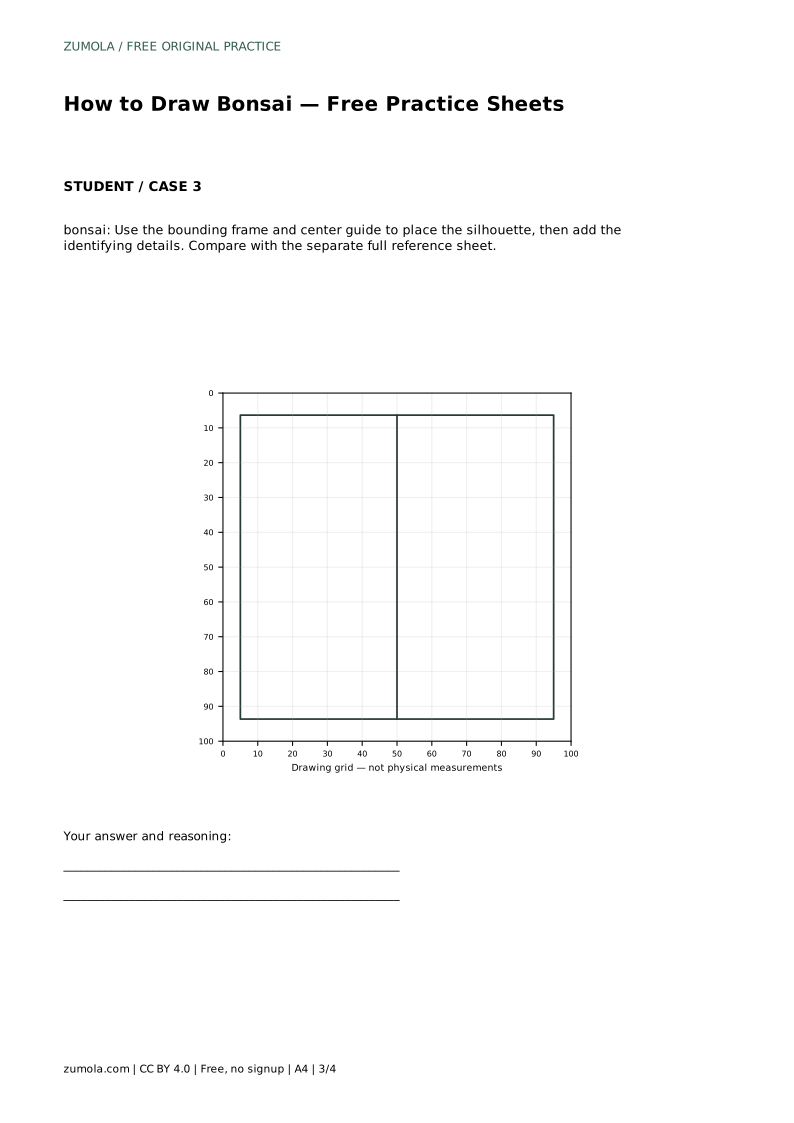
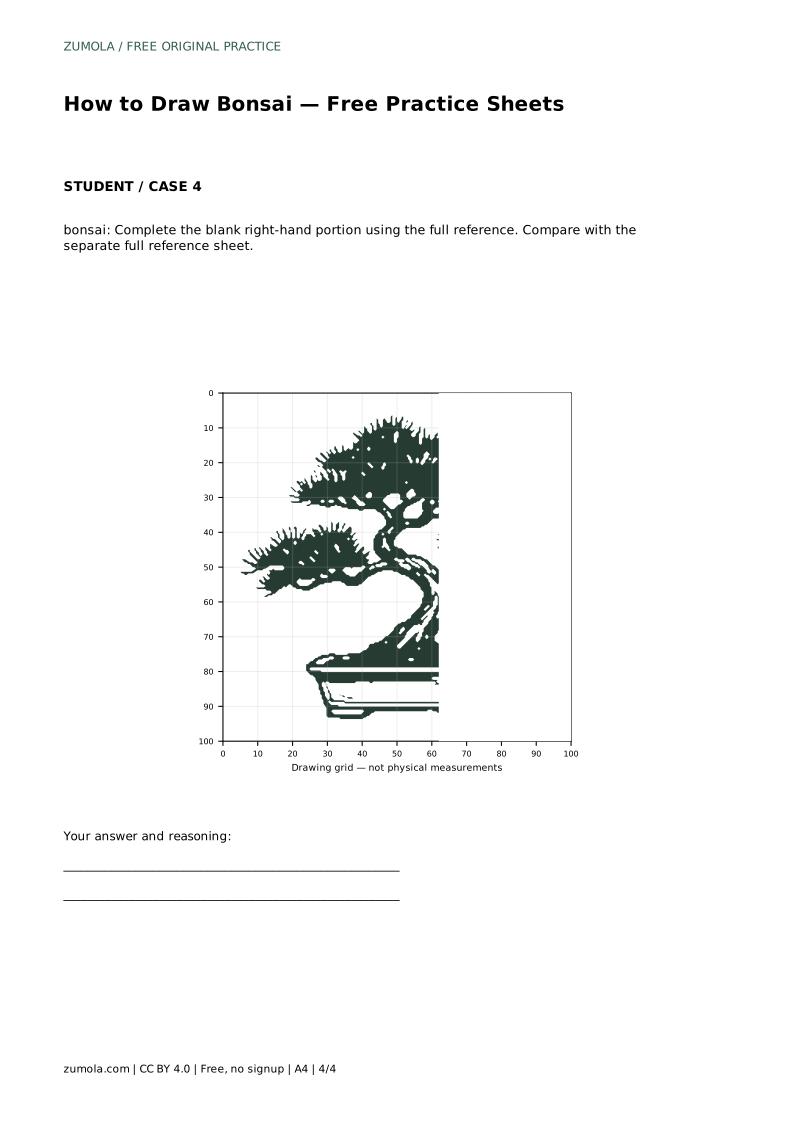
Example solution: preserve S-curved twisted trunk with visible bark texture lines, shallow rectangular pot with small feet, layered, fan-shaped pruned canopy pads. Other drawings can be correct; assess the visible features and proportions rather than pixel-perfect matching. Draw the shallow rectangular pot with a rim and two small feet at the bottom. Sketch the S-shaped trunk rising from the pot center, adding curved bark lines. Add three main canopy pads: a large top pad, a left pad, and a right pad. Fill each canopy pad with radiating needle strokes to create fan-like foliage clusters.
No. Bonsai drawings have multiple valid outcomes. Assess the visible features and proportions rather than pixel-perfect matching.
Check the shallow pot with feet, the S-curved trunk rising from the pot center, and the three layered canopy pads.
Draw each pad as a fan shape with radiating needle strokes and keep the outer edges rounded and layered.
All drawing practice · Free coordinate paper
Original resources · CC BY 4.0 · Free for personal and classroom use with attribution.