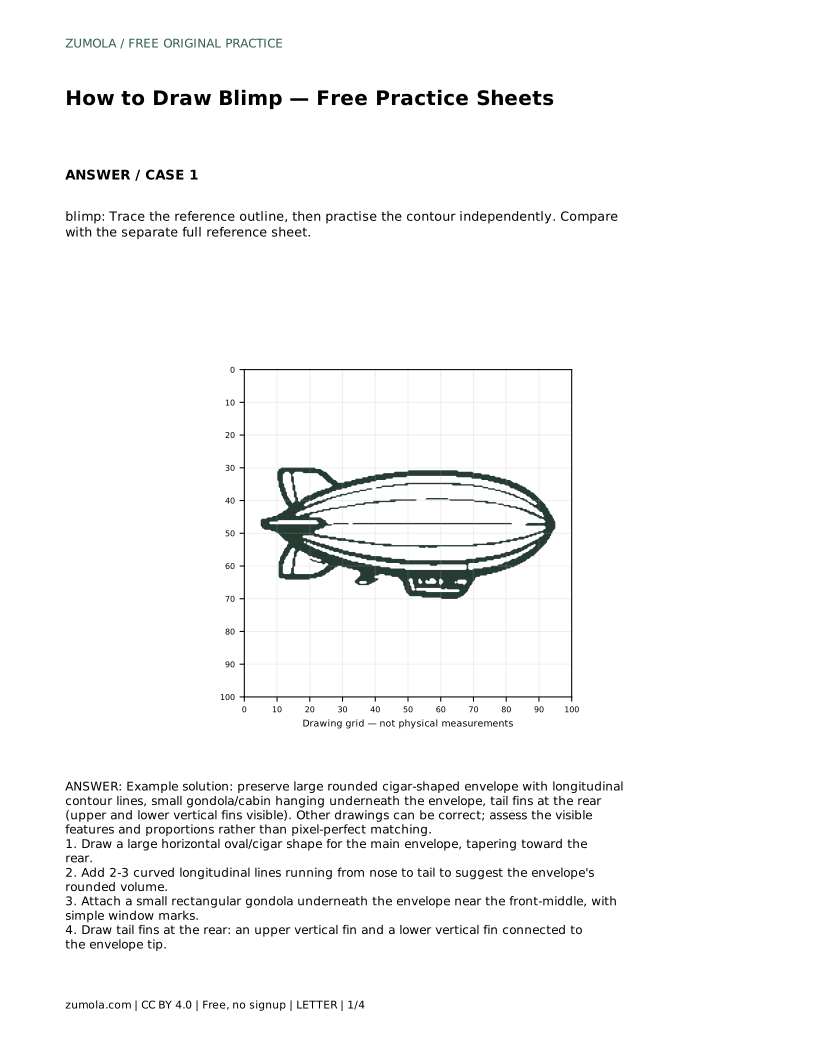
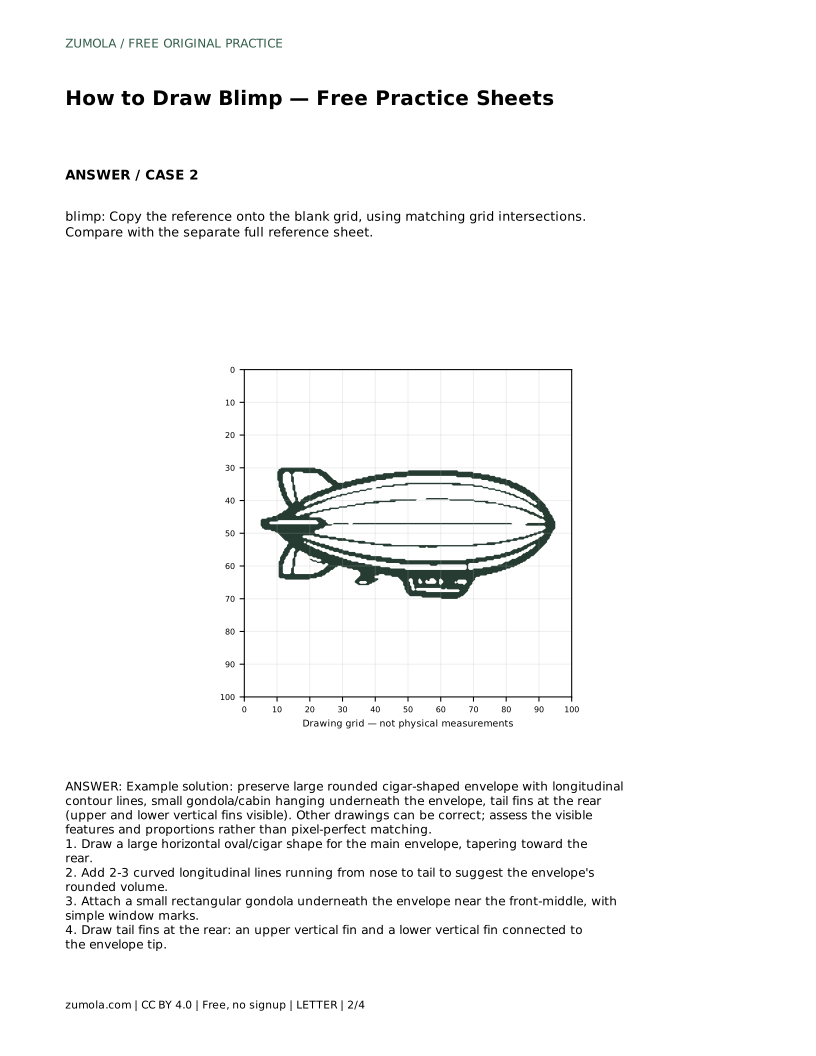
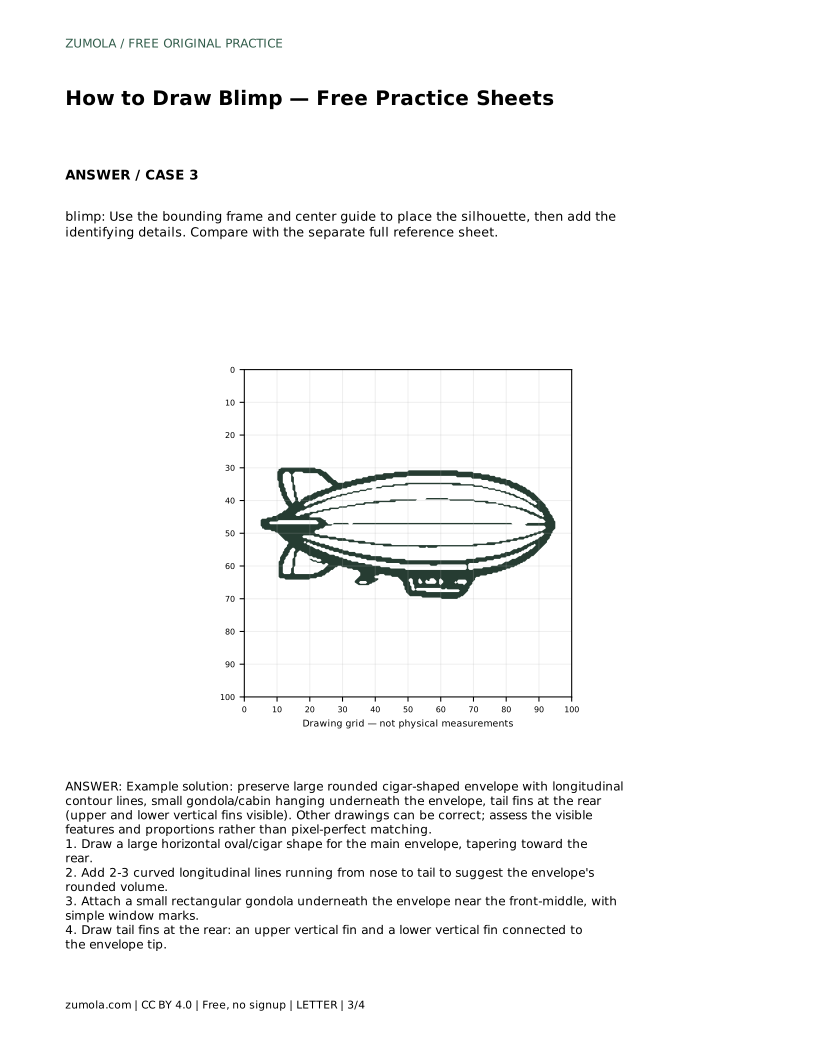
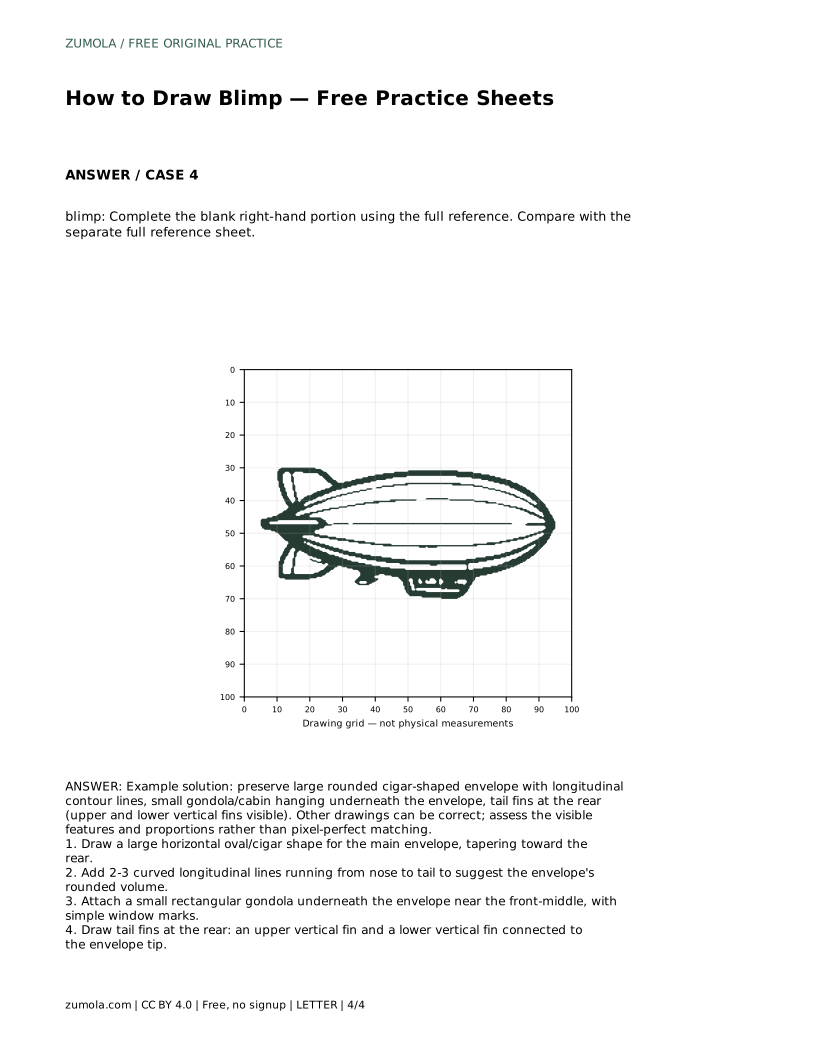
Reference diagrams
LETTER · Download PDF
A4 · Download PDF
Free original resources
Learn to draw a blimp by building its rounded envelope, longitudinal contour lines, hanging gondola, and rear tail fins. Includes practice guidance and a rubric.
Four original cases, with reference diagrams, practice sheets and worked answers. Everything is free; no signup required.
LETTER · Download PDF
A4 · Download PDF
LETTER · Download PDF
A4 · Download PDF
LETTER · Download PDF
A4 · Download PDF
Use A4 or US Letter to match your printer. Use the stated values and conditions to solve each exercise; diagrams are not physical measuring rulers.
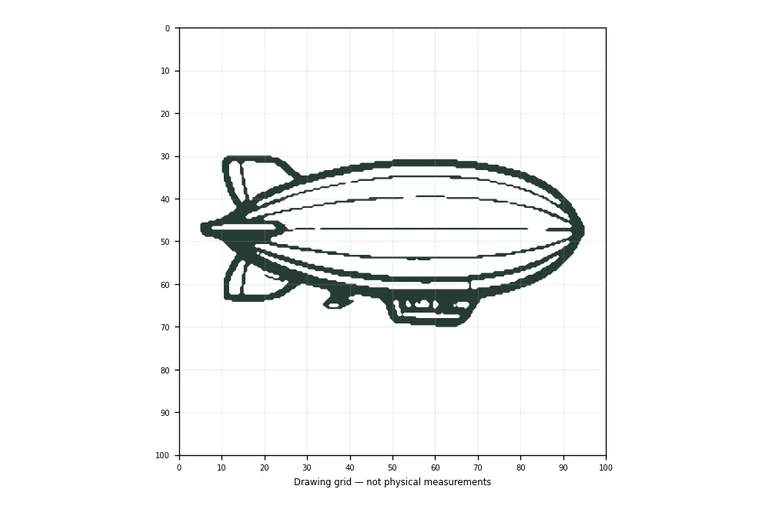
A blimp is easy to recognise but surprisingly easy to draw out of proportion. The envelope is long and rounded, the gondola is small and hangs underneath, and the tail fins sit at the rear. This page explains how to build those parts in order, how to use the practice sheets, and how to judge your own drawing fairly. Because drawings can differ and still be correct, you will assess visible features and proportions rather than exact matching.
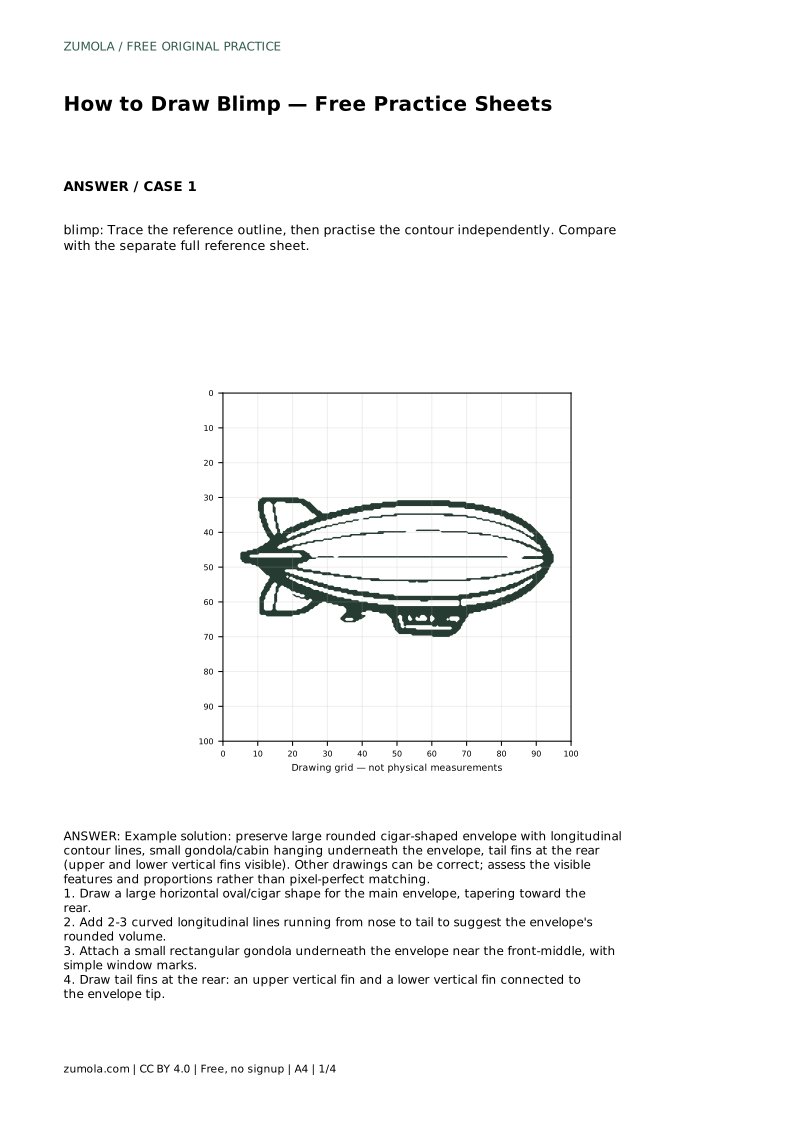
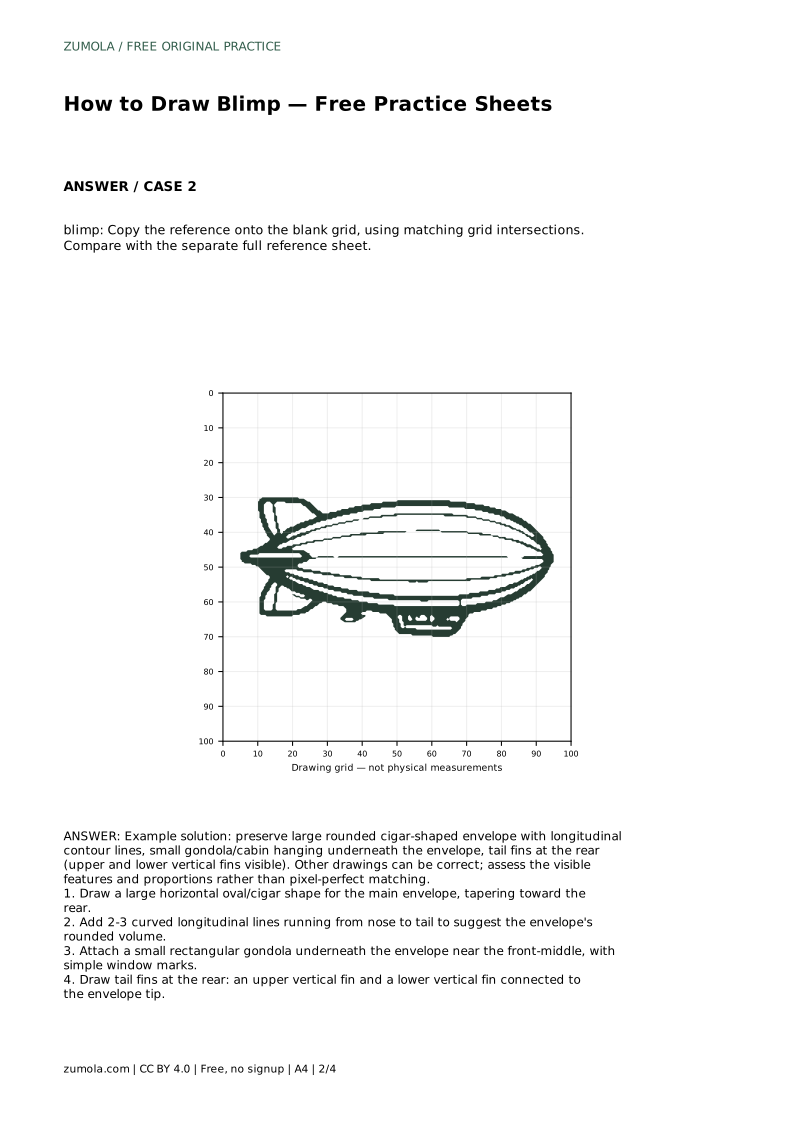
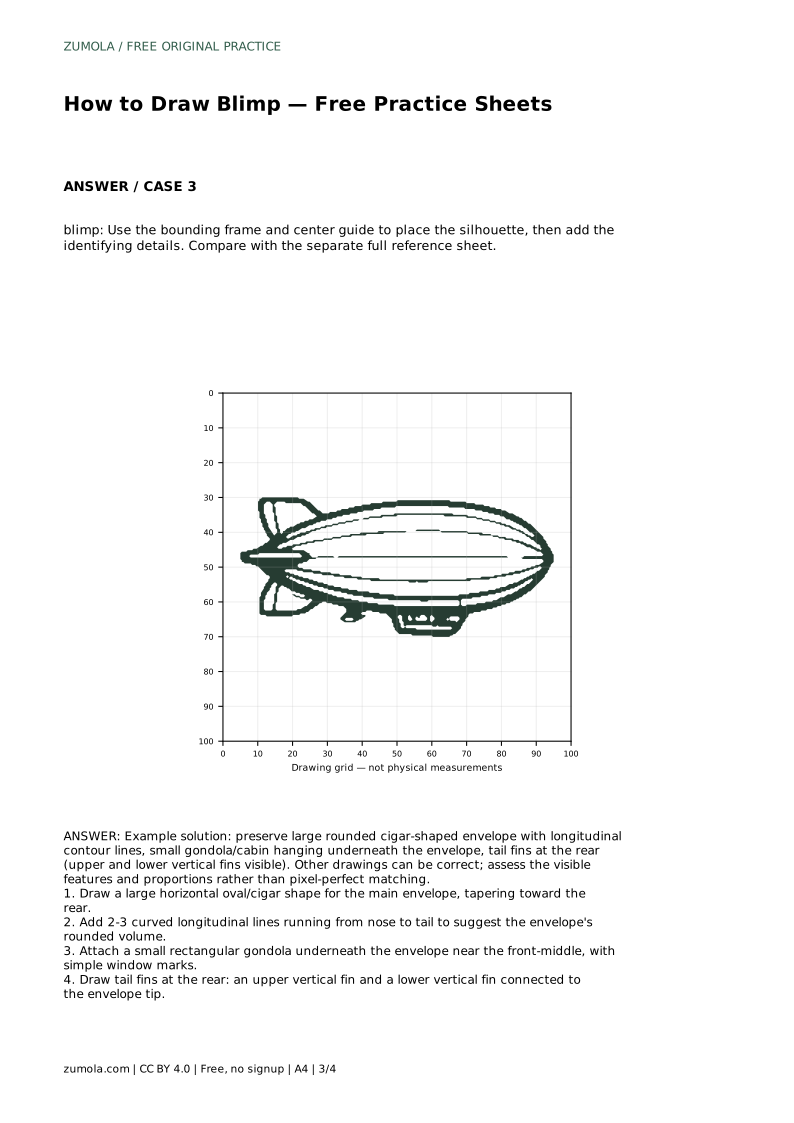
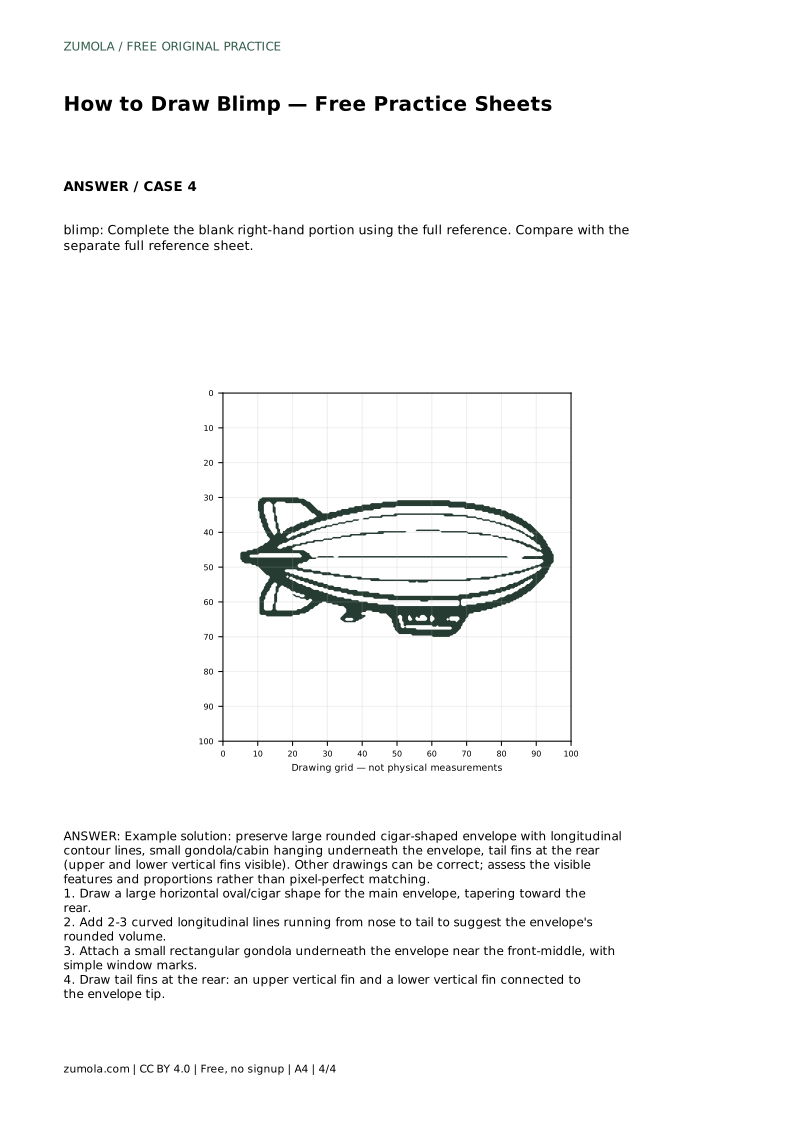
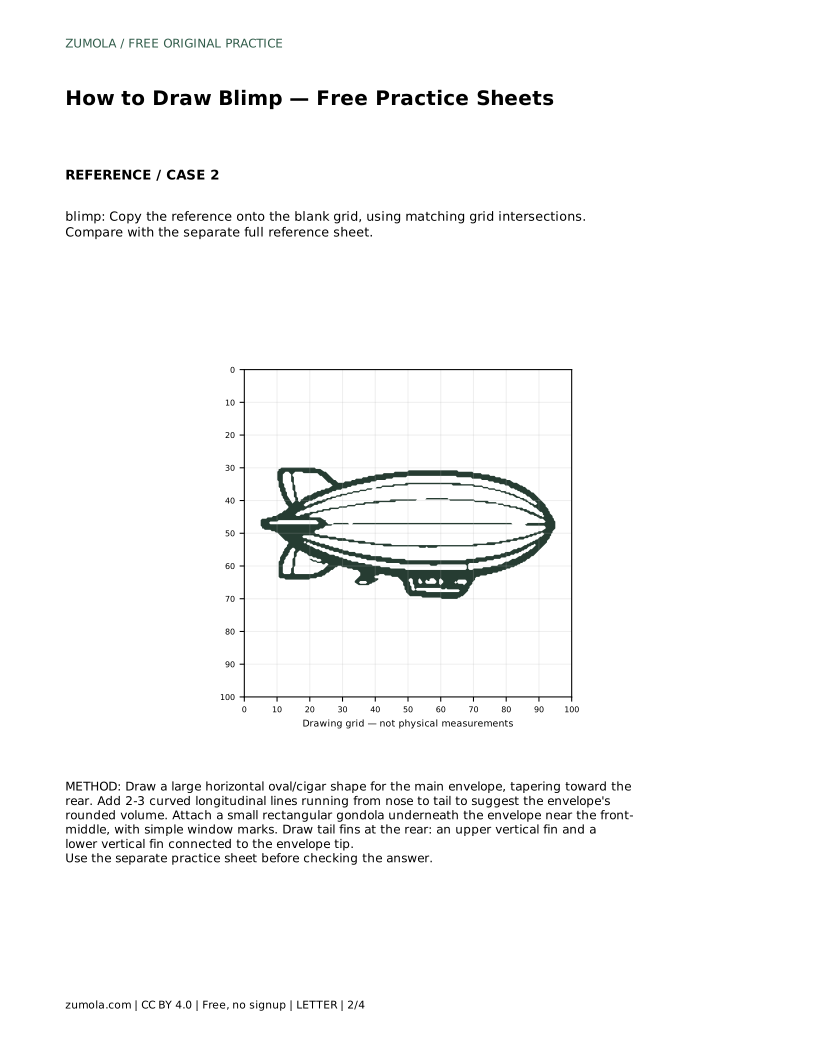
The envelope is the large rounded body of the blimp. Begin with a long horizontal oval or cigar shape, wider in the middle and tapering gently toward the rear. Keep the nose rounded rather than pointed. A common error is drawing a perfect circle or a sharp teardrop; both lose the blimp silhouette.
Once the outline feels balanced, add two or three curved longitudinal lines running from nose to tail. These lines follow the surface of the envelope and suggest its rounded volume. Space them evenly and let them curve with the body rather than running straight across it.
The gondola is the small cabin hanging beneath the envelope. Place it near the front-middle, not at the very nose or tail. Keep it clearly smaller than the envelope, with simple window marks. A gondola that is too large or too far back changes the whole balance of the drawing.
Tail fins sit at the rear. Draw an upper vertical fin and a lower vertical fin connected to the envelope tip. Keep them modest in size and aligned with the rear taper. The fins help the viewer read the drawing as a blimp rather than a balloon.
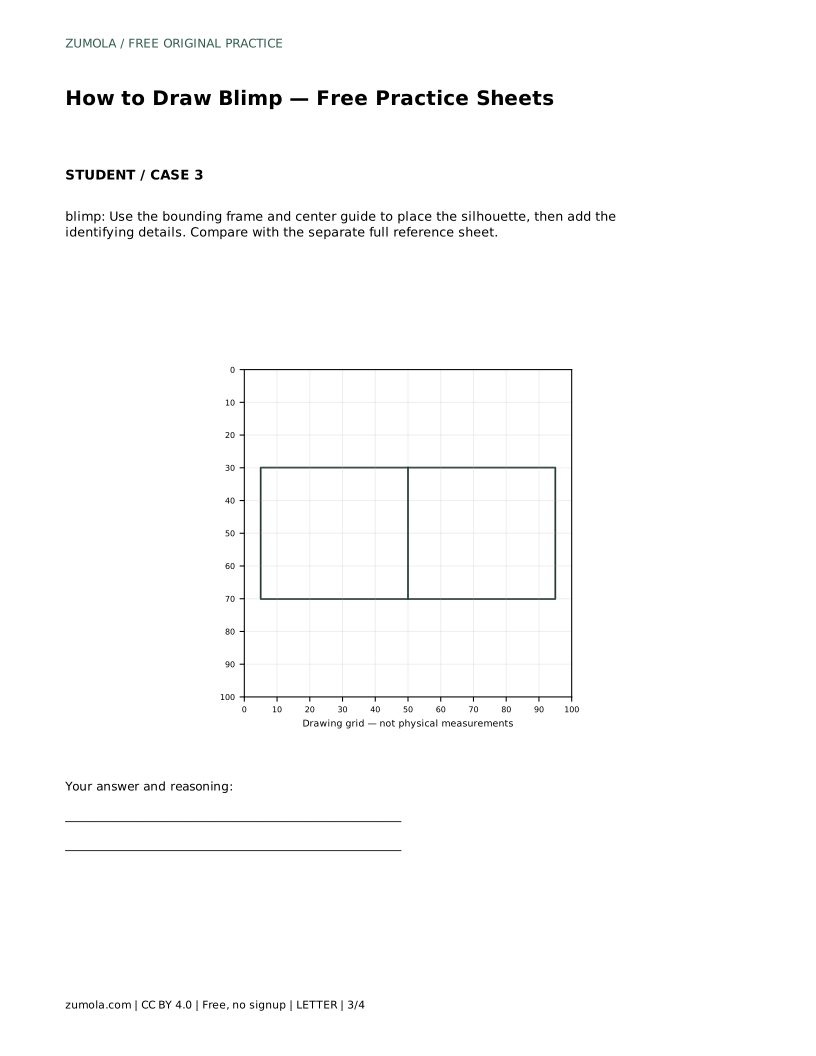
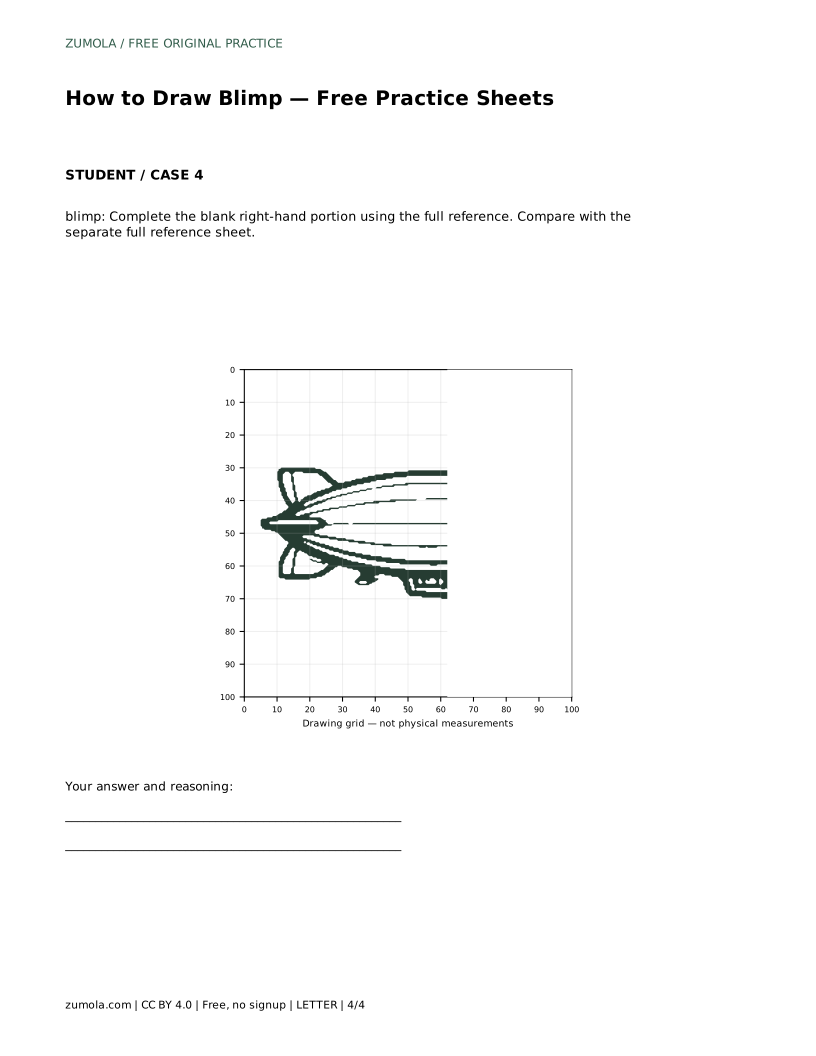
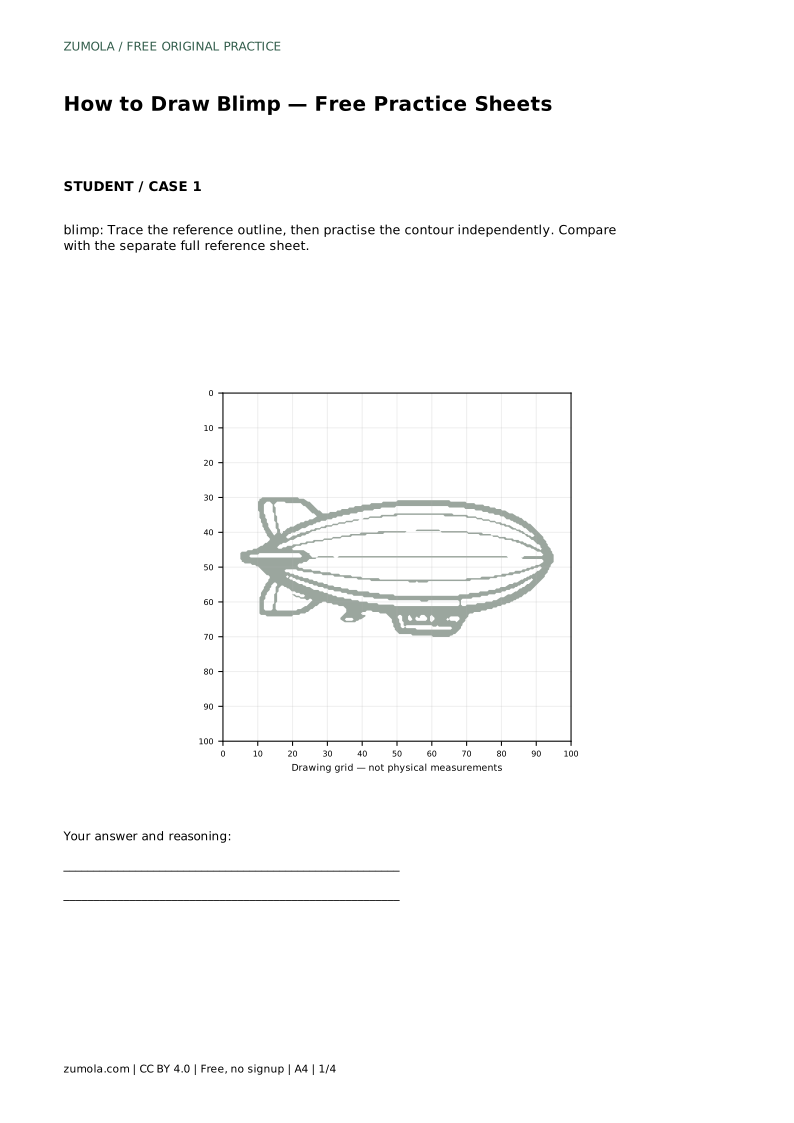
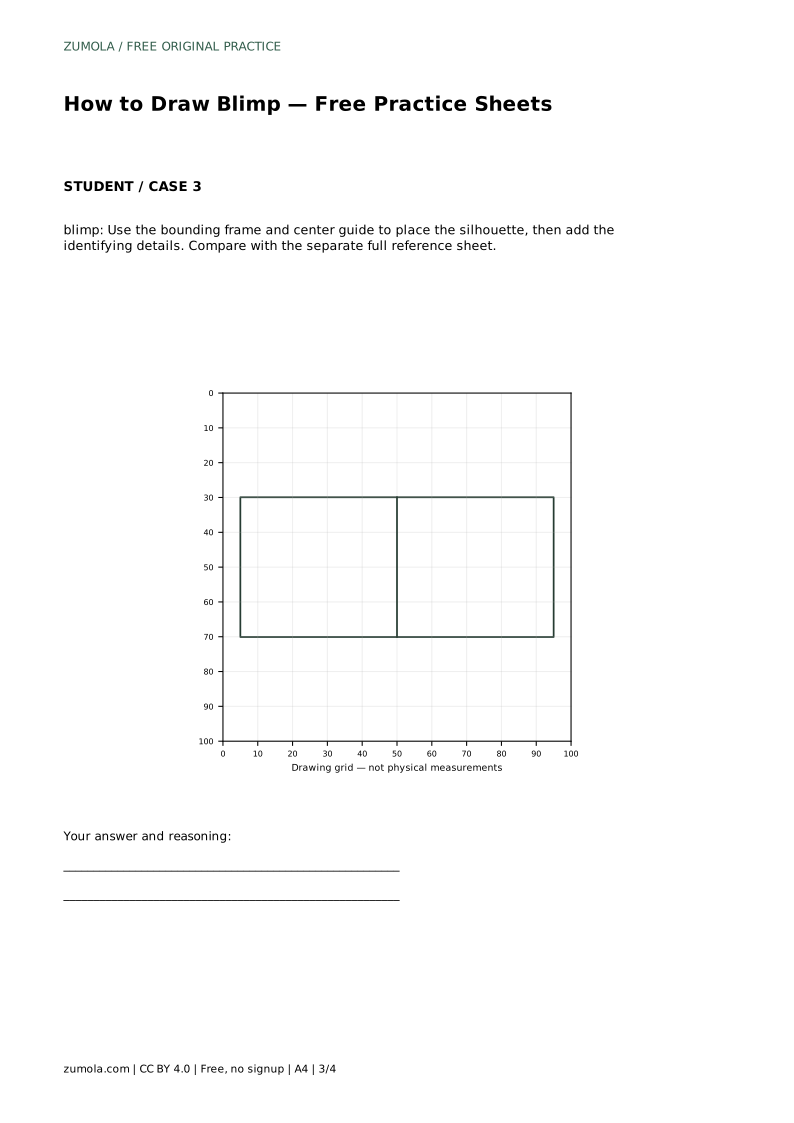
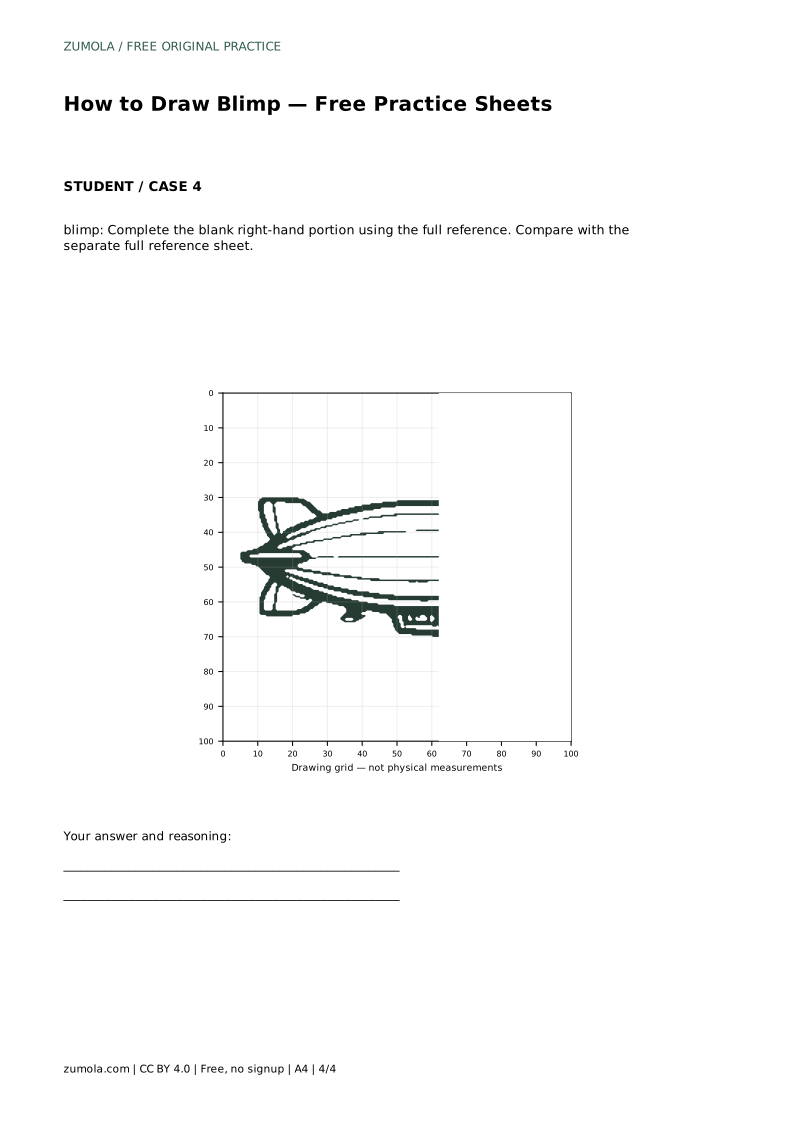
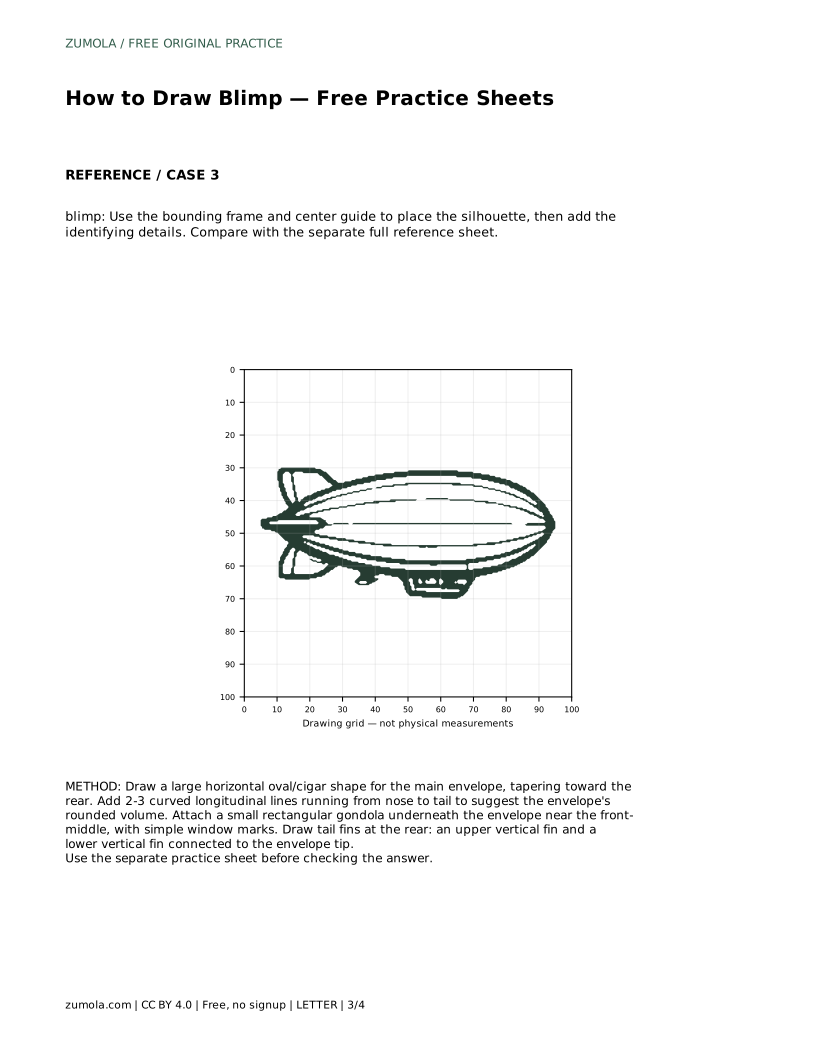
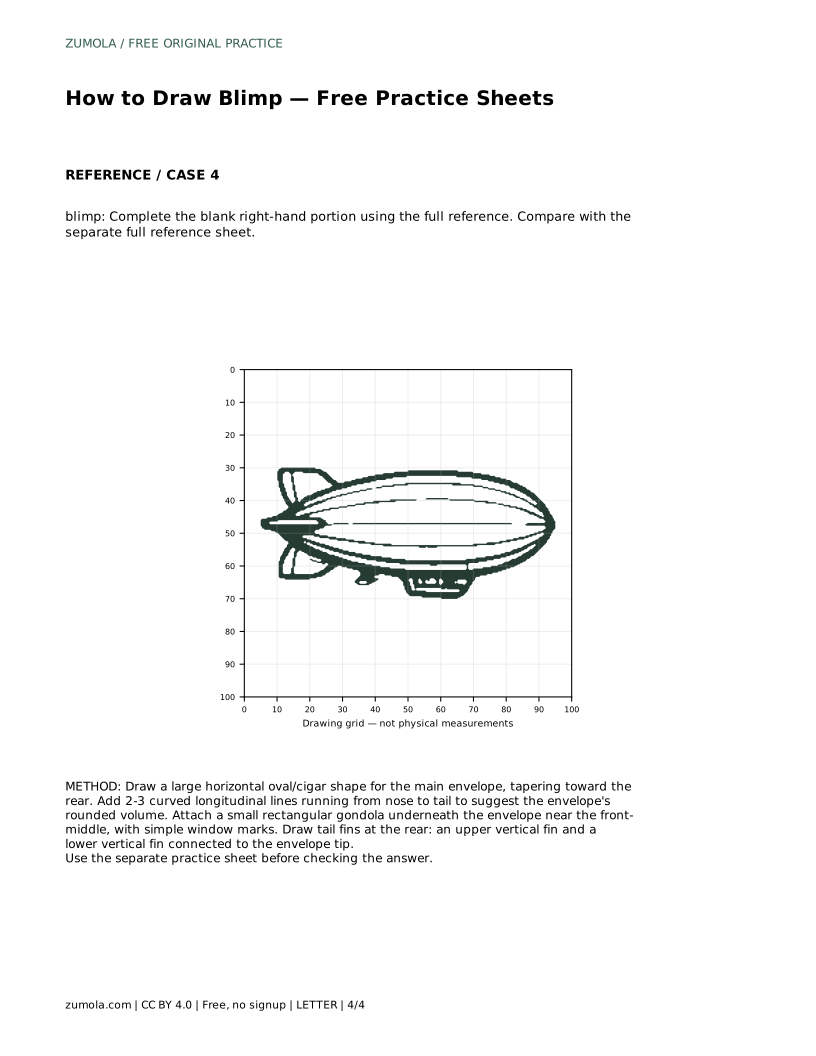
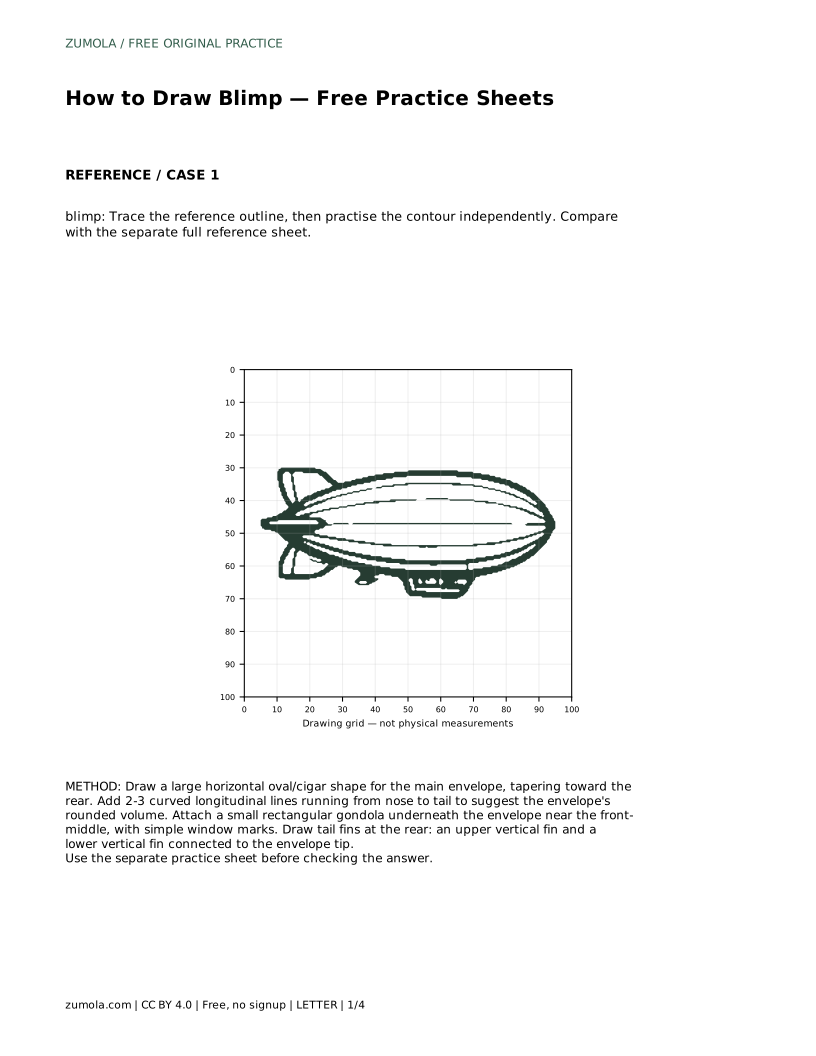
The sheets offer different ways to practise the same subject. Tracing the reference outline helps you feel the contour before drawing it independently. Copying onto a blank grid uses matching grid intersections to place the silhouette and details. A bounding frame and centre guide help you position the shape before adding identifying features. Completing a blank right-hand portion tests whether you can continue the drawing from the full reference.
In every case, compare your work with the separate full reference sheet. Treat the reference as a guide to features and proportions, not a target for pixel-perfect copying.
Use the rubric below to review your work. A correct blimp drawing preserves the large rounded envelope, shows longitudinal contour lines, includes a small gondola underneath, and has visible upper and lower vertical tail fins at the rear. Proportions matter more than exact line placement.
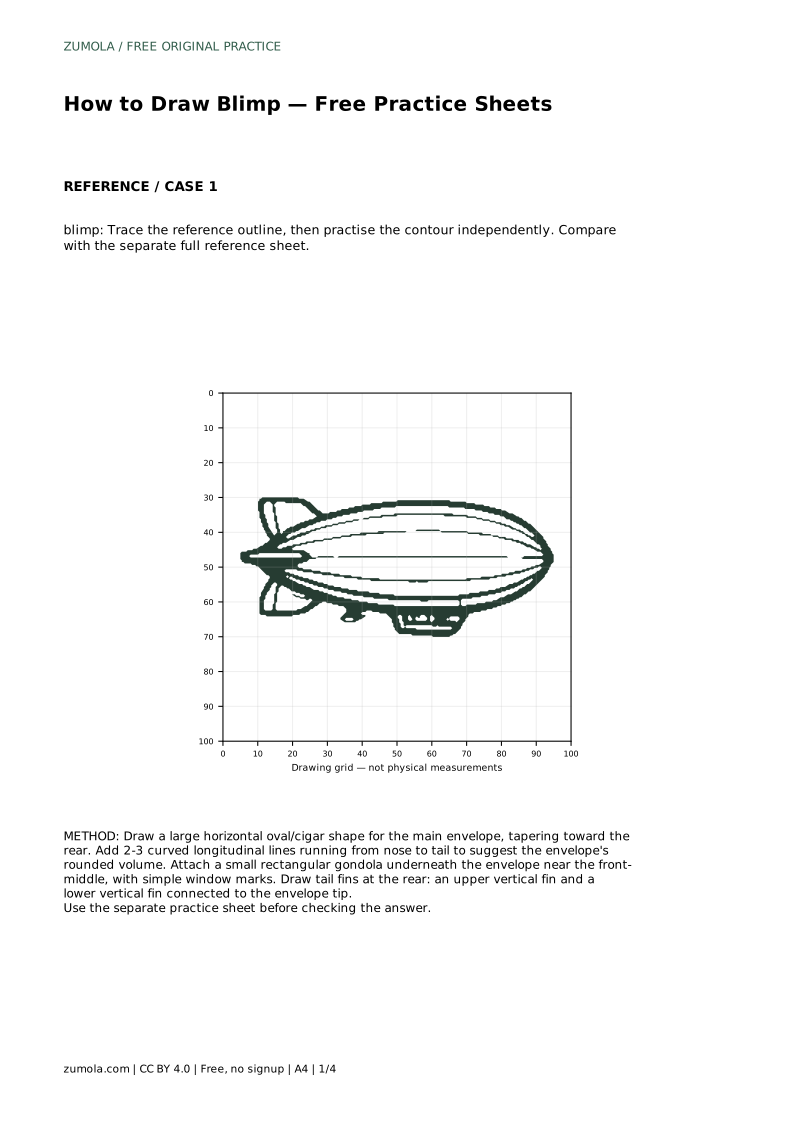
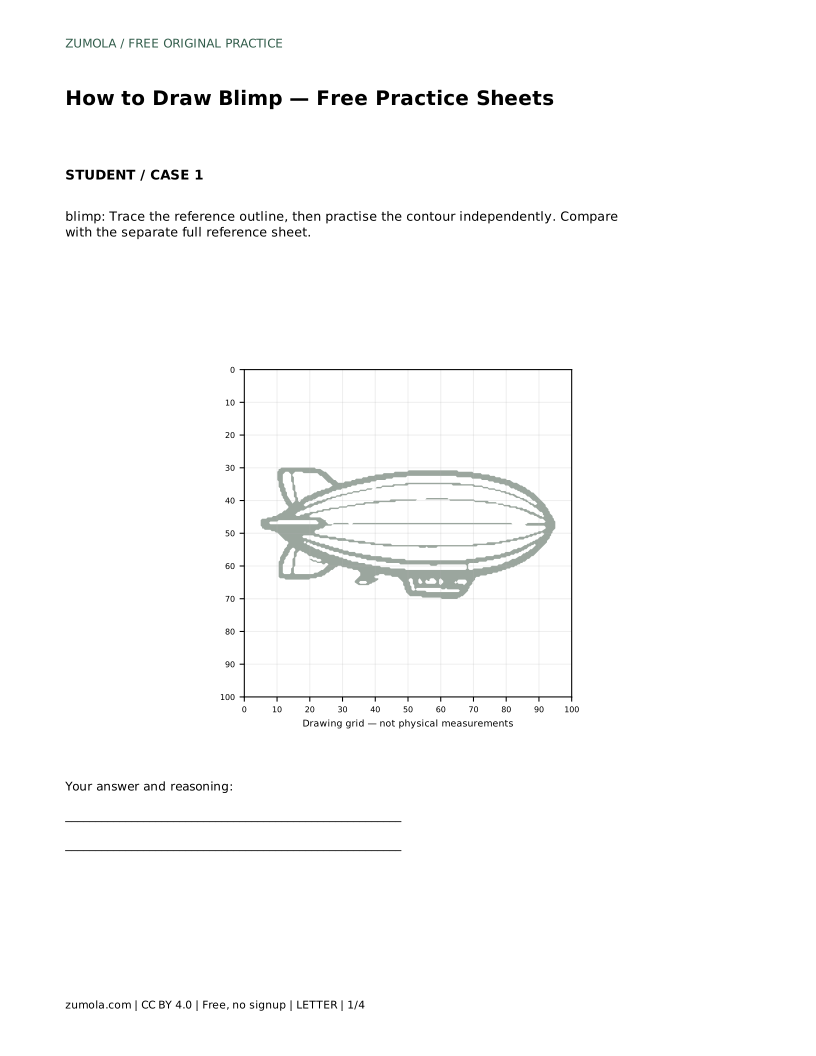
blimp: Trace the reference outline, then practise the contour independently. Compare with the separate full reference sheet.
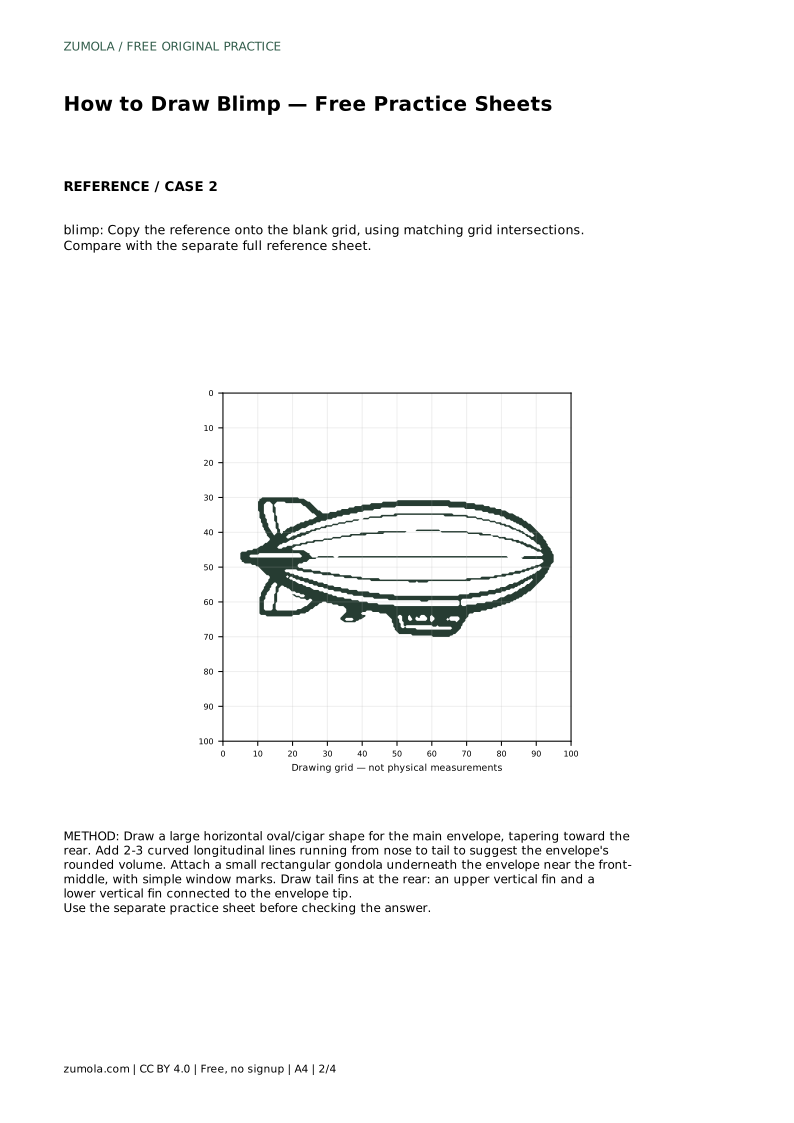
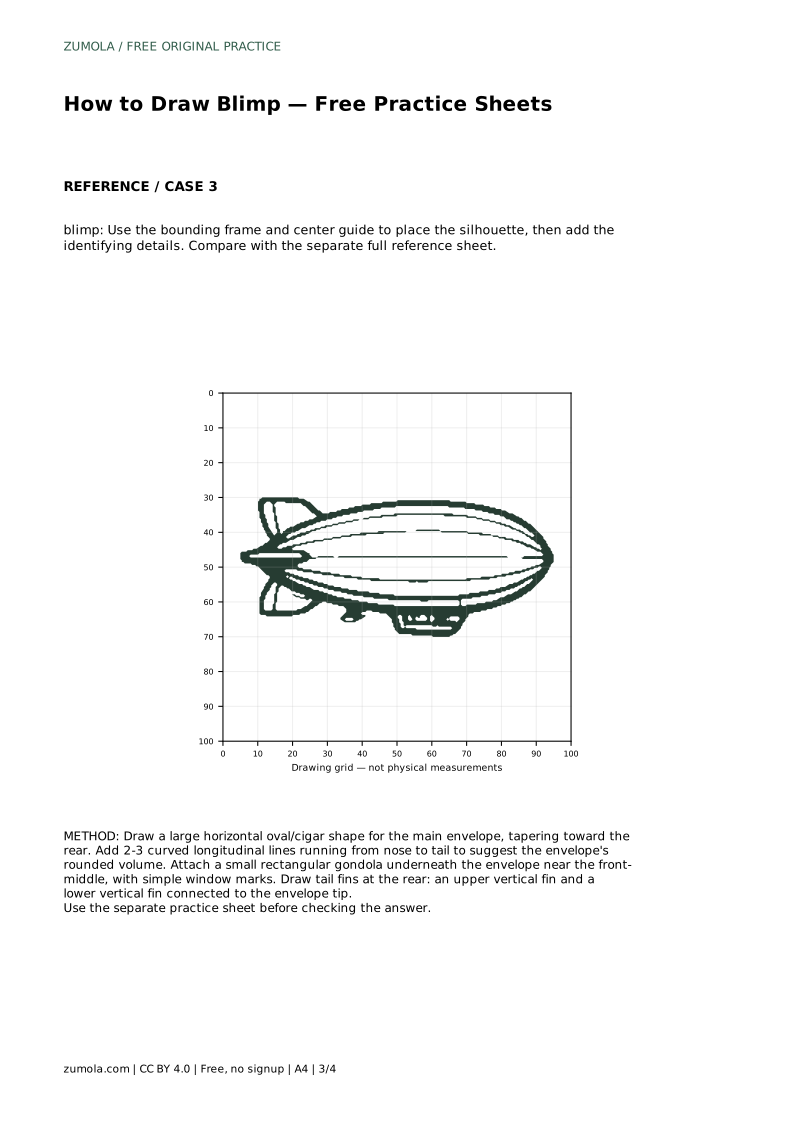
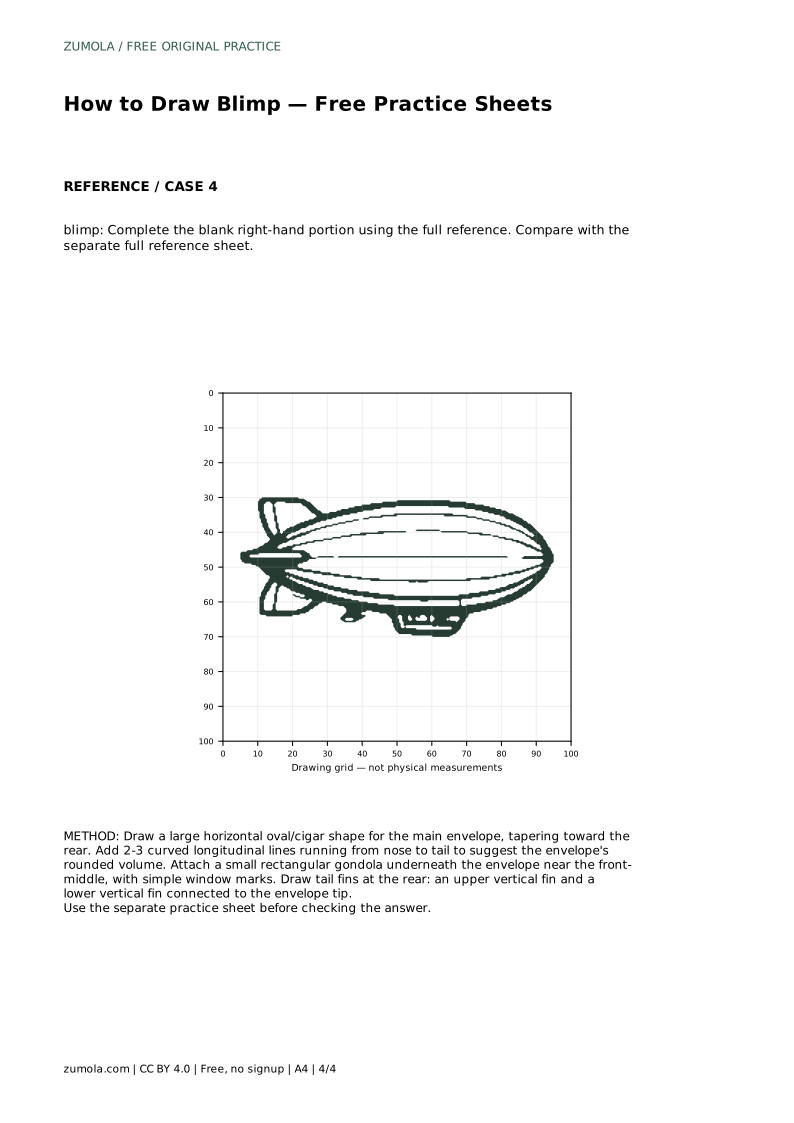
Example solution: preserve large rounded cigar-shaped envelope with longitudinal contour lines, small gondola/cabin hanging underneath the envelope, tail fins at the rear (upper and lower vertical fins visible). Other drawings can be correct; assess the visible features and proportions rather than pixel-perfect matching. Draw a large horizontal oval/cigar shape for the main envelope, tapering toward the rear. Add 2-3 curved longitudinal lines running from nose to tail to suggest the envelope's rounded volume. Attach a small rectangular gondola underneath the envelope near the front-middle, with simple window marks. Draw tail fins at the rear: an upper vertical fin and a lower vertical fin connected to the envelope tip.
No. Other drawings can be correct. Assess the visible features and proportions rather than pixel-perfect matching.
Underneath the envelope, near the front-middle, and clearly smaller than the envelope.
Two or three curved longitudinal lines from nose to tail are enough to suggest the rounded volume.
All drawing practice · Free coordinate paper
Original resources · CC BY 4.0 · Free for personal and classroom use with attribution.