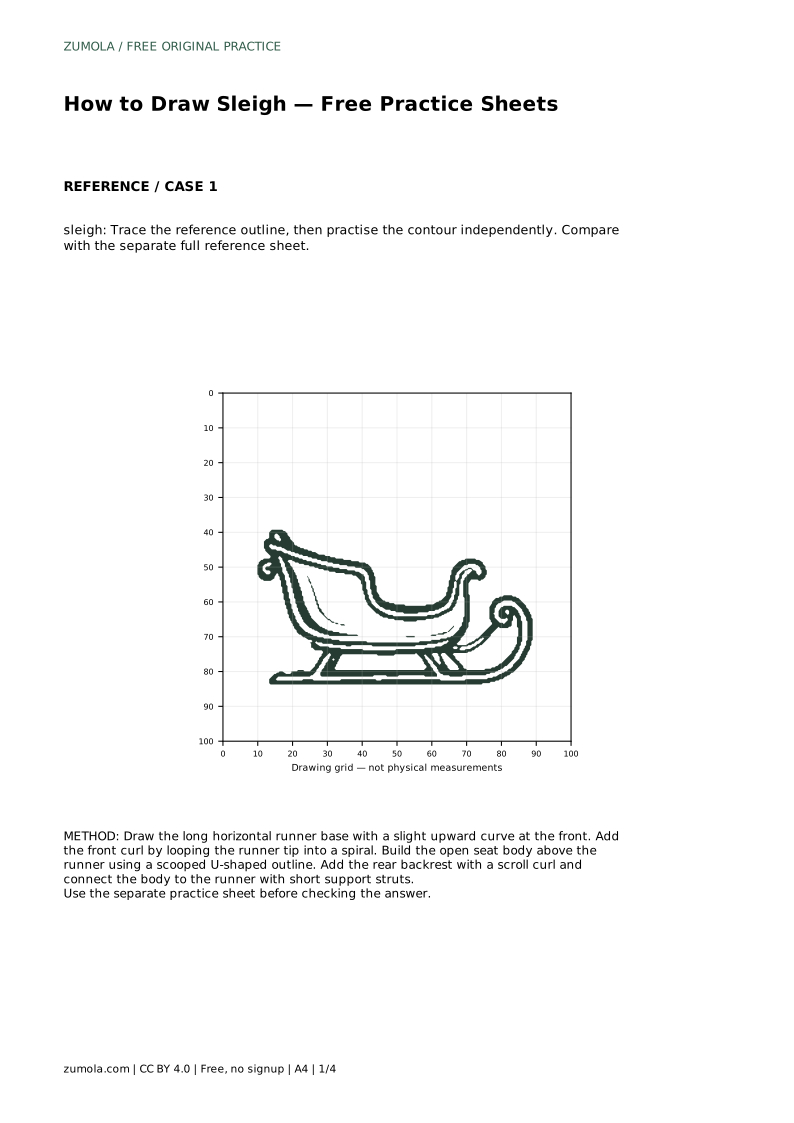
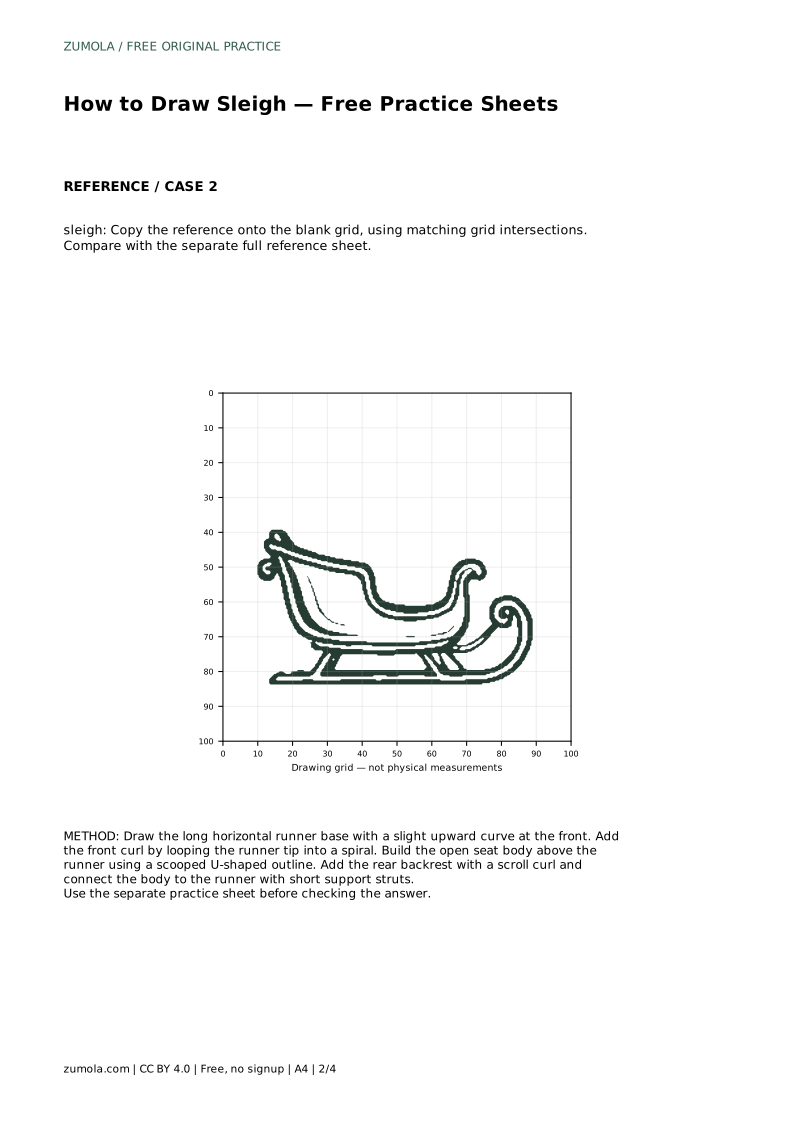
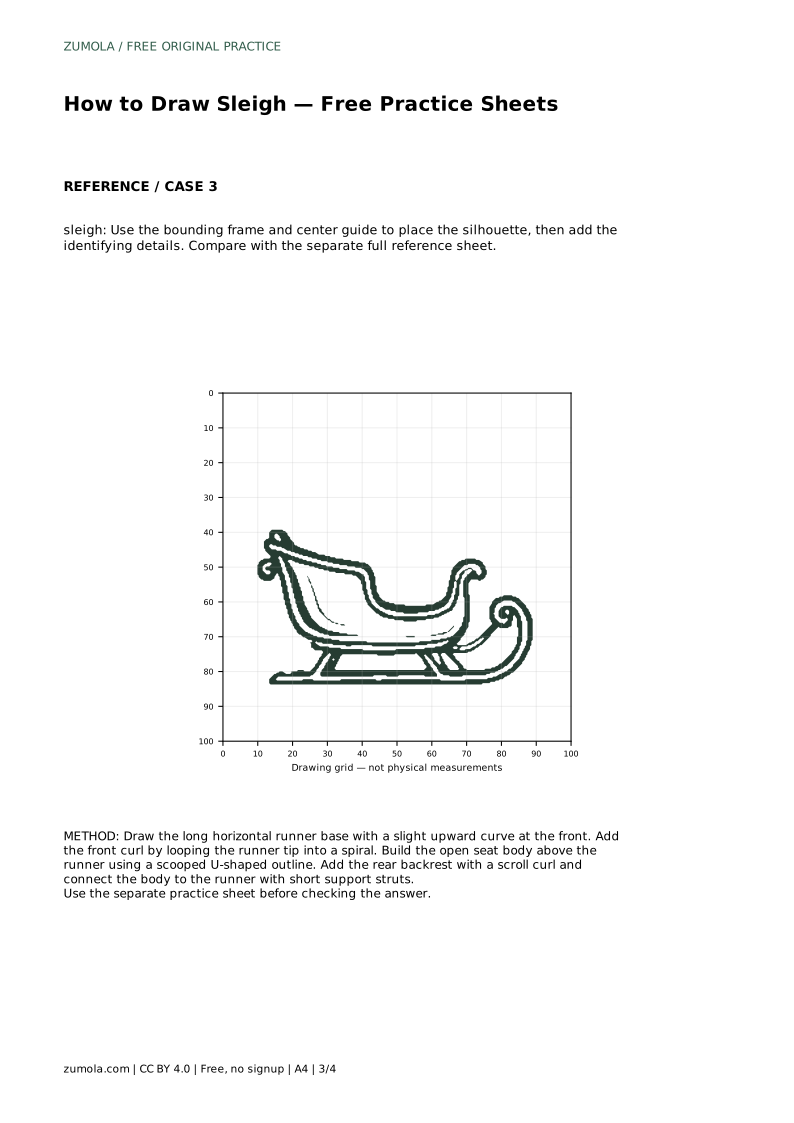
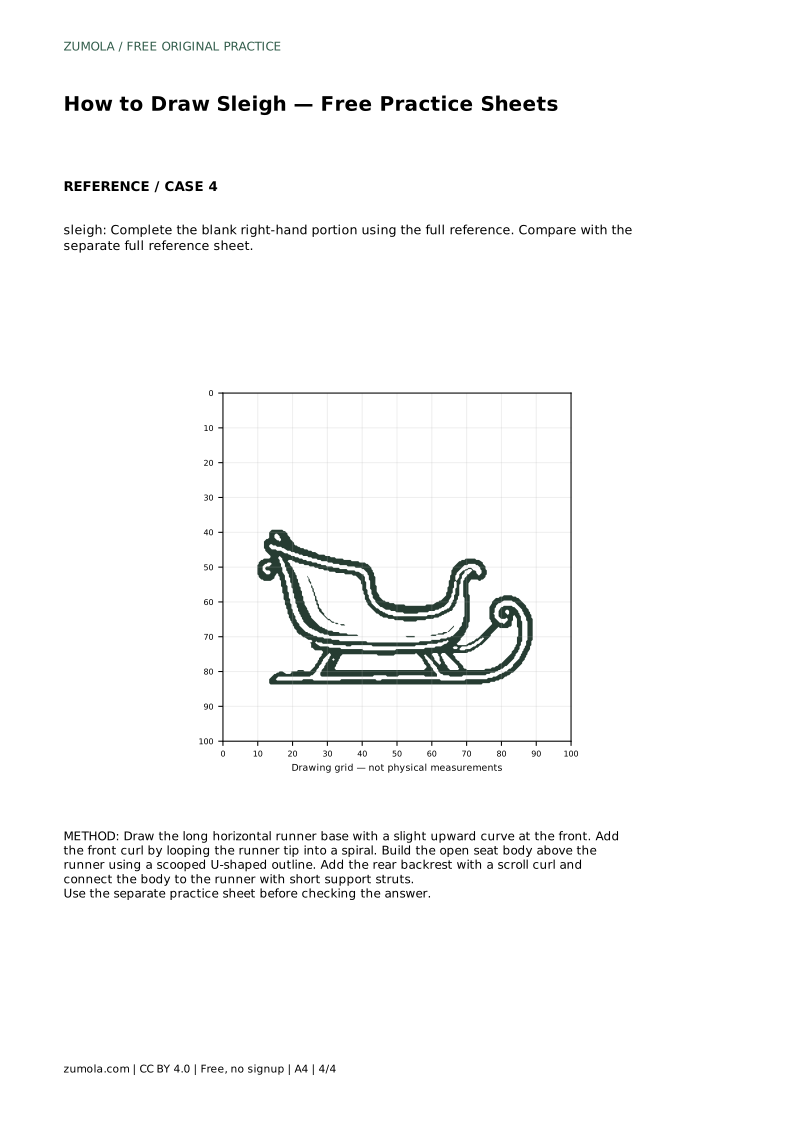
Reference diagrams
LETTER · Download PDF
A4 · Download PDF
Free original resources
Learn to draw a sleigh by building the runner, front curl, scooped seat and backrest in order. Free practice sheets support tracing, grids and guided placement.
Four original cases, with reference diagrams, practice sheets and worked answers. Everything is free; no signup required.
LETTER · Download PDF
A4 · Download PDF
LETTER · Download PDF
A4 · Download PDF
LETTER · Download PDF
A4 · Download PDF
Use A4 or US Letter to match your printer. Use the stated values and conditions to solve each exercise; diagrams are not physical measuring rulers.
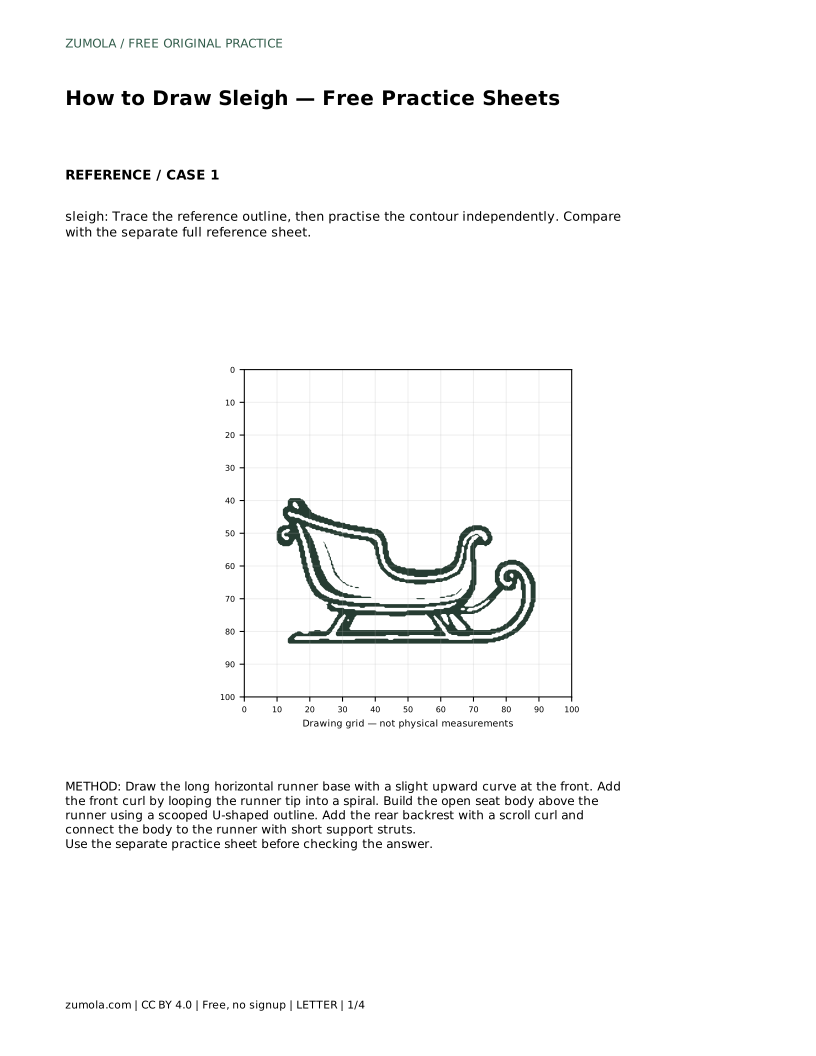
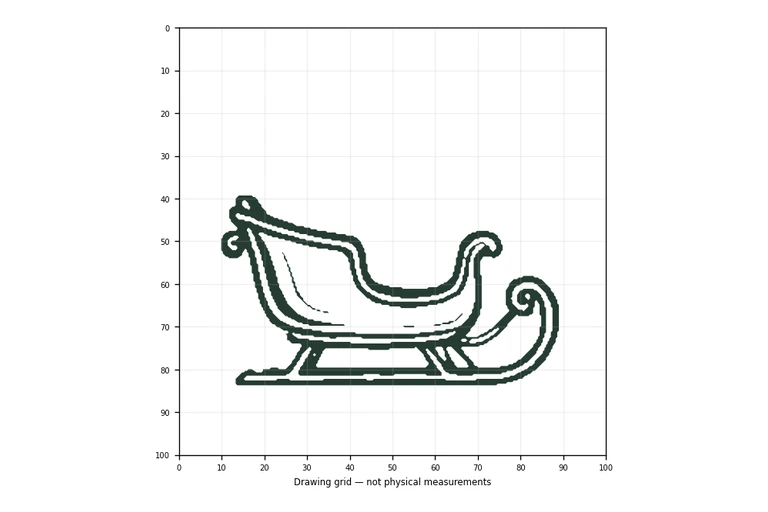
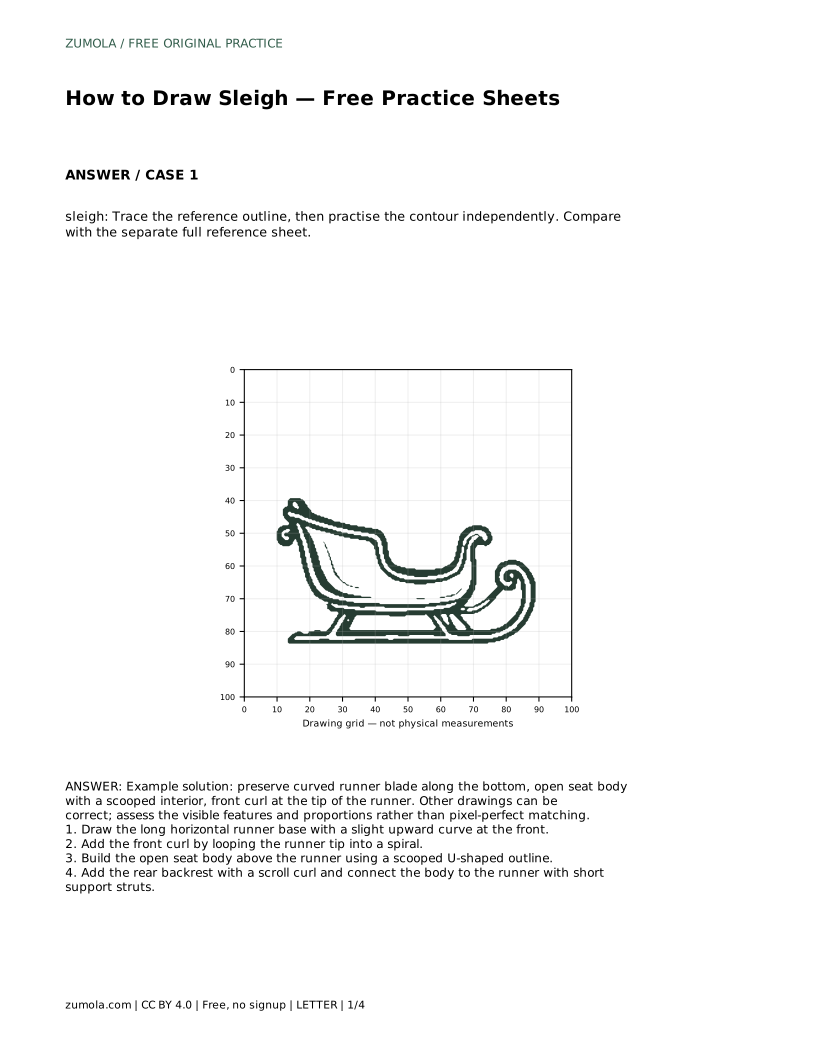
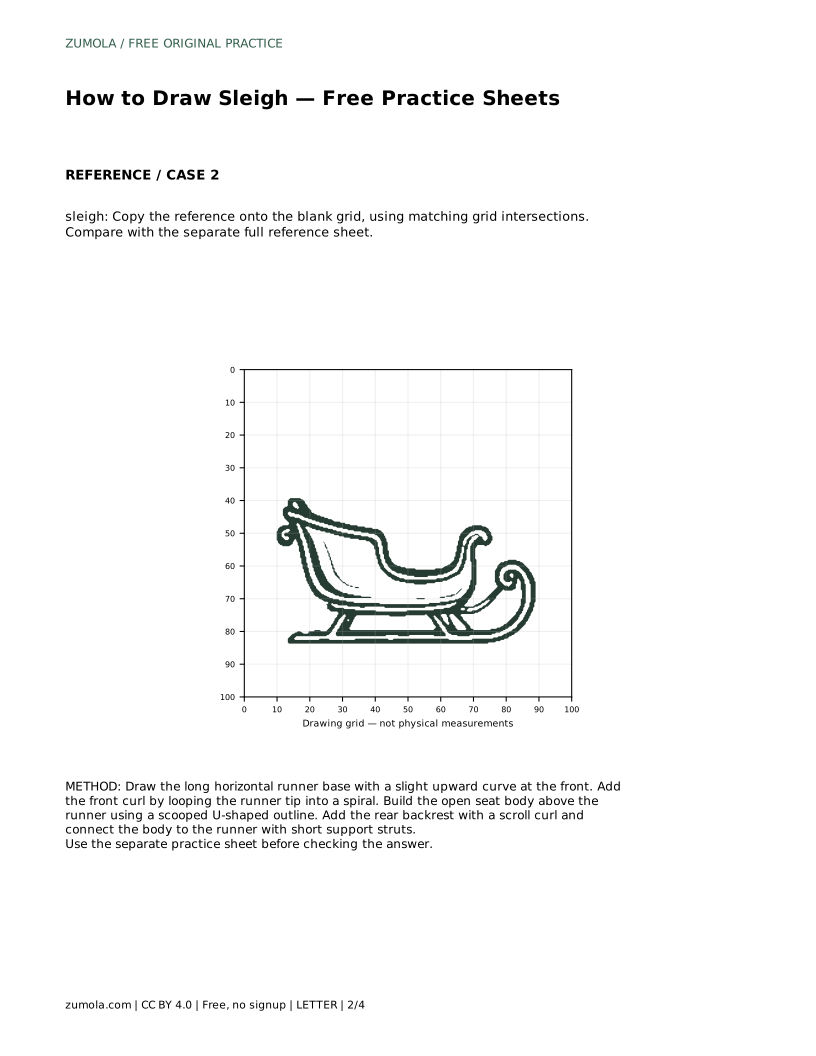
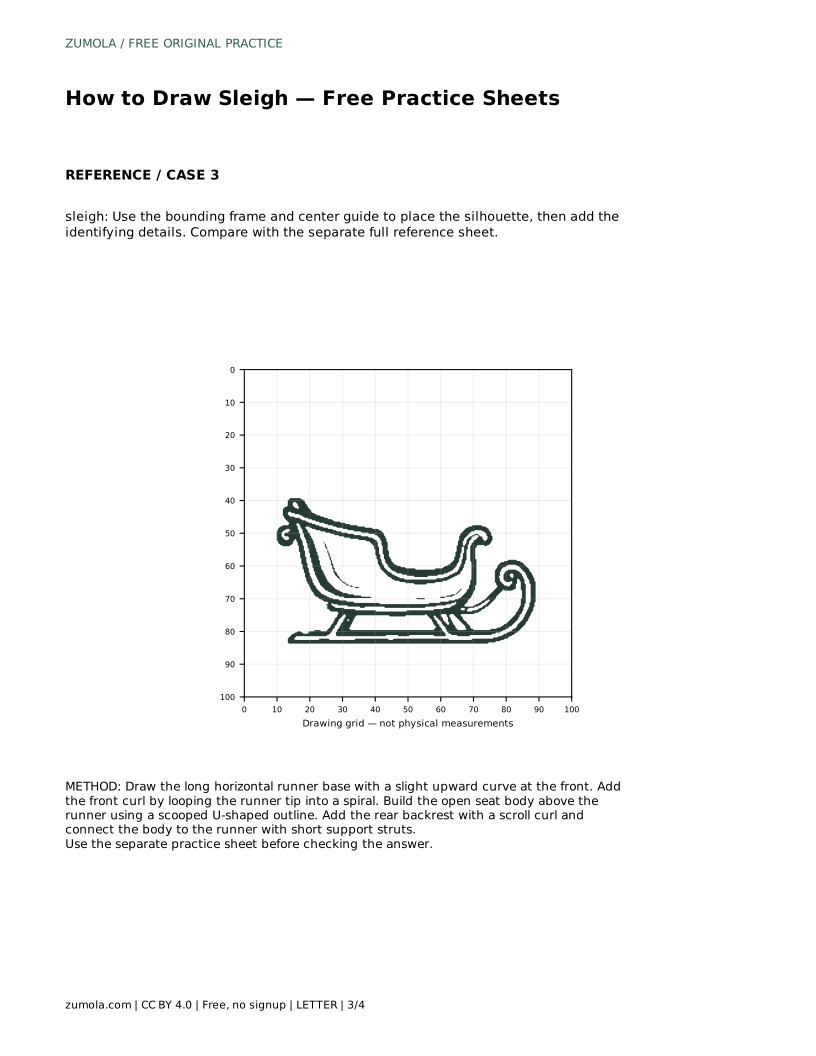
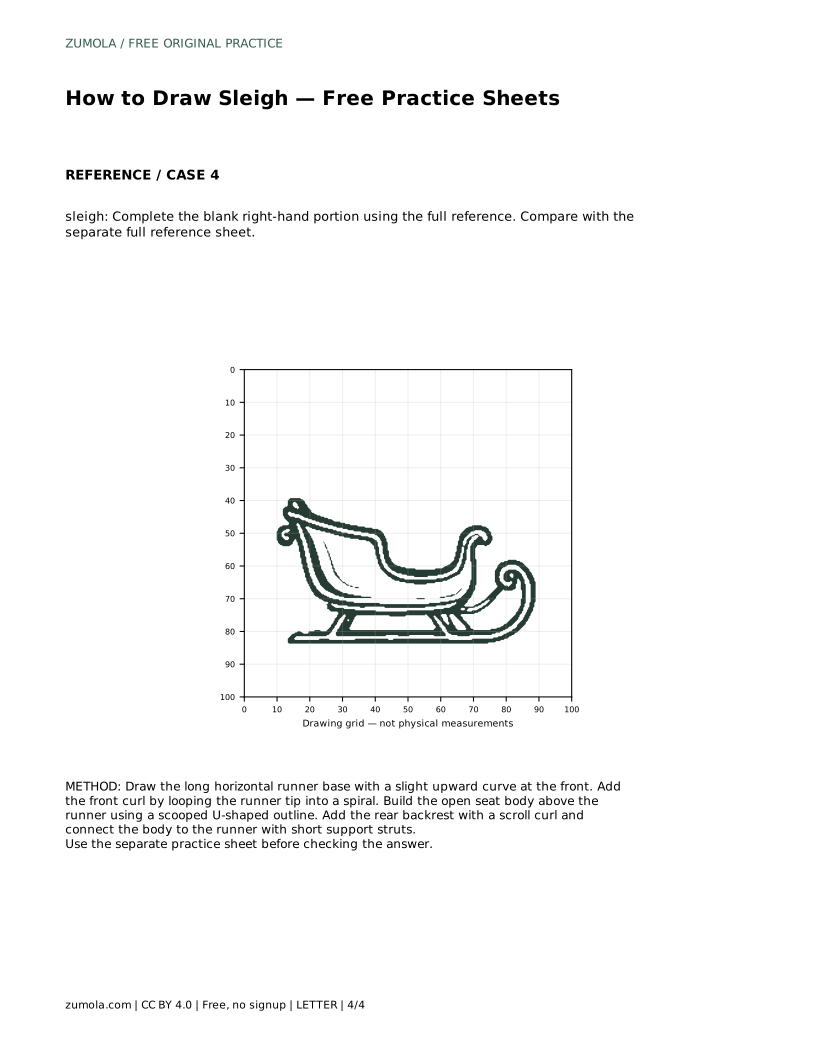
A sleigh is easy to recognise but surprisingly easy to draw lopsided. The shape depends on a few linked parts: a long runner that curves upward at the front, a spiral curl at its tip, an open seat body with a scooped interior, and a backrest that scrolls at the top. This guide shows a reliable order for drawing those parts, explains how to check proportions, and describes how the free practice sheets let you trace, copy onto a grid, place a silhouette with guides, or complete a partially drawn version.
Begin with the runner because it sets the sleigh's length and its relationship to the ground. Draw a long horizontal base line with a gentle upward curve toward the front. Keep the curve smooth rather than kinked; the runner should read as one continuous blade. At the front tip, loop the line into a spiral curl, closing the loop so the curl looks attached to the runner rather than floating beside it.
Once the runner is in place, build the open seat body above it. Use a scooped U-shaped outline so the interior reads as a seat rather than a solid block. Add the rear backrest with a scroll curl at the top, then connect the body to the runner with short support struts. The struts are small but important: they explain how the seat sits above the blade and stop the drawing from looking like two unrelated shapes.
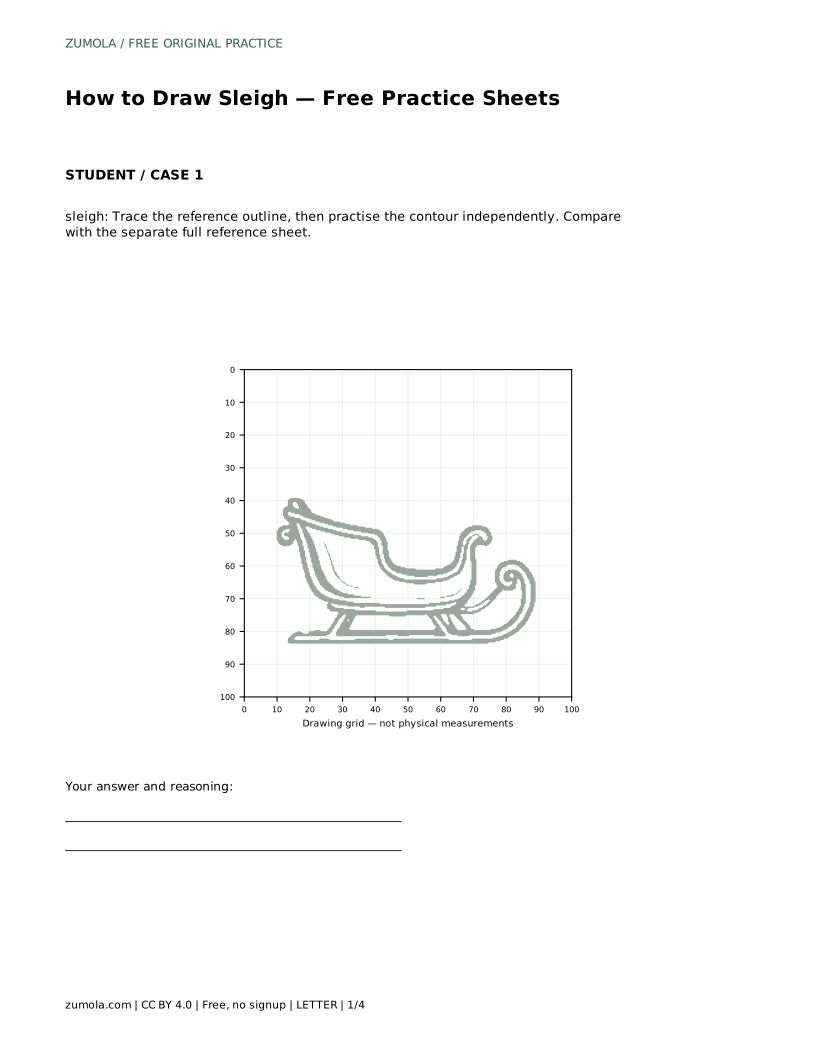
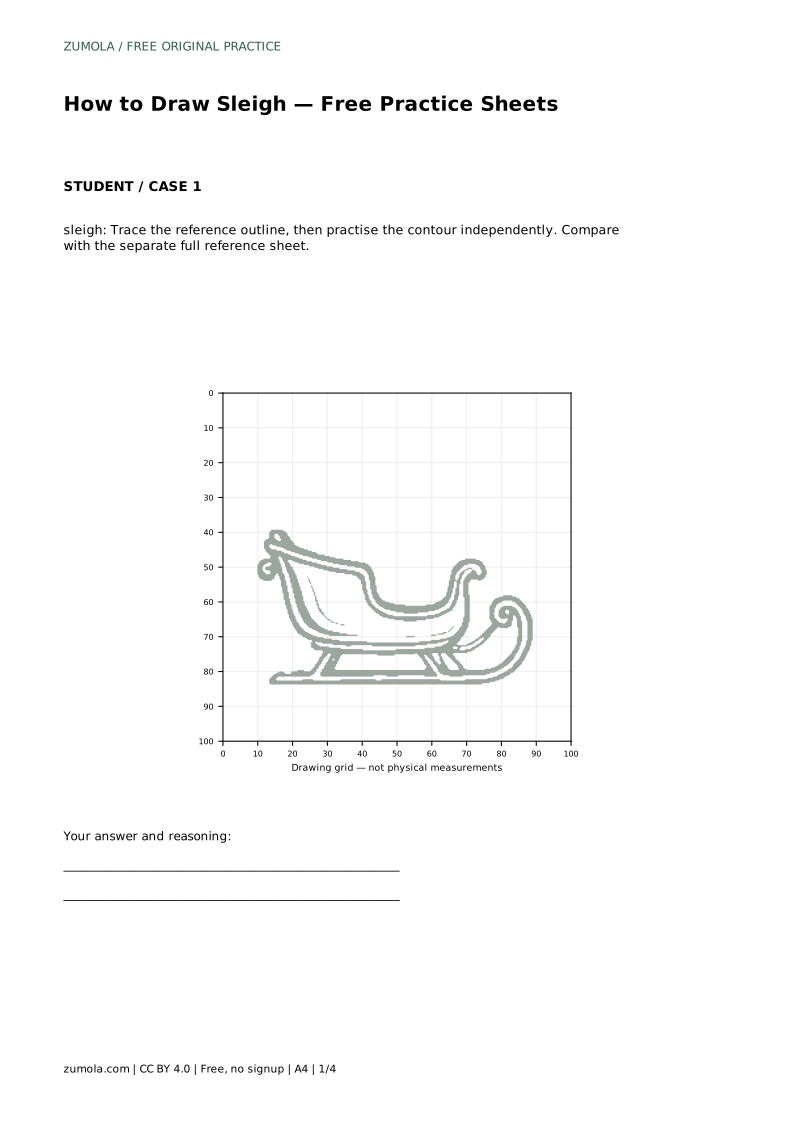
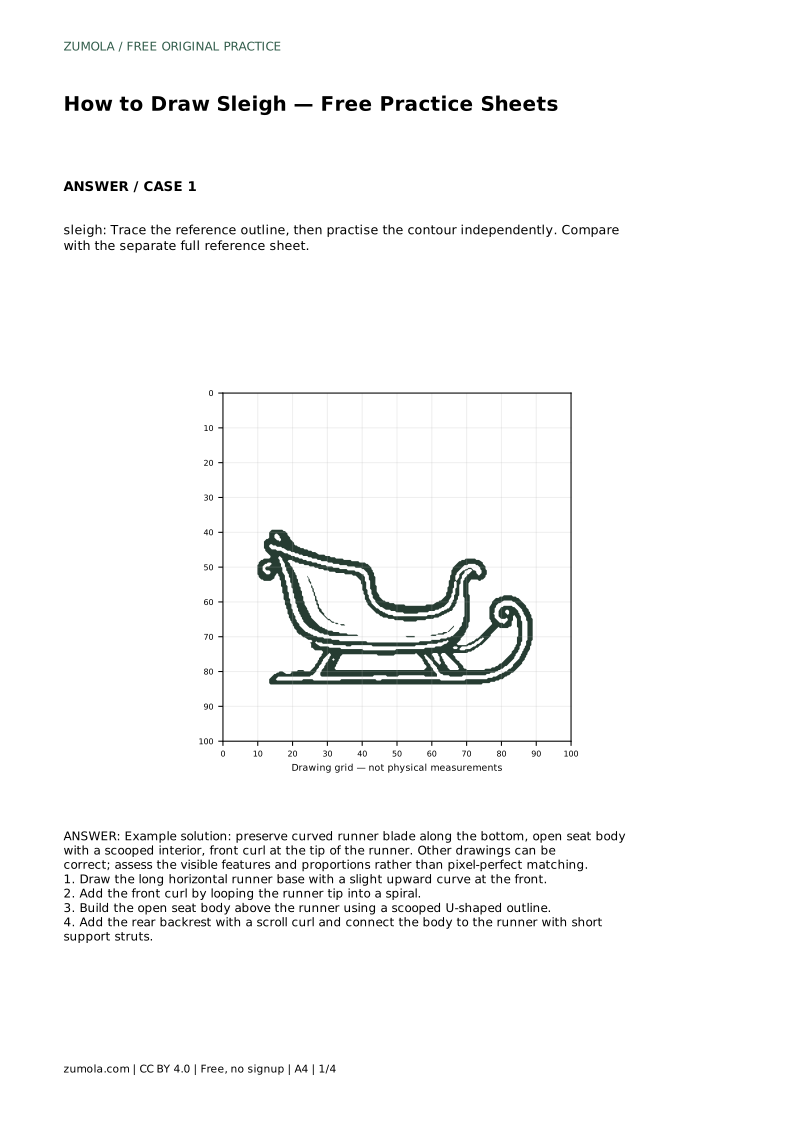
The tracing sheet asks you to follow the reference outline first, then practise the contour independently. Compare your freehand attempt with the separate full reference sheet rather than with your traced line, so you can see where the shape drifted.
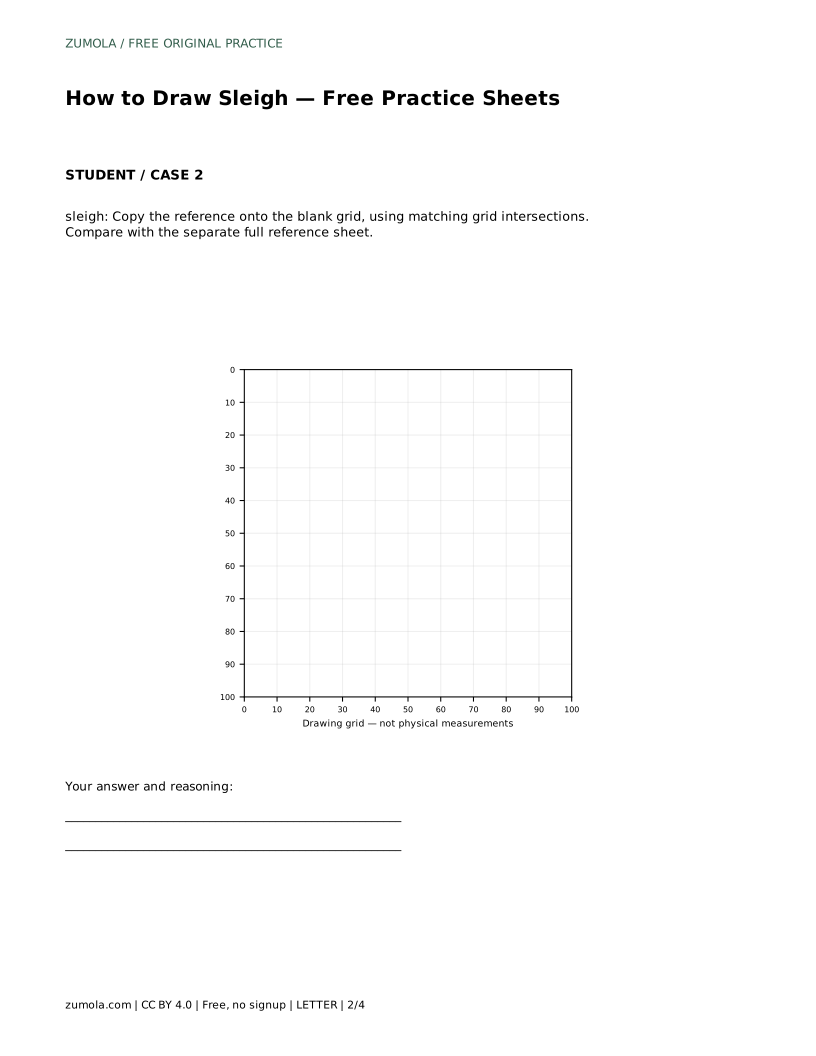
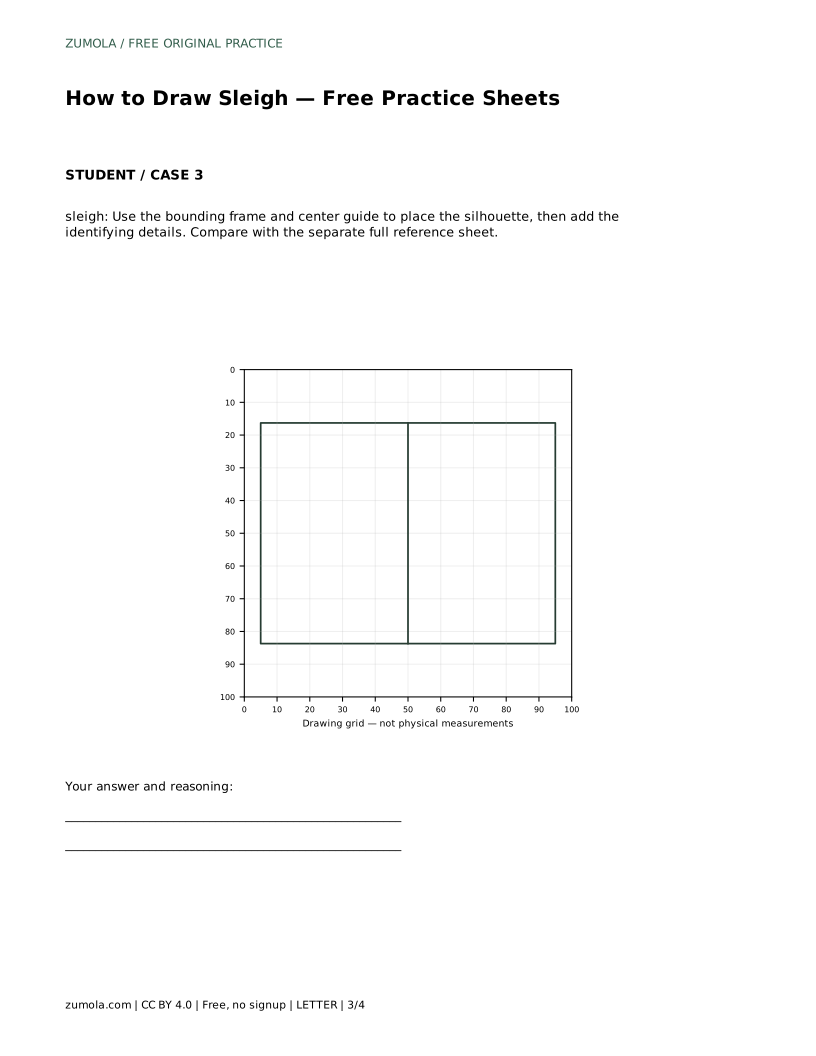
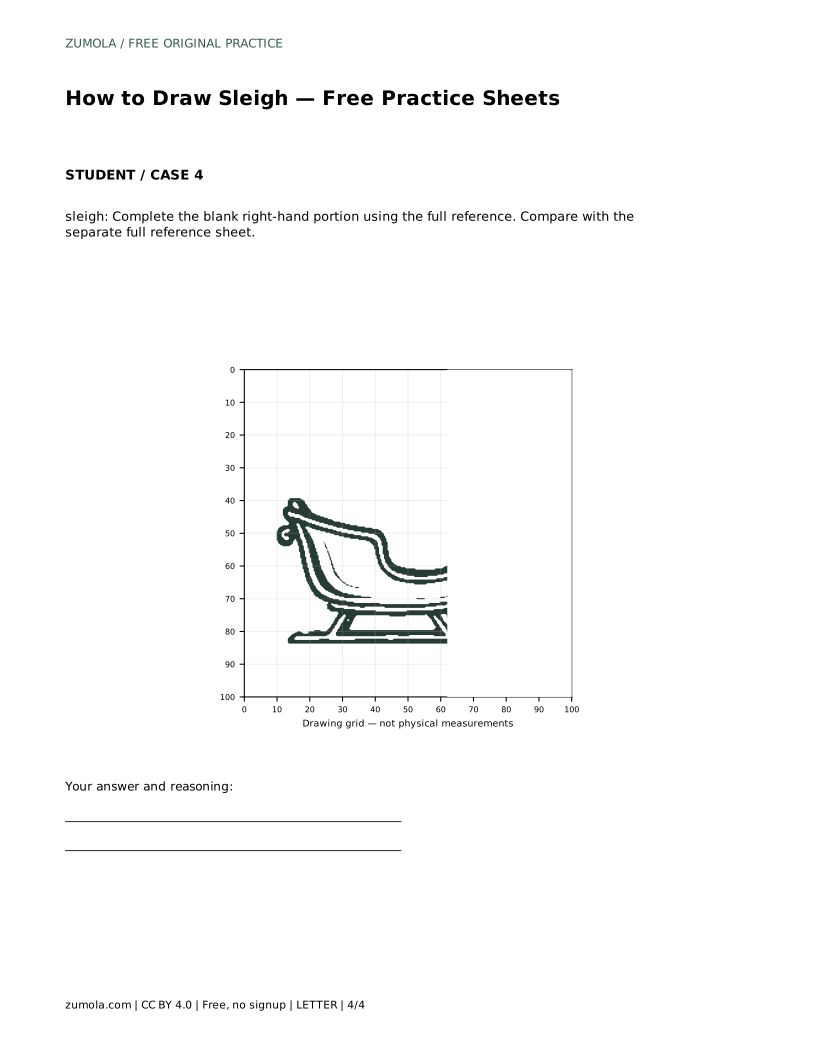
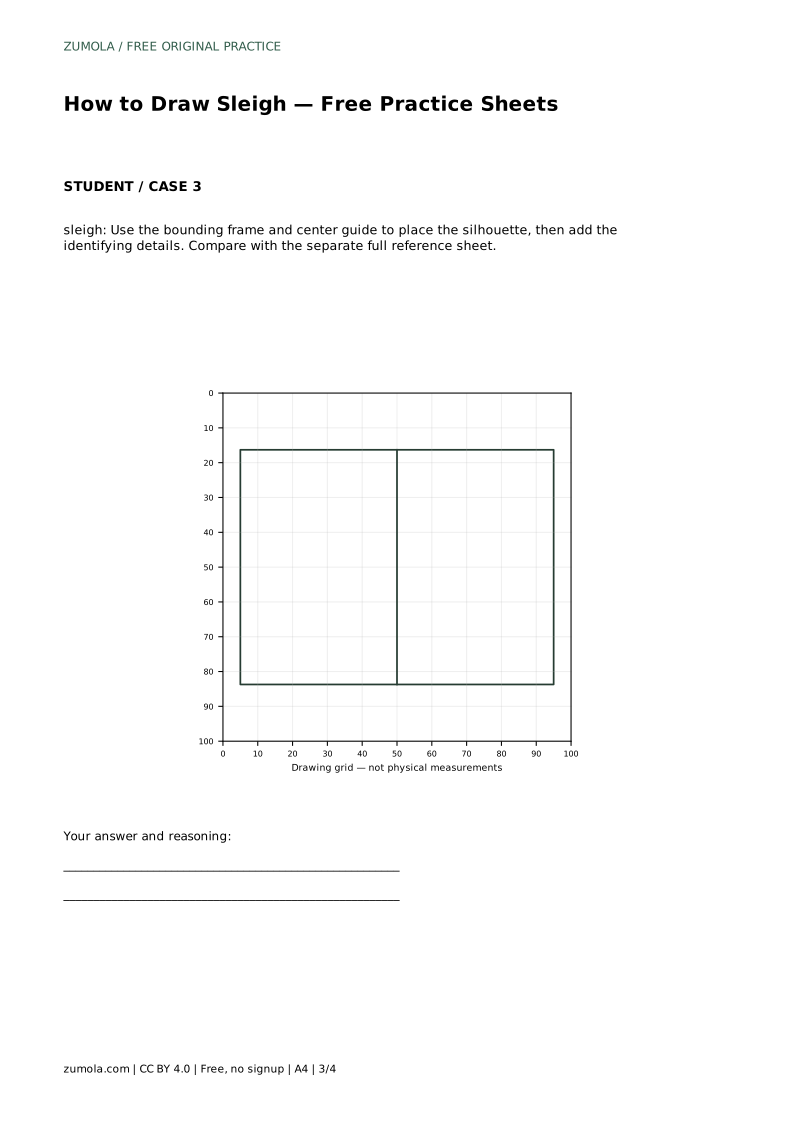
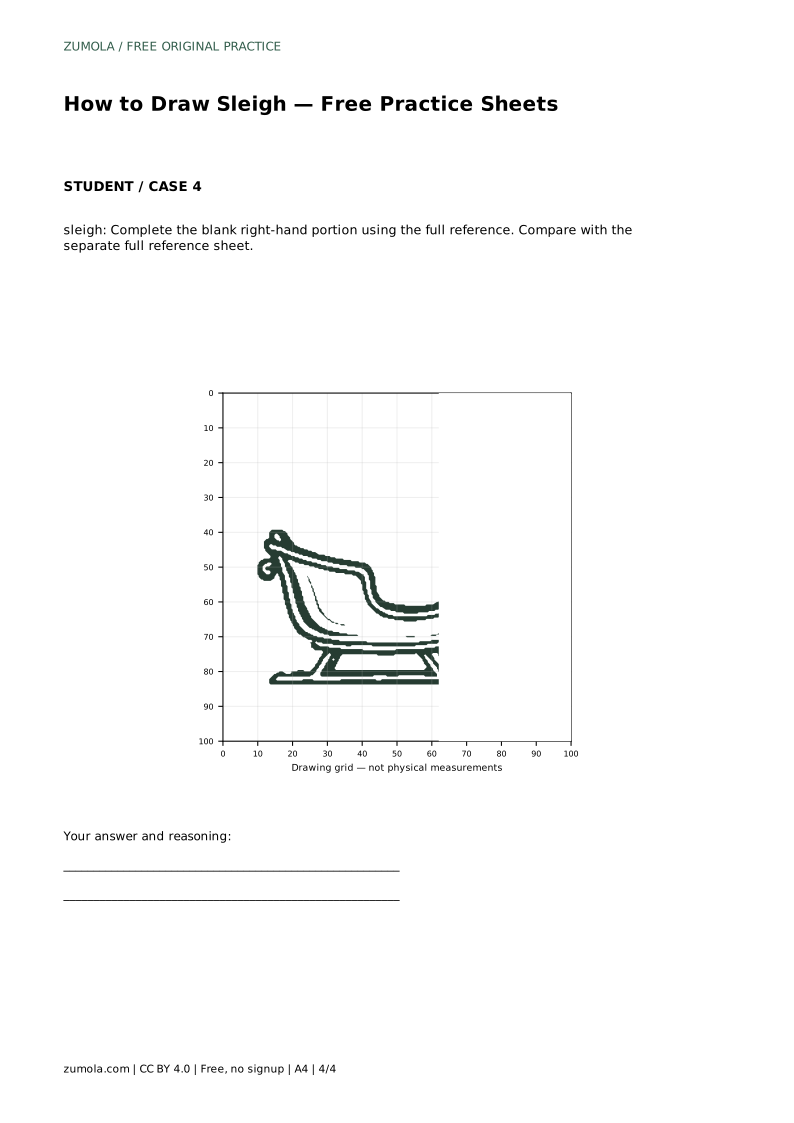
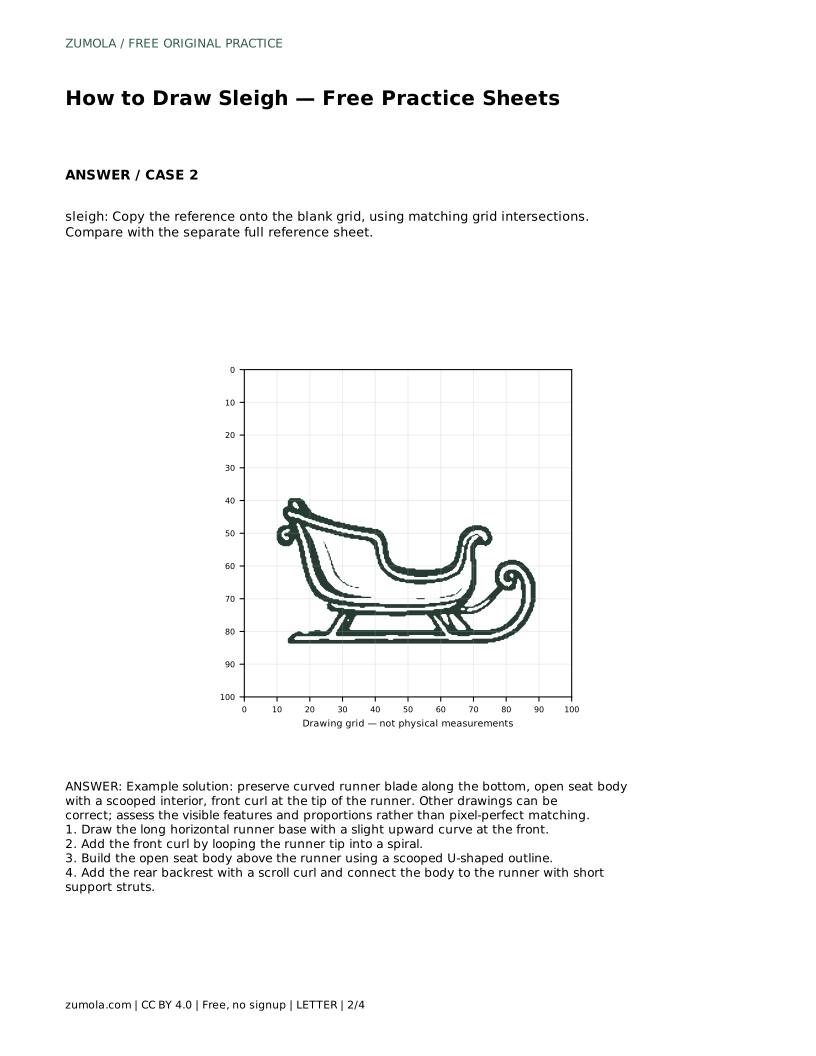
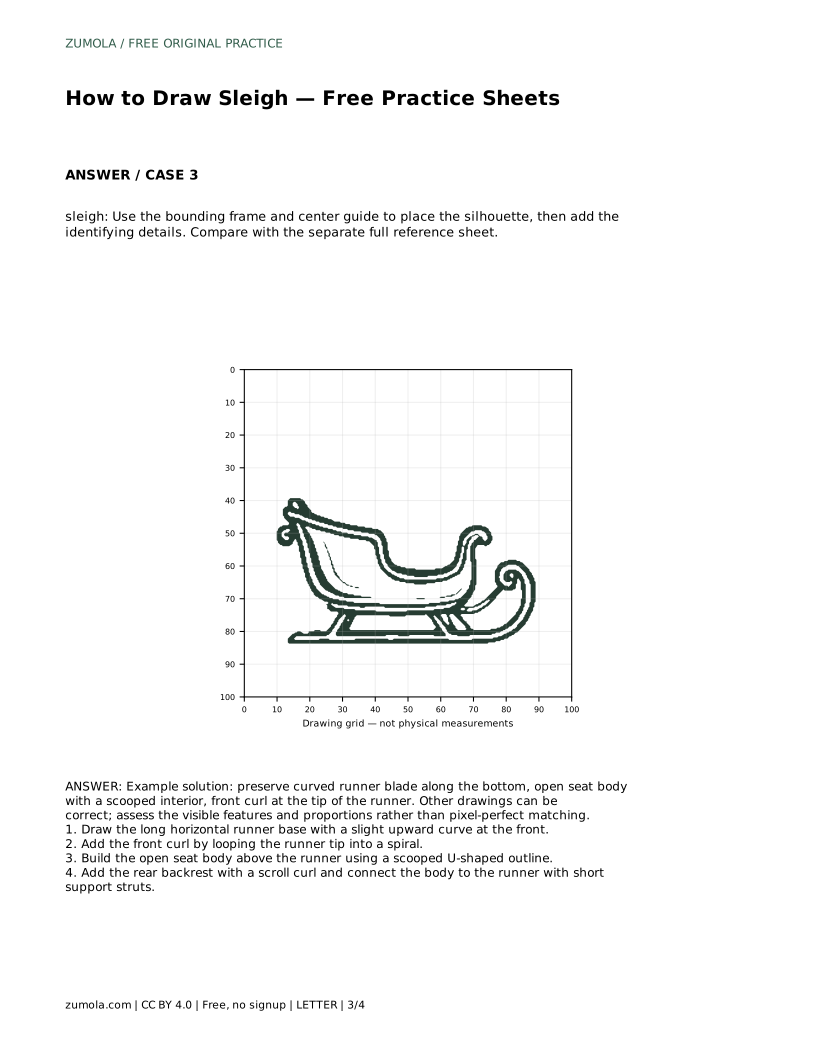
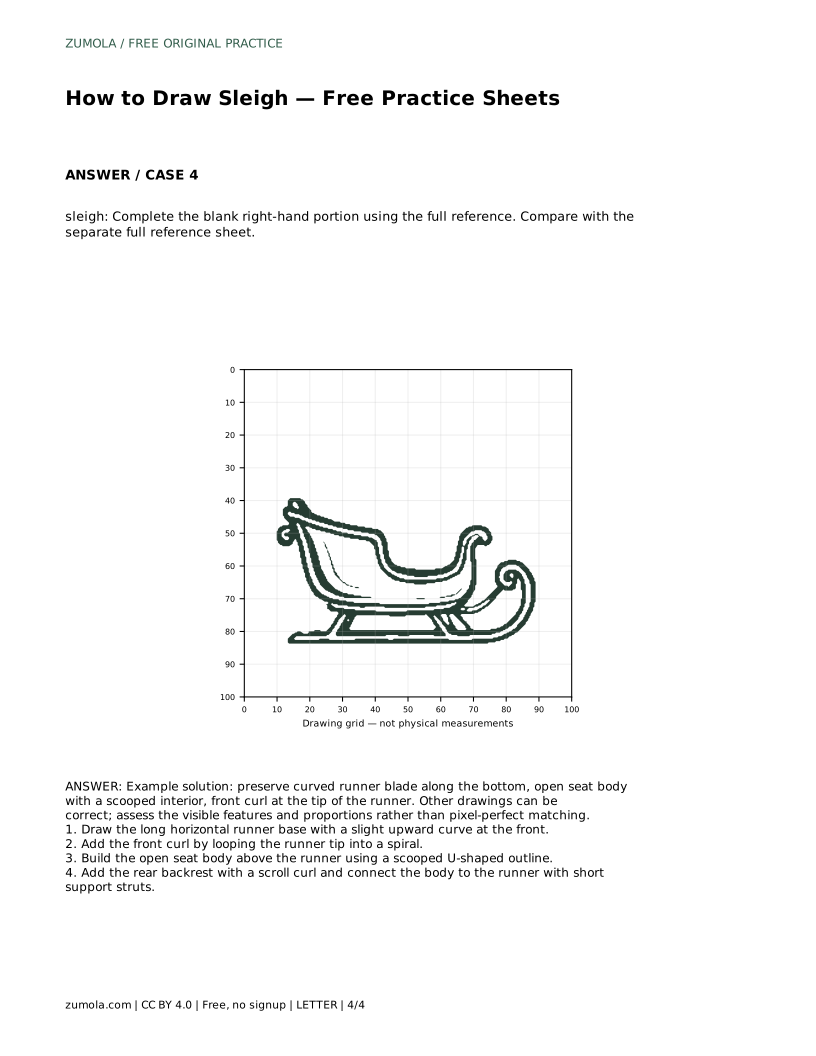
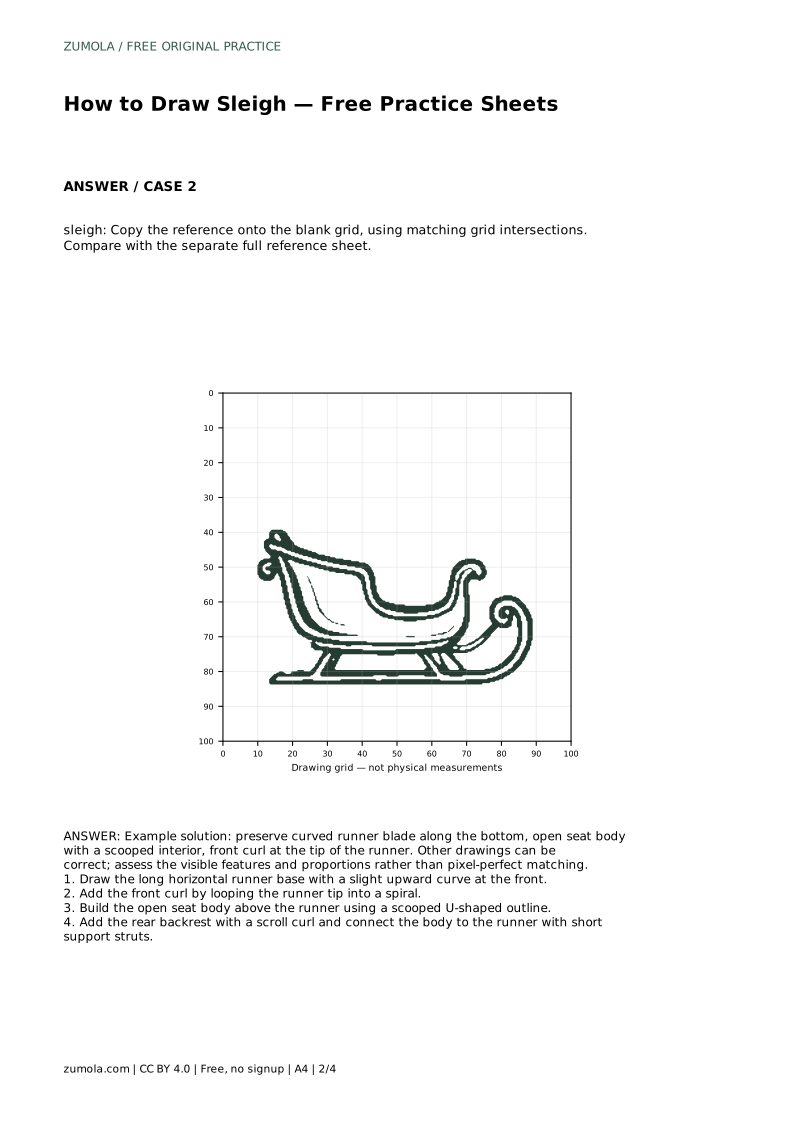
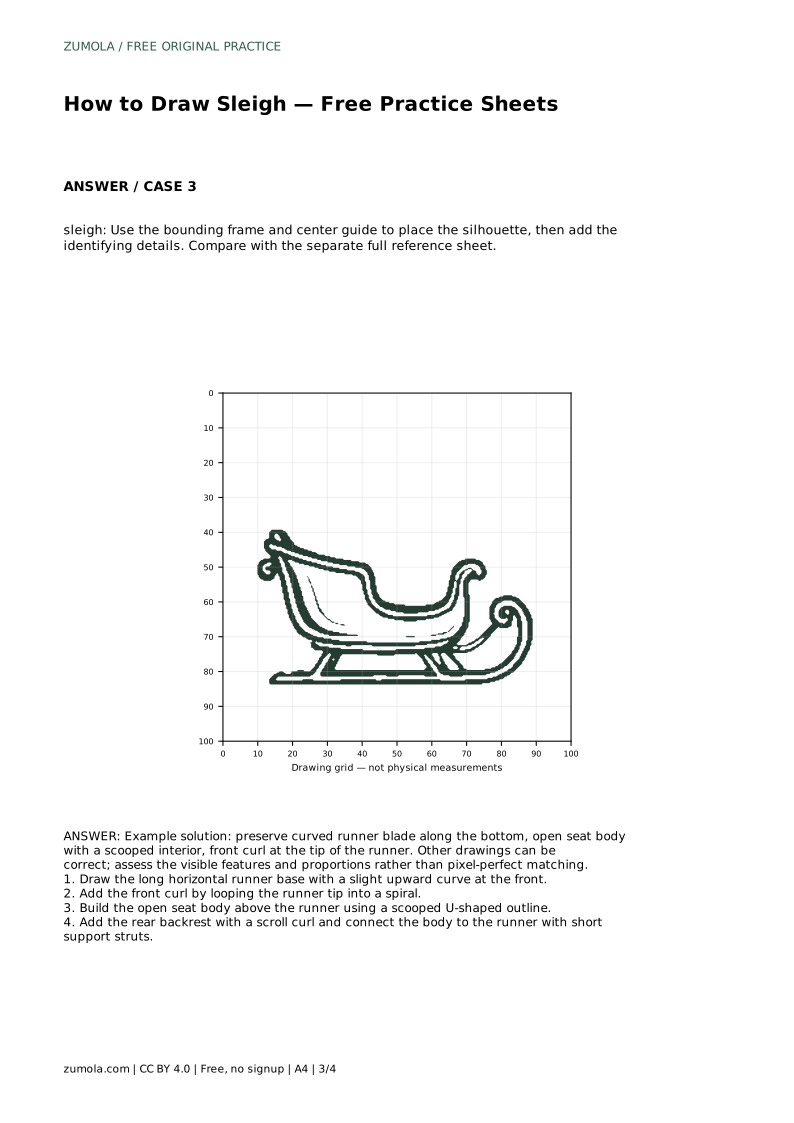
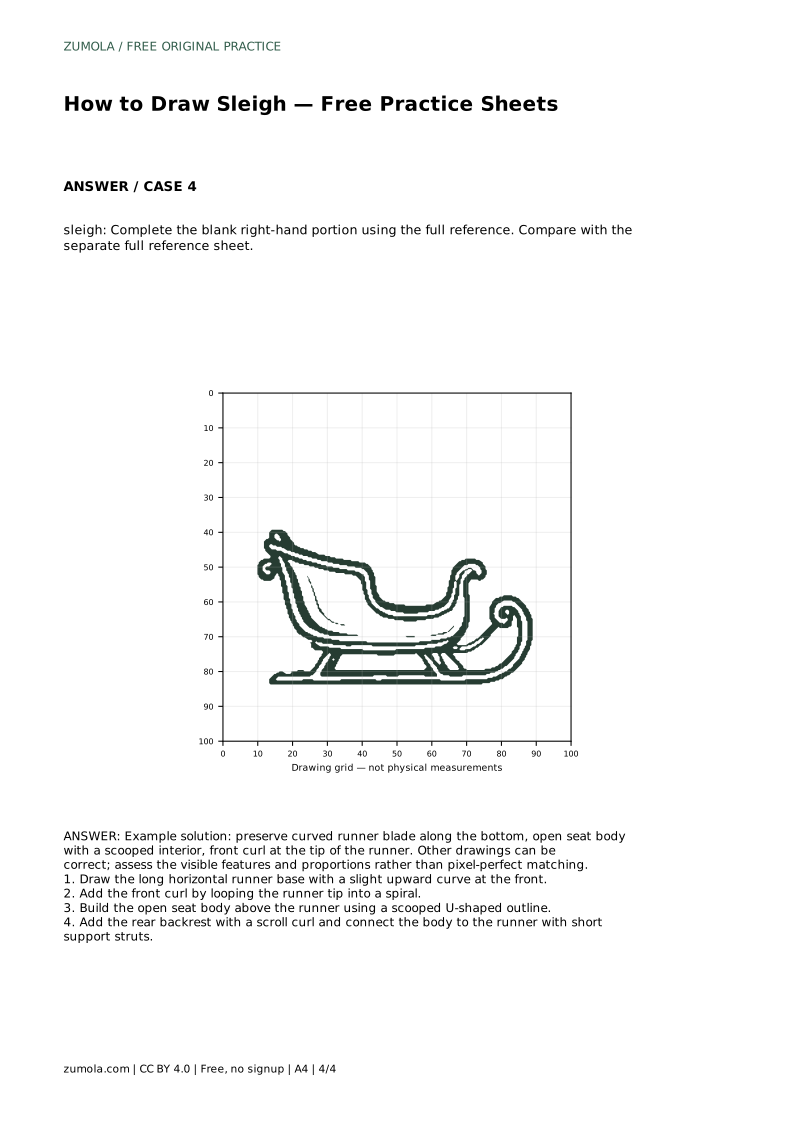
The grid sheet asks you to copy the reference onto the blank grid using matching grid intersections. Work one intersection at a time and let the grid carry the proportions; this is useful when the runner length or backrest height keeps changing between attempts. The bounding-frame sheet gives you a centre guide for placing the silhouette before you add identifying details, which helps when the sleigh sits too high, too low or too far to one side. The partial sheet gives you the left portion and asks you to complete the blank right-hand side from the full reference, so check where the runner ends and how far the backrest extends before drawing.
A drawing of a sleigh can be correct in many ways. Assess the visible features and proportions rather than pixel-perfect matching. Ask whether the runner blade stays continuous and curves upward at the front, whether the front curl reads as a spiral attached to the tip, whether the seat body is open and scooped, and whether the backrest scroll and support struts are present and plausibly placed.
Proportion checks are simple: the runner should be the longest element, the seat body should sit above it with visible struts, and the backrest should rise behind the seat rather than beside it. If the sleigh looks unstable, the struts are probably too short or missing. If it looks cramped, the seat body may be too small relative to the runner.
A concrete task makes the order clear. The prompt below follows the first practice case, and the answer describes what a correct result should preserve.
sleigh: Trace the reference outline, then practise the contour independently. Compare with the separate full reference sheet.
Example solution: preserve curved runner blade along the bottom, open seat body with a scooped interior, front curl at the tip of the runner. Other drawings can be correct; assess the visible features and proportions rather than pixel-perfect matching. Draw the long horizontal runner base with a slight upward curve at the front. Add the front curl by looping the runner tip into a spiral. Build the open seat body above the runner using a scooped U-shaped outline. Add the rear backrest with a scroll curl and connect the body to the runner with short support struts.
No. Other drawings can be correct. Assess the visible features and proportions rather than pixel-perfect matching.
Draw the runner first, because it sets the length and ground relationship. Then add the front curl, the scooped seat body, the backrest scroll and the support struts.
Check that the runner blade is continuous and curves upward at the front, the curl attaches to the tip, the seat interior is open, and the struts connect the body to the runner.
All drawing practice · Free coordinate paper
Original resources · CC BY 4.0 · Free for personal and classroom use with attribution.