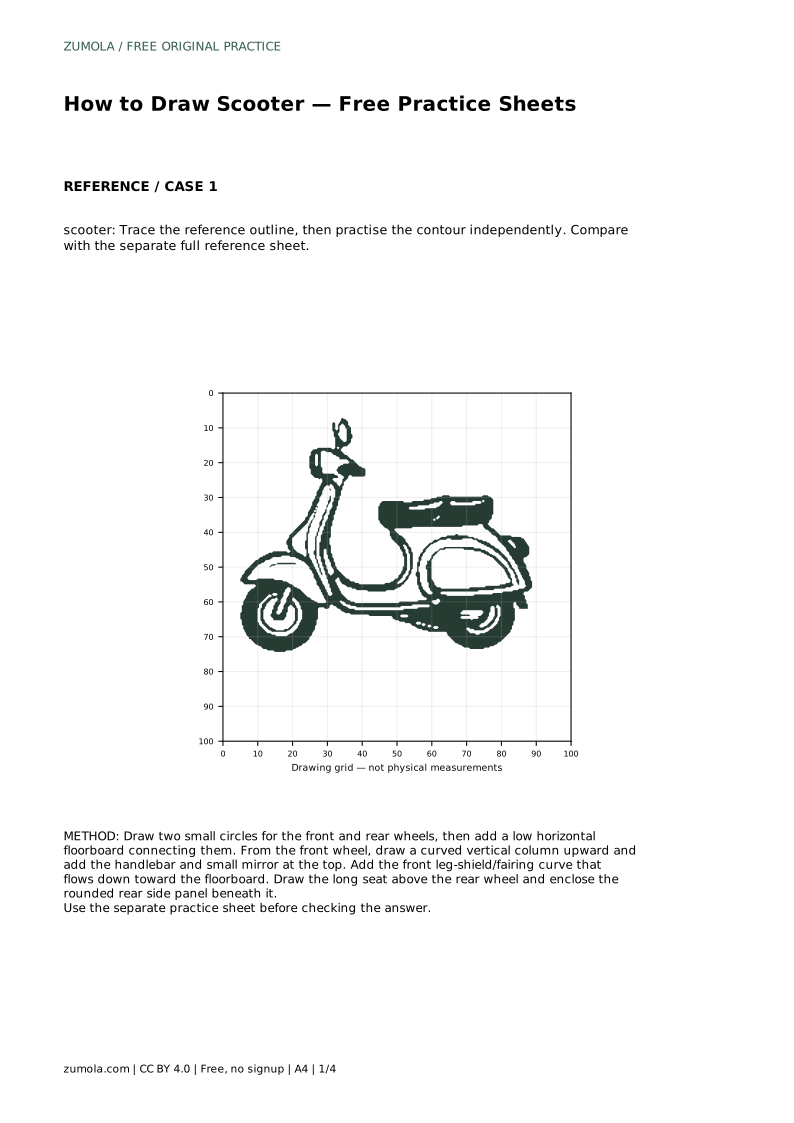
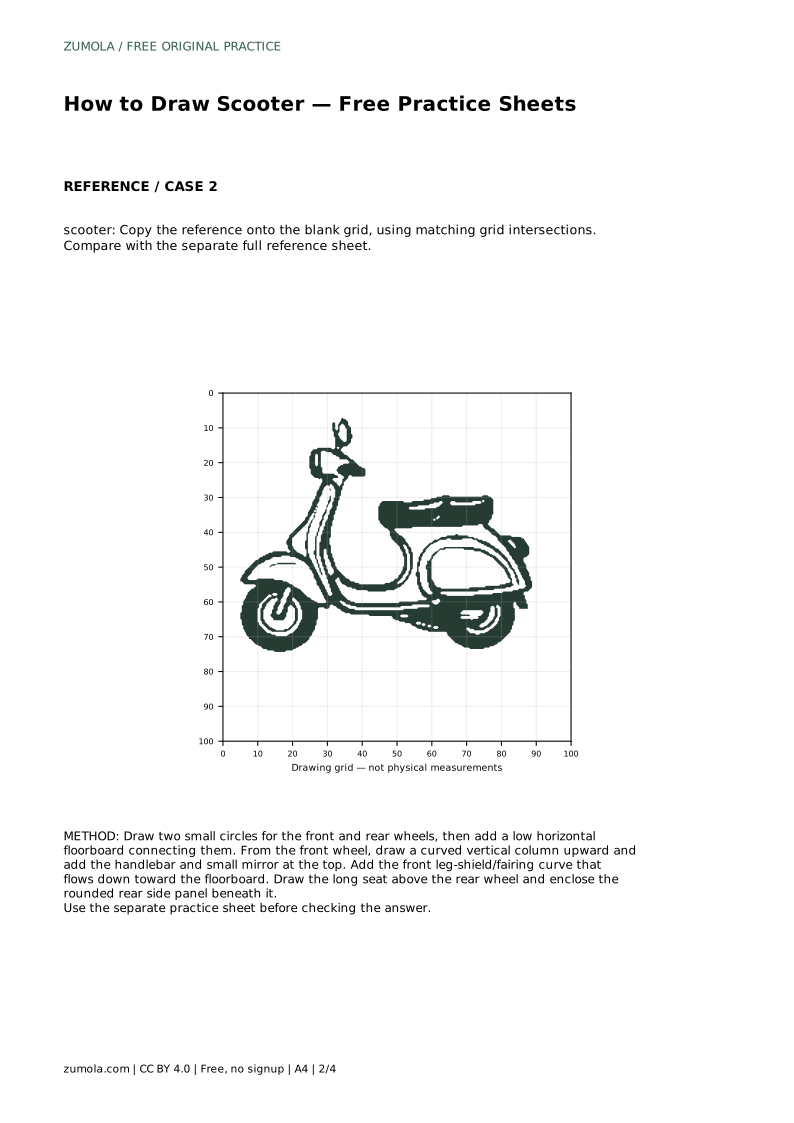
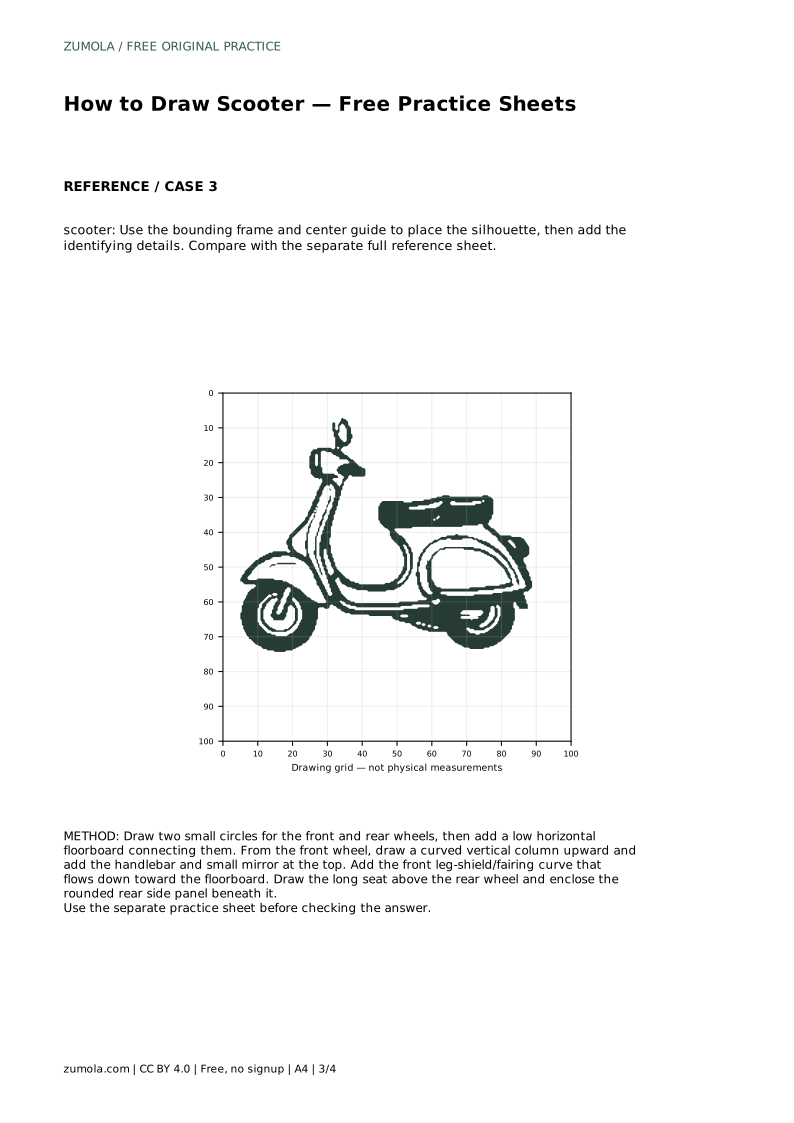
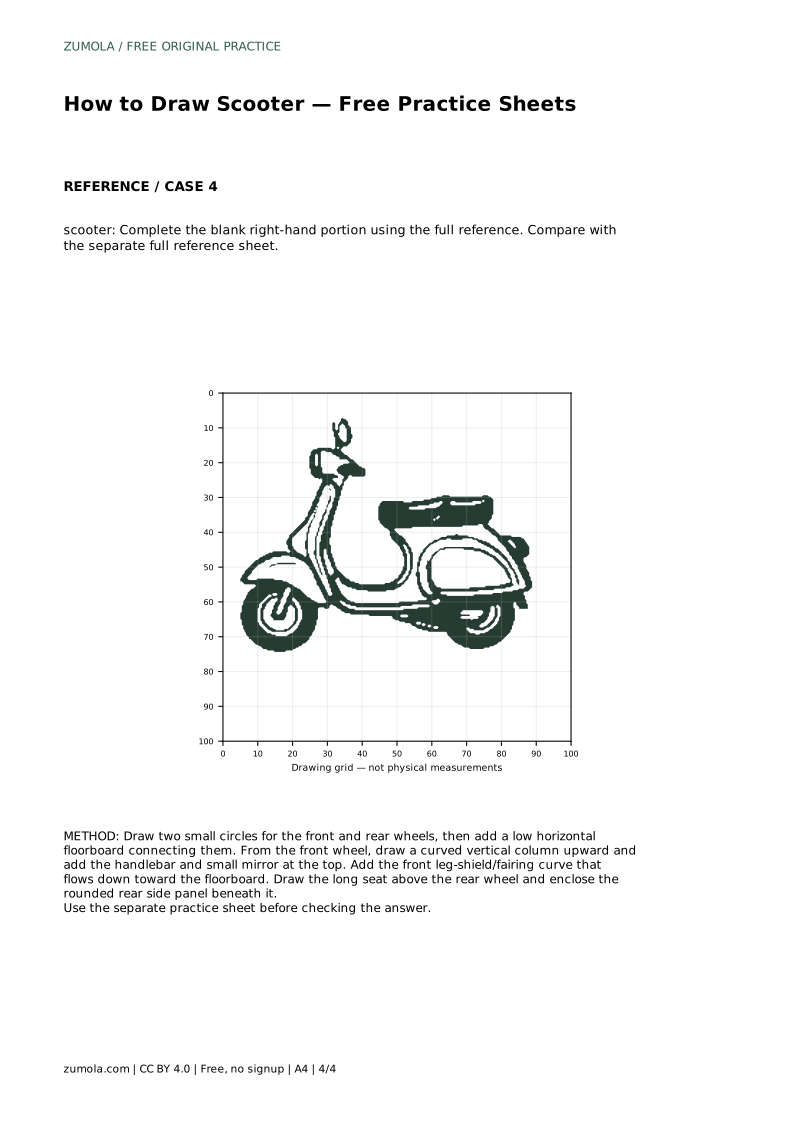
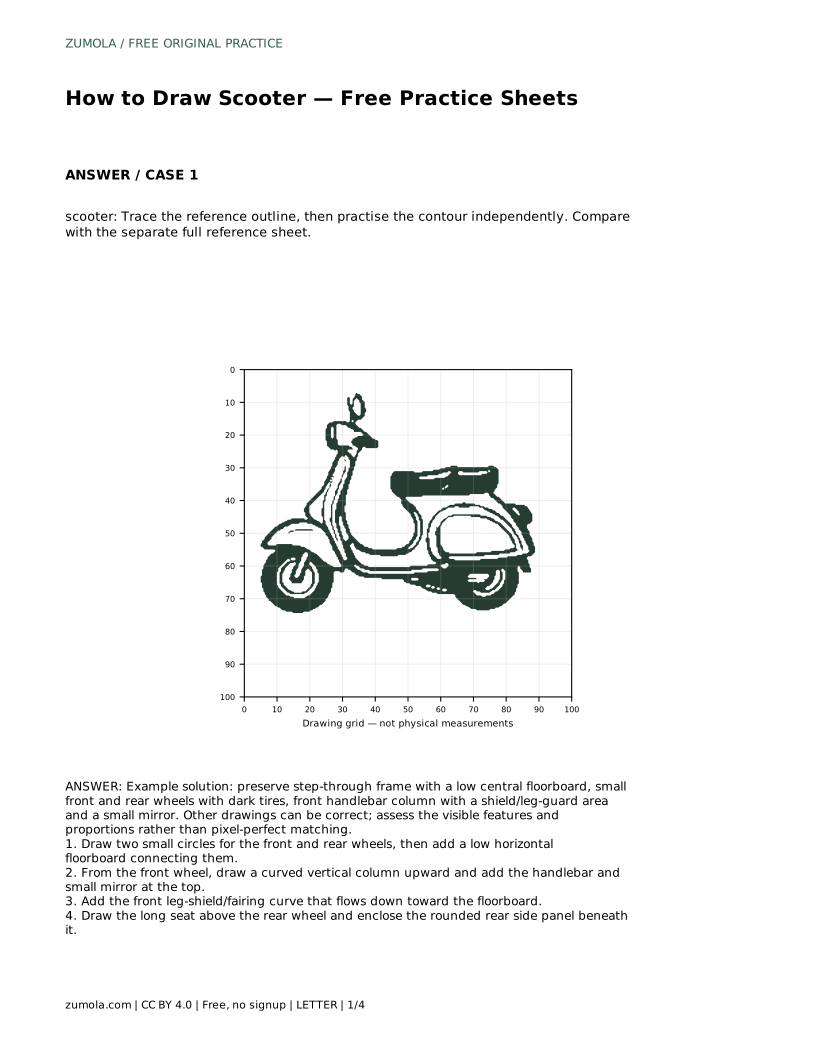
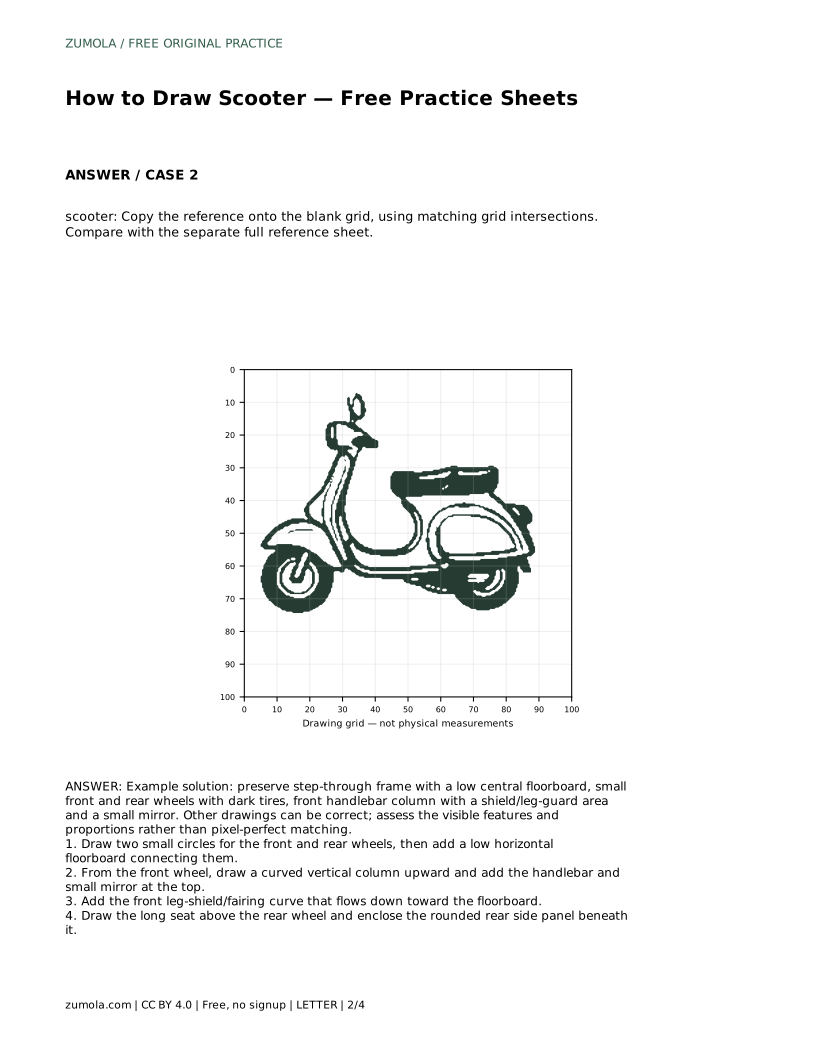
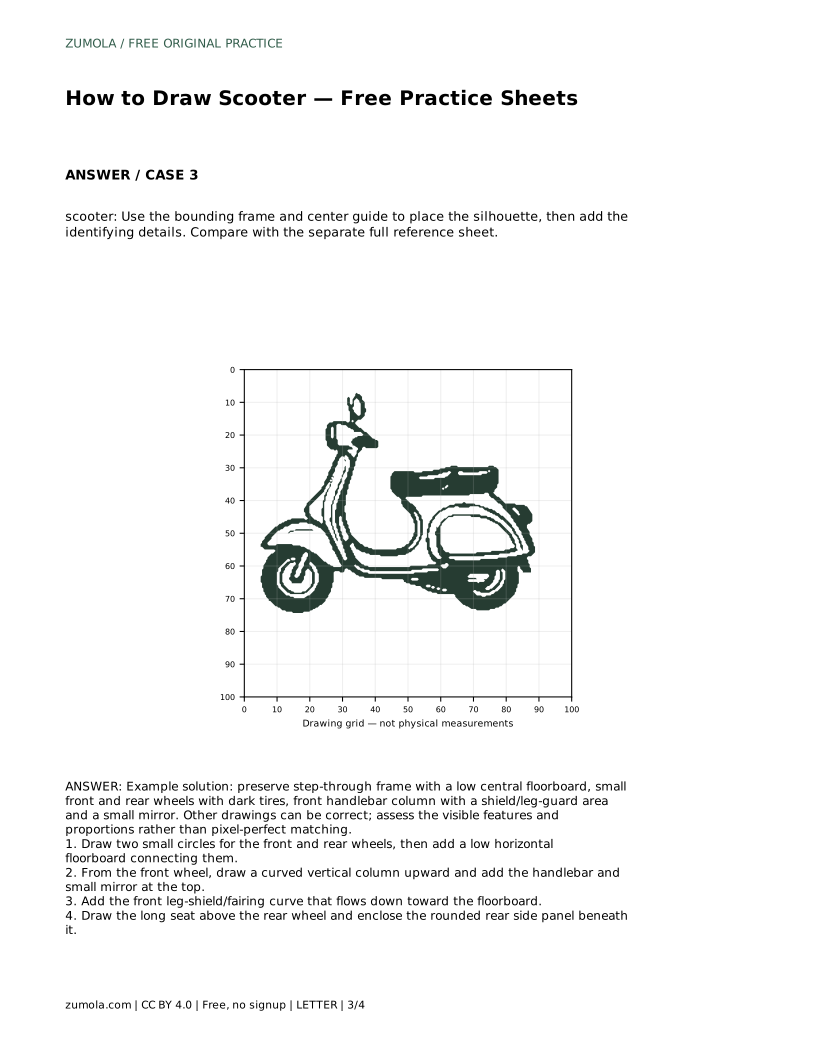
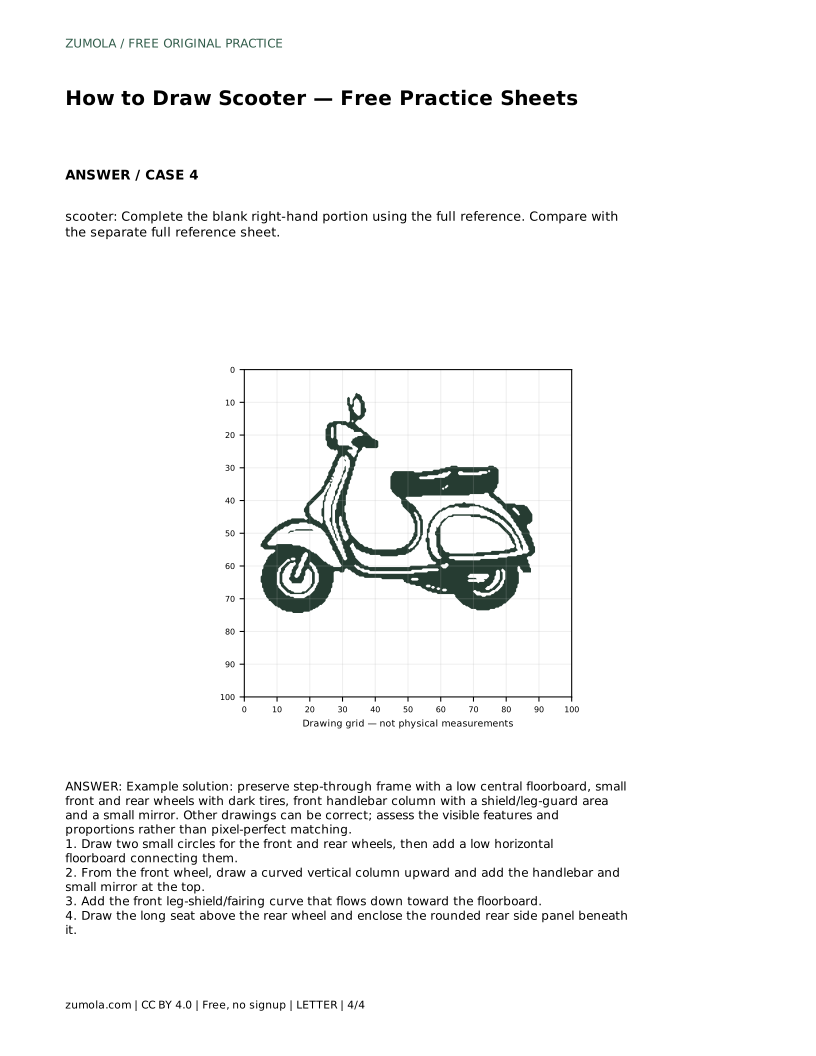
Reference diagrams
LETTER · Download PDF
A4 · Download PDF
Free original resources
Learn to draw a scooter by building its step-through frame, small wheels, handlebar column, leg shield, and seat. Includes a worked example and assessment rubric.
Four original cases, with reference diagrams, practice sheets and worked answers. Everything is free; no signup required.
LETTER · Download PDF
A4 · Download PDF
LETTER · Download PDF
A4 · Download PDF
LETTER · Download PDF
A4 · Download PDF
Use A4 or US Letter to match your printer. Use the stated values and conditions to solve each exercise; diagrams are not physical measuring rulers.
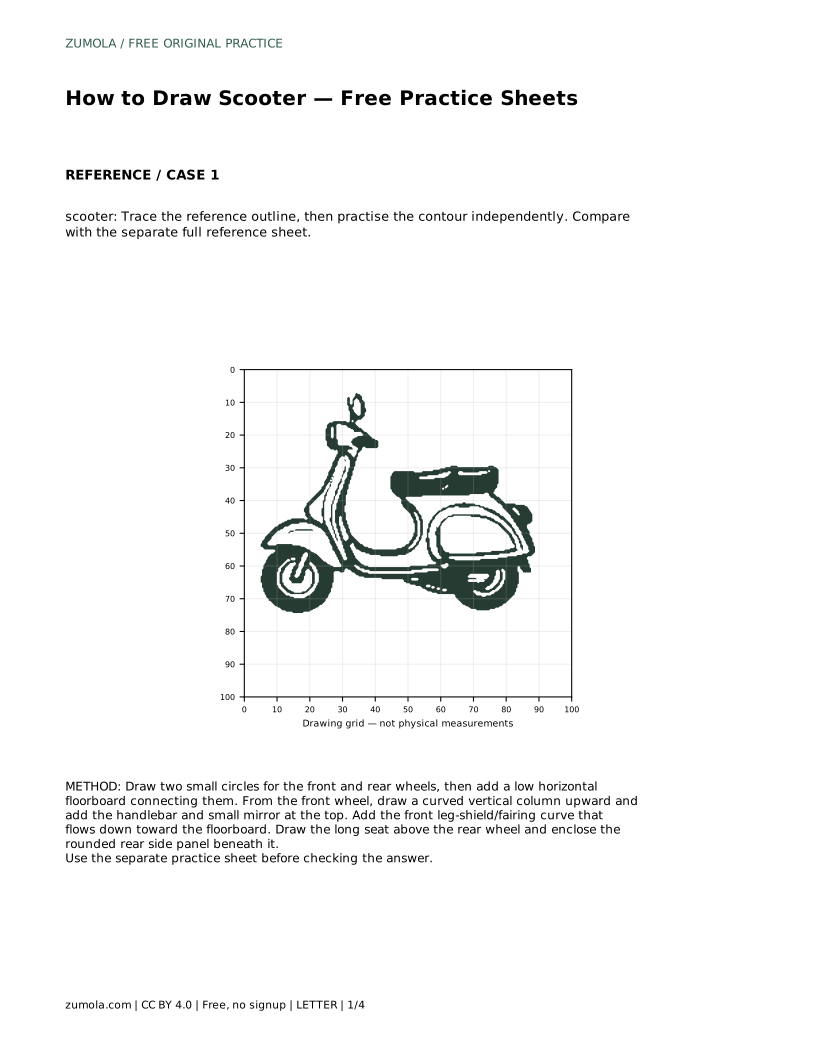
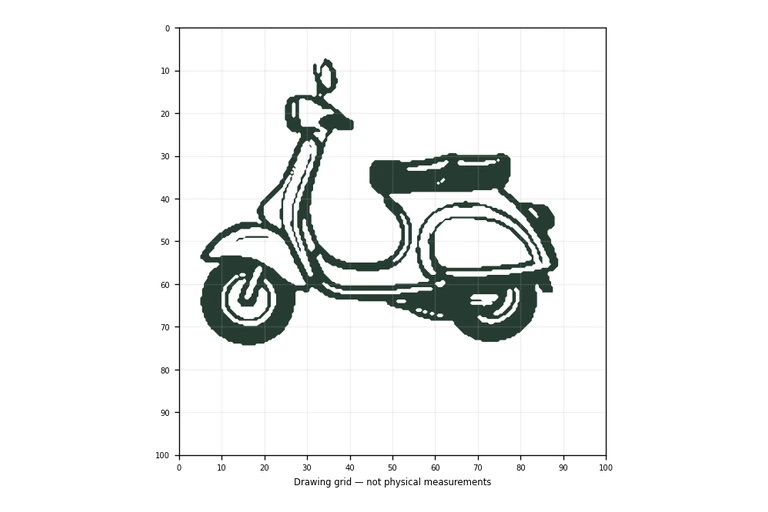
A scooter is easy to recognise because of its open, step-through frame: a low floorboard sits between two small wheels, a handlebar column rises at the front, and a long seat rests above the rear wheel. This page shows how to build that structure in a sensible order, then add the details that make the drawing read clearly as a scooter rather than a generic two-wheeled shape.
Begin by placing the two wheels as small circles, one at the front and one at the rear, with a clear gap between them. Connect the lower area with a low horizontal floorboard. This floorboard is the defining feature of a step-through scooter, so keep it close to the ground and roughly level.
From the front wheel, draw a curved vertical column upward. At the top, add the handlebar and a small mirror. Then draw the front leg-shield or fairing curve that flows down toward the floorboard. Above the rear wheel, draw the long seat and enclose the rounded rear side panel beneath it. Work from large shapes to small ones so proportions stay consistent.
Compare the height of the handlebar column with the length of the floorboard. On most scooters the column is tall relative to the wheels, while the floorboard is long and low. The seat should sit above the rear wheel, not float behind it.
Look at the overall silhouette before adding small details. If the shape reads as a scooter with the wheels, floorboard, column, and seat in place, the drawing is working. Details such as the mirror and panel lines support that shape but should not replace it.
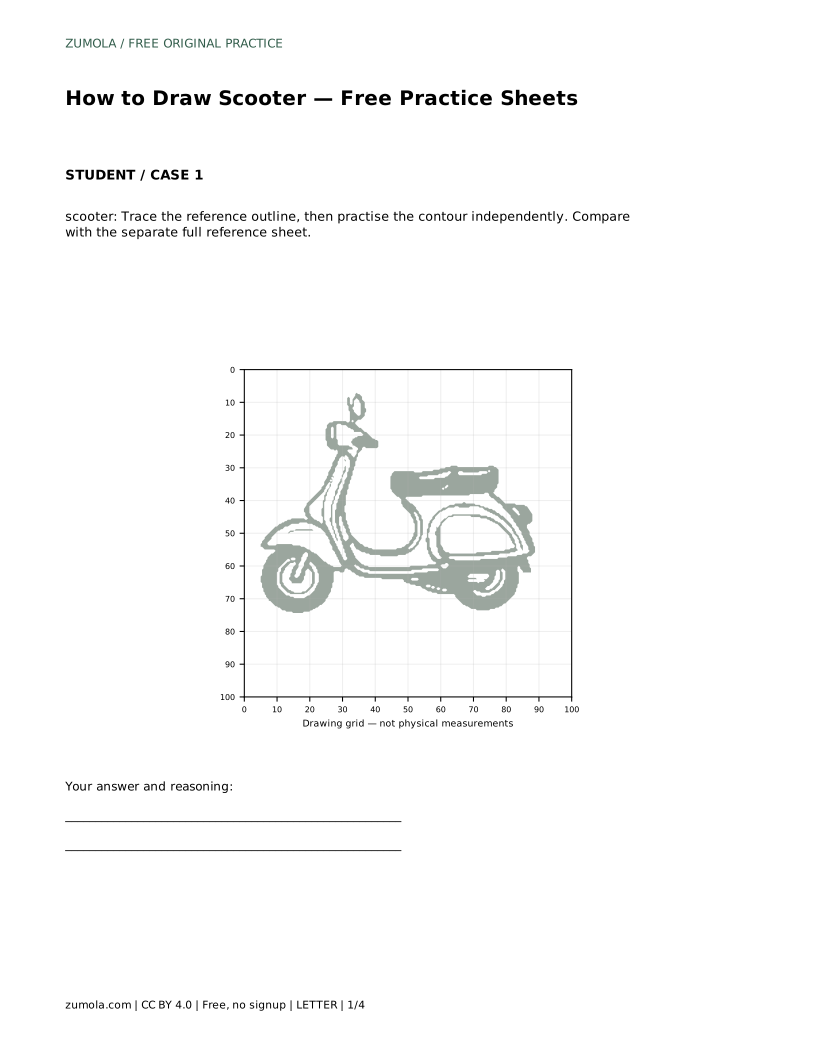
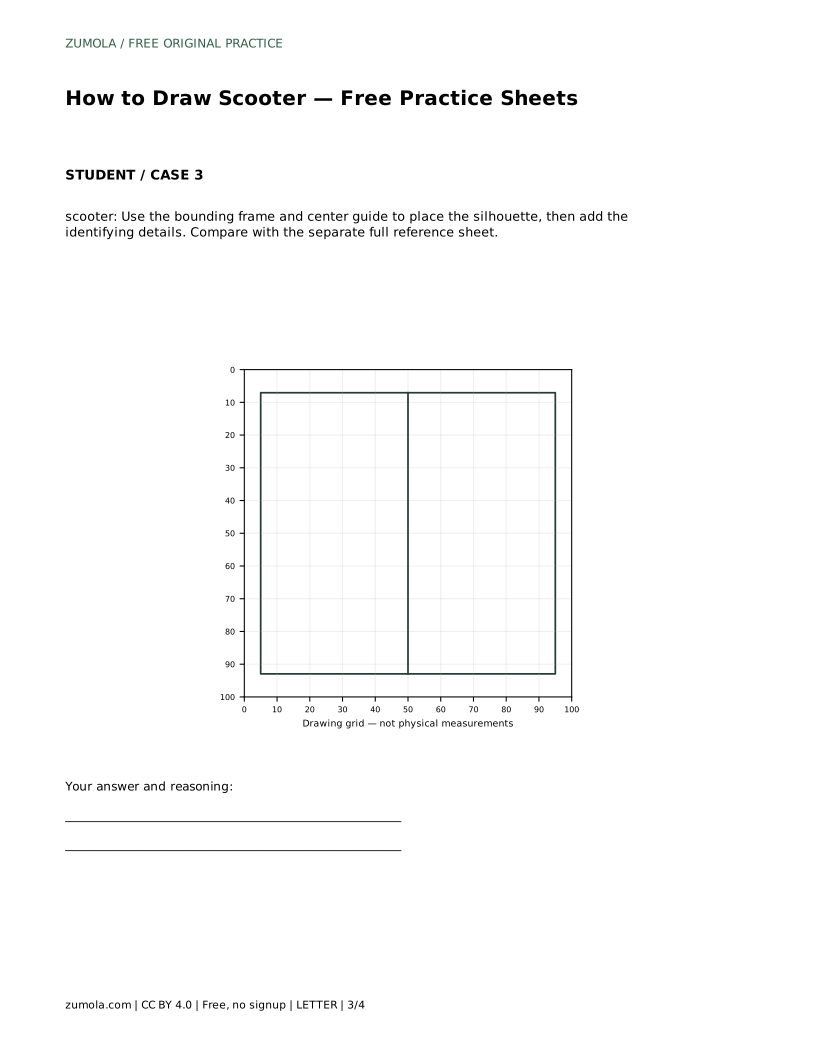
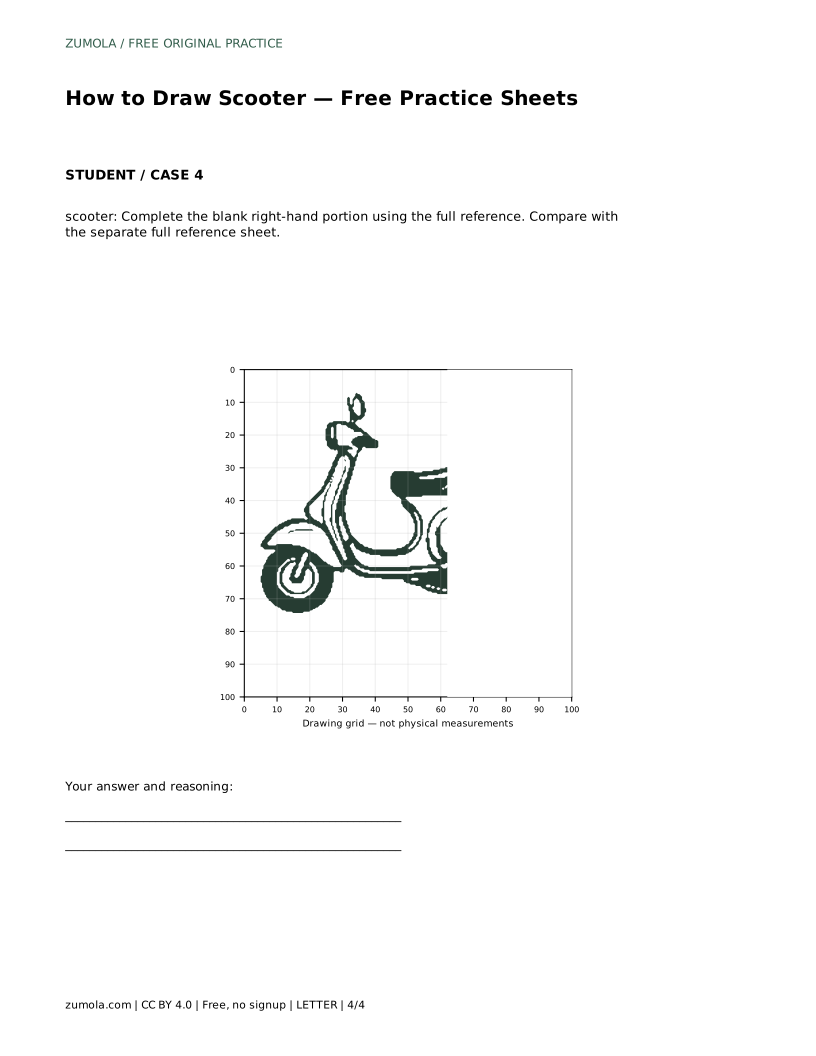
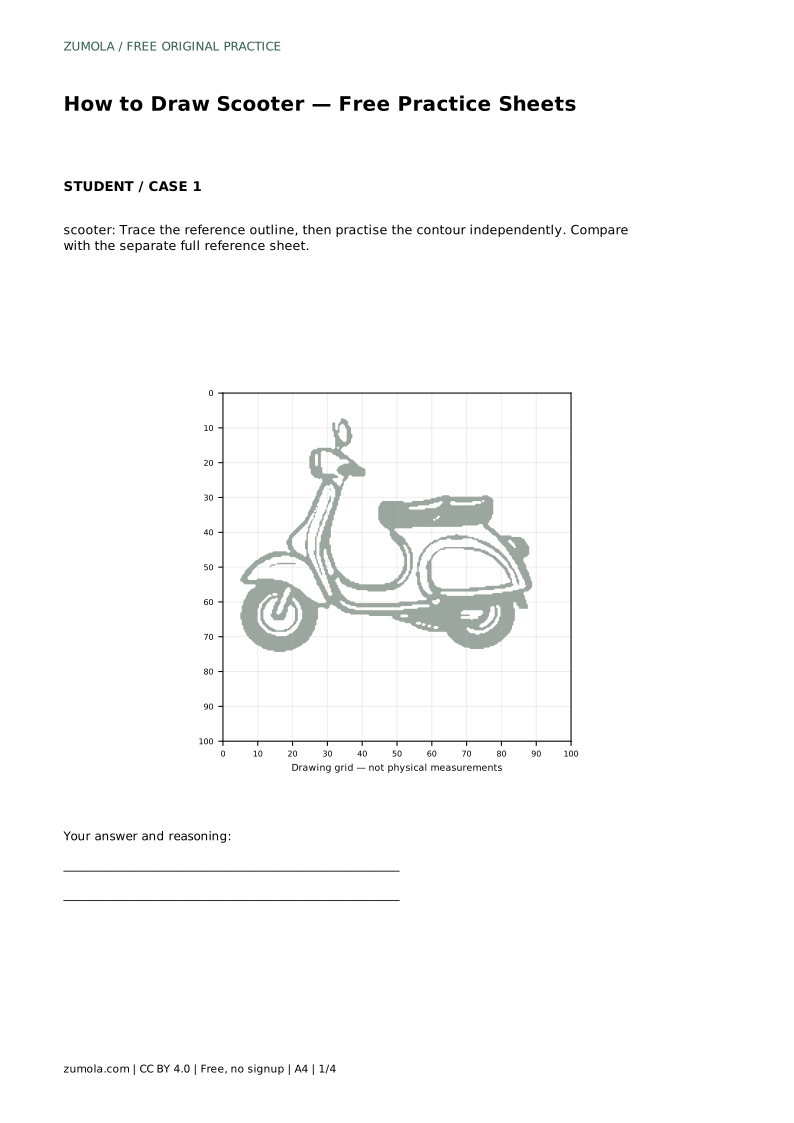
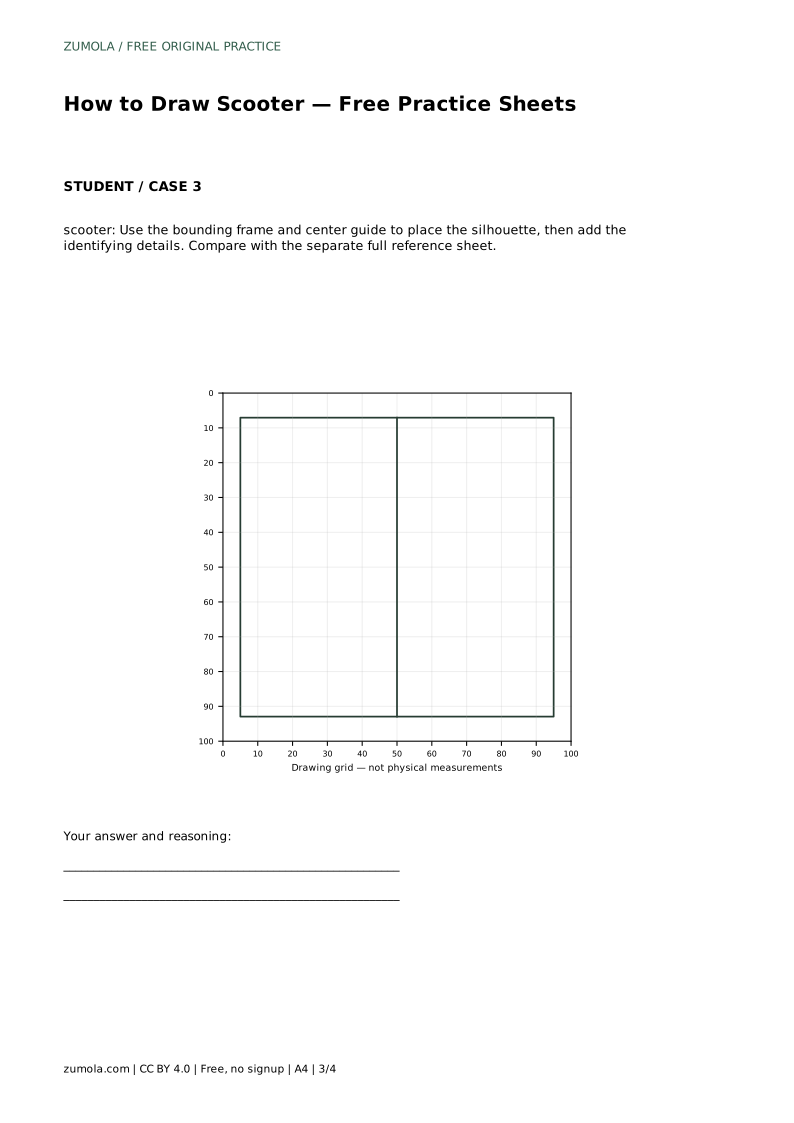
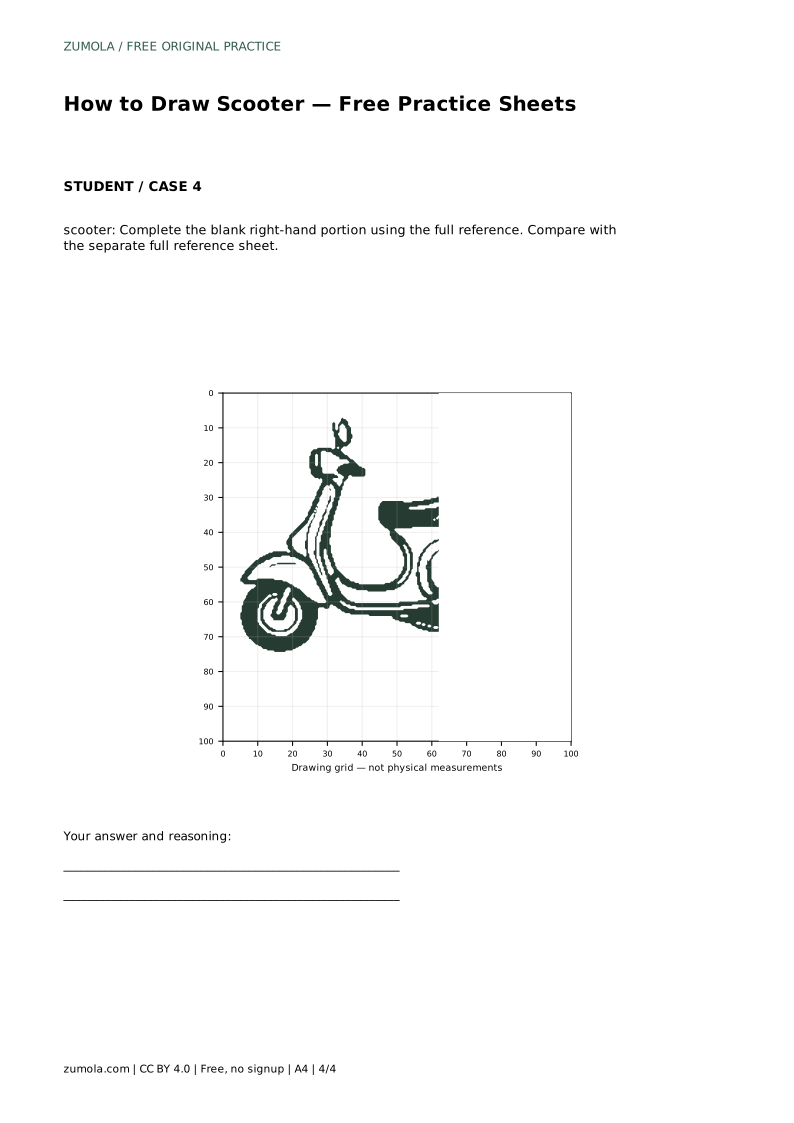
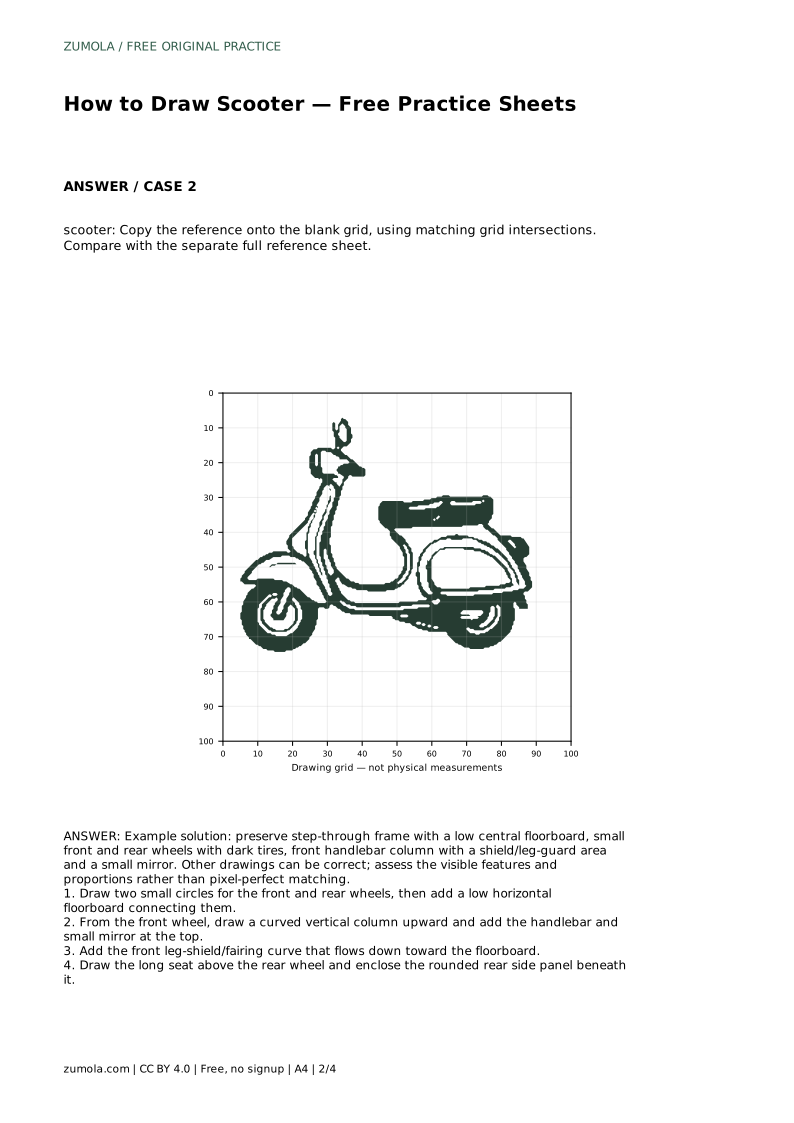
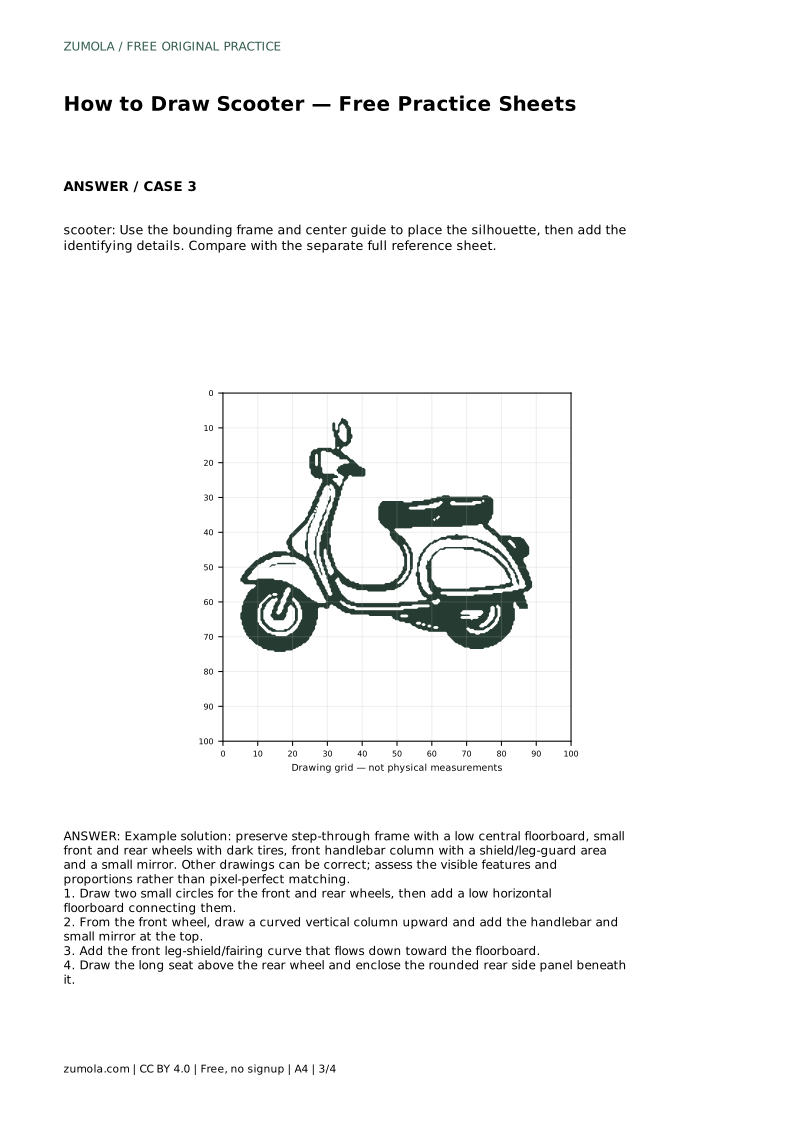
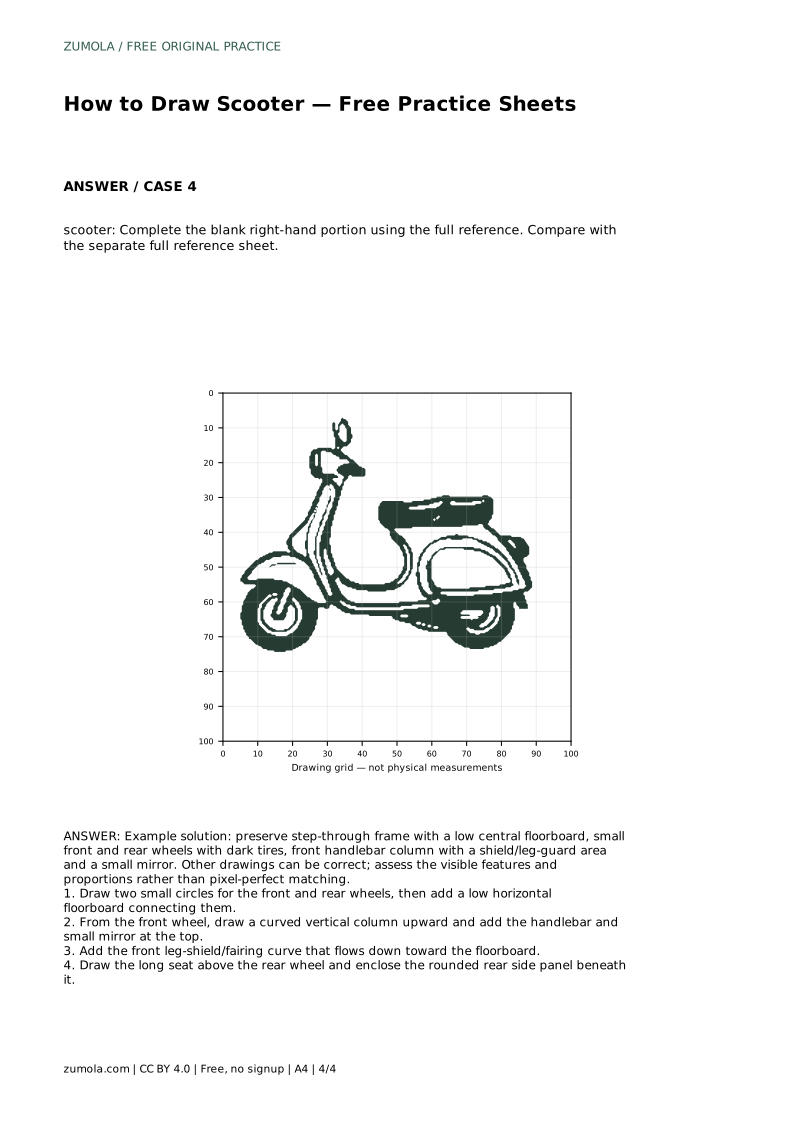
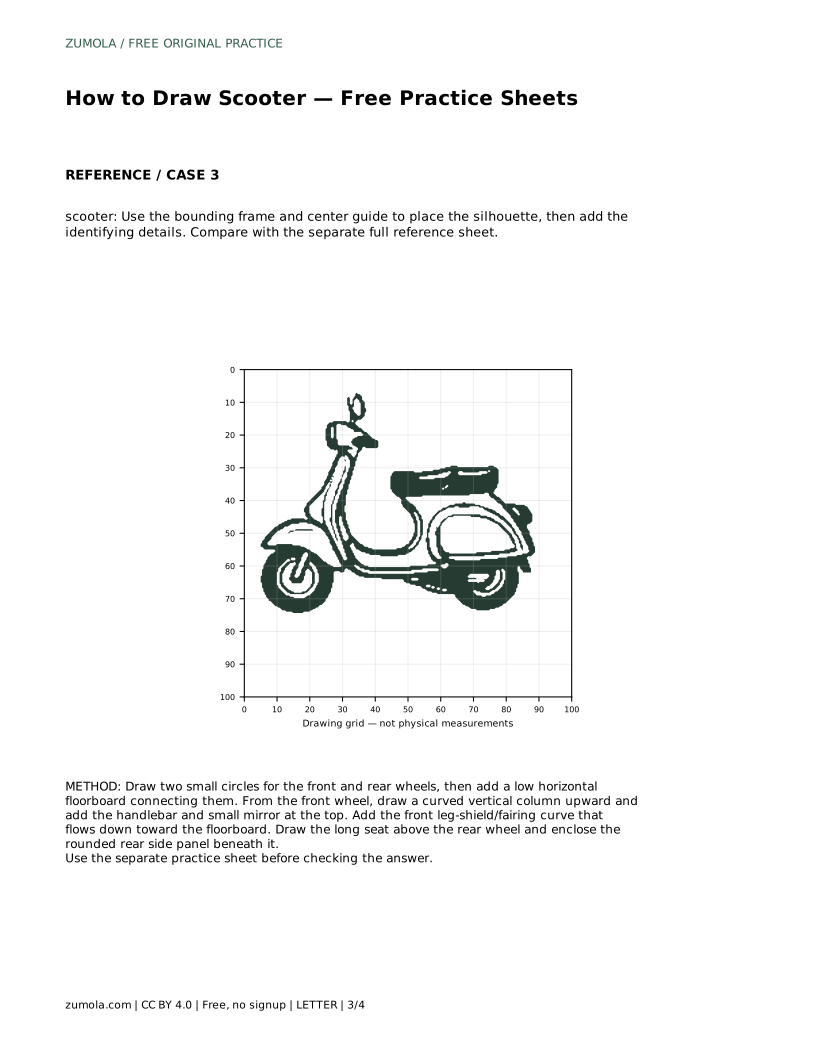
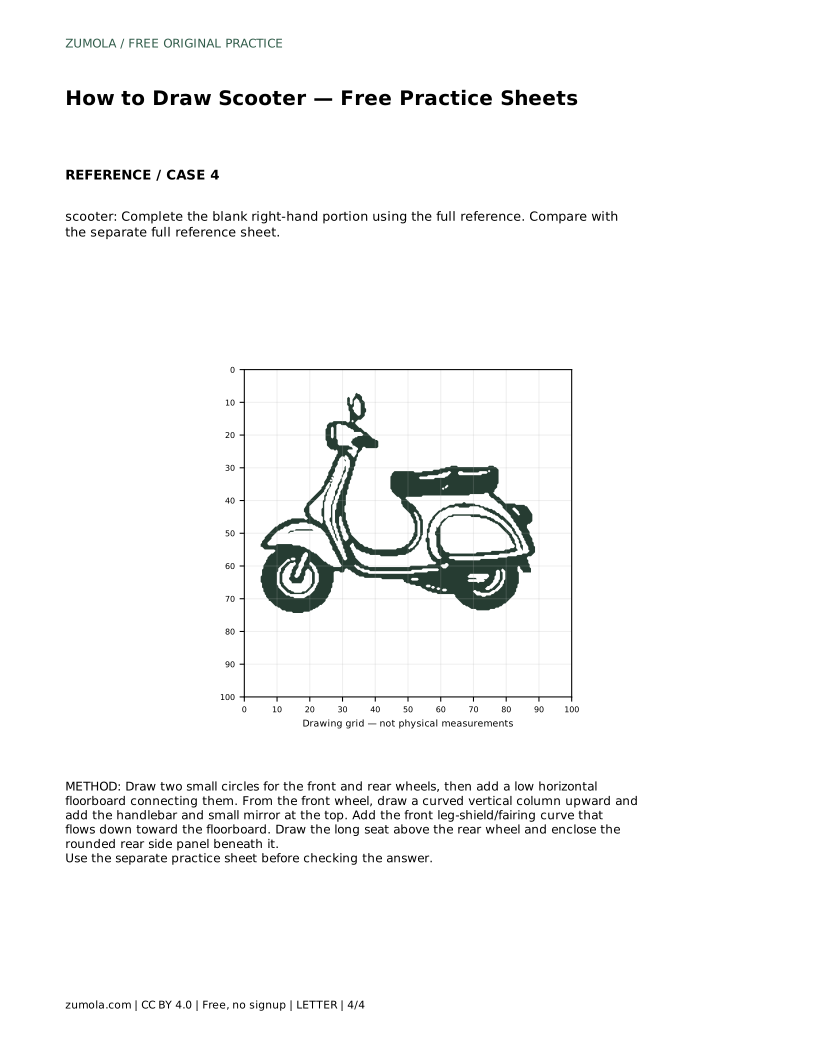
The tracing format asks you to follow the reference outline first, then practise the contour independently. The grid format asks you to copy the reference onto a blank grid using matching intersections. The bounding-frame format asks you to place the silhouette using the frame and centre guide before adding details. The partial-reference format asks you to complete the blank right-hand portion using the full reference.
In every format, compare your finished drawing with the separate full reference sheet. Treat the comparison as a check on visible features and proportions, not as a demand for a pixel-perfect match.
Because drawings can vary, use a rubric rather than looking for one exact answer. A strong drawing keeps the step-through frame visible, places small wheels at both ends, shows a front handlebar column with a shield or leg-guard area, and includes a seat above the rear wheel. Minor differences in curve shape or panel detail are acceptable.
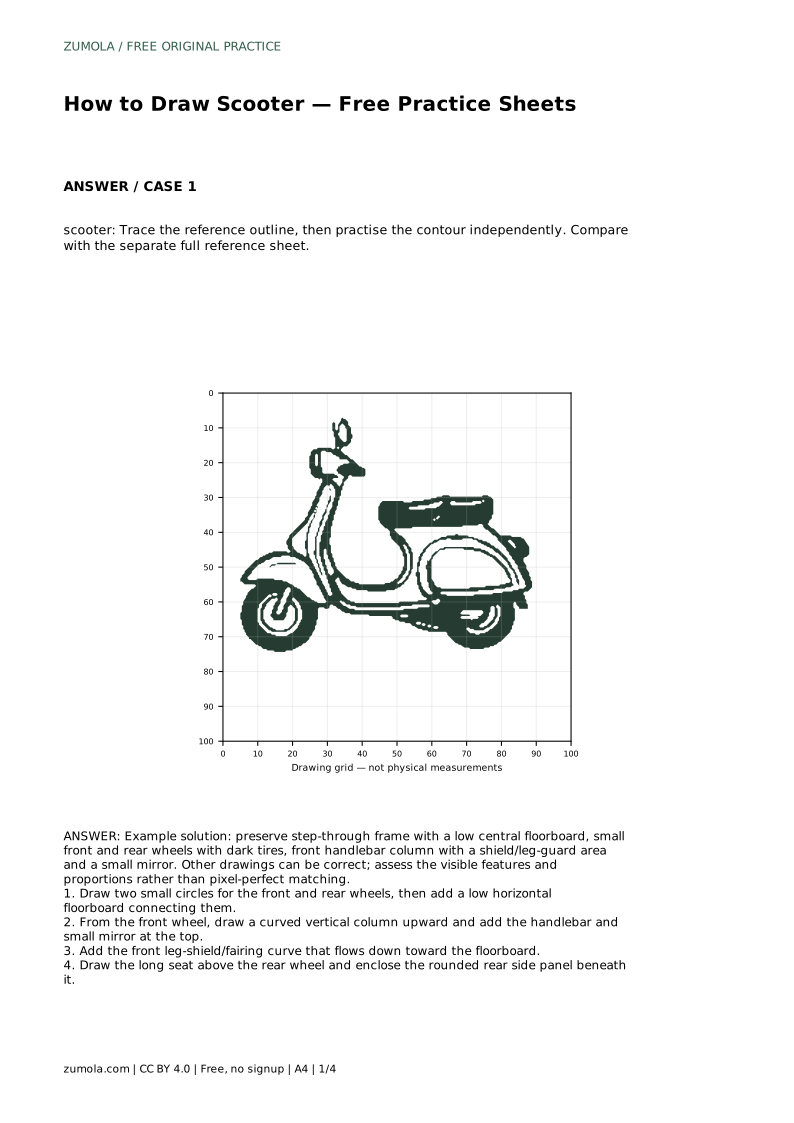
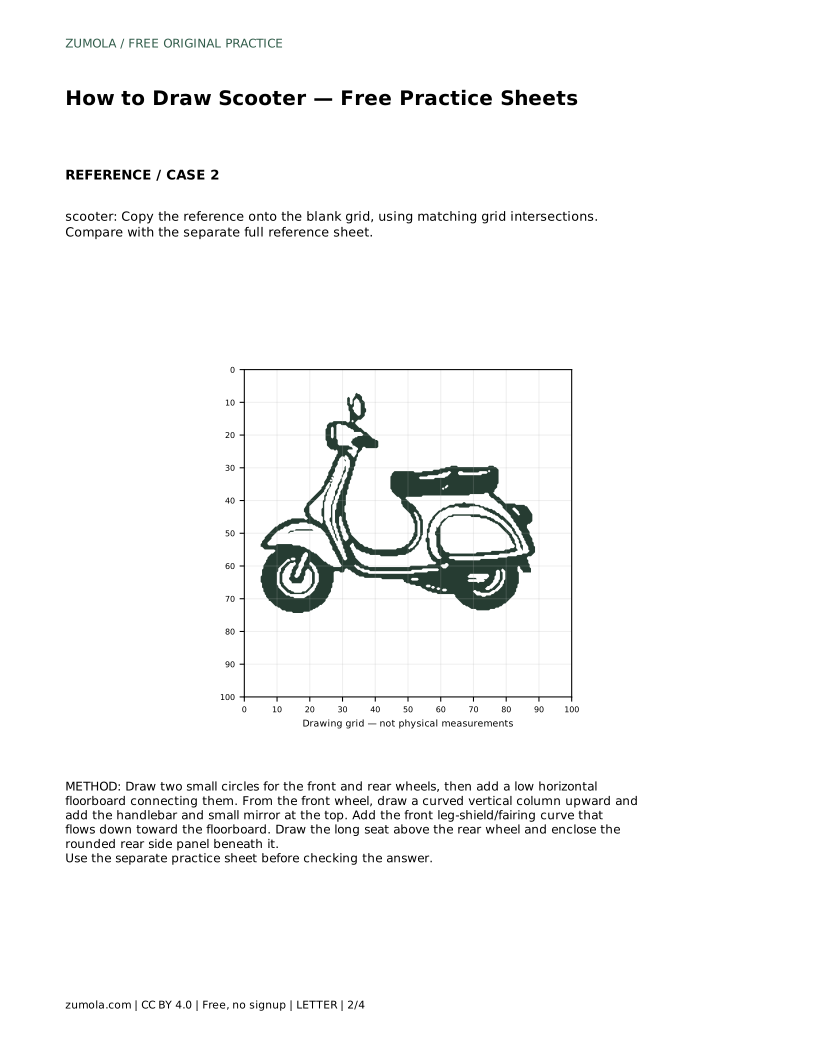
scooter: Trace the reference outline, then practise the contour independently. Compare with the separate full reference sheet.
Example solution: preserve step-through frame with a low central floorboard, small front and rear wheels with dark tires, front handlebar column with a shield/leg-guard area and a small mirror. Other drawings can be correct; assess the visible features and proportions rather than pixel-perfect matching. Draw two small circles for the front and rear wheels, then add a low horizontal floorboard connecting them. From the front wheel, draw a curved vertical column upward and add the handlebar and small mirror at the top. Add the front leg-shield/fairing curve that flows down toward the floorboard. Draw the long seat above the rear wheel and enclose the rounded rear side panel beneath it.
No. Use the reference to check visible features and proportions. Other drawings can be correct if the scooter structure reads clearly.
Start with the two wheels and the low floorboard, then add the front column, handlebar, leg shield, seat, and rear panel.
Check that the step-through frame, both wheels, front column, and seat are all visible and placed sensibly.
All drawing practice · Free coordinate paper
Original resources · CC BY 4.0 · Free for personal and classroom use with attribution.