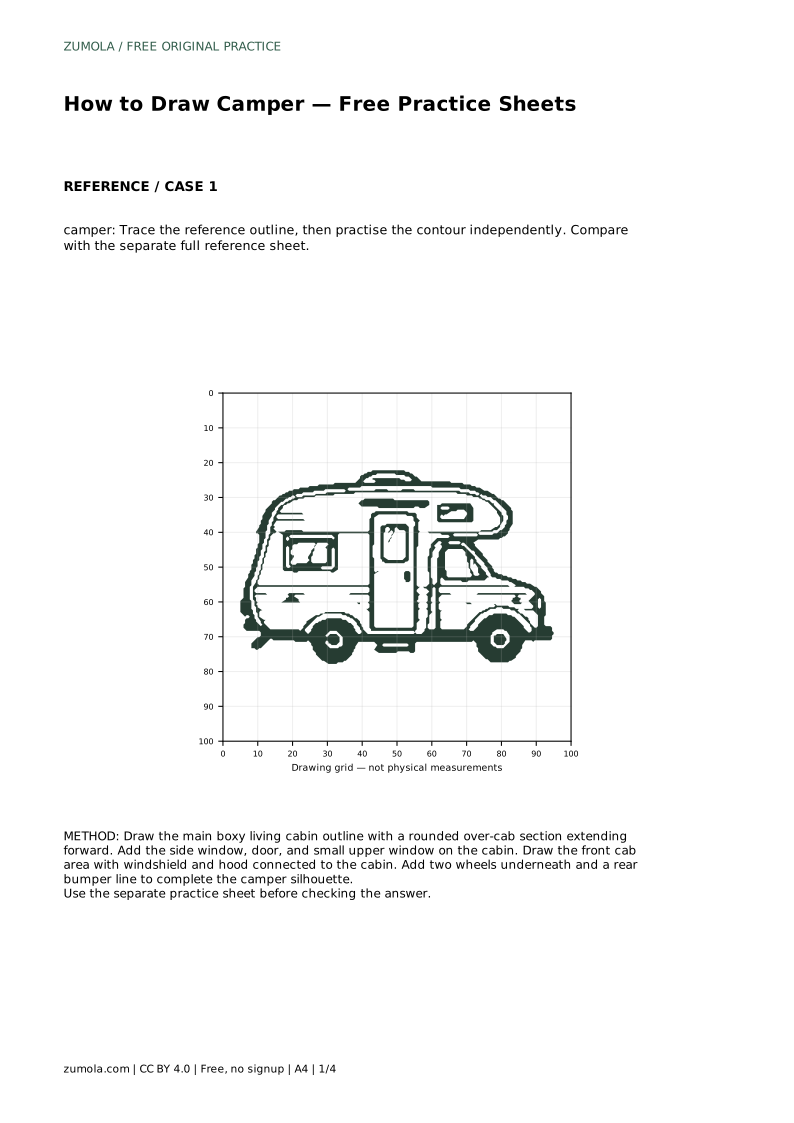
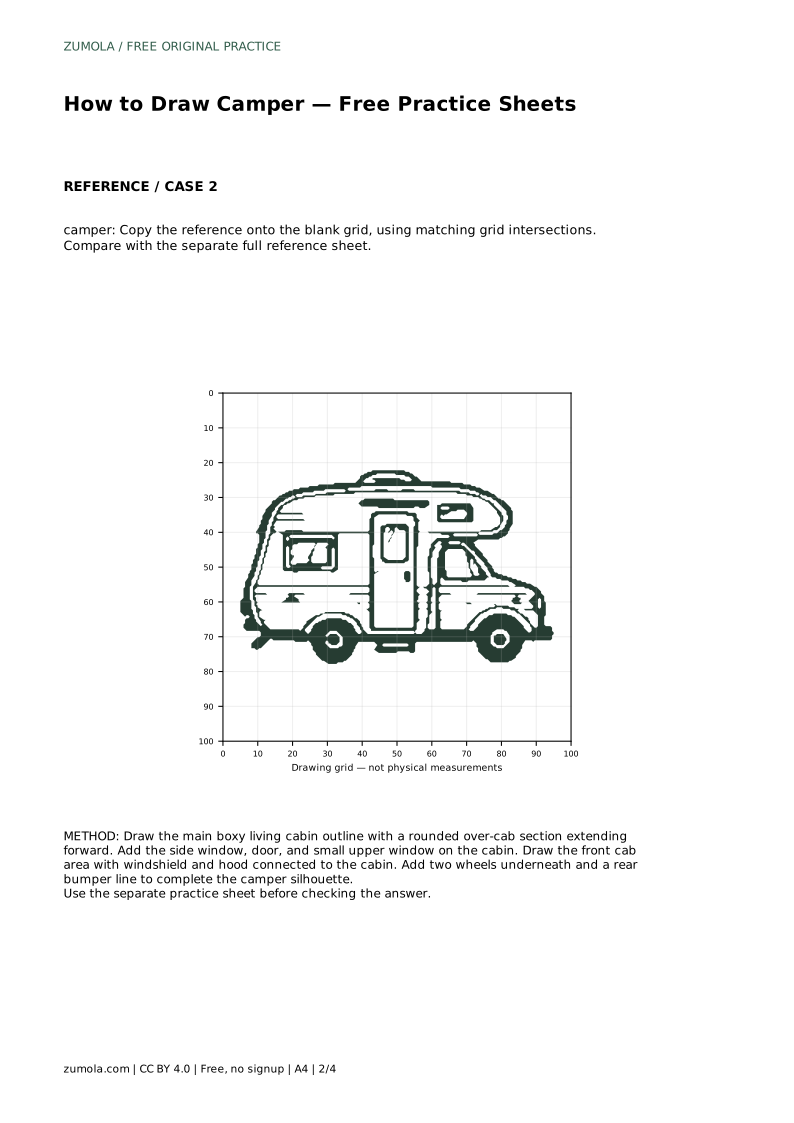
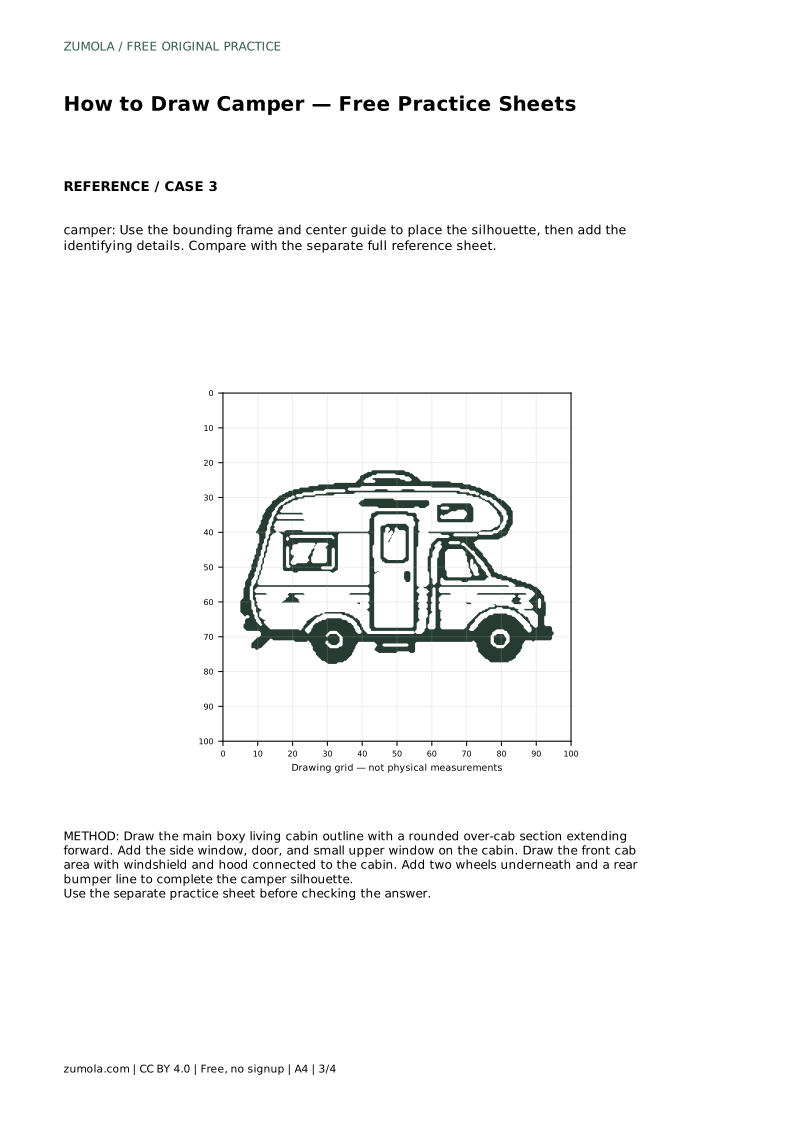
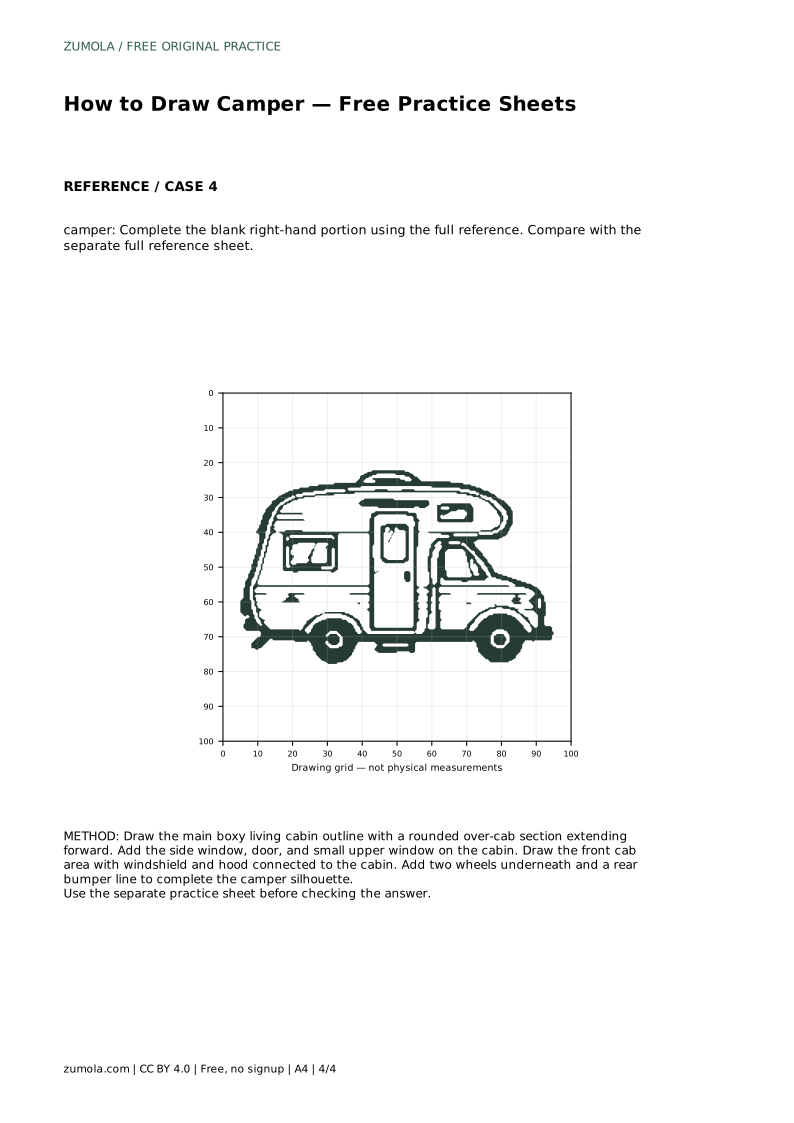
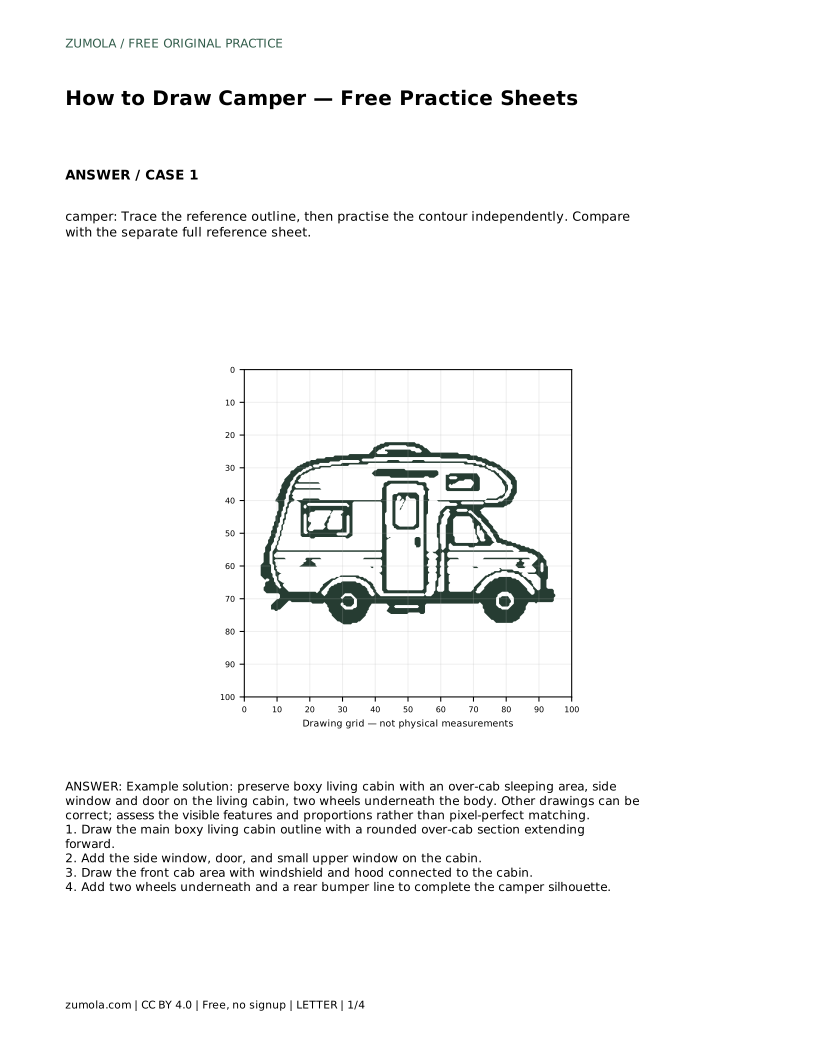
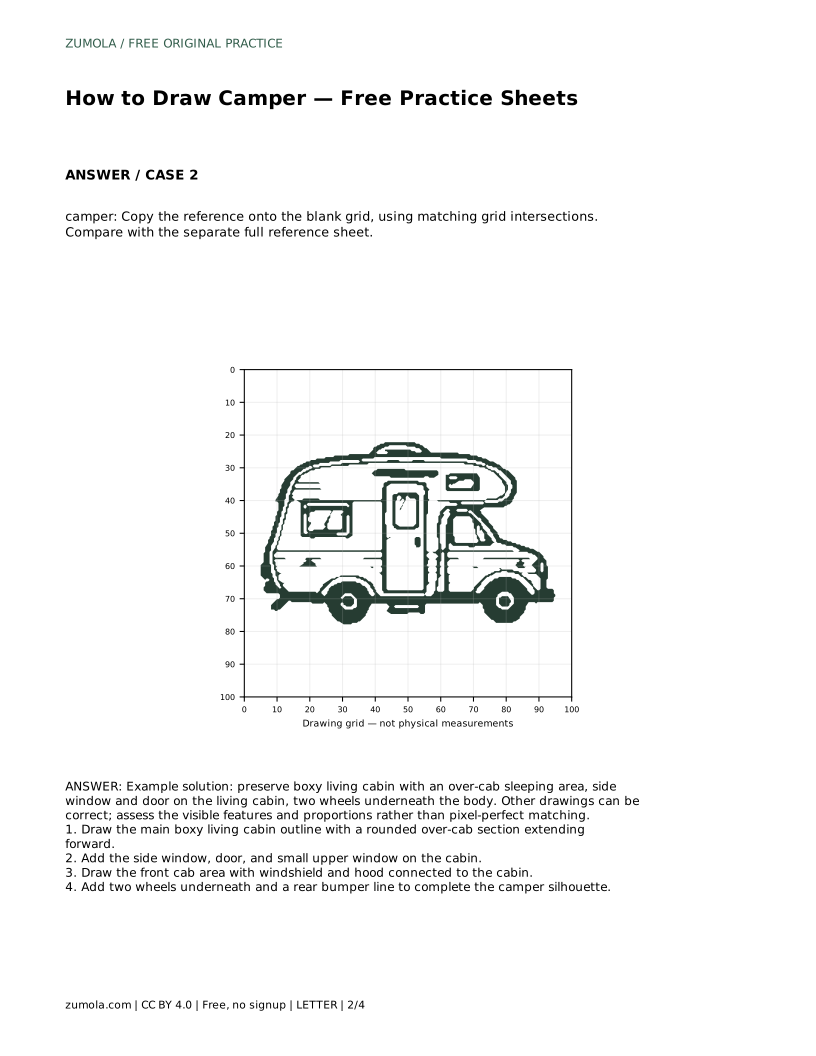
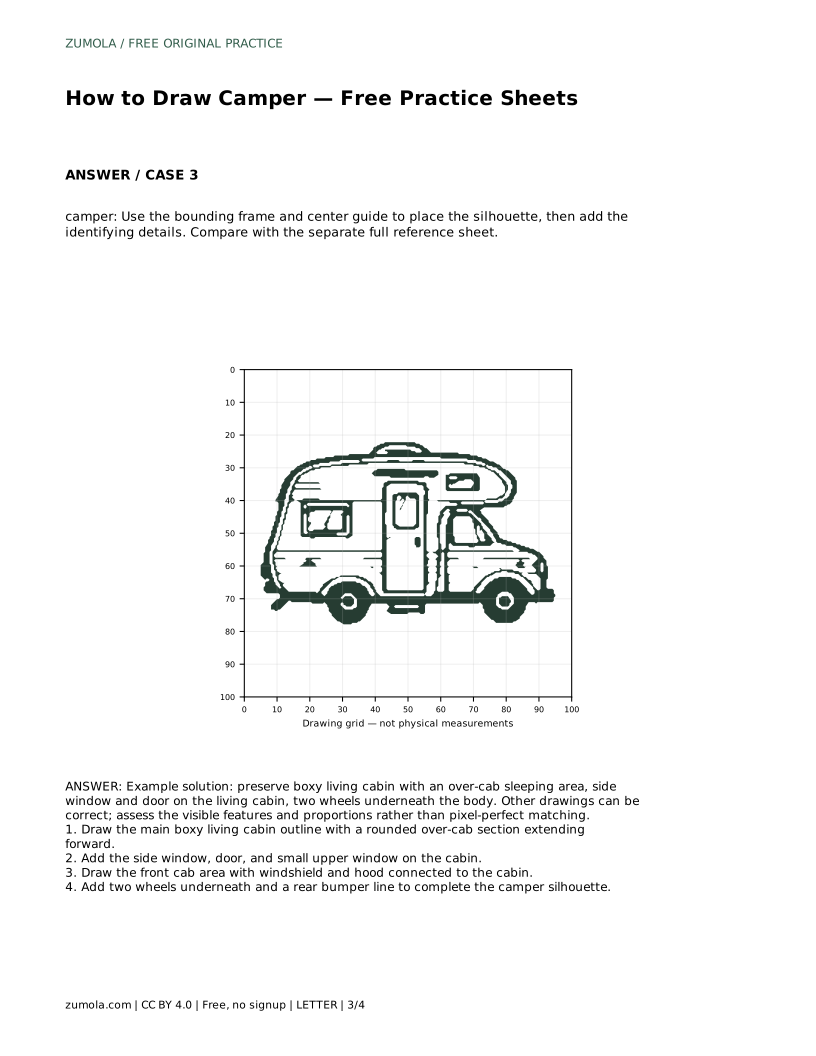
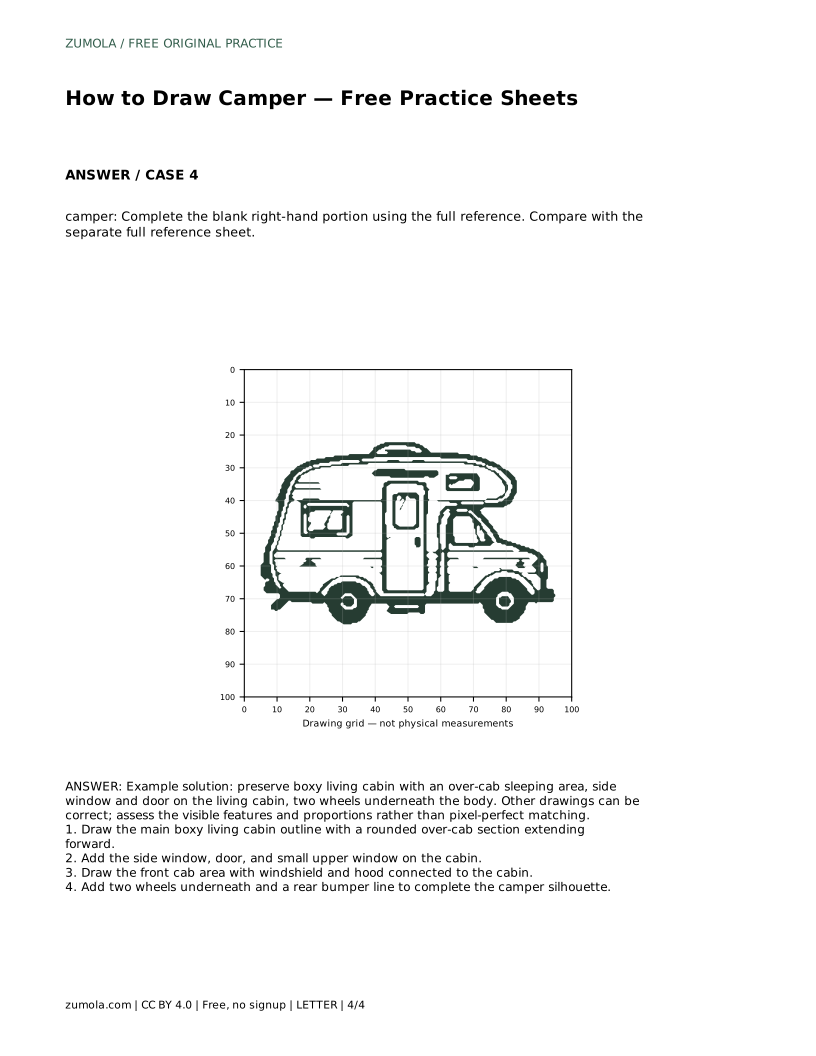
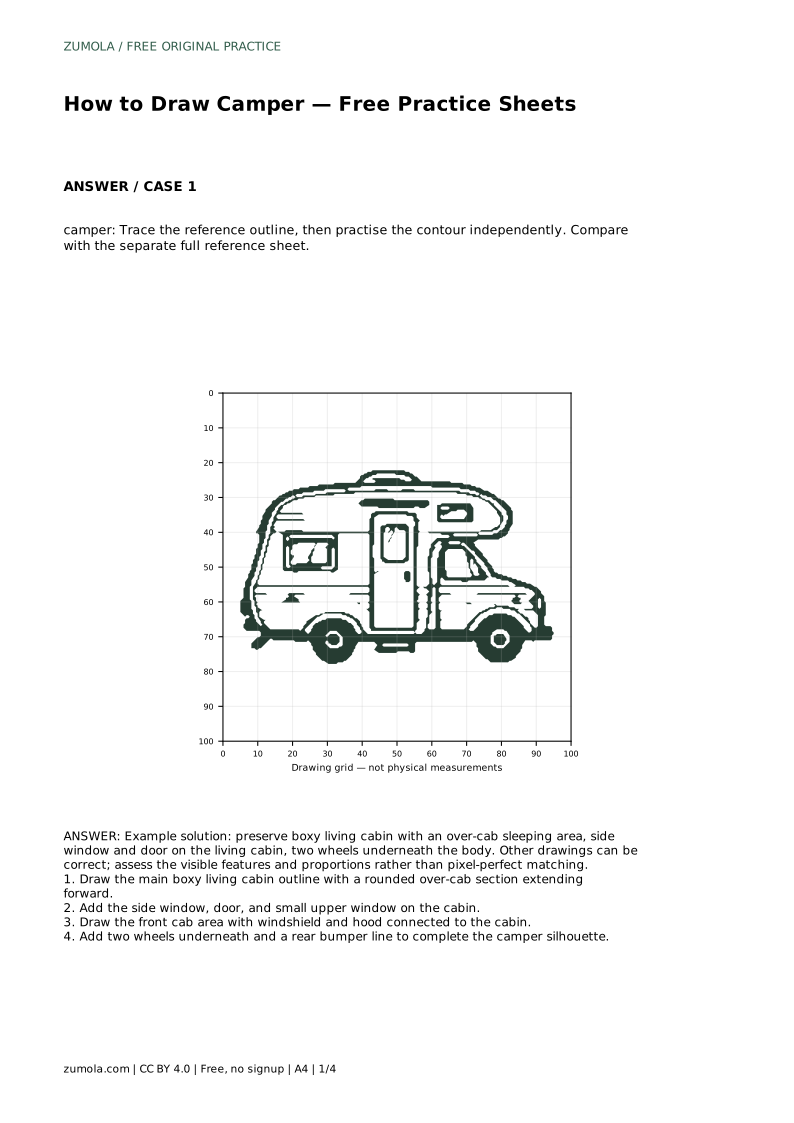
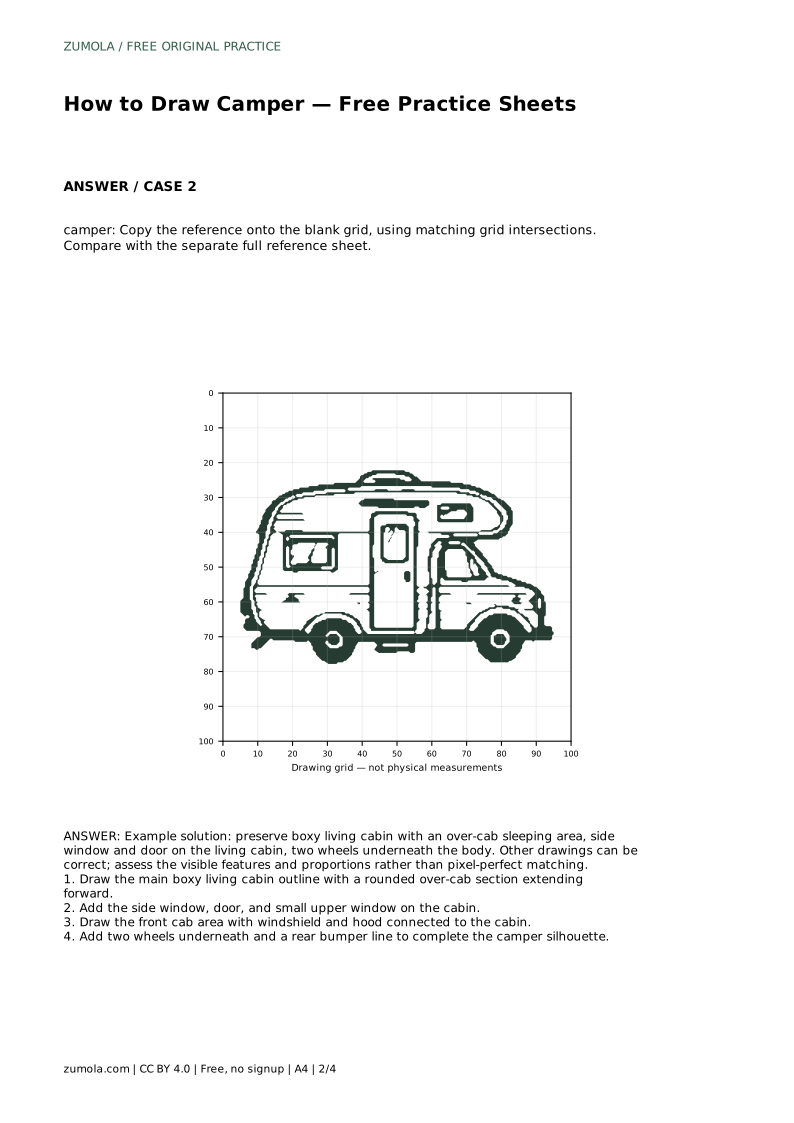
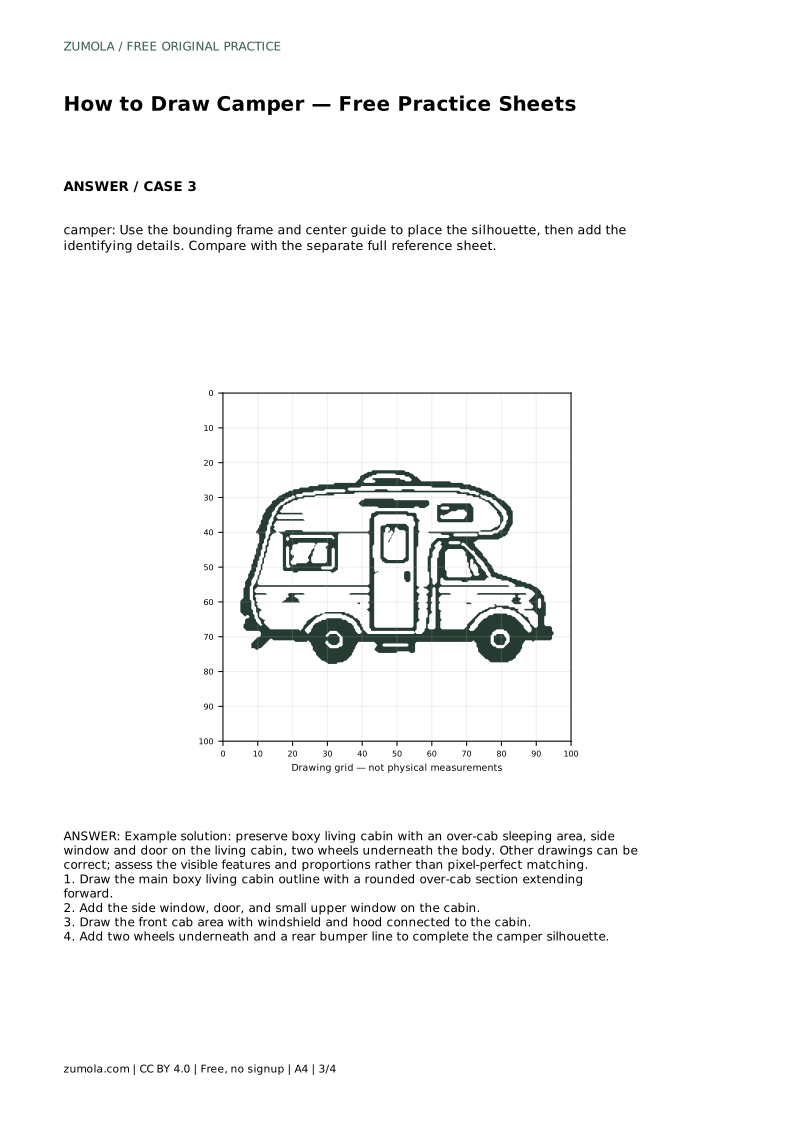
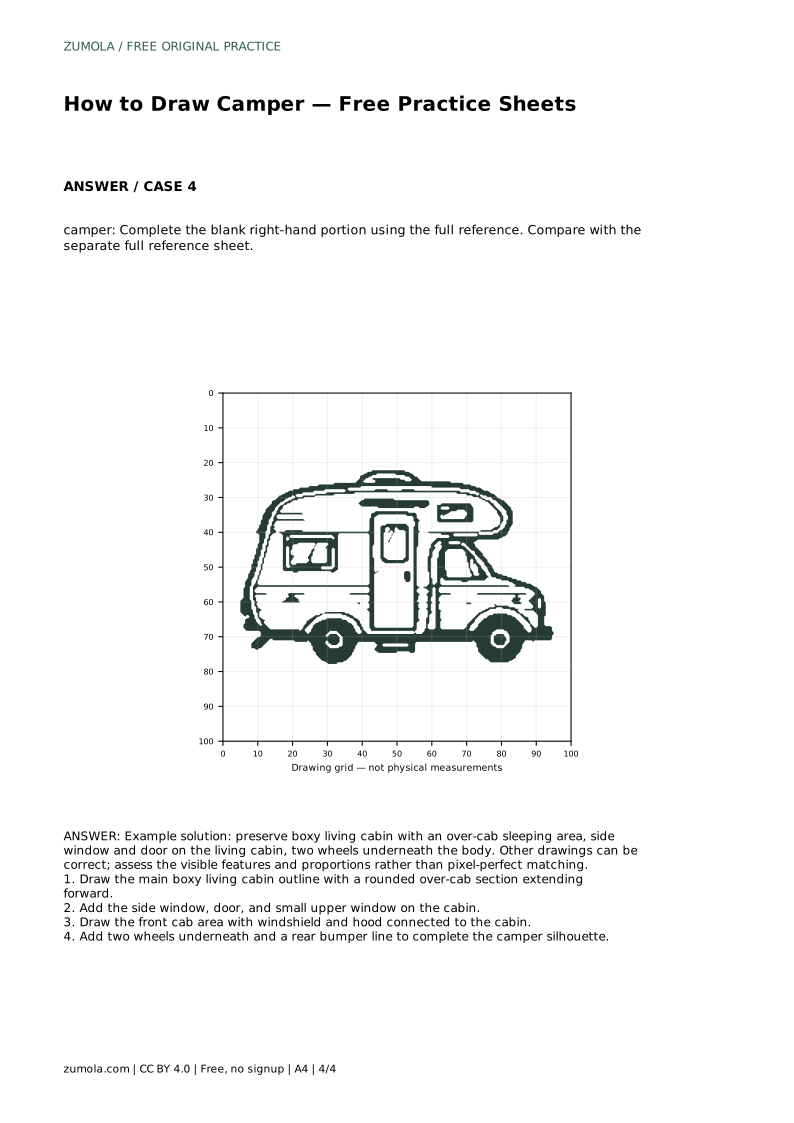
Reference diagrams
LETTER · Download PDF
A4 · Download PDF
Free original resources
Learn to draw a camper by building the boxy living cabin, over-cab sleeping area, windows, door, cab, and two wheels in a clear, ordered sequence.
Four original cases, with reference diagrams, practice sheets and worked answers. Everything is free; no signup required.
LETTER · Download PDF
A4 · Download PDF
LETTER · Download PDF
A4 · Download PDF
LETTER · Download PDF
A4 · Download PDF
Use A4 or US Letter to match your printer. Use the stated values and conditions to solve each exercise; diagrams are not physical measuring rulers.
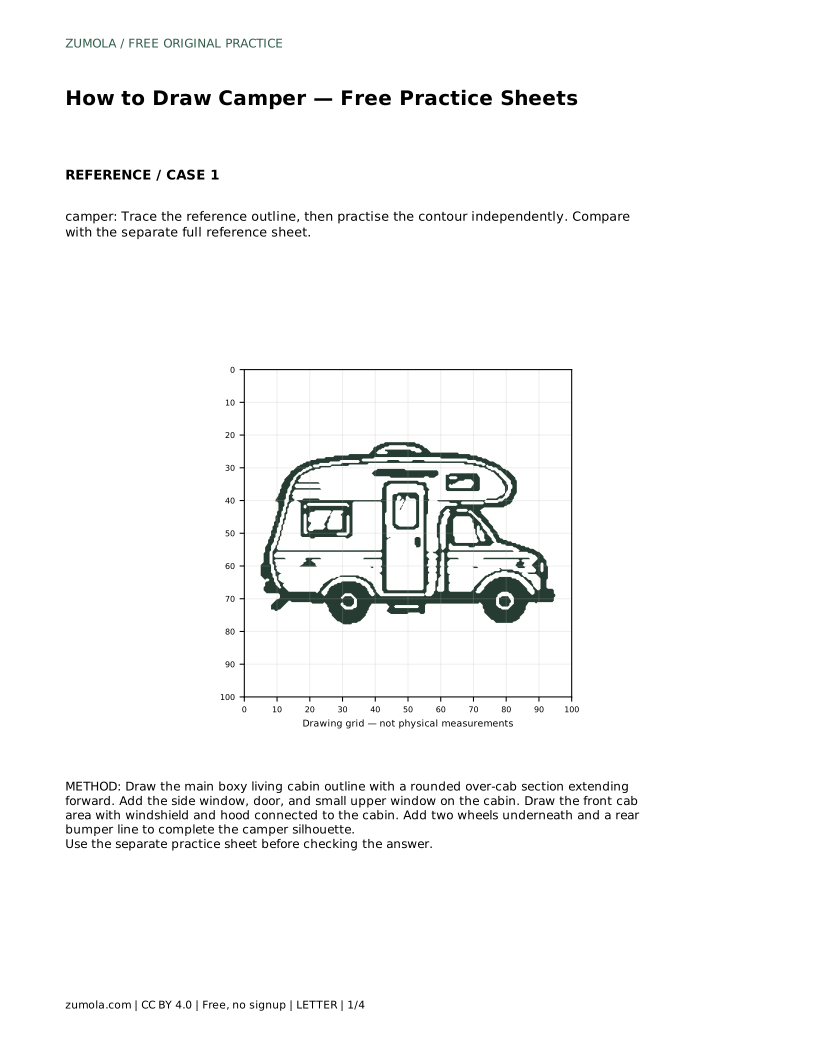
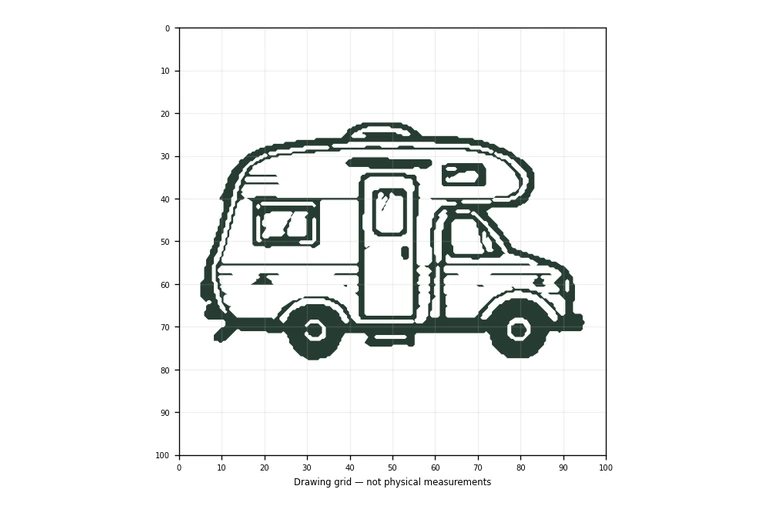
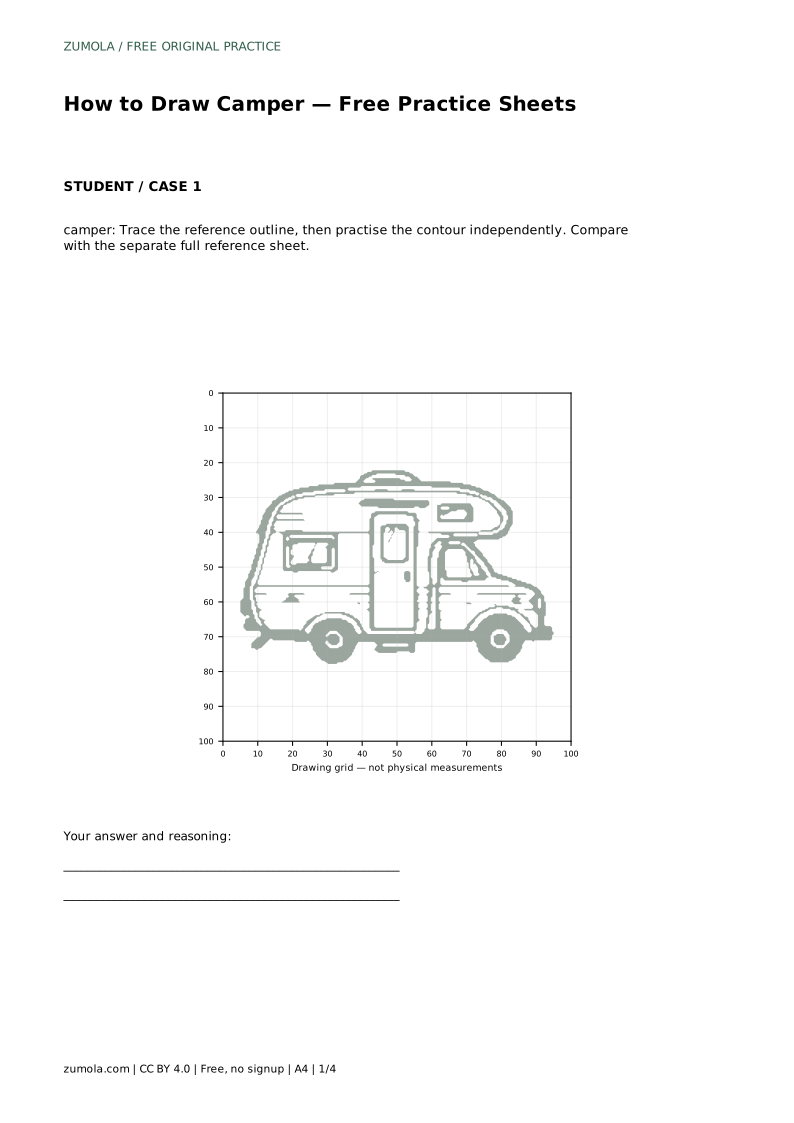
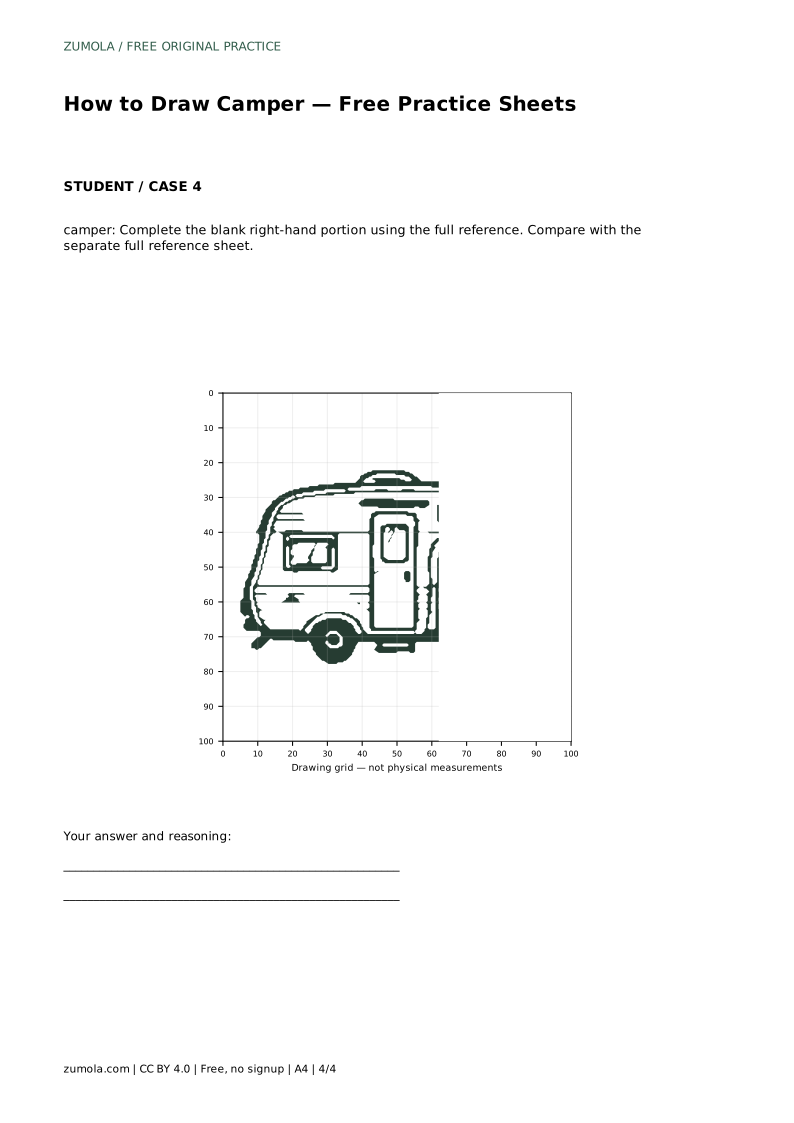
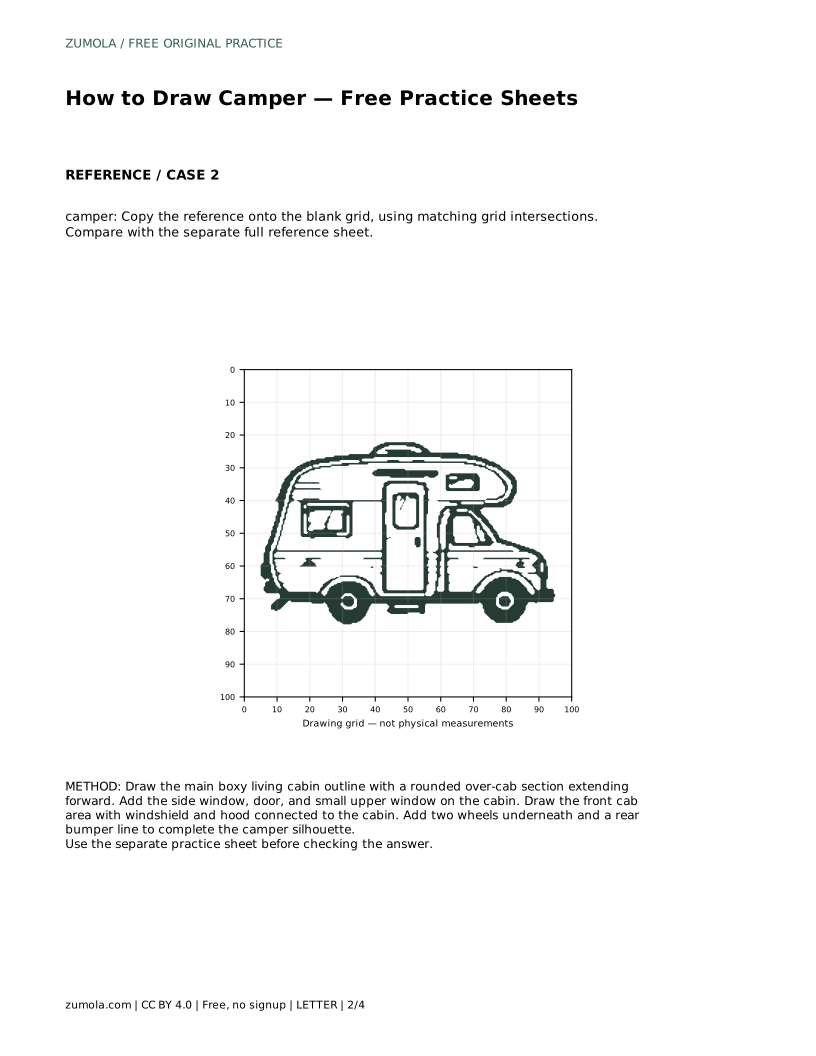
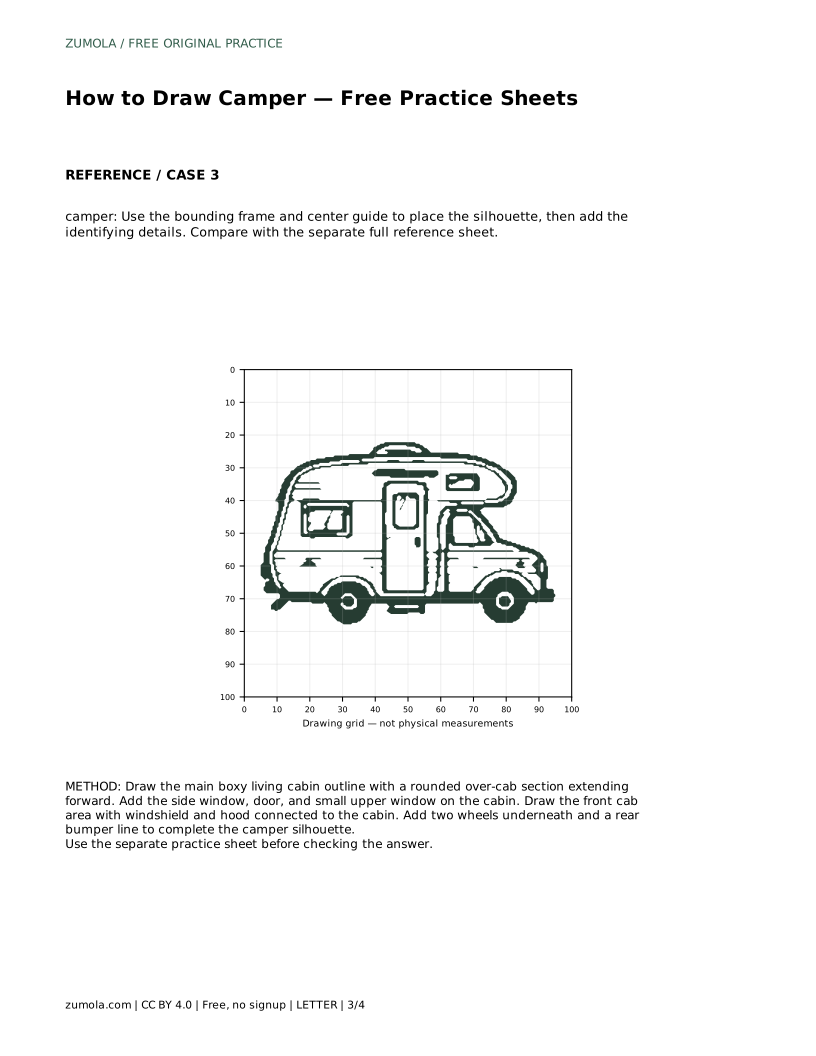
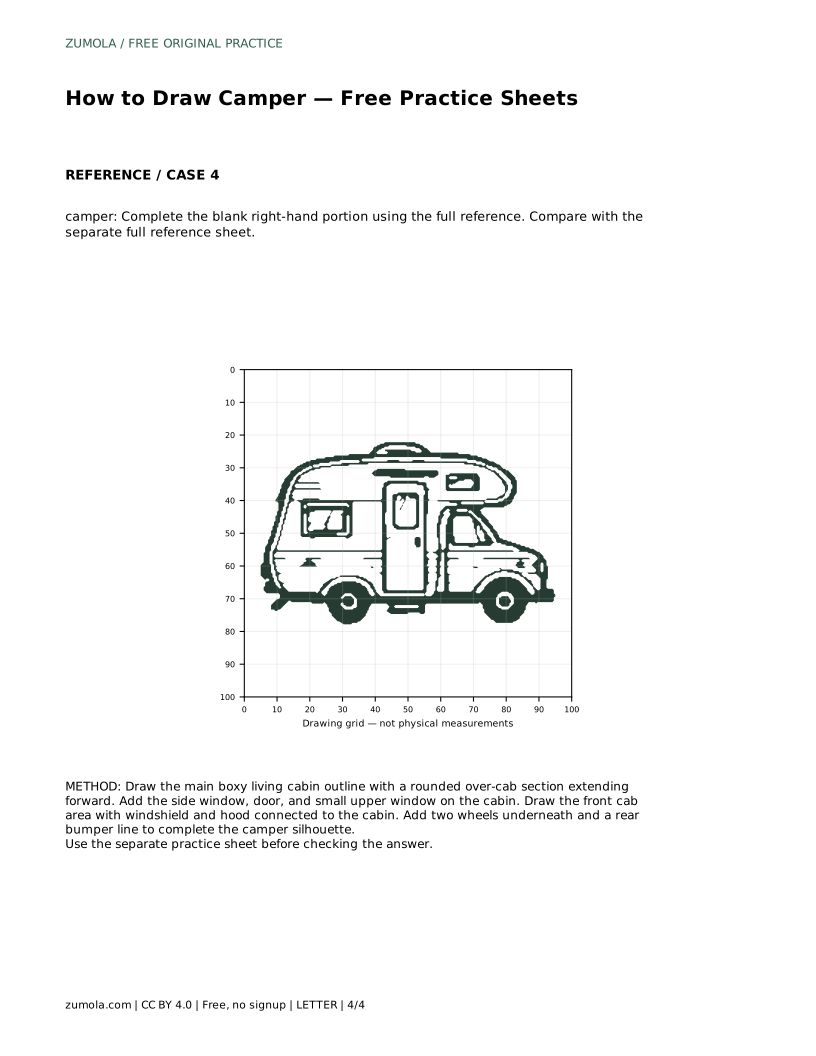
A camper drawing reads clearly when the big shapes come first and the identifying details come second. This page walks you through a practical order: establish the boxy living cabin with its rounded over-cab section, place the side window and door, connect the front cab, then finish with two wheels and a rear bumper line. The practice sheets let you trace, copy onto a grid, or complete a partial drawing, so you can build the same contour with less support each time.
Begin with the largest shape, because everything else is positioned relative to it. Draw the main boxy living cabin as a broad rectangle-like outline. At the front of that cabin, extend a rounded section forward and slightly upward; this is the over-cab sleeping area, and it is one of the features that makes a camper recognizable rather than a plain van.
Keep the cabin walls close to vertical and the roof line close to horizontal. The over-cab section should sit above the cab area, not float beside it. Work lightly at this stage so you can adjust the proportions before adding details.
On the living cabin, add a side window and a door. A small upper window can sit near the over-cab area. Keep these details on the cabin surface rather than crossing the outer contour. Their spacing matters more than their exact size: the door should reach down toward the lower edge of the cabin, while windows sit higher.
Next, draw the front cab connected to the cabin. Include a windshield and a hood that meets the over-cab section above it. The cab is lower than the living cabin, so the roofline steps down from the over-cab curve to the windshield. This step is where the drawing starts to look like a vehicle rather than a box.
Place two wheels underneath the body. They should sit below the cabin and cab, roughly aligned with the lower edge, and they should not overlap the door or windows. A simple circle or rounded shape is enough; the goal is placement, not mechanical detail.
Finally, add a rear bumper line at the back of the living cabin to close the silhouette. Step back and compare your drawing with the reference sheet: check the boxy cabin, the rounded over-cab area, the window and door placement, the connected cab, and the two wheels. If one feature is missing or misplaced, adjust that part rather than redrawing everything.
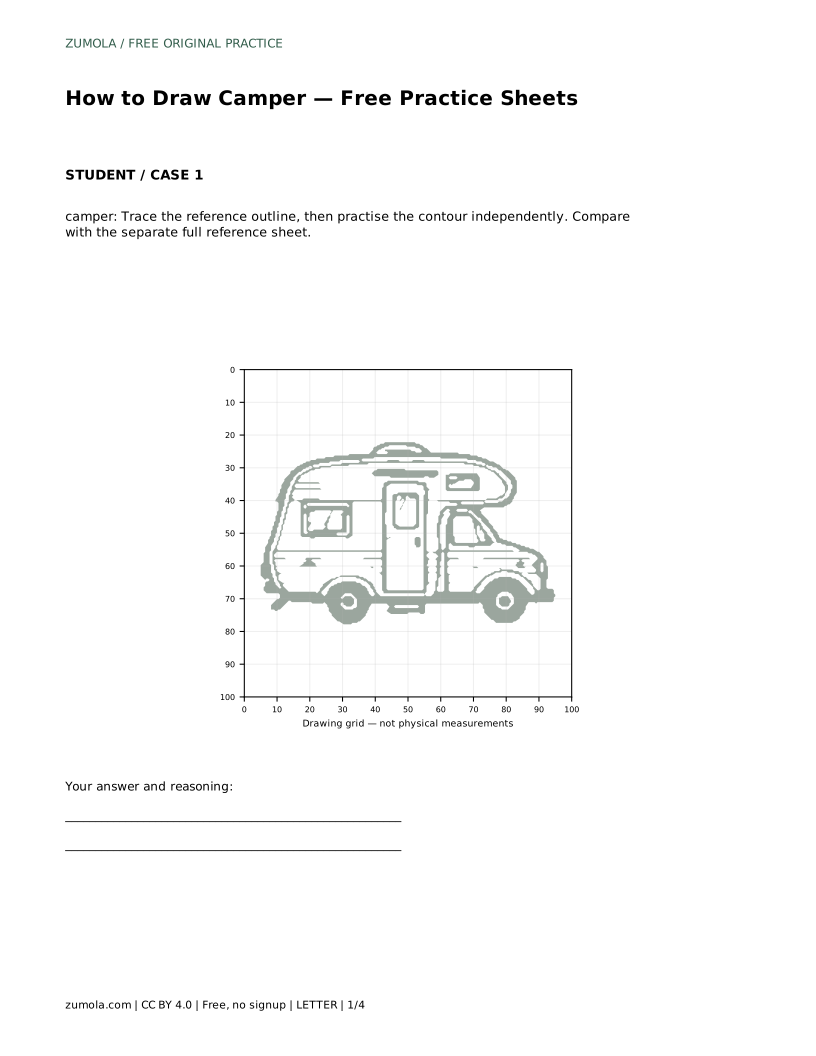
camper: Trace the reference outline, then practise the contour independently. Compare with the separate full reference sheet.
Example solution: preserve boxy living cabin with an over-cab sleeping area, side window and door on the living cabin, two wheels underneath the body. Other drawings can be correct; assess the visible features and proportions rather than pixel-perfect matching. Draw the main boxy living cabin outline with a rounded over-cab section extending forward. Add the side window, door, and small upper window on the cabin. Draw the front cab area with windshield and hood connected to the cabin. Add two wheels underneath and a rear bumper line to complete the camper silhouette.
No. Other drawings can be correct. Assess the visible features and proportions rather than pixel-perfect matching.
The boxy living cabin, the rounded over-cab sleeping area, a side window and door on the cabin, and two wheels underneath the body.
Build the main cabin and over-cab outline first, then add windows, door, and cab, and finish with wheels and the rear bumper line.
All drawing practice · Free coordinate paper
Original resources · CC BY 4.0 · Free for personal and classroom use with attribution.