Free original resources
Cylinder Net Template: Rectangle Length From Circumference
Build a cylinder net by deriving the side rectangle from the base circumference, adding two matching circles, and checking fit, closure, and glue tabs before printing.
Free resources
Letter & A4
PDF & SVG
Letter & A4
PDF & SVG
Make it yours.
Free · no signup · calculated in your browser
Solid outside edges are cut lines; shared face edges are folds. Use the seam tab where shown and tape the remaining joins from inside. Check the 100 mm calibration bar before cutting.
Your free printable kit.
Original reference, student practice and separate worked answers. No account or payment.
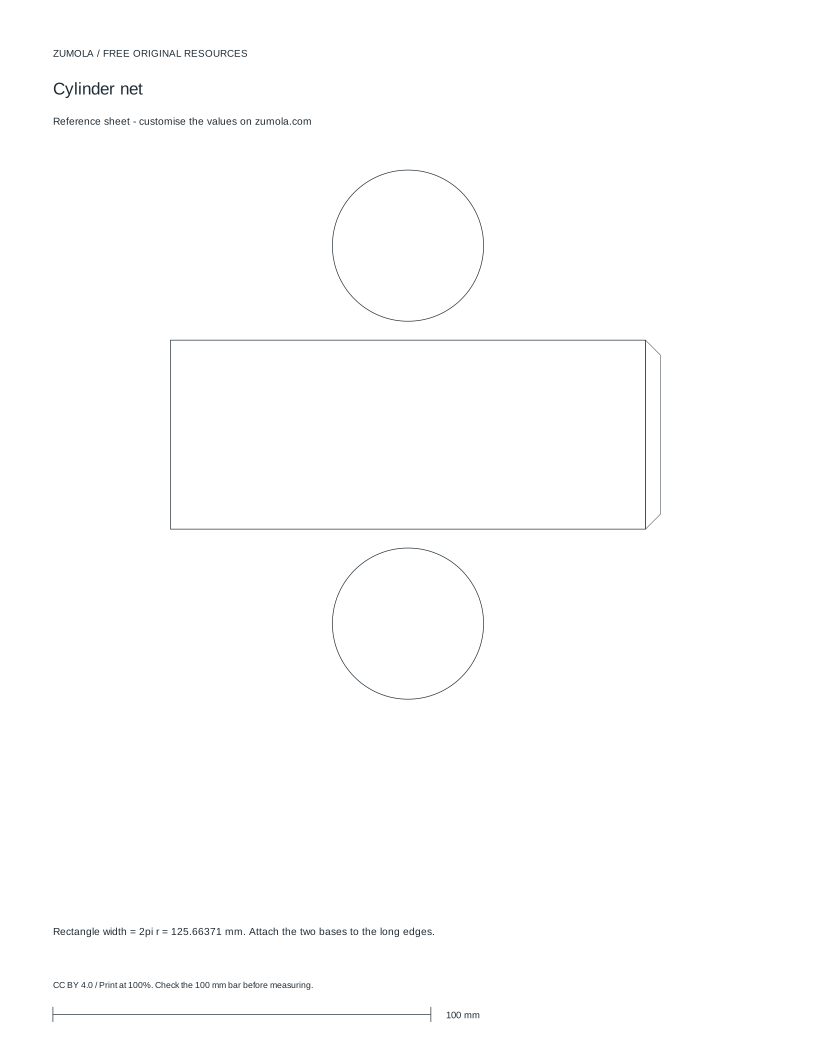
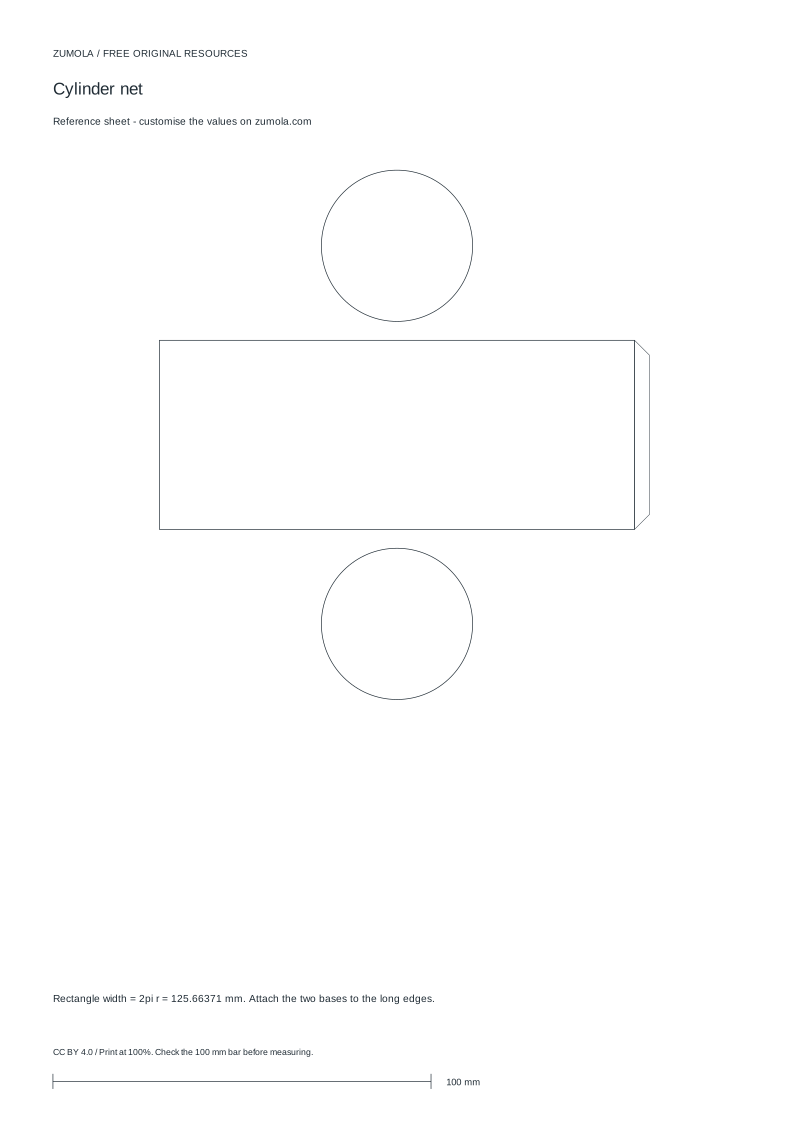
Practice worksheet
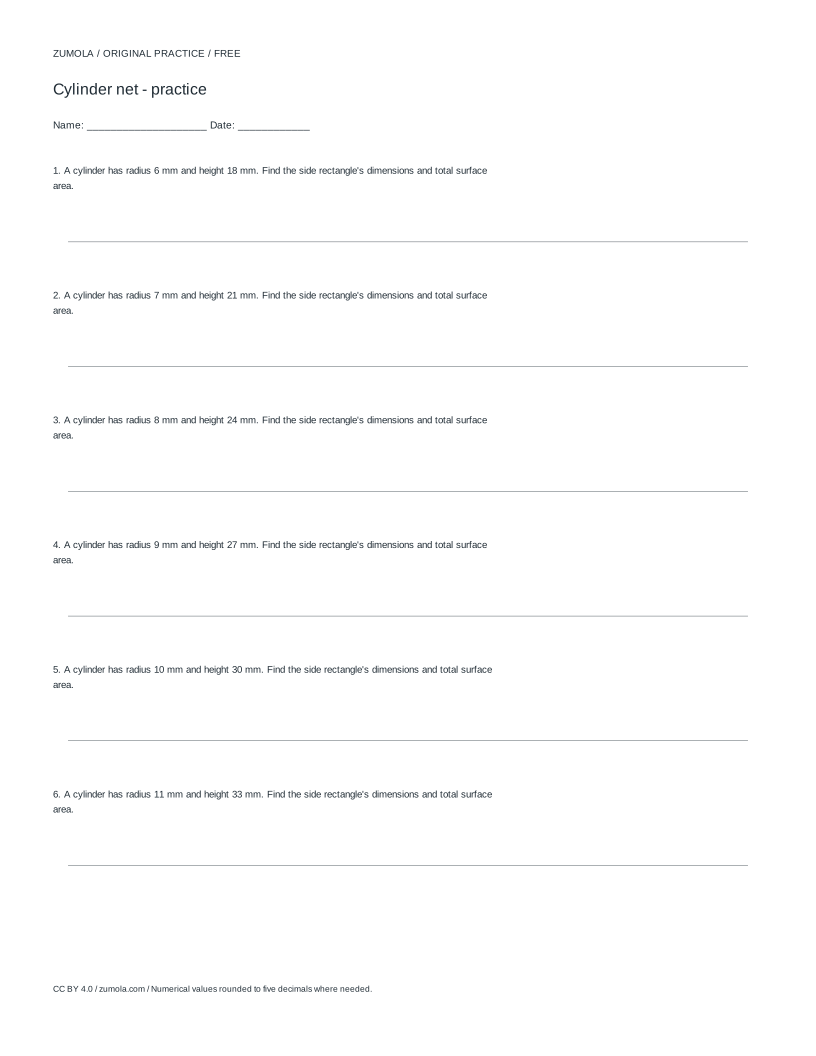
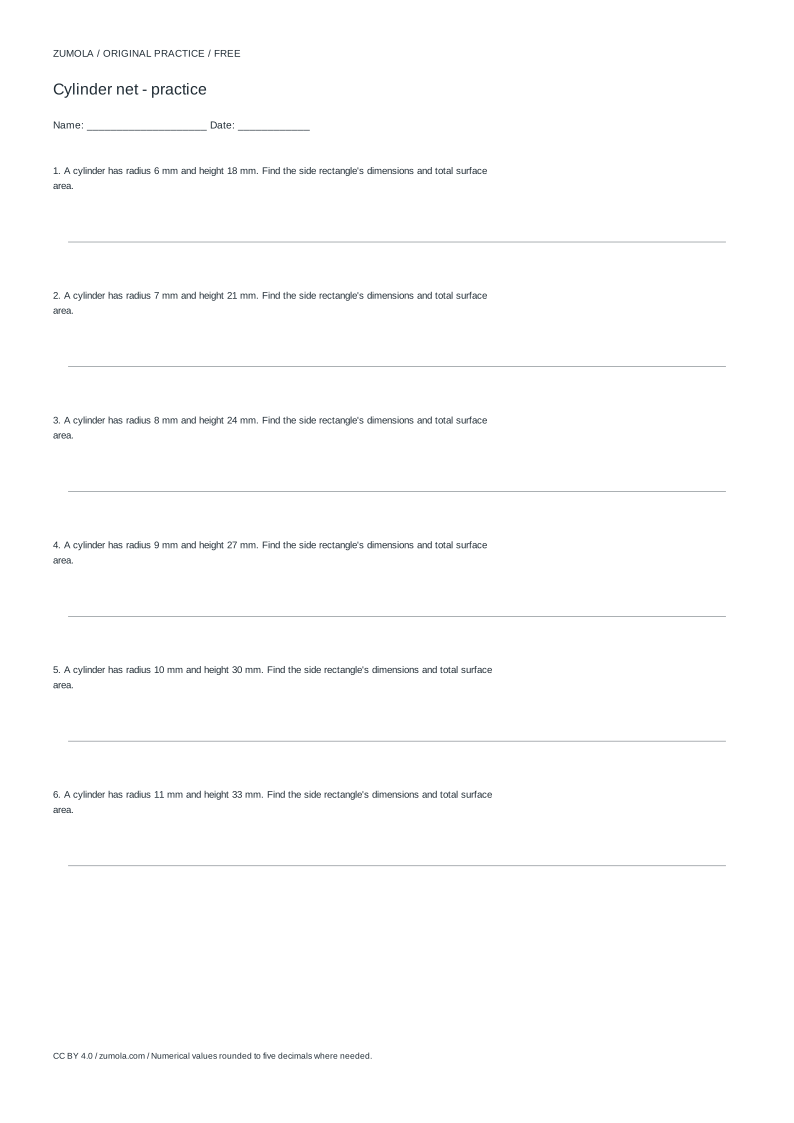
Worked answers / rubric
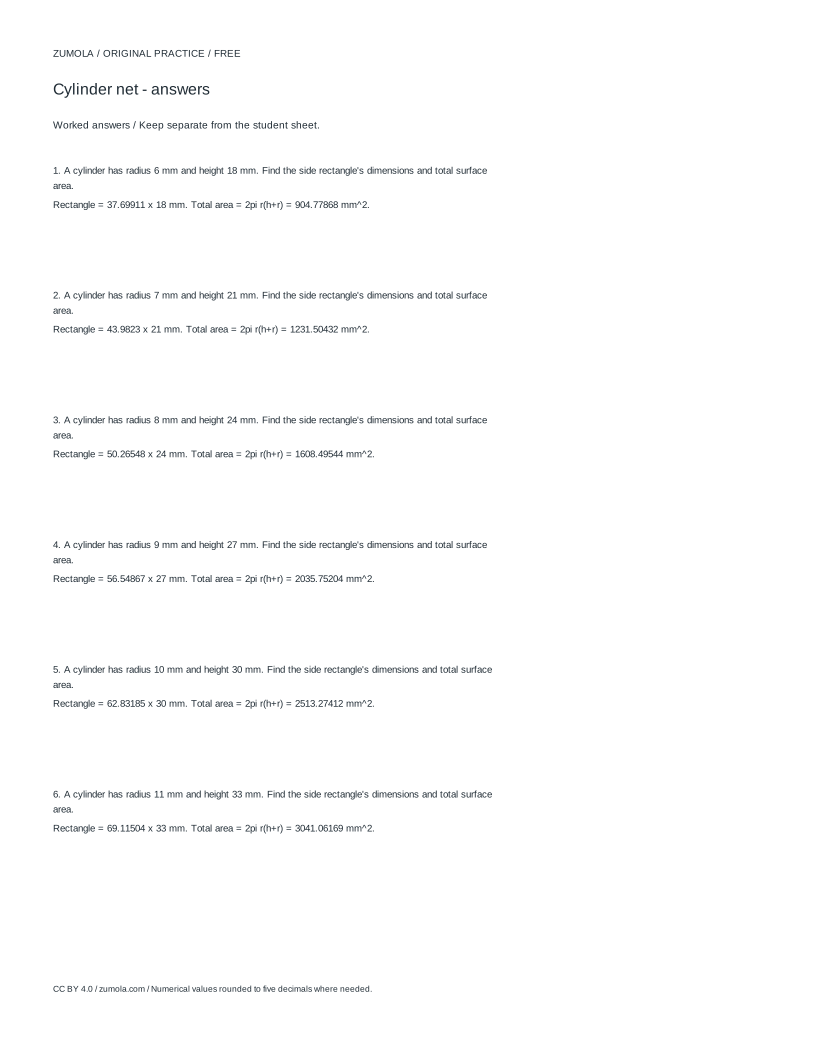
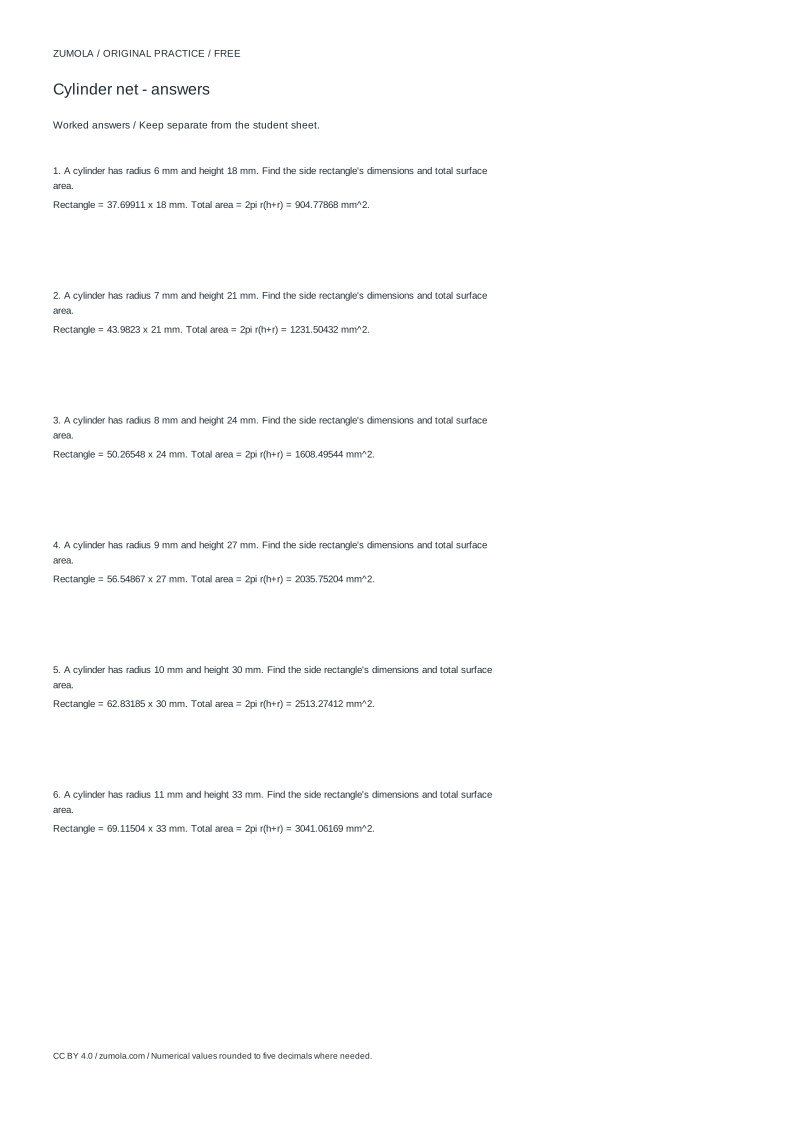
Print at Actual size / 100%. Check the calibration bar before using physical dimensions.
A cylinder net is not three arbitrary shapes. The side rectangle's length must equal the circumference of the circular bases, or the rolled surface will not close cleanly. This page explains that relationship, shows how to lay out two equal circles plus one rectangle, and gives checks for dimensions, tab placement, and paper fit. Measurements below are in millimetres unless stated otherwise.
Why the rectangle length equals the circumference
Unroll the curved side of a cylinder and it becomes a rectangle. The rectangle's length is the distance once around the circular base, so length = 2 x pi x r. Its height is the cylinder height h. The two bases are circles of radius r, so each has area pi x r squared.
With r = 20 mm and h = 50 mm, the circumference is 2 x 3.14159 x 20 = 125.66 mm (rounded). The side rectangle is therefore about 125.66 mm by 50 mm. Each base circle has diameter 40 mm. The total surface area is the two circles plus the rectangle: 2 x pi x 20 squared + 125.66 x 50, which is about 8796.46 square mm. Volume, useful for context but not for the net, is pi x 20 squared x 50, about 62831.85 cubic mm.
- Measure or choose the base radius r and the cylinder height h in the same unit.
- Compute circumference C = 2 x pi x r and round to a workable precision.
- Draw the side rectangle with length C and height h.
- Draw two circles of radius r, each with diameter 2r.
- Place one circle above and one below the rectangle, aligned to the rectangle's short edges.
Laying out circles and rectangle on one sheet
The rectangle and two circles must fit within the printable area with margins for cutting and tabs. A simple bounding estimate: the layout needs at least C wide and h + 4r tall if circles sit above and below the rectangle. For r = 20 and h = 50, that is about 125.66 mm wide and 50 + 80 = 130 mm tall, before tabs and margins.
Circles can also sit beside the rectangle, but then the width grows to C + 4r and the height is at least h. Choose the arrangement that fits your sheet orientation. Keep the circle centers on the rectangle's centerline so folding and alignment stay symmetric. A glue tab is a narrow strip added along one rectangle edge or around a circle; it is extra material, not part of the measured surface.
- Sketch the bounding box for your chosen arrangement before drawing shapes.
- Confirm the rectangle length is the circumference, not the diameter.
- Check both circles have the same radius as the base used in the circumference.
- Add glue tabs outside the measured rectangle and circle outlines.
- Verify every outline is closed and no shape overlaps another.
Checking closure and fit before printing
A net closes only if the rectangle length matches the circle circumference exactly at the chosen precision. If the rectangle is short, a gap appears when rolled; if long, the side overlaps. Mark the seam edge and the matching circle edge so the join is unambiguous.
Fit checks are geometric, not printer-specific. Compare the bounding box to your sheet's usable area at the scale you intend. If a dimension exceeds the sheet, reduce r and h proportionally rather than trimming the rectangle, which would break the circumference match. Print at 100% only after confirming a calibration bar measures correctly on the physical sheet.
- Recompute C from r and compare it with the drawn rectangle length.
- Confirm the two circle diameters equal 2r.
- Check the bounding box plus tabs fits the usable sheet area.
- Trace each outline to confirm it is closed and continuous.
- Label the seam edge and its matching circle point before cutting.
Worked layout example
Use r = 20 mm and h = 50 mm. Circumference is about 125.66 mm, so the side rectangle is 125.66 mm by 50 mm. Each base circle has diameter 40 mm. Stacking circles above and below gives a bounding height of 50 + 40 + 40 = 130 mm and width of about 125.66 mm, before tabs and margins.
If a tab of 4 mm is added along one rectangle edge, the width becomes about 129.66 mm. That tab is folded inward and is not counted as side surface. Keep the measured rectangle at 125.66 mm so the rolled side still meets the circle circumference.
- Write r = 20, h = 50.
- Compute C = 2 x pi x 20 = 125.66 mm.
- Draw rectangle 125.66 mm by 50 mm.
- Draw two circles of diameter 40 mm.
- Add a 4 mm tab outside the rectangle and recheck total width.
Art versus geometry
Decorative choices such as color, pattern, and tab shape have many valid outcomes and should be judged with a rubric. The geometric relationships, however, are fixed: rectangle length equals circumference, and both circles share the base radius. Do not treat a drawn net as an anatomical or clinical diagram; it is a construction aid.
- Separate geometric checks from decorative choices.
- Score geometry against exact relationships.
- Score art against the rubric criteria.
Common mistakes
Most failures come from mixing diameter and circumference or from trimming the rectangle to fit paper. Both break closure. Tabs placed inside the measured outline also shorten the side surface.
- Recompute circumference whenever radius changes.
- Keep tabs outside measured outlines.
- Resize r and h together if the sheet is too small.
Try this example
Build a cylinder net for r = 20 mm and h = 50 mm with a 4 mm tab on one rectangle edge.
Show the worked explanation
Circumference C = 2 x pi x 20 = 125.66 mm. Side rectangle is 125.66 mm by 50 mm. Two base circles each have diameter 40 mm. Stacked above and below, the bounding height is 50 + 40 + 40 = 130 mm and width is about 125.66 mm. Adding a 4 mm tab outside one rectangle edge makes total width about 129.66 mm. Surface area is 2 x pi x 20 squared + 125.66 x 50, about 8796.46 square mm.
Common mistakes
- Using the diameter as the rectangle length. Use C = 2 x pi x r; for r = 20 mm the length is about 125.66 mm, not 40 mm.
- Trimming the rectangle to fit the sheet. Reduce r and h proportionally so the rectangle still equals the circumference.
- Counting glue tabs as part of the side surface. Draw tabs outside the measured rectangle and circle outlines.
Check your work
- Rectangle length equals 2 x pi x r within stated rounding.
- Both circles have radius r and diameter 2r.
- Rectangle height equals h.
- Glue tabs lie outside measured outlines.
- All outlines are closed and shapes do not overlap.
- Bounding box plus tabs fits the usable sheet area.
- Seam edge and matching circle point are labeled.
- Decorative choices are scored separately from geometric accuracy.
Questions before you start
What is the rectangle length for a cylinder net?
It equals the base circumference, 2 x pi x r. For r = 20 mm that is about 125.66 mm.
How many circles does a cylinder net need?
Two equal circles of radius r, one for each base, plus one side rectangle of length 2 x pi x r and height h.
Can I change the radius after drawing?
Yes, but recompute the circumference and redraw the rectangle; otherwise the side will not close around the bases.