Free original resources
Triangular Graph Paper Generator: Equilateral Grids for Length and Angle Practice
Plan an equilateral triangular grid in millimetres, check spacing and margins before printing, and use the lattice for length, angle, and coordinate practice.
Free resources
Letter & A4
PDF & SVG
Letter & A4
PDF & SVG
Make it yours.
Free · no signup · calculated in your browser
Your free printable kit.
Original reference, student practice and separate worked answers. No account or payment.
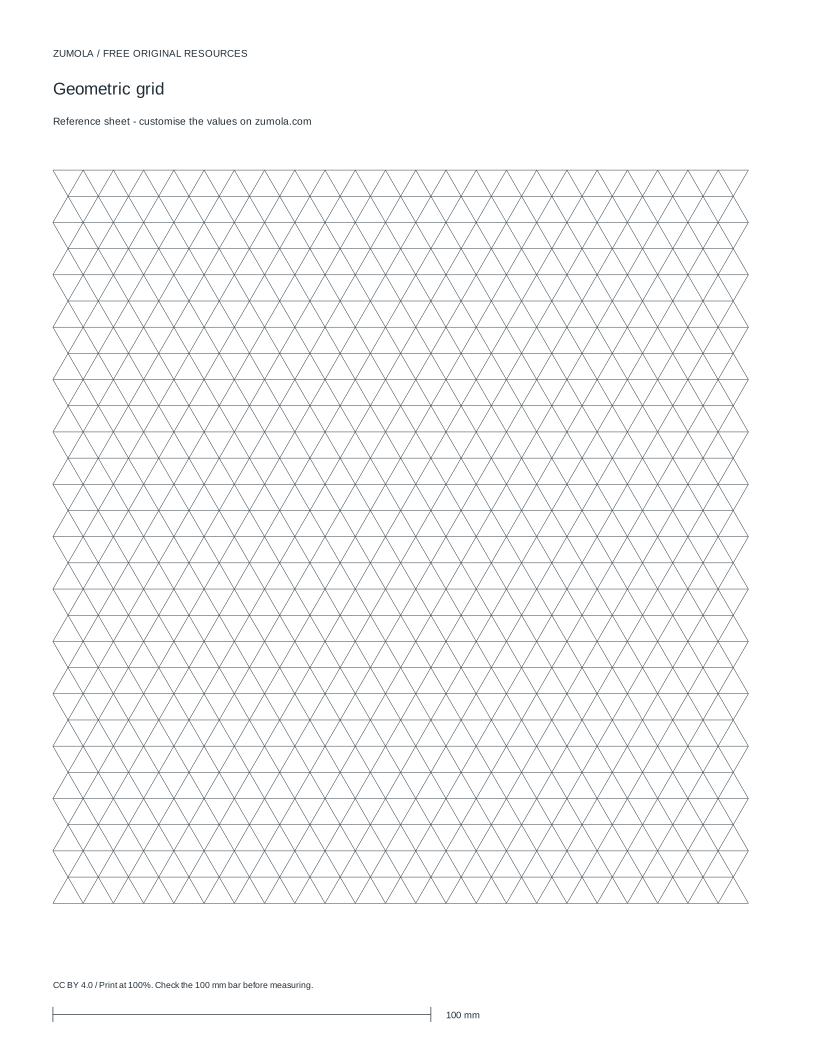
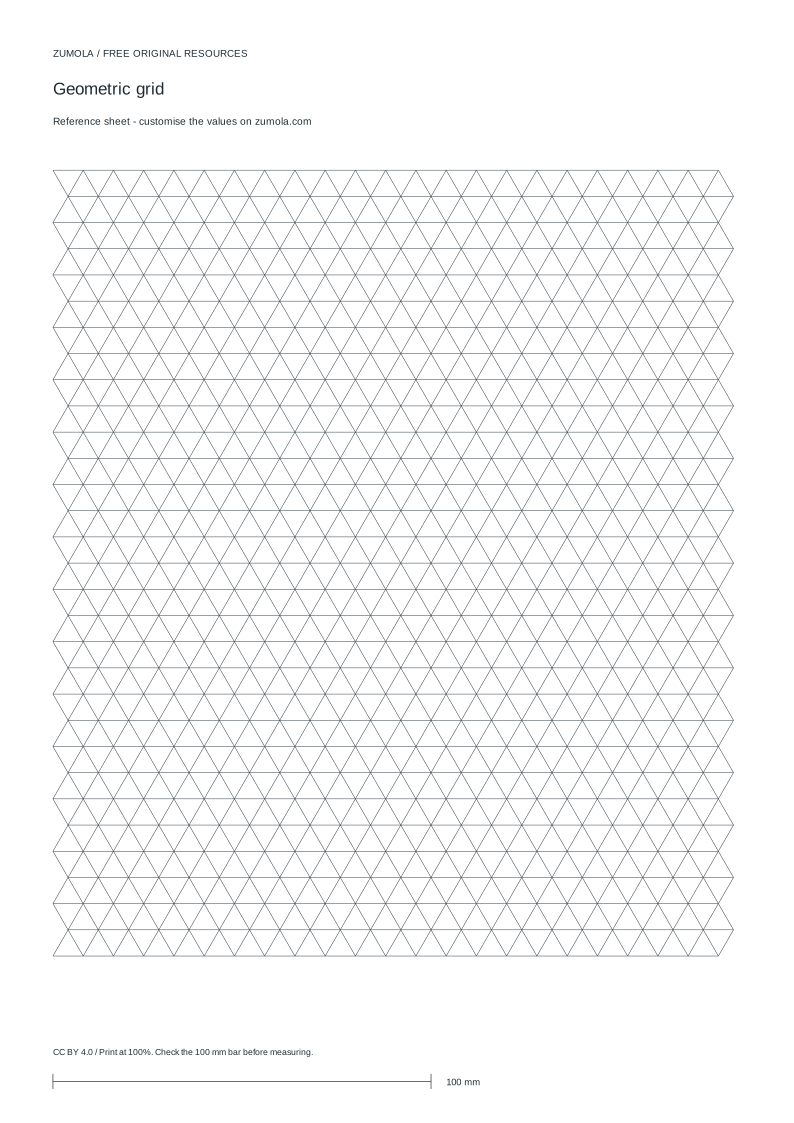
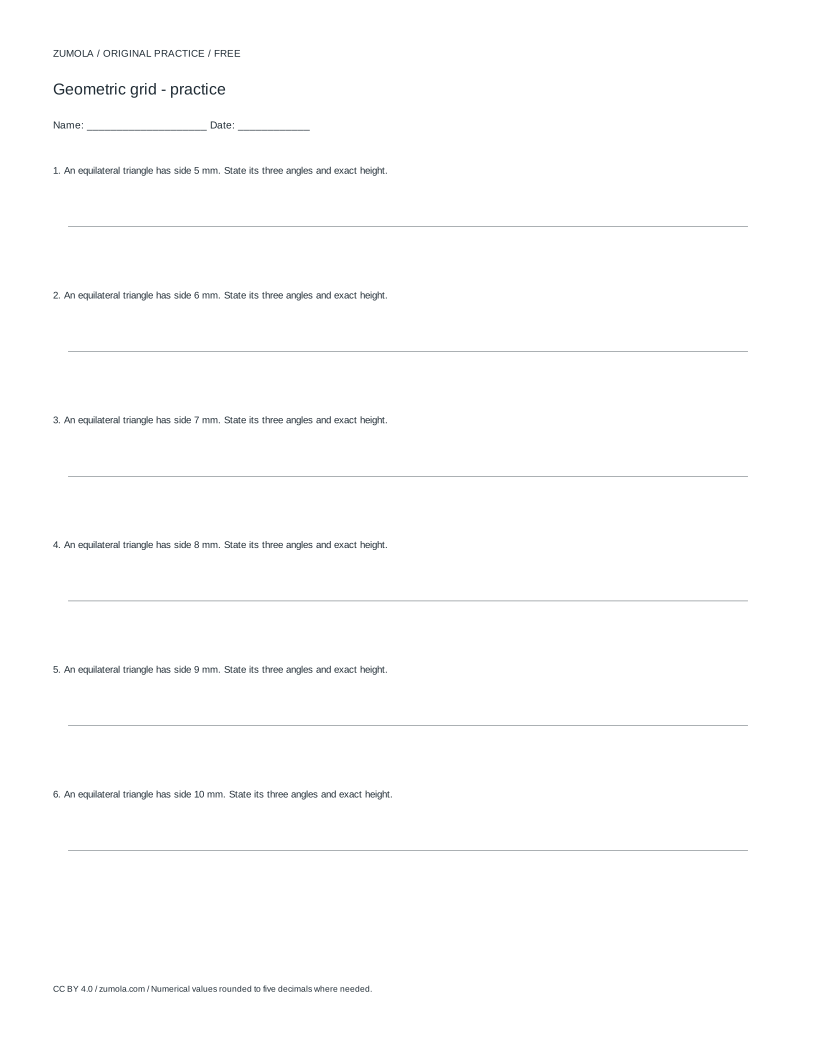
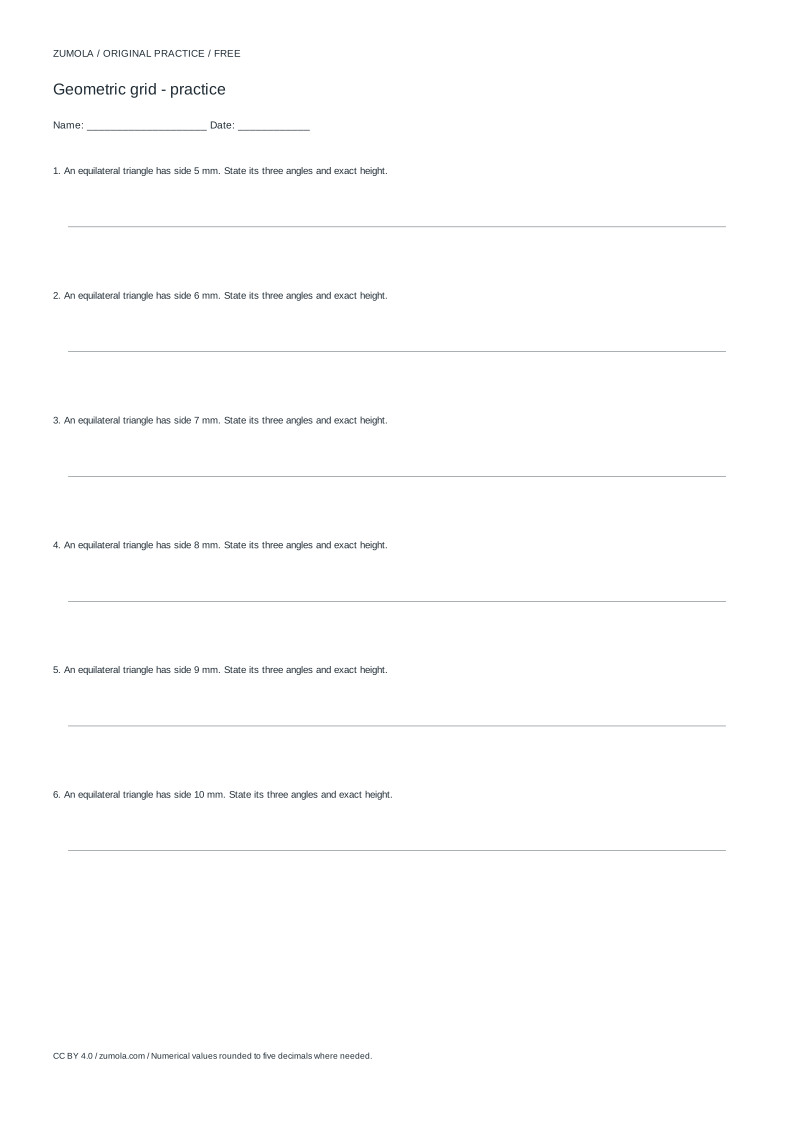
Practice worksheet
Worked answers / rubric
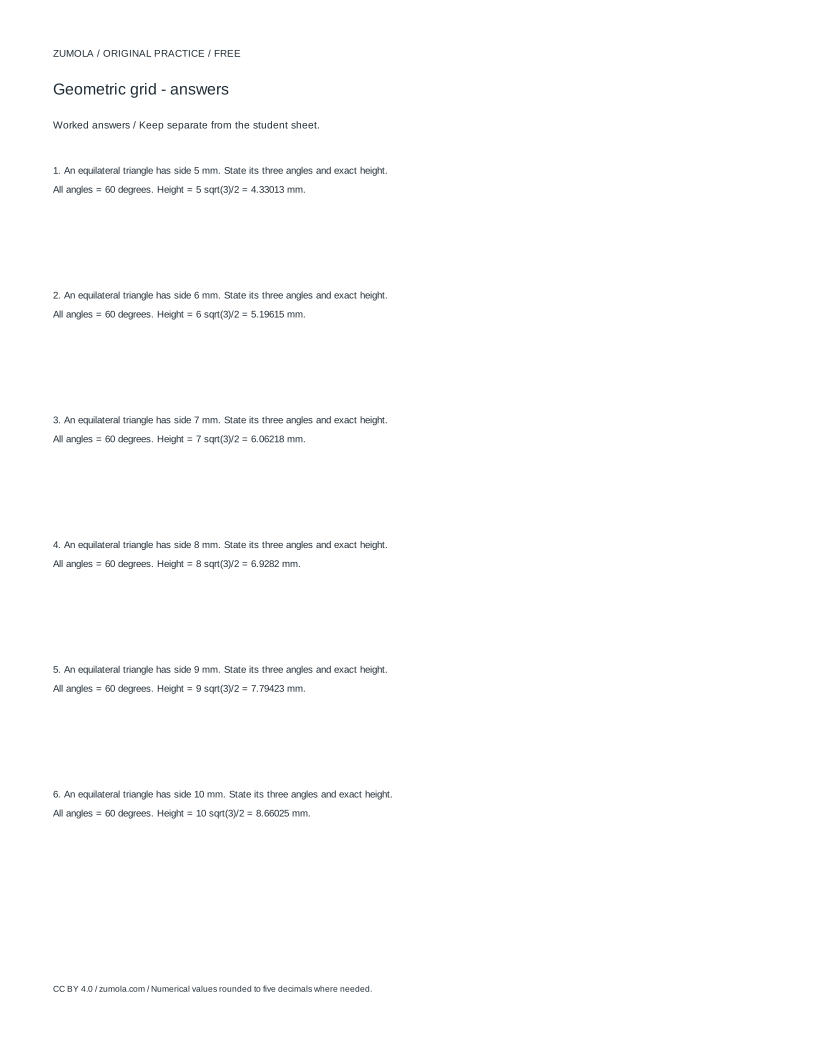
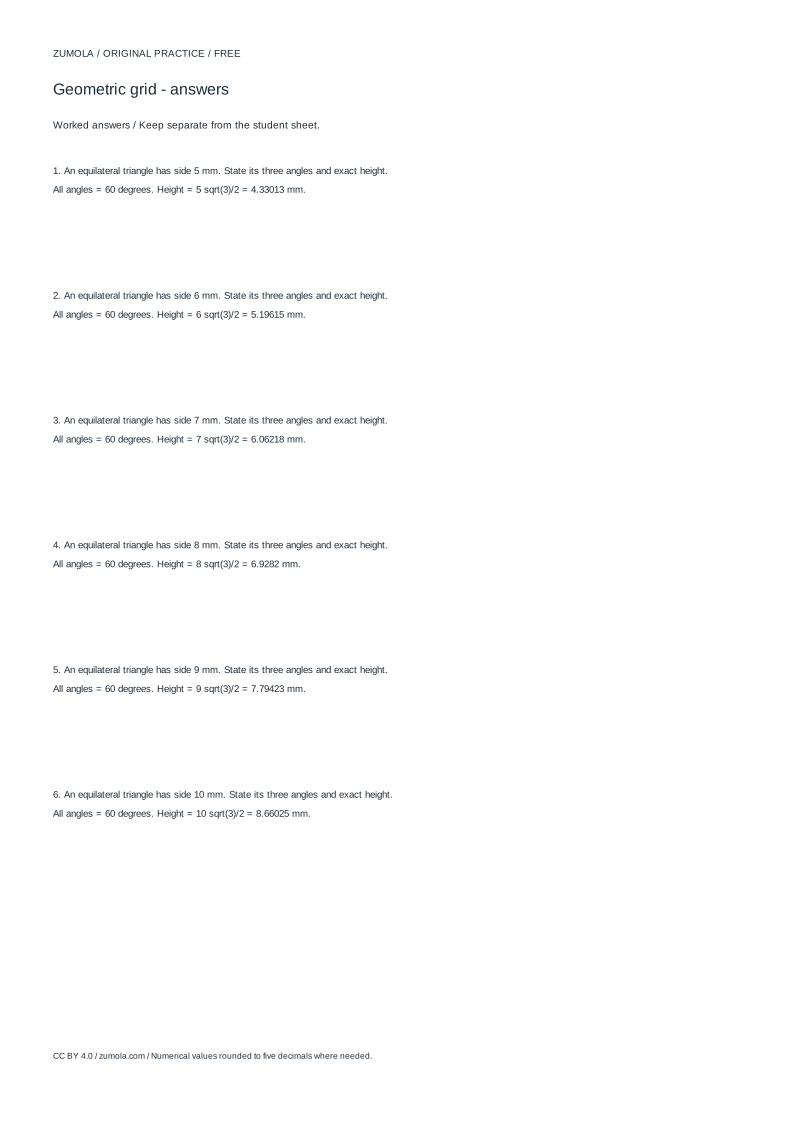
Print at Actual size / 100%. Check the calibration bar before using physical dimensions.
Triangular graph paper is built from rows of equilateral triangles rather than squares. That changes how you measure distances and angles, so the grid spacing, line width, and paper margins need to be chosen together. This page explains the geometry behind an equilateral triangular grid, how to set spacing in physical units, and how to check a printed sheet before relying on it for measurement practice.
How an Equilateral Triangular Grid Is Built
An equilateral triangular grid is a lattice of points where each point connects to six neighbours at 60-degree intervals. Horizontal rows of points are separated vertically by spacing multiplied by the square root of three divided by two, which is about 0.866. For an 8 mm spacing, the vertical row step is about 6.928 mm. Each triangle side equals the spacing, and every interior angle is 60 degrees.
Because the vertical step is irrational relative to the spacing, a grid cannot be described by whole millimetres in both directions. Treat the spacing as the controlling measurement and let the row height follow from it. When you specify spacing, line width, and margins in millimetres, the sheet stays physically consistent regardless of screen size.
- Choose a spacing in millimetres that matches the smallest length you want learners to measure.
- Set line width thin enough that adjacent lines remain distinct at the chosen spacing.
- Reserve margins wide enough that edge triangles are not clipped.
- Confirm the vertical row step equals spacing times 0.866 before printing.
Length and Angle Practice on a Triangular Lattice
On a triangular grid, a segment along a grid line has a length that is a whole multiple of the spacing. Segments that cross the lattice at other orientations produce lengths that are not simple multiples, which makes the grid useful for comparing measured lengths with calculated ones. Angles between grid lines are multiples of 60 degrees, so learners can classify angles as 60, 120, or 180 degrees directly from the lattice.
A common exercise is to draw a triangle with sides of two, three, and four spacing units and then measure each interior angle. The drawn triangle is not right-angled, and its angles will not be 30-60-90; the lattice constrains direction, not the triangle's shape. Keep the distinction clear between lattice directions and the triangle you construct on them.
- Mark a starting lattice point and count spacing units along a grid line to set a side length.
- Turn at a lattice direction to place the next vertex, counting units again.
- Measure each interior angle with a protractor and compare with the expected lattice multiples.
- Record lengths in millimetres by multiplying the unit count by the spacing.
Checking a Printed Sheet Before Use
Print at 100 percent scale, with any fit-to-page option disabled, so the spacing stays in millimetres. Before distributing a sheet, print a calibration bar and measure it with a ruler. If the bar is short or long, the printer has scaled the page and the spacing is no longer reliable for measurement tasks.
Check that no triangle is cut off at the paper edge. If the margin is too narrow, the outermost row may be clipped, which removes reference points learners need. Adjust the margin rather than the spacing when only the edge is affected.
- Print a calibration bar at 100 percent and measure it against a ruler.
- Measure the distance between two adjacent horizontal grid lines and compare with spacing times 0.866.
- Inspect all four edges for clipped triangles.
- Only then use the sheet for length or angle exercises.
Choosing Spacing for Different Tasks
Small spacing suits fine coordinate plotting and pattern work, but lines crowd together and measurement error grows. Larger spacing suits angle measurement and side-length construction because protractor placement is easier and counting units is less error-prone. Match spacing to the smallest unit learners must count, not to the page size alone.
Line width should scale with spacing. Very thin lines at wide spacing look sparse but remain readable; thick lines at narrow spacing merge visually. Keep line width well below the spacing so each triangle interior stays open.
- Identify the smallest length or angle step learners must read.
- Pick spacing at least several times that step so counting is practical.
- Set line width clearly thinner than the spacing.
- Recheck margins after changing spacing, since row count changes with spacing.
Try this example
A sheet uses 8 mm spacing. A learner counts four spacing units along one grid line and three along another, meeting at 60 degrees. What are the two side lengths in millimetres, and what is the vertical row step?
Show the worked explanation
Each unit is 8 mm, so the sides are 32 mm and 24 mm. The vertical row step is 8 times 0.866, about 6.928 mm. The 60-degree angle is a lattice angle, so it can be read from the grid without a protractor.
Common mistakes
- Assuming the vertical distance between rows equals the horizontal spacing. Use spacing times 0.866 for the vertical row step; for 8 mm spacing that is about 6.928 mm.
- Printing with fit-to-page enabled, which rescales the grid. Print at 100 percent and verify with a calibration bar before measuring.
- Treating every triangle drawn on the lattice as equilateral. Only lattice-aligned triangles with equal unit counts on each side are equilateral; check side counts explicitly.
Check your work
- Spacing is stated in millimetres and the vertical row step is derived as spacing times 0.866.
- Line width is clearly thinner than the spacing so triangle interiors stay open.
- Margins are checked so no edge triangle is clipped.
- A calibration bar is measured at 100 percent scale before measurement tasks.
- Length exercises count spacing units and convert to millimetres using the stated spacing.
- Angle exercises distinguish lattice angles (multiples of 60 degrees) from angles of constructed shapes.
Questions before you start
Why is the vertical row spacing not a whole number?
The row height is spacing times the square root of three divided by two. For 8 mm spacing this is about 6.928 mm, which is irrational and cannot be expressed as a whole millimetre.
Can I use triangular graph paper for angle measurement?
Yes. Grid lines meet at multiples of 60 degrees, so angles along lattice directions can be read directly. Angles of constructed shapes still need a protractor.
What should I check first after printing?
Measure a calibration bar at 100 percent scale. If it does not match, the printer has rescaled the page and the spacing is unreliable.