Free original resources
Dimensioning Practice Worksheets: Units, Views and Clear Annotation
Learn to place dimensions and units correctly on teaching drawings. Covers view alignment, projection style, unit notes, and a rubric for checking your own work.
Free resources
Letter & A4
PDF & SVG
Letter & A4
PDF & SVG
Make it yours.
Free · no signup · calculated in your browser
Your free printable kit.
Original reference, student practice and separate worked answers. No account or payment.
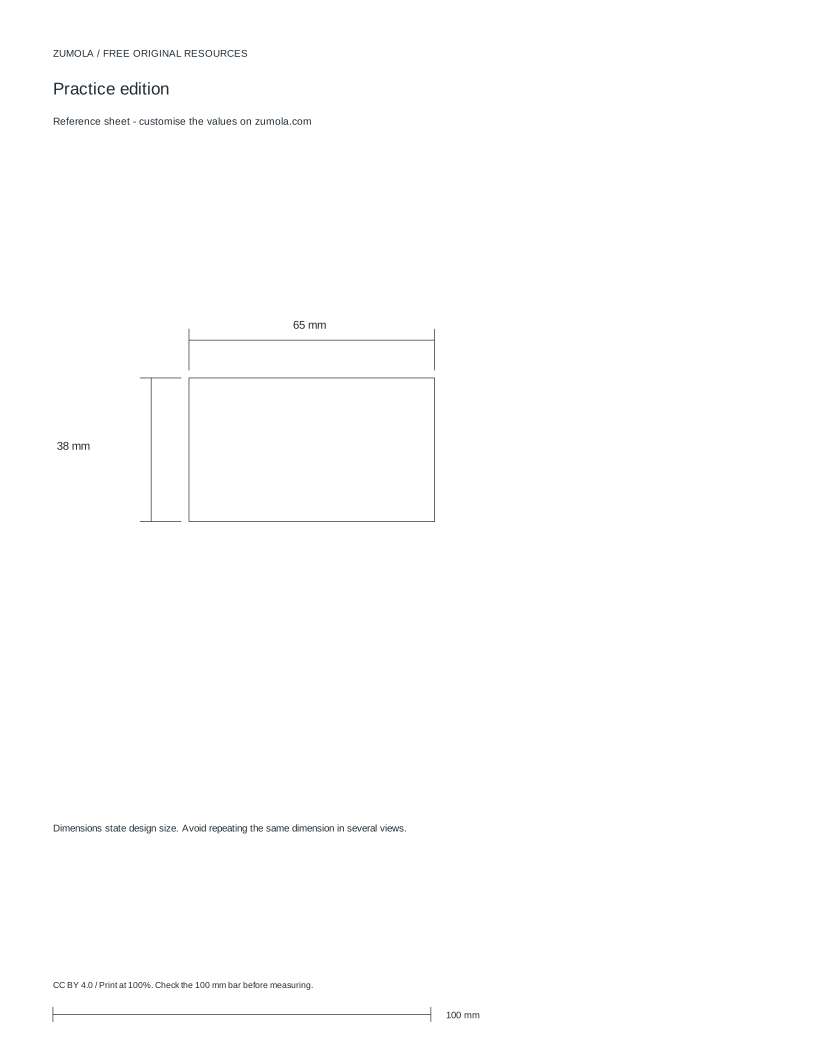
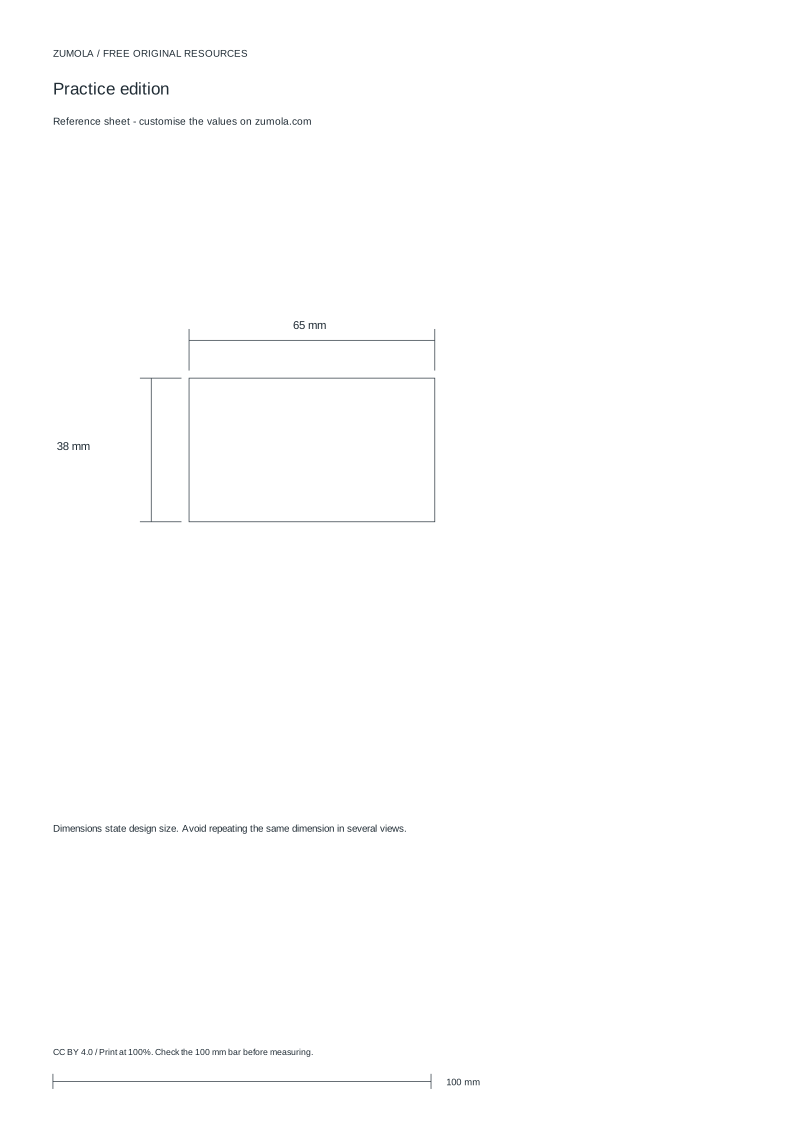
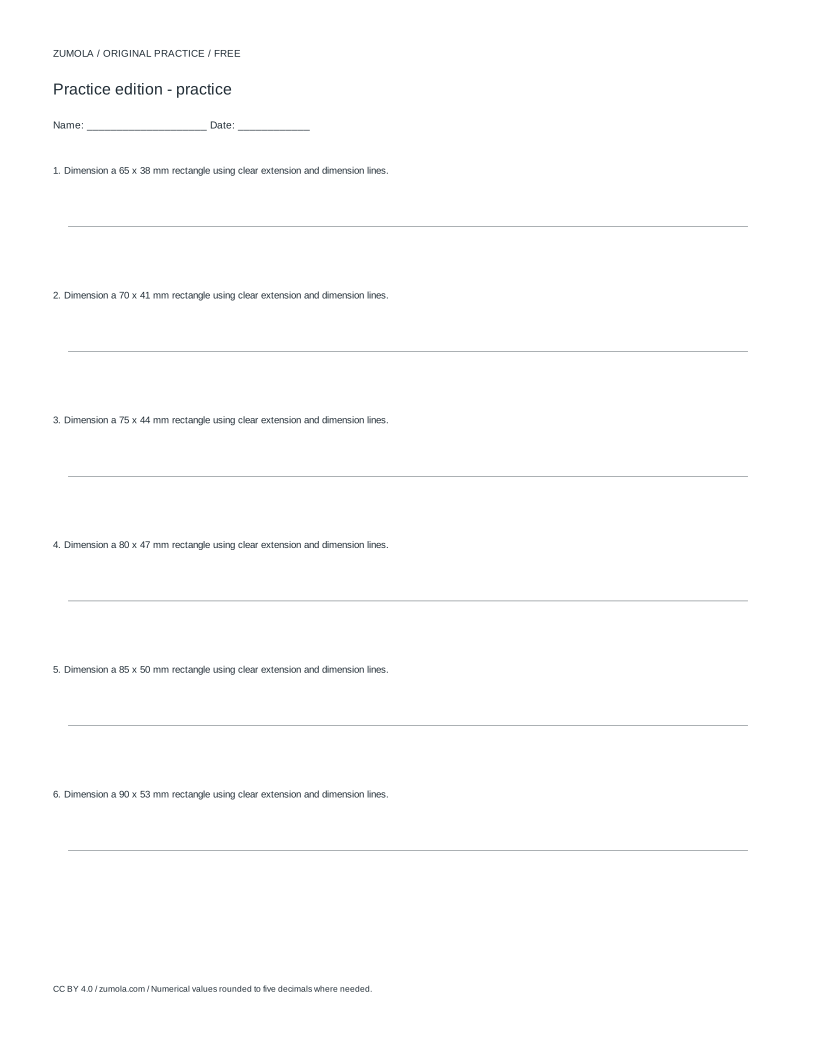
Practice worksheet
Worked answers / rubric
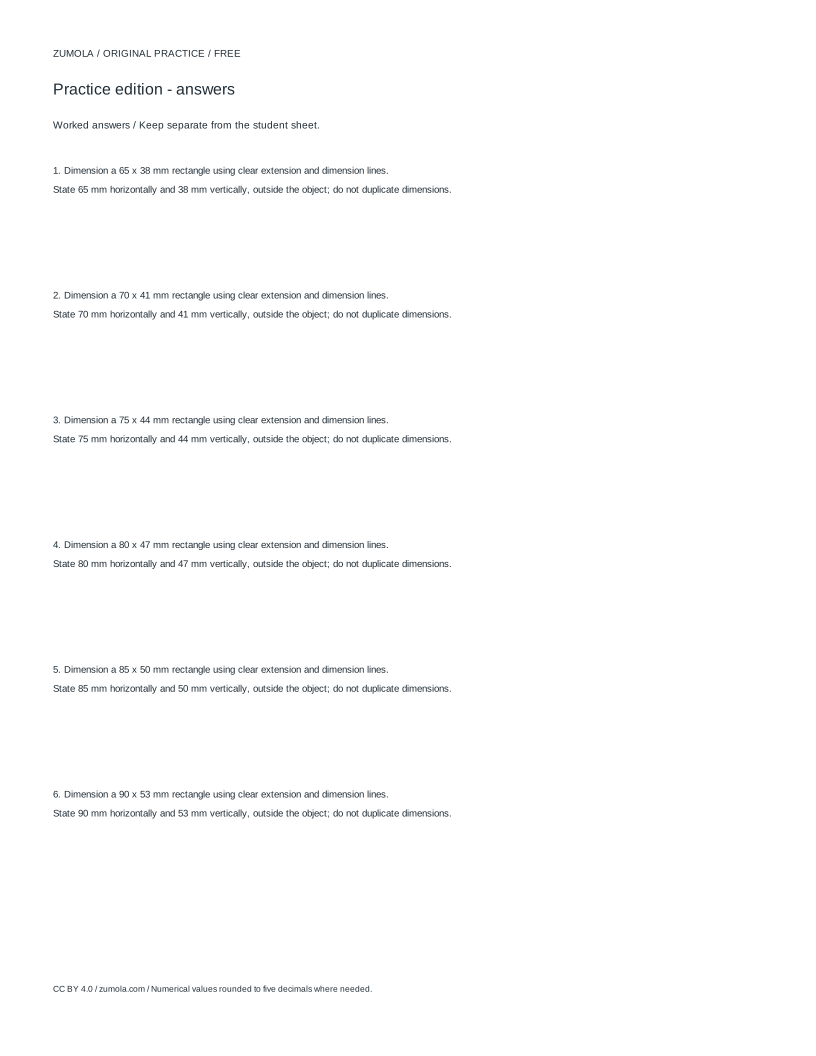
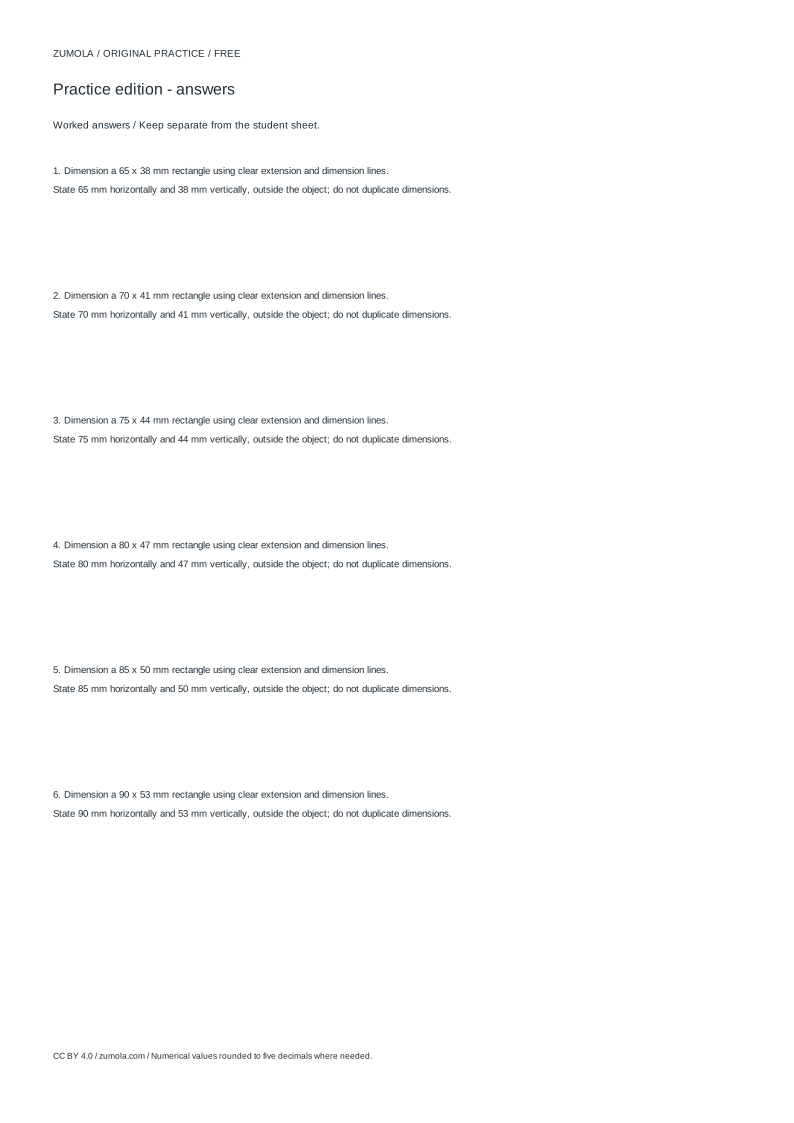
Print at Actual size / 100%. Check the calibration bar before using physical dimensions.
Dimensioning is the part of a drawing that tells a reader how big each feature is and where it sits. On a teaching drawing, the goal is not to imitate a factory specification but to practise clear, consistent annotation. This page explains how to state units, keep front, top and side views geometrically consistent, and place dimensions so each measurement appears once. You will also find a worked example and a rubric for judging your own sheet, since several valid layouts can describe the same shape.
State the unit and projection style before drawing
Every dimensioned sheet needs a unit statement. Write it once, clearly, in the title area or a note: for example, All dimensions in millimetres. If a single value uses another unit, label that value directly. Mixing unlabelled millimetres and centimetres is the most common source of misreading.
Also record the observation direction and projection convention. First-angle and third-angle projection place the top and side views differently around the front view. A short note such as First-angle projection, or Third-angle projection, removes ambiguity. The teaching sheet does not need to follow a manufacturing standard, but it should state which convention it uses so the reader can interpret view placement.
- Write the unit note before adding any numbers.
- Choose first-angle or third-angle projection and note it on the sheet.
- Label each view: front, top, side, with its observation direction.
- Check that the three views describe one consistent object.
Keep the three views geometrically consistent
In a correct set of views, a feature's width appears the same in the front and top views, and its height matches between front and side views. Depth links the top and side views. Use light construction lines to carry a measurement across from one view to another, then dimension only once.
Dimension each size once, on the view where it is clearest. Overall width belongs on the front or top view; overall height on the front or side; depth on the top or side. Avoid repeating the same measurement in two views, because a reader cannot tell which value is authoritative if they disagree.
Place dimension lines outside the outline where possible, with extension lines starting just clear of the object. Keep numbers readable from the bottom or right of the sheet, and keep them off the dimension line itself.
- Draw light projection lines between views to confirm matching widths and heights.
- Choose one view for each measurement and dimension it there only.
- Offset dimension lines from the outline so they do not overlap edges.
- Recheck that every feature has exactly one size and one position reference.
Dimension positions as well as sizes
A size alone does not locate a feature. A hole needs its diameter and the position of its centre, usually given from two reference edges. A slot needs its length, width, and the position of one end. State which edges are the reference, and keep the same references across the sheet.
For teaching drawings, simple linear dimensions from a clear edge are easier to check than chained dimensions. If you use a chain, make sure the chain closes on a known overall size so small errors are visible. Angles should be given in degrees with the degree symbol, and radii marked with R.
- Pick two reference edges and use them consistently.
- Give each hole a diameter and two position dimensions to its centre.
- Mark radii with R and diameters with the diameter symbol.
- Close any chain of dimensions against an overall size.
Check the sheet against a rubric
Because a drawing can be dimensioned in more than one valid way, judge your sheet by criteria rather than by matching a single answer. A good teaching sheet states units, names the projection style, keeps views consistent, dimensions each feature once, and leaves numbers legible.
Use the rubric below to review your own work before comparing with a classmate. Two different layouts can both pass if each is internally consistent and unambiguous.
- Read the unit note and projection note first.
- Trace each measurement to exactly one place on the sheet.
- Confirm widths and heights agree across views.
- Check that every hole or slot has both size and position.
Try this example
A rectangular teaching plate is 65 mm wide and 38 mm high, with one hole. State the dimensions you would place and on which views.
Show the worked explanation
Write All dimensions in millimetres and note the projection style. On the front view, give the overall width 65 and height 38. Give the hole diameter with the diameter symbol, then locate its centre with two linear dimensions from the left edge and the bottom edge. The top view shows the width 65 only through projection or construction lines, not as a second dimension. Every value appears once as an authoritative dimension, and the views agree on width and height.
Common mistakes
- Leaving units unstated or mixing millimetres and centimetres without labels. Add one clear unit note and label any value that uses a different unit.
- Repeating the same measurement in two views with different values. Dimension each size once, on the clearest view, and remove the duplicate.
- Giving a hole diameter but no position from reference edges. Add two position dimensions from named reference edges to the hole centre.
Check your work
- A unit note is present and any non-millimetre value is labelled.
- The projection style and observation direction are stated.
- Front, top and side views agree on shared widths and heights.
- Each size is dimensioned exactly once.
- Every hole or slot has both a size and a position from named references.
- Numbers are legible and do not sit on dimension lines or outlines.
Questions before you start
Do I need to follow ISO or ANSI exactly on a teaching sheet?
No. State which convention you are using and apply it consistently. The teaching task is clear, unambiguous annotation, not certification to a manufacturing standard.
Where should the unit note go?
Put it in the title area or a general note, written once and clearly, such as All dimensions in millimetres. Label any individual value that uses a different unit.
Can I dimension the same feature in two views?
Generally no. Dimension each size once, on the view where it reads most clearly, so there is a single authoritative value.