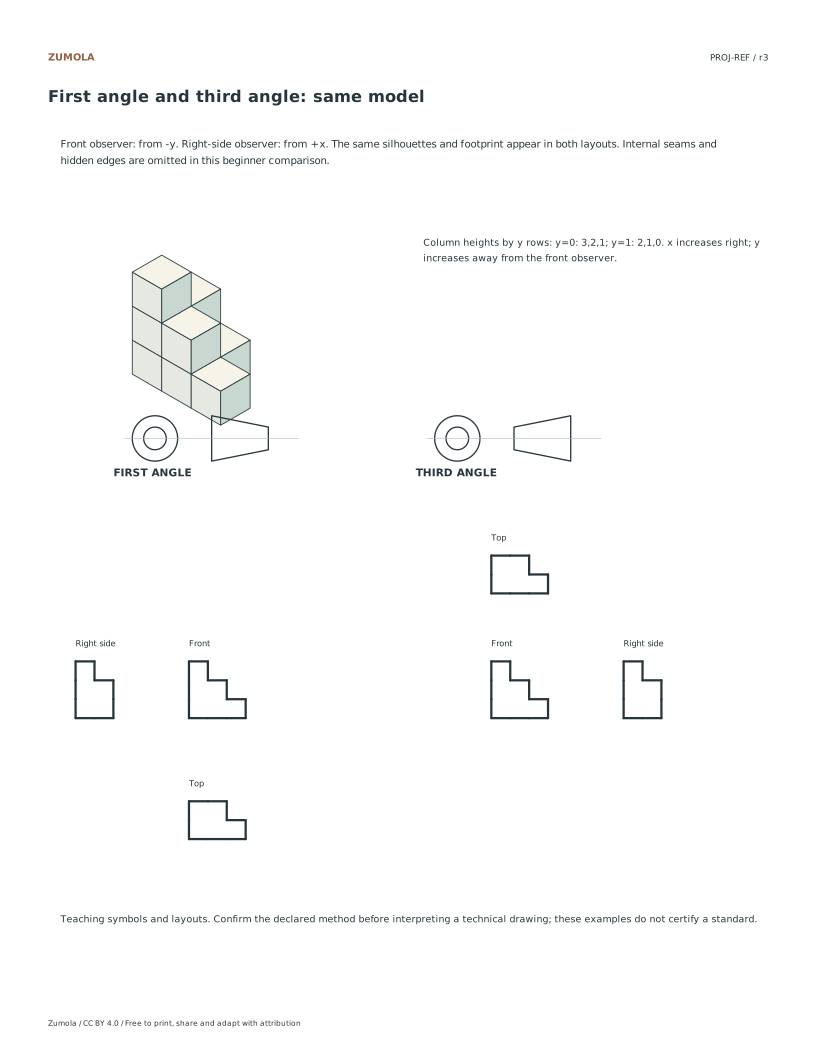
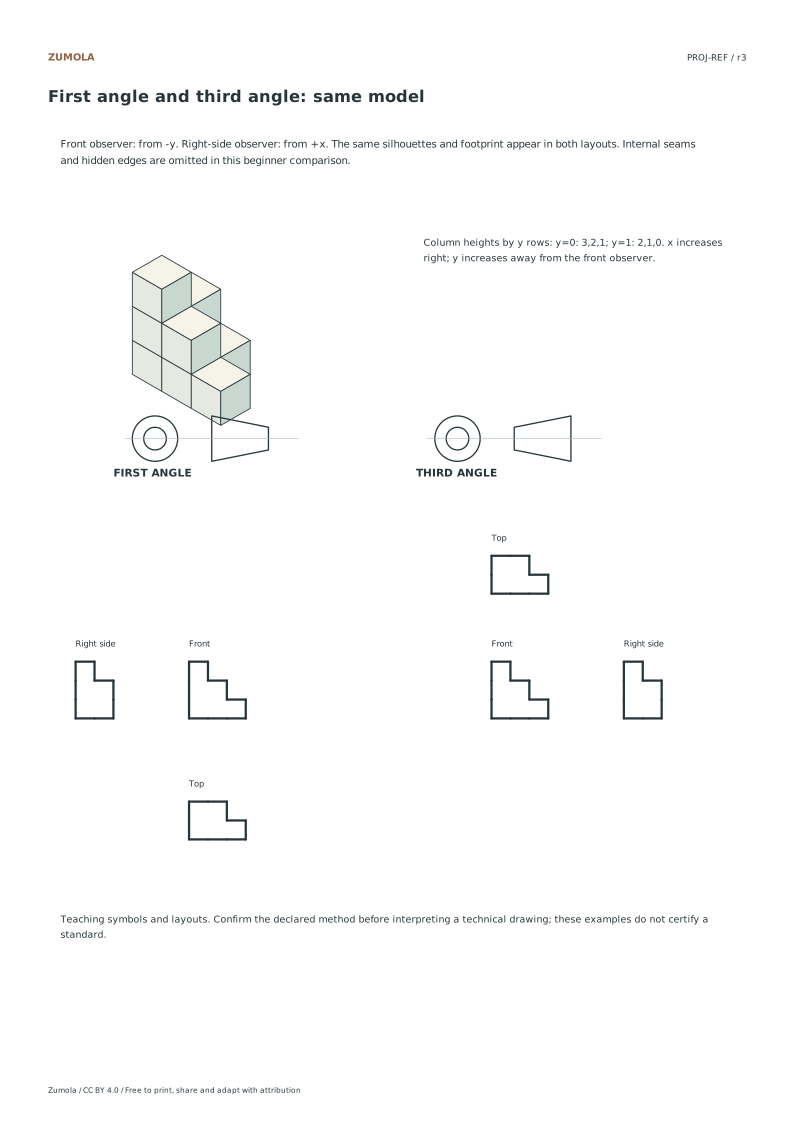
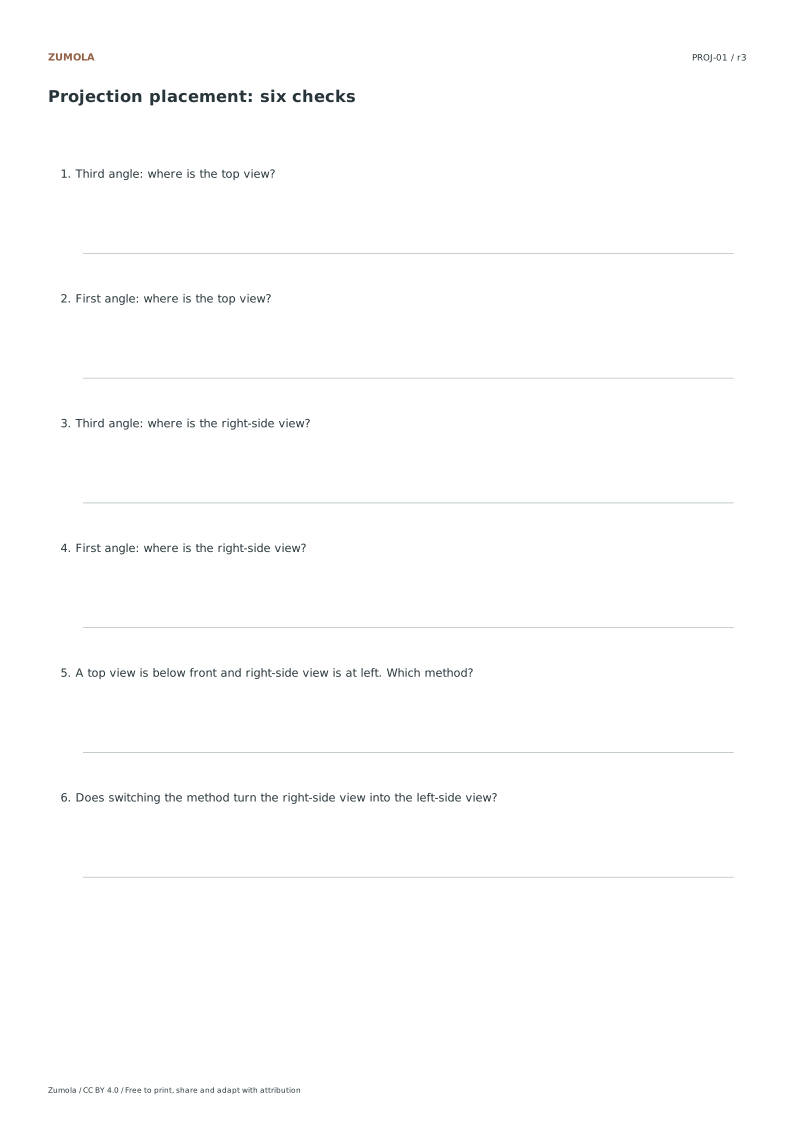
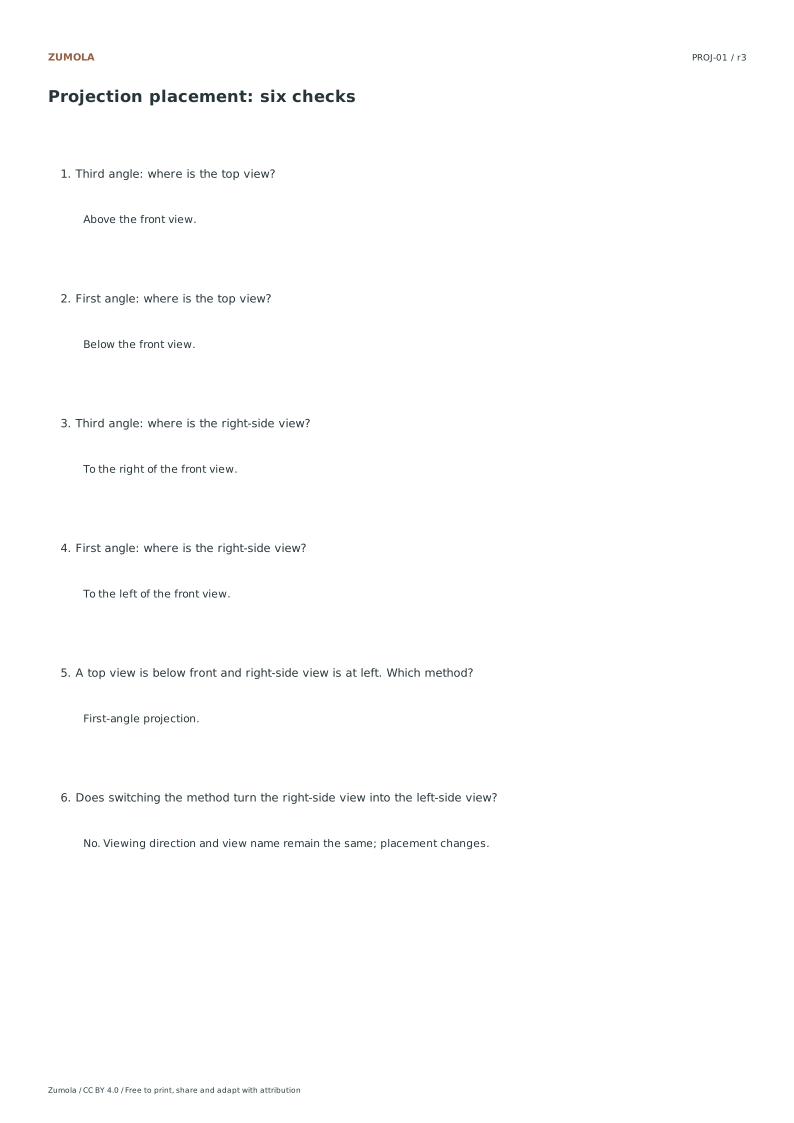
The same front, top and right views can occupy different places on the sheet. Compare both arrangements without changing the object or relabeling its sides.
Same model. Two layouts. 6 questions + answer key.
A printable task with a way to check it
The same front, top and right views can occupy different places on the sheet. Compare both arrangements without changing the object or relabeling its sides.
Choose US Letter or A4, then download the PDF for printing or the SVG for editing. Keep the student worksheet separate from its answer or reference completion. All files, including the answers, are free without signup.
Choose your paper and download
Download paper size
Every worksheet and answer is free. No signup.
Free original resourcePROJ-REF
First and third angle comparison
Original practice with a separate reference answer. Choose Letter or A4.
The shared model has column heights [3, 2, 1] in its front row and [2, 1, 0] in its back row. The front observer looks from −y toward +y; the right observer looks from +x toward −x. The front silhouette therefore has heights 3, 2, 1, the right silhouette has heights 3, 2, and the top footprint has five occupied cells. Moving between layouts does not change those results.
Read the original teaching symbols under each arrangement. With concentric circles on the left in both drawings, first angle places the cone’s wide end nearest the circles. Third angle places its narrow end nearest them. Symbols may be encountered in another overall orientation, so identify the relationship of the end view to the tapered side view rather than memorizing “circle left” alone.
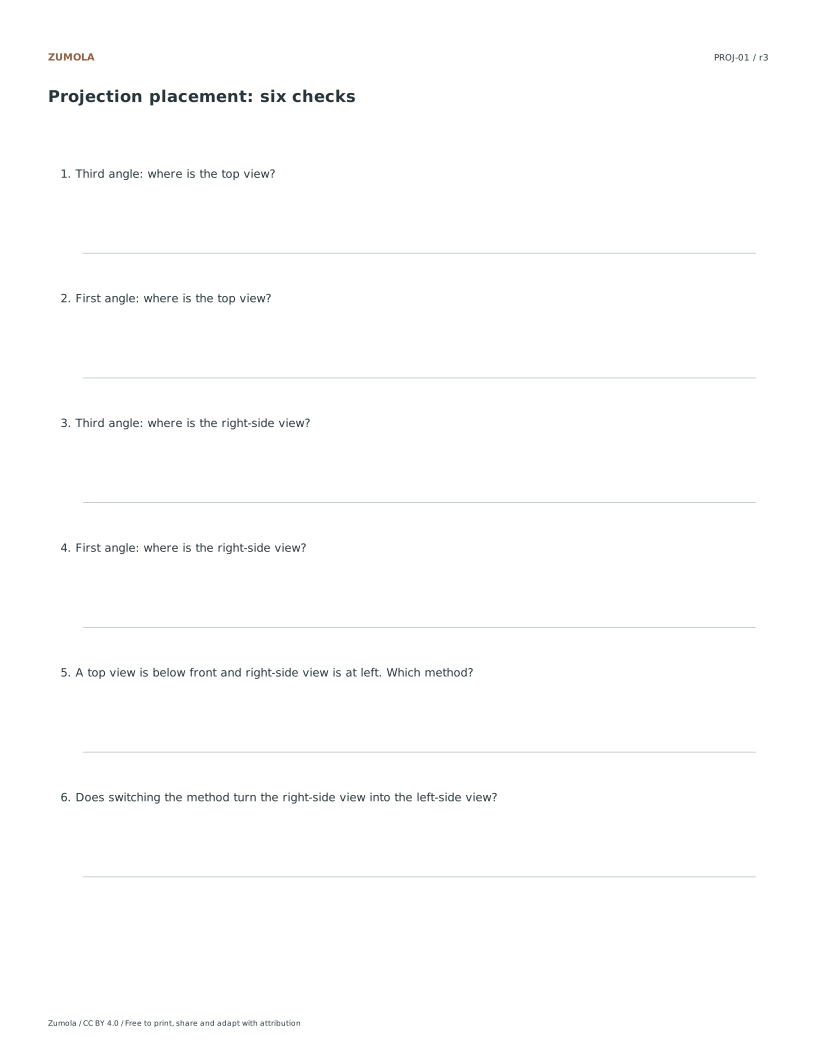
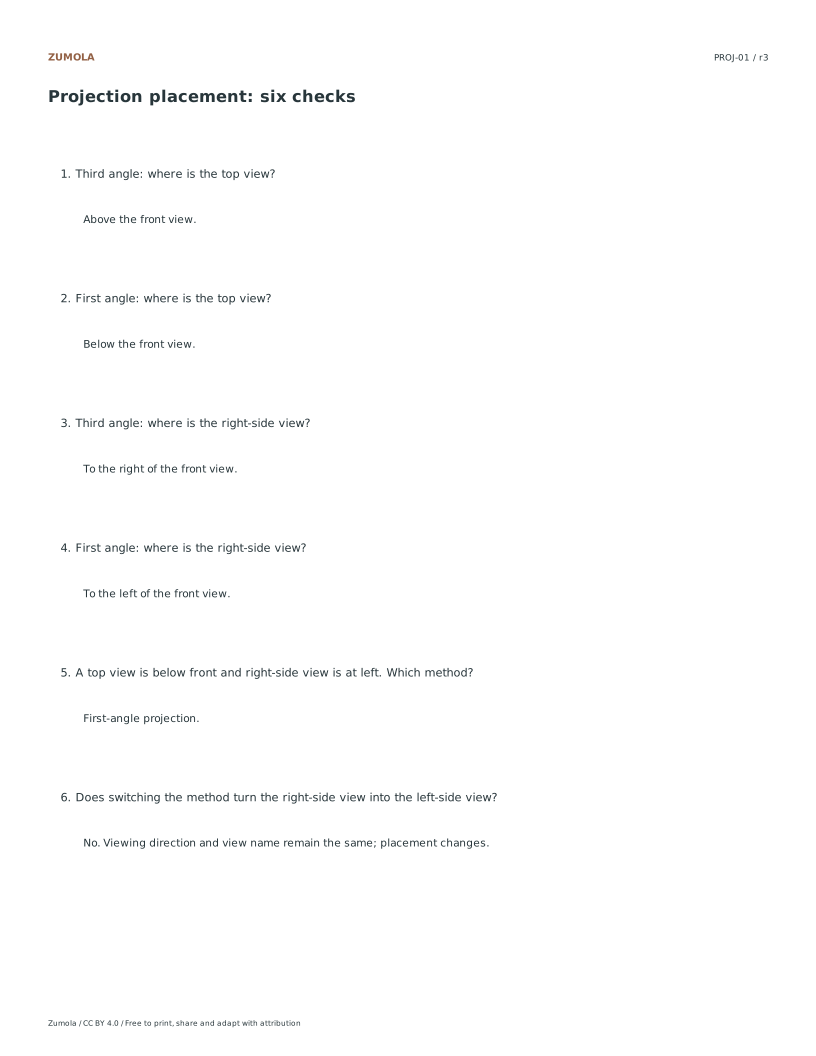
Try the six questions before opening the answer: top placement in each method, right-view placement in each method, whether the right view changes its name when moved, and identification of the method from a described layout. The answer prints each result with its question. These simplified silhouettes and symbols are instructional diagrams; they do not claim ASME or ISO certification.
Work through the page
Understanding View Placement Logic
The core distinction between first and third angle projection lies in how views are arranged relative to the front view. In third angle projection, the top view is placed above the front view, and the right-side view is positioned to the right of the front view. Conversely, first angle projection places the top view below the front view and the right-side view to the left of the front view. This arrangement results from different unfolding methods of the projection planes. The observer looks from negative y to positive y for the front view and from positive x for the right view. Understanding this spatial relationship prevents confusion when interpreting technical drawings.
Interpreting the Projection Symbol
The projection symbol serves as a critical identifier for the projection convention used. In both first and third angle examples, the symbol maintains concentric circles on the left side. The key difference is the orientation of the cone. In first angle projection, the cone has its large end nearest the circles. In third angle projection, the cone has its narrow end nearest the circles. This reversal indicates the viewing direction and plane unfolding method. Recognizing this specific orientation helps users quickly determine the projection type without needing to analyze every view placement in the drawing.
Analyzing Block Height Data
To verify understanding, compare the block heights using the provided data sets. The front view heights are listed as three, two, and one. The right-side view heights are three and two. These values correspond to the same solid object viewed from different directions. When comparing first and third angle layouts, ensure the heights match the specific viewing angles. The front observer looks from negative y to positive y, while the right observer looks from positive x. Consistent height data across views confirms the correct interpretation of the solid geometry despite the different view placements.
Small checks that catch common errors
Watch for
Check instead
Relabeling the left view as the right view in first angle projection.
In first angle projection, the right-side view is placed to the left of the front view. Do not change the label based on position; the view remains the right-side view regardless of its location on the sheet.
Assuming the cone orientation is identical in both projection symbols.
In the two symbols printed here, the concentric circles remain on the left. First angle puts the cone’s wide end next to the circles; third angle puts its narrow end next to them. Read the whole symbol, not just the position of one circle.
Expecting hidden edges or internal seams in silhouette views.
Silhouettes and footprints in these examples omit hidden edges and internal seams. Focus on the visible outer boundaries and height data rather than looking for internal structural lines that are not rendered in these specific views.
Print a test sheet before a full pack
Use the PDF that matches the paper loaded in your printer. Choose Actual size / 100% and turn off Fit, Shrink and browser headers. The SVG keeps millimeter dimensions, but an editor or browser can rescale it; the PDF is the simpler print path. Measure any calibration bars with a separate physical ruler when the exercise depends on printed size. A screen preview does not establish physical scale.
Packs combine the same individual pages; they are not extra different exercises. Print a student copy first and keep references nearby for review. Letter and A4 preserve the stated grid spacing or model definition while their surrounding white space can differ. Color is optional: the references also use line position, text or relative lightness to explain the result.
Useful answers
Does moving a view change its shape?
Changing between these two layouts moves the same front, top and right views. It does not mirror the right view or turn it into a left view. Keep each viewing direction fixed.
How many questions are included in the placement exercise?
The resource includes six placement questions. These are accompanied by a separate answer sheet to facilitate self-checking or grading. The questions focus on distinguishing between first and third angle view arrangements based on the provided geometric data.
Why are some block edges missing?
This activity compares exterior silhouettes and a top footprint. Cube seams and hidden edges are omitted so that view placement stays clear. It is a teaching example rather than a complete manufacturing drawing.
Are the answers and editable files free too?
Yes. Every linked PDF, SVG, worksheet and answer is free without signup. The original Zumola resources use CC BY 4.0: credit Zumola, link the license and indicate changes. Analytics consent is not required to download or use them.
Imagine a block 60 mm wide, 40 mm deep and 30 mm tall. A 20 mm wide, 20 mm deep notch is cut from the top at the left end. The front view faces the 60 by 30 mm face, so the notch appears at the left of the front view. The top view looks down on the 60 by 40 mm face, with the notch at the left and toward the front edge. The right view looks at the 40 by 30 mm face from the object's right side.
In first angle projection, the view seen from the right is placed on the left of the front view, and the top view sits below the front view. In third angle projection, the right view sits on the right of the front view, and the top view sits above it. The object never changes; only the sheet arrangement changes. Keep the front view fixed and move the other two views as a pair.
Draw the front view first and mark the notch on its left side.
Decide the projection system before placing any other view.
In first angle, put the right-side view to the left of the front view and the top view below it.
In third angle, put the right-side view to the right of the front view and the top view above it.
Label each view with its viewing direction, not just its name.
Diagnostic checks for reversed side views
A reversed side view usually appears when someone places the view by memory rather than by direction. Use a physical check: hold the sheet so the front view faces you, then turn the sheet as if walking around the object. The view you would see from the object's right should sit where your eye lands in that system.
Check alignment too. The side view shares height with the front view, and the top view shares width with the front view. If the notch in the side view points toward the front edge, confirm that the front edge is the one nearest the front view in third angle, or nearest the top view in first angle. A quick arrow on each view showing the viewing direction prevents most mix-ups.
Trace one feature, such as the notch, through all three views.
Confirm shared dimensions: height between front and side, width between front and top.
Mark a viewing arrow on every view before adding detail.
Compare the finished layout against the system rule, not against a remembered picture.
A practical variation: swap the viewing direction
Redraw the same block but view it from the left instead of the right. The geometry is unchanged, but the side view now shows the notch nearer the back edge. In first angle the left view goes on the right of the front view; in third angle it goes on the left. This variation tests whether you are following direction rules or copying a layout.
Keep units in millimetres and state the projection system at the top of the sheet. Treat the exercise as a teaching example only, not a manufacturing or construction specification.
Redraw the front and top views without changes.
Draw the left-side view and note where the notch sits.
Place it using the system rule for a left view.
Check that the notch position matches the viewing direction you labeled.
Try this example
A block is 60 mm wide, 40 mm deep and 30 mm tall, with a 20 mm notch at the left end of the top face. The front view faces the 60 by 30 mm face. Place the right-side view and top view in third angle, then state where they would go in first angle.
Show the worked explanation
In third angle, the right-side view goes to the right of the front view and the top view goes above it. The side view shares the 30 mm height with the front view, and the top view shares the 60 mm width. In first angle, the same right-side view goes to the left of the front view and the top view goes below it. The notch stays at the left in the front and top views in both systems; only the sheet positions change.
Common mistakes
Placing the right-side view on the right in first angle because it feels natural. State the system first, then apply the rule: first angle puts the right view on the left of the front view.
Copying a remembered layout instead of tracking the viewing direction. Draw a viewing arrow on each view and confirm the feature's position matches that arrow.
Mixing systems on one sheet, such as a first-angle side view with a third-angle top view. Write the system at the top of the sheet and check every placement against that single rule.
Check your work
Front view is drawn first and matches the stated 60 by 30 mm face.
The projection system is stated once and applied consistently to every view.
The right-side view is placed on the correct side for the chosen system.
The top view is placed above or below according to the chosen system.
Shared dimensions align: height between front and side, width between front and top.
Each view carries a viewing-direction label or arrow.
The notch position is consistent across all three views.
Units are stated in millimetres and the sheet is labeled as a teaching example.
Questions before you start
How do I tell first and third angle apart quickly?
Look at the side view. If the view seen from the right is placed on the left of the front view, it is first angle. If it is placed on the right, it is third angle.
Does the object change between the two systems?
No. The front, top and side views show the same geometry. Only their positions on the sheet differ.
Where does the top view go in each system?
In first angle the top view sits below the front view. In third angle it sits above the front view.
Optional Google Analytics helps us understand which free resources are useful. It is off until you allow it. Drawing tools and downloads work with either choice. Privacy details