Free isometric drawing exercises

Build a form.
One edge at a time.

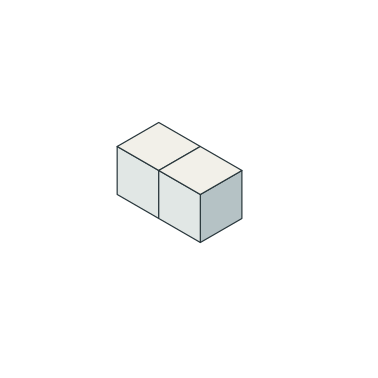
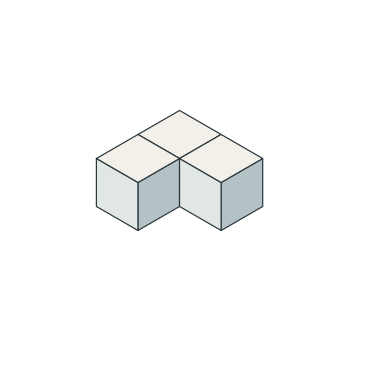
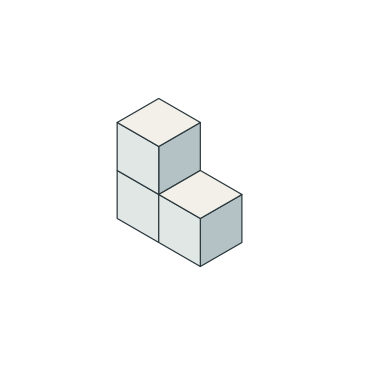
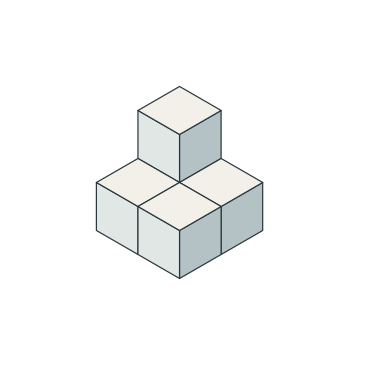
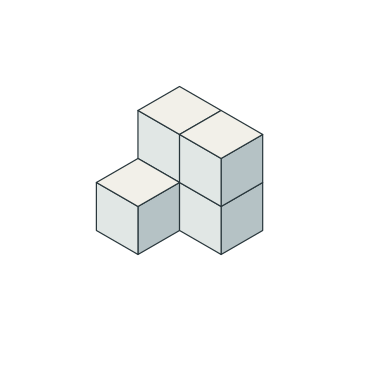
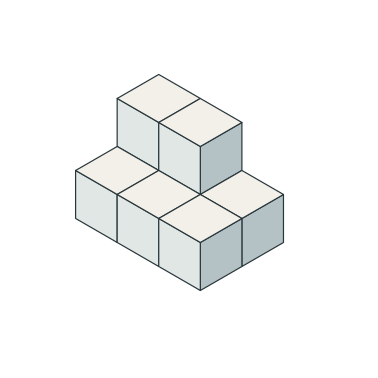
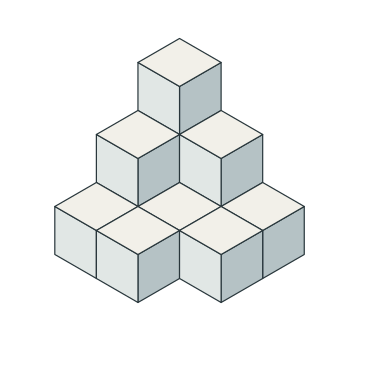
Twelve original block models, with a fixed viewing direction and a clear line solution for each. Start with one cube, then move through steps, corners and terraces.

12 models · 3 levels.
One edge = two dot intervals.
Answers include column-height plans.

Choose a block model.

Choose a level
Download paper size

Four models per practice set.

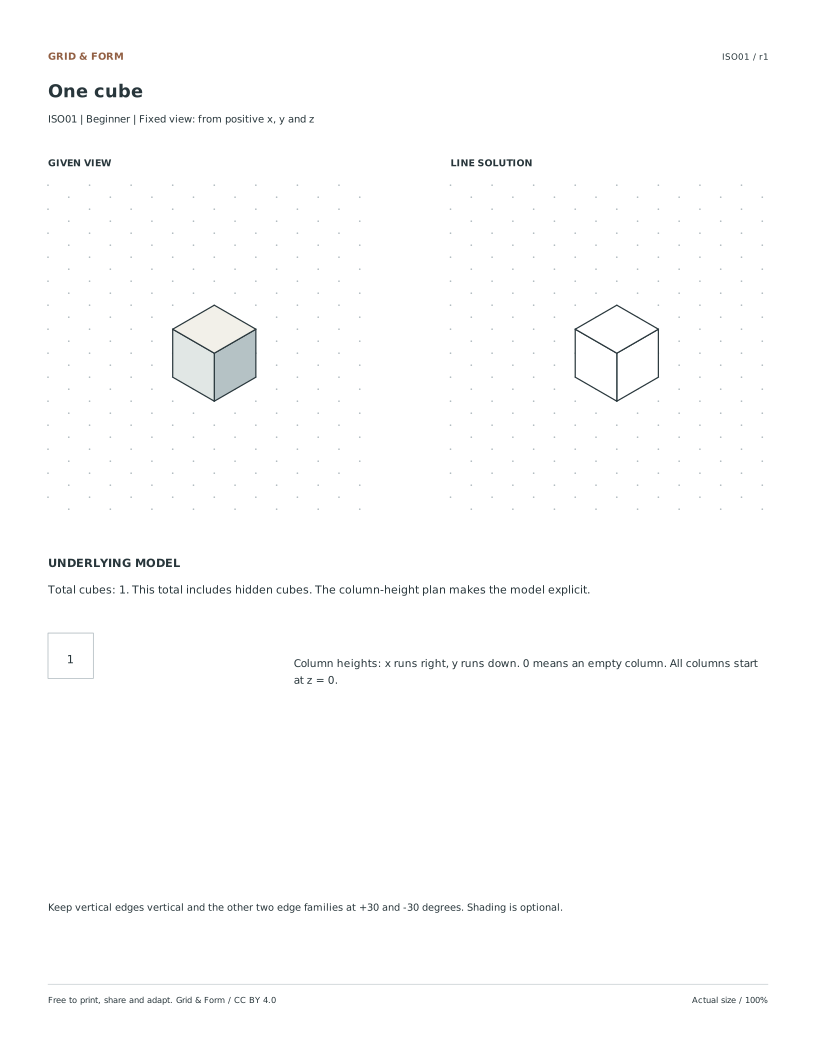
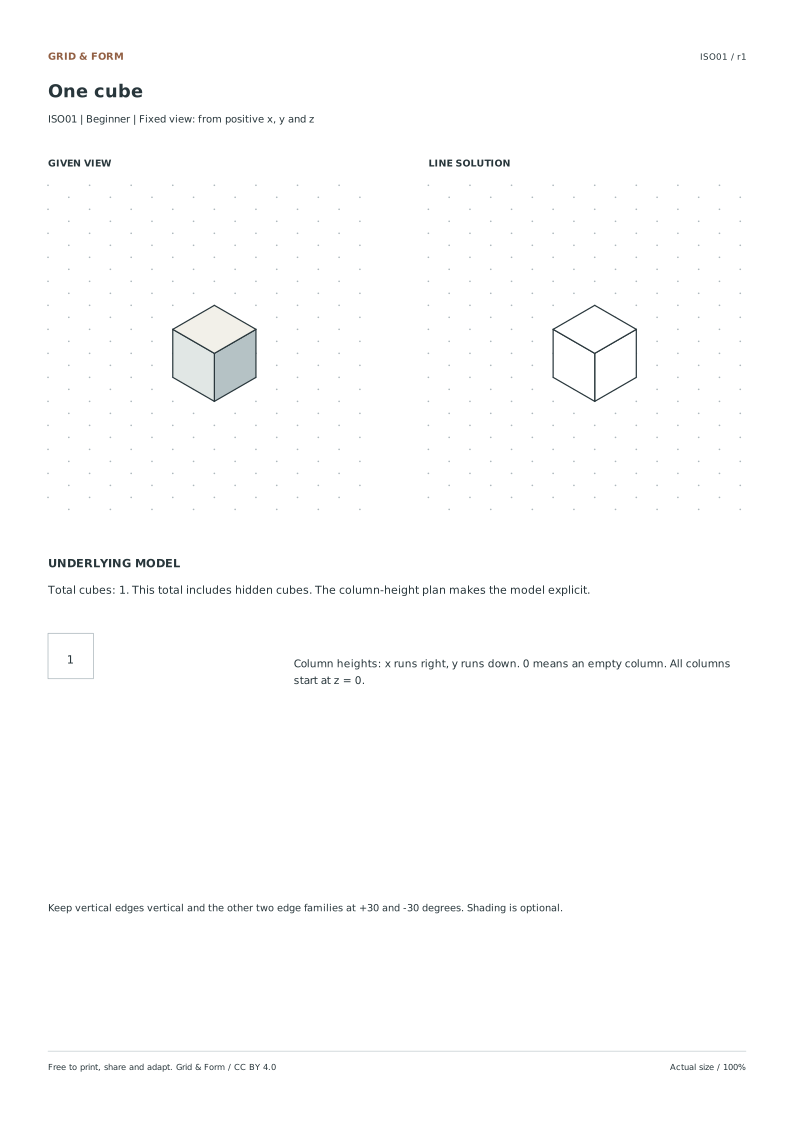
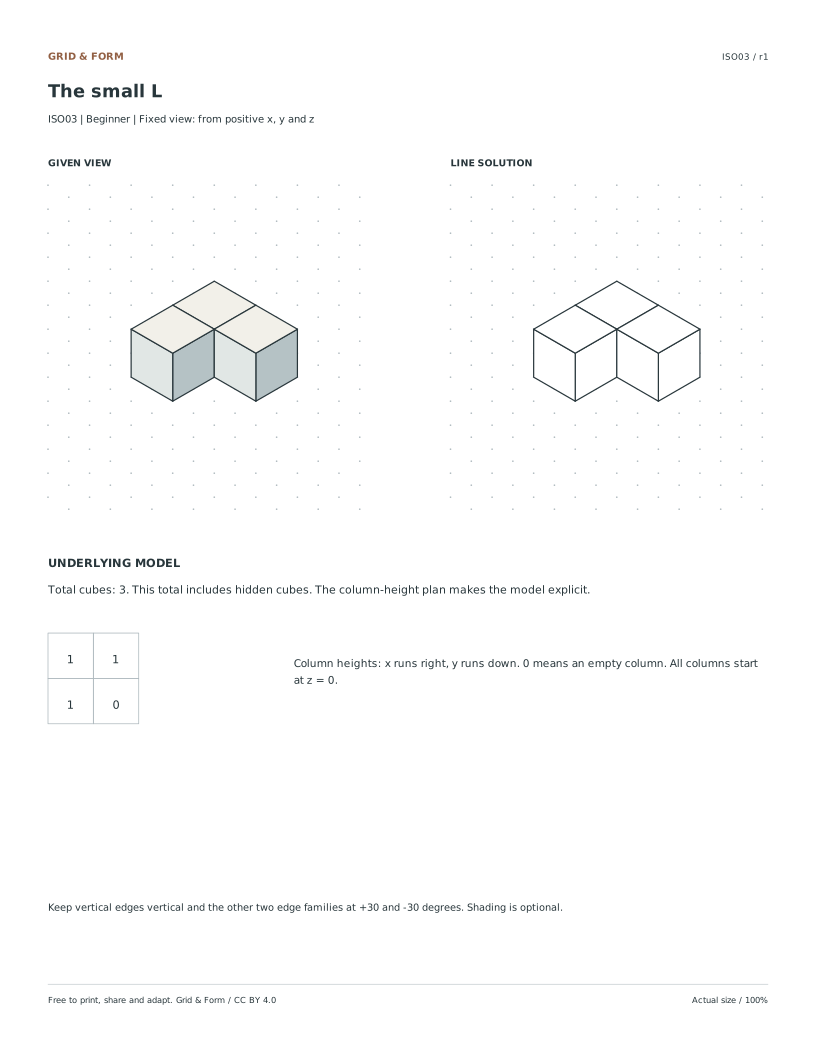
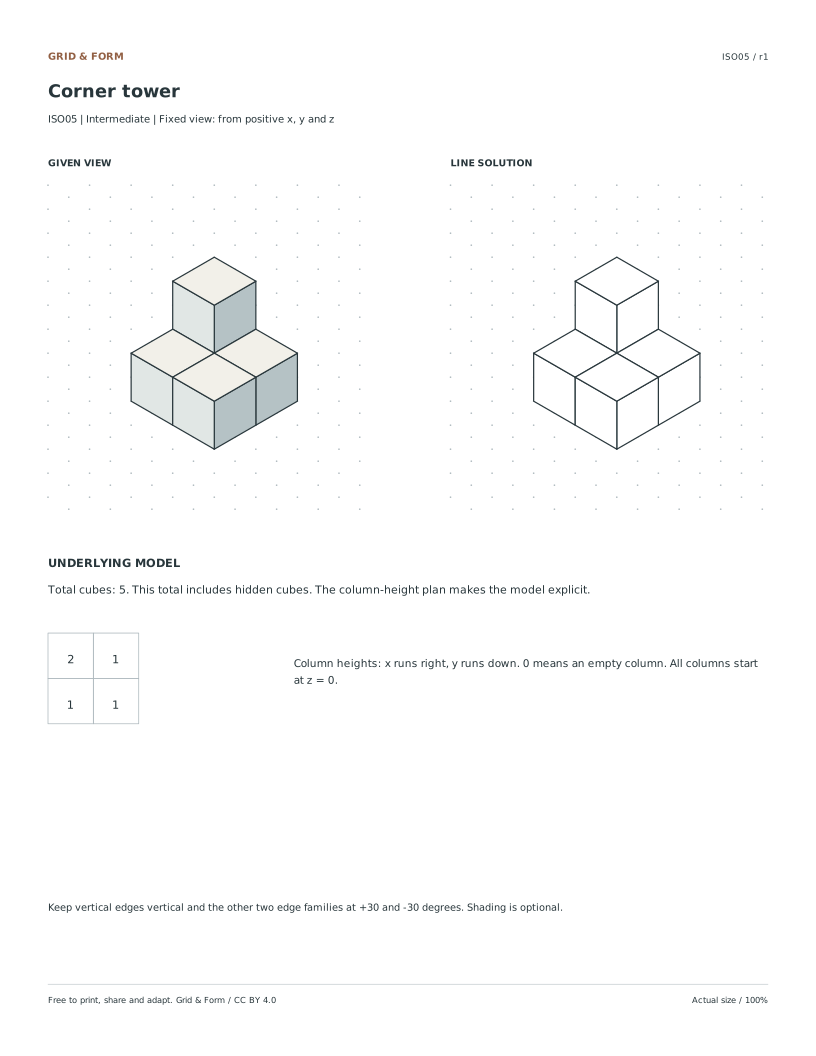
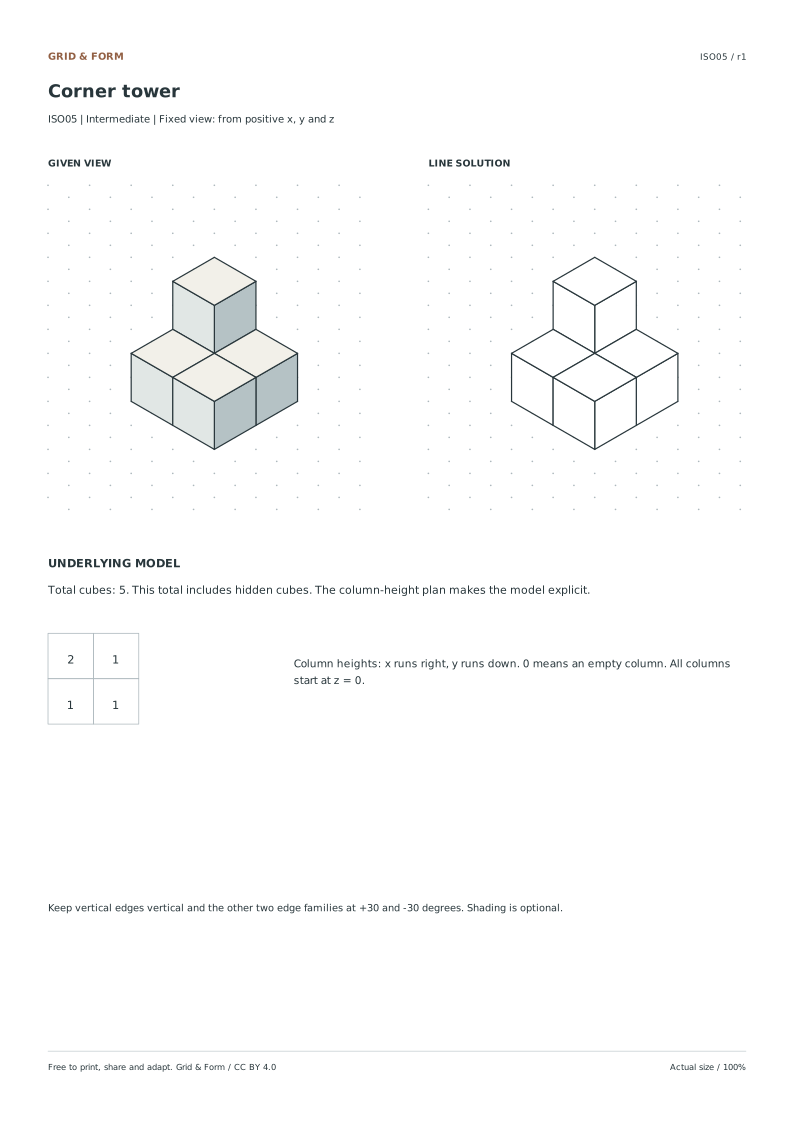
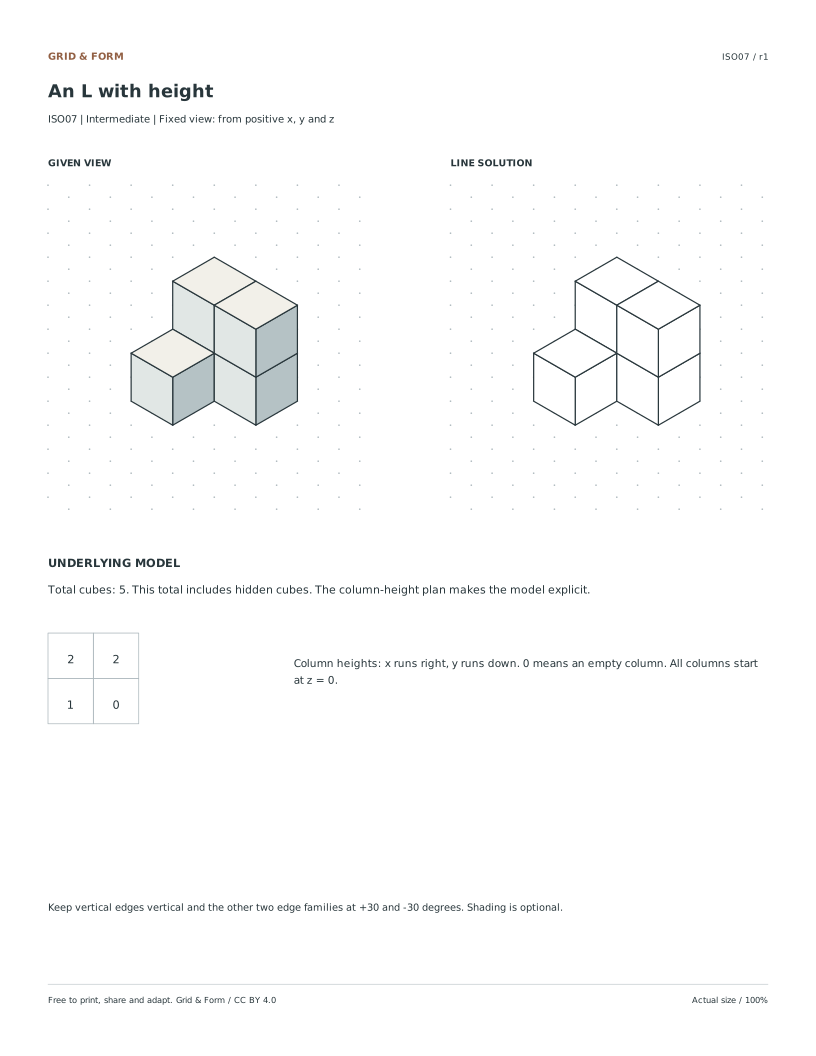
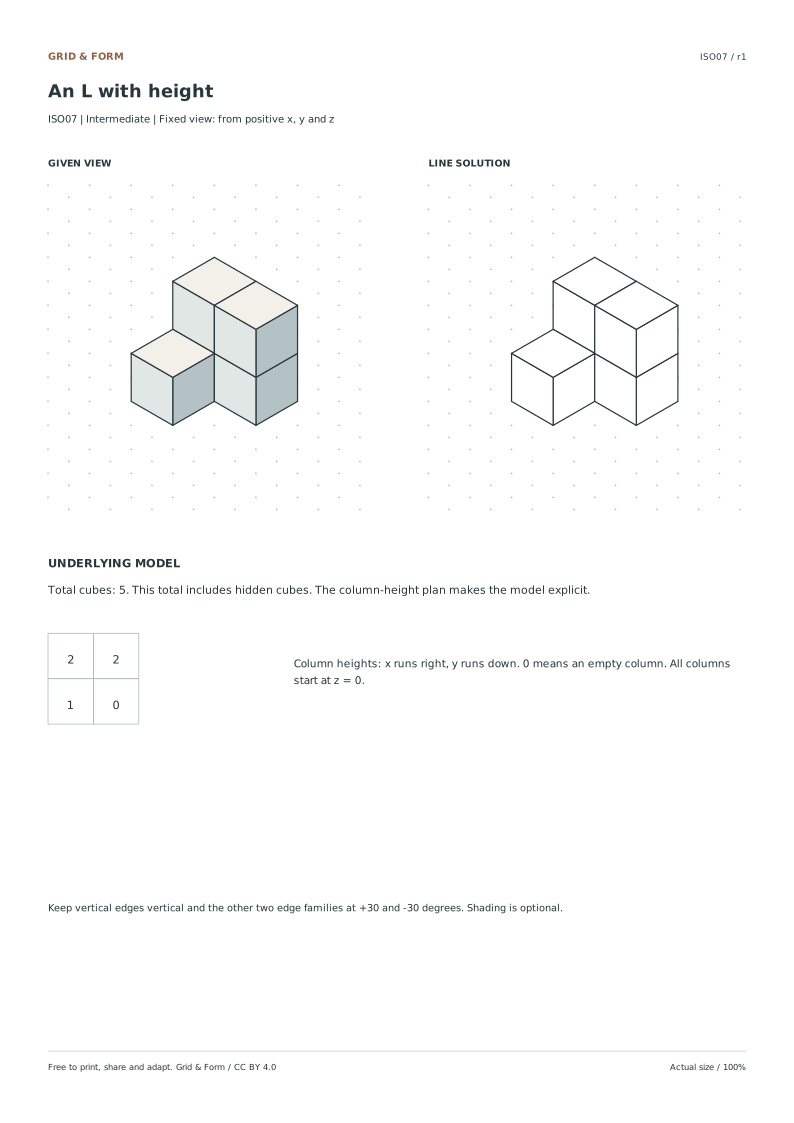
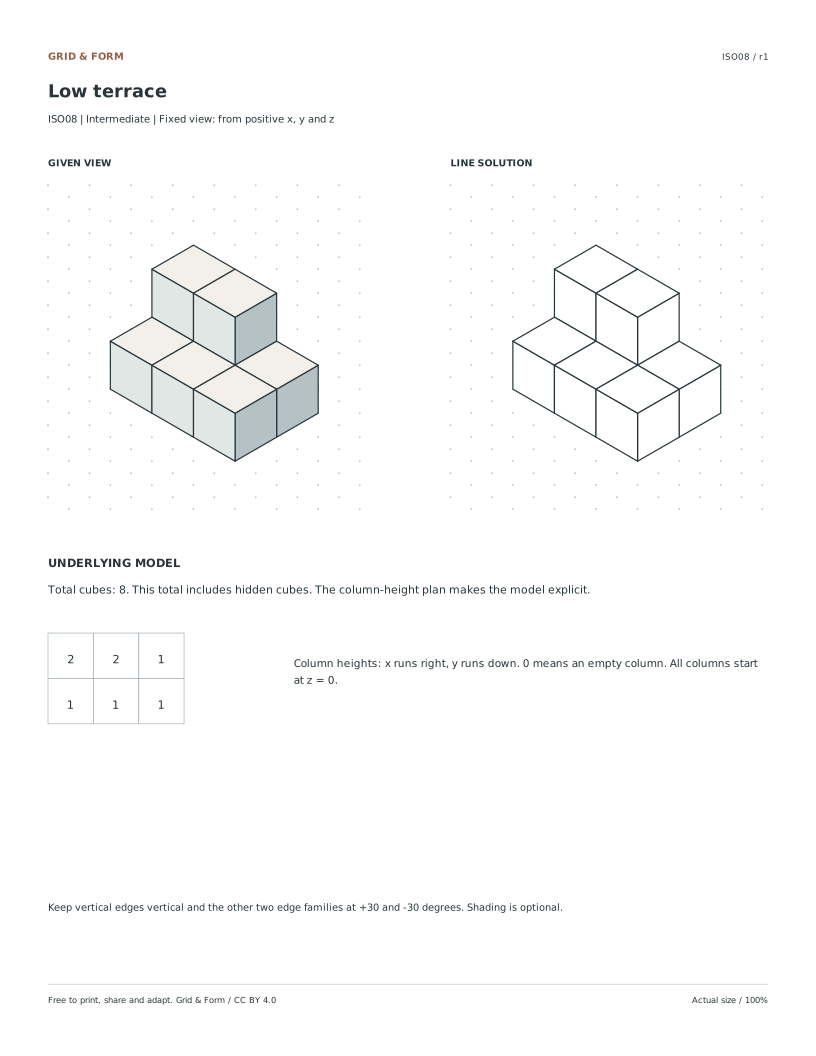
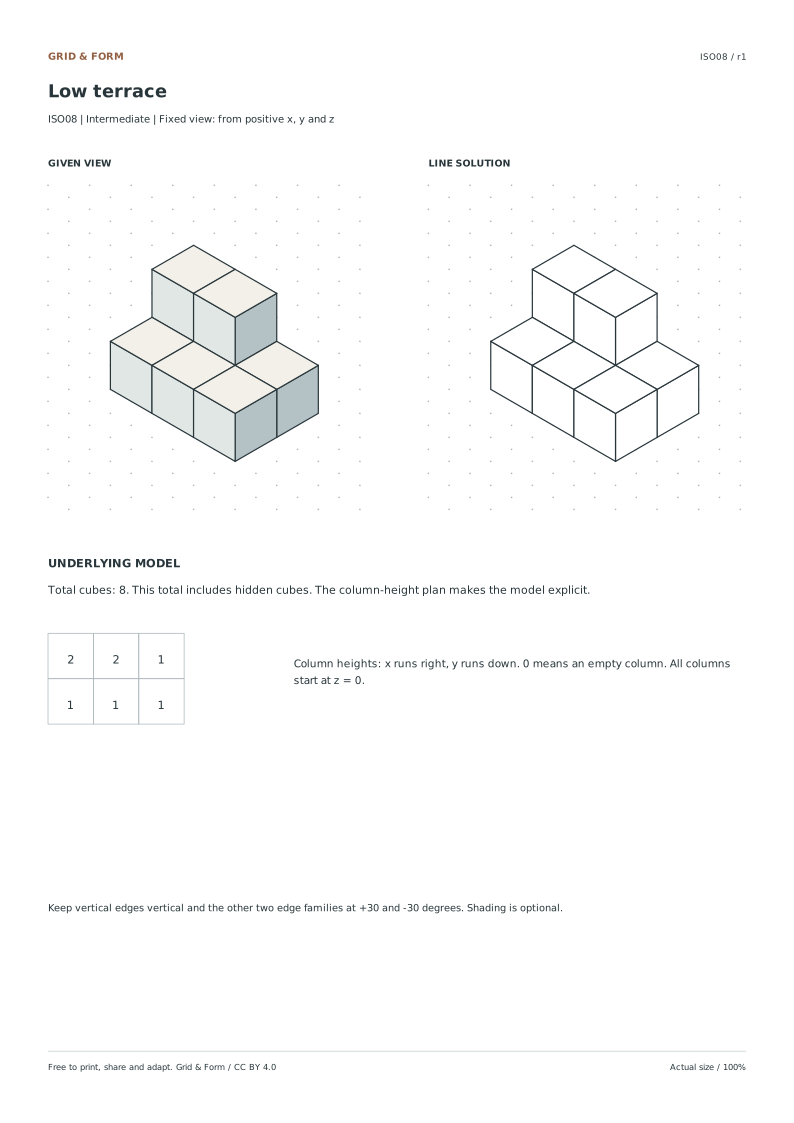
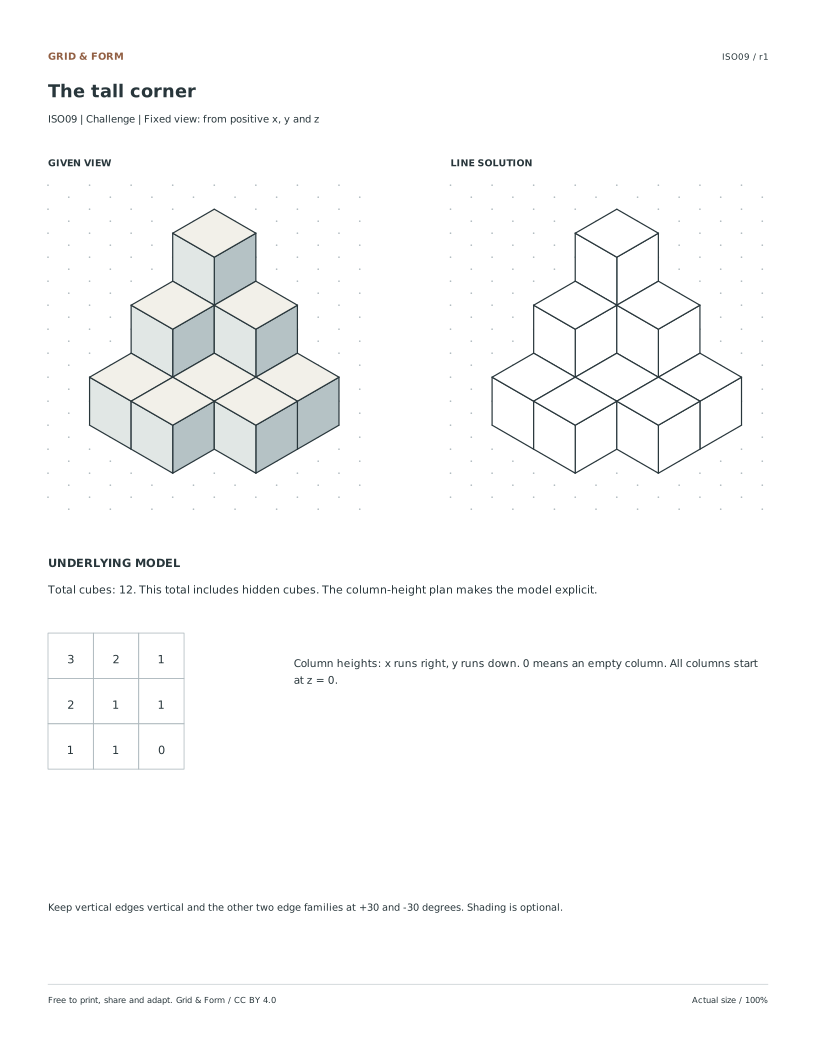
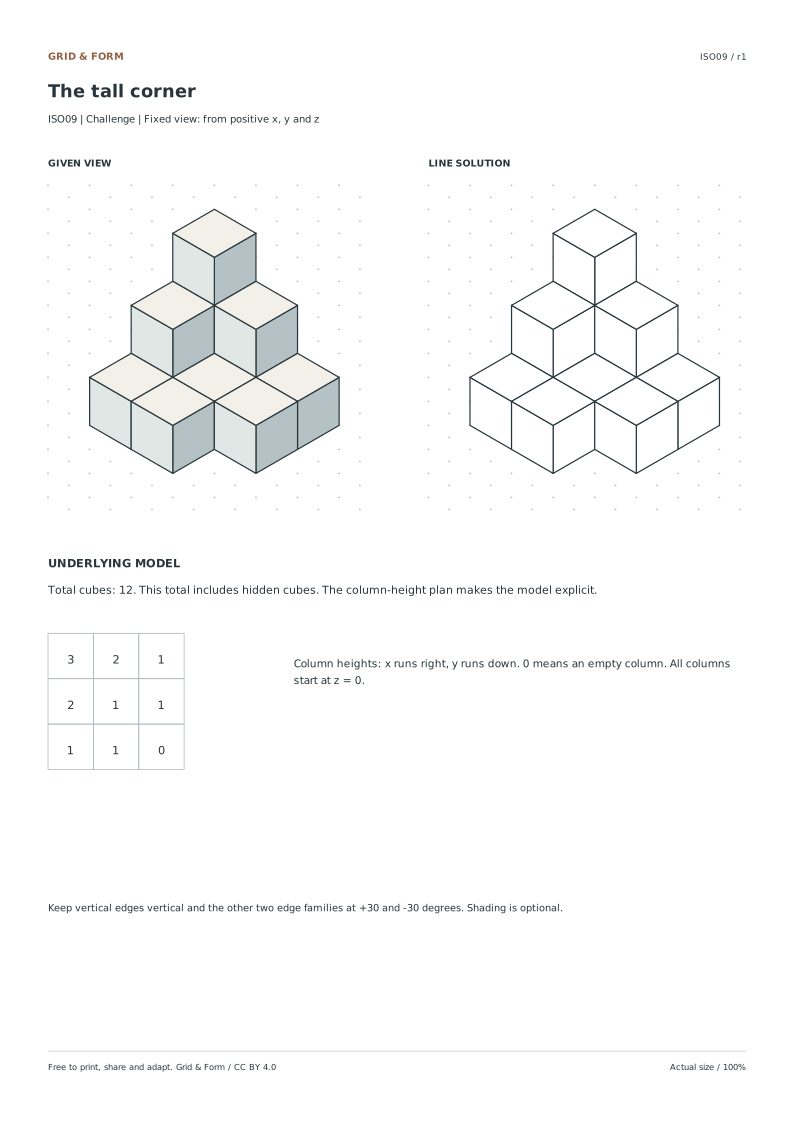
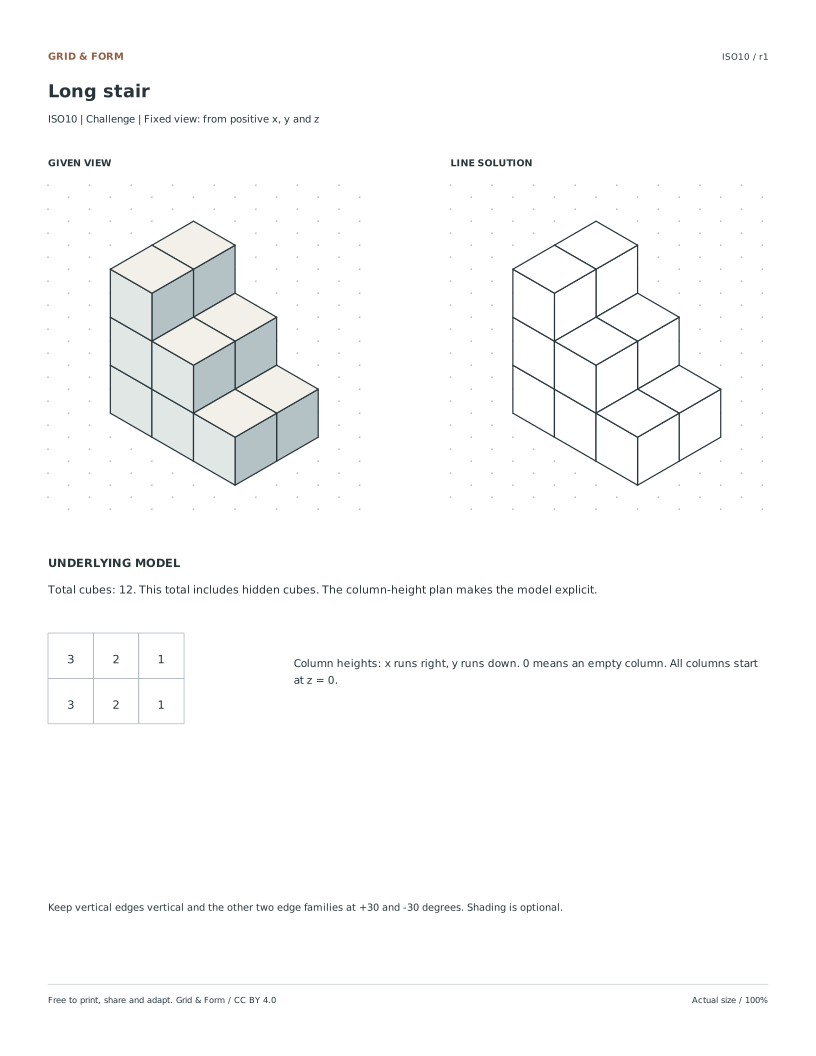
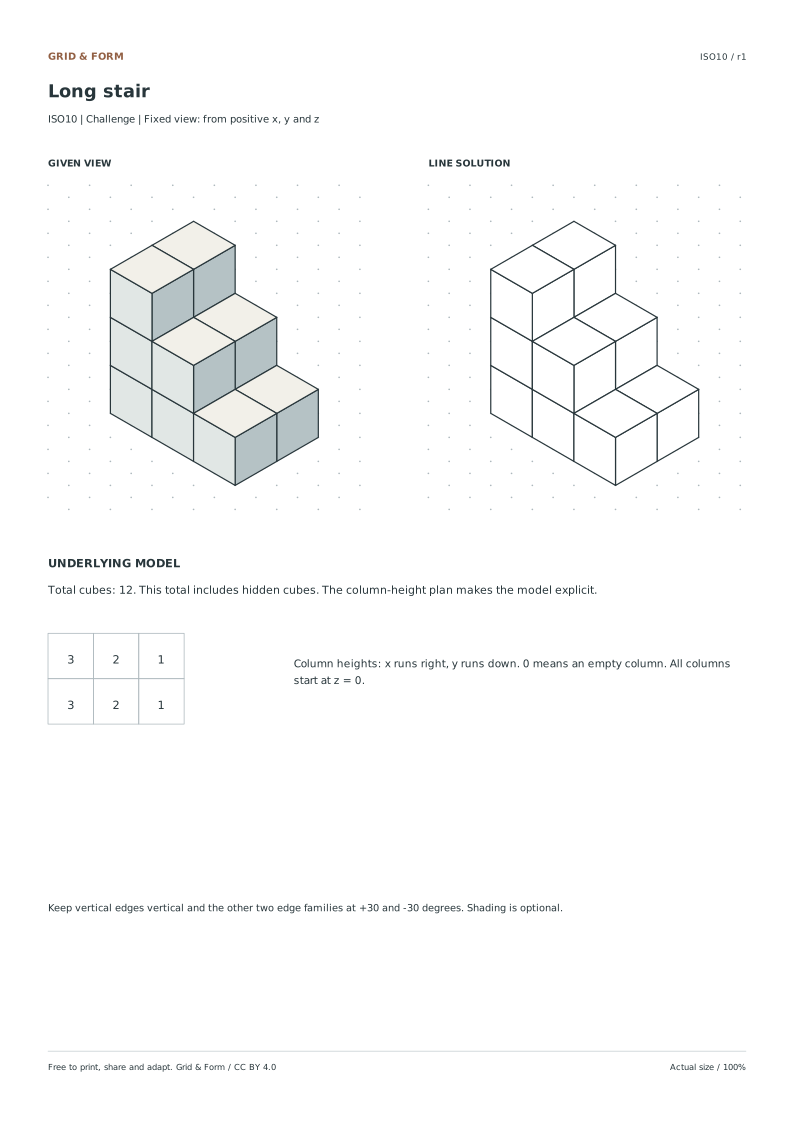
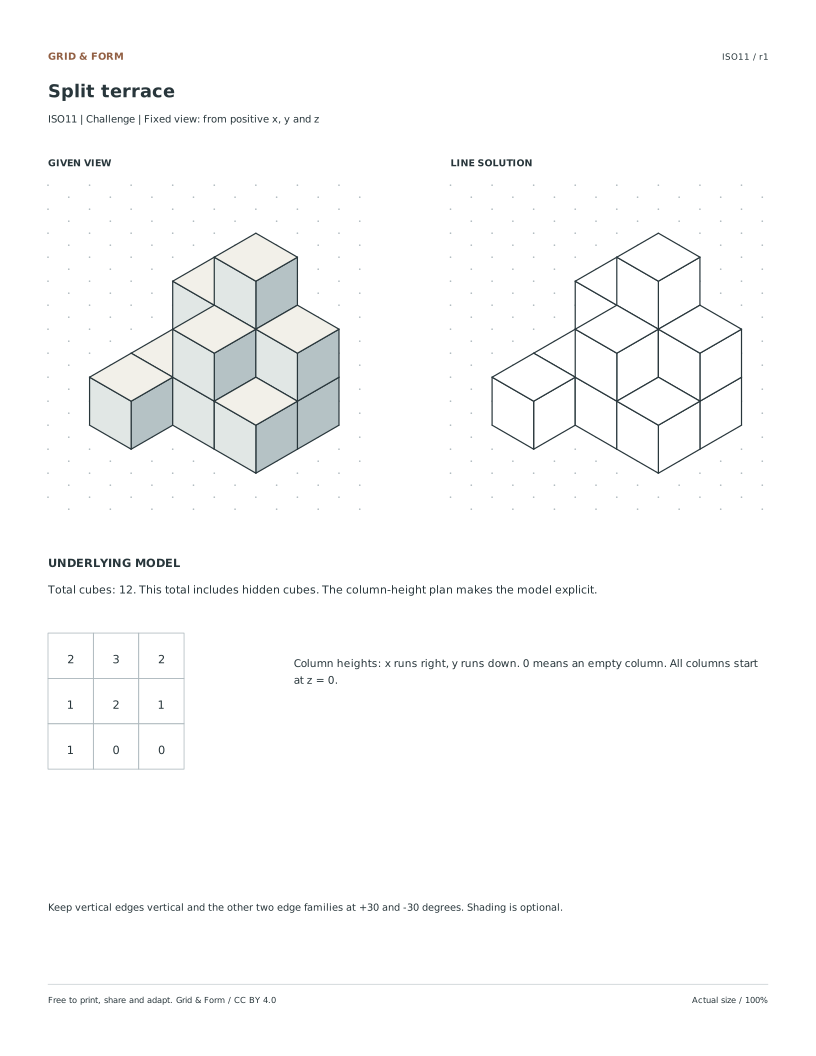
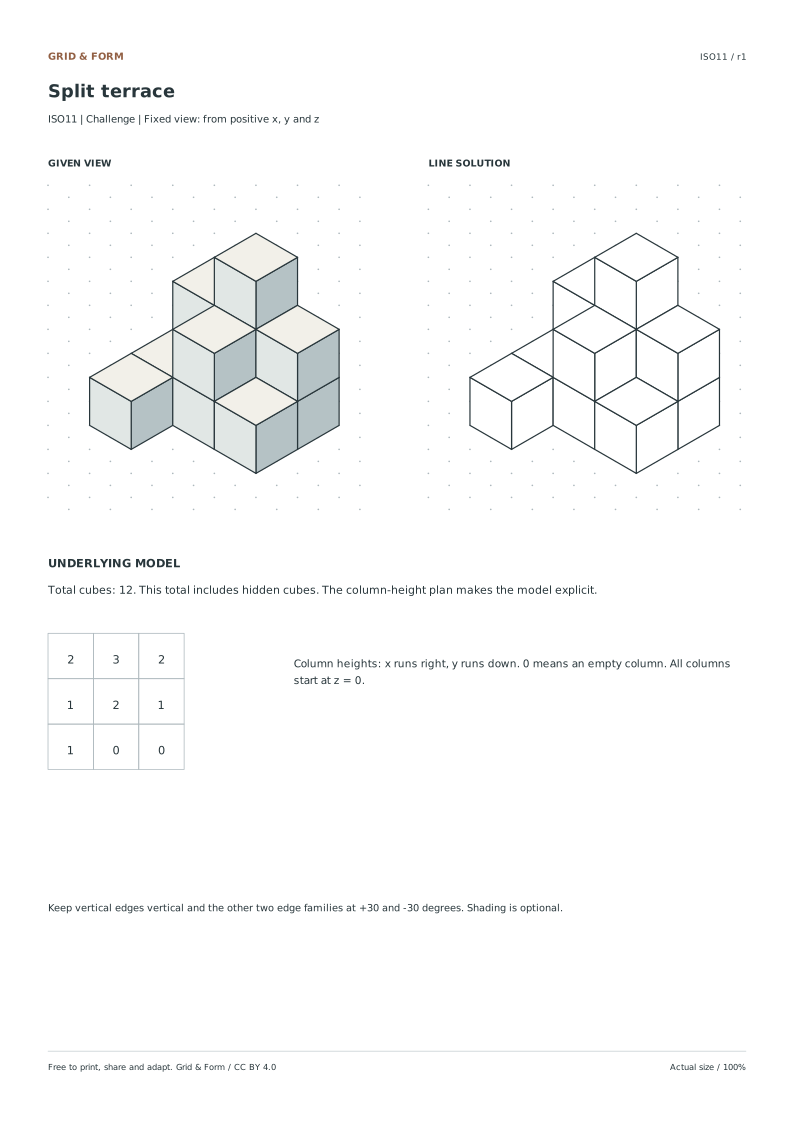
Each pack has four student pages or four solution pages. A solution shows the line drawing, the original view and the height of every underlying column.

Beginner

4 pages per file · free · CC BY 4.0

All paper sizes & editable formats
US Letter
A4

Intermediate

4 pages per file · free · CC BY 4.0

All paper sizes & editable formats
US Letter
A4

Challenge

4 pages per file · free · CC BY 4.0

All paper sizes & editable formats
US Letter
A4

Three directions. One consistent edge length.

  1. Read the given view.

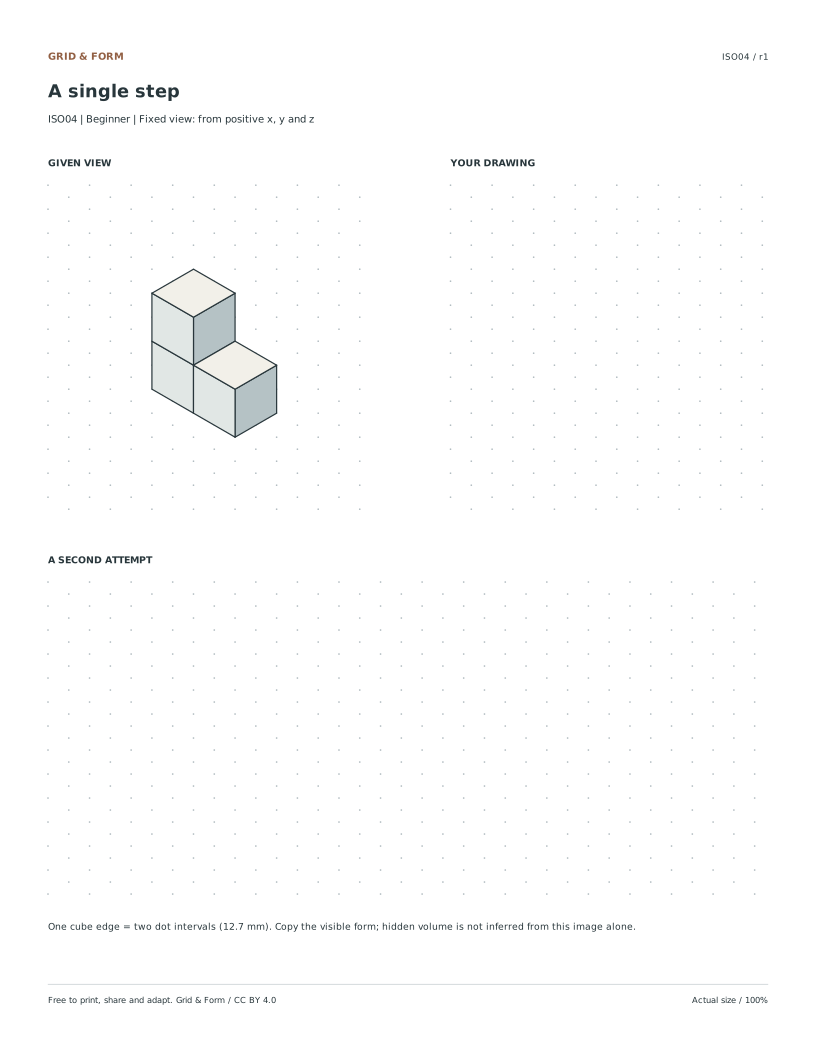
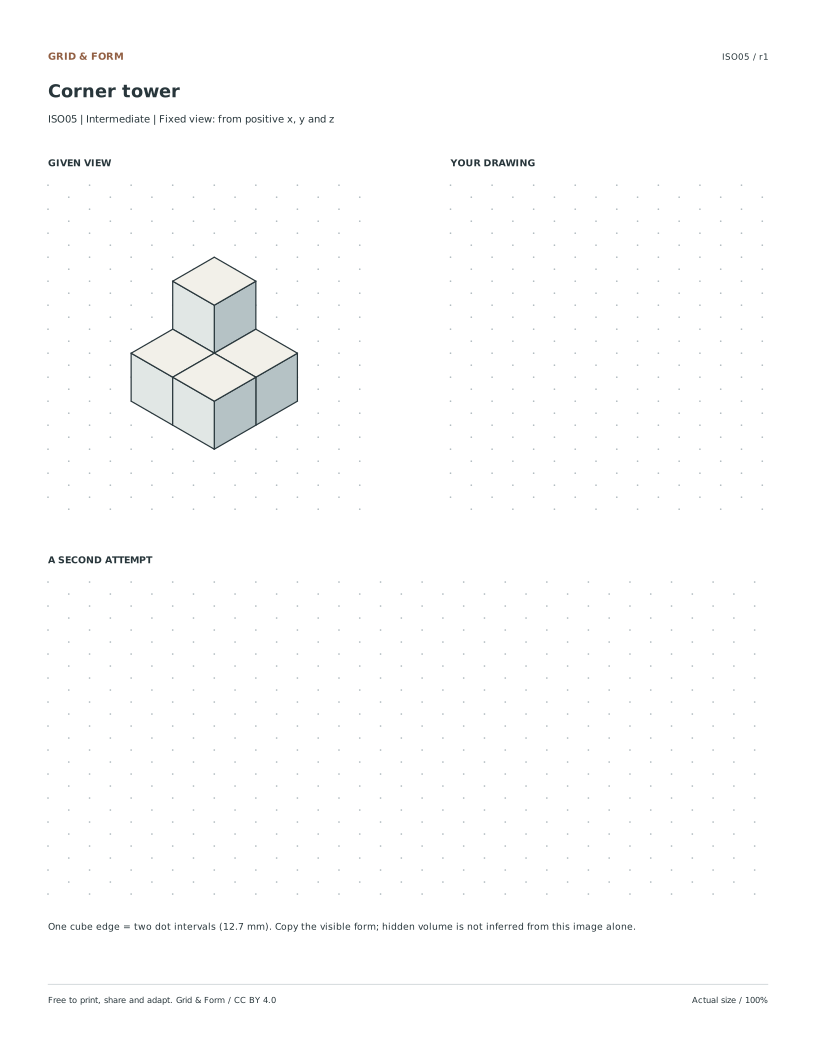
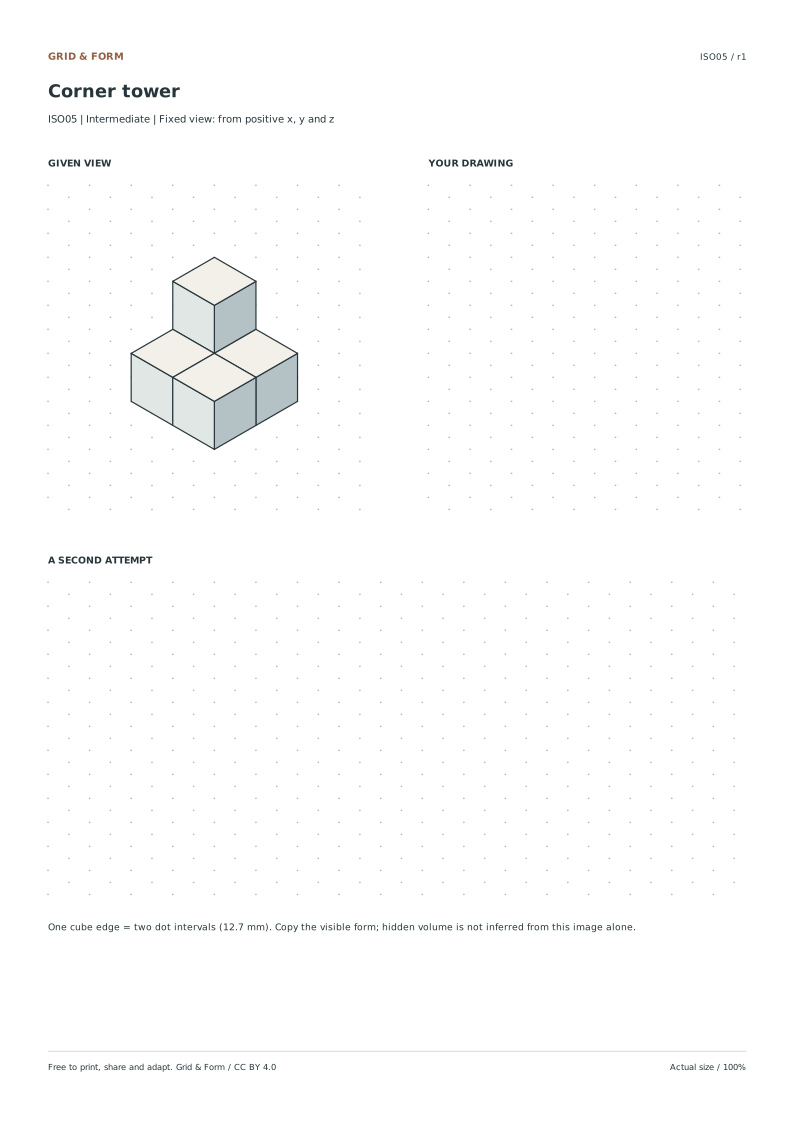
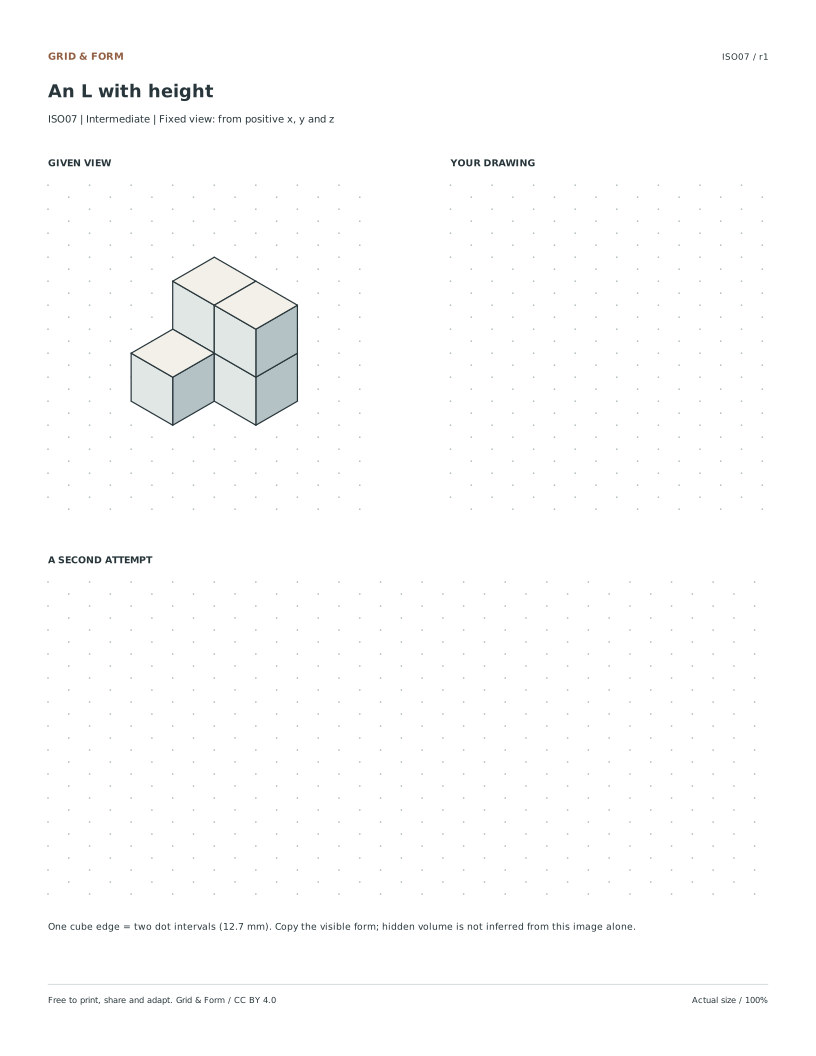
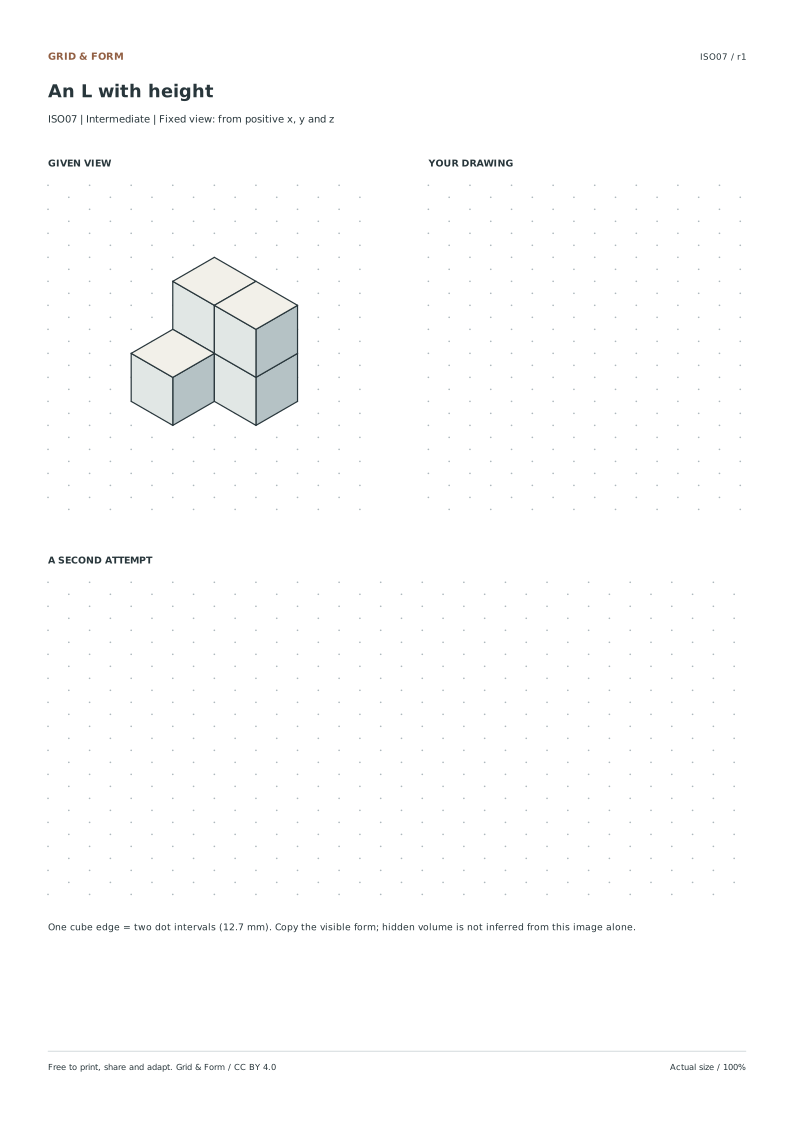
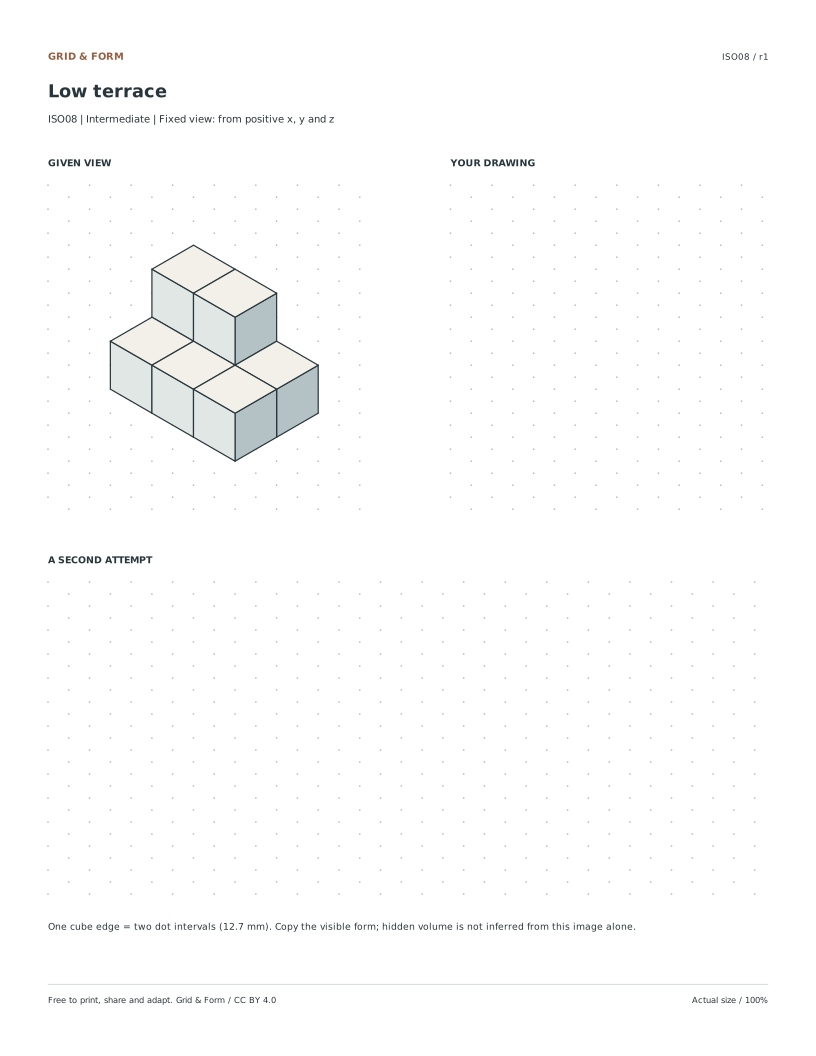
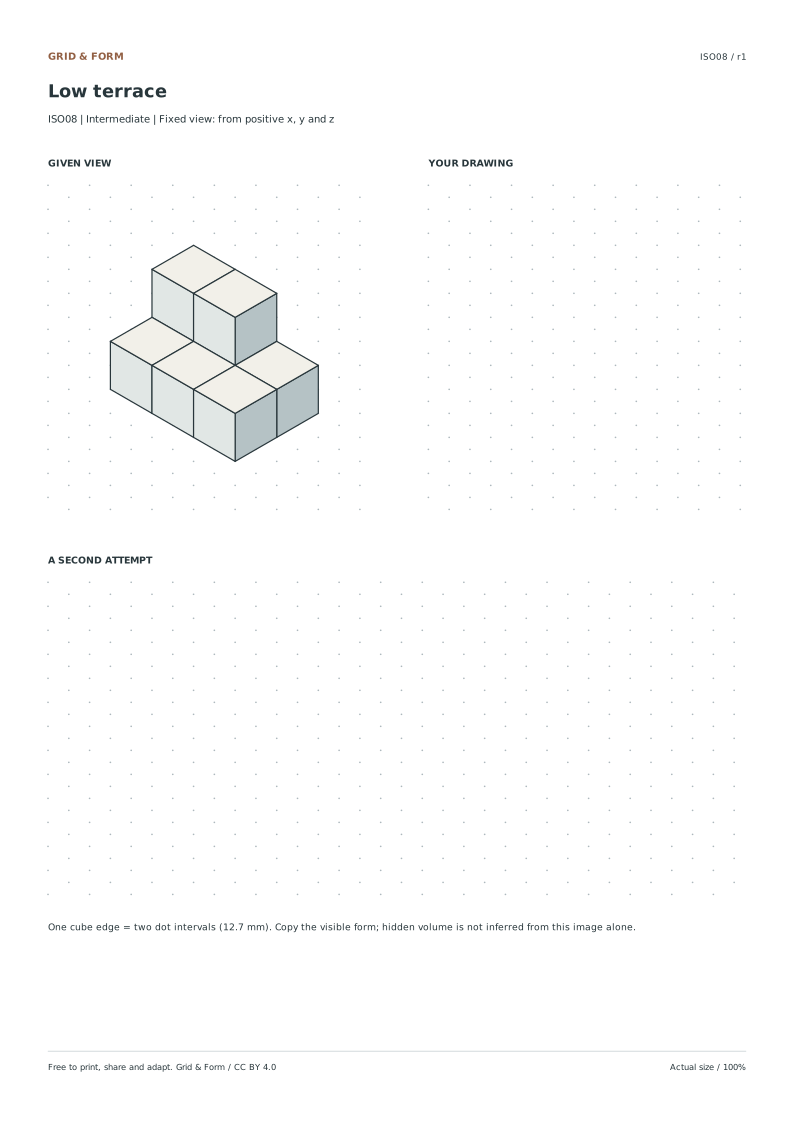
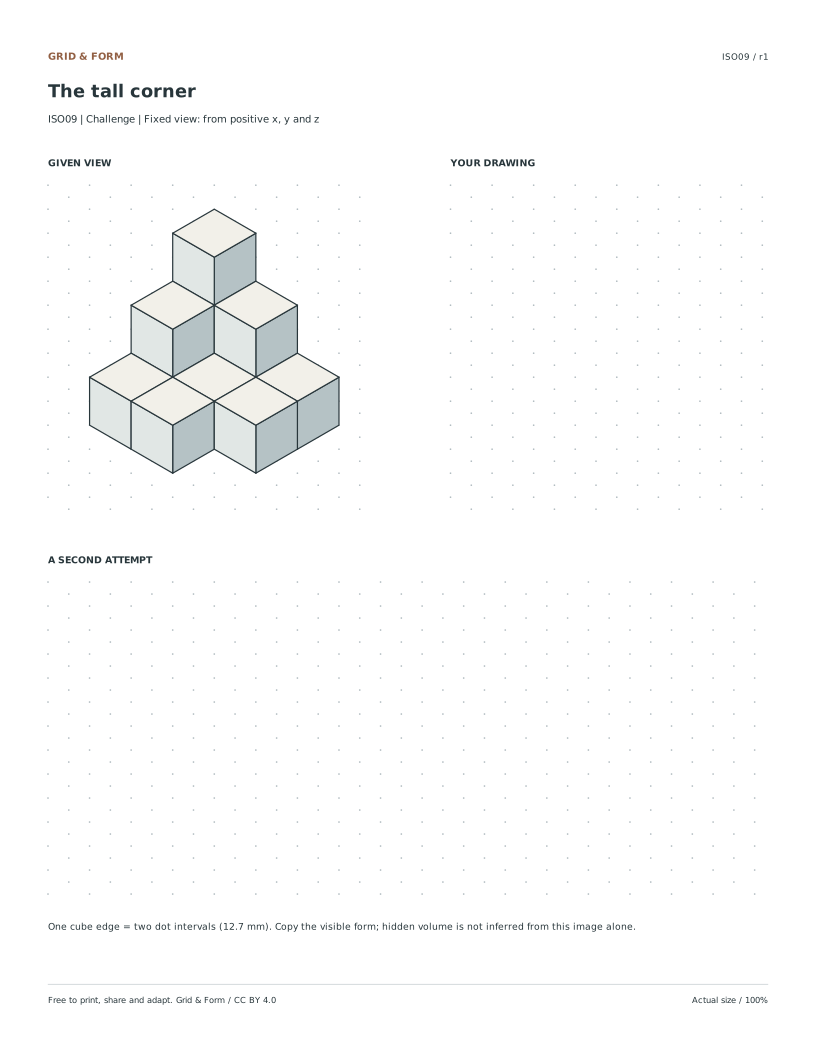
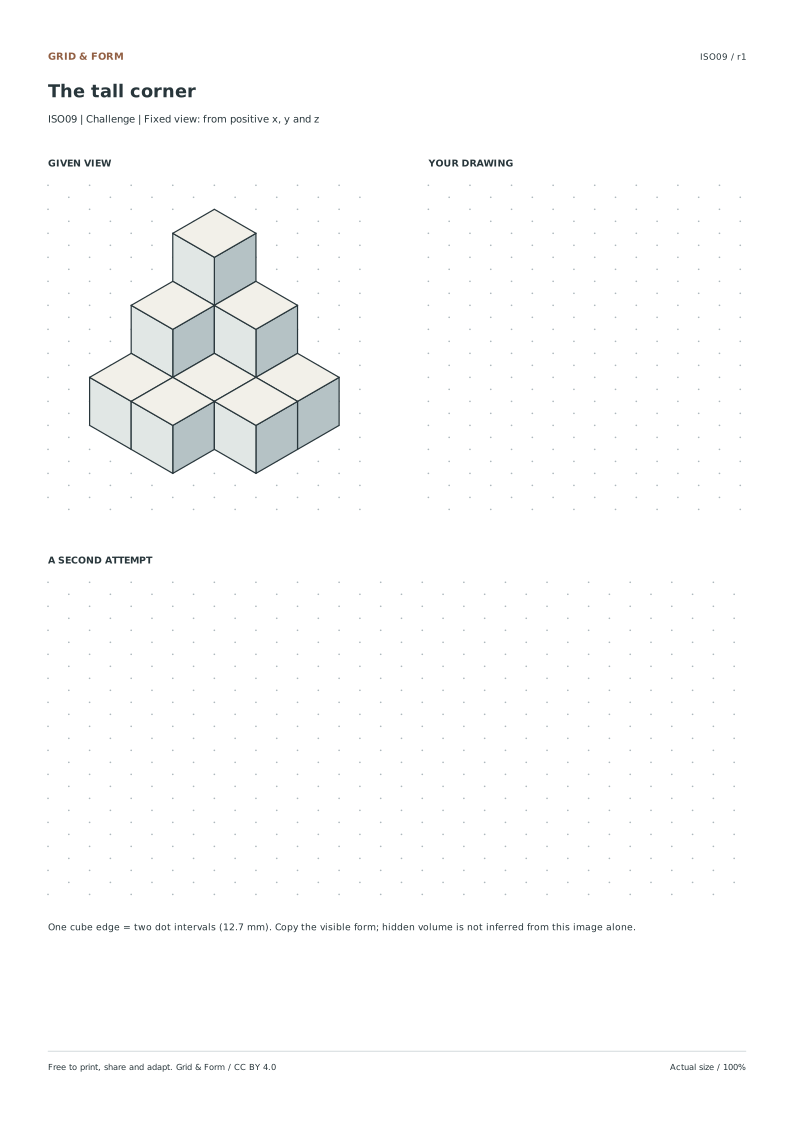
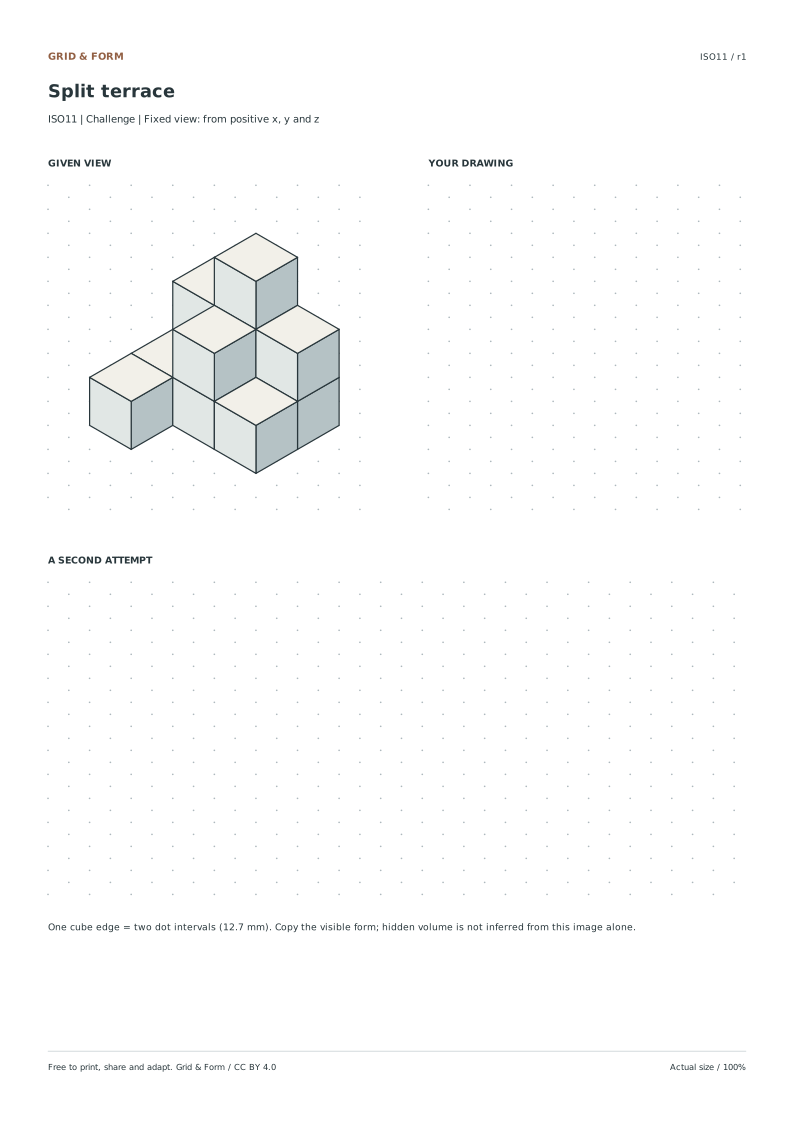
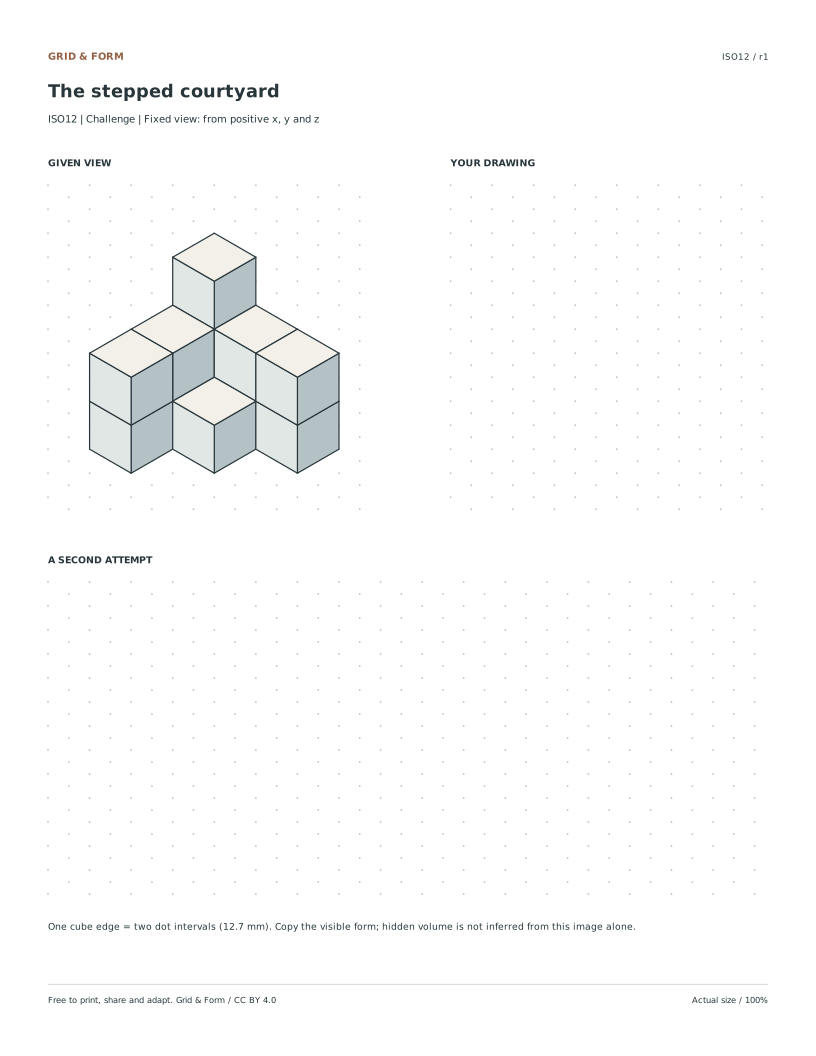
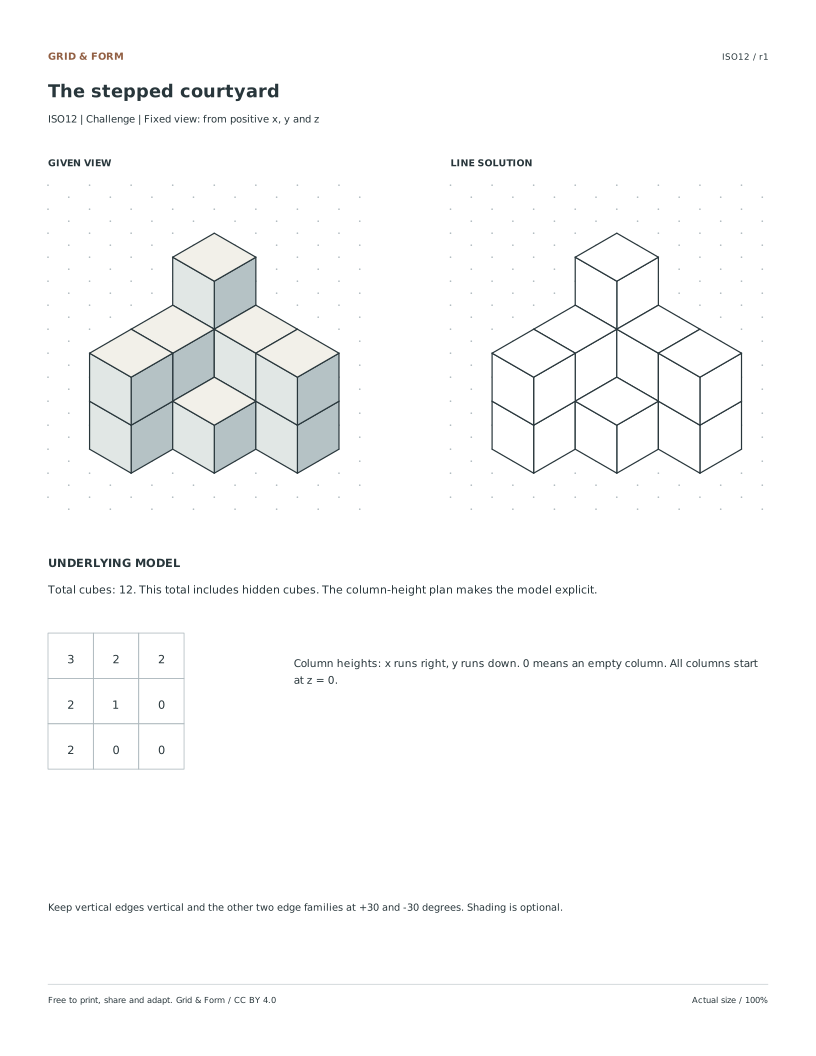
    The model is viewed from positive x, positive y and positive z. Keep that orientation; this is a copying exercise, not a task that asks you to choose a new viewpoint.

  2. Choose an anchor.

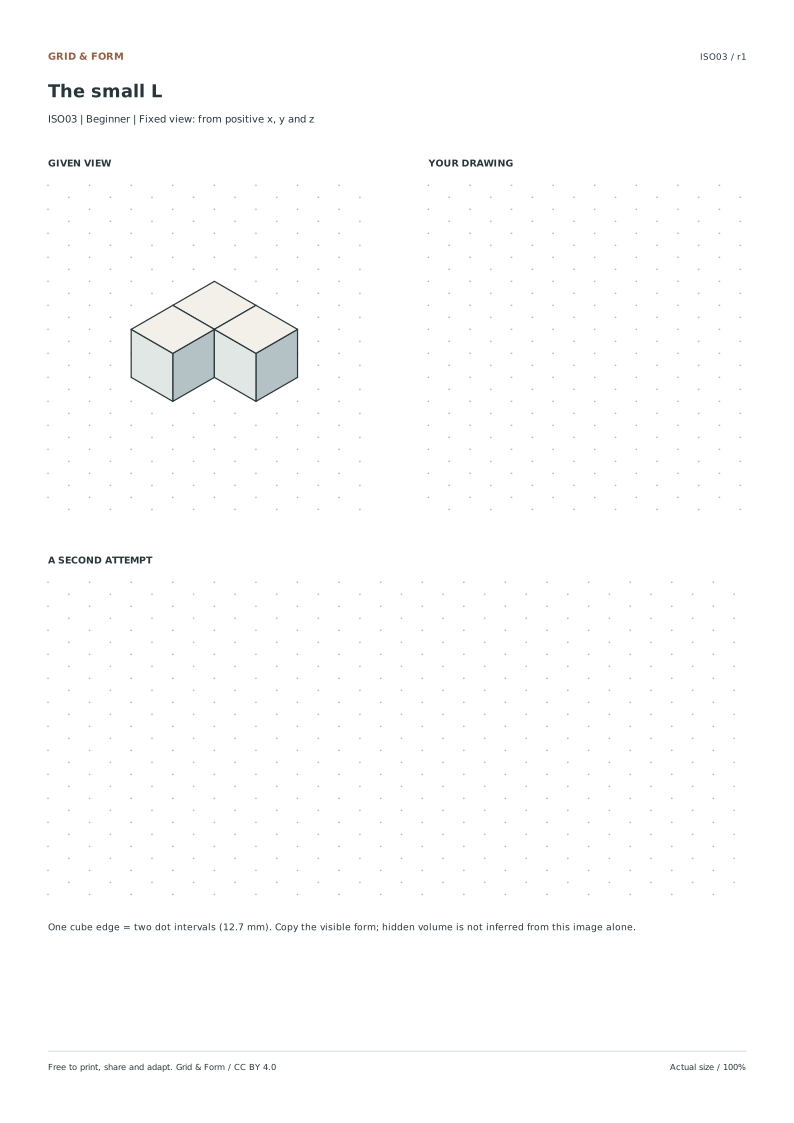
    Start from a visible corner that is easy to locate. Each cube edge spans two 6.35 mm dot intervals, making it 12.7 mm along that edge direction.

  3. Build the visible outline.

    Use vertical edges and diagonal edges at +30° and −30°. Keep matching edges parallel. Count dot intervals instead of estimating a new angle each time.

  4. Add the visible seams.

    Match the cube divisions in the reference. Keep hidden edges out of the visible outline. Shading can help separate faces, but it is optional.

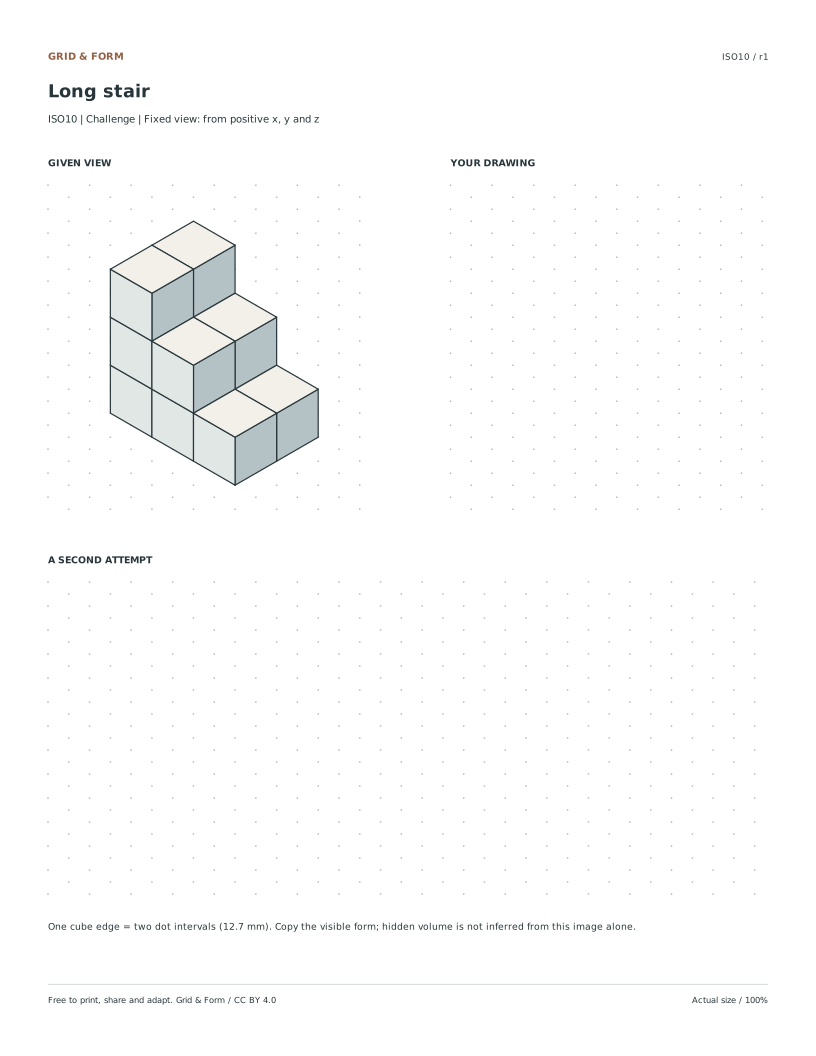
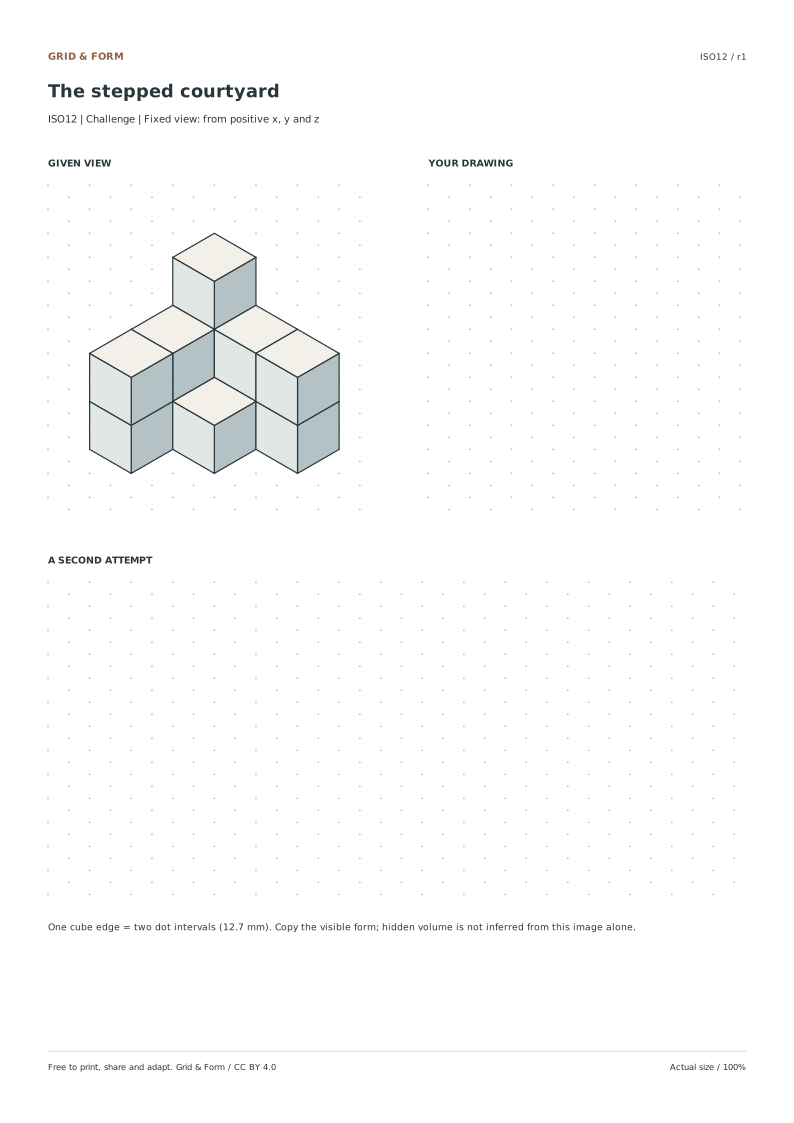
  5. Use the second workspace.

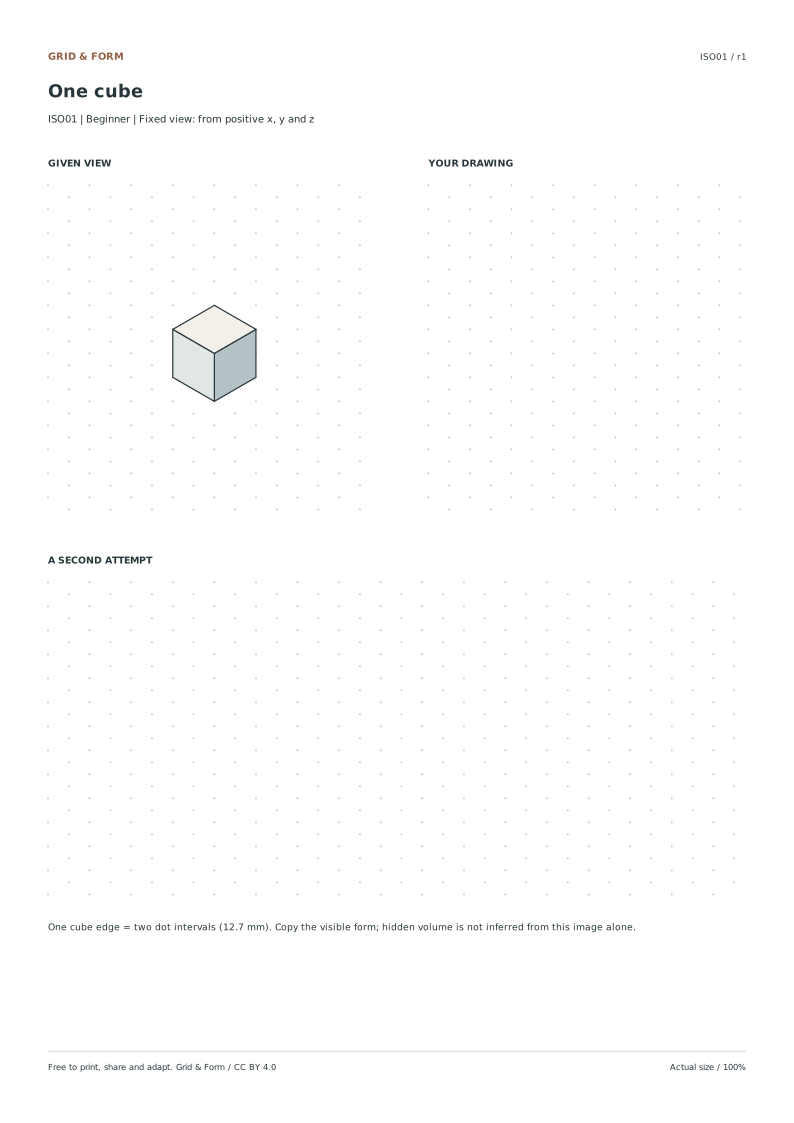
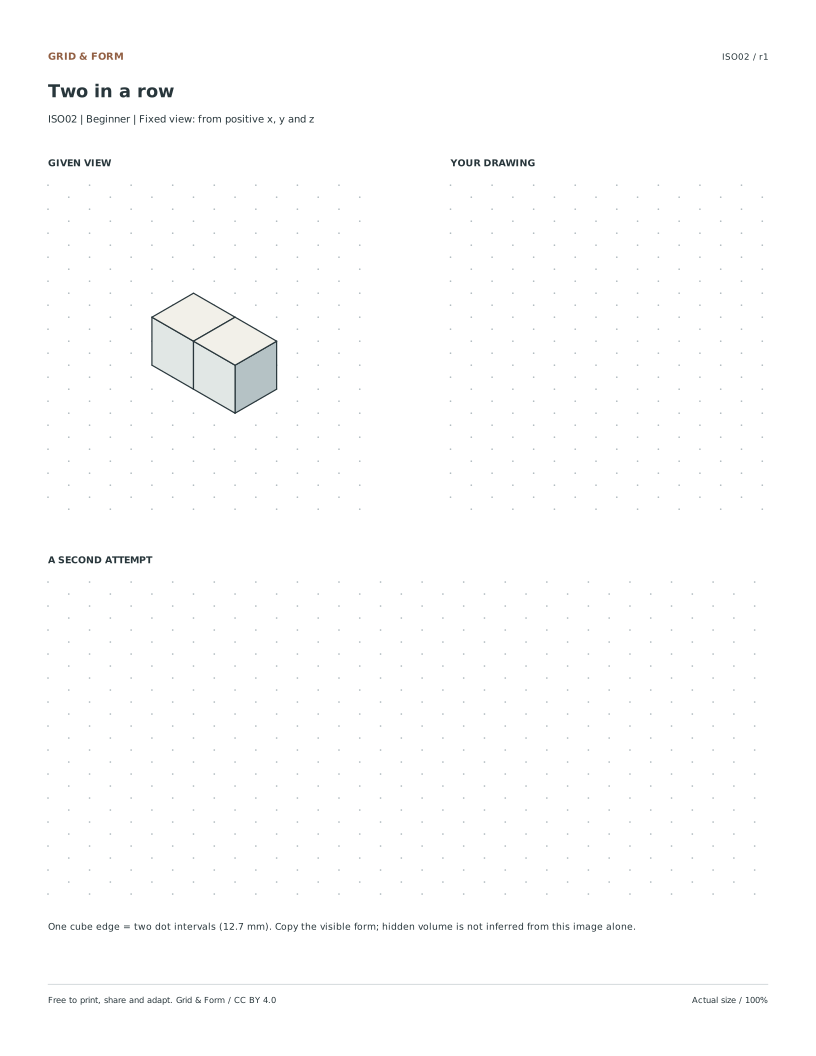
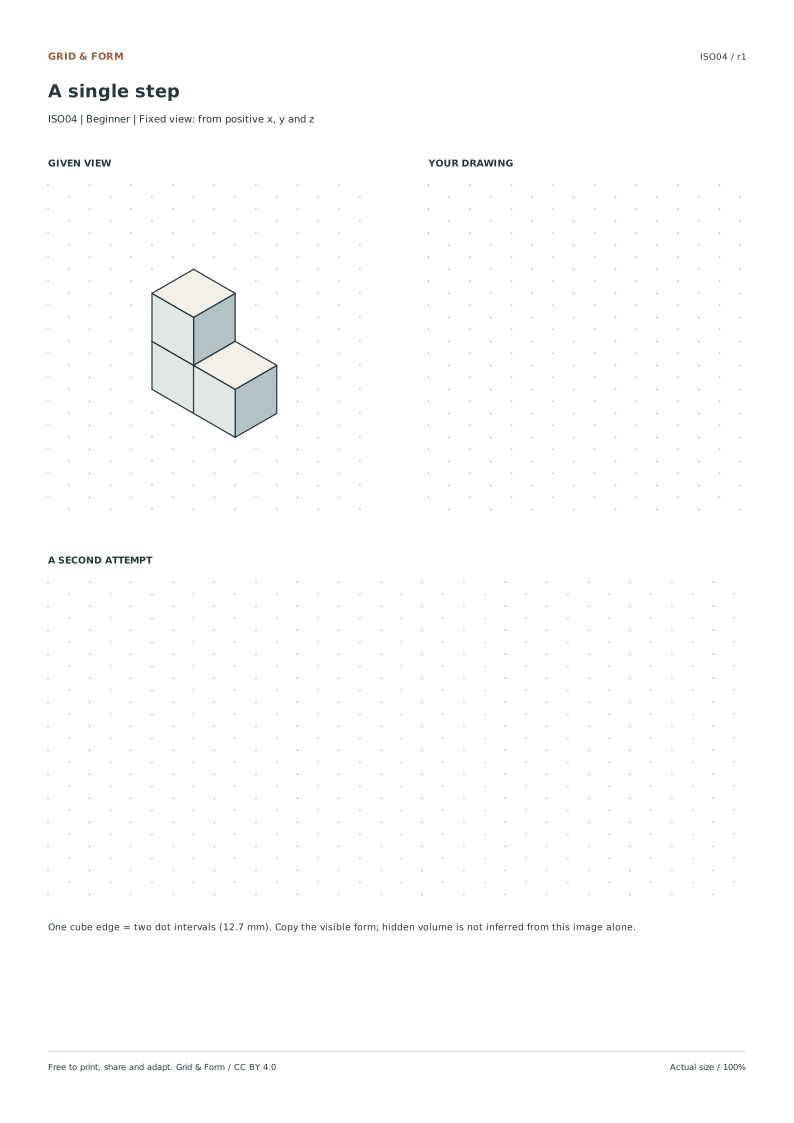
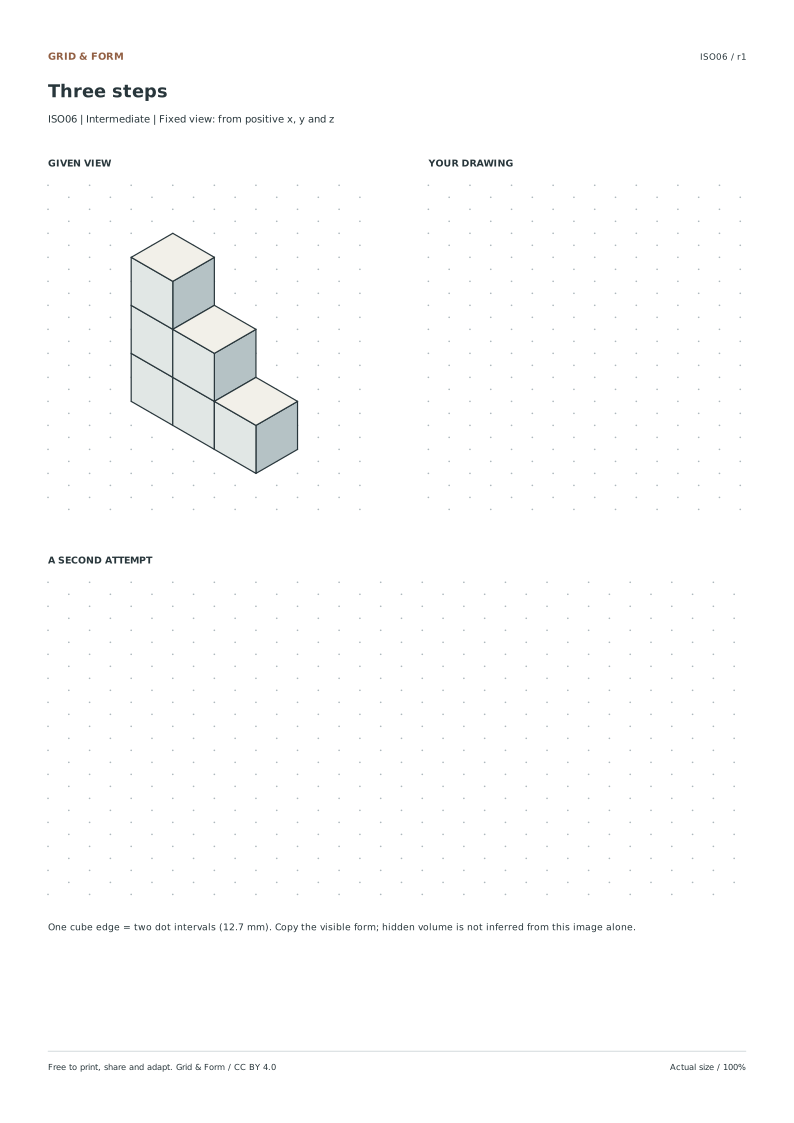
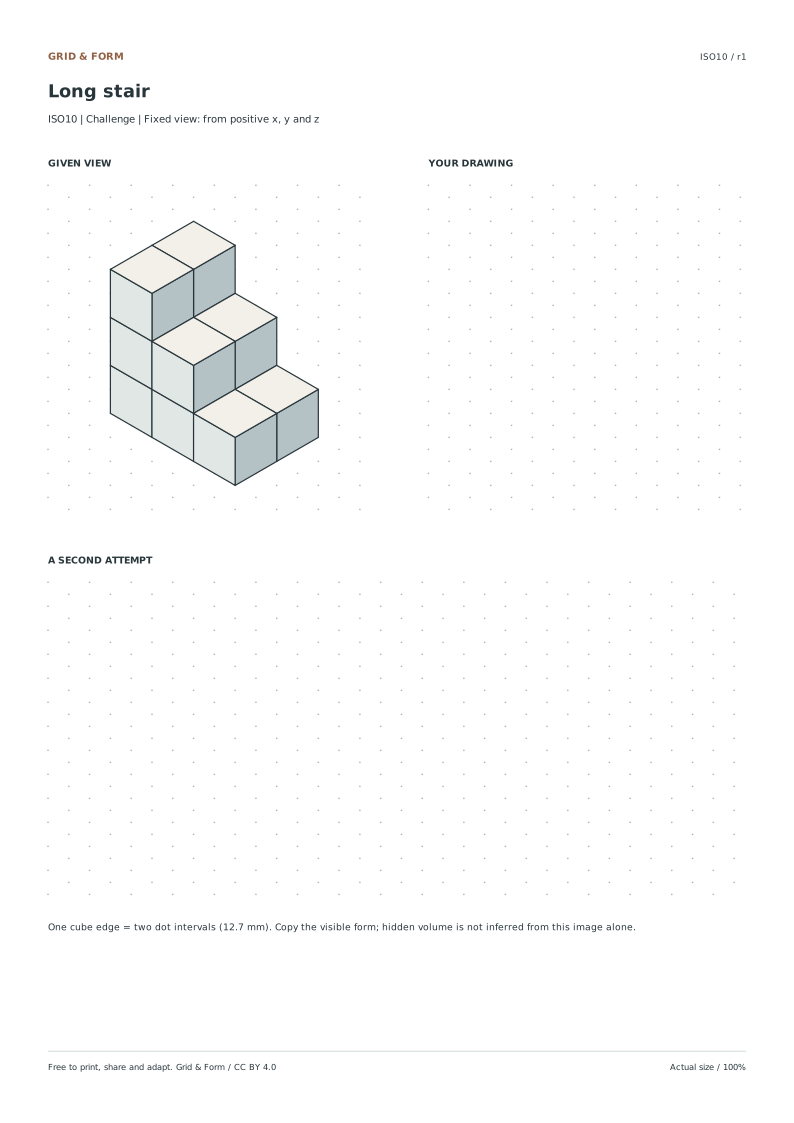
    Redraw the model on the wider blank grid below. Focus on a specific correction, such as a stair height or the direction of an edge.

A consistent lattice

Count along an edge.
Not across the page.

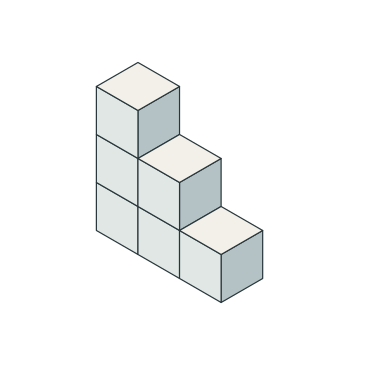
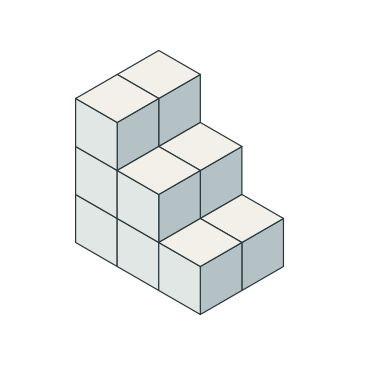
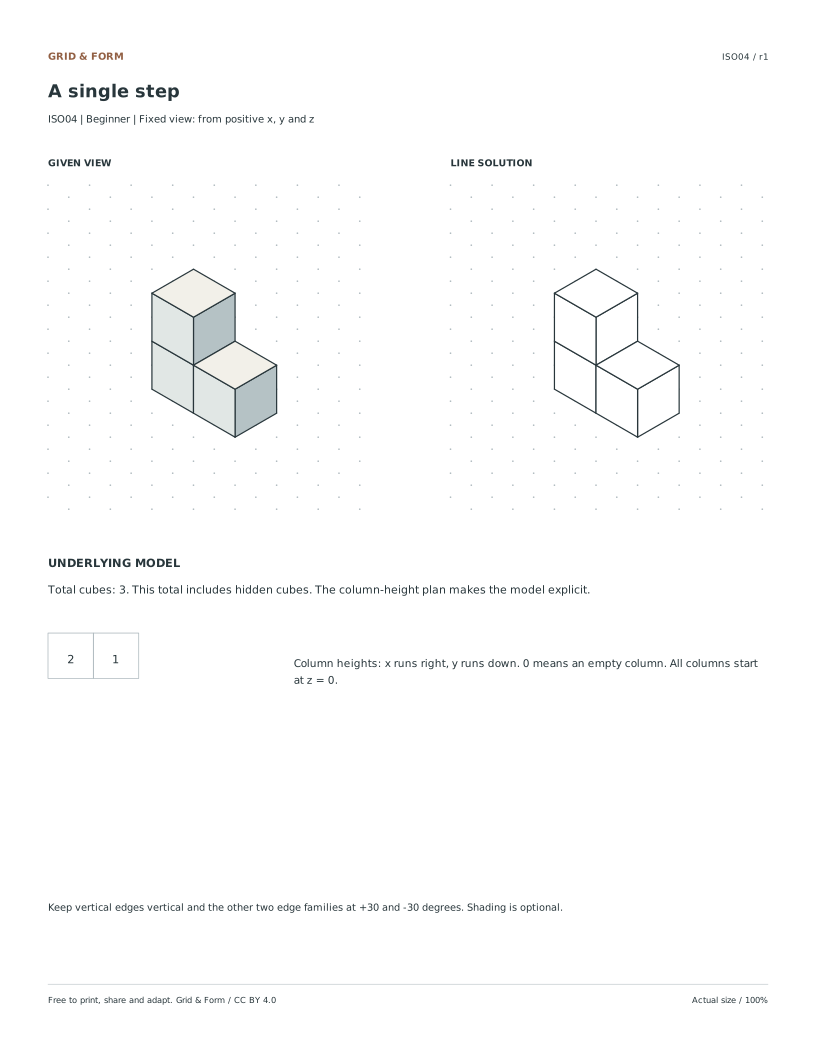
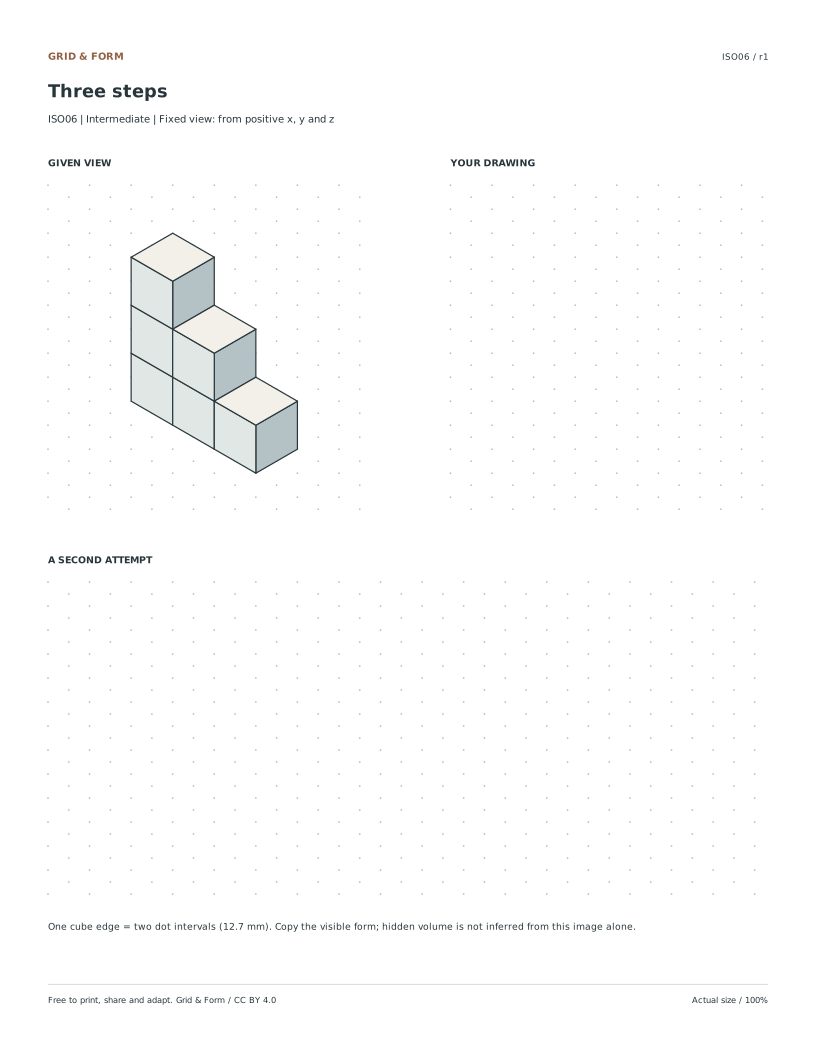
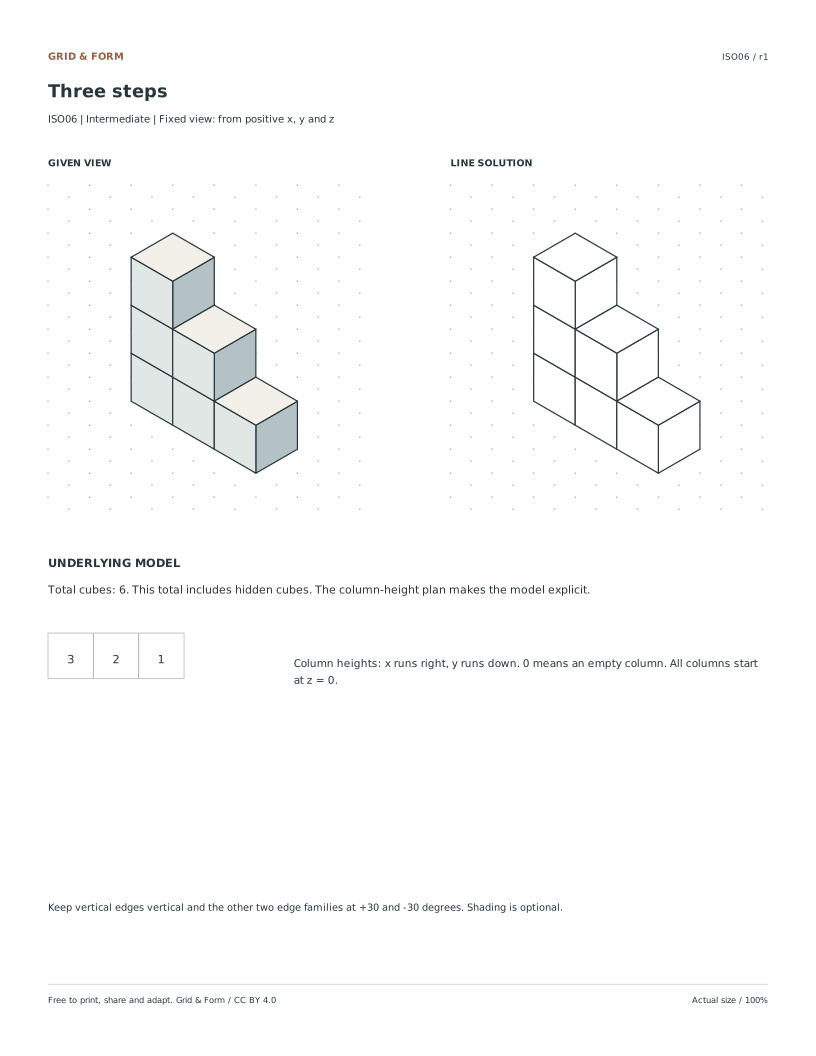
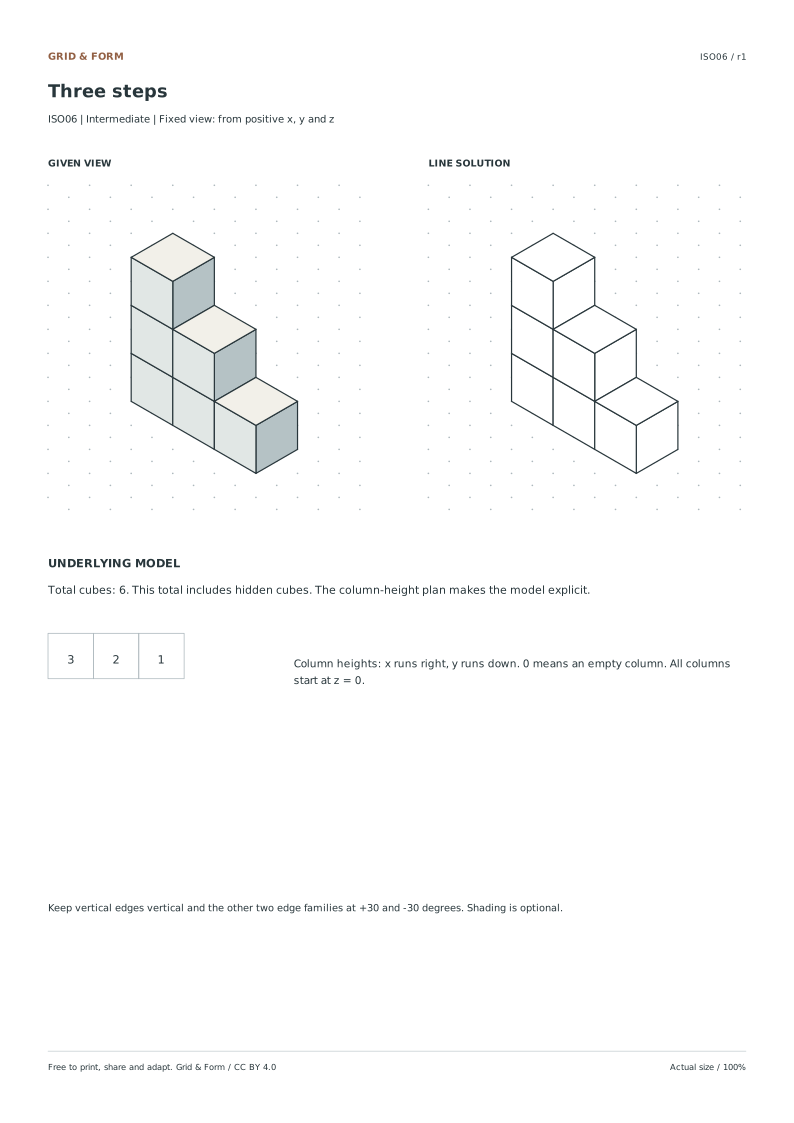
Three descending steps built from cubes

The horizontal distance between two diagonal points is shorter than the diagonal edge itself. Follow the intended grid direction when counting your two-interval cube edges.

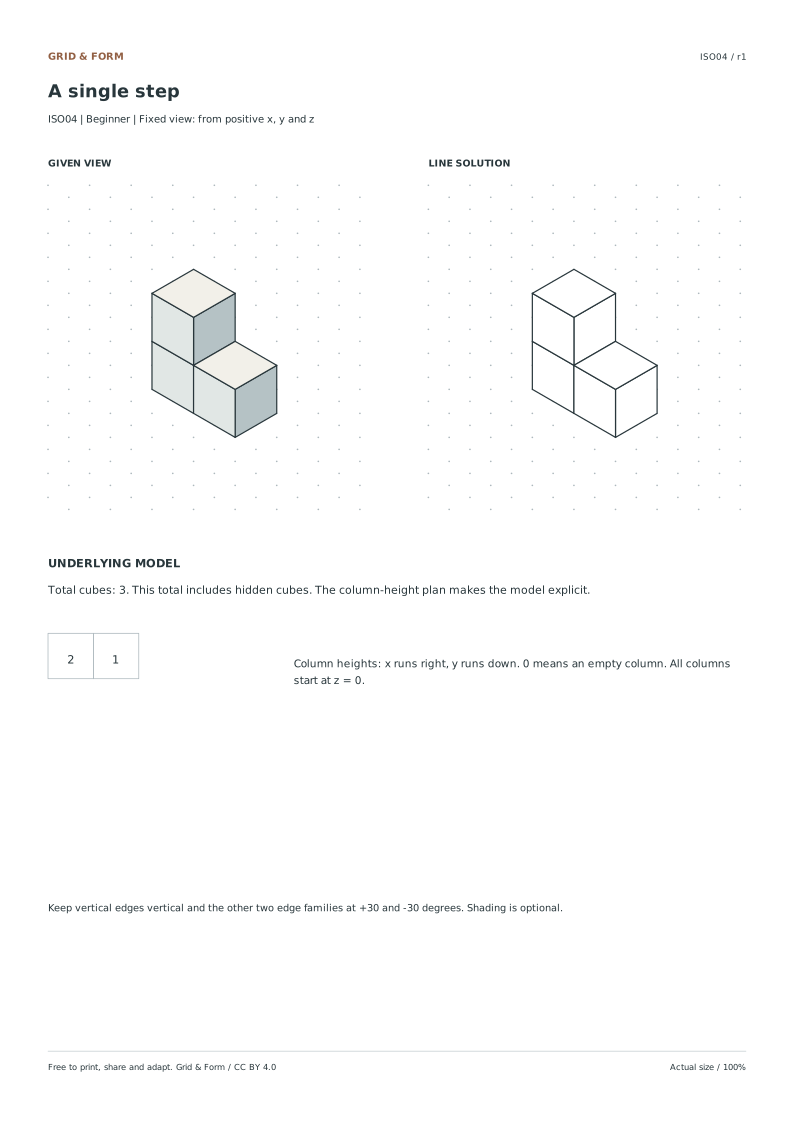
Read the solution and the height plan.

A visible view can hide a cube.

A single projected image does not always determine the volume behind it. These exercises ask you to reproduce the visible form. They do not ask you to prove a unique cube count from a silhouette.

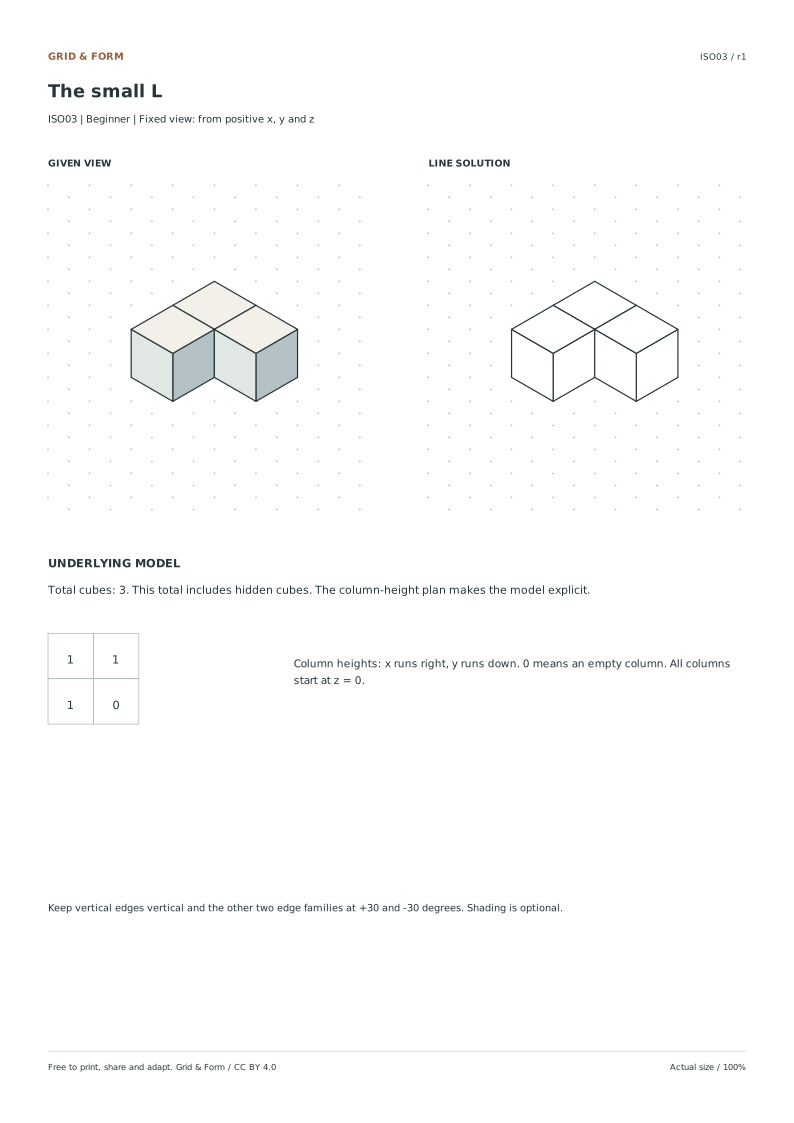
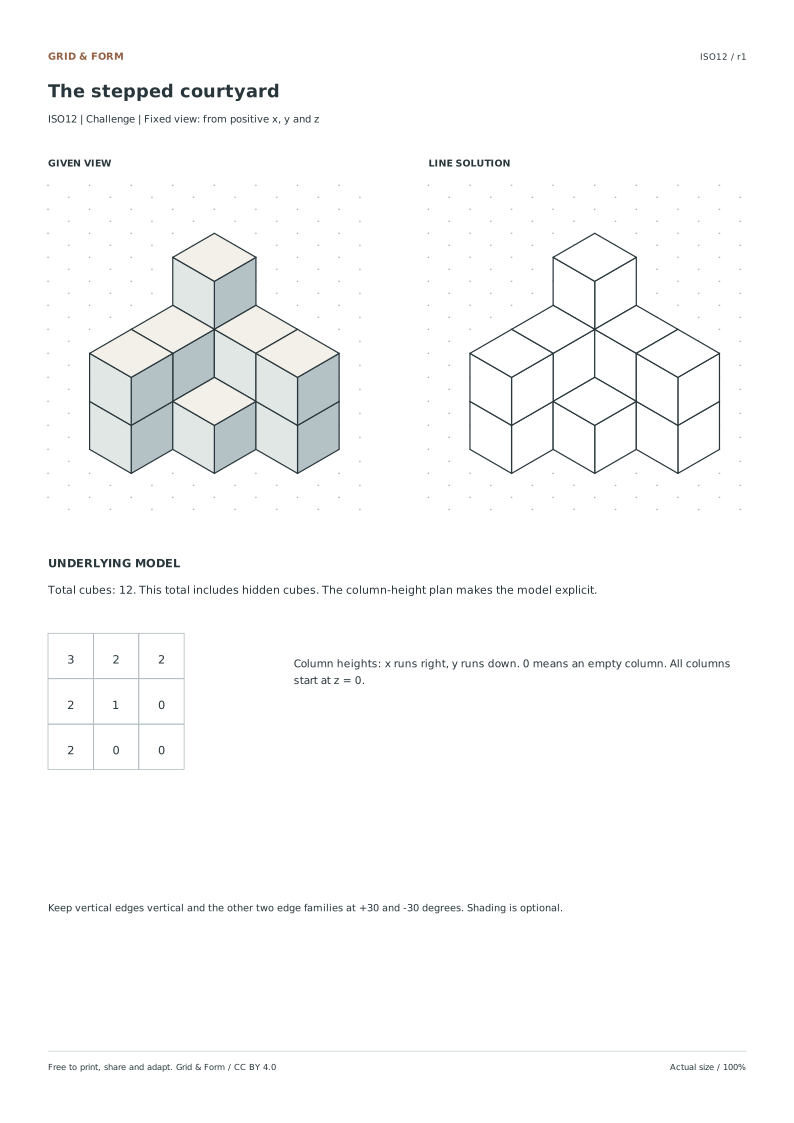
To remove that ambiguity in the answer, each solution also supplies a column-height plan. Every column begins at z = 0. A number gives its height in cubes; 0 means that position is empty.

Use the plan to understand the model.

In the answer table, x increases to the right and y increases downward. Add the column heights to obtain the stated total. This is model information supplied by the solution, including any hidden cubes.

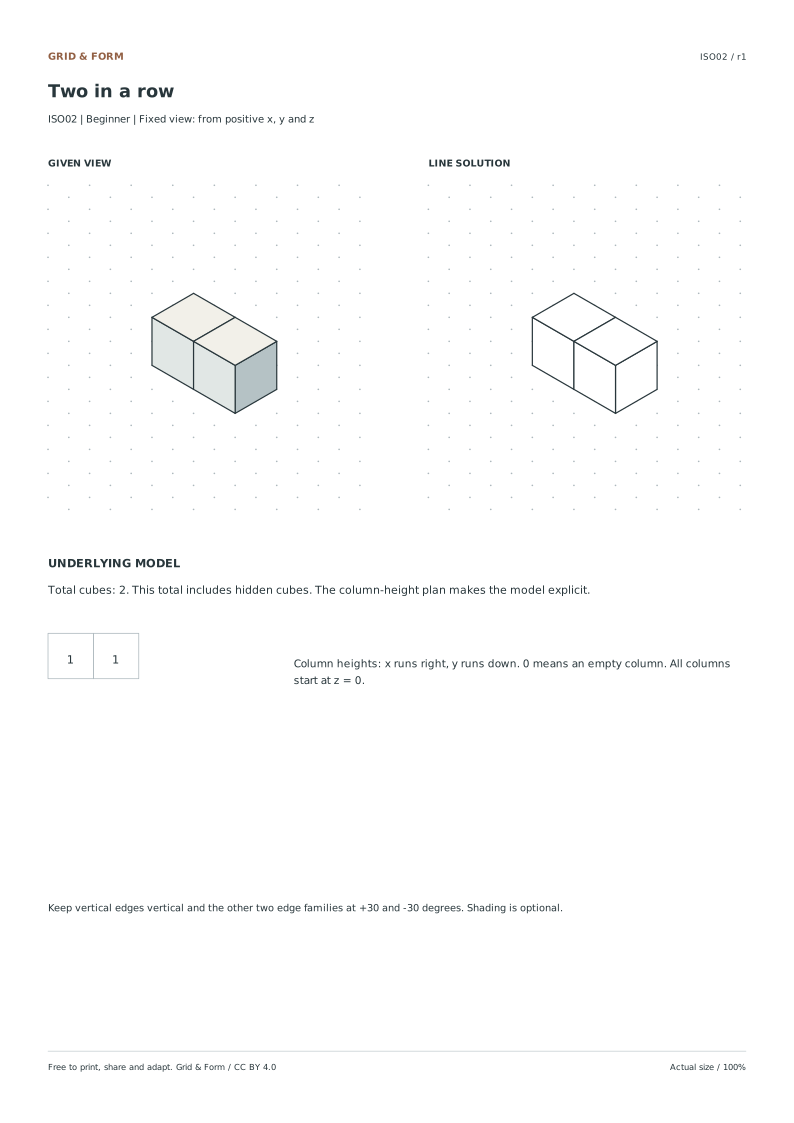
The line solution is generated from the same model as the shaded reference. Compare the outer shape, vertical heights, and the three edge families before judging small line wobbles.

A few useful answers

Before you begin

Do the models have unique hidden-volume answers?

The underlying models are explicit and their column heights have defined totals. The visible image alone may admit other hidden arrangements. The worksheet task is to copy the visible projection, not infer an unobservable unique volume.

Should I draw hidden edges as dashed lines?

Not in these copying exercises. Match the visible form and cube seams shown in the reference. Hidden-edge conventions would be a different task.

Why do answer sheets include both a shaded model and a line version?

The shaded reference helps distinguish face directions. The line version makes the edge structure easier to compare with a pencil drawing. Both come from the same coordinates.

Can I change the cube size?

For the matching worksheets, keep each cube edge at two dot intervals. On blank isometric paper you can choose a different number of intervals, as long as all three directions use the same edge length.

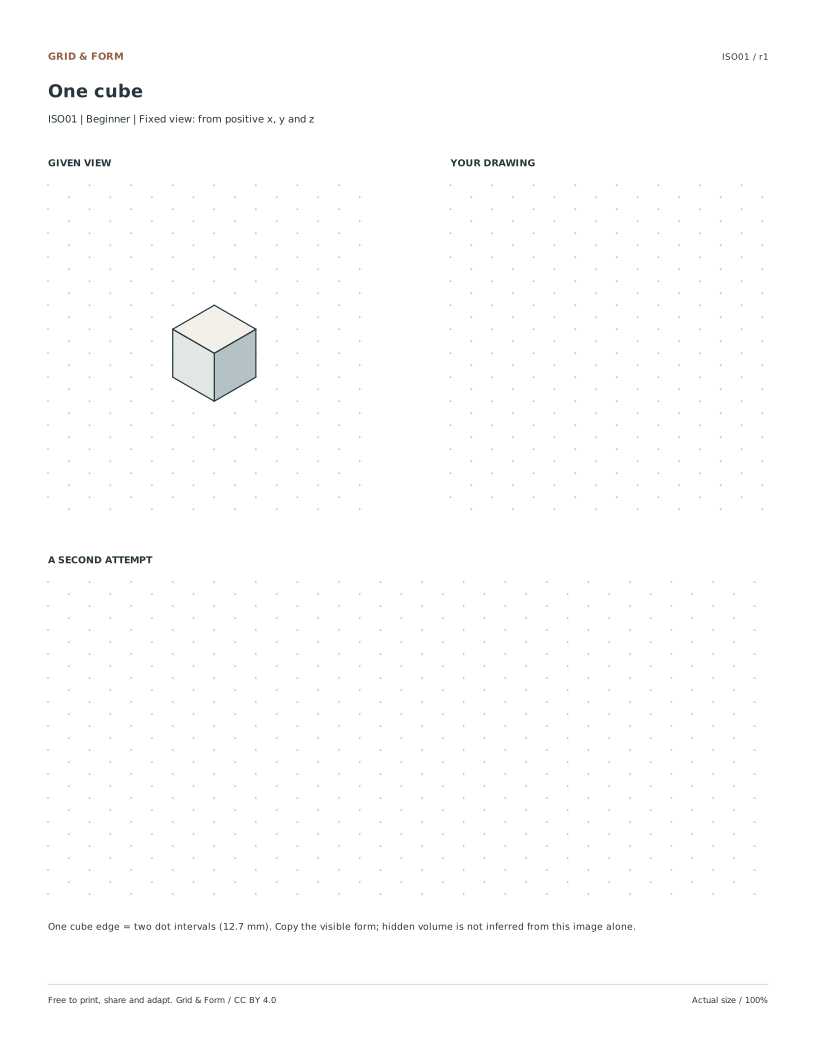
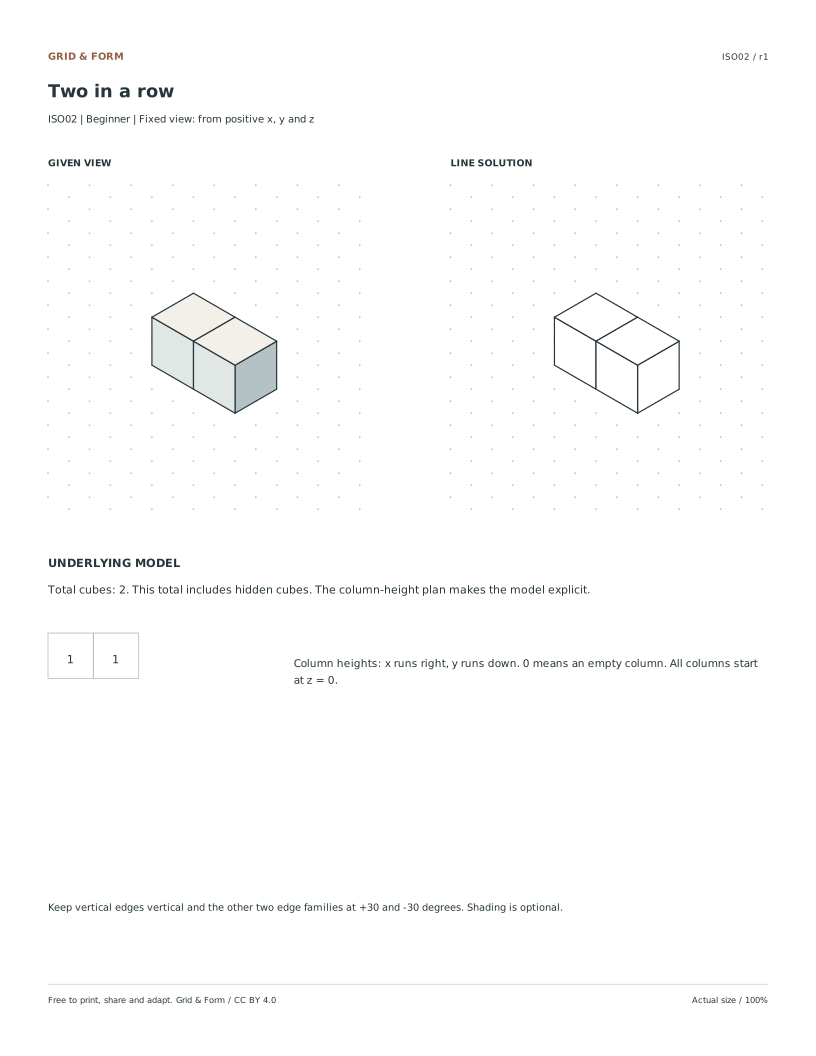
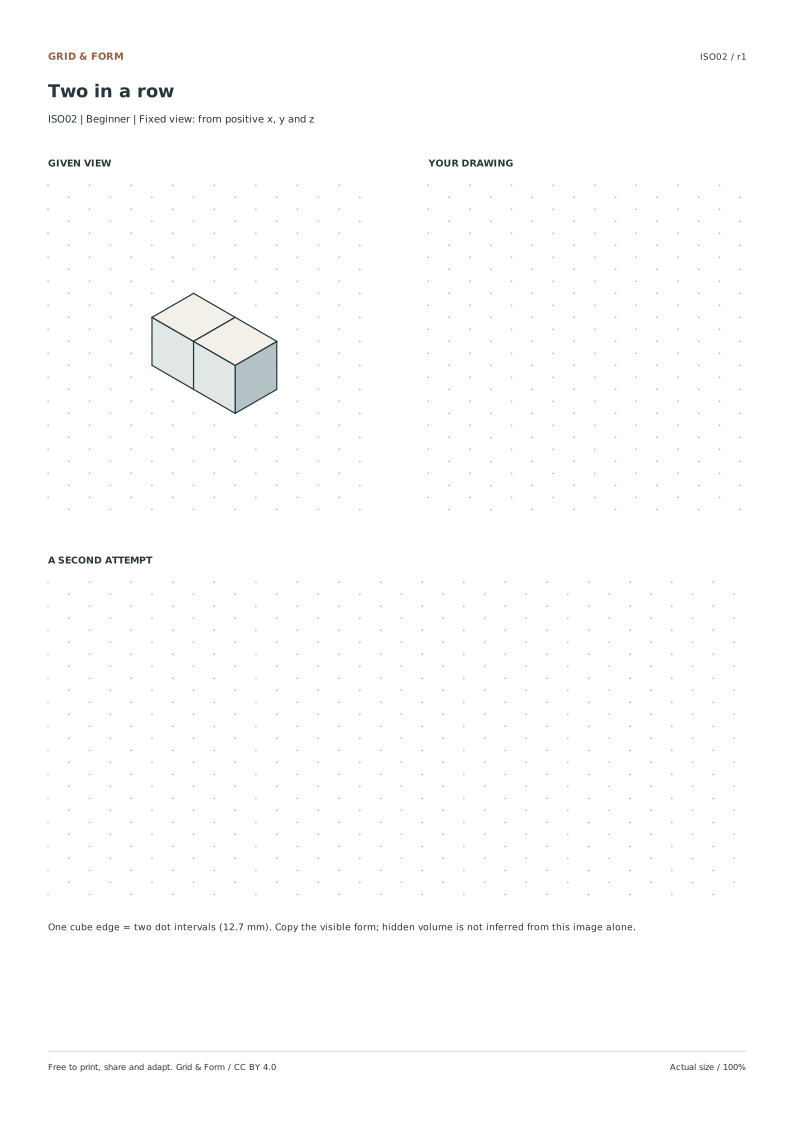
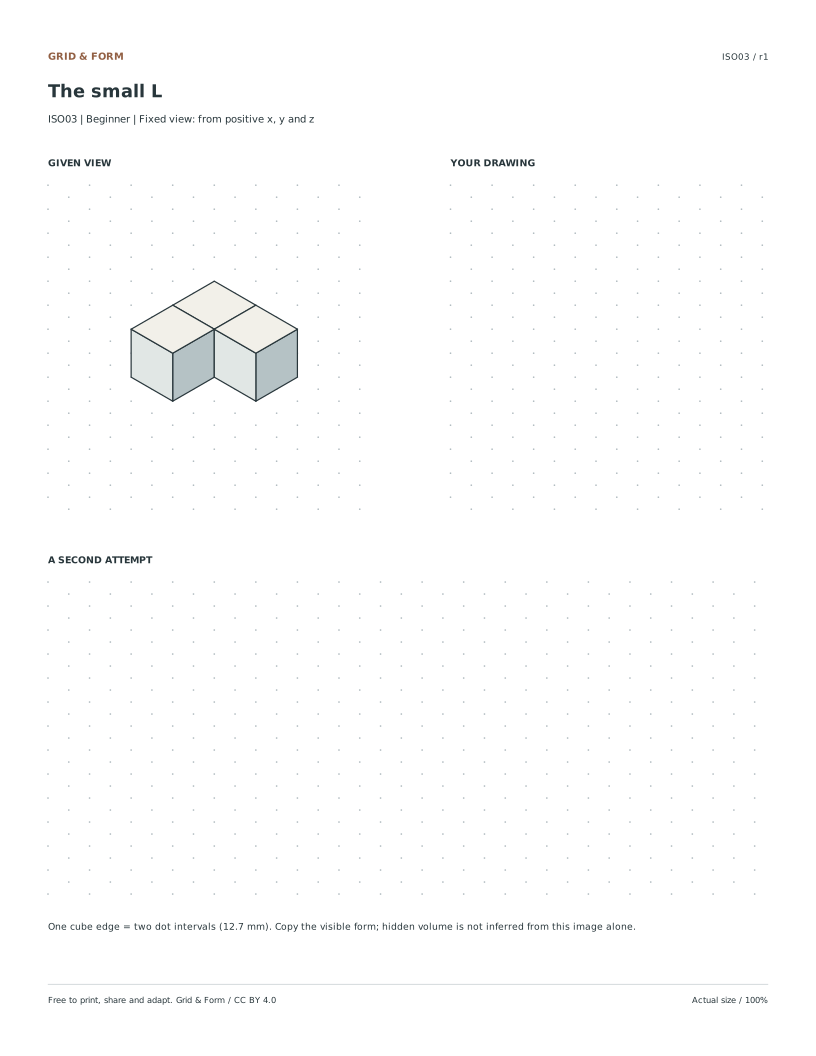
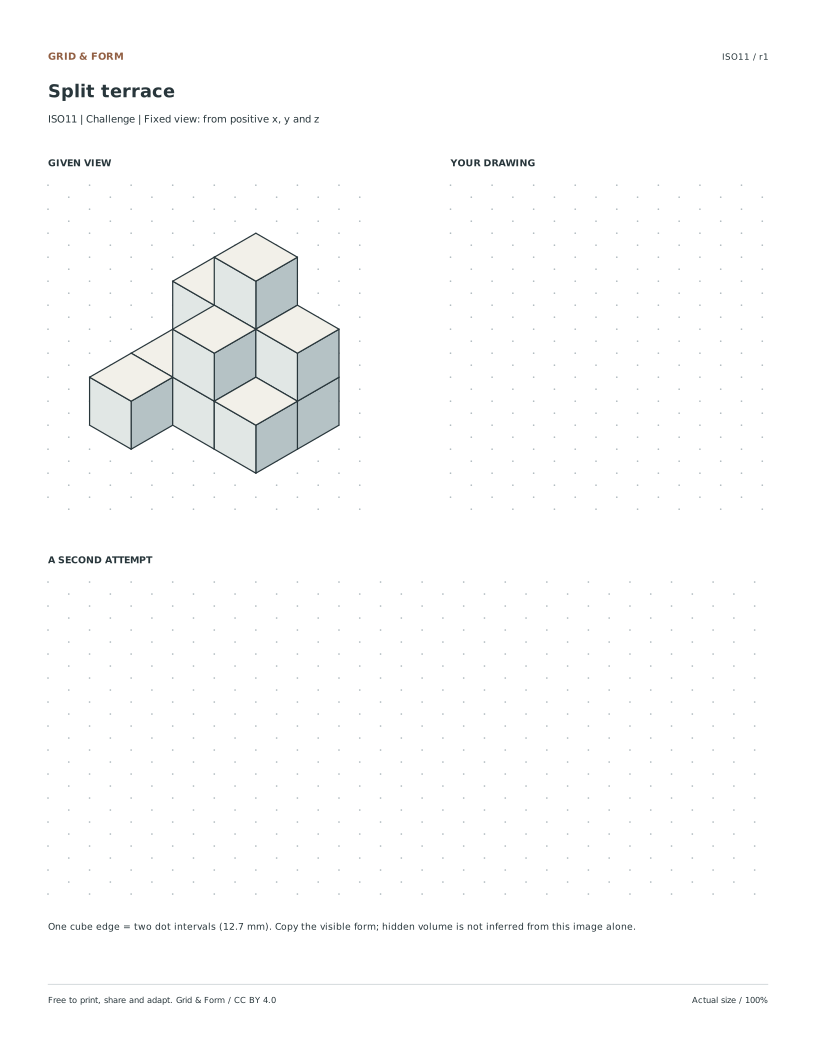
Worksheet preview

Full printable sheet preview

Fit-to-screen preview. Download the PDF to print at actual size.