Free original resources
Gesture Drawing Practice Timer: Timed Pose Sketches With a Self-Check Rubric
Use a 60-second, six-round timer to sketch original poses, then judge each sketch on gesture line, balance, negative space, and proportion with a clear rubric.
Free resources
Letter & A4
PDF & SVG
Letter & A4
PDF & SVG
Make it yours.
Free · no signup · calculated in your browser
Your free printable kit.
Original reference, student practice and separate worked answers. No account or payment.
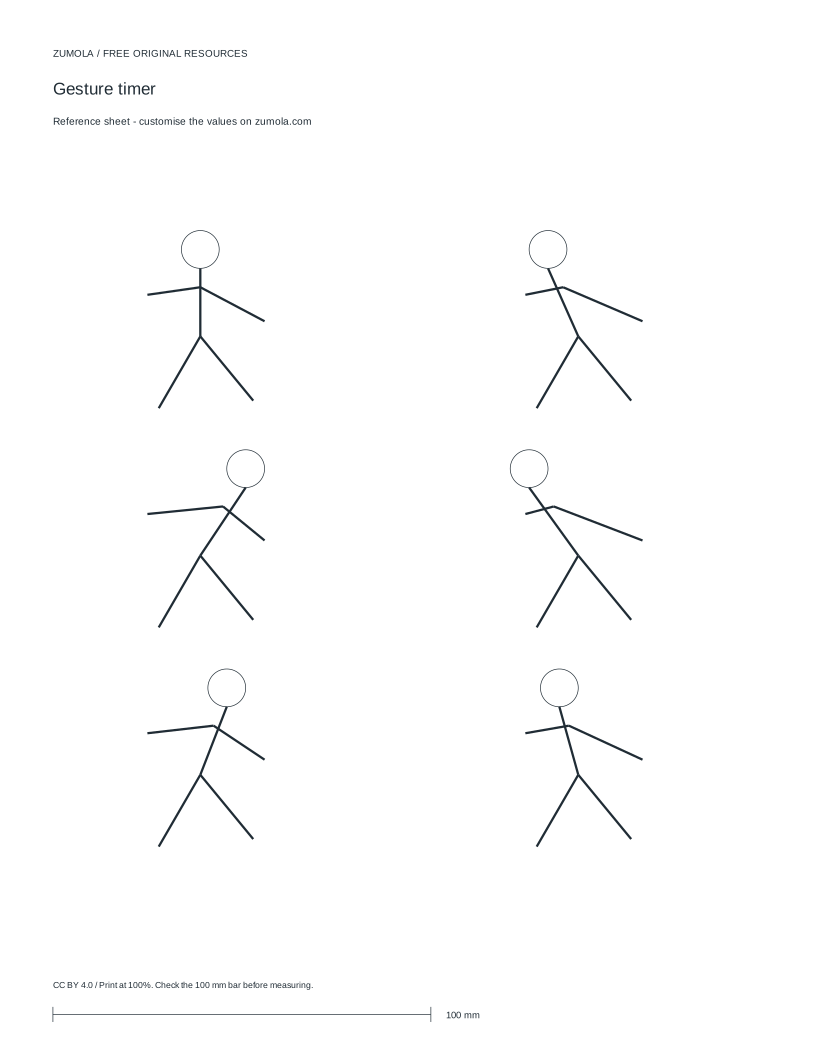
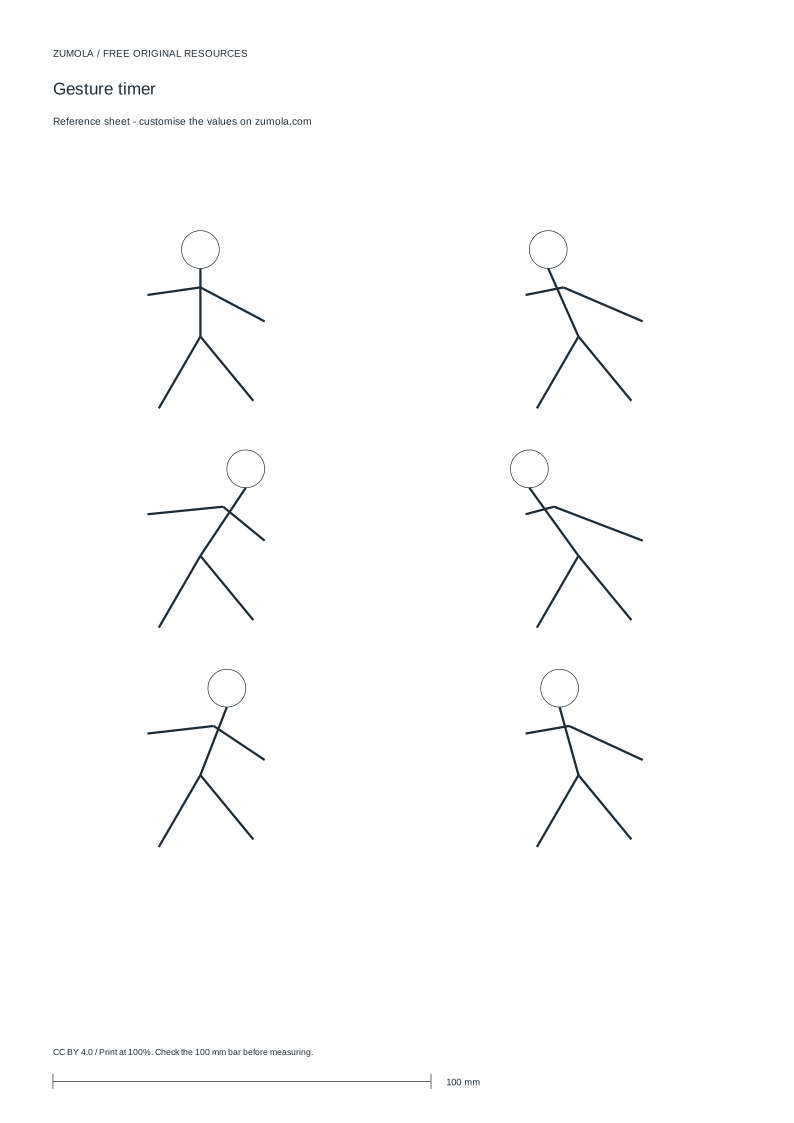
Practice worksheet
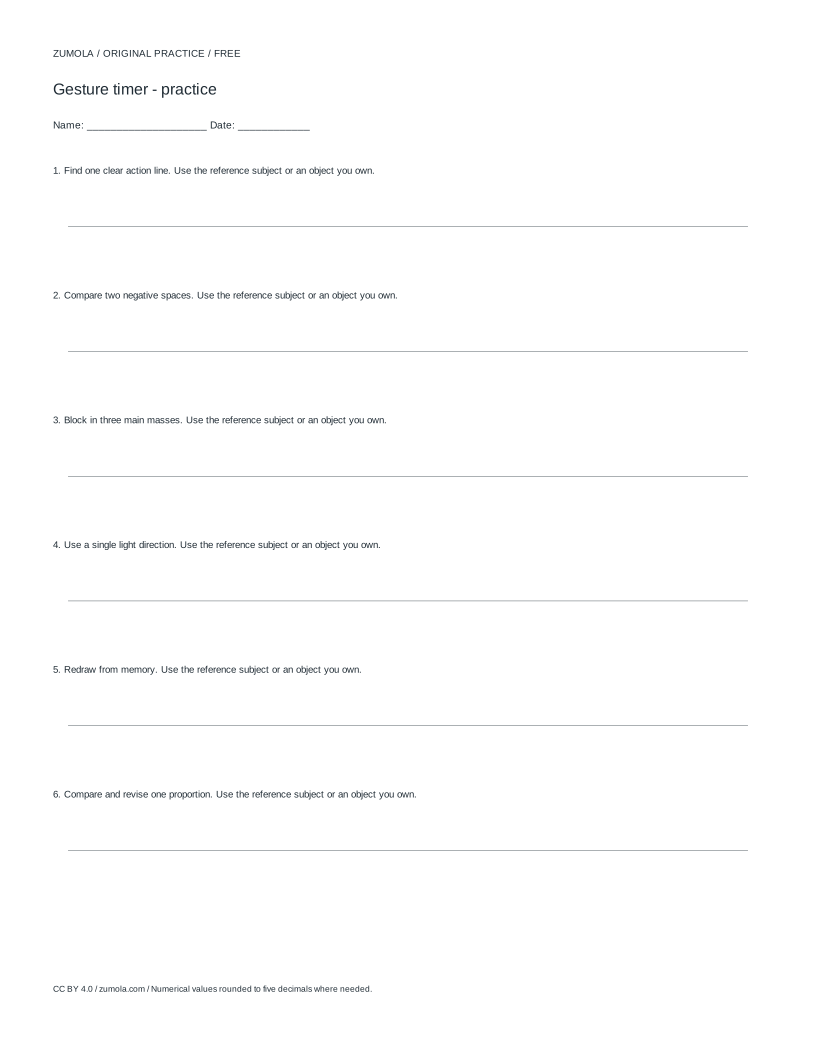
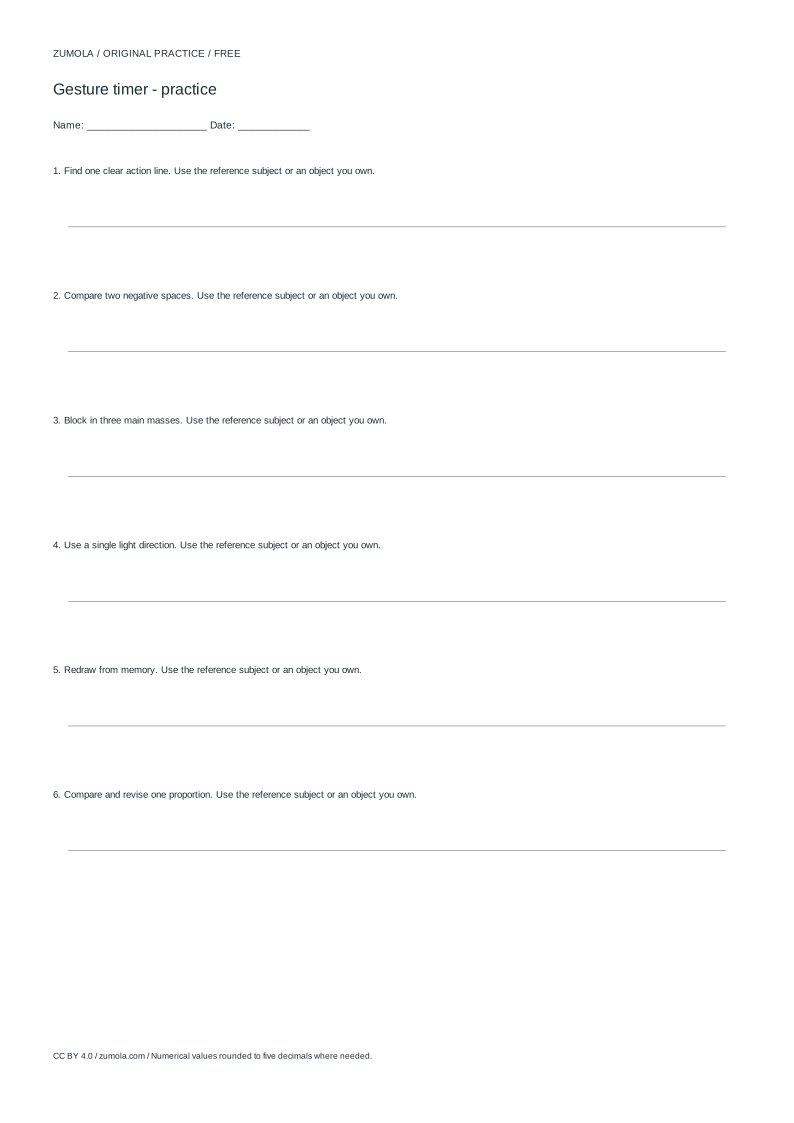
Worked answers / rubric
Print at Actual size / 100%. Check the calibration bar before using physical dimensions.
Gesture drawing practice works best when a short time limit forces you to choose what matters. This page explains a simple method: set a 60-second timer, complete six rounds of original pose sketches, and check each drawing against four criteria. The timer is a constraint, not a test. The goal is to capture the direction of a pose and where its weight sits, then use the rubric to notice what you would change next round.
Why a timer changes how you draw
A gesture sketch is a fast summary of a pose. With a long deadline, it is easy to drift into outline drawing, tracing edges one at a time. A 60-second limit interrupts that habit. You have to decide early which line describes the whole action, then place the supporting shapes around it.
The timer also makes repetition useful. Six rounds of 60 seconds gives you six separate attempts at the same skill. Each round is a fresh decision about the gesture line and the balance point, not a correction of the previous sheet. Keep the rounds separate so you can compare them honestly at the end.
- Set the timer to 60 seconds and keep it visible.
- Choose one original pose idea before starting; do not browse for a reference mid-round.
- Draw the gesture line first, then mark the balance point, then add only the shapes needed to read the pose.
- Stop when the timer ends, even if the sketch is unfinished.
- Repeat for six rounds, using a different pose idea each time.
The four-part self-check
After the six rounds, review each sketch against four criteria: gesture line, balance, negative space, and proportion. These are separate questions, so a sketch can pass one and fail another. That is normal and useful.
Gesture line asks whether one continuous line or a small set of linked lines describes the main action. Balance asks whether the weight of the figure sits over a believable support point. Negative space asks whether the gaps between limbs and torso have clear, readable shapes. Proportion asks whether the parts relate to each other in a consistent way.
Use a simple three-level scale for each criterion: clear, partial, or unclear. Write one sentence per sketch explaining the lowest score. That sentence is your next practice target.
- Lay the six sketches side by side.
- For each sketch, trace the gesture line with your finger and rate it clear, partial, or unclear.
- Mark the balance point and check whether it sits over the supporting foot or base.
- Look at the negative spaces and rate whether they read as distinct shapes.
- Compare limb lengths and torso size for proportion, then write one sentence about the weakest criterion.
Building original poses without a reference
Original poses do not need to be dramatic. Start from a simple action verb: reaching, leaning, stepping, turning, crouching, or lifting. Decide the direction of the action and the support point before drawing. A pose that leans left needs weight over the left support; a pose that reaches upward needs a clear line from the base through the arm.
Keep the figure simple. A gesture sketch can use a few curved lines and simple masses rather than detailed anatomy. The rubric judges the readable structure of the pose, not clinical accuracy. Multiple valid outcomes exist, so compare your sketches to the criteria rather than to a single correct drawing.
- Pick an action verb and a direction, such as stepping forward and to the right.
- Decide which foot or hand carries the weight.
- Draw the gesture line from the support point through the torso toward the action.
- Add simple masses for the head, torso, and limbs.
- Check the negative spaces before the timer ends.
A worked example you can verify
Suppose the pose is a figure stepping forward with the right foot, leaning slightly left, and reaching with the left arm. The support point is the right foot. The gesture line runs from that foot up through the hip, along the spine, and out toward the left hand.
The balance point should sit near the right foot, not between the feet, because the lean is to the left and the right foot carries the weight. The negative space between the left arm and the torso should form a clear wedge. If the left arm is drawn too close to the body, that gap disappears and the reach becomes unclear.
In proportion, the reaching arm may look short if the forearm is compressed. A quick check is to compare the upper arm and forearm lengths; they should be roughly similar unless the pose deliberately foreshortens one. This example has no single correct drawing, but the reasoning can be checked against the four criteria.
- Mark the right foot as the support point.
- Draw the gesture line from the foot through the hip and spine to the left hand.
- Check that the balance point sits over the right foot.
- Confirm the wedge-shaped negative space between the left arm and torso.
- Compare upper arm and forearm lengths for proportion.
Using the rubric to plan the next session
The rubric is most useful when it produces one specific target. If gesture line is consistently unclear, spend the next session drawing only the gesture line and the balance point, without adding masses. If negative space is the weak point, draw the gaps first and fit the figure around them.
Keep the same 60-second limit and six rounds so the comparison stays fair. Change one variable at a time, and record the rubric scores beside each sketch. Over several sessions, the pattern in the scores tells you which criterion needs attention.
- Review the six rubric scores and find the most frequent lowest rating.
- Choose one criterion to focus on for the next session.
- Keep the timer and round count unchanged.
- Record scores beside each sketch for comparison.
Printing and scale
If you print a sheet to draw on, print at 100% and check a calibration bar first. A scaled print changes the drawing area and can make the 60-second sketches feel cramped or loose. The timer and rubric do not depend on paper size, but consistent paper helps you compare rounds.
Measurements on this page are in millimetres unless stated otherwise. Schematic numbers are abstract coordinate units, not physical dimensions.
- Print at 100% scale.
- Check the calibration bar before drawing.
- Keep the same paper size across rounds for fair comparison.
Try this example
A figure steps forward with the right foot, leans left, and reaches with the left arm. Sketch it in 60 seconds and self-check.
Show the worked explanation
Support point: right foot. Gesture line: from the right foot through the hip and spine to the left hand. Balance: weight sits over the right foot because of the left lean. Negative space: a clear wedge between the left arm and torso. Proportion: upper arm and forearm lengths are roughly similar unless foreshortened. Rate each criterion clear, partial, or unclear, then write one sentence about the weakest.
Common mistakes
- Drawing outlines first and adding the gesture line afterward. Draw the gesture line first, then place masses and outlines around it.
- Placing the balance point between the feet regardless of the lean. Mark the support point first and check that the weight sits over it.
- Treating the rubric as a pass-or-fail grade. Rate each criterion separately and write one sentence about the weakest one.
Check your work
- Gesture line reads as one continuous action from support point to reach.
- Balance point sits over the supporting foot or base.
- Negative spaces between limbs and torso form distinct readable shapes.
- Proportions of limbs and torso are consistent with each other.
- Each sketch has a written note identifying the weakest criterion.
Questions before you start
How long should each gesture sketch take?
Use 60 seconds per round for six rounds. The short limit forces a clear gesture line and balance decision before detail.
Do I need a reference image?
No. Start from an action verb and a support point. A reference can help later, but original poses build the decision-making skill the rubric measures.
Is there one correct gesture drawing?
No. Gesture drawing has multiple valid outcomes. The rubric judges gesture line, balance, negative space, and proportion rather than matching a single answer.
Keep exploring
Line Drawing Exercises: Free Line Control Practice SheetsEllipse Drawing Exercises and Practice SheetsFree Drawing Practice Sheets: Choose a SkillDrawing Warm-Up Exercises: A 10-Minute Printable RoutineShading Practice Worksheets: Value Scales and Simple FormsHatching and Cross-Hatching Practice Sheets