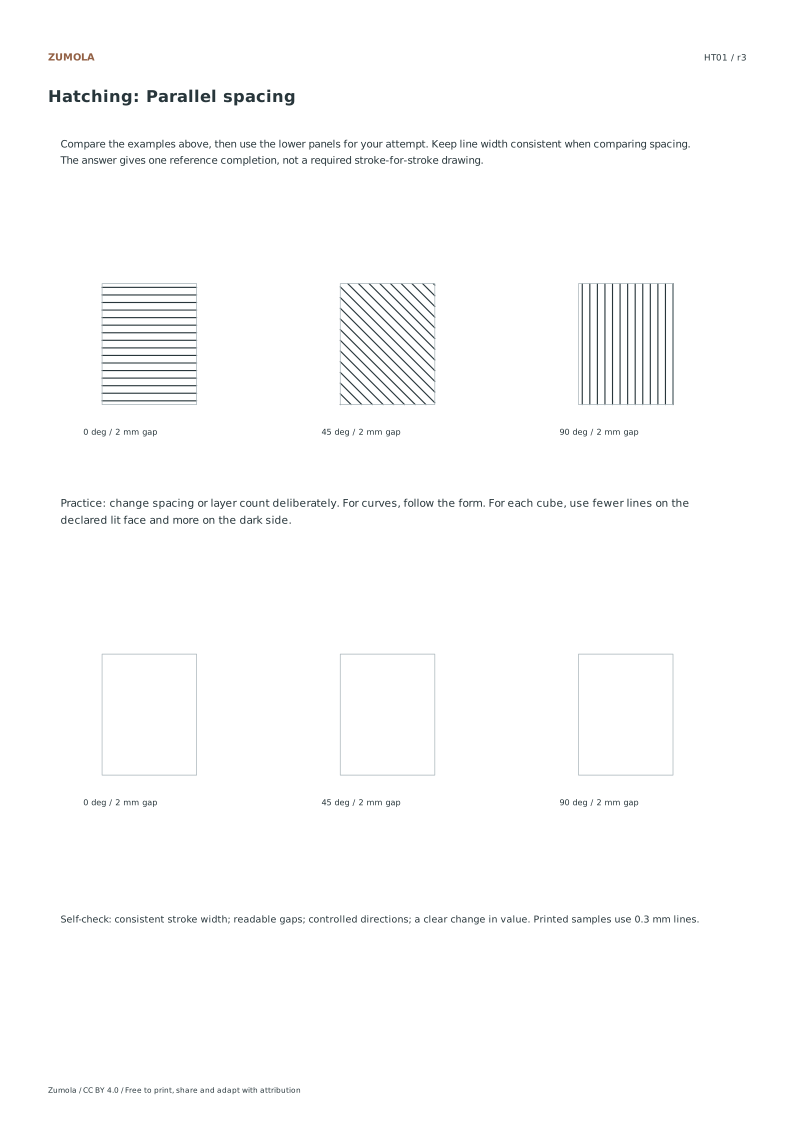
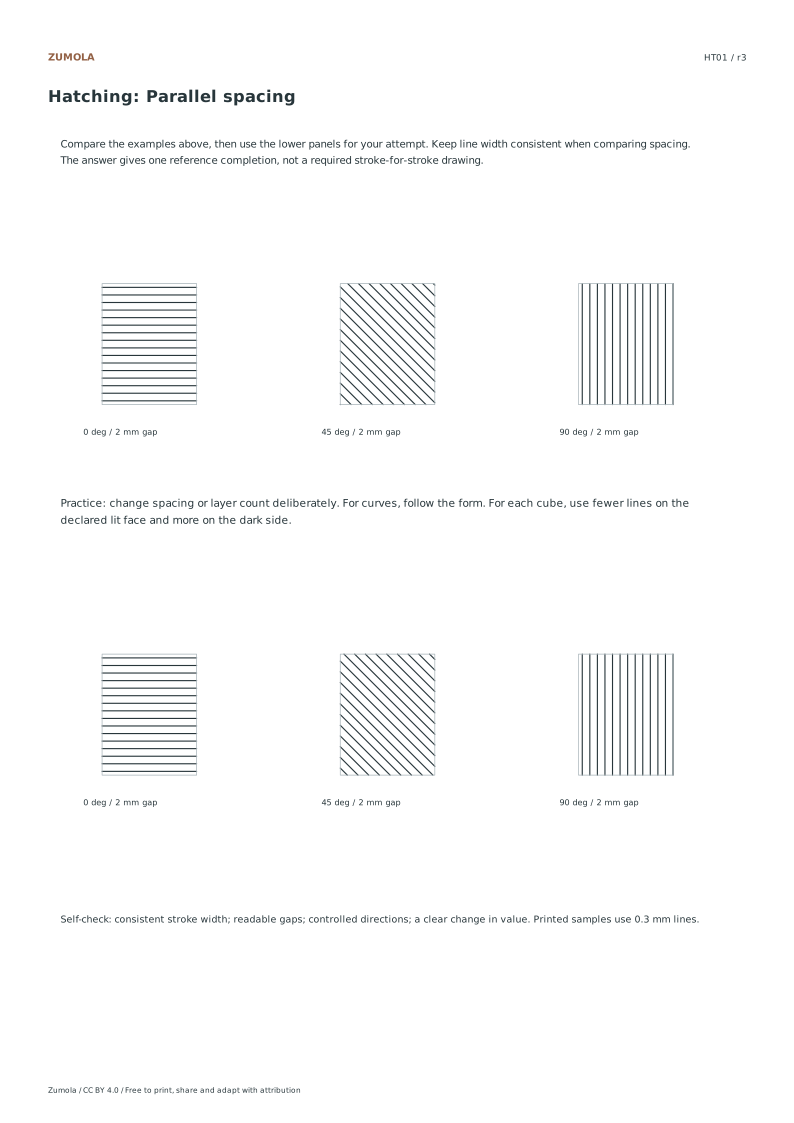
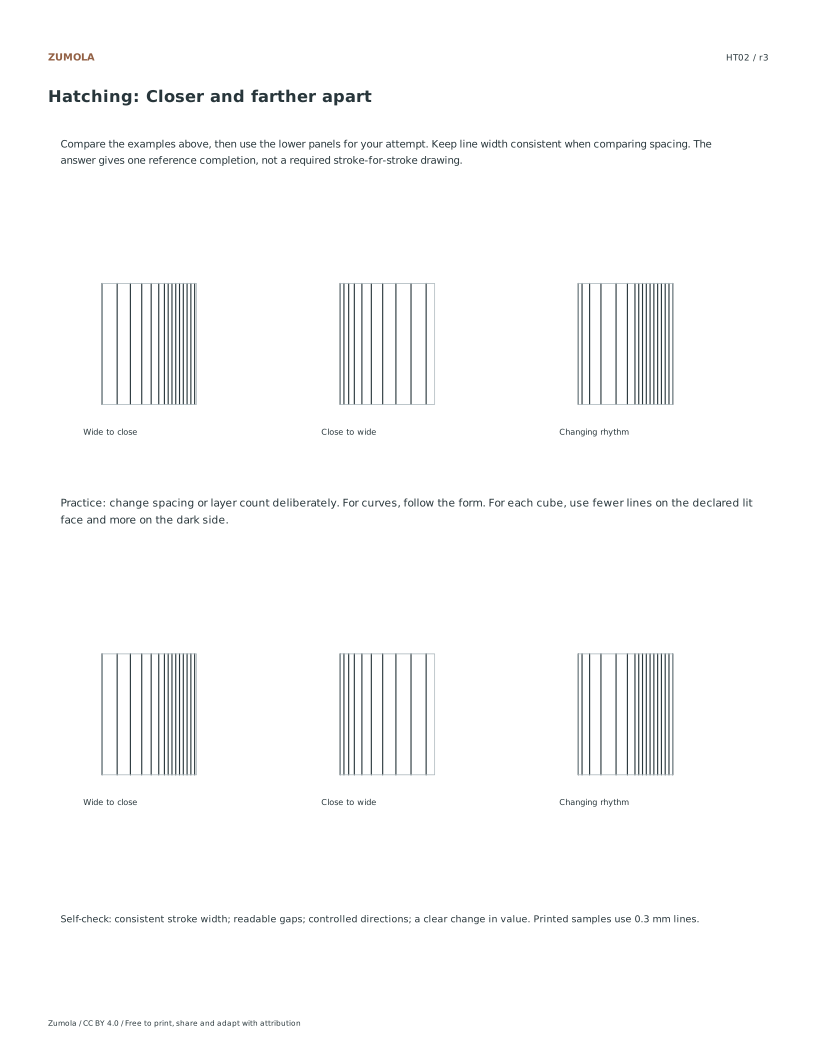
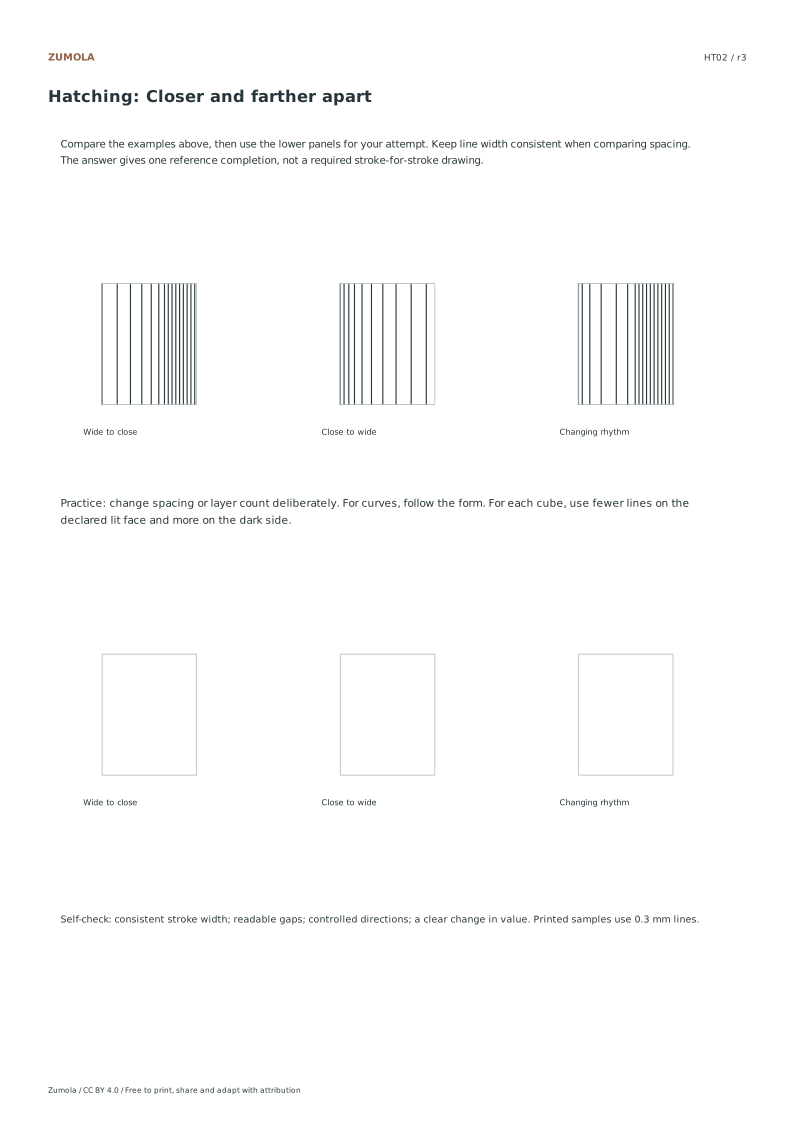
Change line direction, spacing and layers to create value. Practice six distinct line studies, then compare three larger tone examples.
Choose US Letter or A4, then download the PDF for printing or the SVG for editing. Keep the student worksheet separate from its answer or reference completion. All files, including the answers, are free without signup.
Choose your paper and download
Download paper size
Every worksheet and answer is free. No signup.
The complete collection
Keep practice and answers separate.
Use the student pack first, then compare the reference or answer. Packs are PDFs; individual sheets below also include editable SVG files. The paper choice applies to every download.
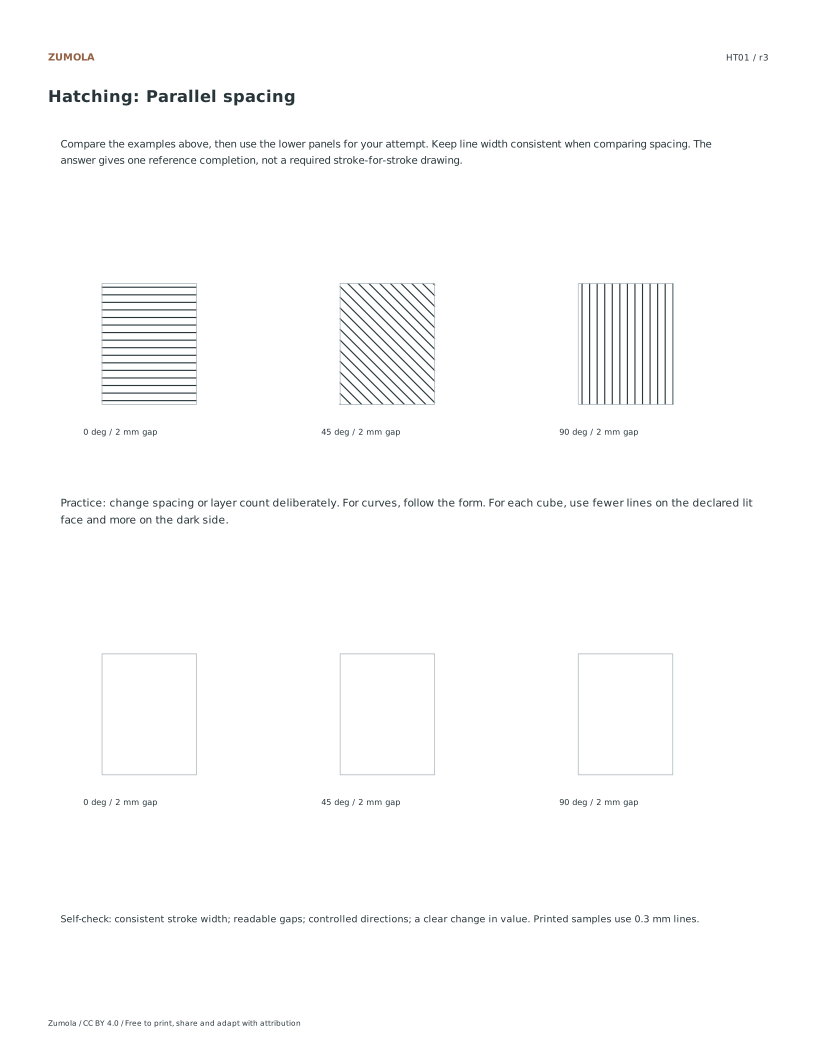
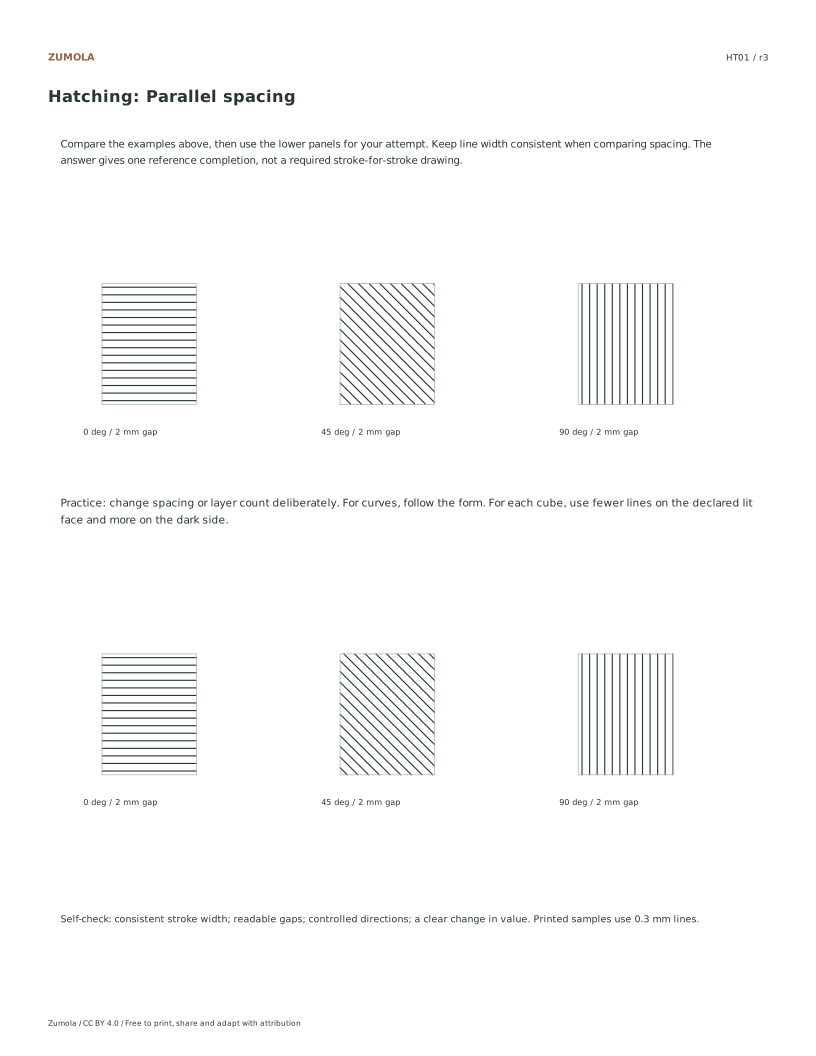
Horizontal, 45° and vertical families at 2 mm spacing
HT02
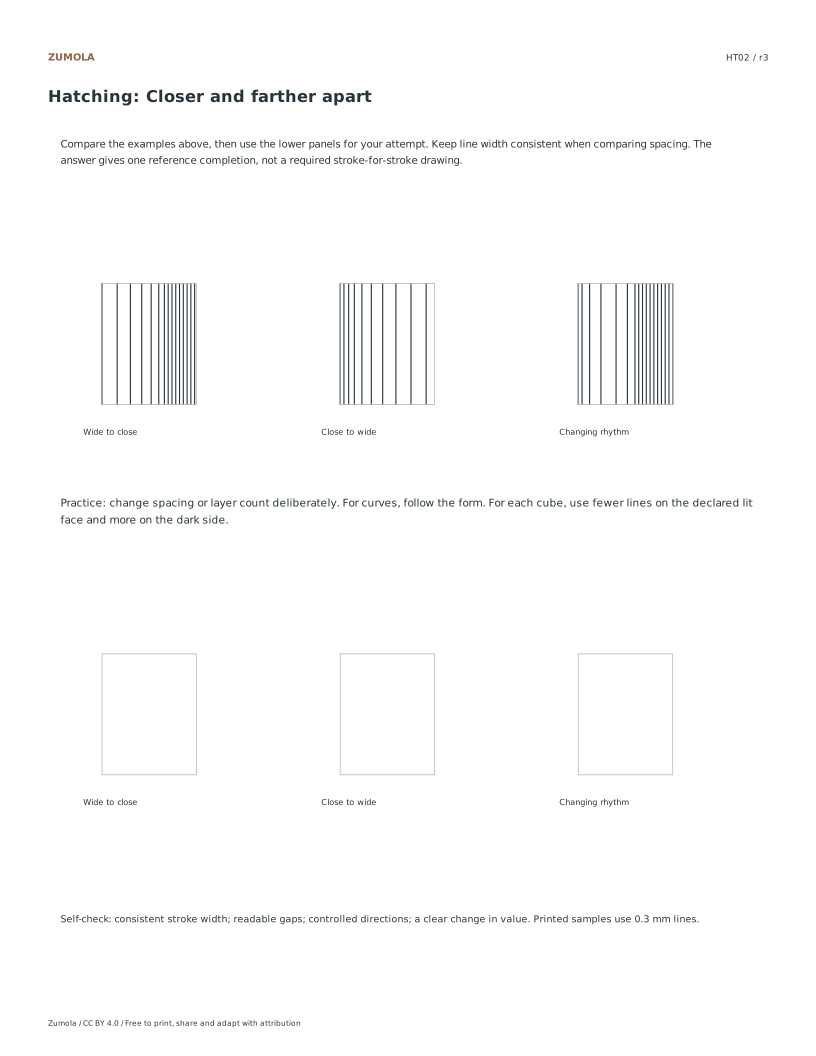
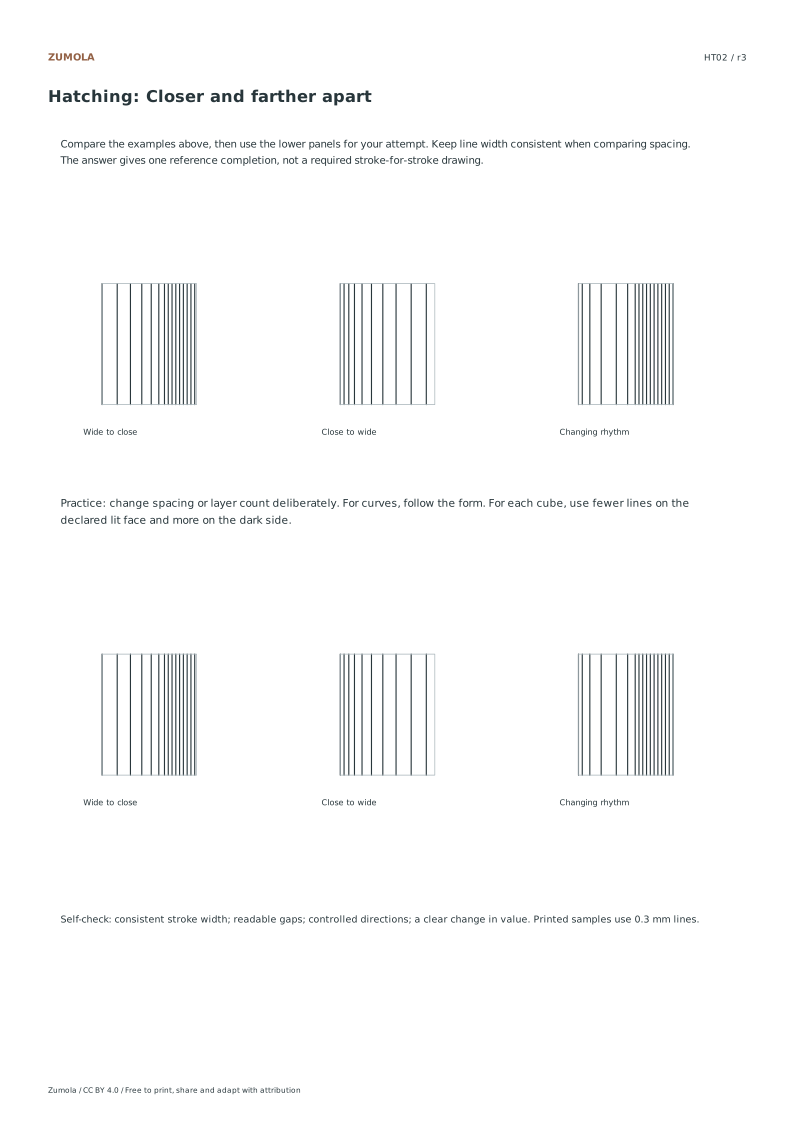
Spacing across a patch
Vertical lines become progressively denser
HT03
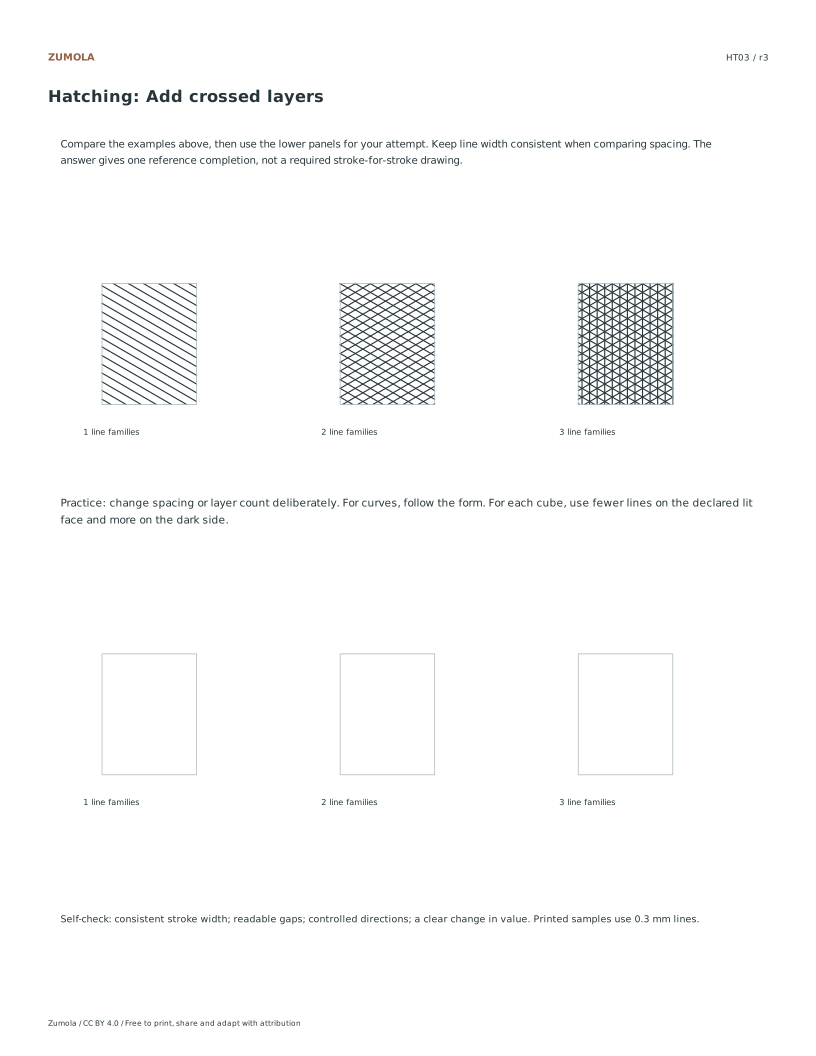
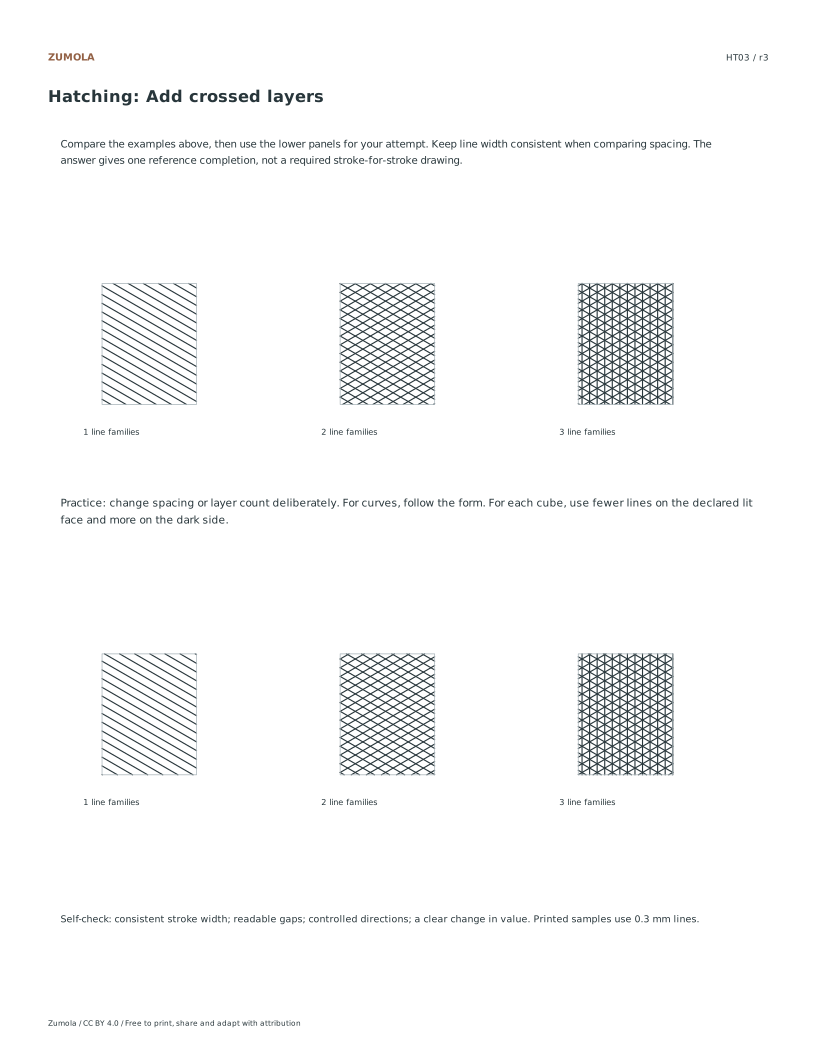
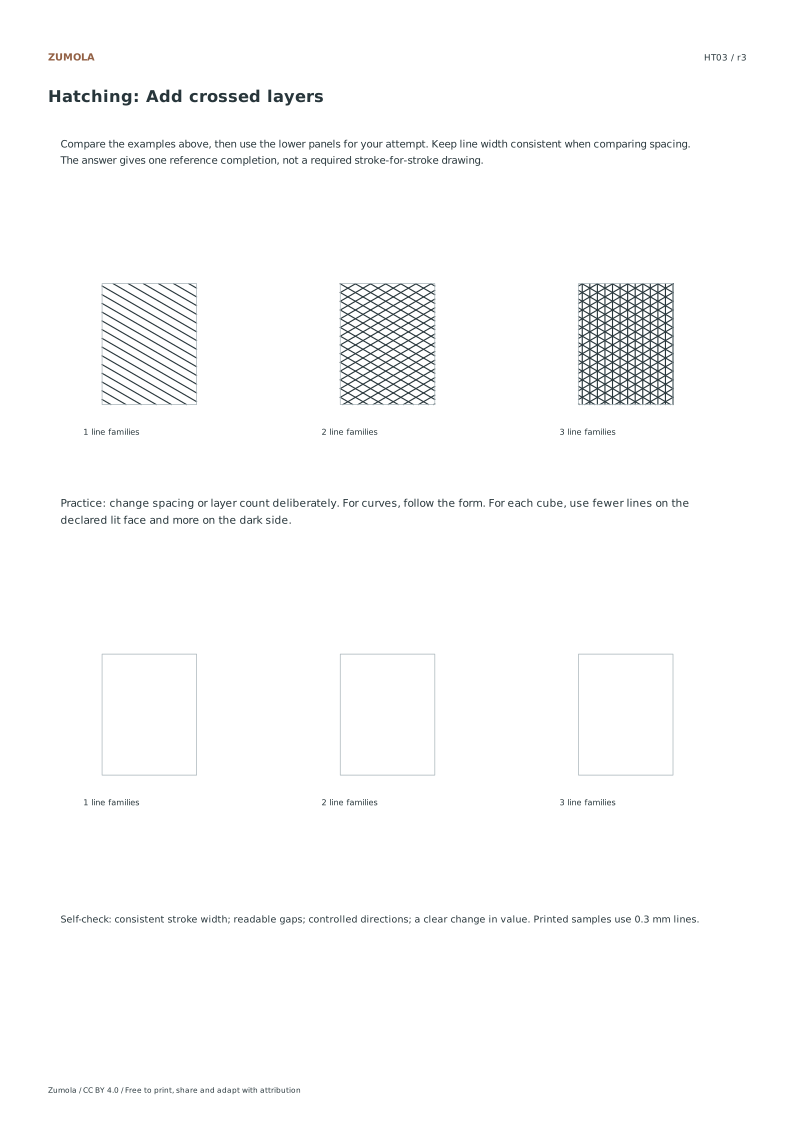
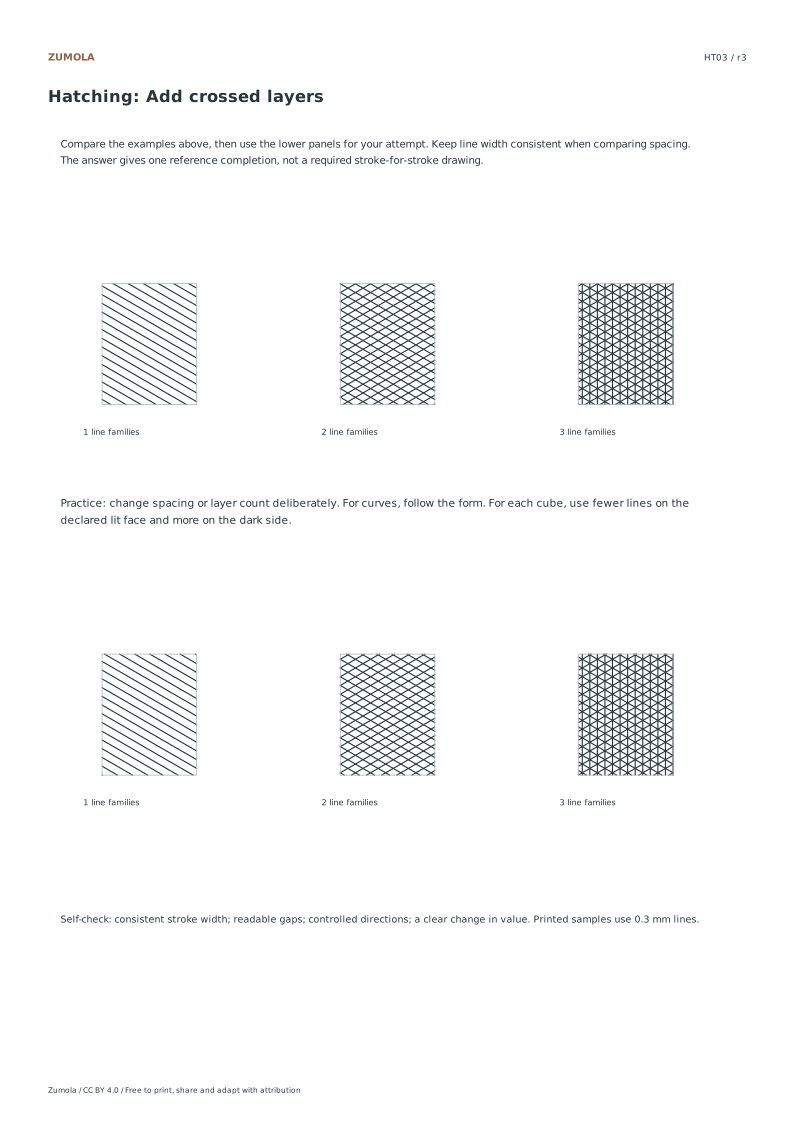
Number of layers
One, two and three crossed line families
HT04
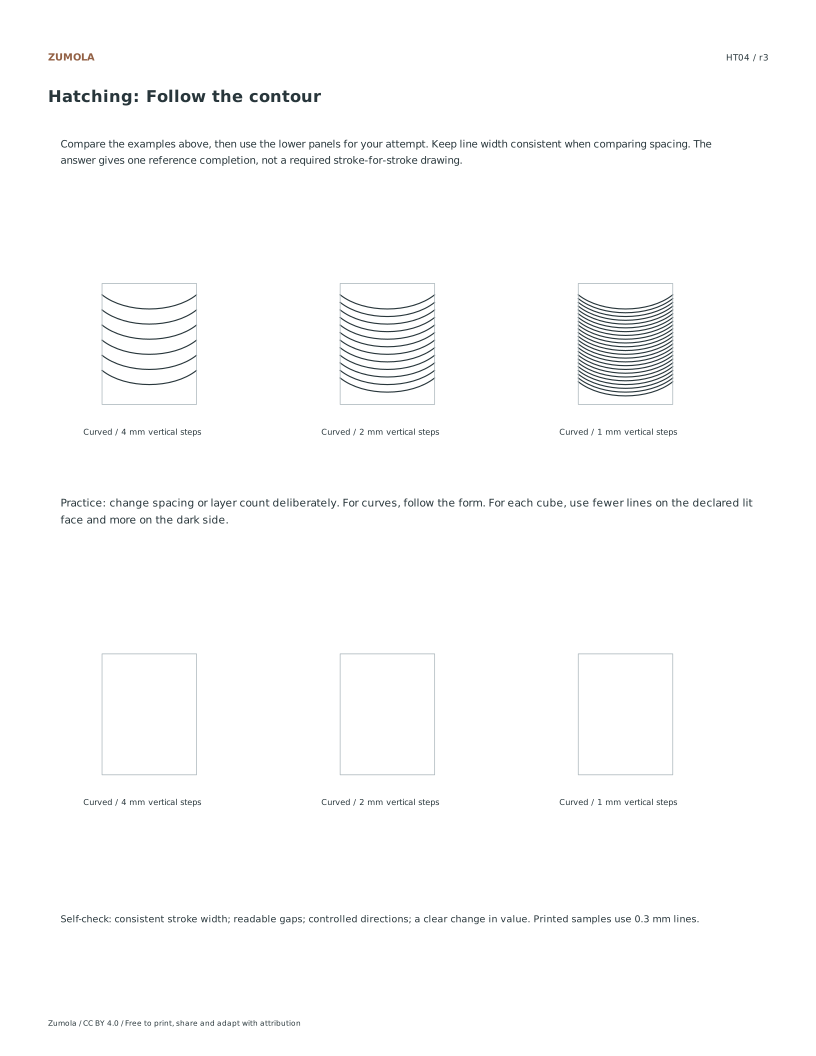
Contour direction
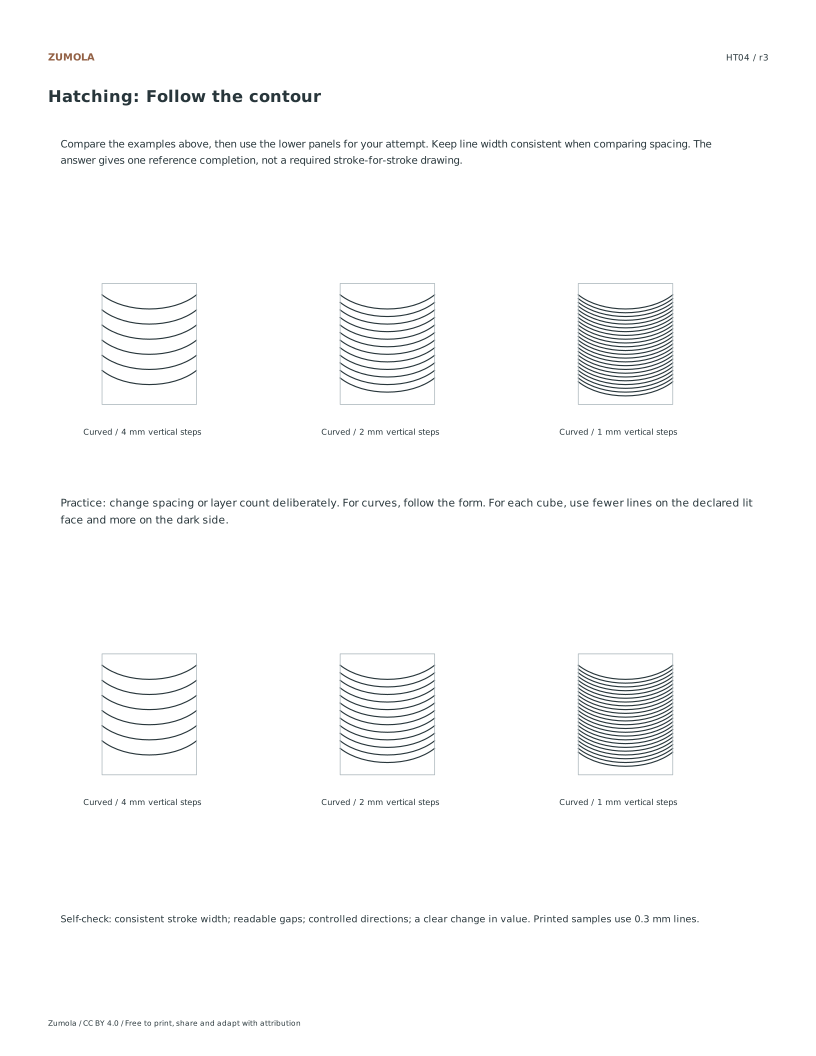
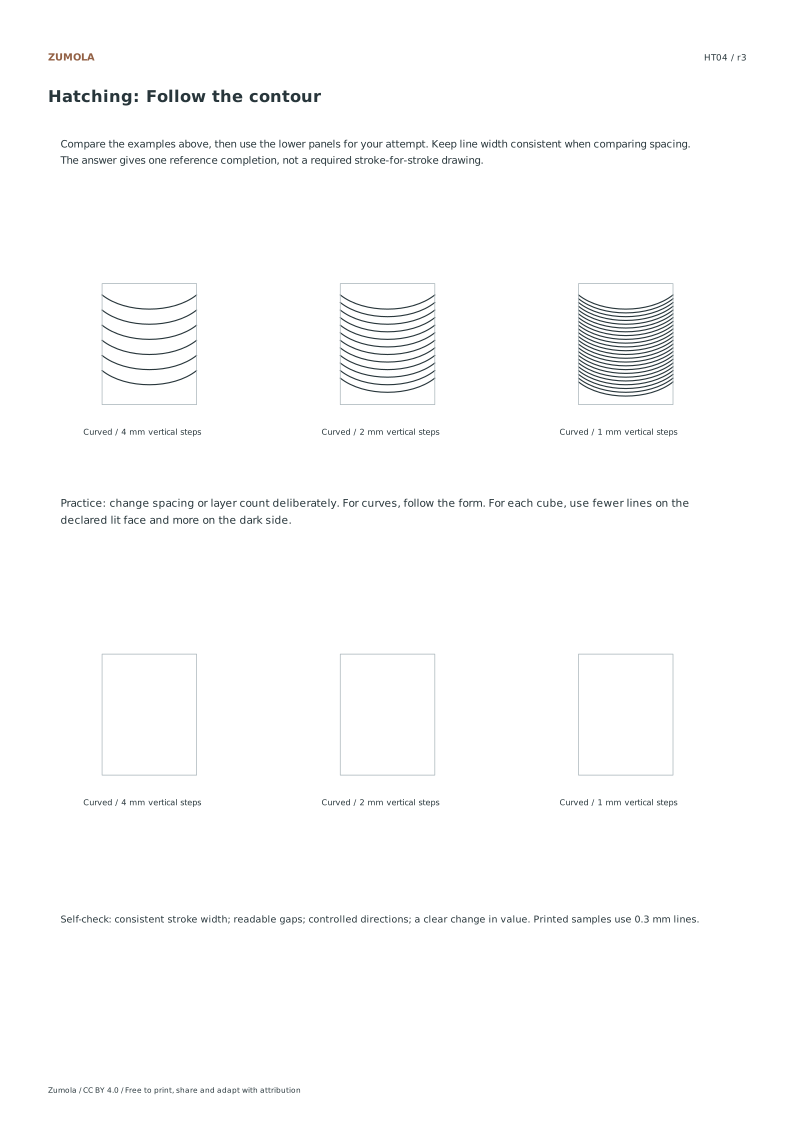
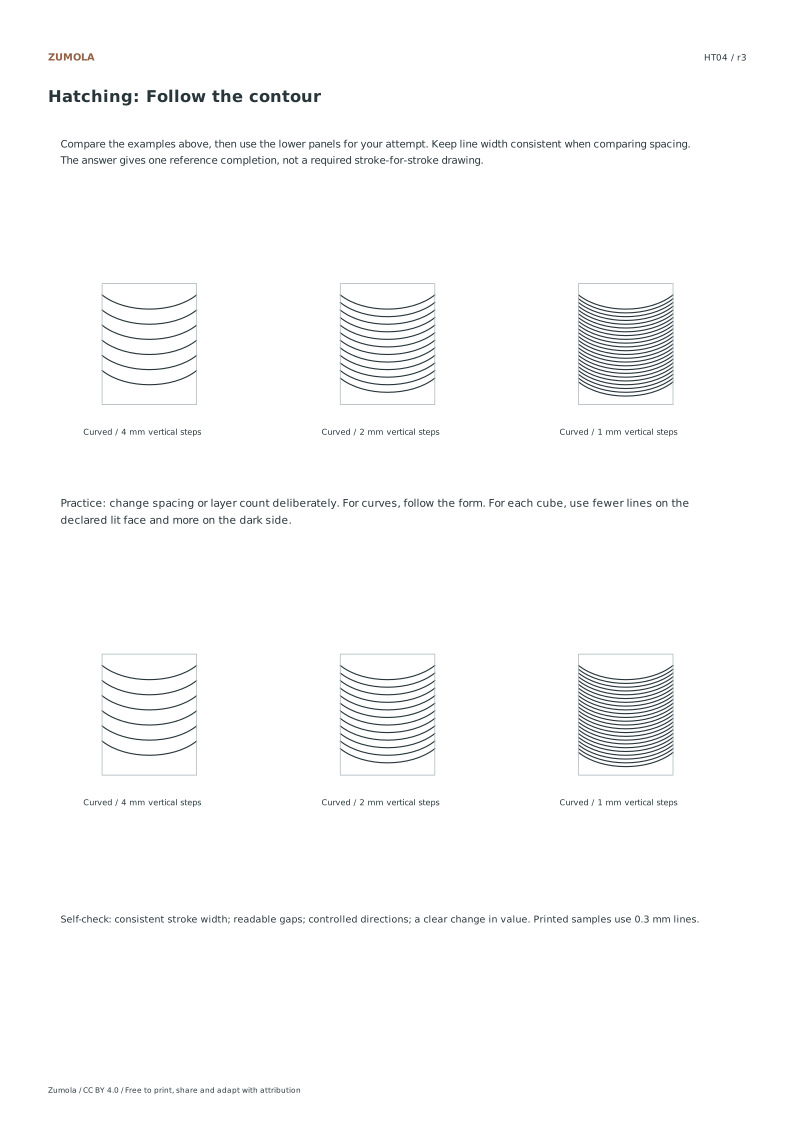
Curved marks follow a rounded surface
HT05
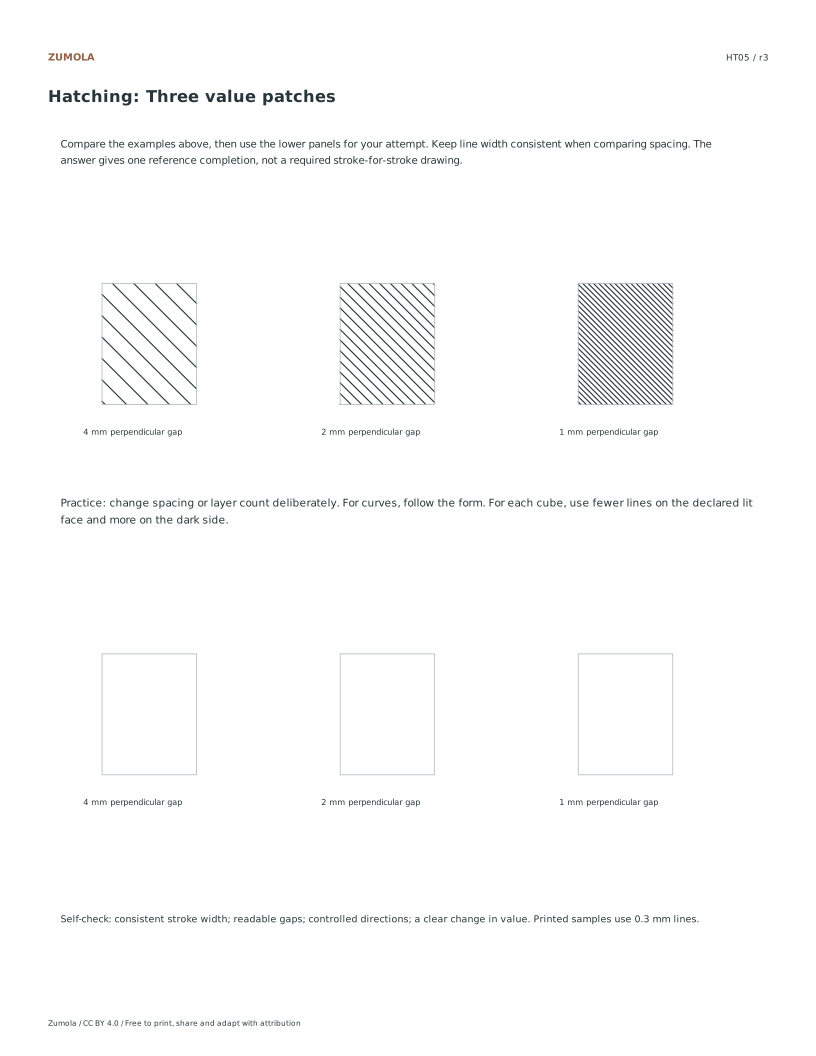
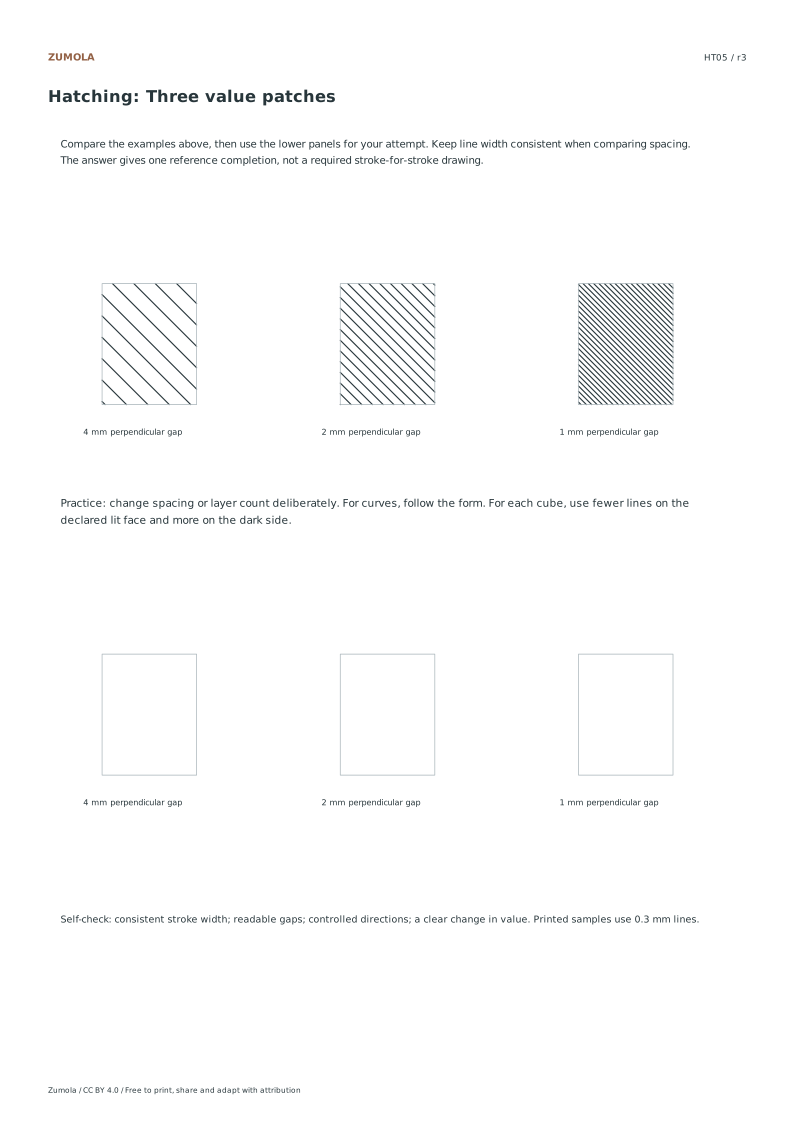
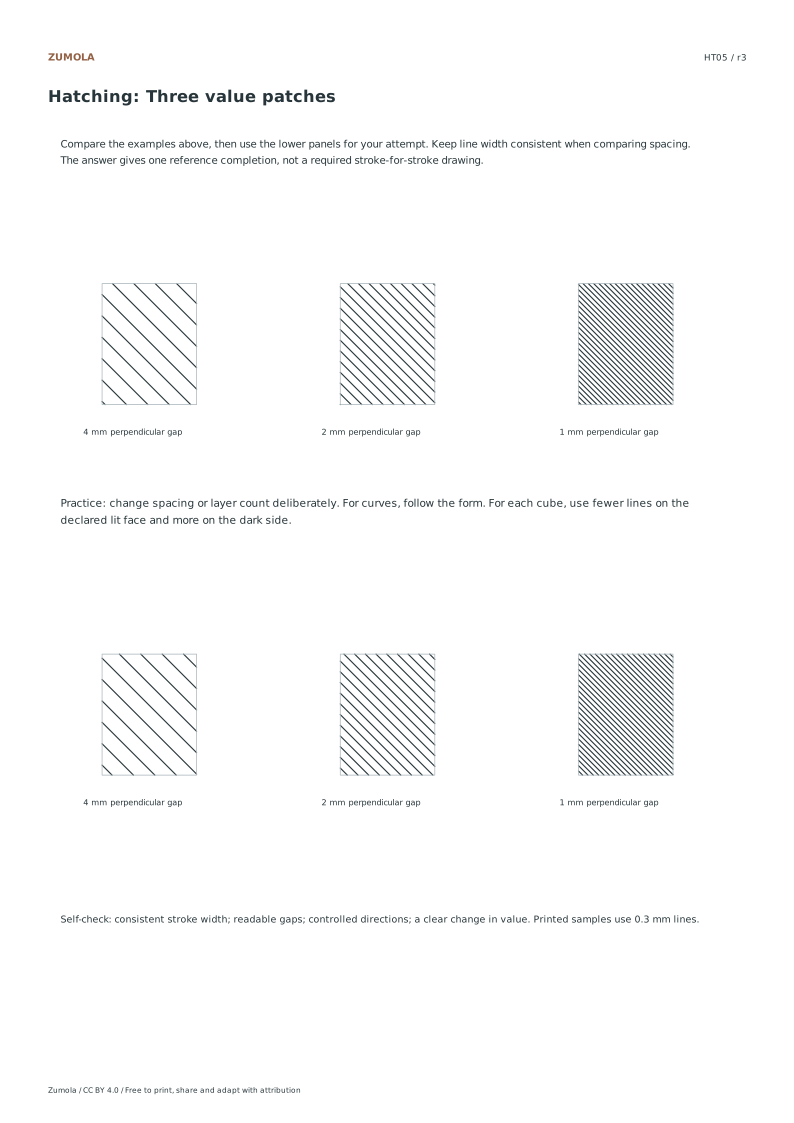
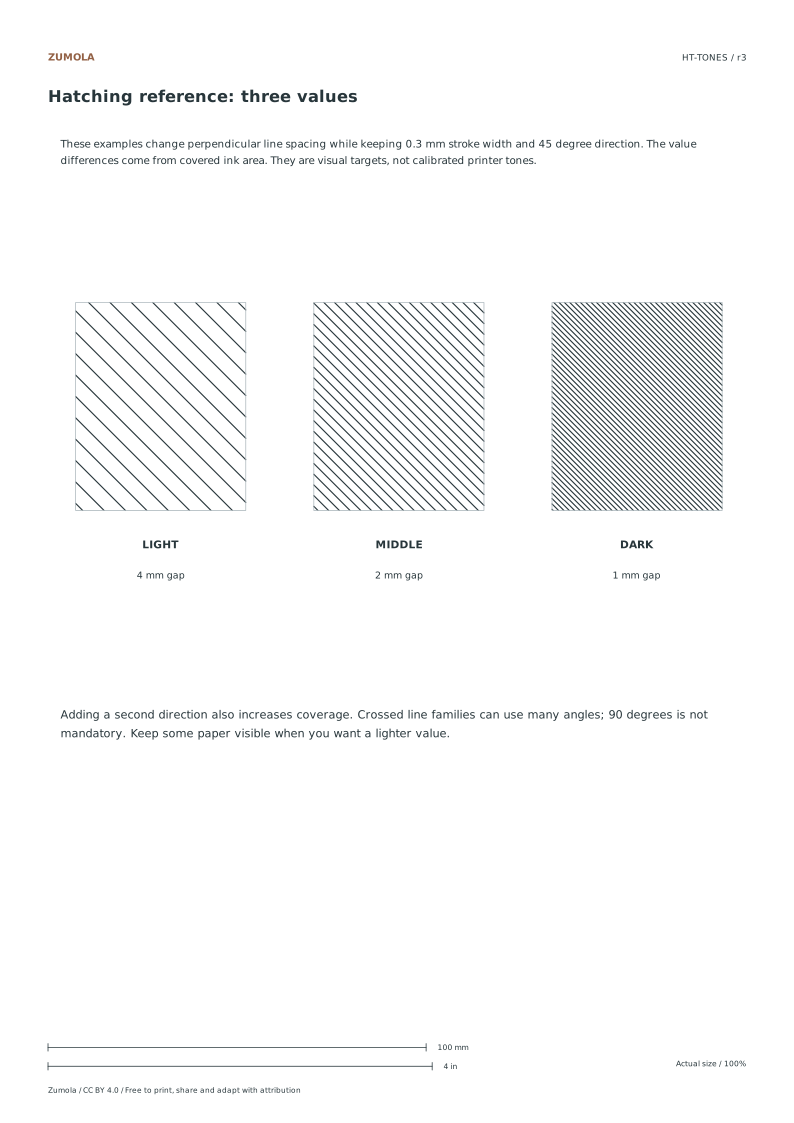
Relative tone
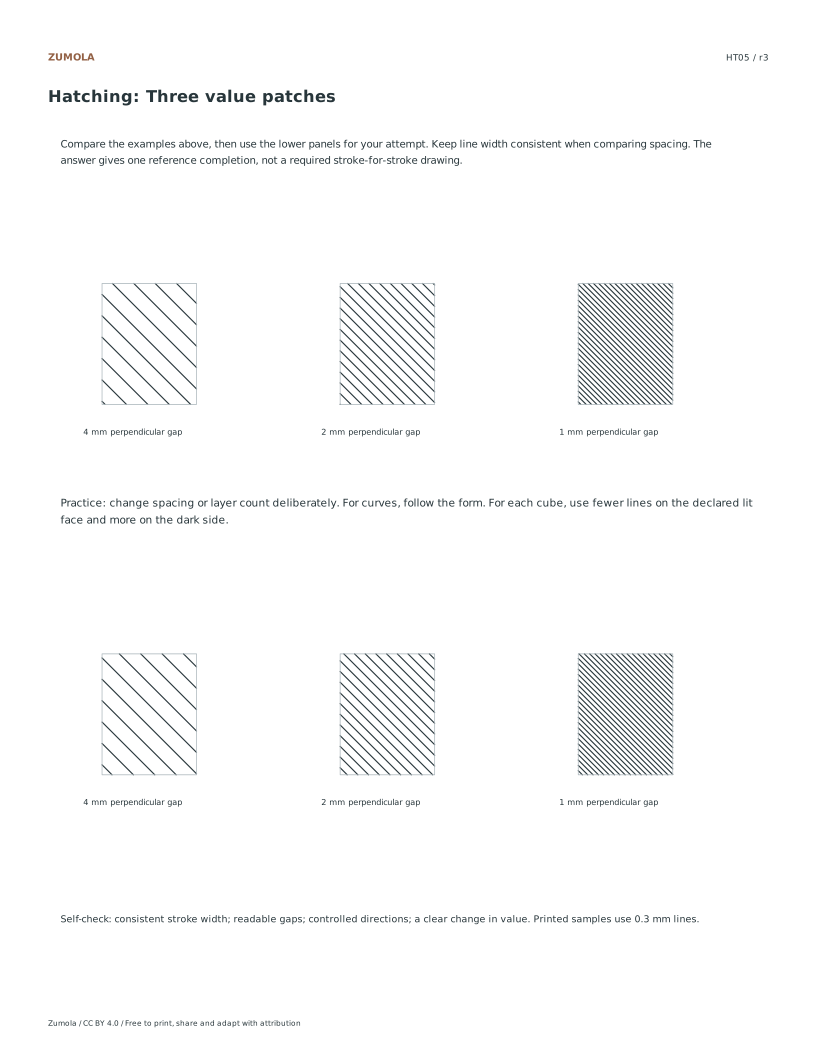
45° lines at 4, 2 and 1 mm spacing
HT06
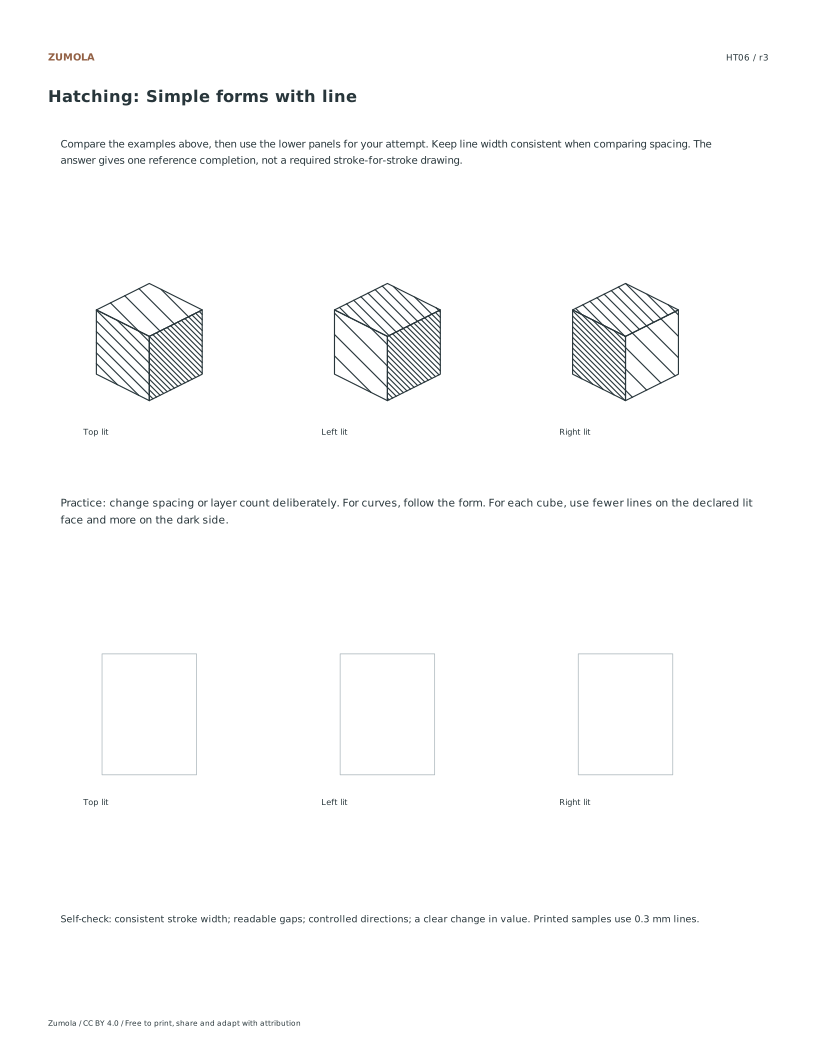
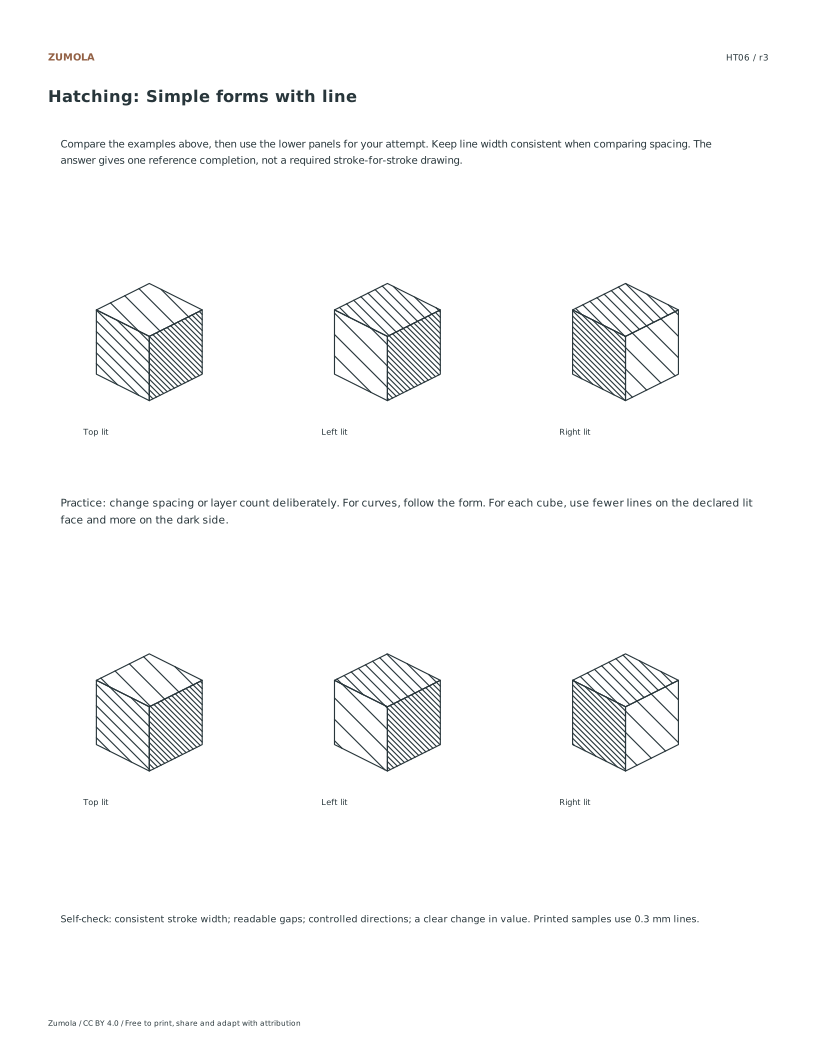
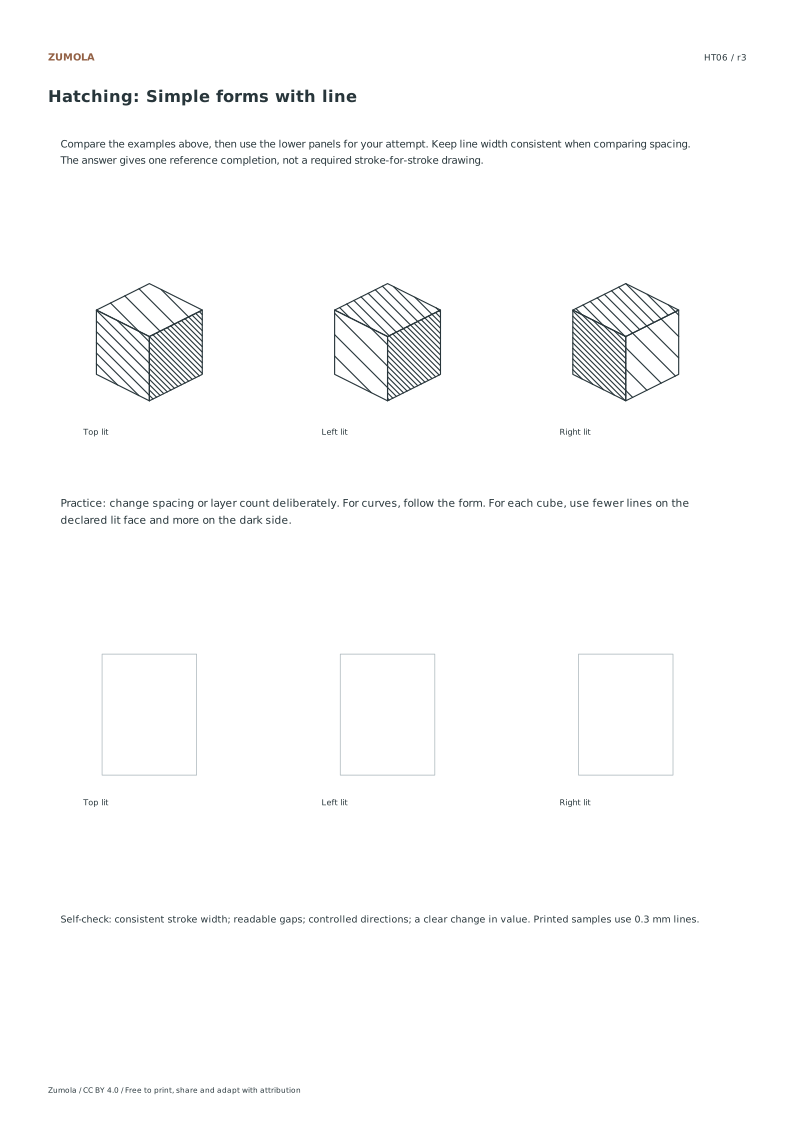
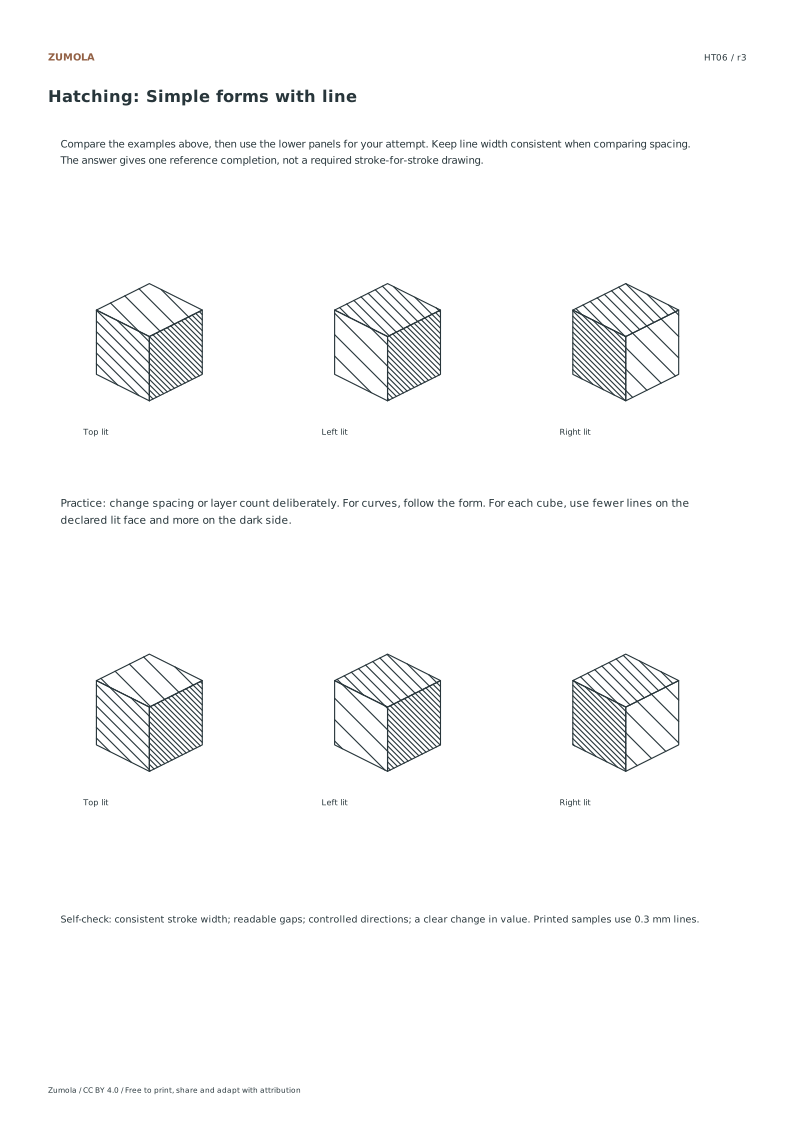
Lit plane
Three cubes place the lightest plane differently
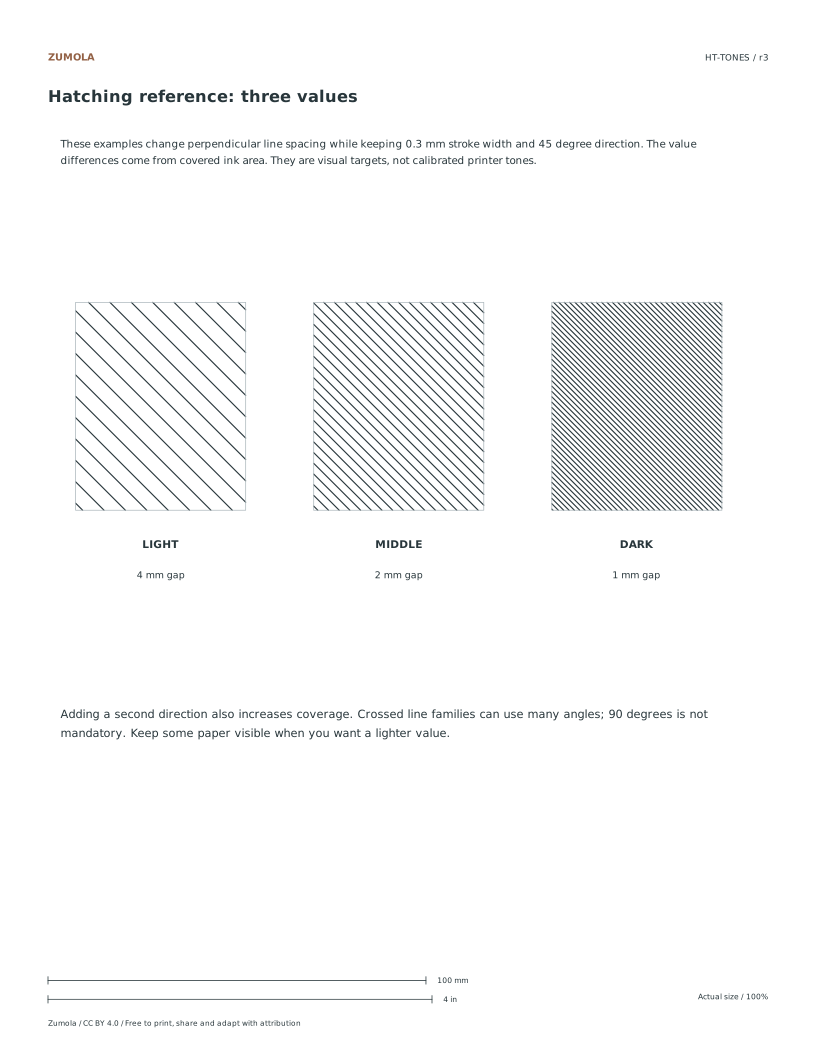
The three tone examples keep 0.3 mm stroke width fixed. Reducing perpendicular spacing from 4 to 2 to 1 mm increases ink coverage and makes the patch darker. Spacing is the distance between line centerlines measured perpendicular to the family, rather than along a diagonal edge of the patch. In the curved study, the printed vertical steps do not imply constant perpendicular spacing along the whole curve.
Cross-hatching adds another direction. A second family can cross at 60°, 90° or another useful angle; it need not form square cells. Make a trial patch before adding a full layer to the drawing. When describing a cube, compare the three planes and preserve the intended lightest face instead of placing identical density everywhere.
The answer files are reference completions and self-check notes. They do not prescribe every hand stroke. Look for a readable difference between light, middle and dark patches, controlled line direction, and a deliberate relationship between density and form.
Work through the page
Maintaining Consistent Stroke Width
When comparing different hatching densities, you must keep your pen stroke width constant to ensure accurate visual comparisons. The provided examples utilize 0.3mm strokes to demonstrate how spacing affects tone. As you narrow the gap between lines, ink coverage increases, creating darker values. This relationship is critical for understanding how density controls light and shadow. Focus on maintaining uniform pressure and line thickness while adjusting only the distance between strokes. This approach isolates spacing as the variable factor, allowing you to clearly observe how tighter gaps result in heavier ink accumulation and darker overall tones within your drawing practice.
Applying Crosshatching Layers
Crosshatching involves adding a second family of lines over your initial hatching layer to build deeper tones. It is important to note that these additional lines do not need to intersect at exactly ninety degrees. You can vary the angle to create more natural or dynamic textures. The goal is to increase density without creating accidental solid black clumps, especially when aiming for lighter mid-tones. By carefully managing the angle and spacing of the second layer, you can achieve smooth transitions and rich values. This technique distinguishes itself from blended shading by relying on discrete line intersections rather than continuous tonal gradients.
Utilizing Reference Sheets
Six individual sheets cover fixed parallel spacing, changing spacing, crossed layers, curved contour lines, three value patches and cube planes. Each has a separate reference completion. An extra sheet provides three larger tone examples; it does not contain all six exercises. The combined packs place that tone reference before the six studies. Compare line direction, spacing and relative darkness, then decide which feature to improve. Hand-drawn work can differ from the mechanically regular vector marks while still showing the intended relationship between line structure and tone.
Small checks that catch common errors
Watch for
Check instead
Allowing stroke width to vary while changing spacing.
Keep stroke width constant to accurately compare how narrower gaps increase ink coverage and darken tones.
Assuming crosshatching lines must always intersect at ninety degrees.
Add a different line family at varied angles to build density without forcing rigid perpendicular intersections.
Creating accidental solid black clumps when aiming for light tones.
Adjust spacing and layer density carefully to maintain lighter values without over-saturating the paper with ink.
Print a test sheet before a full pack
Use the PDF that matches the paper loaded in your printer. Choose Actual size / 100% and turn off Fit, Shrink and browser headers. The SVG keeps millimeter dimensions, but an editor or browser can rescale it; the PDF is the simpler print path. Measure any calibration bars with a separate physical ruler when the exercise depends on printed size. A screen preview does not establish physical scale.
Packs combine the same individual pages; they are not extra different exercises. Print a student copy first and keep references nearby for review. Letter and A4 preserve the stated grid spacing or model definition while their surrounding white space can differ. Color is optional: the references also use line position, text or relative lightness to explain the result.
Useful answers
Do my hand drawings need to match the examples exactly?
No, qualitative answers demonstrating correct direction and density are sufficient. Your hand drawing need not match every stroke of the original examples.
What stroke width and gaps are used in the examples?
The three tone examples use 0.3 mm strokes with perpendicular line spacing of 4, 2 and 1 mm. Individual studies vary direction, spacing or layer count. Curved contour lines use vertical steps, so their local perpendicular separation is not constant.
Is this technique similar to blended shading?
No, this method is distinct from blended shading. It relies on discrete line families and spacing to create value rather than continuous tonal blending.
Are the answers and editable files free too?
Yes. Every linked PDF, SVG, worksheet and answer is free without signup. The original Zumola resources use CC BY 4.0: credit Zumola, link the license and indicate changes. Analytics consent is not required to download or use them.
Choose a simple object with a clear light side, middle tone and shadow, such as a cylinder or an apple. Sketch its outline lightly, then divide the form into three zones with faint boundary lines. Decide the hatch spacing for each zone before drawing any final lines: wide spacing for the light zone, medium spacing for the middle, and close spacing plus one crossed layer for the shadow. Keep the direction of the first layer consistent across the whole object so the form reads as one surface, then vary only the spacing and the number of crossed layers.
The key control is the ratio between spacings, not an exact measurement. If the light zone uses gaps roughly twice the width of the middle zone, and the shadow zone uses gaps roughly half the middle zone, the three values should separate clearly at normal viewing distance. Check by stepping back: if the light and middle zones merge, widen the light spacing or add a crossed layer only to the middle zone.
Sketch the outline and mark three value zones with faint lines.
Set a first-layer direction that follows the form, and keep it the same in all zones.
Draw the light zone with wide spacing, the middle with medium spacing, and the shadow with close spacing.
Add one crossed layer only where the shadow needs to read darker, keeping the crossing angle consistent.
Step back and compare the three zones; adjust spacing before adding more layers.
Diagnostic checks for spacing, direction and layers
Spacing errors usually show up as banding: evenly spaced lines can read as stripes rather than tone. Check whether the gaps look uniform across a zone and whether the transition between zones is gradual or abrupt. Direction errors show up as a surface that looks twisted or flat; check that the first-layer lines follow the same imagined surface direction across zone boundaries. Layer errors show up as muddiness; check that crossed layers are limited to the zones that need them and that the crossing angle stays readable rather than forming a dense mesh.
A useful self-check is to view the drawing from about arm's length and slightly out of focus. The three zones should still separate into light, middle and dark. If they do not, the problem is usually spacing ratio rather than line quality. Another check is to trace one line from the light zone into the shadow zone: it should change spacing but not suddenly change direction, unless the form itself turns.
View from arm's length and slightly out of focus to test value separation.
Trace one first-layer line across zones to confirm direction continuity.
Look for banding where spacing is too even within a zone.
Confirm crossed layers appear only where a darker value is intended.
A practical variation: hatch a folded strip
Draw a narrow strip that folds back on itself twice, creating three flat facets at different angles. Hatch each facet with a first layer aligned to its surface direction, then use spacing to suggest which facet faces the light. Because the facets meet at sharp edges, the exercise exposes direction errors quickly: a line that does not follow its facet will cross the fold edge at an odd angle. Keep the strip small, roughly the size of a hand, so the whole value structure can be judged at once.
This variation is deliberately geometric rather than anatomical. It tests the same controls as the object exercise but removes the distraction of curved form, making spacing and layer decisions easier to isolate. Compare the two results: if the strip reads clearly but the object does not, the difficulty is likely contour-following rather than value control.
Draw a narrow strip with two fold lines, producing three flat facets.
Choose a first-layer direction for each facet that follows its surface.
Use spacing to assign light, middle and dark values across the facets.
Check that lines meet fold edges at consistent angles.
Compare the strip result with the earlier object result to identify which control needs more practice.
Try this example
A small cylinder is lit from the left. Its left third is light, the middle third is mid-tone, and the right third is shadow. Plan first-layer spacing and crossed layers using a simple ratio.
Show the worked explanation
Choose a middle-zone gap of about 4 mm. Use roughly 8 mm gaps in the light zone (single layer), 4 mm gaps in the middle zone (single layer), and 2 mm gaps in the shadow zone with one crossed layer at a consistent angle. Keep the first-layer direction the same across all three zones, following the cylinder's curve. At arm's length the zones should read as light, middle and dark; if the light and middle merge, widen the light gaps to about 10 mm before adding any layer to the middle zone.
Common mistakes
Adding more crossed layers everywhere to make the whole drawing darker. Adjust spacing first, and add crossed layers only to the zones that need a darker value; keep light zones single-layer.
Changing first-layer direction between adjacent zones on the same surface. Keep the first-layer direction continuous across zone boundaries and vary only spacing and layer count.
Judging value while looking closely at individual lines. Step back to arm's length and blur slightly; judge whether the zones separate as light, middle and dark.
Check your work
Spacing ratio between adjacent value zones is visibly different at arm's length.
First-layer direction stays continuous across zone boundaries on the same surface.
Crossed layers appear only in zones intended to read darker.
Crossing angle within a zone is consistent enough to read as one texture.
Three intended values remain distinguishable when viewed slightly out of focus.
Adjustments are made by changing spacing before adding extra layers.
Questions before you start
How do I know if my spacing ratio is working?
View the drawing from arm's length and slightly out of focus. If the light, middle and dark zones remain distinguishable, the ratio is working; if two zones merge, widen the lighter zone's spacing or add a crossed layer only to the darker zone.
Should crossed layers always be at the same angle?
Keep the crossing angle consistent within a single value zone so the texture reads as one surface. Different zones may use different crossing angles if the form changes direction, but avoid mixing several angles in one small area.
Is there one correct hatching result?
No. Hatching has multiple valid outcomes. Use the rubric to check spacing control, direction continuity and layer discipline rather than comparing against a single expected image.
Optional Google Analytics helps us understand which free resources are useful. It is off until you allow it. Drawing tools and downloads work with either choice. Privacy details