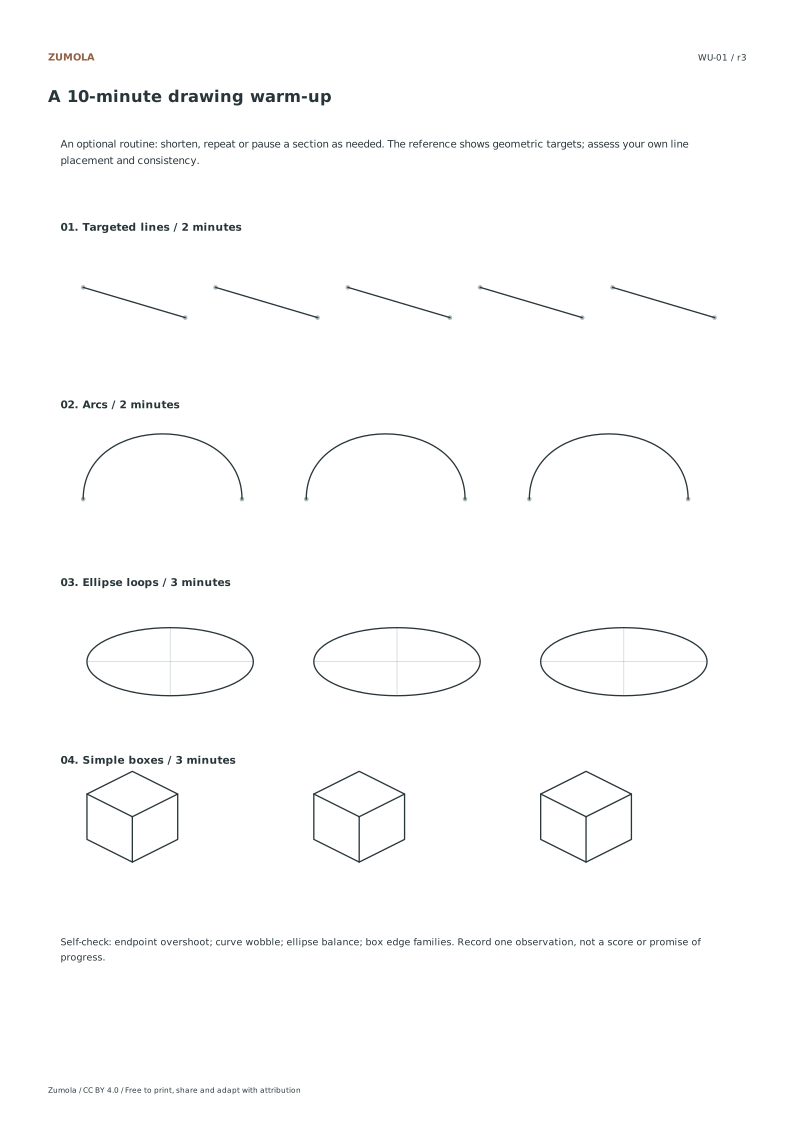
Bring lines, arcs, ellipses and boxes into one short routine. Use a flexible 2 + 2 + 3 + 3 minute plan and record one observation for your next session.
One combined practice sheet. 28 undated log entries.
A printable task with a way to check it
Bring lines, arcs, ellipses and boxes into one short routine. Use a flexible 2 + 2 + 3 + 3 minute plan and record one observation for your next session.
Choose US Letter or A4, then download the PDF for printing or the SVG for editing. Keep the student worksheet separate from its answer or reference completion. All files, including the answers, are free without signup.
Choose your paper and download
Download paper size
Every worksheet and answer is free. No signup.
The complete collection
Keep practice and answers separate.
Use the student pack first, then compare the reference or answer. Packs are PDFs; individual sheets below also include editable SVG files. The paper choice applies to every download.
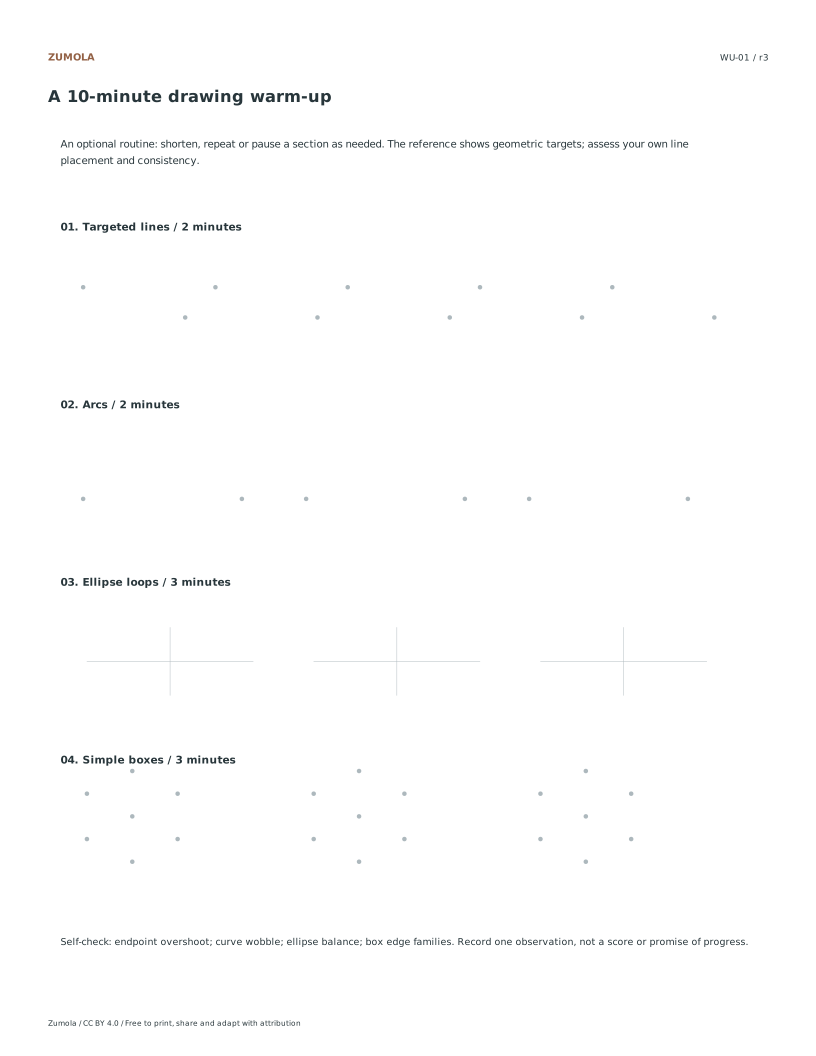
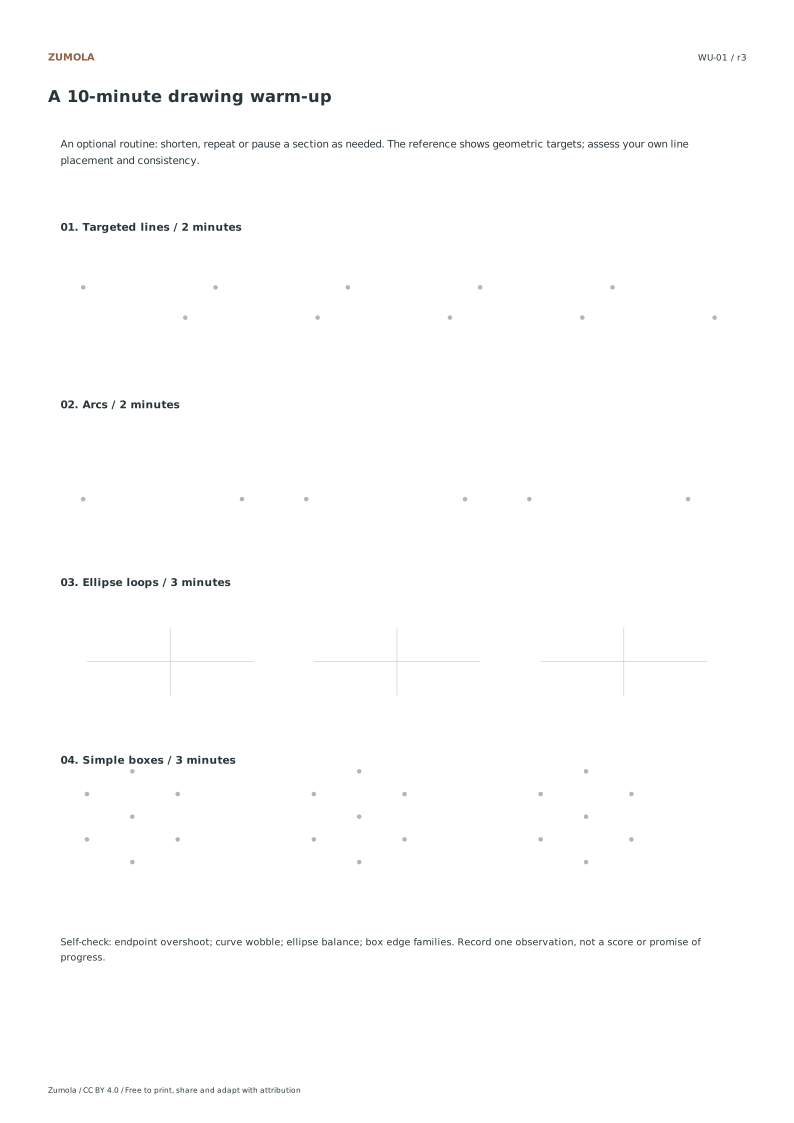
Start with a light pass between the given targets. For arcs, rehearse the motion once before touching the page. For ellipses, follow the long axis and aim for a continuous loop. For boxes, join the provided corners without repeatedly darkening a missed edge. These are optional prompts: select one stage to repeat when that is more useful than doing the entire sequence.
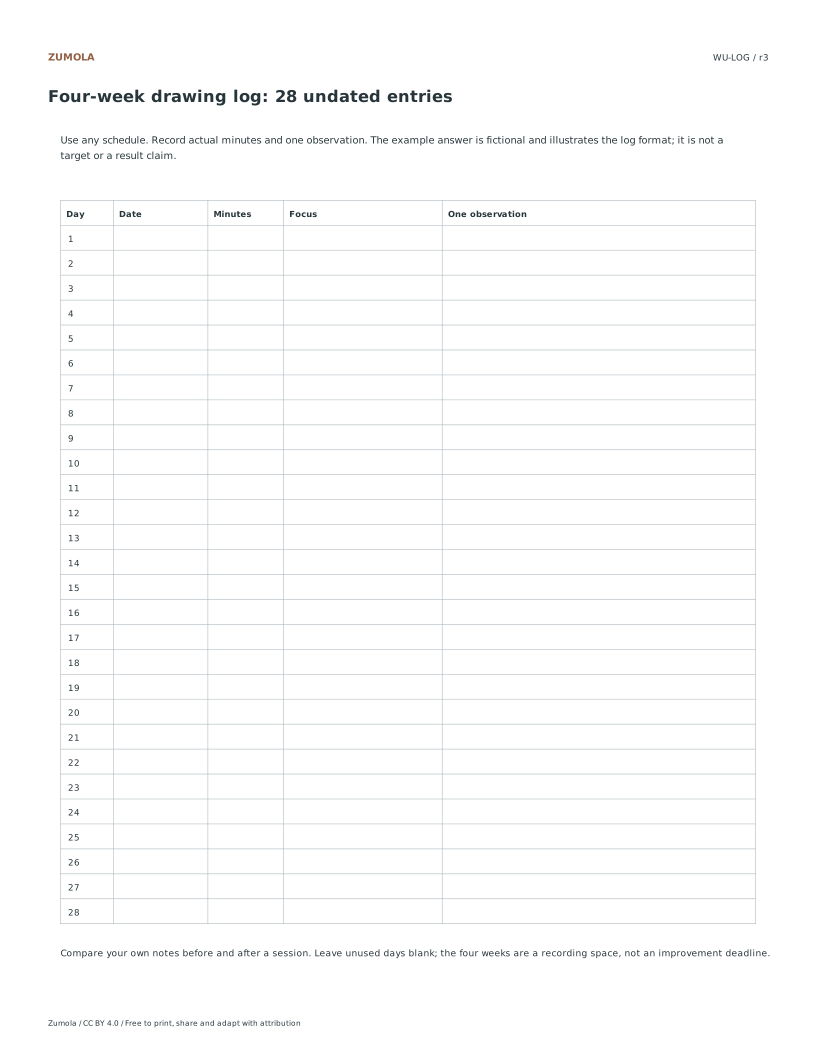
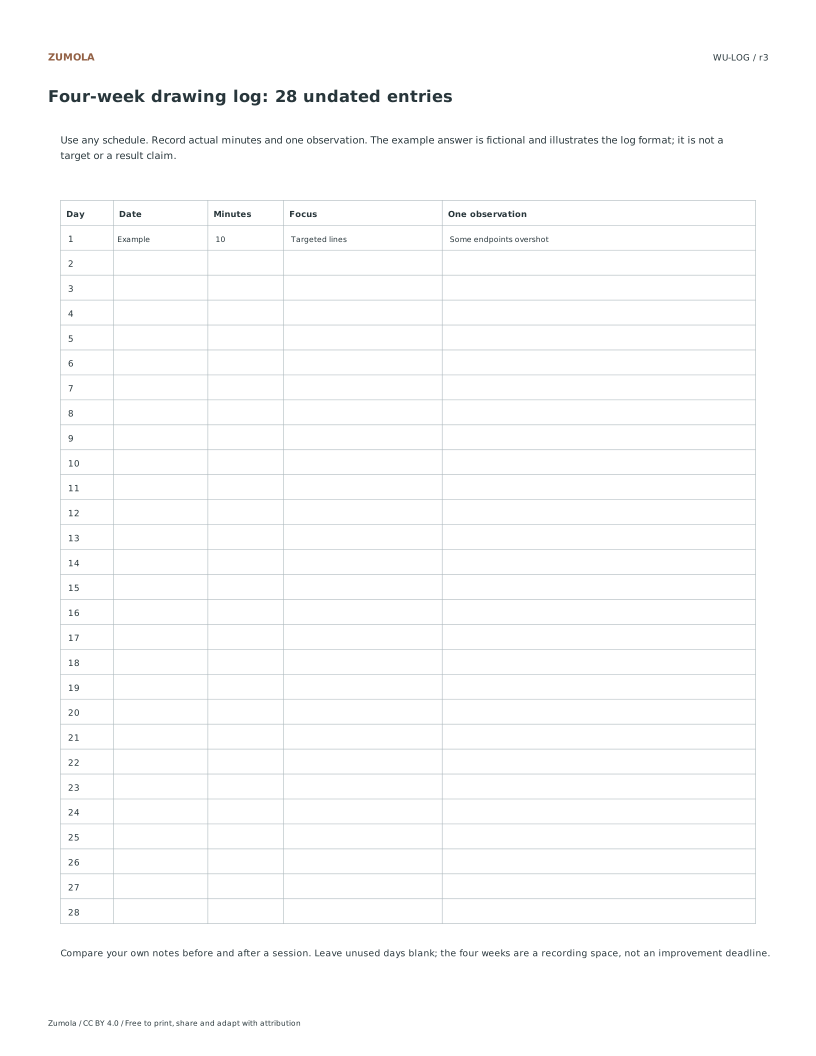
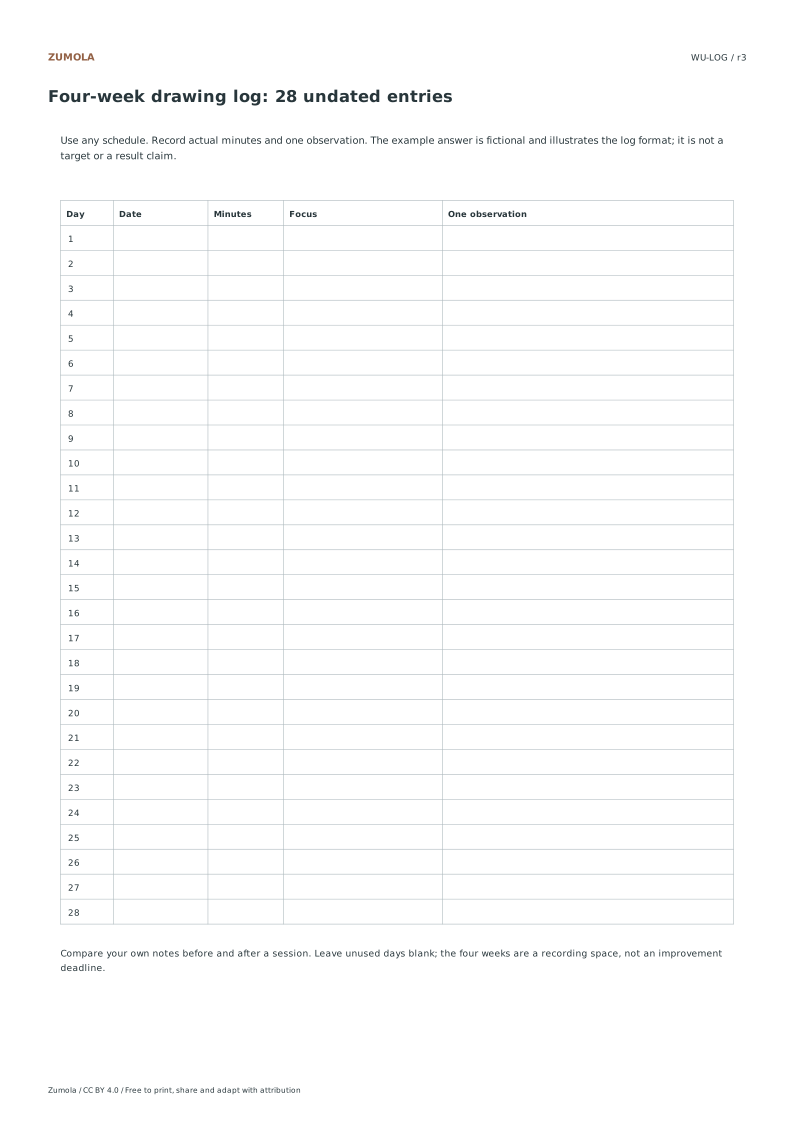
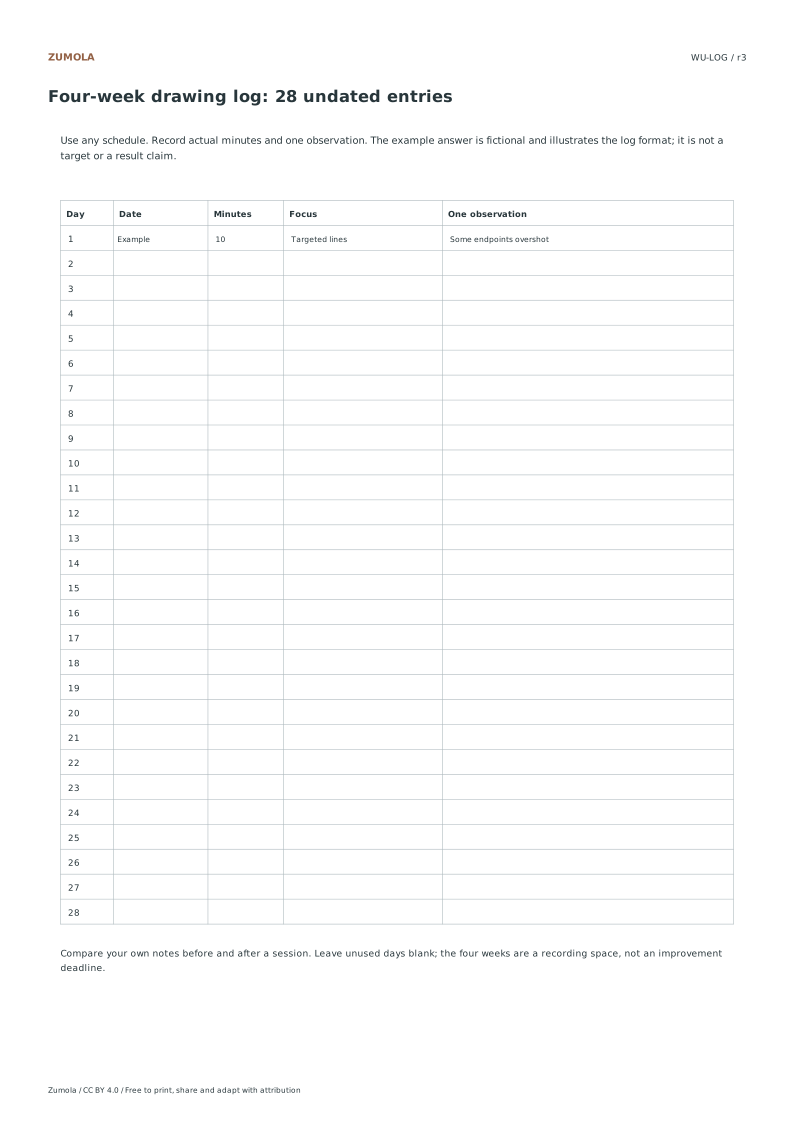
Use the log as a record of attempts, not a promise of improvement after four weeks. A useful entry names a visible issue and a next action: “three lines went past the endpoint; next session I will slow the last centimeter.” The reference log labels its sample row as fictional. Your blank log has 28 rows and no imposed dates.
For longer single-skill work, open the line-control or ellipse collection. This page provides a compact session order and review record; it does not duplicate all of those specialist sheets.
Work through the page
Executing the Timed Warm-Up Sequence
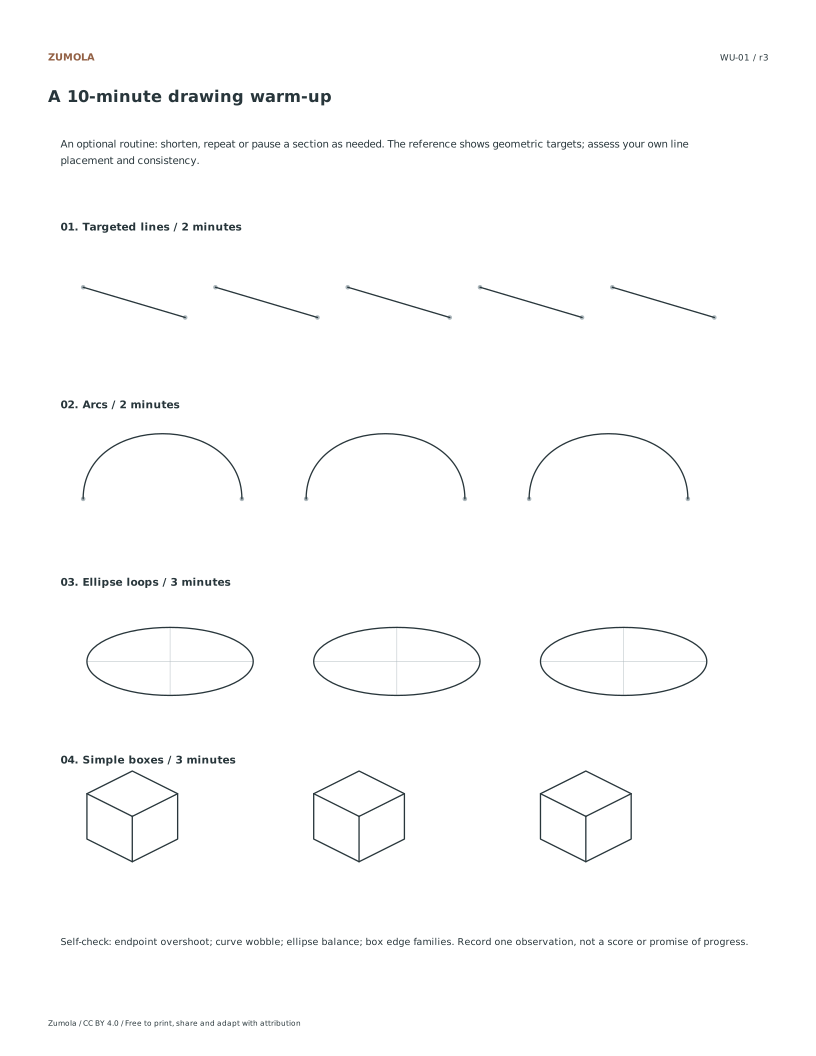
The combined sheet is the warm-up itself. Try two minutes of targeted straight lines, two minutes of arcs, three minutes of ellipse loops and three minutes of simple boxes. Together the suggested segments total ten minutes. Follow the guides lightly and choose one feature to watch rather than rushing to fill every space. Shorten a segment, pause, or repeat it if that suits your session. The time is a suggested structure, not a required speed or an improvement promise. Keep the reference beside the student sheet for review after your attempt.
Utilizing the Four-Week Log System
After the combined warm-up, write one observation in the four-week log. It has 28 undated rows, so it can represent four daily weeks or a slower sequence of sessions. Note something you can see: a line passing its endpoint, an arc wobbling, an ellipse leaning away from its axis, or a box corner missing its guide. Choose one change to try next time. These are personal observations rather than validated scores or a measurement of learning speed. The sample row on the reference log is explicitly fictional; use your own observations in the blank student version.
Applying the Geometric Reference Checklist
Use the separate geometric reference and checklist as a comparative tool during your review phase. This document is not intended to provide a unique artistic answer but serves as a benchmark for technical accuracy. Compare your drawn shapes against the reference to evaluate symmetry and axis consistency. Look specifically for wobble in your lines and overshoot at corners or curves. This comparison helps you understand where your hand deviates from the intended geometric form. Remember that this resource combines skills into a timed session, while existing line-control and ellipse collections offer deeper practice. Use the checklist to identify areas for adjustment in your next session, focusing on mechanical precision rather than stylistic interpretation.
Small checks that catch common errors
Watch for
Check instead
Treating the geometric reference as a strict artistic standard.
Use the reference only for comparing symmetry and axis consistency, not as a unique artistic answer.
Expecting a guaranteed improvement timeline from the four-week log.
Track wobble and overshoot as data points without assuming a specific speed of progress.
Rigidly adhering to the ten-minute warm-up without adjustment.
Shorten or repeat segments as desired to fit your current focus and physical comfort.
Print a test sheet before a full pack
Use the PDF that matches the paper loaded in your printer. Choose Actual size / 100% and turn off Fit, Shrink and browser headers. The SVG keeps millimeter dimensions, but an editor or browser can rescale it; the PDF is the simpler print path. Measure any calibration bars with a separate physical ruler when the exercise depends on printed size. A screen preview does not establish physical scale.
Packs combine the same individual pages; they are not extra different exercises. Print a student copy first and keep references nearby for review. Letter and A4 preserve the stated grid spacing or model definition while their surrounding white space can differ. Color is optional: the references also use line position, text or relative lightness to explain the result.
Useful answers
Do I need to finish every mark in ten minutes?
No. The timer organizes a short routine. Stop or extend a section as needed and record one useful observation. The sheet is reusable; it is not a timed test.
Do I need to date the entries in the log?
No, the four-week log contains twenty-eight undated entries. You can fill them out in any order or frequency that suits your practice schedule.
Will this replace deeper line-control exercises?
No, this page combines skills into a timed session. Existing line-control and ellipse collections are recommended for deeper, more specialized practice.
Are the answers and editable files free too?
Yes. Every linked PDF, SVG, worksheet and answer is free without signup. The original Zumola resources use CC BY 4.0: credit Zumola, link the license and indicate changes. Analytics consent is not required to download or use them.
Re-time the four stages without losing the observation
The routine works because each stage has one job: lines build steady direction, arcs build controlled curvature, ellipses build closed smooth loops, and boxes build proportion and alignment. Changing the minutes changes how much repetition you get, not what you are watching for. Keep the order and keep one written observation per stage so the plan stays diagnostic rather than becoming four unrelated doodles.
A simple cap rule is to keep every stage at one minute or more and to keep the longest stage no more than twice the shortest. That prevents a single stage from swallowing the session. Total time is the sum of the four stages, so a 6-minute plan might be 1 + 1 + 2 + 2, and a 14-minute plan might be 3 + 3 + 4 + 4. Write the minutes at the top of the sheet before starting so you are not deciding mid-session.
Choose a total time between 6 and 14 minutes and write it down.
Assign minutes to lines, arcs, ellipses and boxes, keeping each stage at 1 minute or more.
Check that the longest stage is no more than twice the shortest.
Write one observation prompt beside each stage before you begin.
After the session, record one sentence per stage describing what changed.
Diagnostic checks for each stage
These checks describe quality, not a pass or fail score. A line stage is going well when repeated strokes stay parallel and evenly spaced and the start and end points are deliberate rather than drifting. An arc stage is going well when the curve changes direction smoothly and the two ends sit where you intended. An ellipse stage is going well when the loop closes without a visible corner and the long and short axes stay consistent across repeats. A box stage is going well when opposite edges stay parallel and the corners meet cleanly.
Use the same check across sessions so the observation note compares like with like. If a stage feels rushed, the fix is usually to lengthen that stage by one minute and shorten a stage where you are already consistent, rather than adding a fifth activity.
Compare repeated strokes for spacing and direction.
Trace each arc to confirm the curvature changes smoothly.
Check that each ellipse closes without a corner.
Compare opposite box edges for parallel alignment.
Write the observation in one sentence, naming the stage and the change.
A practical variation for mixed sessions
When you have less time, run two stages only: lines and boxes, or arcs and ellipses. Pairing a straight-edge stage with a curved stage keeps the session balanced. When you have more time, repeat the full four-stage order twice rather than stretching one stage, because a second pass tests whether the first observation held.
Keep the observation log separate from the drawing sheet so the notes do not crowd the marks you are judging. A short note such as 'arcs: ends drifted right on the second half' is more useful next session than a general comment about effort.
For a short session, pick one straight stage and one curved stage.
For a longer session, repeat the four-stage order instead of extending one stage.
Record the observation on a separate log line, not on the drawing.
Try this example
Re-time a 10-minute plan of 2 + 2 + 3 + 3 minutes into an 8-minute session, keeping each stage at one minute or more and the longest stage no more than twice the shortest.
Show the worked explanation
The cap is twice the shortest stage. In 2 + 2 + 2 + 2 = 8 minutes, the shortest stage is 2 and the longest is 2; twice 2 is 4, and 2 is not more than 4, so the plan satisfies both rules. By contrast, 1 + 2 + 2 + 3 = 8 minutes fails the cap: the shortest stage is 1, twice 1 is 2, and the longest stage is 3, which is more than 2. Likewise 1 + 1 + 3 + 3 = 8 minutes fails, because twice 1 is 2 and 3 exceeds it. So 2 + 2 + 2 + 2 is a valid 8-minute plan under the stated rule.
Common mistakes
Stretching one stage until it fills the whole session. Cap the longest stage at twice the shortest and redistribute the extra minutes.
Writing a general comment such as 'needs practice' for every stage. Name the stage and the specific change, for example 'boxes: top edge tilted left'.
Judging the warm-up as pass or fail. Use the rubric criteria to describe quality and compare with the previous session.
Check your work
Stage minutes are written before the session and sum to the chosen total.
Each stage is at least one minute and the longest is no more than twice the shortest.
Each stage has one observation prompt written in advance.
The observation note names the stage and a specific change.
The log is kept separate from the drawing sheet.
The rubric is used to describe quality rather than assign pass or fail.
Questions before you start
Can I change the order of the four stages?
Yes, but keep one straight-edge stage and one curved stage in each half so the session stays balanced. Record the order you used so the observation note is comparable.
How long should each stage be?
At least one minute, with the longest stage no more than twice the shortest. A 6-minute plan can be 1 + 1 + 2 + 2; a 14-minute plan can be 3 + 3 + 4 + 4.
What if my observation note is the same every session?
Change one variable, such as stage length or stroke spacing, and describe the effect. A repeated note usually means the check is too general.
Optional Google Analytics helps us understand which free resources are useful. It is off until you allow it. Drawing tools and downloads work with either choice. Privacy details