Free printable resources · Original practice
Ellipse drawing practice.
Find a smoother curve.
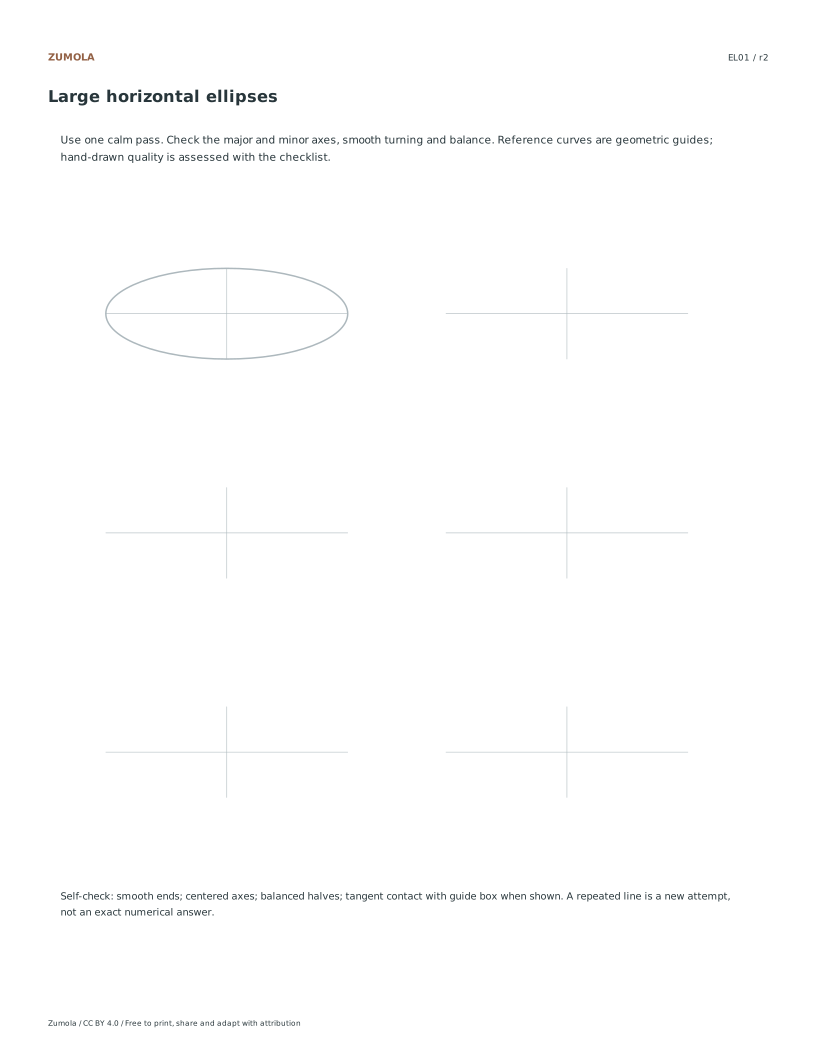
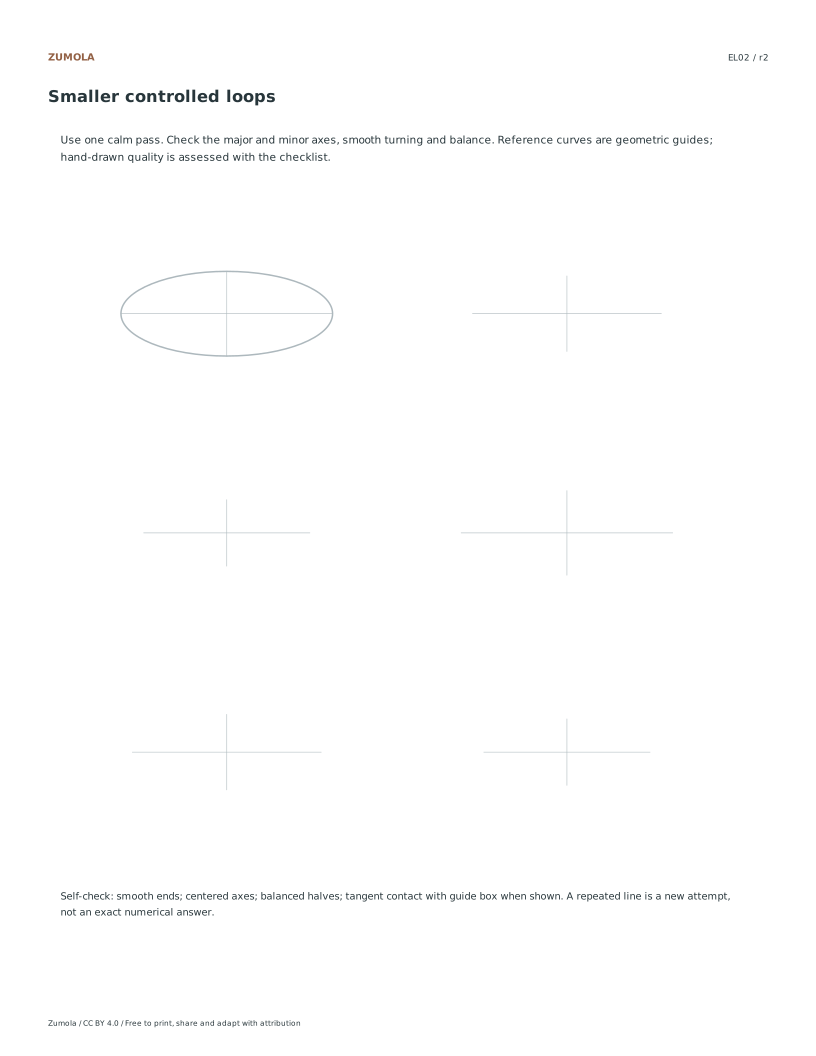
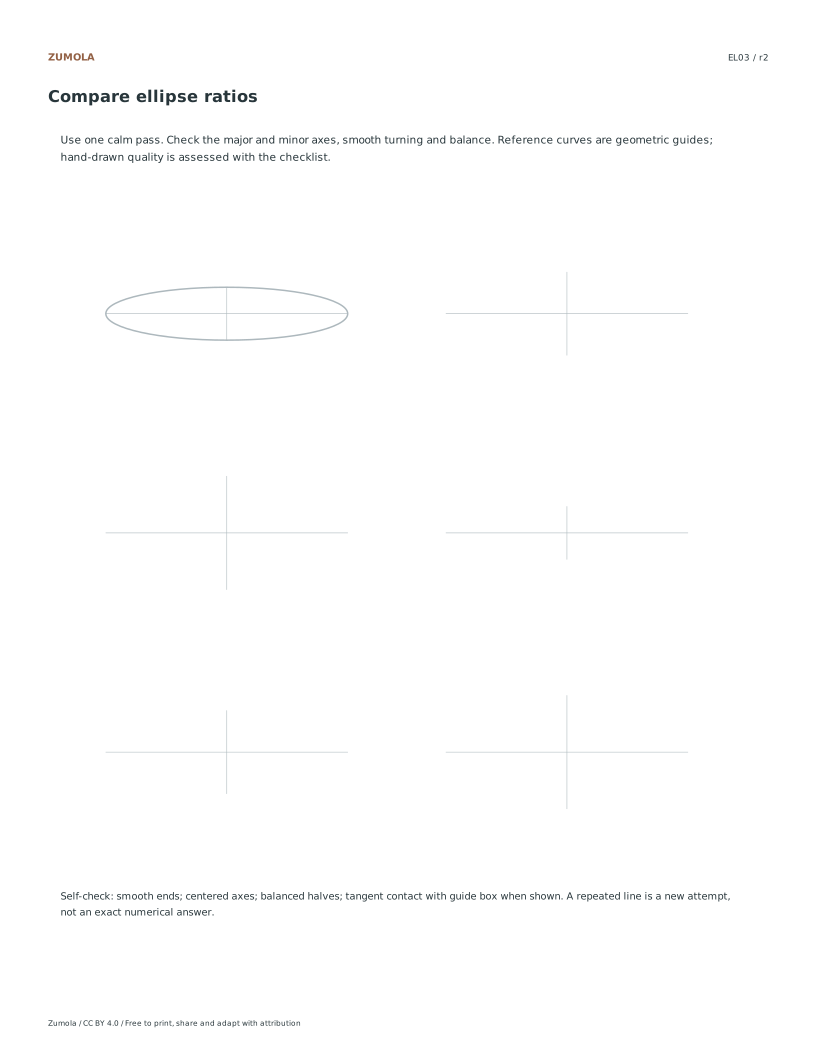
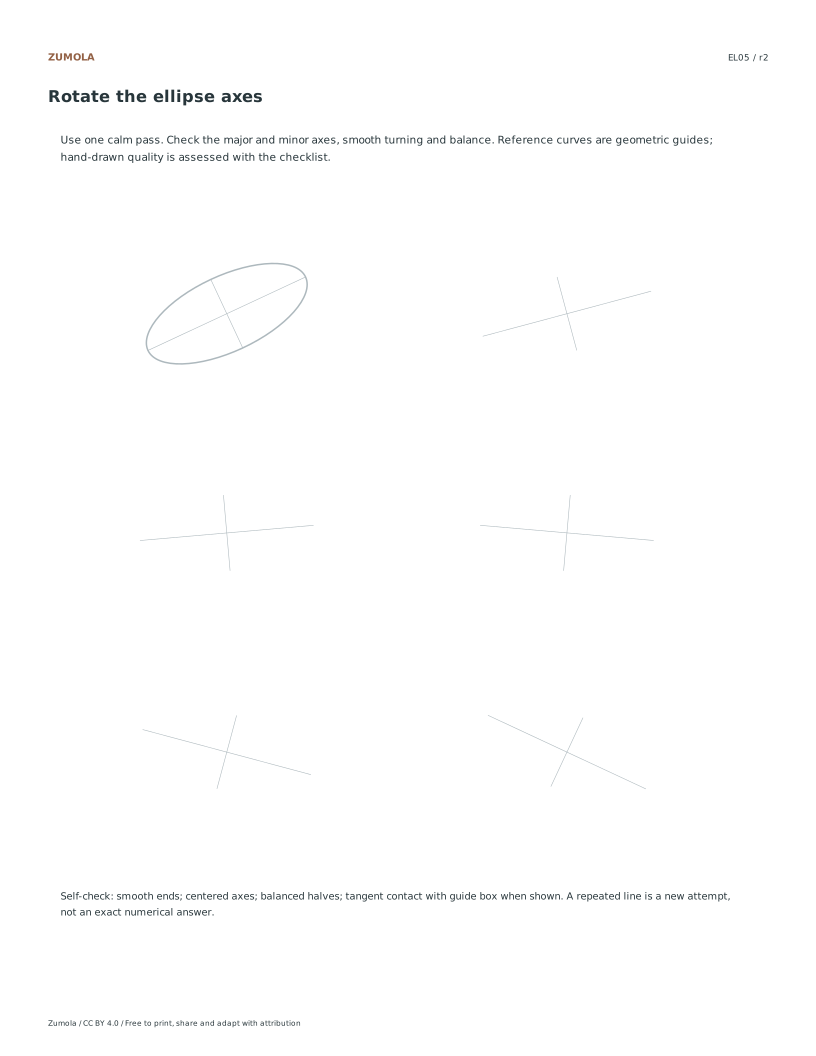
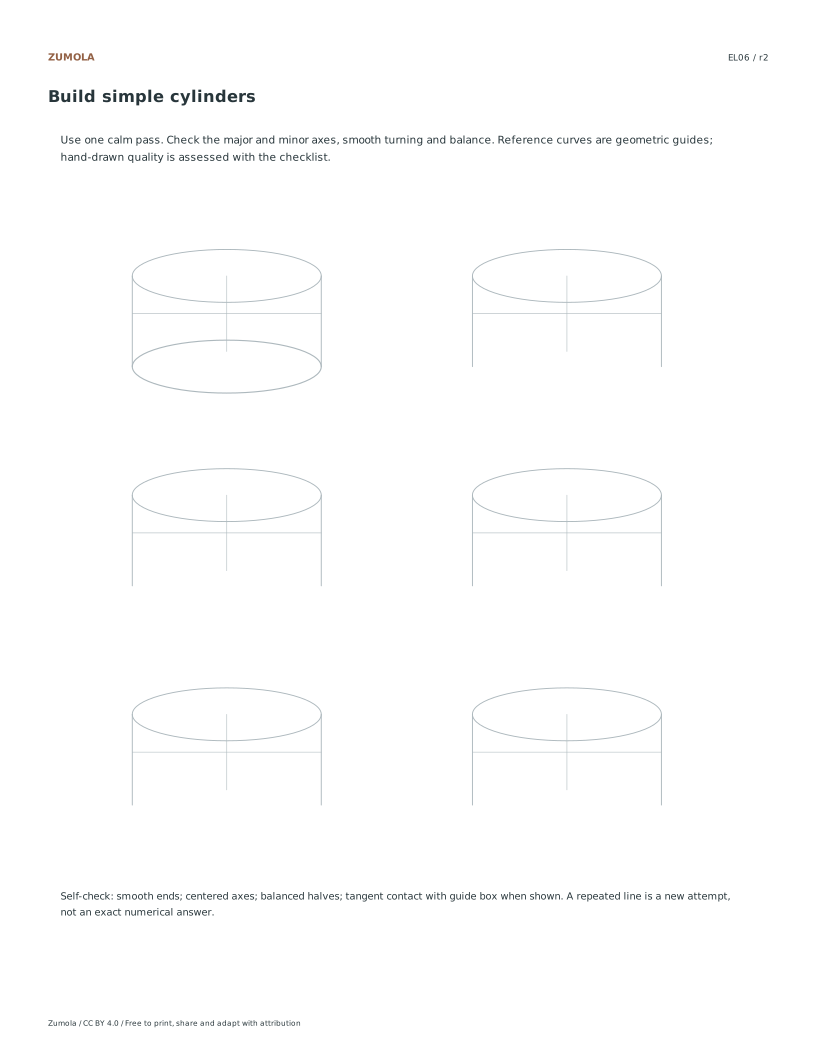
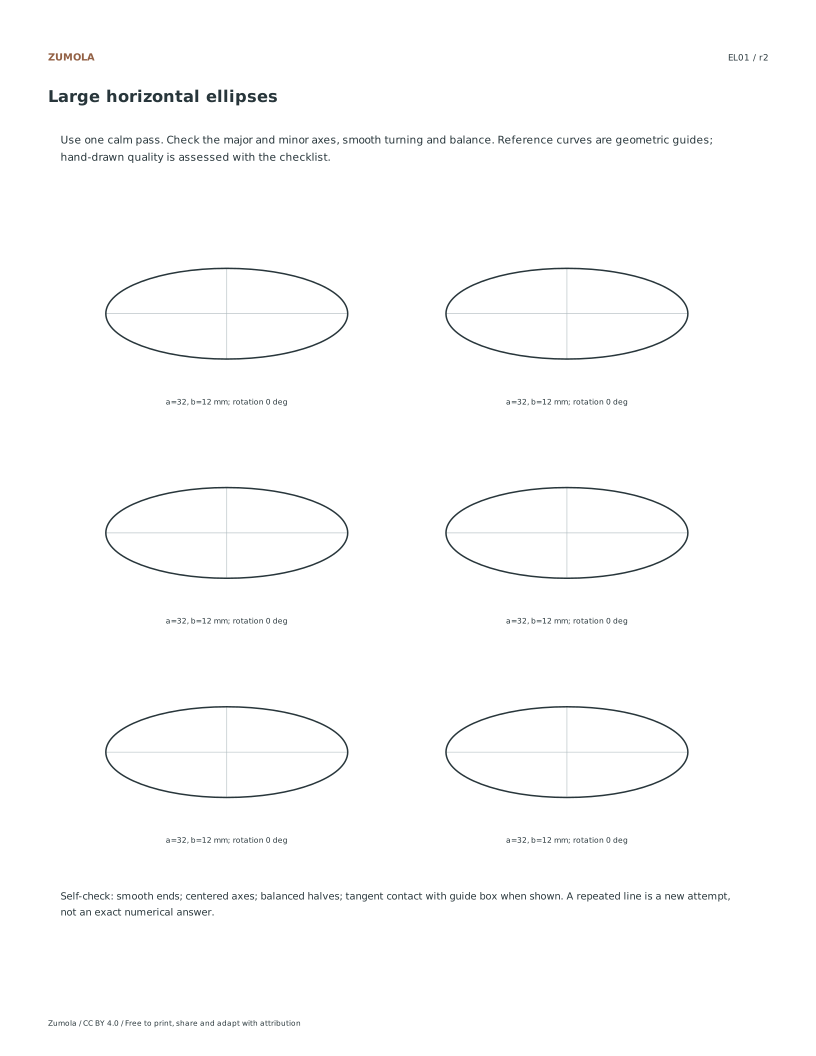
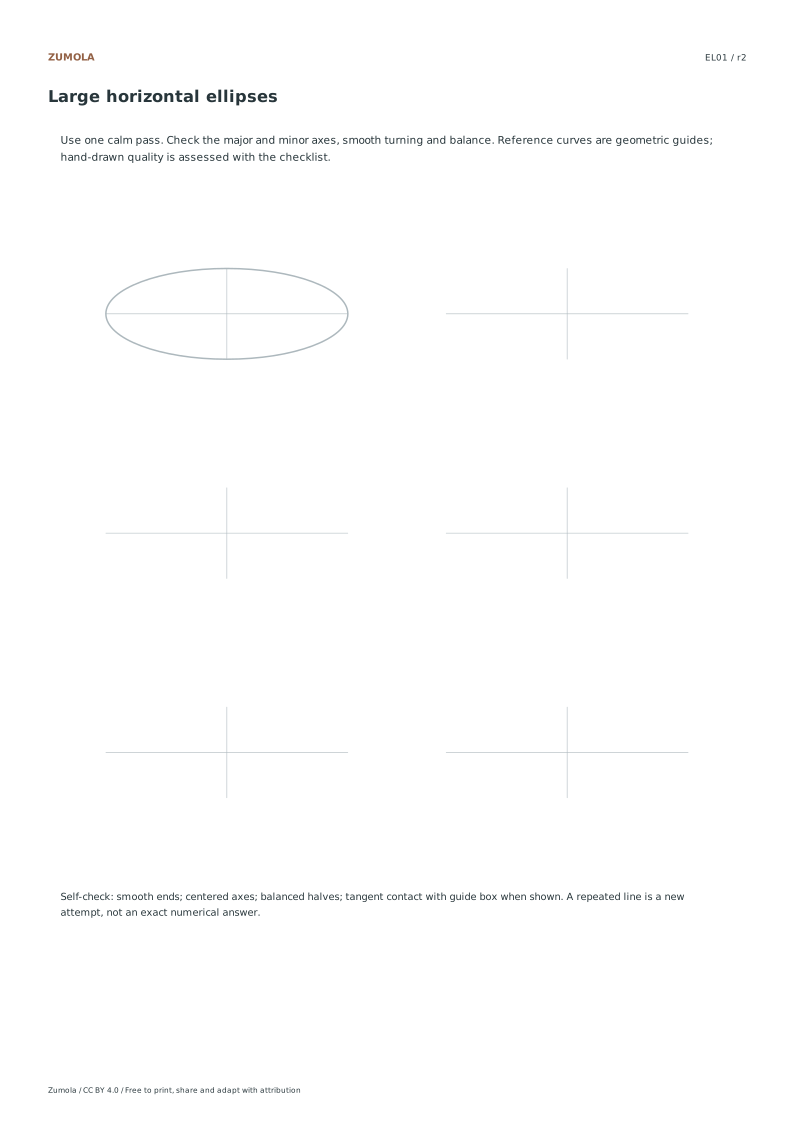
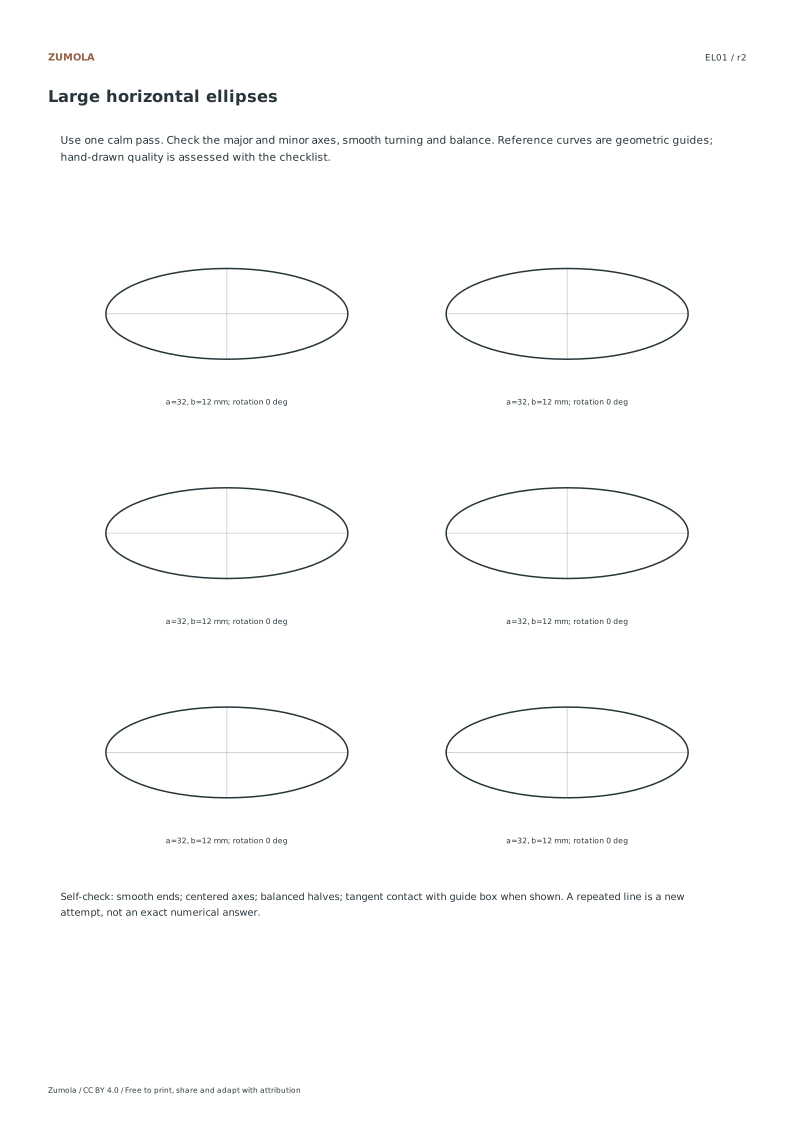
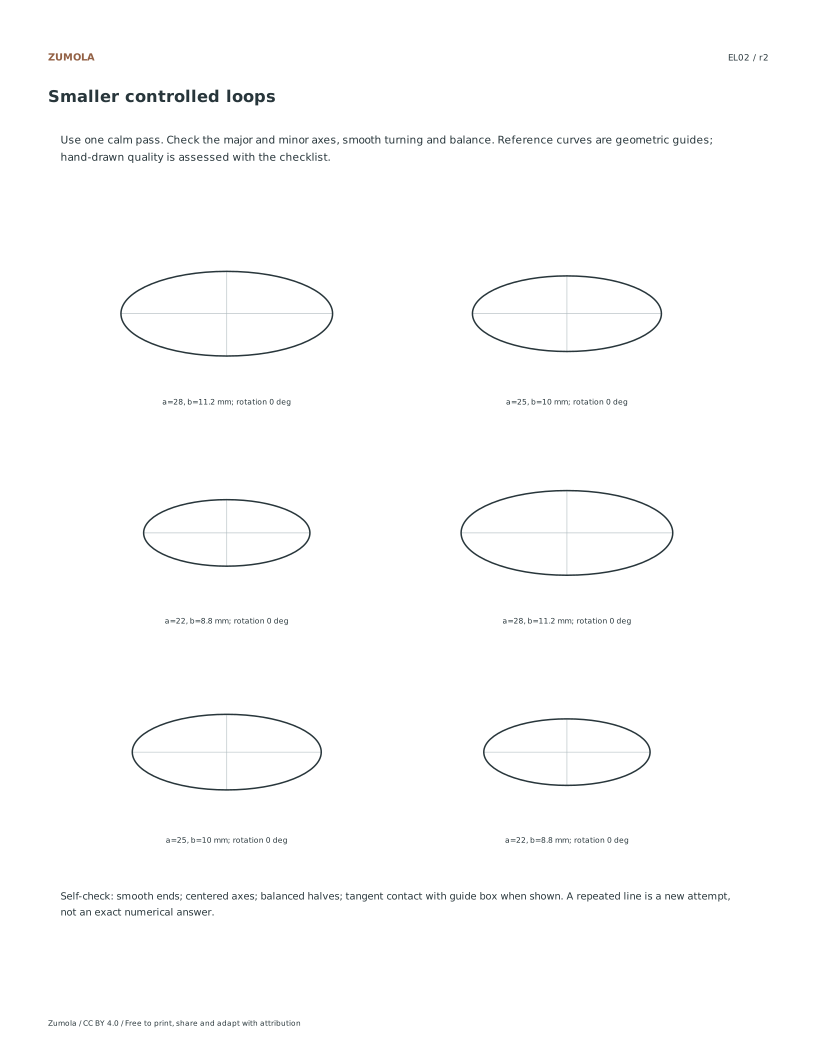
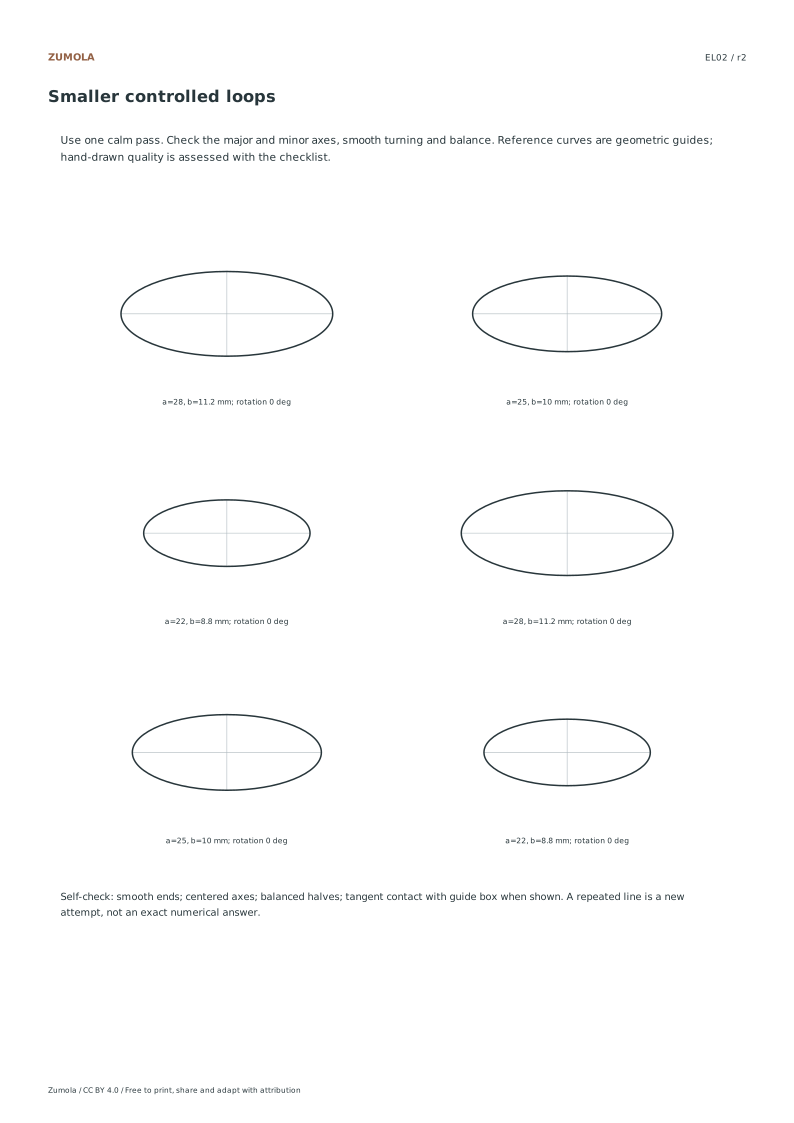
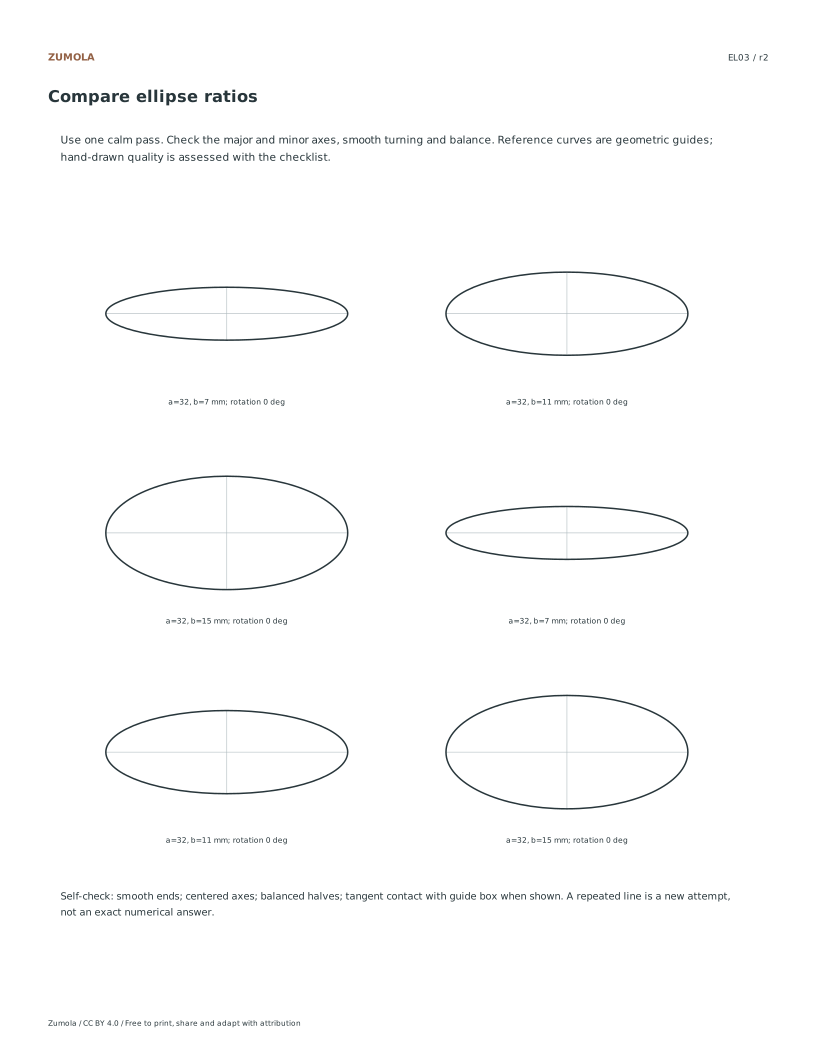
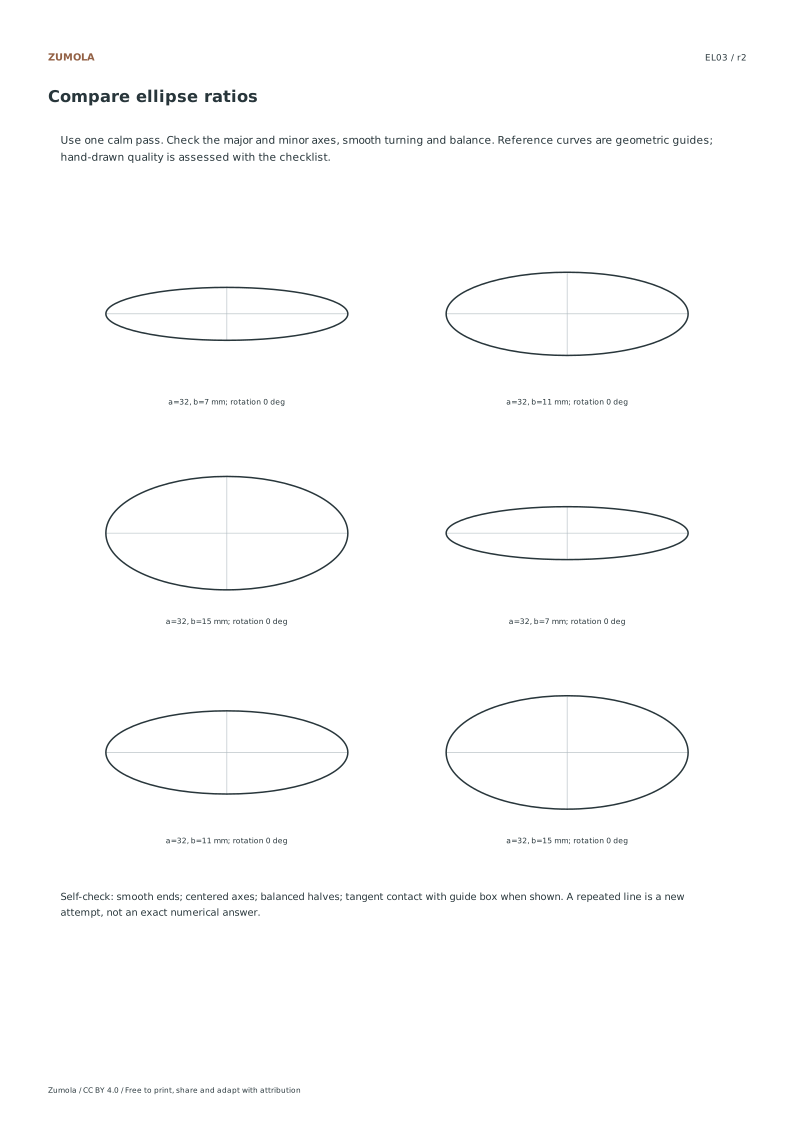
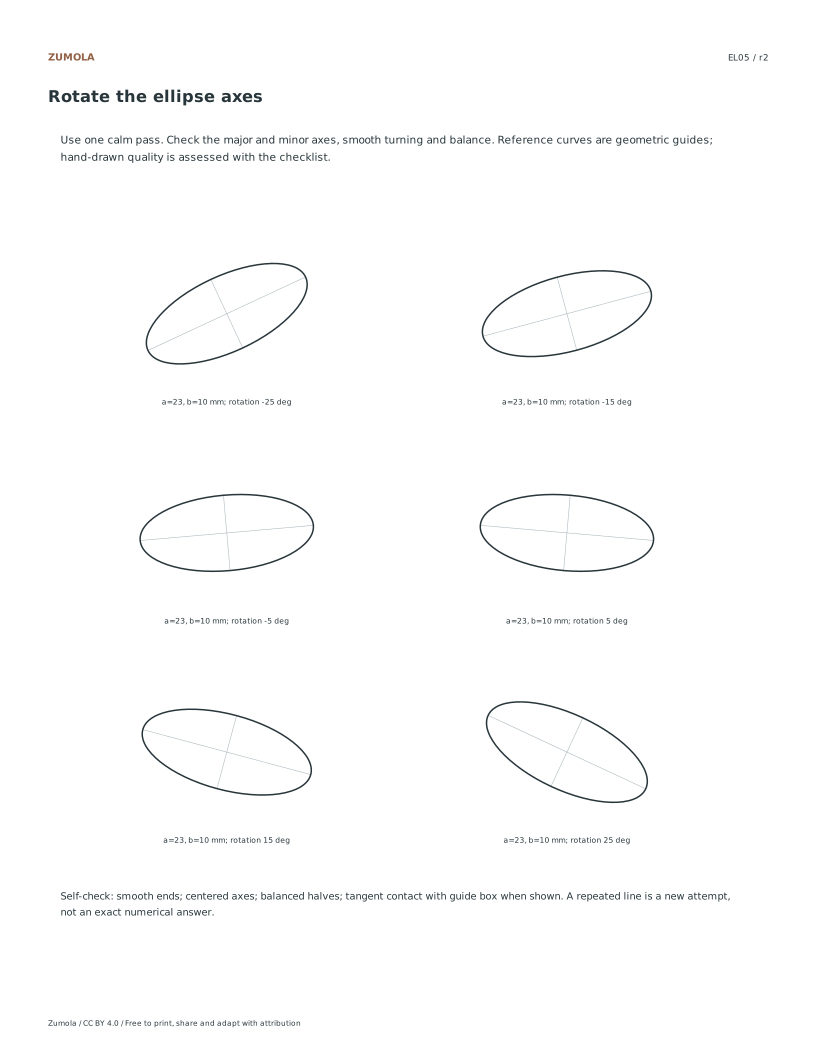
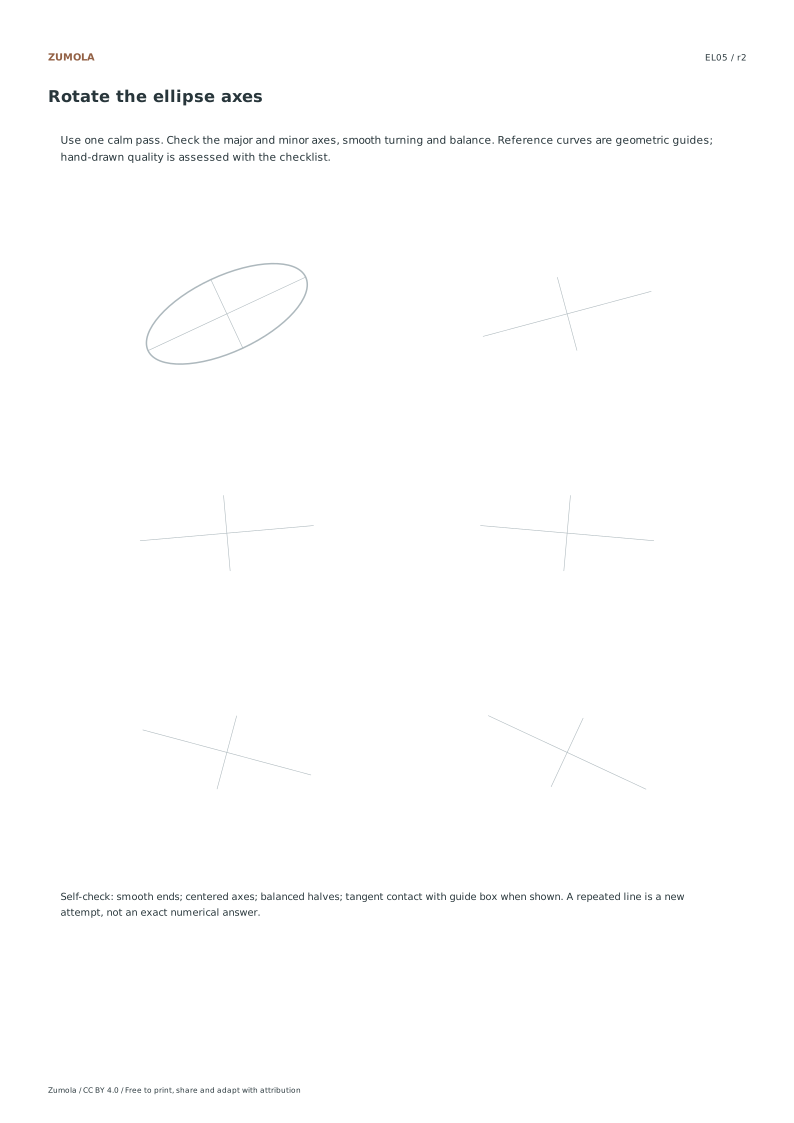
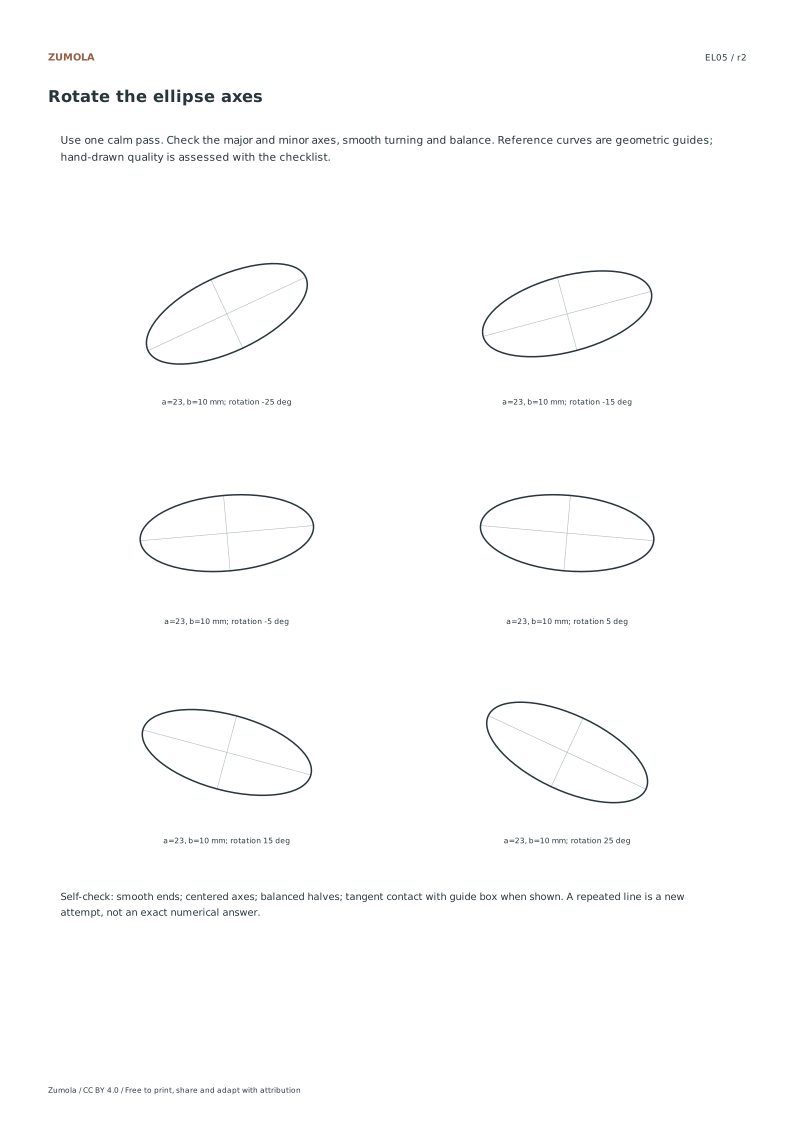
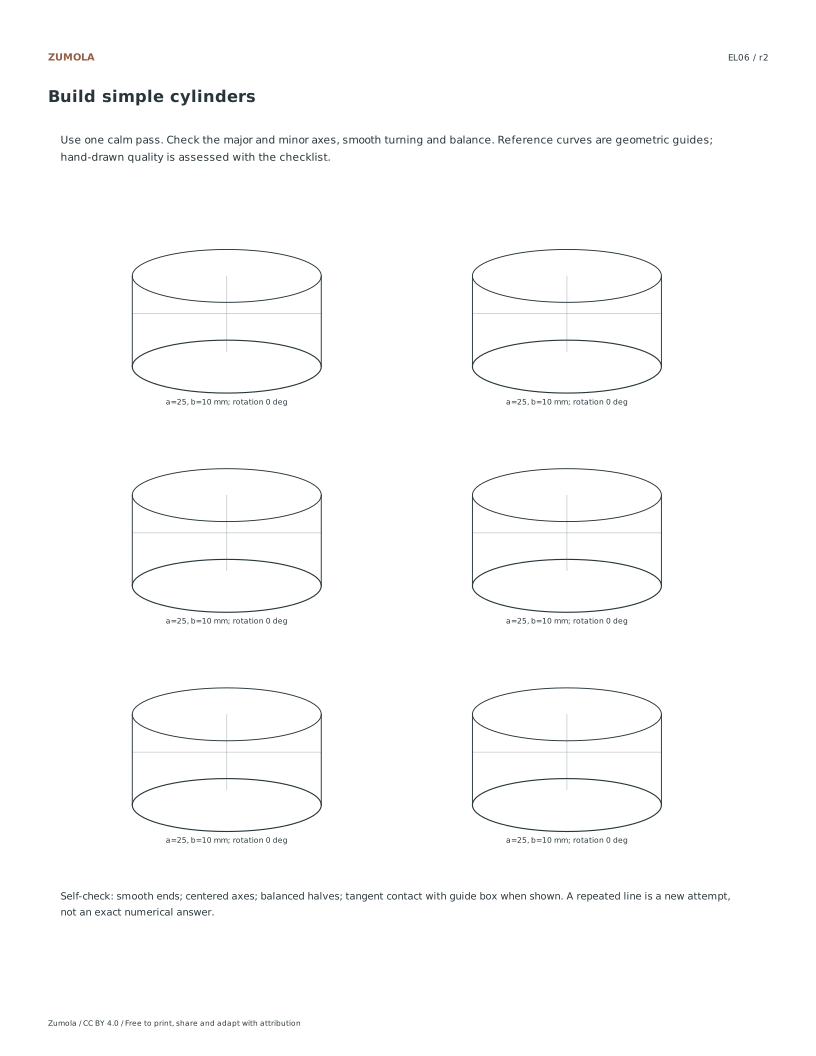
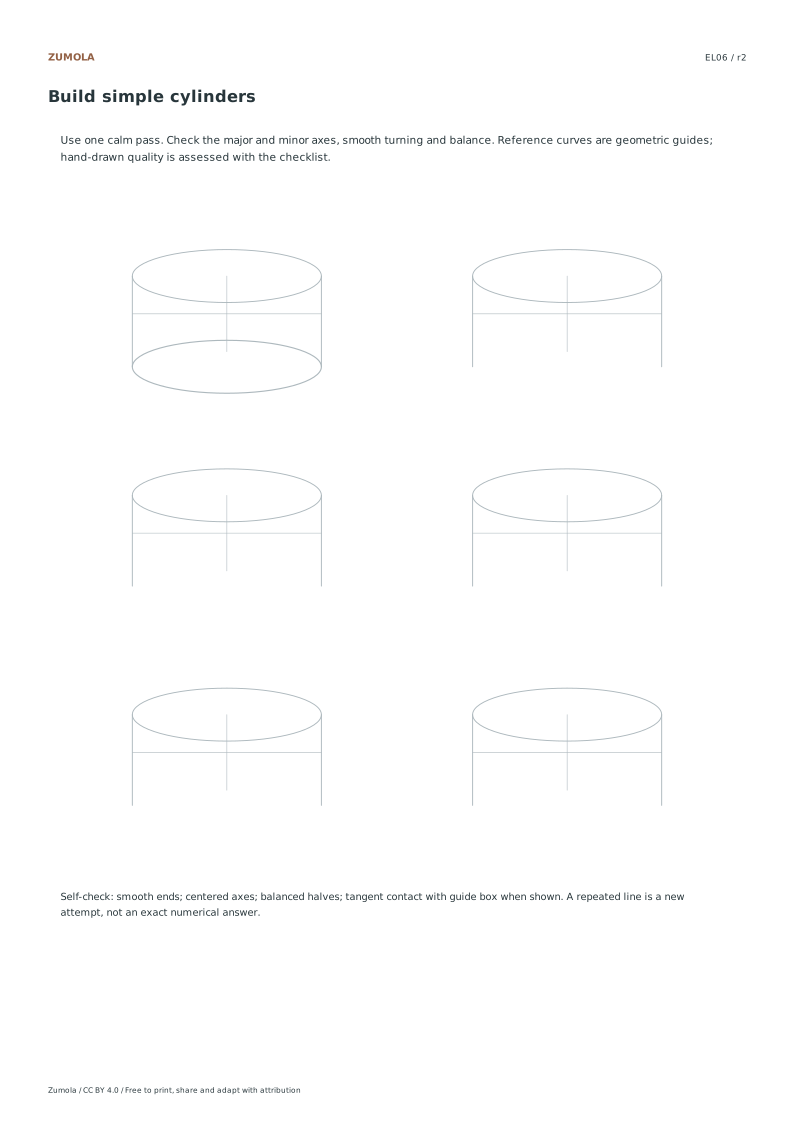
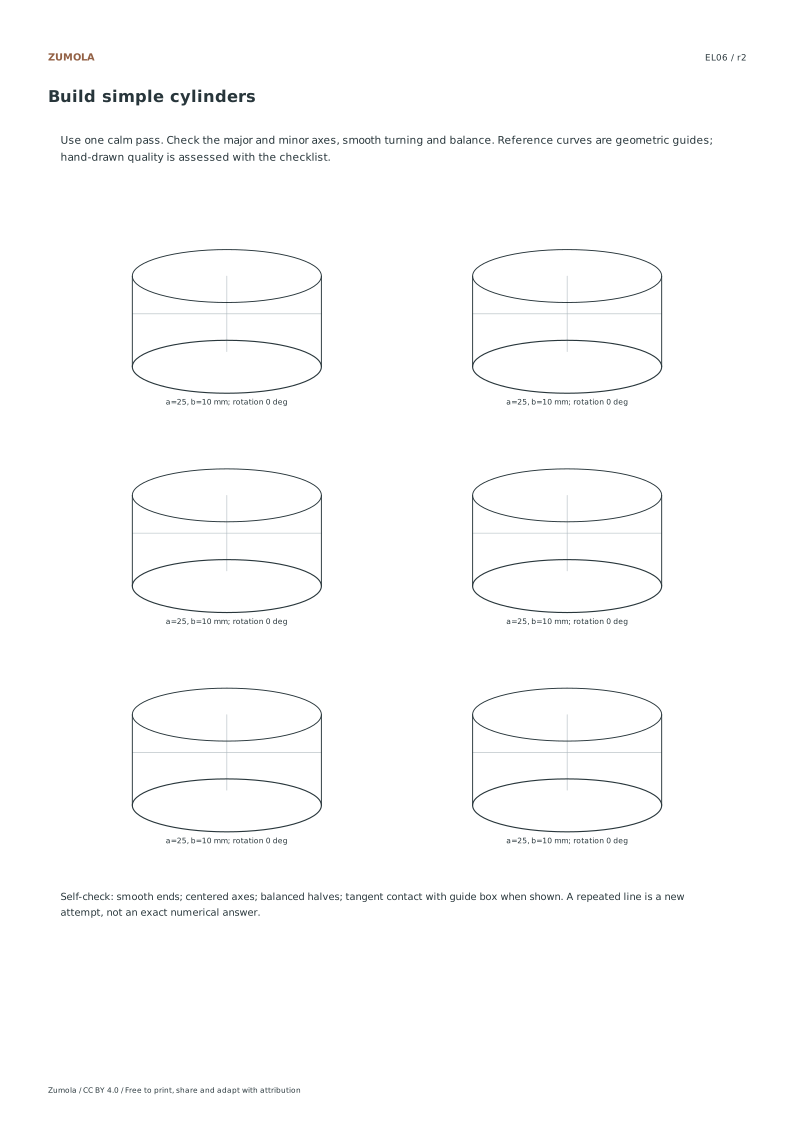
Move from large loops to smaller ellipses, rotated axes and simple cylinders. Use the geometric reference to compare balance, smoothness and alignment.
6 practice sheets.
36 guide positions.
Separate reference completions.
More ways to practice
Set up the box and mark the axis endpoints
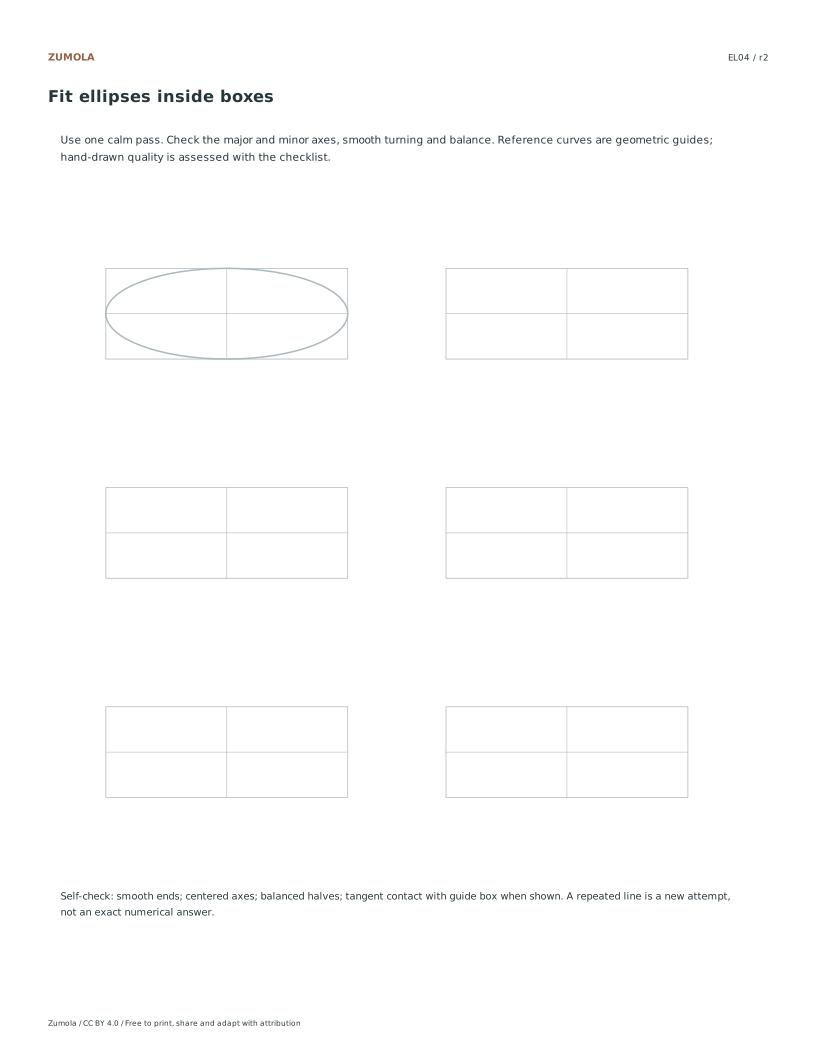
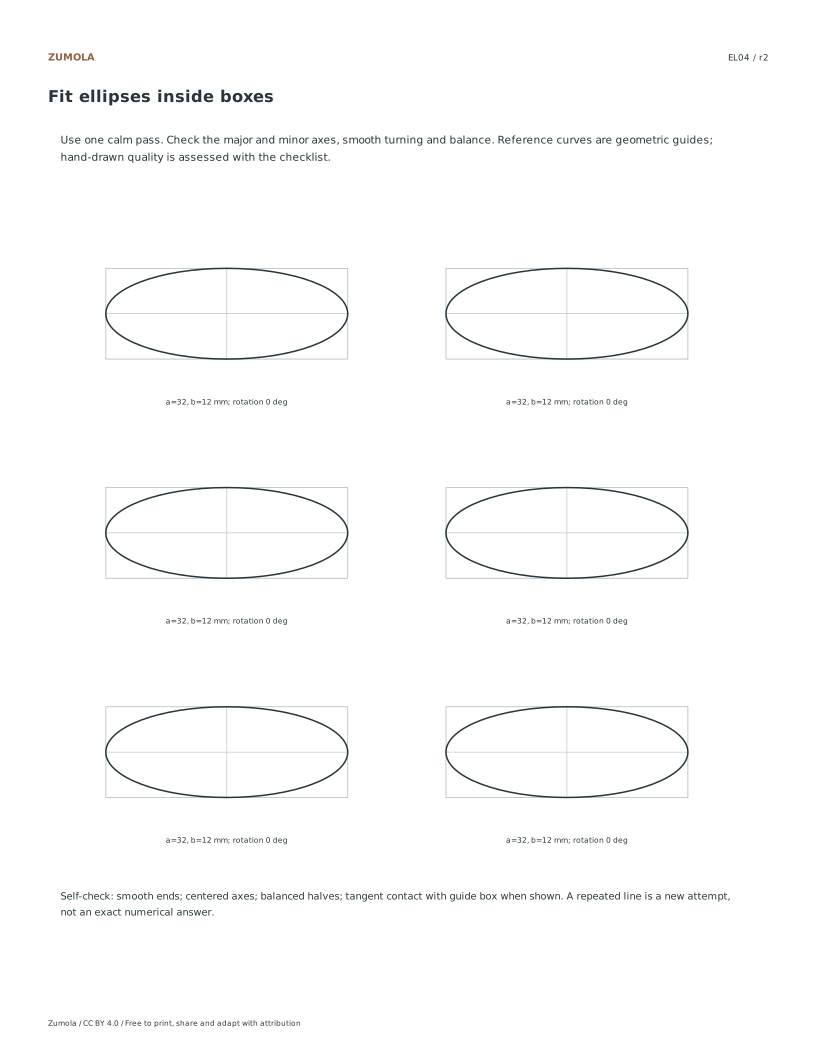
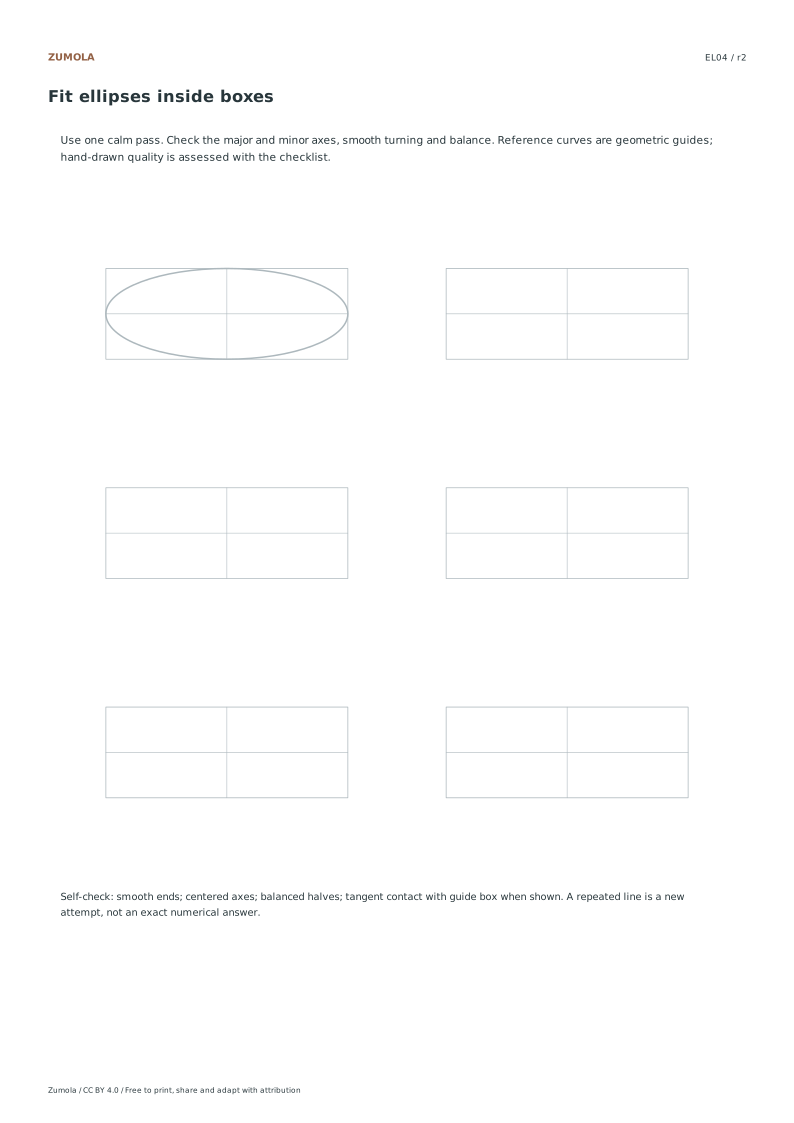
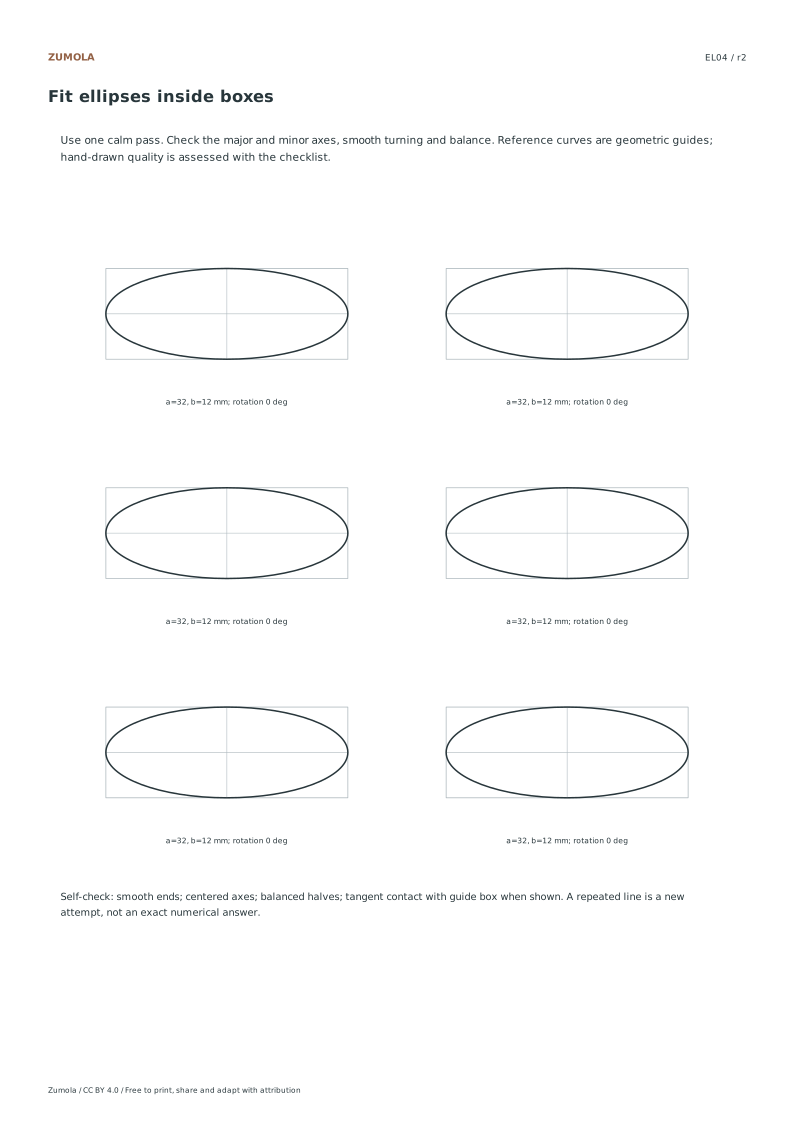
Draw a rectangle 20 units wide and 12 units high on plain paper, using any consistent unit such as centimetres or grid squares. Mark the centre where the diagonals cross; for this box that is 10 units from the left edge and 6 units from the bottom. Draw a horizontal line through the centre and a vertical line through the centre. These are the major and minor axes of the intended ellipse.
The horizontal axis is the major axis because 20 is greater than 12. Its endpoints sit at the midpoints of the left and right sides. The vertical axis is the minor axis, and its endpoints sit at the midpoints of the top and bottom sides. Mark these four tangency points before drawing any curve. The corners of the box are not on the ellipse, so do not aim the curve at them.
- Draw the 20 by 12 rectangle and lightly mark both diagonals to find the centre.
- Draw a horizontal line and a vertical line through the centre, extending slightly past the box.
- Mark the four side midpoints: left, right, top and bottom.
- Sketch the curve in four arcs, starting and ending at the marked tangency points.
- Check that the curve touches each side at one point only and never crosses the box edge.
Diagnostic checks after the first pass
Hold the sheet at arm's length and look at the gaps between the curve and the box. A correct axis-aligned ellipse leaves four curved gaps near the corners, and those gaps should look balanced in pairs: the two near the left and right sides should match, and the two near the top and bottom should match. If one gap is much wider, the curve has drifted away from a tangency point.
Check symmetry by folding or by measuring. The distance from the centre to the curve along the horizontal axis should be 10 units, and along the vertical axis 6 units. Measure a few intermediate points if you want a stronger test: at 5 units left of centre, the curve should sit about 5.2 units above the horizontal axis, since 6 times the square root of 1 minus 0.25 is about 5.2. Small pencil-width differences are normal; a consistent offset in one direction is not.
- Compare the four corner gaps in opposite pairs.
- Measure the horizontal and vertical semi-axes from the centre.
- Sample one intermediate point on each side and compare it with the expected value.
- Redraw only the arc that fails, keeping the tangency marks fixed.
Variations that test the same skill
Repeat the exercise with a 16 by 16 square box. The curve that touches all four sides is a circle, so there is no distinct major or minor axis; if your drawing looks stretched, the box or the axes are off. This variation is useful because it removes the temptation to copy a familiar oval shape.
Then try a 24 by 8 box, where the ratio is three to one. The ellipse is much flatter, and the corner gaps become long and shallow. Keep the same tangency rule: the curve touches the midpoints of all four sides and stays inside the box. Rotated ellipses and ellipses seen in perspective need separate reasoning about their axes, so treat those as a later exercise rather than forcing this method onto them.
- Draw a square box and confirm the result reads as a circle.
- Draw a 24 by 8 box and check the four tangency points again.
- Compare the corner gaps across both boxes and note how the ratio changes their shape.
Try this example
Fit an axis-aligned ellipse inside a 20 by 12 box and verify it with three checks.
Show the worked explanation
The centre is at 10 units from the left and 6 from the bottom. The major axis is horizontal with semi-axis 10, so it meets the left and right sides at their midpoints. The minor axis is vertical with semi-axis 6, so it meets the top and bottom sides at their midpoints. Check one: the curve touches each side once and stays inside the box. Check two: the four corner gaps match in opposite pairs. Check three: measuring from the centre gives 10 units horizontally and 6 vertically. A sample point 5 units left of centre should be about 5.2 units above the horizontal axis.
Common mistakes
- Aiming the curve at the box corners instead of the side midpoints. Erase the corner-directed arc and redraw it so it touches only the midpoint of each side, leaving a visible gap at every corner.
- Treating the longer side of the box as the minor axis. Compare the two side lengths first; the longer dimension gives the major axis, and its endpoints are the midpoints of the shorter pair of sides.
- Judging the ellipse by overall appearance without measuring the axes. Measure from the centre to the curve along both axes and compare with the half-width and half-height of the box before accepting the drawing.
Check your work
- The curve touches all four side midpoints and does not cross the box edges.
- The horizontal semi-axis measures half the box width and the vertical semi-axis measures half the box height.
- Opposite corner gaps look balanced in pairs.
- The curve is smooth, with no flat spots or sharp joins between arcs.
- Axis lines pass through the centre and align with the box sides.
- The drawing is checked by measurement, not only by appearance.
Questions before you start
Does the ellipse touch the corners of the box?
No. An axis-aligned ellipse inscribed in a rectangle touches the midpoints of the four sides. The corners lie outside the curve, which is why four curved gaps remain.
Why is a square box different?
In a square box the inscribed ellipse has equal semi-axes, so it is a circle. There is no longer a distinct major and minor axis, and any stretched look indicates an error in the setup or the curve.
Can I use this method for a tilted ellipse?
Not directly. A rotated or perspective-projected ellipse has axes that are not aligned with the box sides, so the tangency points and axis directions need separate reasoning.