Free original resources
Leaf Drawing: Build Shape From Midrib and Side Veins
Learn a reliable leaf drawing method: bend the midrib, taper the outline, branch side veins to the edge, and vary line weight where the leaf folds.
Free resources
Letter & A4
PDF & SVG
Letter & A4
PDF & SVG
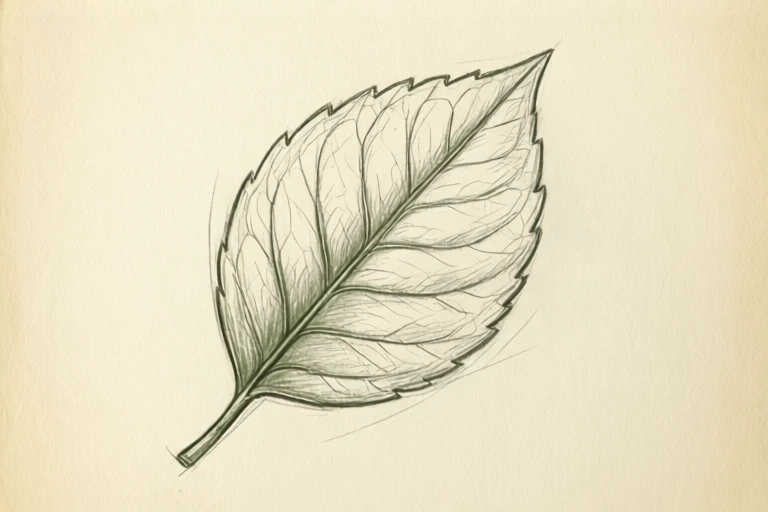
Build the drawing in four stages.
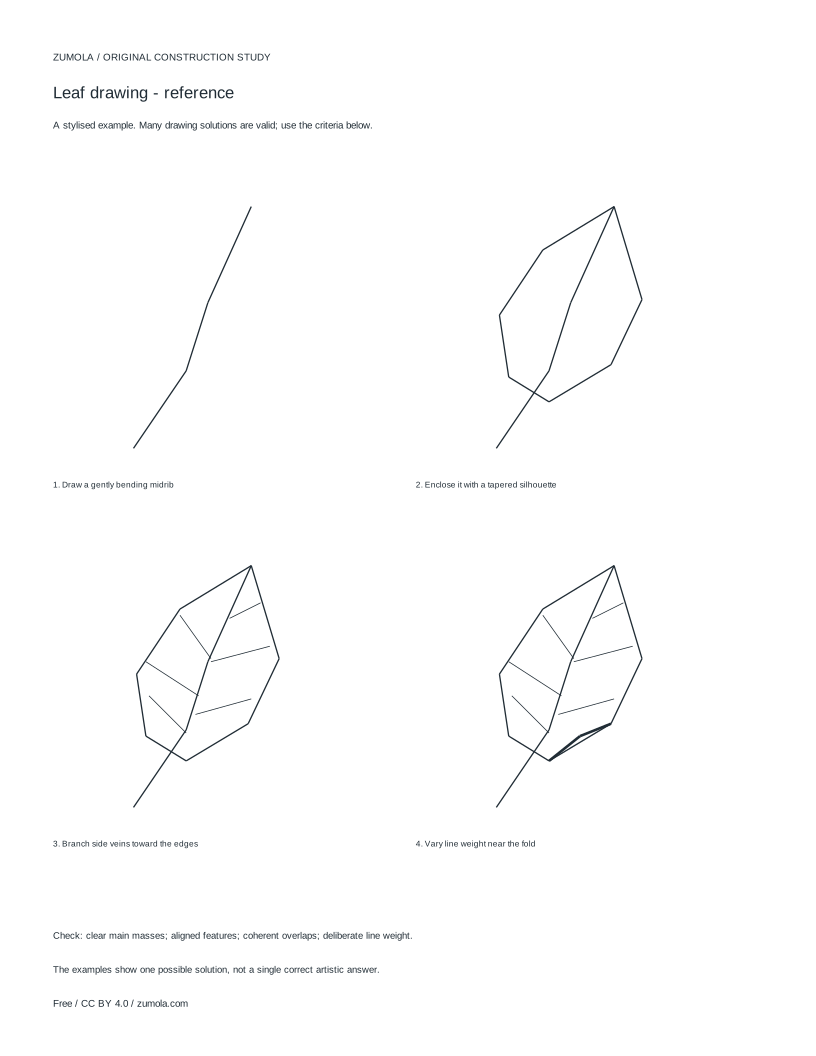
Your free printable kit.
Original reference, student practice and separate worked answers. No account or payment.
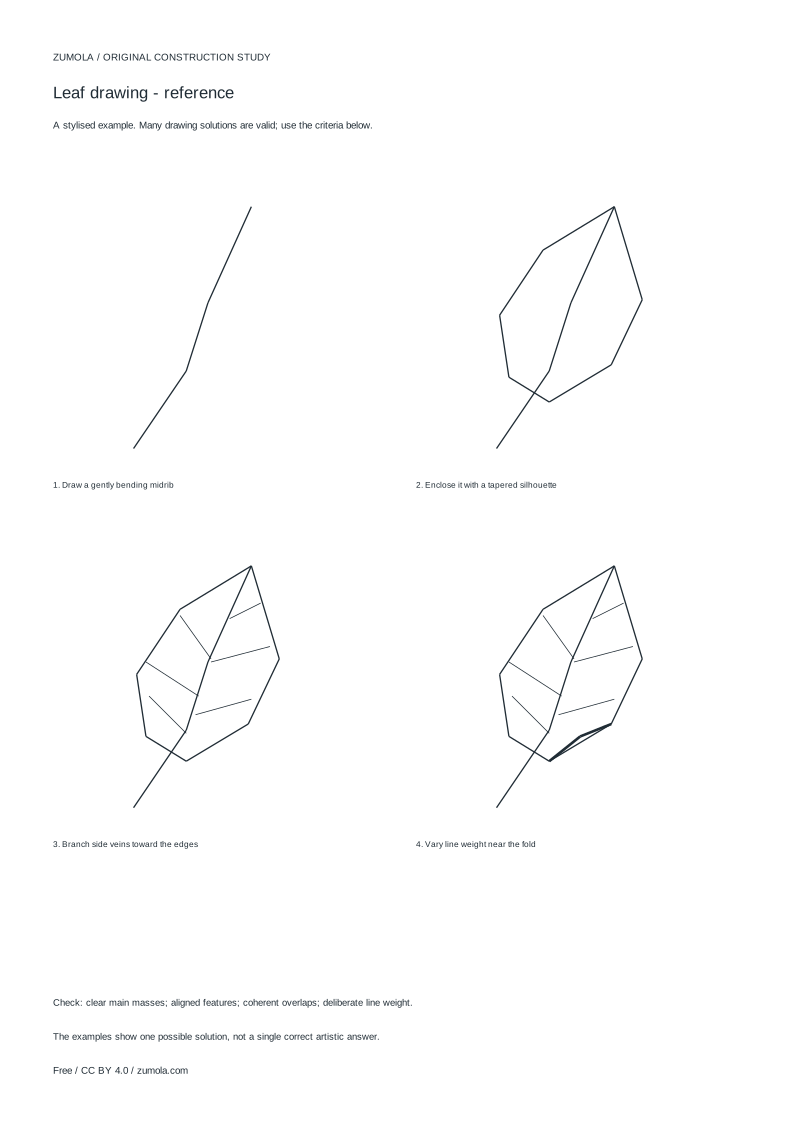
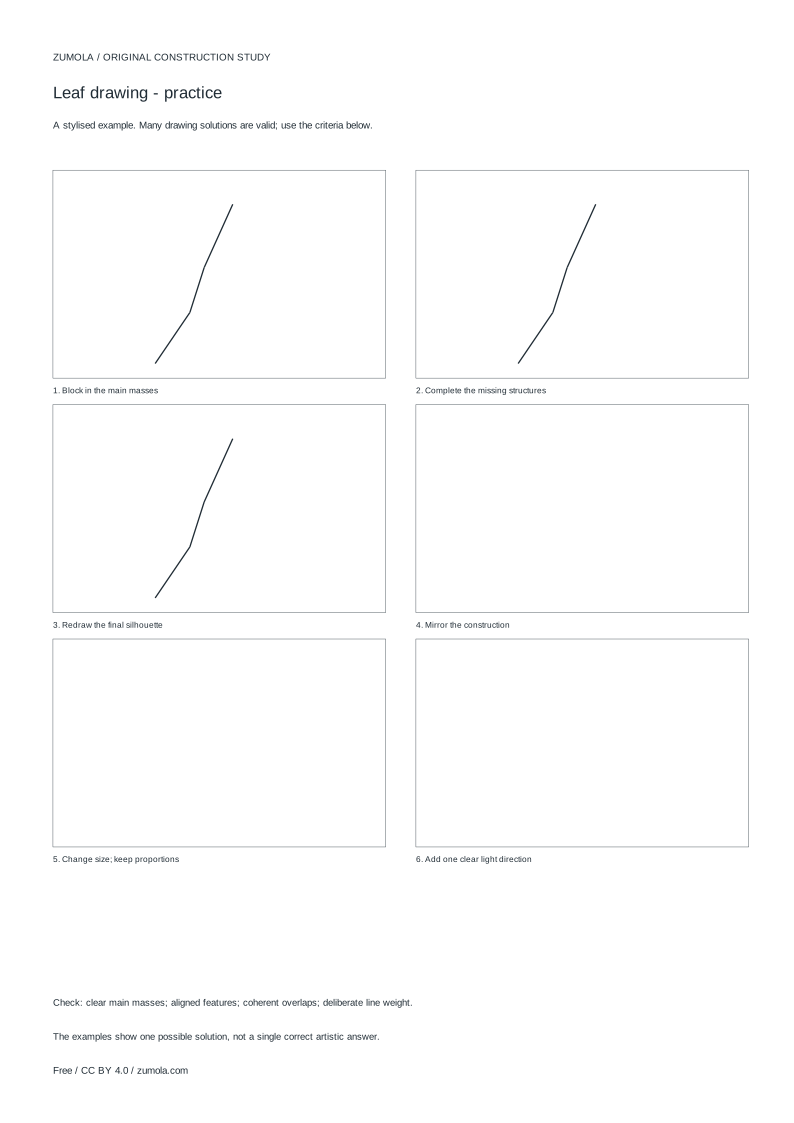
Practice worksheet
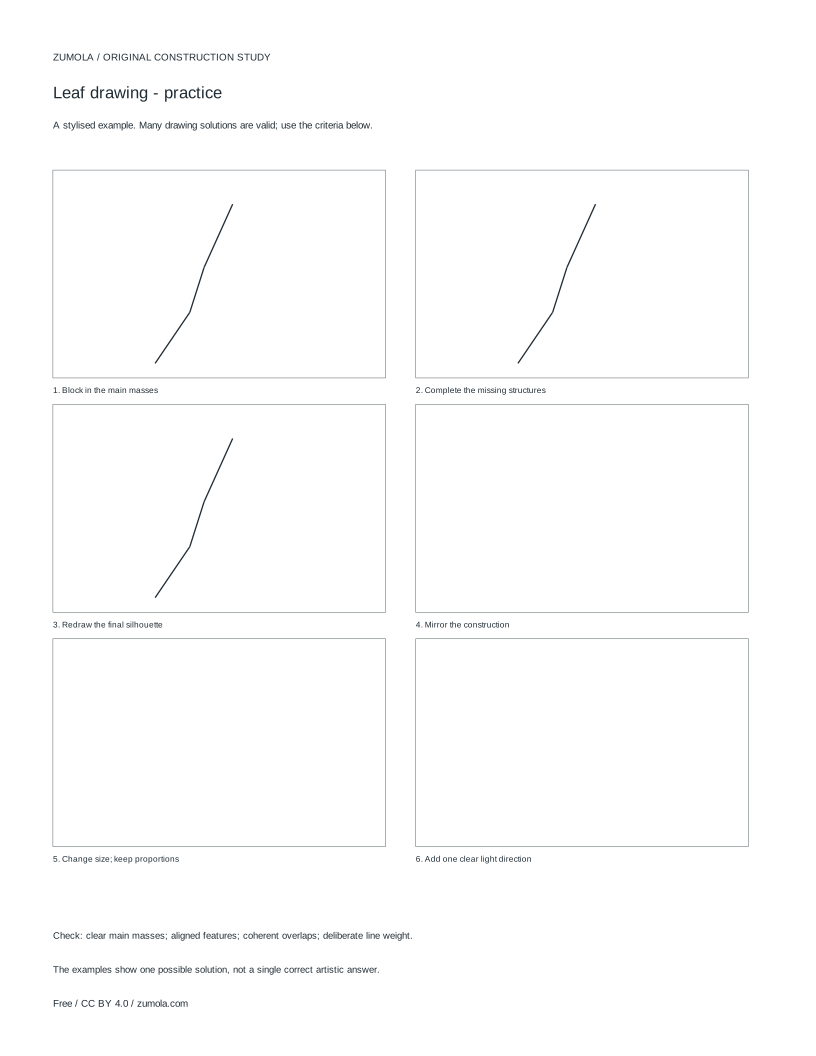
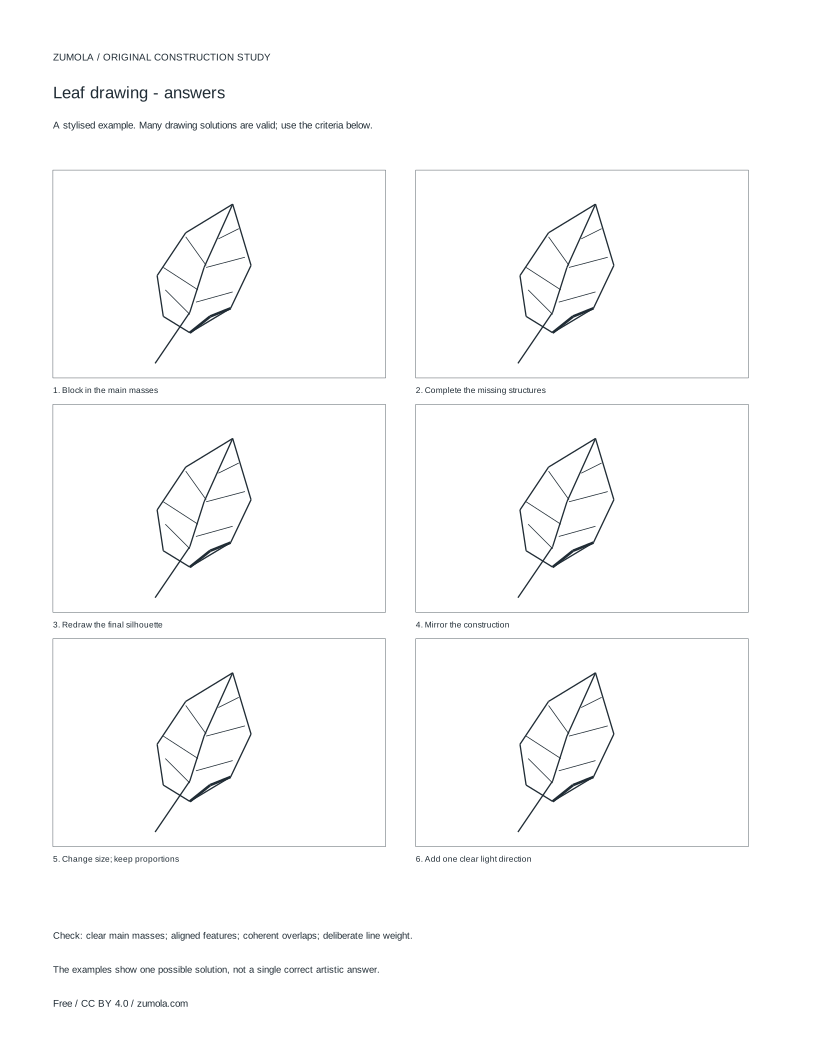
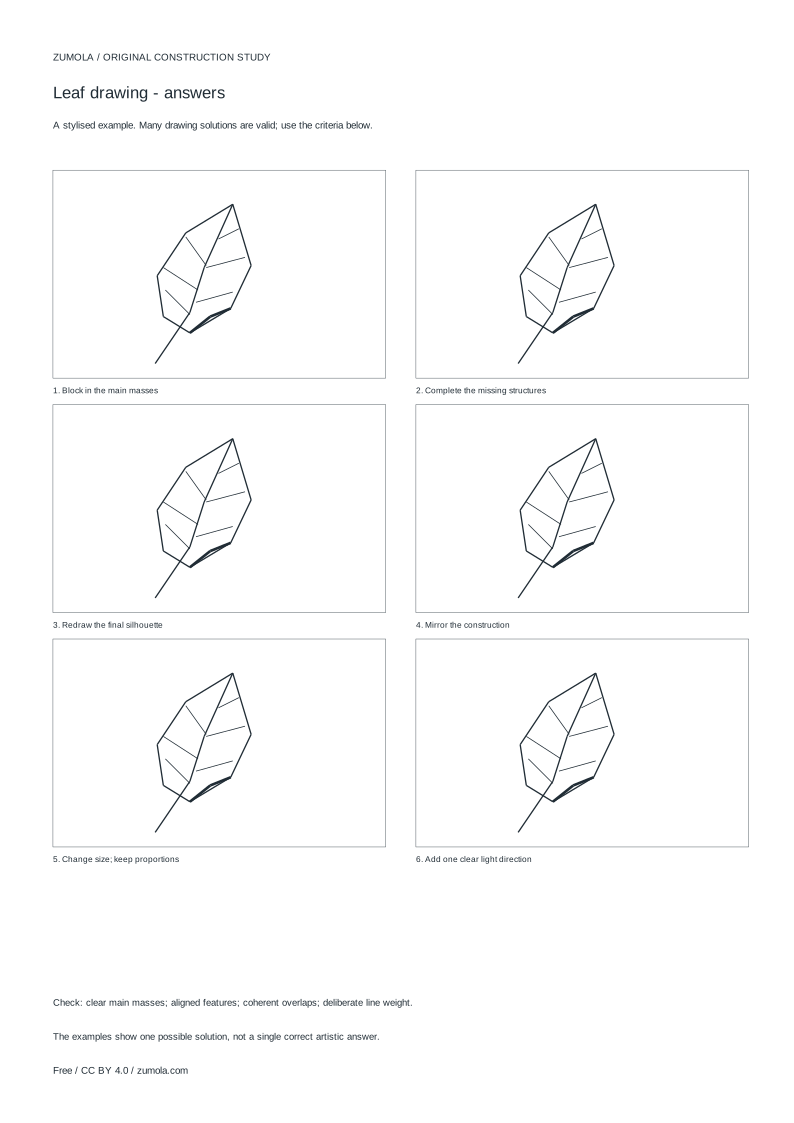
Worked answers / rubric
Print at Actual size / 100%. Check the calibration bar before using physical dimensions.
A leaf looks simple until the outline wanders and the veins stop making sense. This tutorial builds a single leaf from the inside out: first a gently bending midrib, then a tapered silhouette around it, then side veins that travel toward the edge, and finally line weight that suggests a fold. The aim is a clear, stylised construction study, not anatomical or photorealistic instruction. Several valid results exist, so judge your sheet by structure and consistency rather than matching one exact answer.
Start with the midrib, not the outline
The midrib is the spine of the drawing. Give it a slight curve rather than a straight line, because a curve immediately suggests a leaf that bends in space. Decide where the base and tip sit before adding anything else; the distance between them sets the leaf's length.
Keep the midrib light at this stage. It is a guide that later lines will answer to, and a heavy spine makes it harder to adjust the silhouette if the proportions feel wrong.
- Draw a gently bending midrib from base to tip.
- Mark the widest point along the midrib; it is usually nearer the base than the tip.
- Check that the curve is smooth and the length feels balanced.
Enclose the midrib with a tapered silhouette
The outline should taper toward both ends, meeting the midrib at the base and the tip. Work on one side at a time so you can compare the two halves. The widest point you marked controls where the outline pulls away from the spine.
Overlap matters here: the outline crosses over the midrib at the ends, so the leaf reads as one closed shape rather than a line with two flaps attached.
- From the base, curve outward to the widest point on one side.
- Continue to the tip, closing the shape against the midrib.
- Repeat on the other side, comparing widths as you go.
- Adjust so both ends meet the midrib cleanly.
Branch side veins toward the edges
Side veins should leave the midrib at a consistent angle and travel toward the outline without crossing it. Their spacing can vary, but the pattern should feel deliberate. Veins that stop short of the edge leave the leaf looking unfinished; veins that overshoot break the silhouette.
If the leaf folds, veins on the far side of the fold appear shorter and closer together because the surface is turning away from you.
- Draw side veins from the midrib outward, angling toward the tip.
- Stop each vein just inside the outline.
- Shorten and tighten veins on the side that turns away.
- Compare spacing on both halves for consistency.
Use line weight to show the fold
A fold is a change of surface direction, so it reads through line weight rather than extra outline. Press slightly harder along the crease and lighten lines on the surface turning away. Keep the midrib and outline weights related so the leaf stays one object.
This is a stylised construction study. Real leaves vary enormously, and this method prioritises a readable shape over botanical accuracy.
- Identify the crease line where the surface turns.
- Darken lines near the fold and lighten those beyond it.
- Keep the outline weight consistent with the midrib.
- Step back and check that the fold reads without labels.
Try this example
Draw a single leaf about 10 cm long with a gentle bend and one fold along the right half.
Show the worked explanation
Draw a midrib curving slightly left to right, about 10 cm from base to tip. Mark the widest point roughly 4 cm from the base. Build the left outline outward to that point and taper to the tip; repeat on the right, keeping the right half slightly narrower because it turns away. Add side veins from the midrib toward the tip, stopping just inside the edge, and shorten those on the right. Darken lines along the fold on the right and lighten the far surface. Check that both ends meet the midrib and no vein crosses the outline.
Common mistakes
- Drawing the outline first and forcing the midrib to fit afterward. Draw the midrib first, mark the widest point, then build the outline around it.
- Side veins that cross the outline or stop far short of it. End each vein just inside the edge, and check every vein against the silhouette.
- Uniform line weight that hides the fold. Darken lines along the crease and lighten lines on the surface turning away.
Check your work
- Midrib bends gently and clearly sets the leaf's length.
- Outline tapers to meet the midrib at both base and tip.
- Side veins angle consistently and stop just inside the edge.
- Line weight distinguishes the fold from the flat surface.
- Both halves are compared for width and vein spacing.
Questions before you start
Do I need to copy a real leaf exactly?
No. This is a stylised construction study. Aim for a clear midrib, tapered outline, and veins that reach toward the edge; exact botanical detail is not the goal.
How many side veins should a leaf have?
There is no fixed number. Choose a spacing that stays consistent along the midrib and adjust it where the leaf folds.
Why does my leaf look flat?
Flatness usually comes from a straight midrib and even line weight. Add a gentle bend and vary weight near the fold.