Reference diagrams
LETTER · Download PDF
A4 · Download PDF
Free original resources
Learn to draw an otter with a rounded head, curved back, upright chest, whiskers, and a thick tapering tail. Trace, grid, and complete practice sheets included.
Four original cases, with reference diagrams, practice sheets and worked answers. Everything is free; no signup required.
LETTER · Download PDF
A4 · Download PDF
LETTER · Download PDF
A4 · Download PDF
LETTER · Download PDF
A4 · Download PDF
Use A4 or US Letter to match your printer. Use the stated values and conditions to solve each exercise; diagrams are not physical measuring rulers.
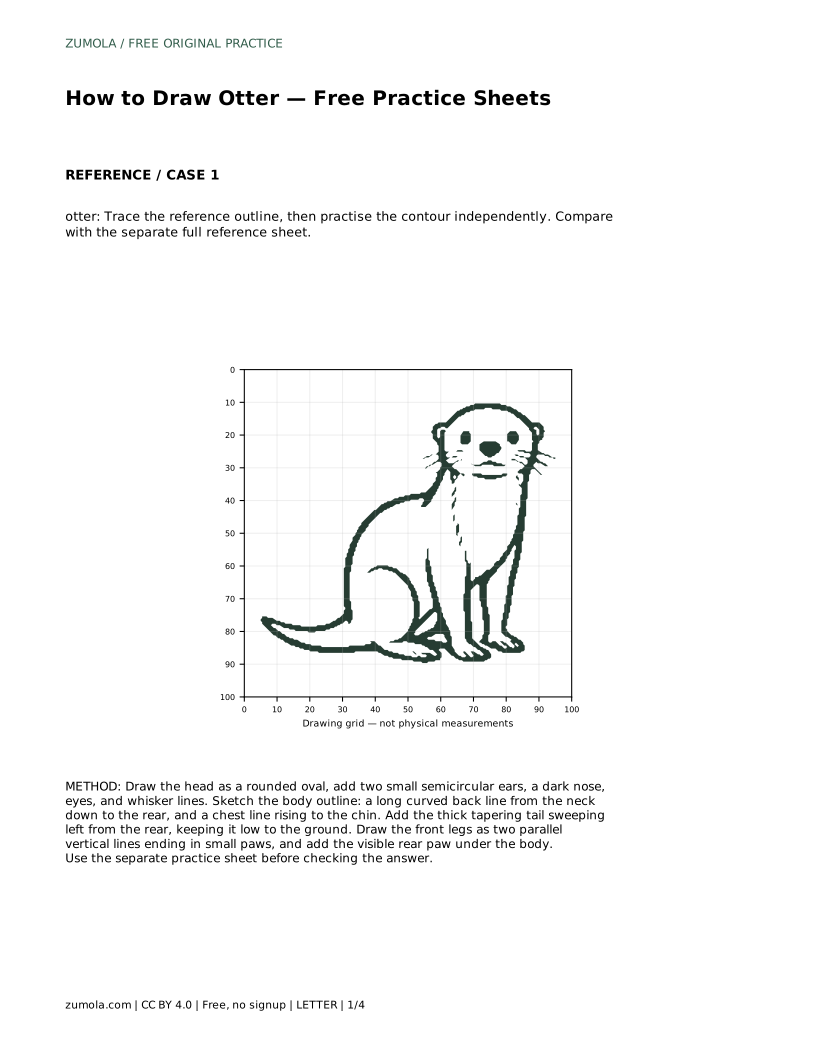
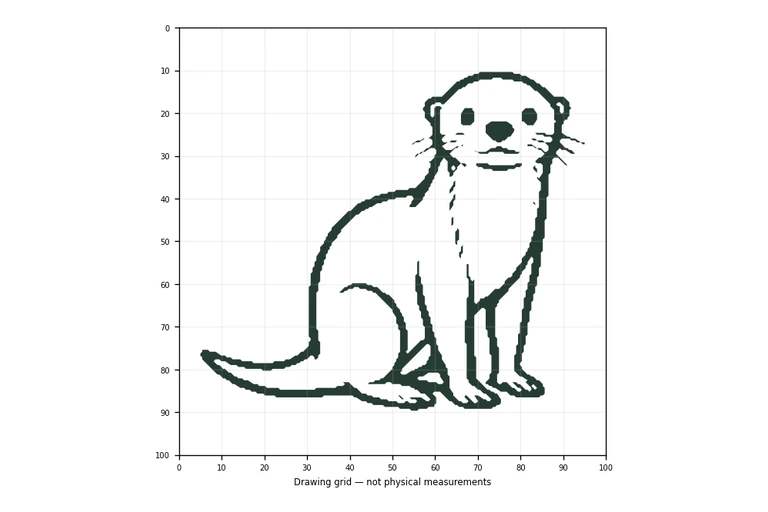
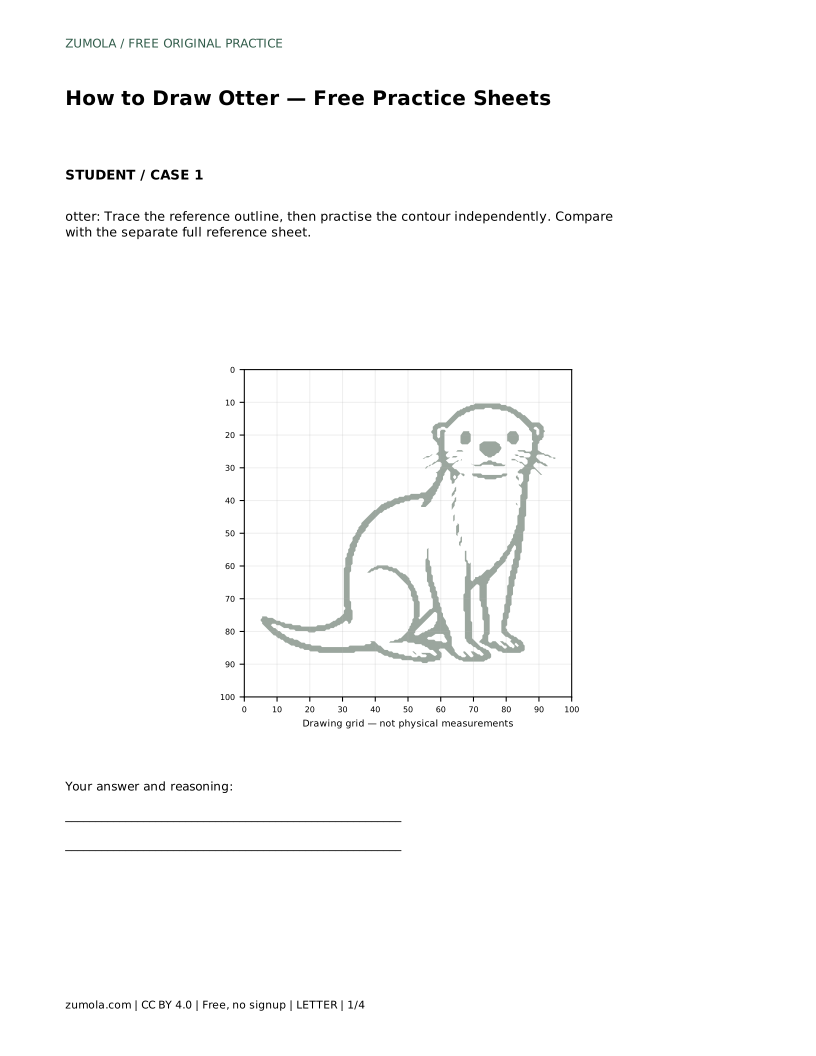
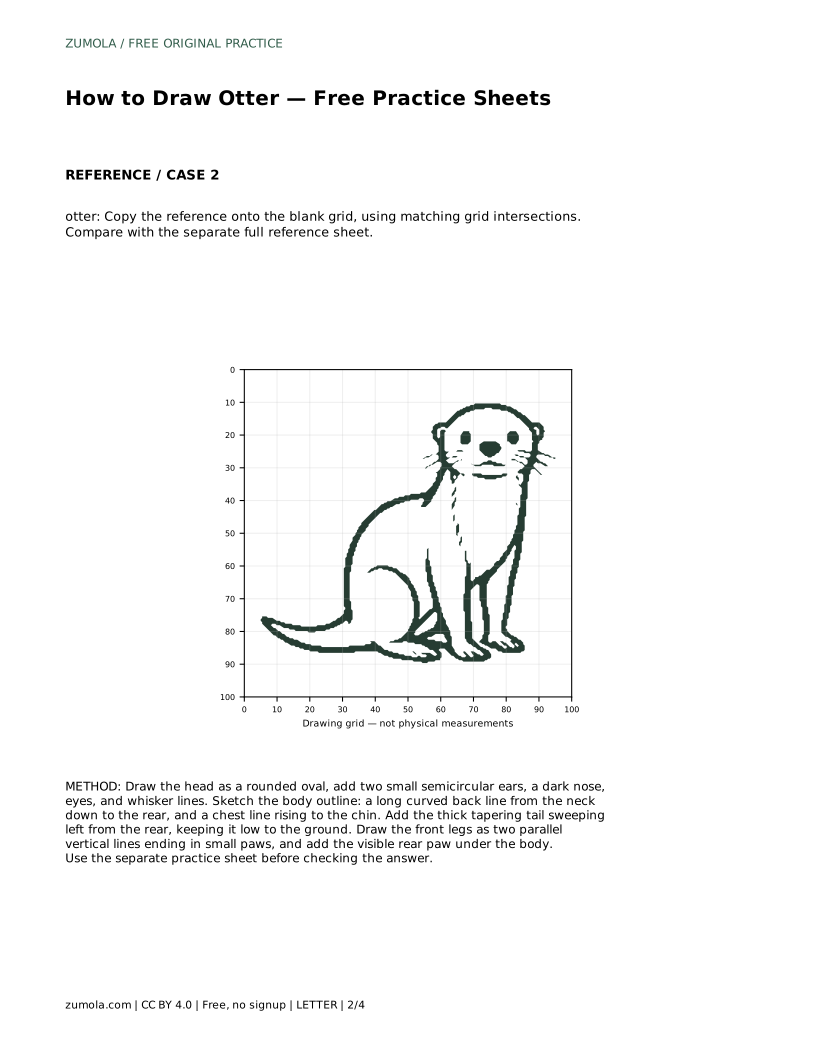
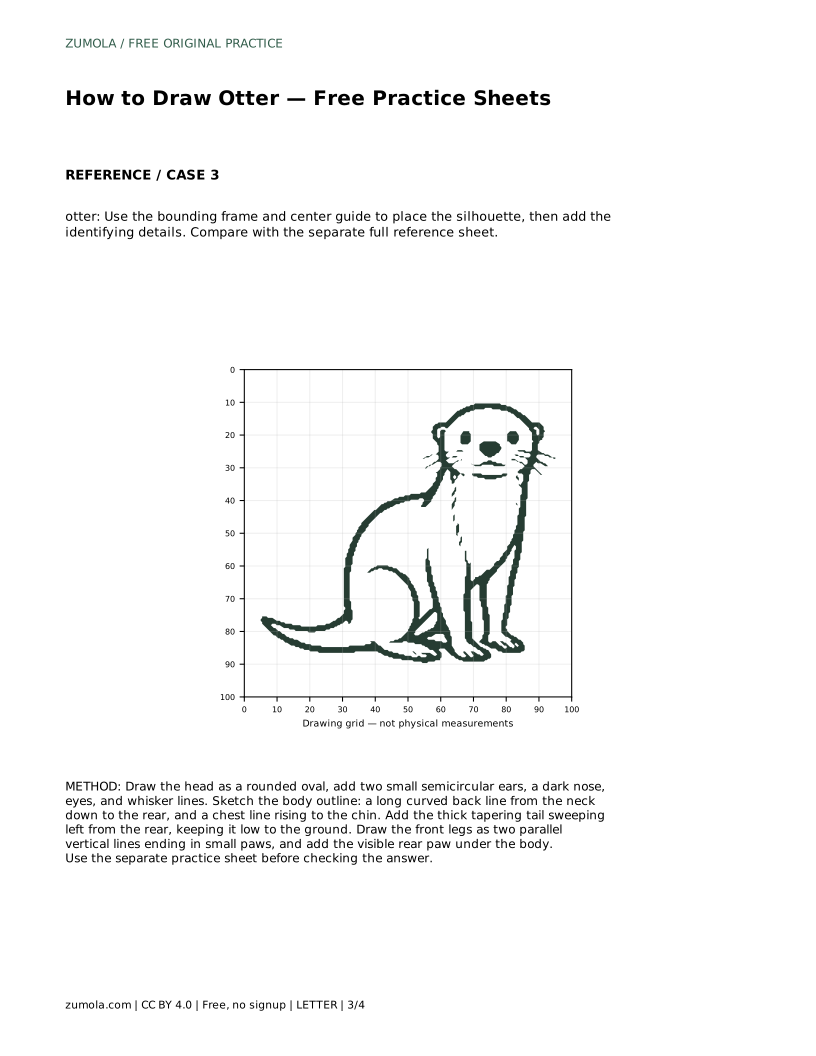
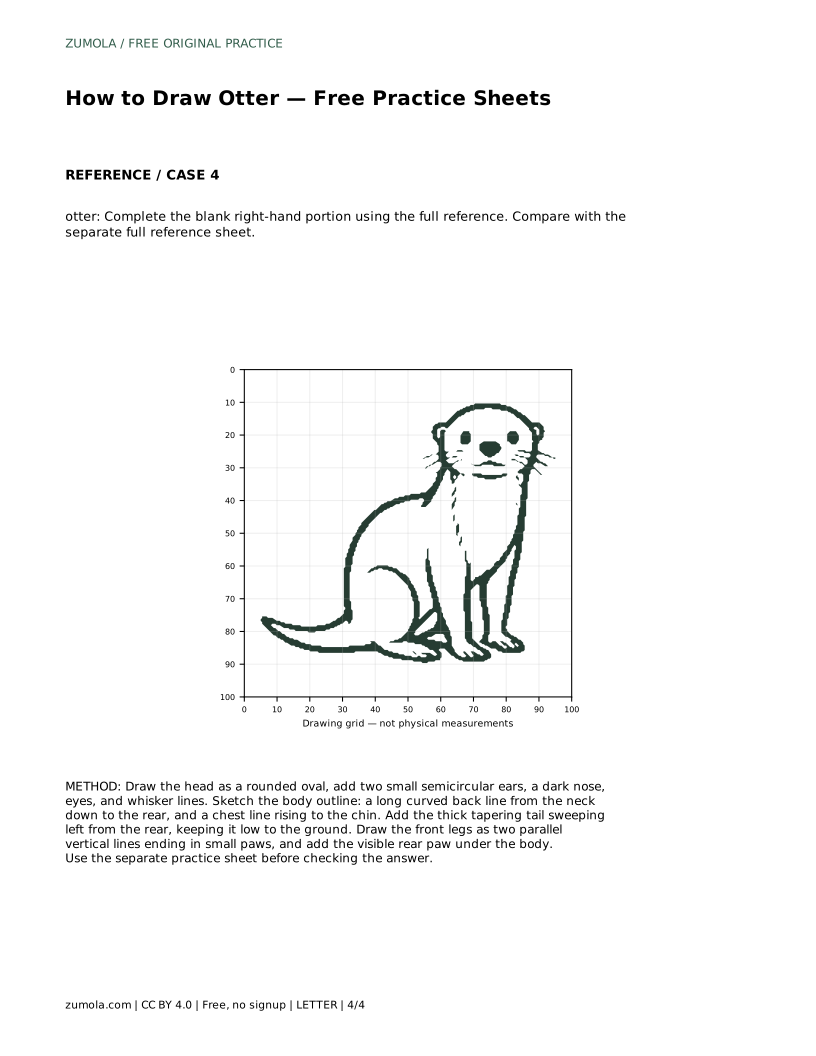
Drawing an otter is easier when you break the animal into a few clear shapes: a broad rounded head, a long streamlined body with a curved back, and a thick tail that tapers toward the tip. This guide walks you through the same sequence used on the practice sheets, from tracing the outline to drawing it independently. Each step names what to look for so you can judge your own work by visible features and proportions rather than exact matching.
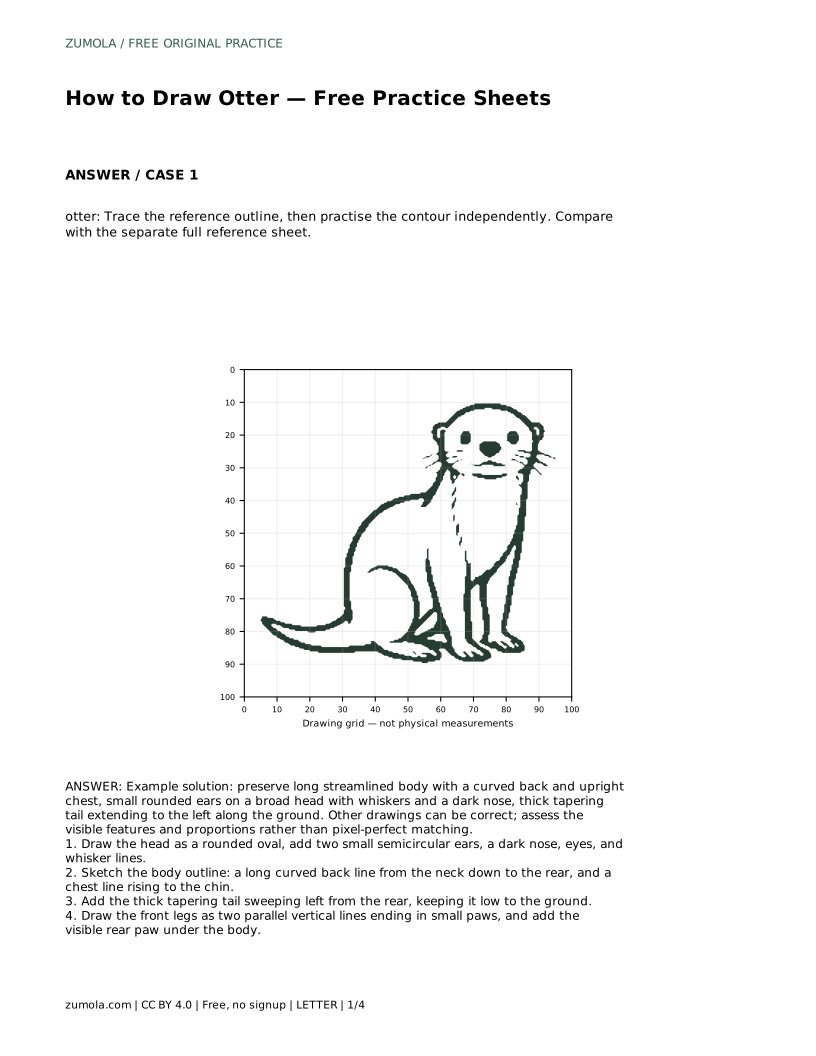
Begin with the head as a rounded oval, slightly wider than it is tall. Otters have broad heads, so avoid a narrow, pointed shape. Add two small semicircular ears near the top sides of the oval; keep them modest, since otter ears are small and rounded rather than large and upright. Place a dark nose at the front of the face, then add two eyes above and slightly back from the nose. Finish the face with several whisker lines fanning out from the muzzle. Whiskers should be light, curved strokes, not stiff straight lines.
Check the face before moving on: the ears should sit on the head, not float above it, and the nose should read as a single dark shape. If the head looks too small for the body you plan, enlarge it now rather than later.
Sketch the body as a long streamlined shape. Draw a curved back line running from the neck down to the rear, then a chest line that rises toward the chin. The chest should look upright and full, while the back stays gently curved. Keep the body longer than it is tall; a short, round body loses the otter silhouette. Work lightly so you can adjust the curve before committing.
When the outline is in place, compare the head size to the body length. A common problem is a head that is too large, which makes the animal look like a different creature. Adjust the body length or head size until the proportions feel balanced.
Draw the thick tail sweeping to the left from the rear, keeping it low to the ground. The tail should taper toward the tip, starting broad where it meets the body. Add the front legs as two parallel vertical lines ending in small paws, then add the visible rear paw under the body. Keep paws small and simple; they do not need individual toes unless you want extra detail.
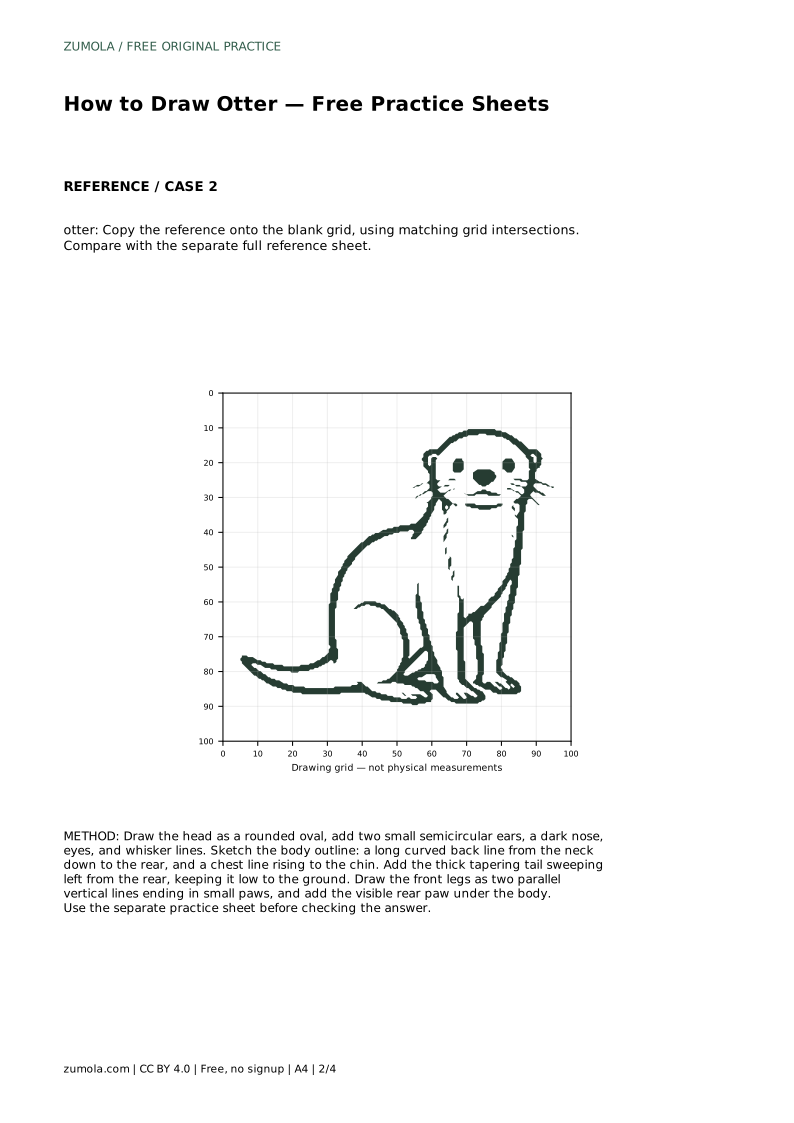
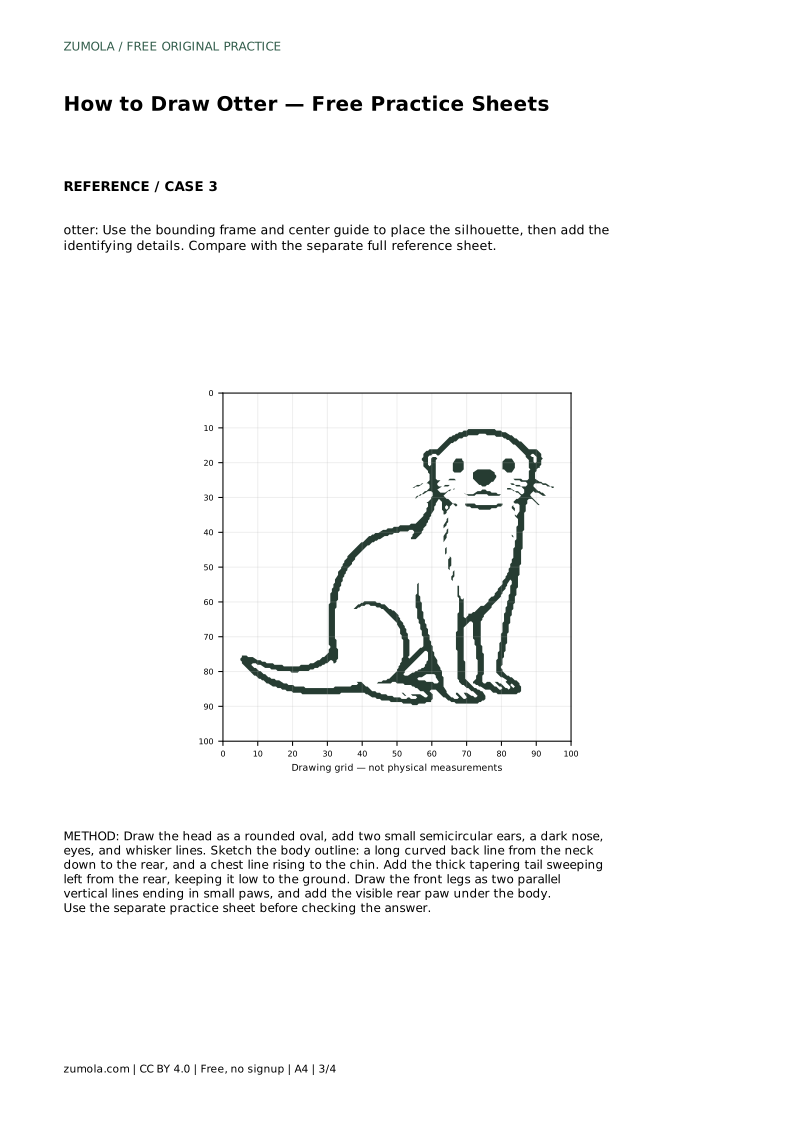
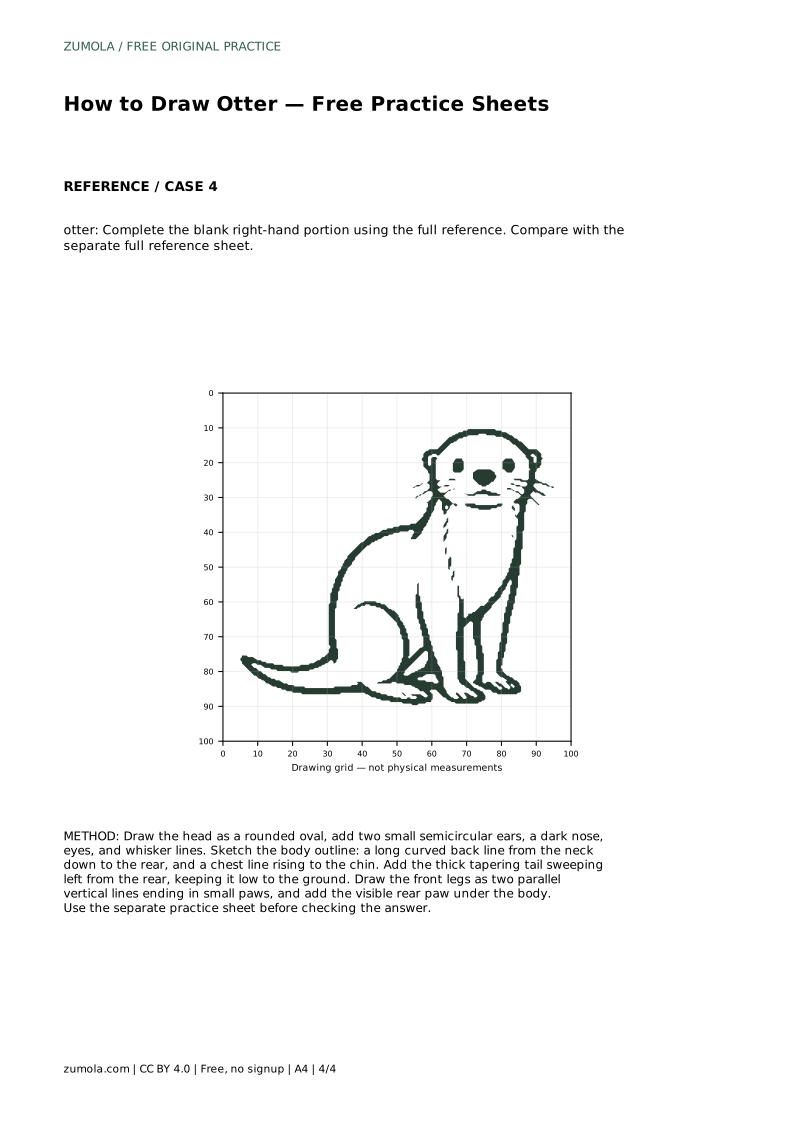
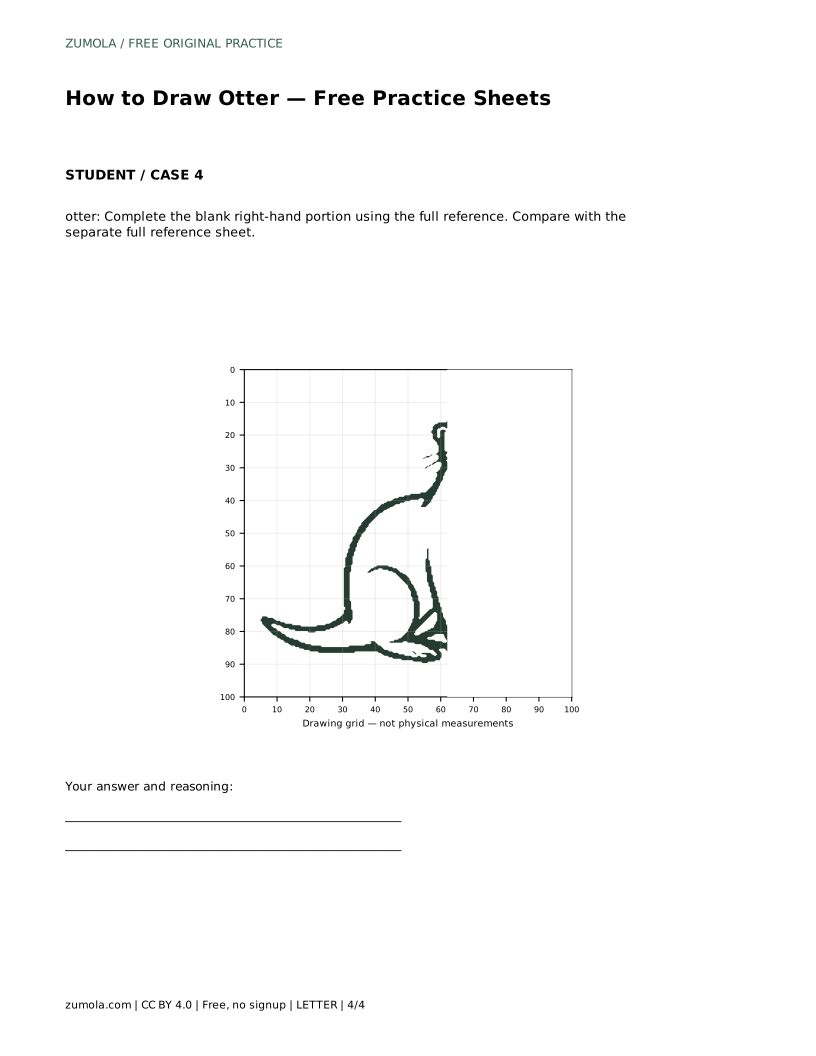
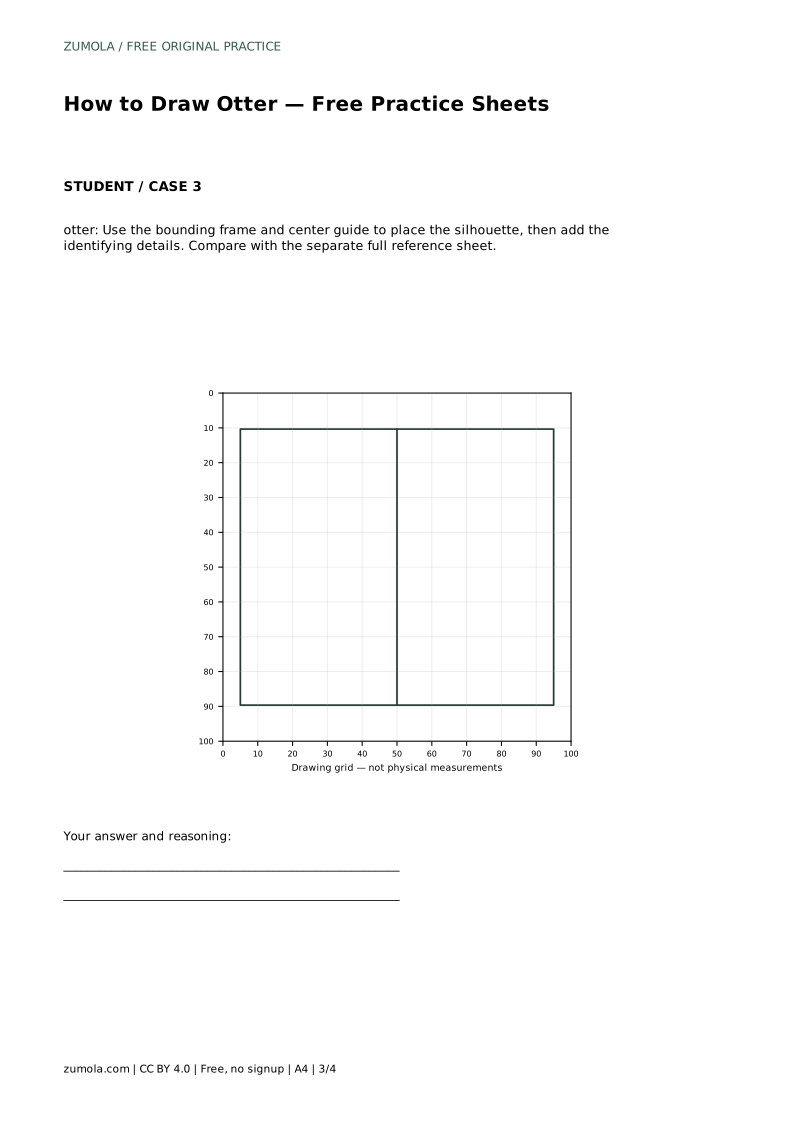
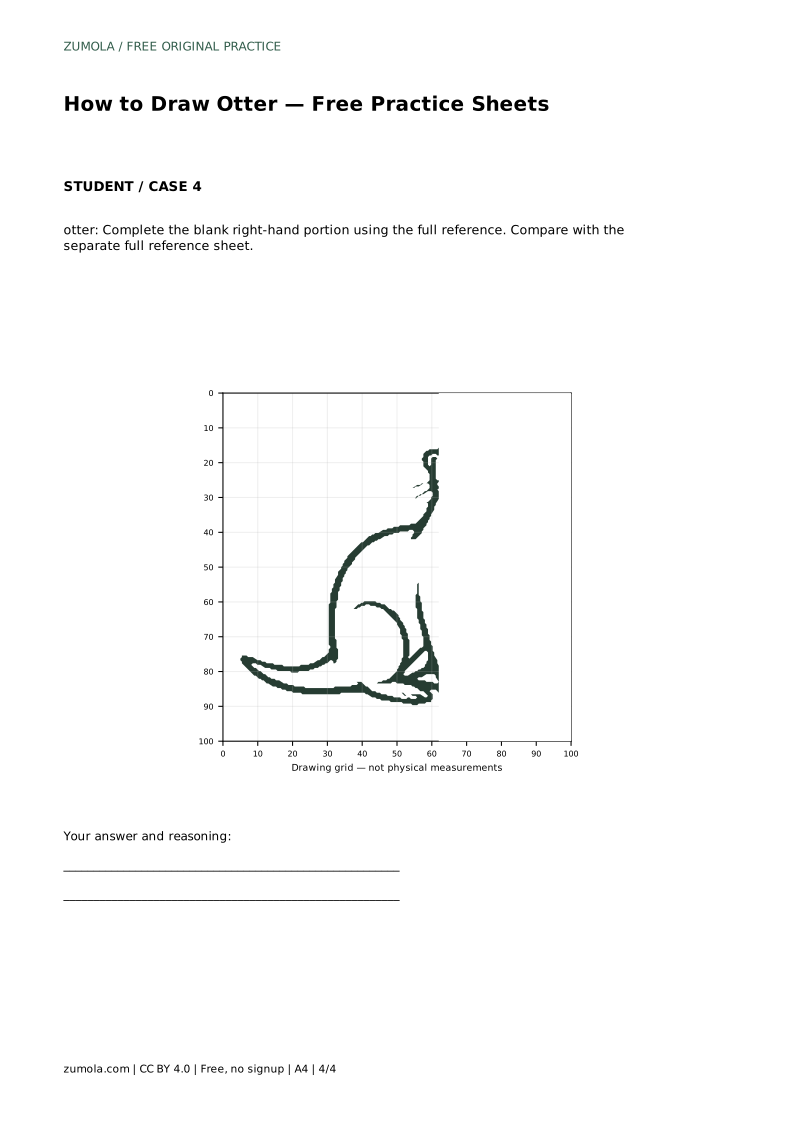
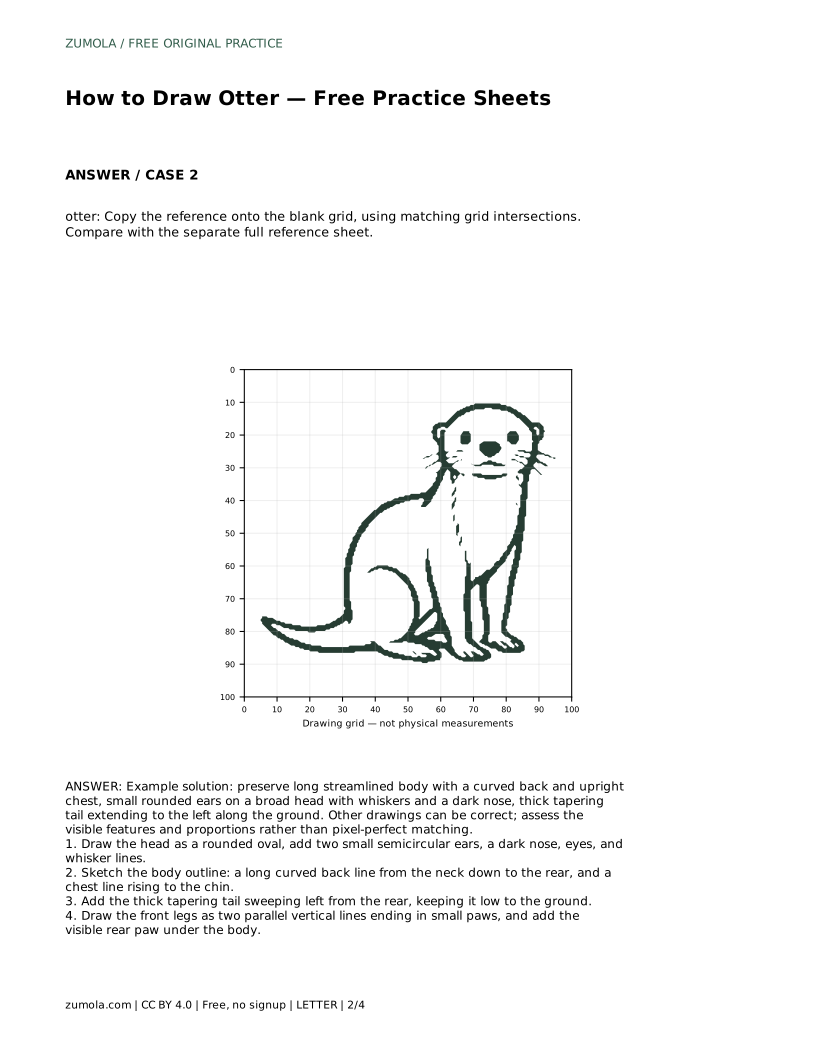
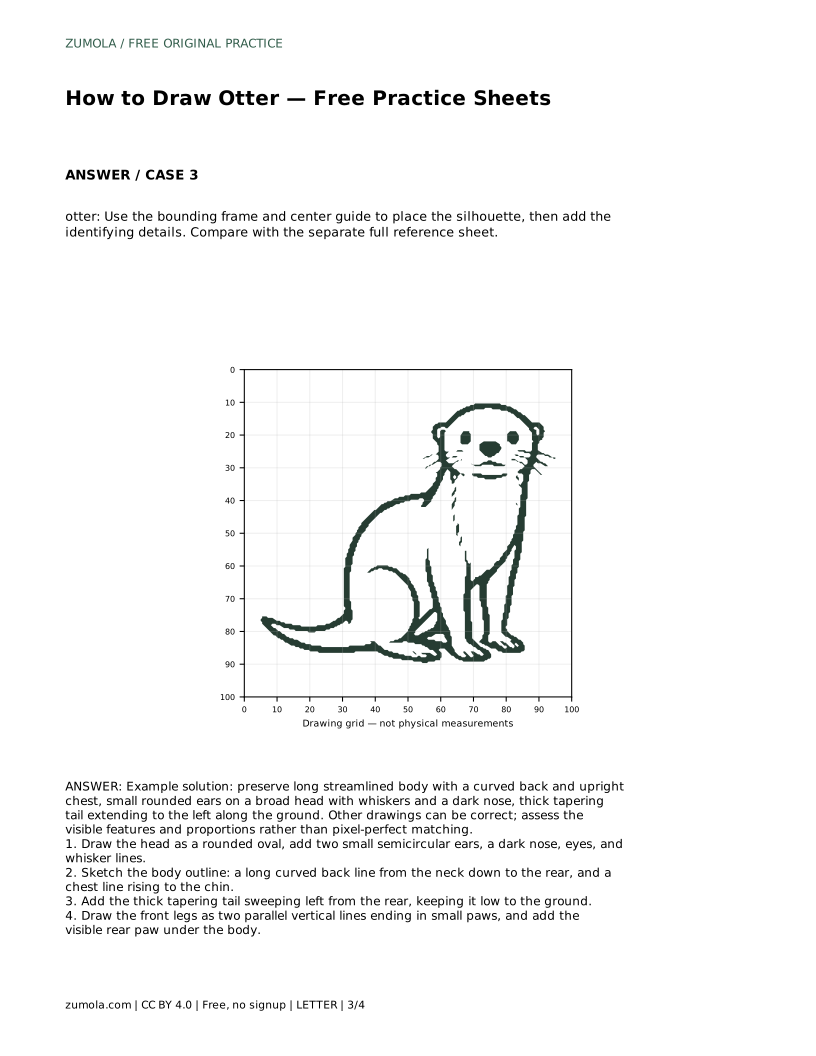
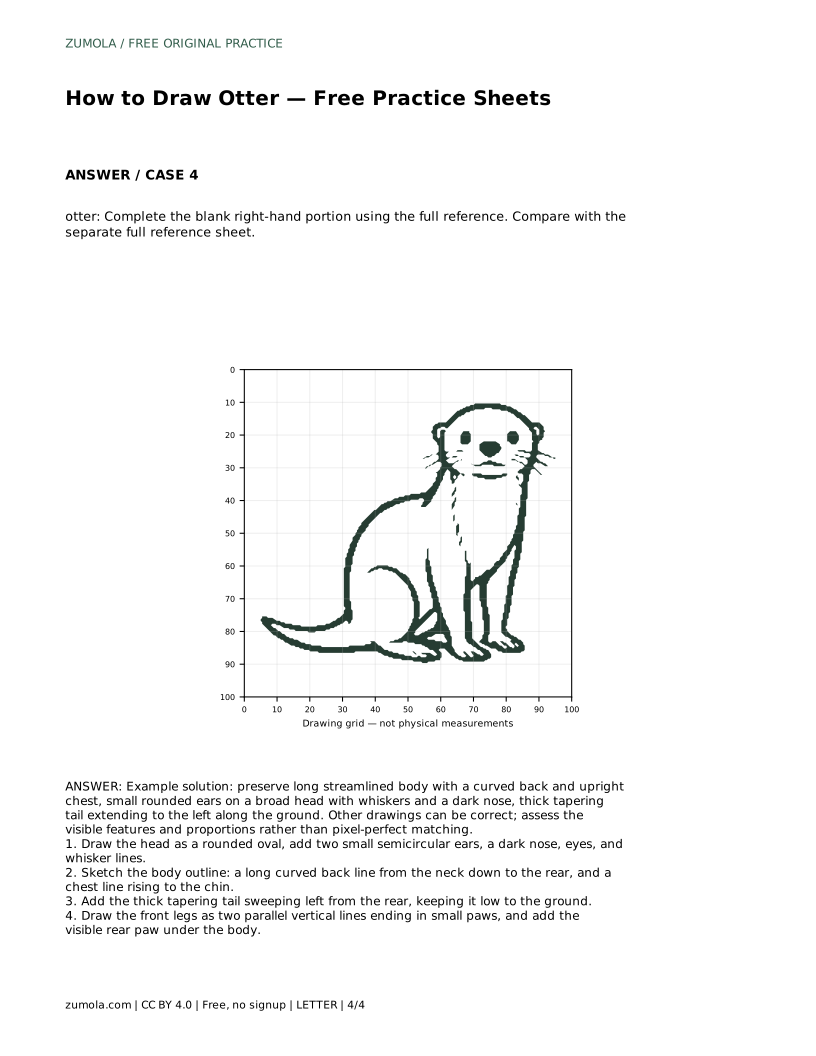
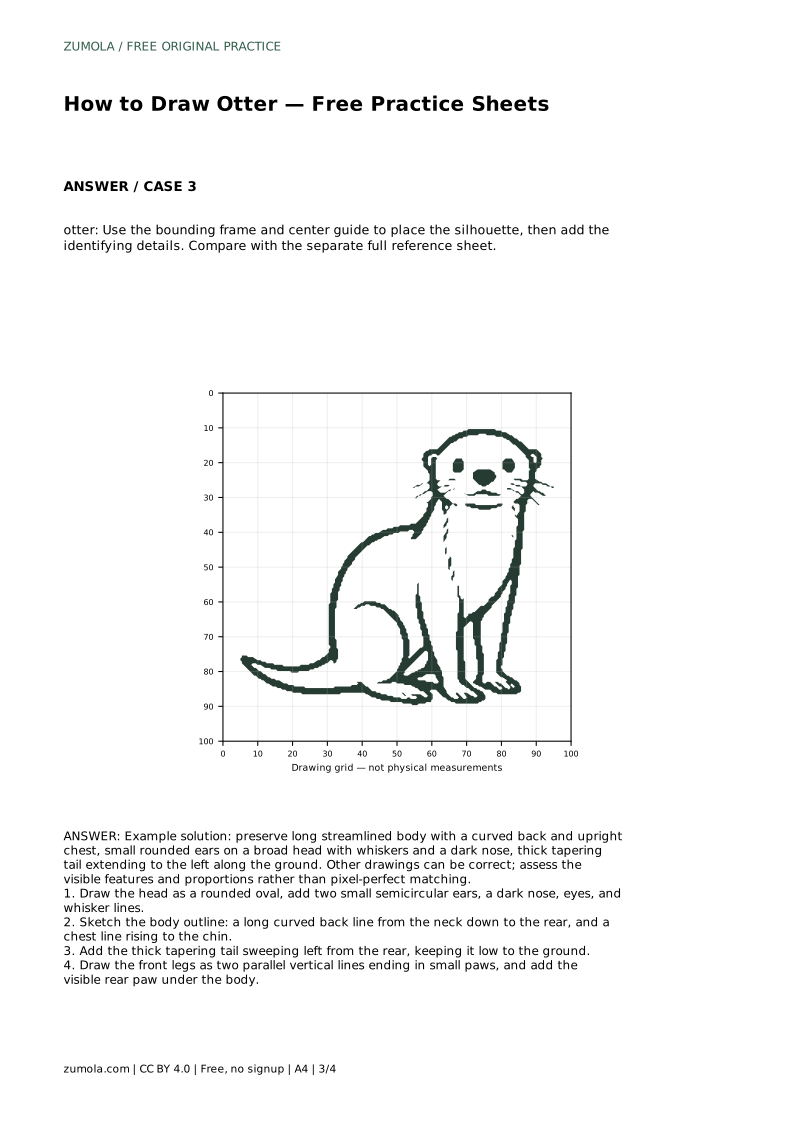
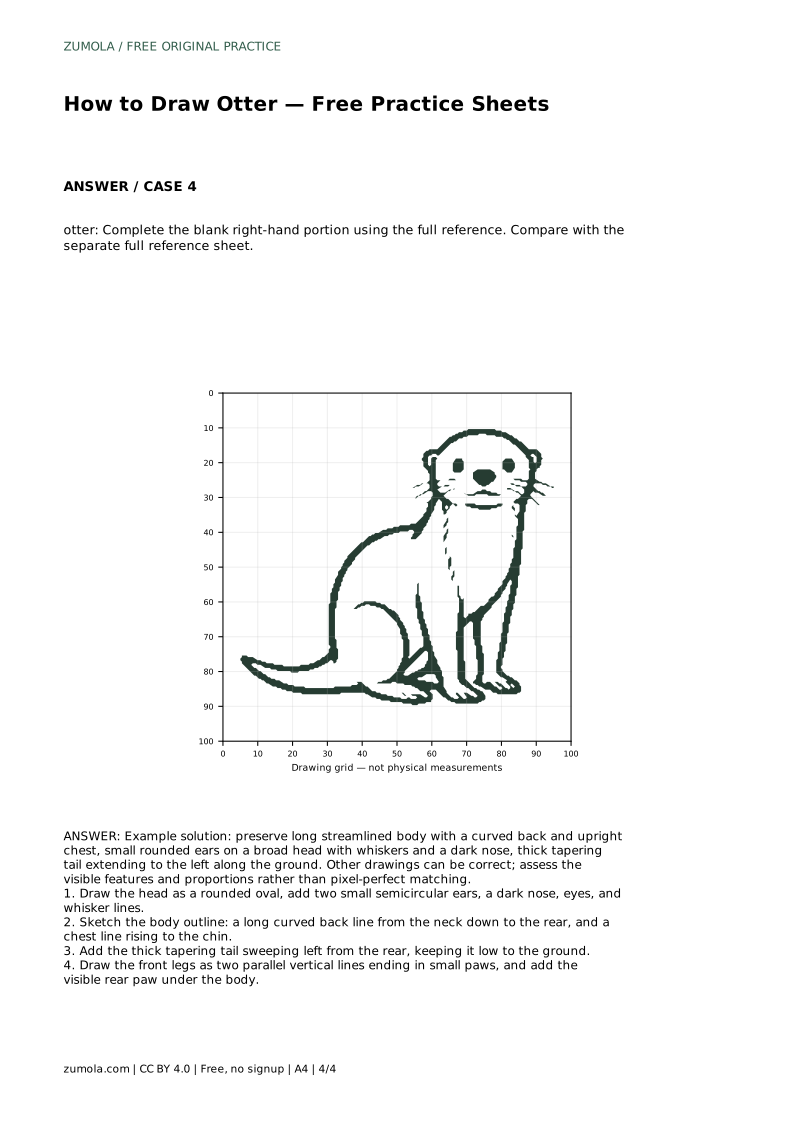
On the grid sheet, use matching intersections to place the tail and legs. On the half-completed sheet, use the full reference to finish the blank right-hand portion. On the bounding-frame sheet, place the silhouette first, then add the identifying details.
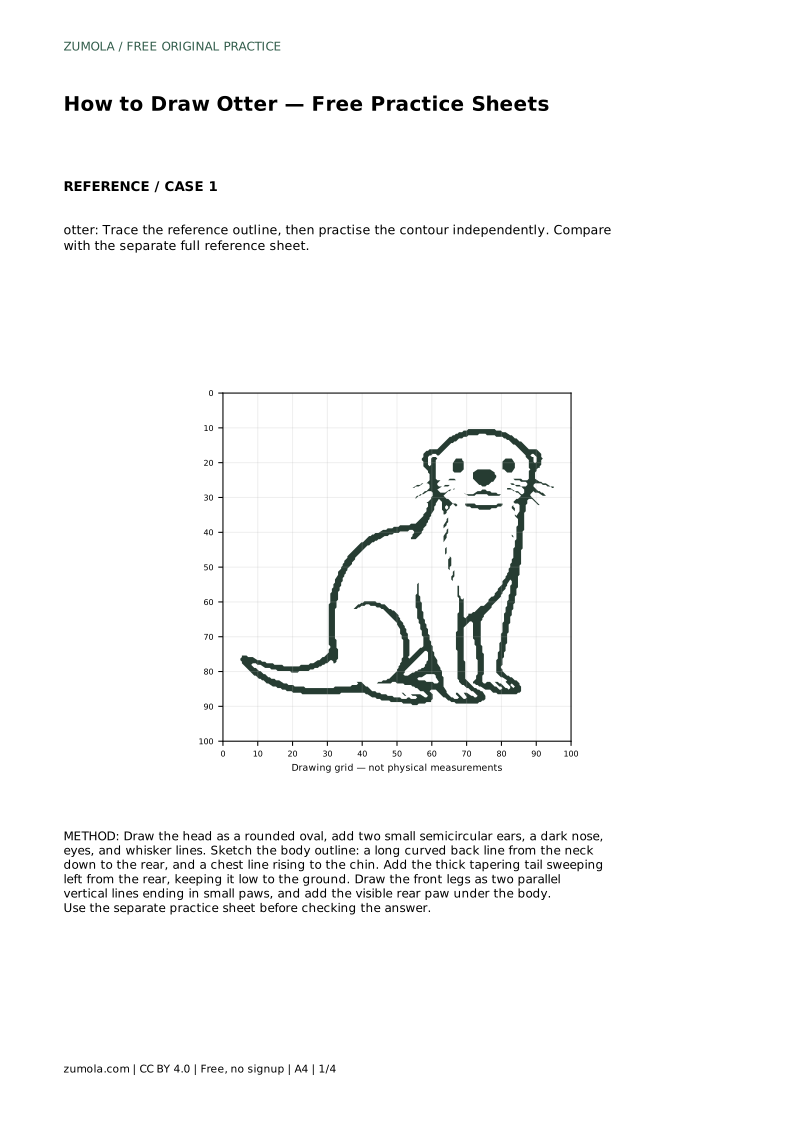
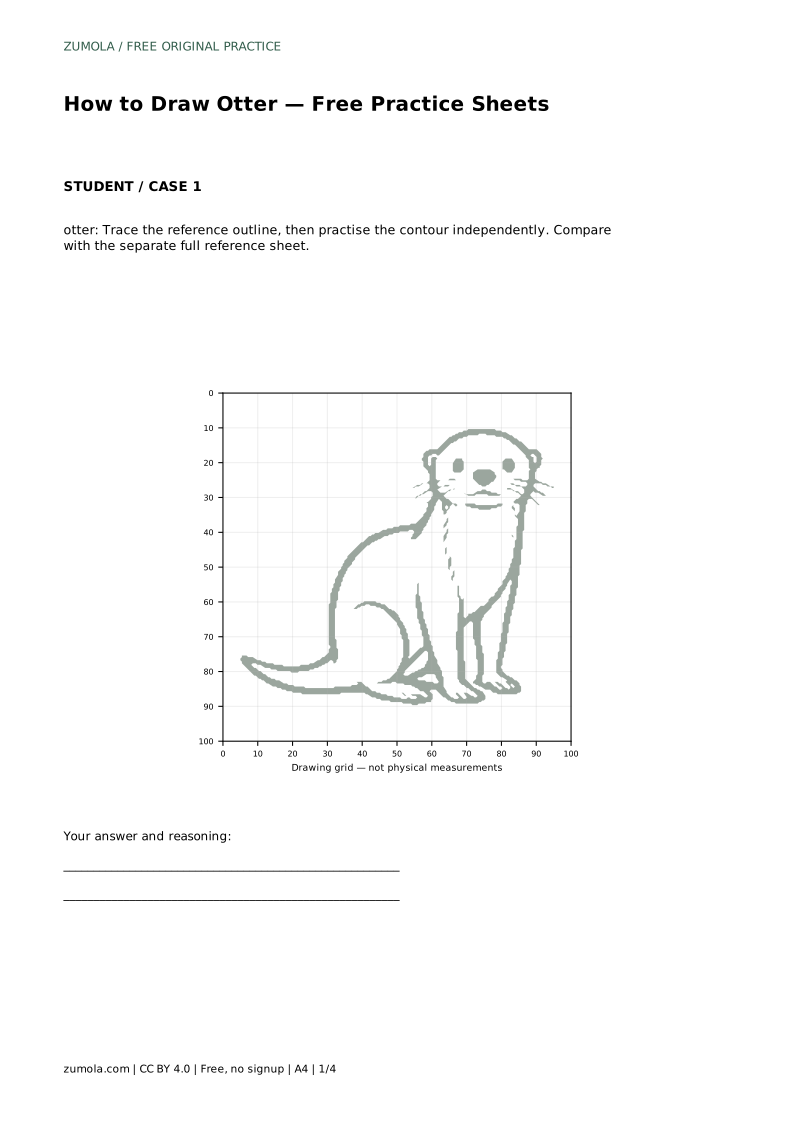
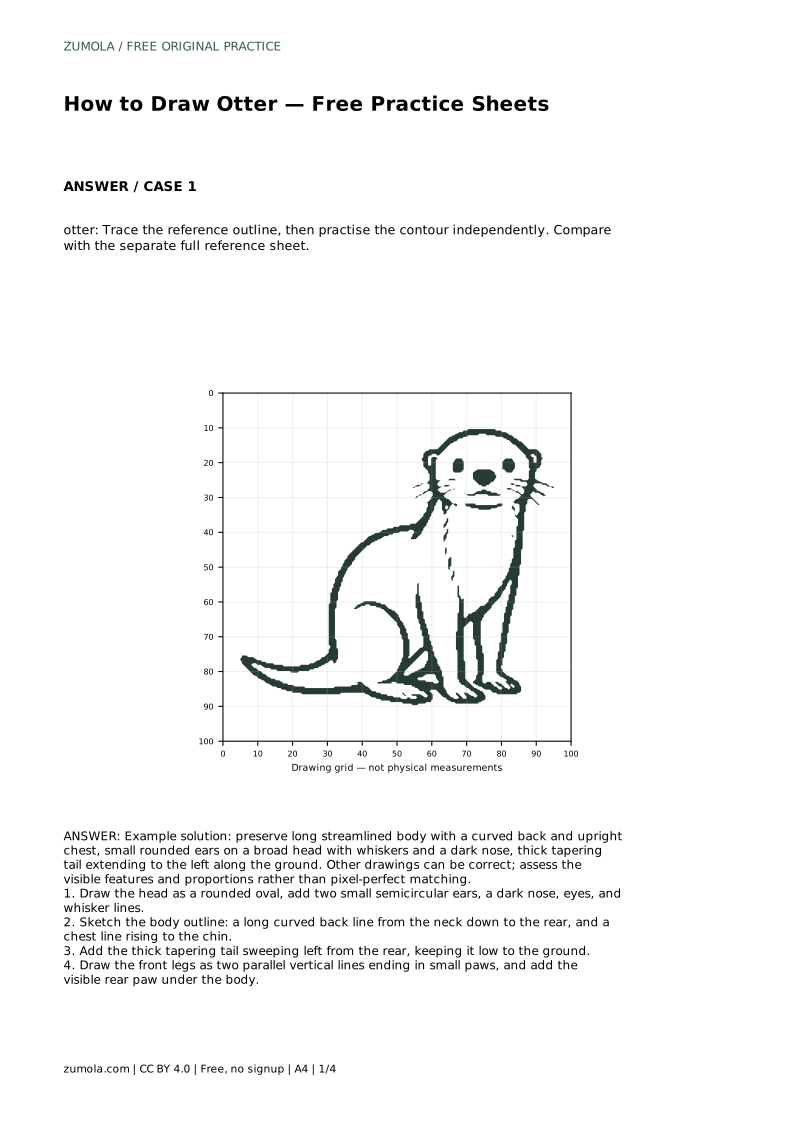
otter: Trace the reference outline, then practise the contour independently. Compare with the separate full reference sheet.
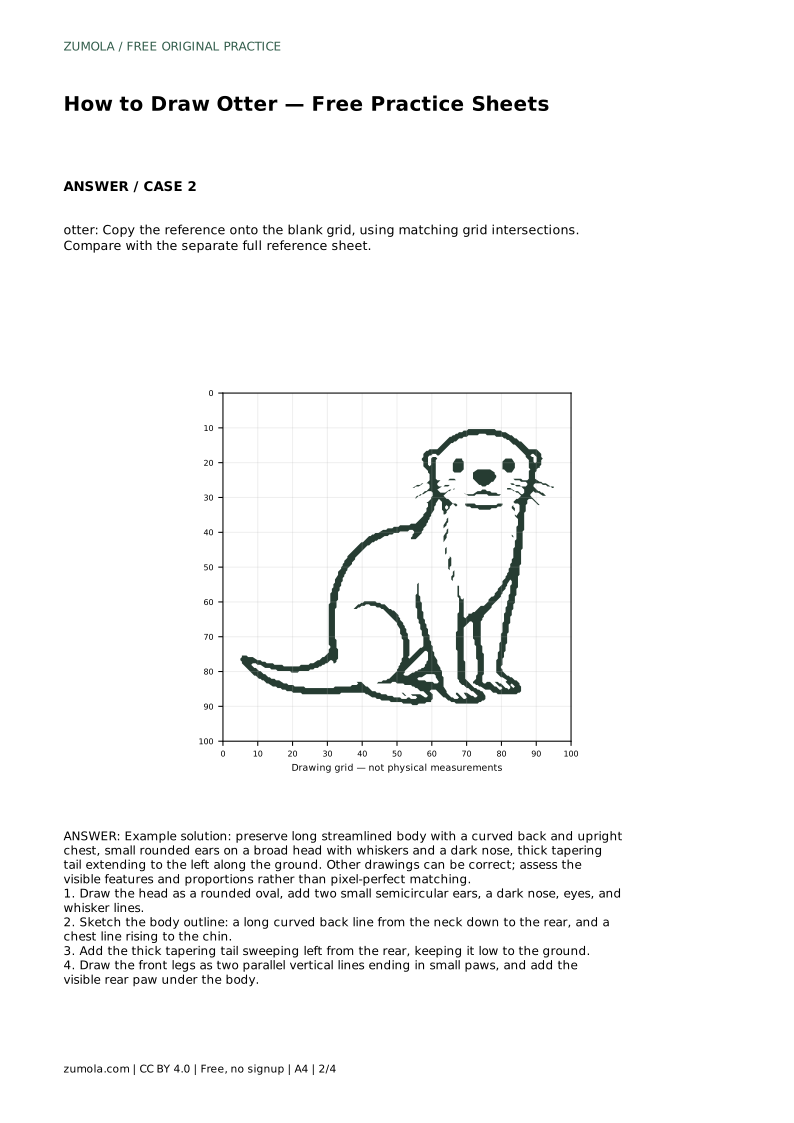
Example solution: preserve long streamlined body with a curved back and upright chest, small rounded ears on a broad head with whiskers and a dark nose, thick tapering tail extending to the left along the ground. Other drawings can be correct; assess the visible features and proportions rather than pixel-perfect matching. Draw the head as a rounded oval, add two small semicircular ears, a dark nose, eyes, and whisker lines. Sketch the body outline: a long curved back line from the neck down to the rear, and a chest line rising to the chin. Add the thick tapering tail sweeping left from the rear, keeping it low to the ground. Draw the front legs as two parallel vertical lines ending in small paws, and add the visible rear paw under the body.
No. Other drawings can be correct. Assess the visible features and proportions rather than pixel-perfect matching.
Head and face first, then the body outline, then the tail, legs, and paws. This keeps proportions easier to check.
Copy the reference onto the blank grid using matching grid intersections, then compare with the separate full reference sheet.
All drawing practice · Free coordinate paper
Original resources · CC BY 4.0 · Free for personal and classroom use with attribution.