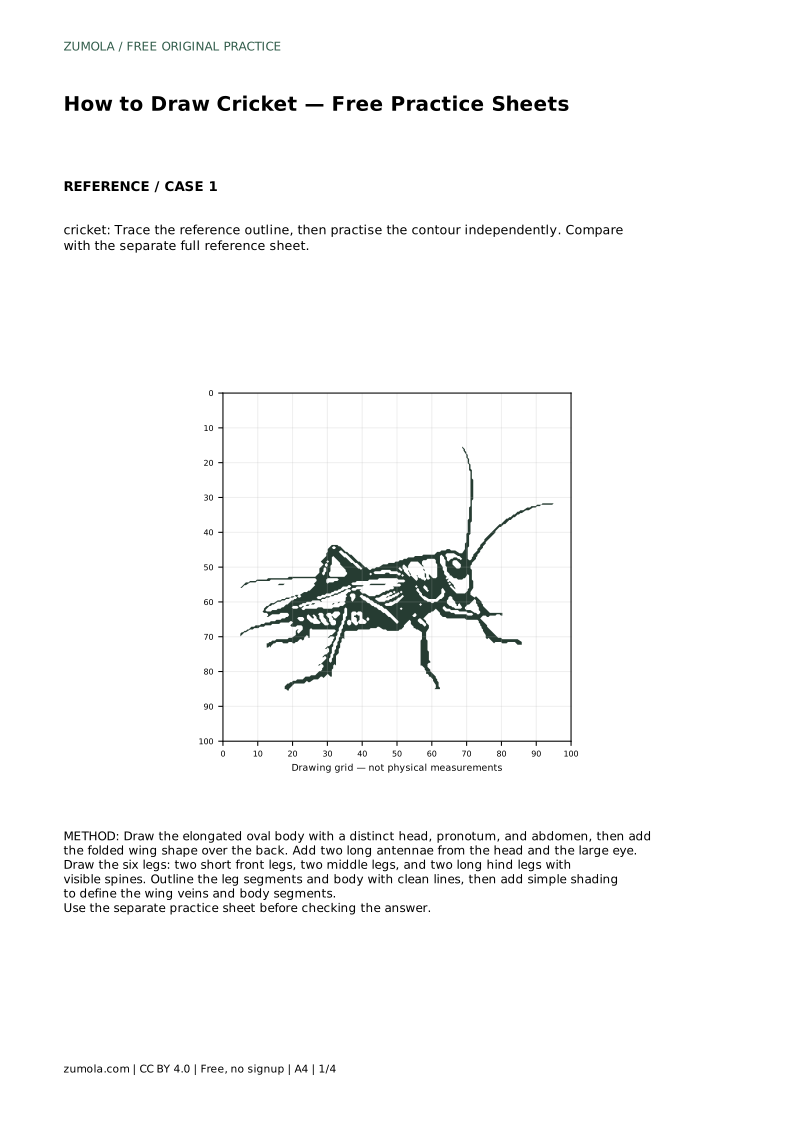
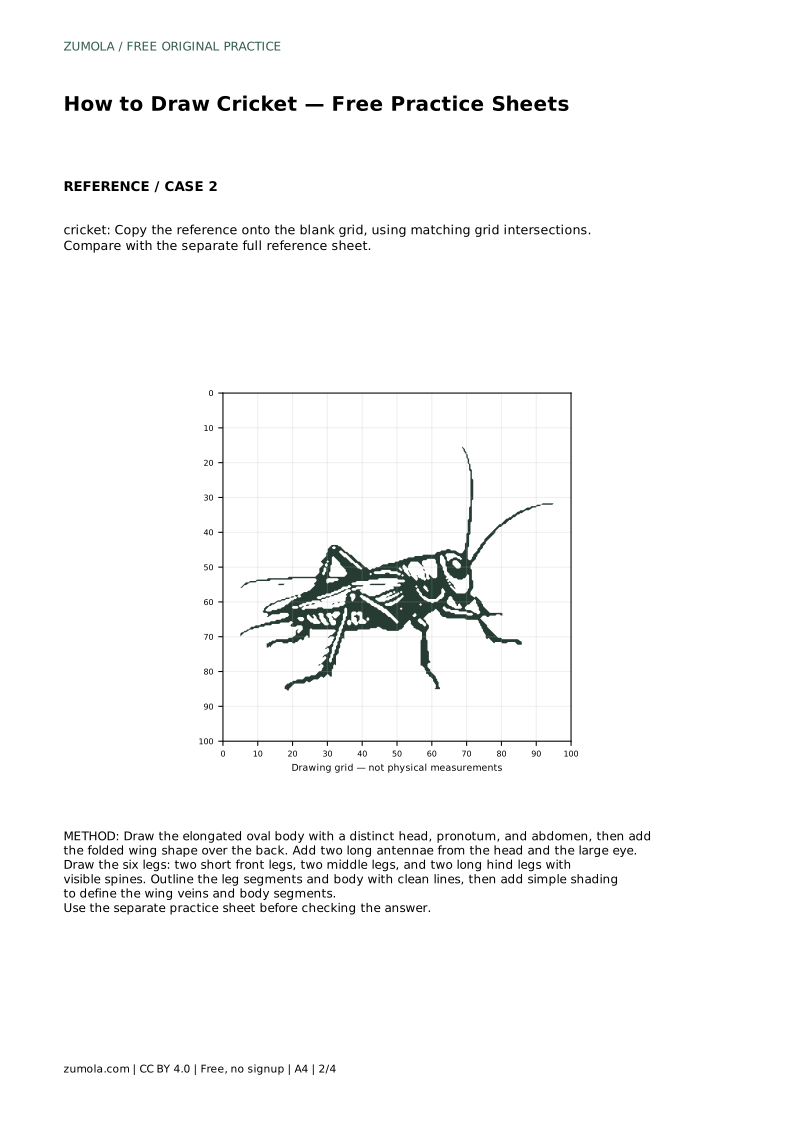
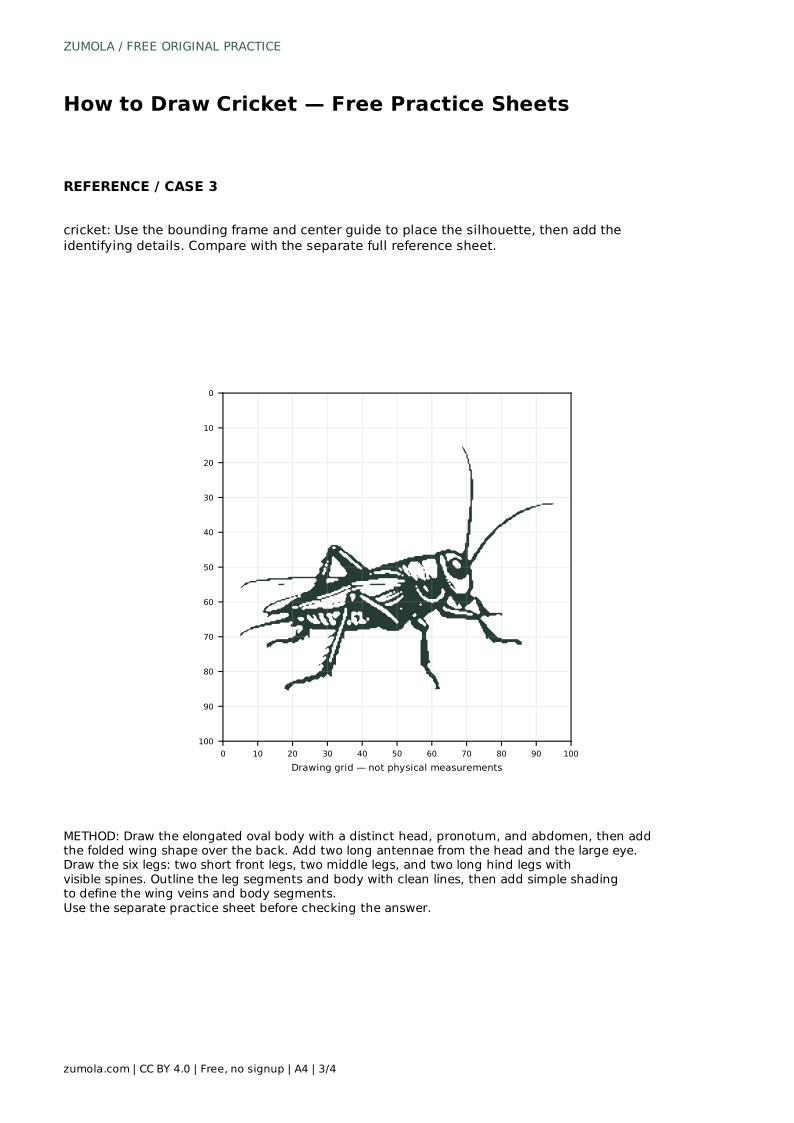
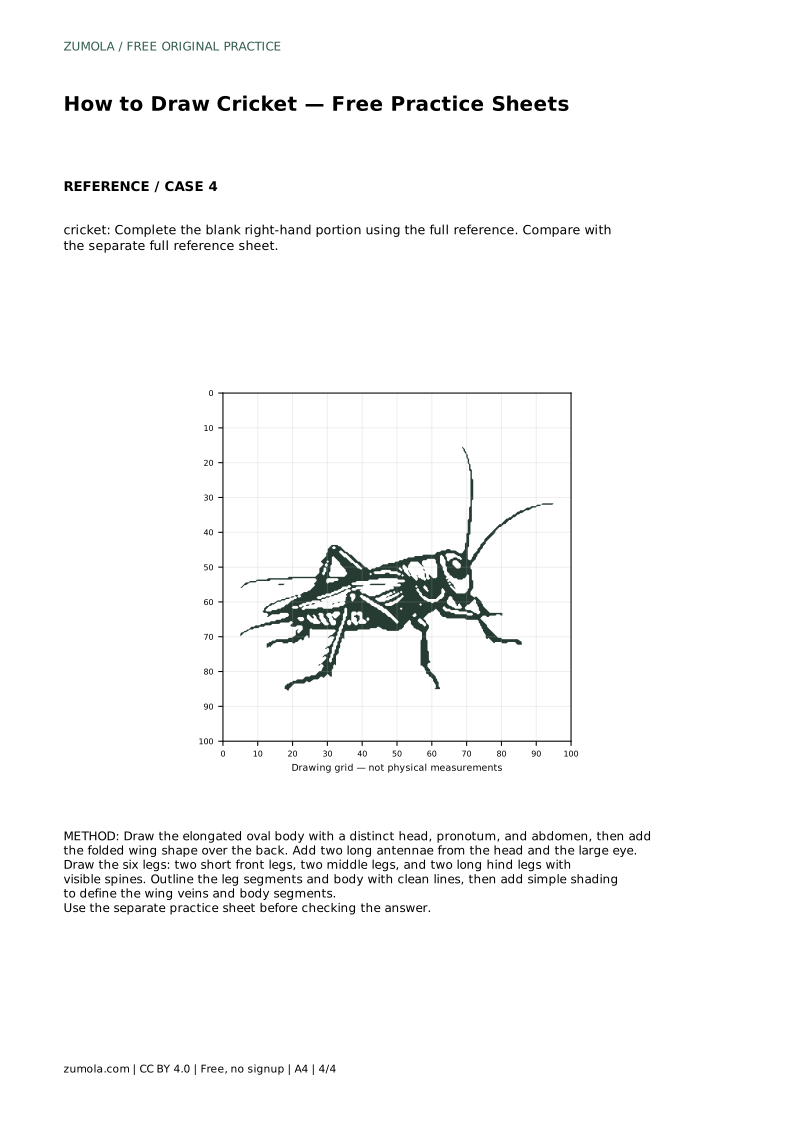
Reference diagrams
LETTER · Download PDF
A4 · Download PDF
Free original resources
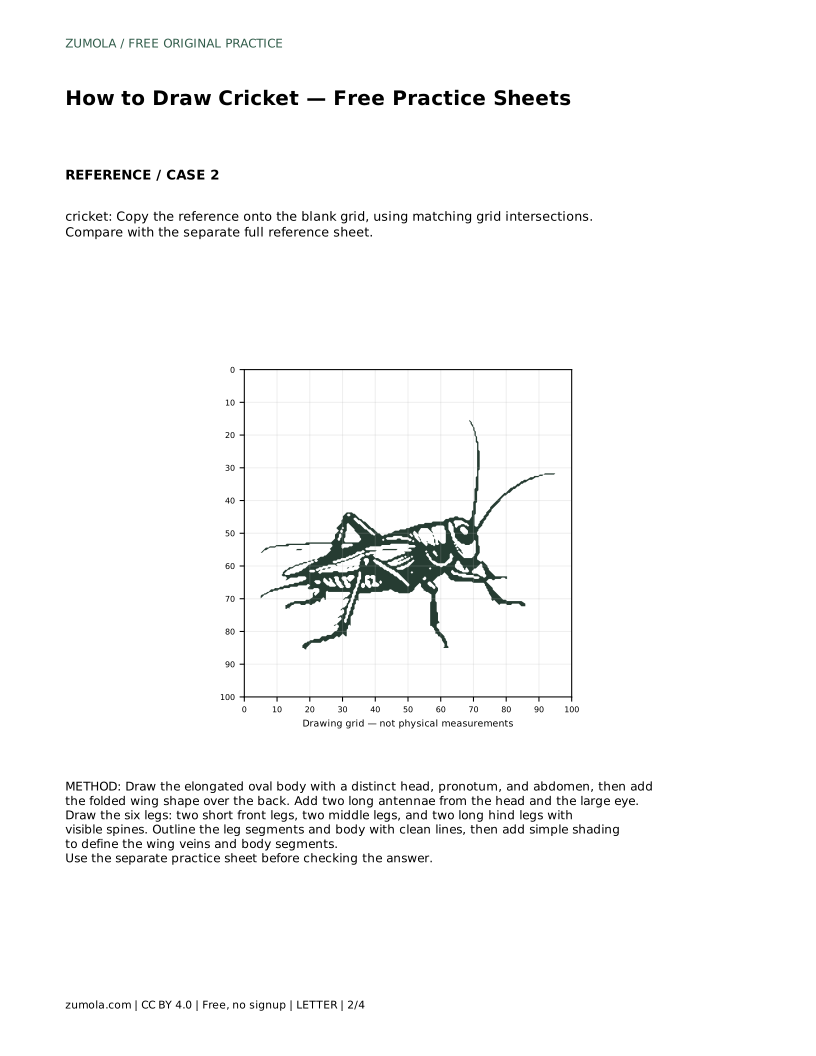
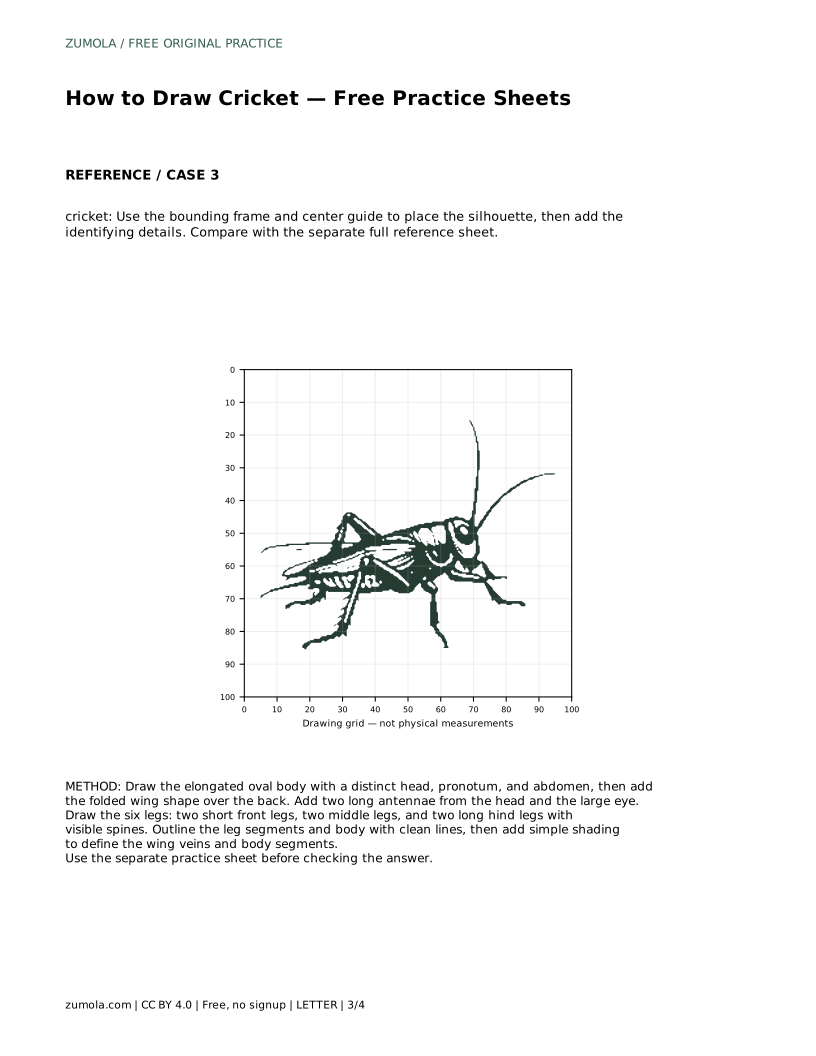
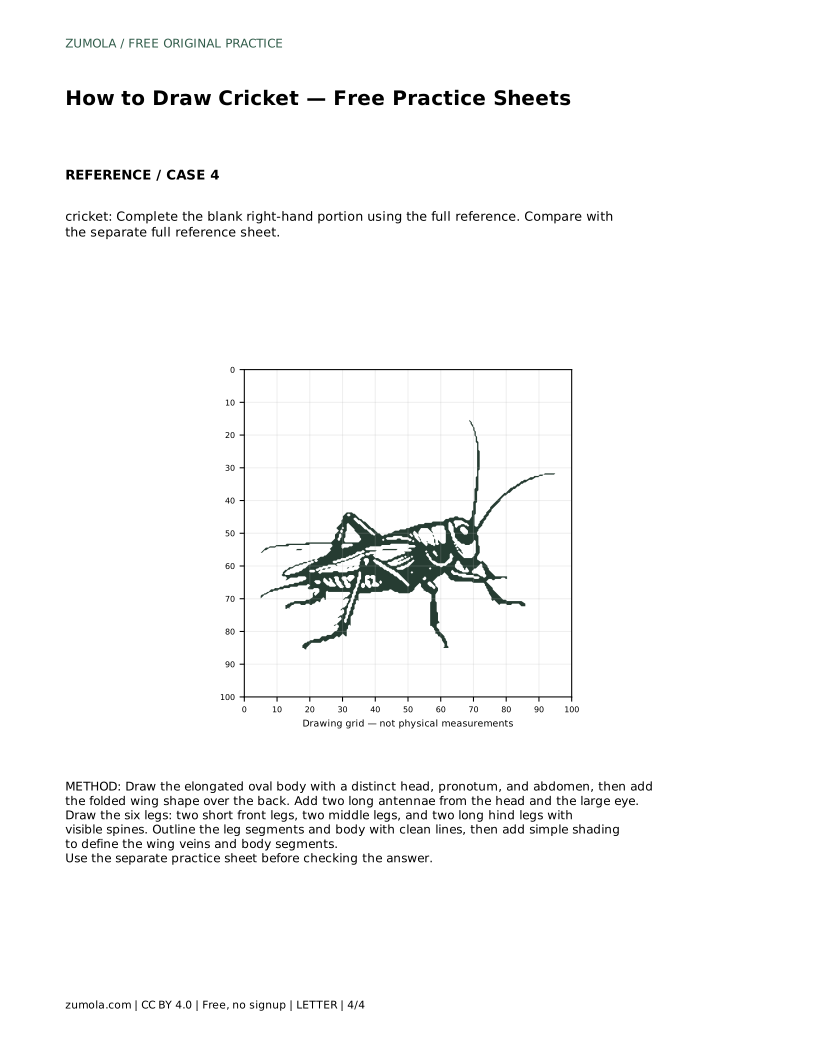
Learn to draw a cricket by building its body, antennae, folded wings, and six legs, including long spiny hind legs. Practice with tracing, grid, and frame sheets.
Four original cases, with reference diagrams, practice sheets and worked answers. Everything is free; no signup required.
LETTER · Download PDF
A4 · Download PDF
LETTER · Download PDF
A4 · Download PDF
LETTER · Download PDF
A4 · Download PDF
Use A4 or US Letter to match your printer. Use the stated values and conditions to solve each exercise; diagrams are not physical measuring rulers.
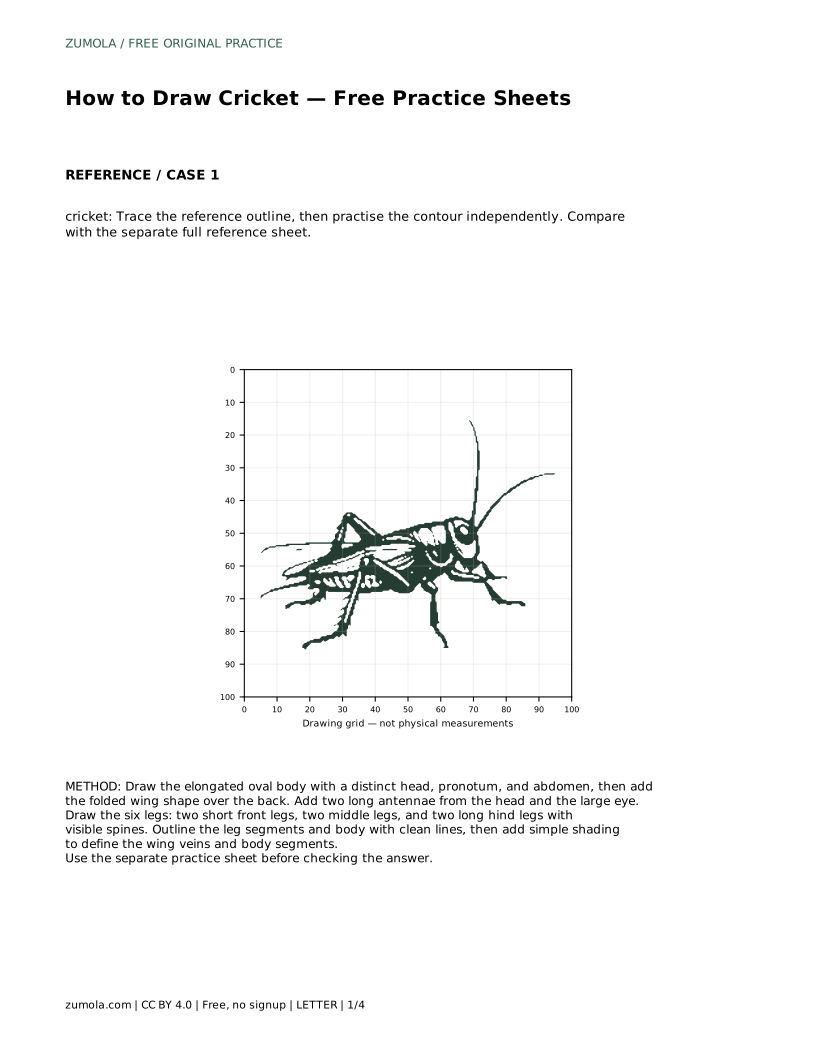
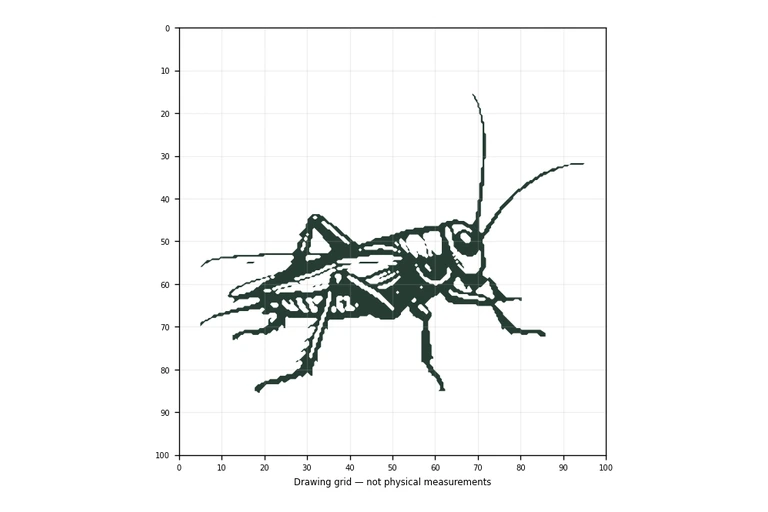
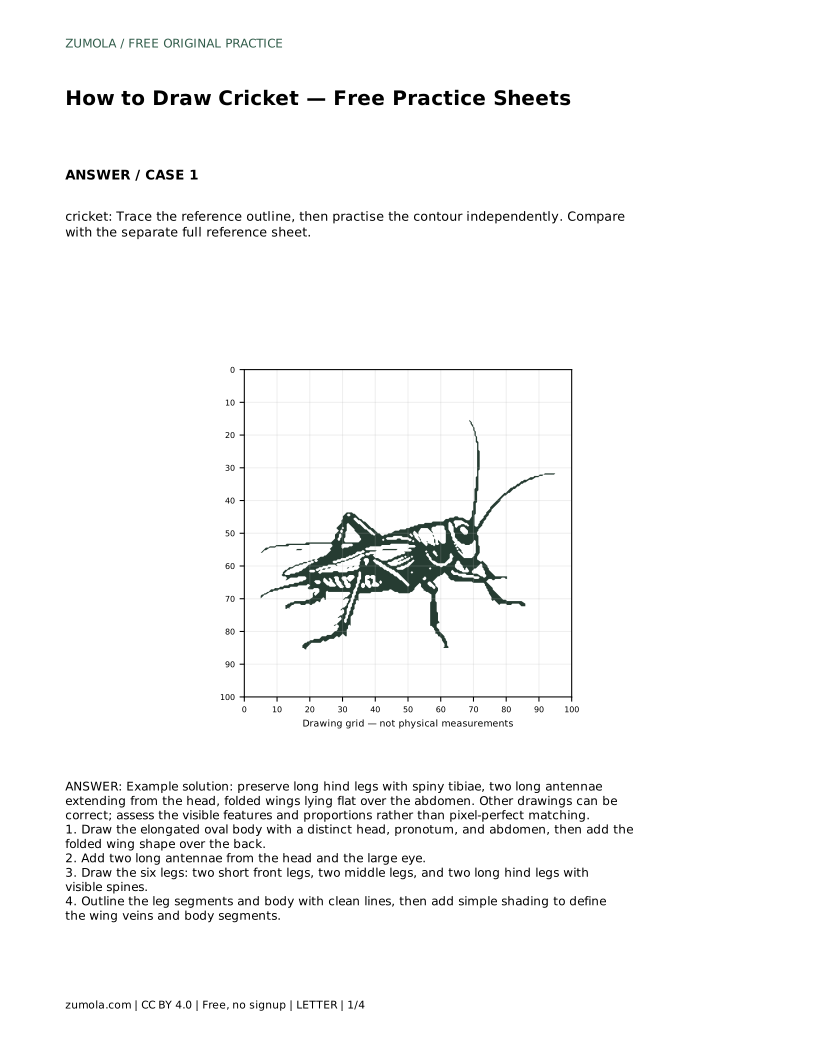
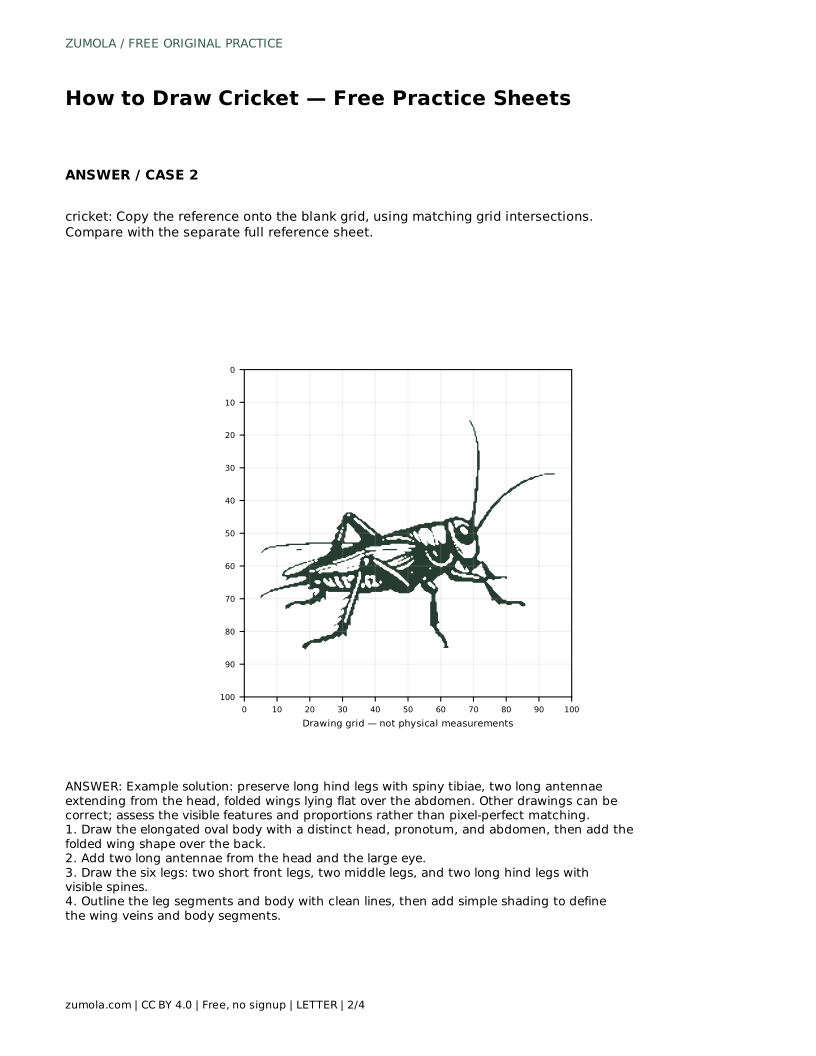
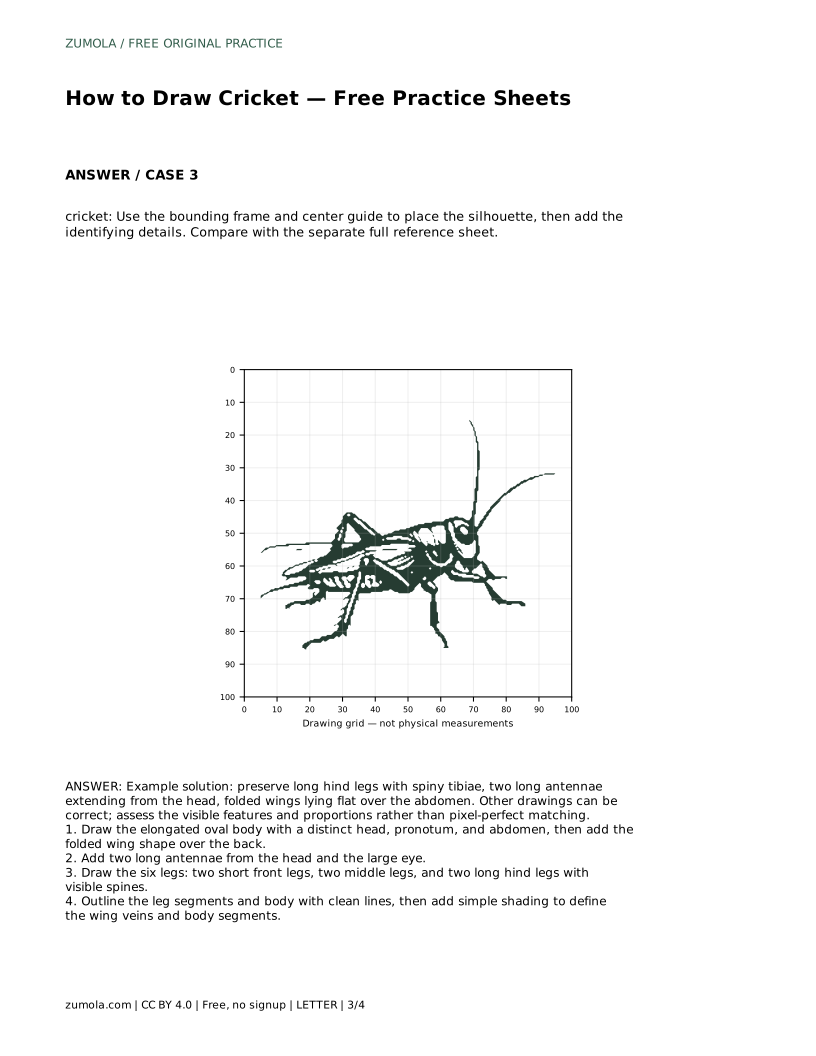
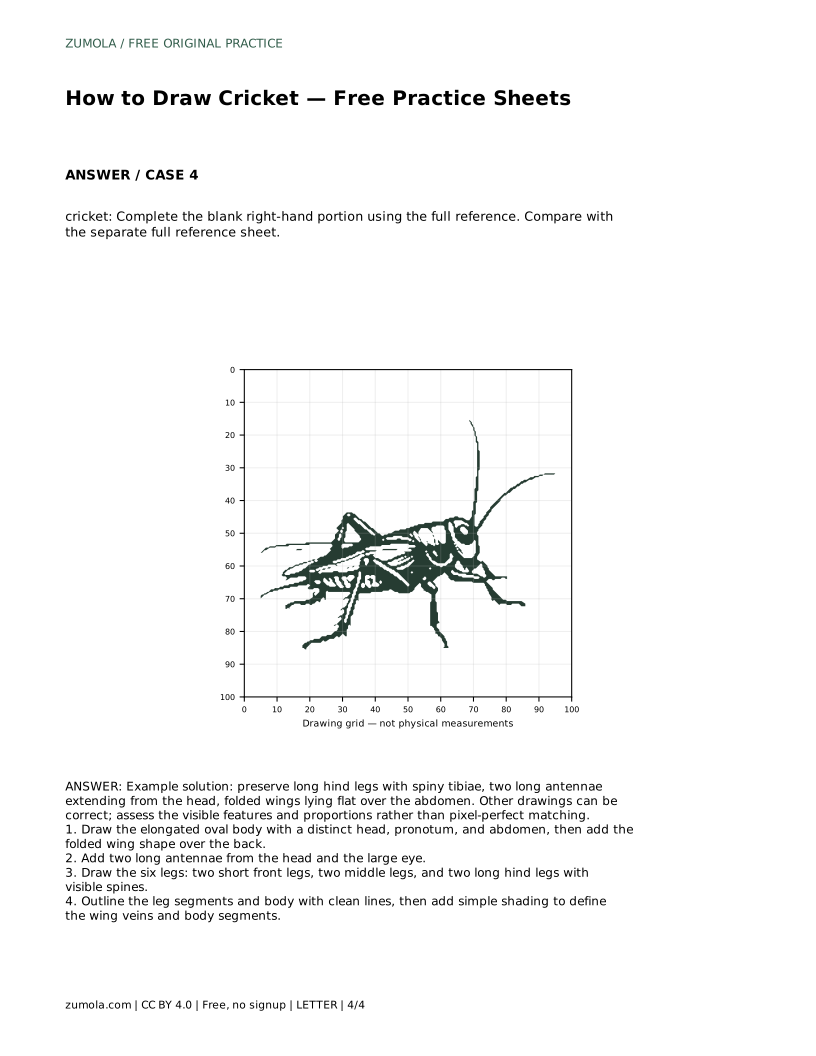
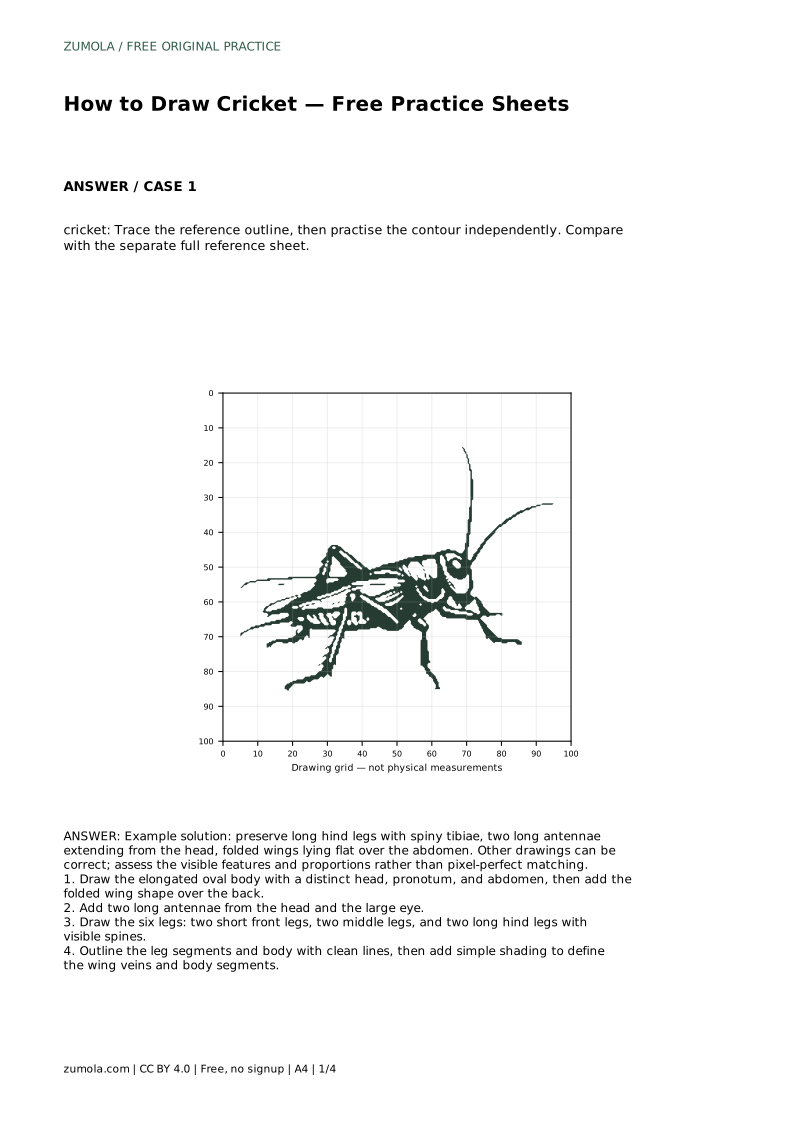
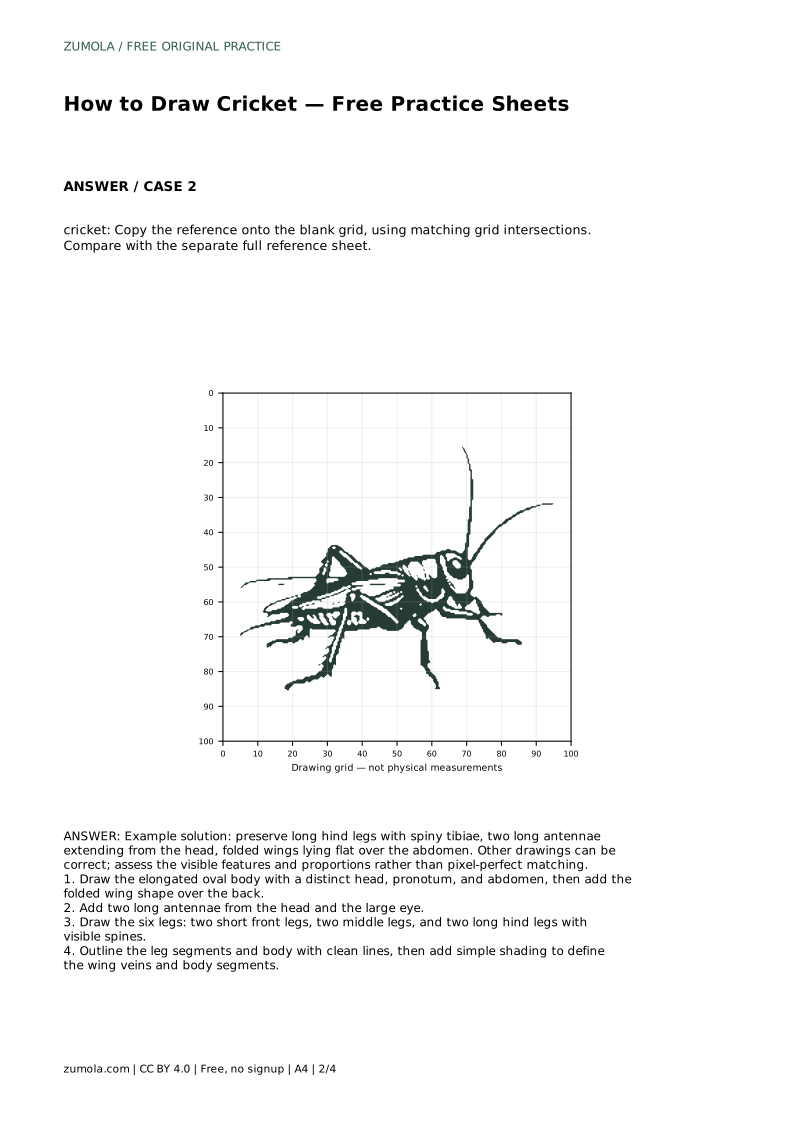
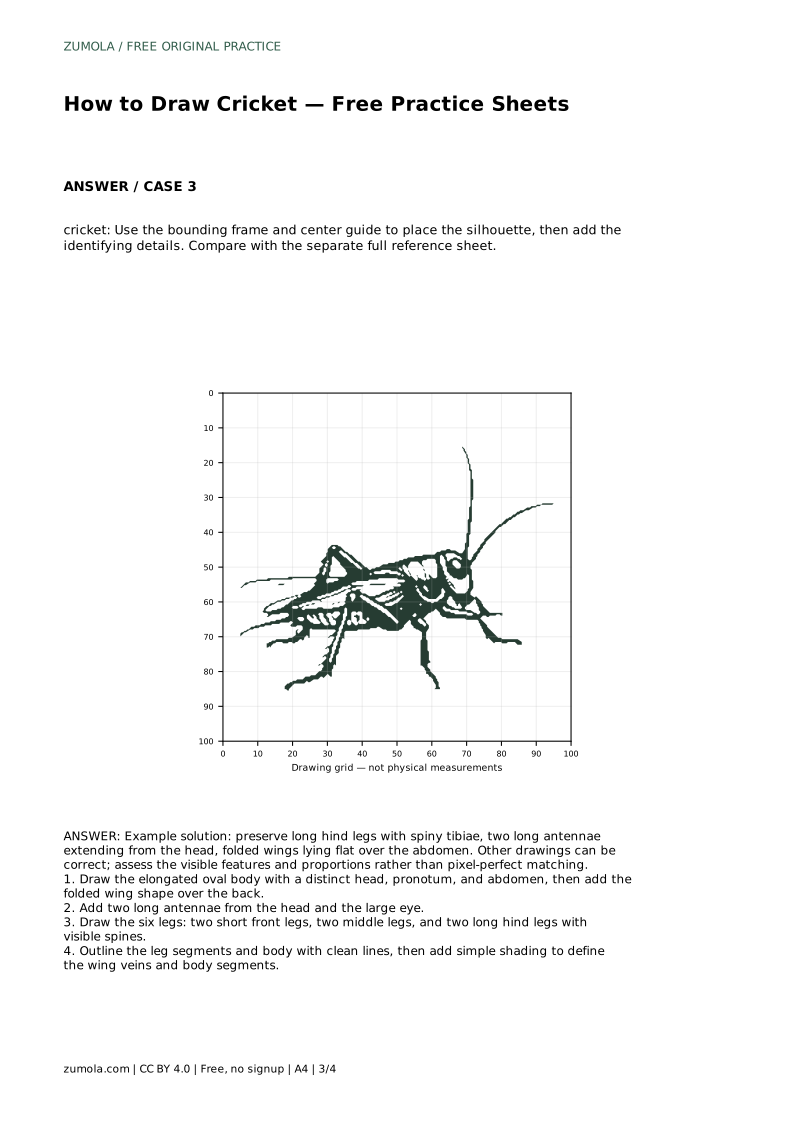
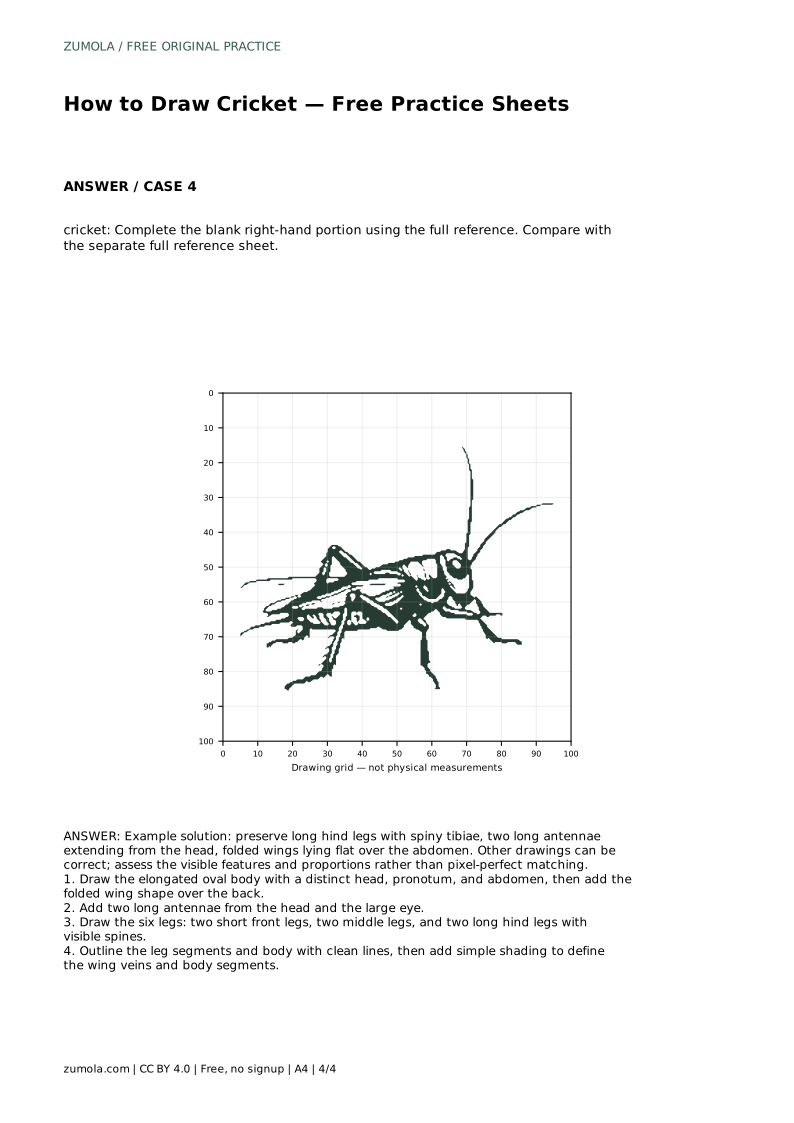
Drawing a cricket is mostly a lesson in observation: an elongated body, a large eye, two long antennae, folded wings, and six legs where the hind pair is noticeably longer and spiny. The practice sheets give you different ways to study those features, from tracing an outline to copying a reference onto a grid. Each method trains the same skill: noticing proportions and placing details deliberately rather than guessing.
Before drawing legs or antennae, establish the body as three connected zones: a distinct head, a pronotum (the shield-like section behind the head), and an abdomen. Keep the overall shape an elongated oval rather than a circle. The folded wings lie flat over the back and abdomen, so the wing shape should follow the body's length instead of sticking out sideways.
Place the large eye on the head and note where the antennae attach. Two long antennae extend from the head; their length is a useful proportion check against the body. If your antennae look short or thick, compare them with the reference before adding detail.
A cricket has six legs: two short front legs, two middle legs, and two long hind legs. Draw them as segmented lines first, then thicken the outlines. The hind legs are the most distinctive feature, with a long tibia bearing visible spines. Keep the spines small and evenly spaced along the tibia rather than scattered over the whole leg.
Work from the body outward so each leg connects at a believable joint. Check that the front and middle legs are shorter and that the hind legs extend well beyond the abdomen. Symmetry matters, but a slight difference in angle can look natural.
Once the structure is in place, outline the body and legs with clean lines. Use simple shading to define the wing veins and body segments. Wing veins should run roughly along the folded wing, following its length. Body segment lines can suggest the pronotum and abdomen without turning the drawing into a diagram.
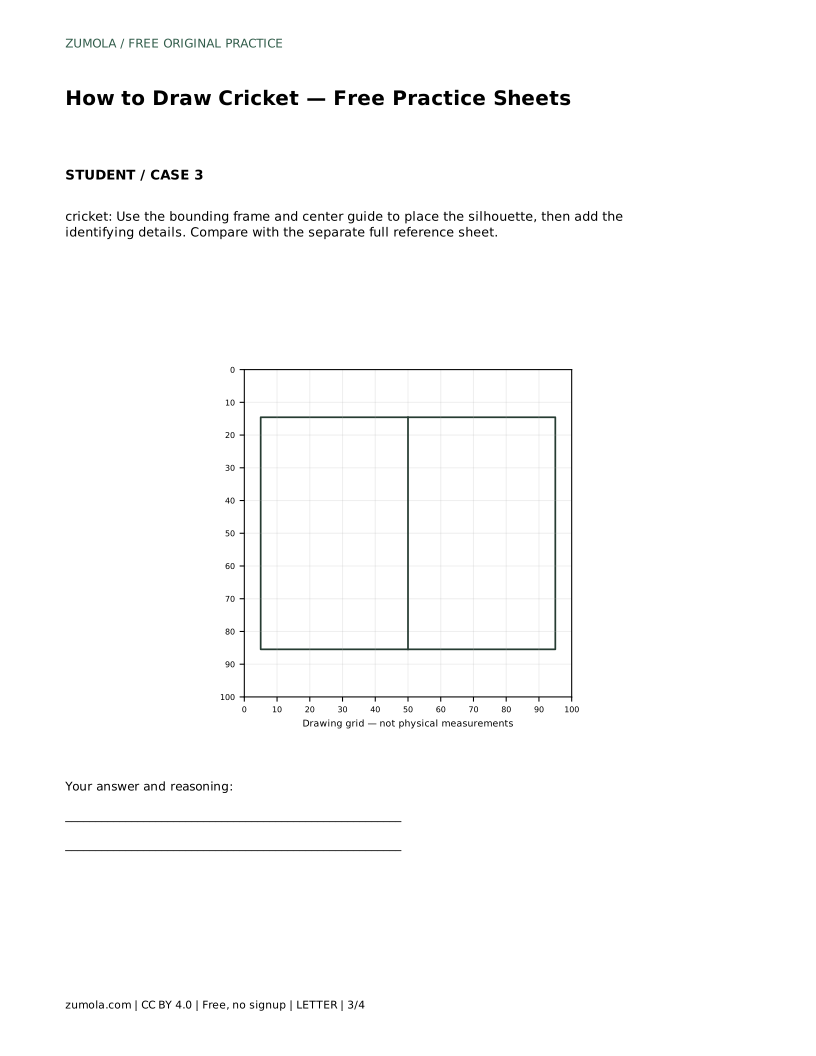
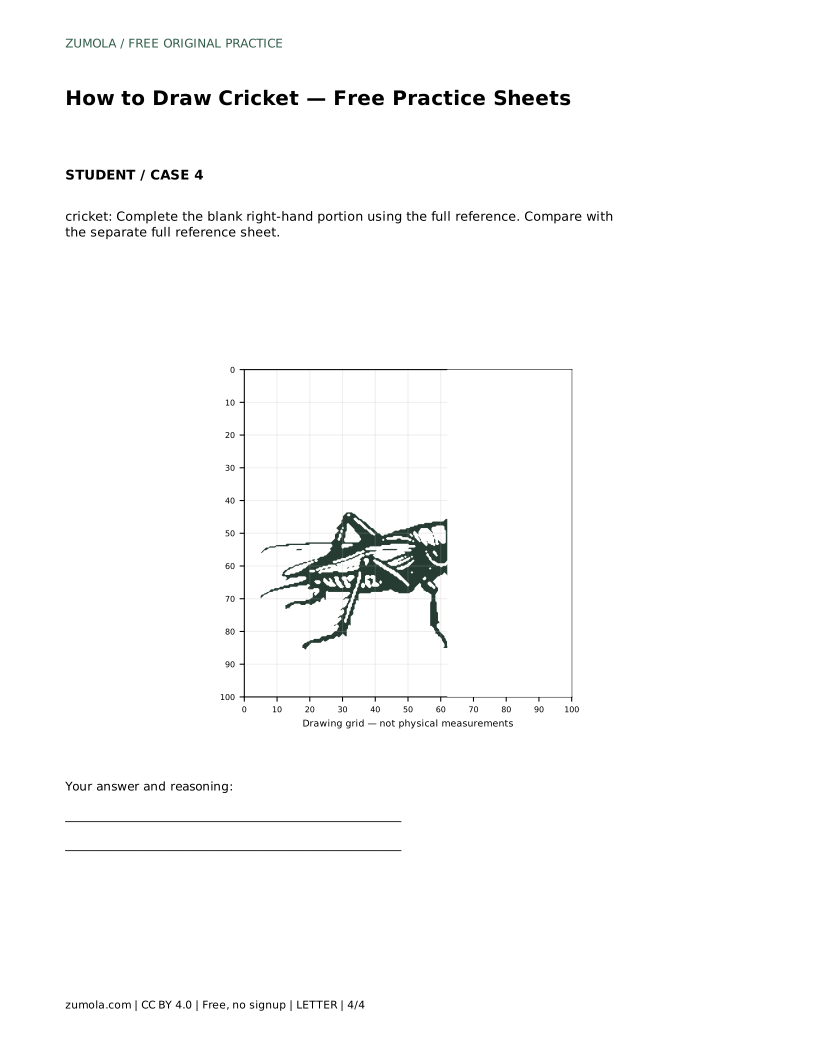
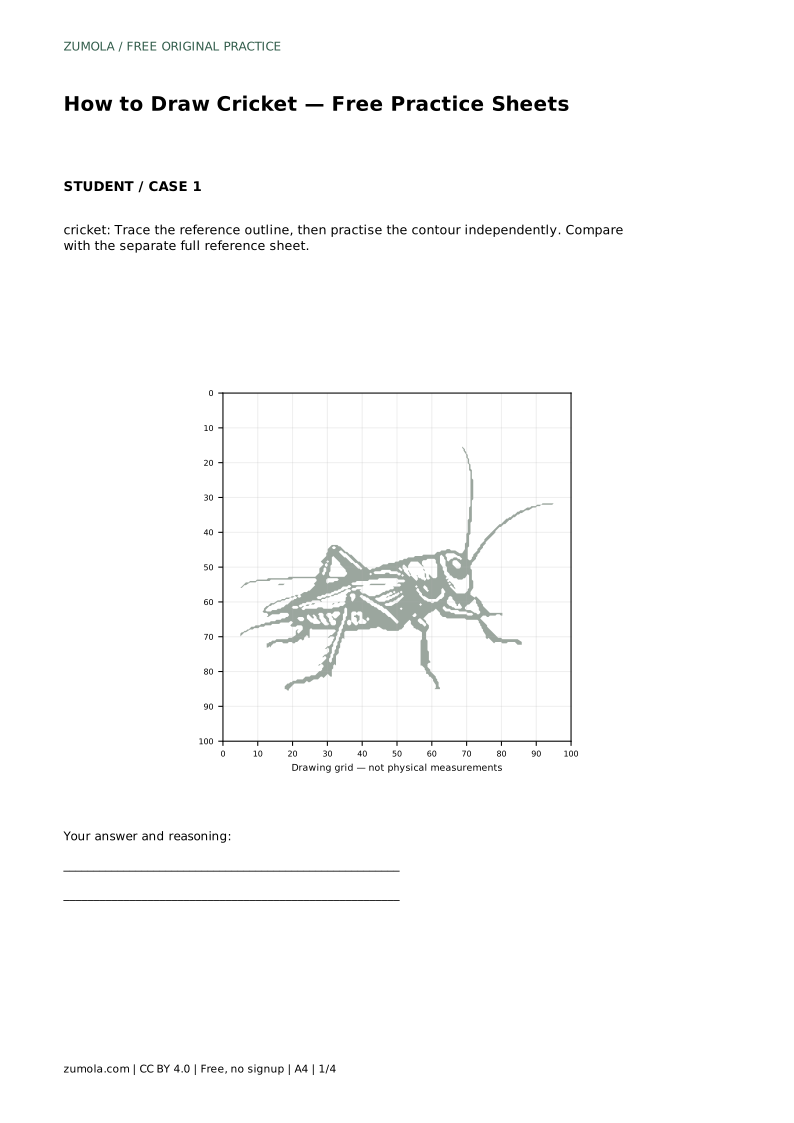
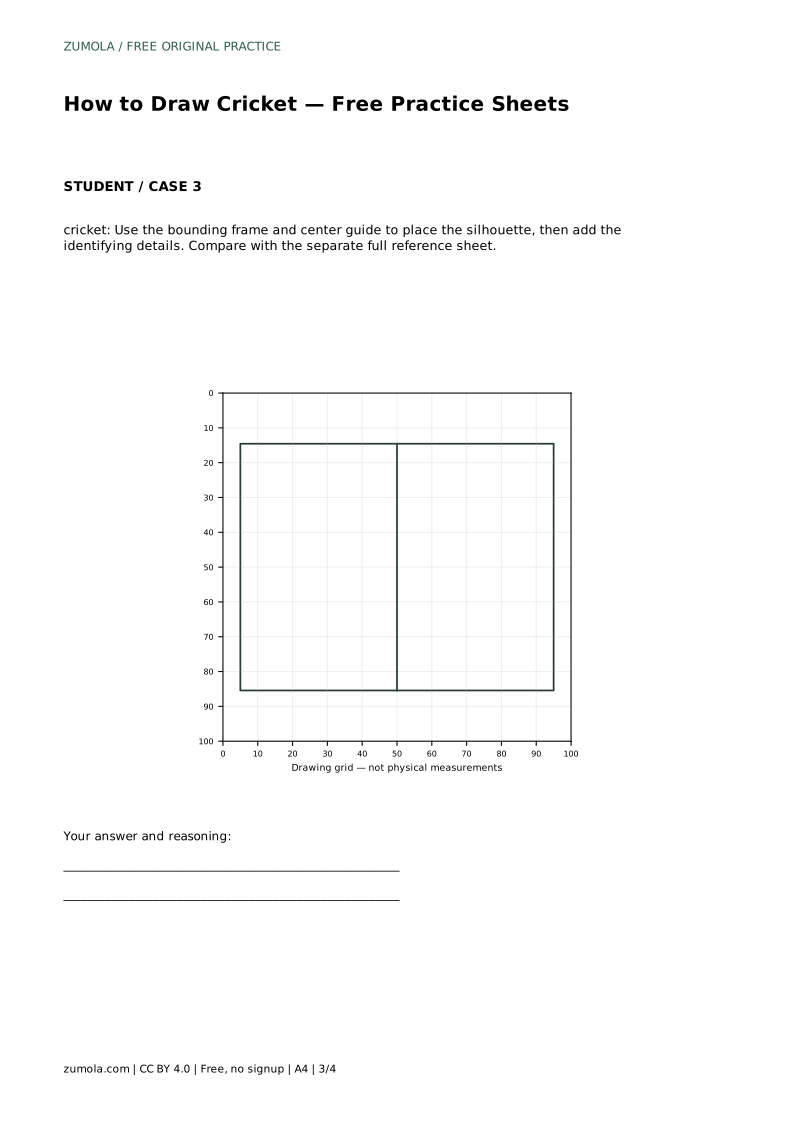
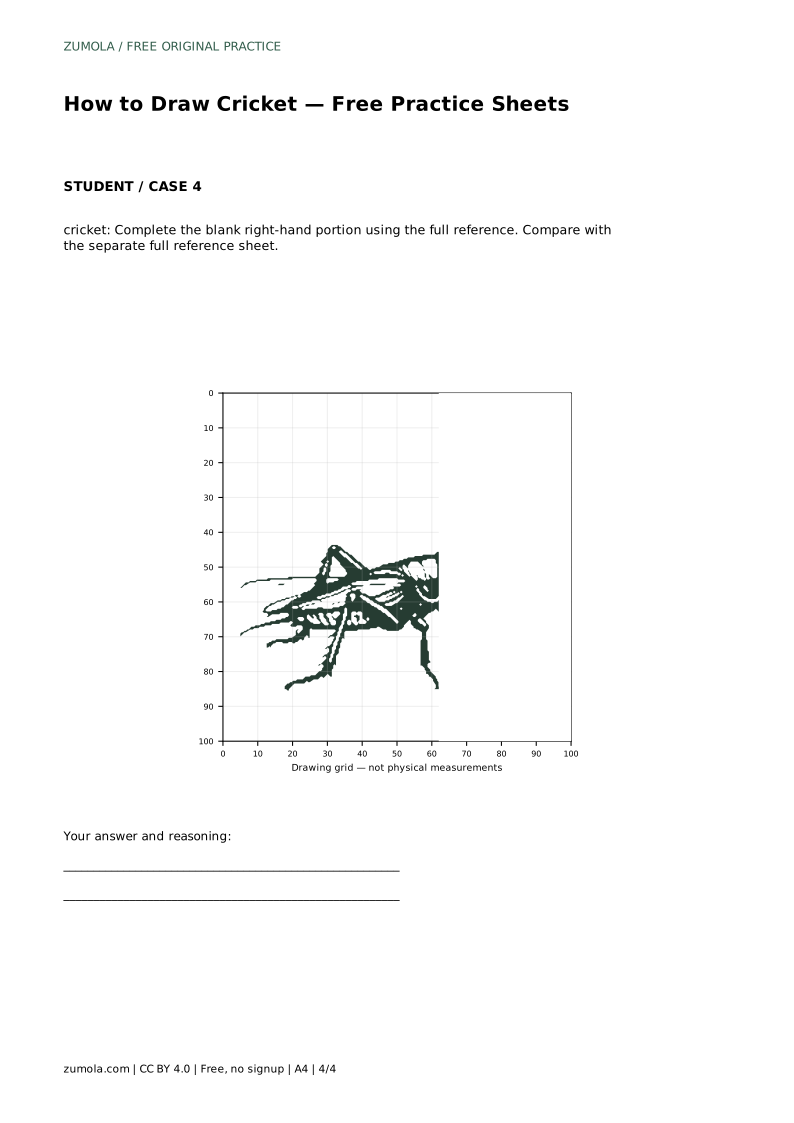
The practice sheets offer different routes to the same result. Tracing the reference outline helps you learn the contour; copying onto a blank grid trains placement at matching intersections; using a bounding frame and center guide helps you position the silhouette before adding details; completing a blank portion tests whether you can continue the reference accurately. Compare your drawing with the separate full reference sheet and assess visible features and proportions rather than pixel-perfect matching.
A successful cricket drawing shows the identifying features clearly: long hind legs with spiny tibiae, two long antennae from the head, and folded wings lying flat over the abdomen. Proportions matter more than exact line placement. If one hind leg is much shorter than the other or the wings flare outward, revisit the reference and correct the shape.
Because drawings can vary, judge your work by whether the visible features are present and reasonably proportioned. A drawing with slightly different leg angles can still be correct if the cricket's structure reads clearly.
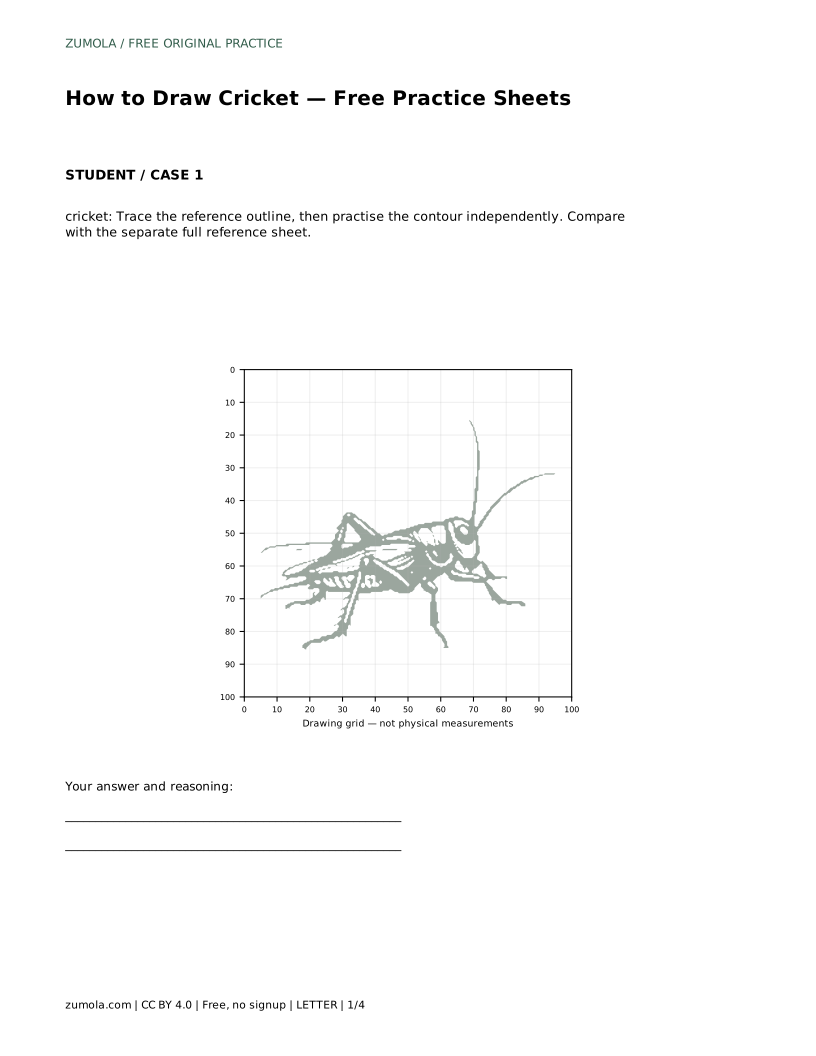
cricket: Trace the reference outline, then practise the contour independently. Compare with the separate full reference sheet.
Example solution: preserve long hind legs with spiny tibiae, two long antennae extending from the head, folded wings lying flat over the abdomen. Other drawings can be correct; assess the visible features and proportions rather than pixel-perfect matching. Draw the elongated oval body with a distinct head, pronotum, and abdomen, then add the folded wing shape over the back. Add two long antennae from the head and the large eye. Draw the six legs: two short front legs, two middle legs, and two long hind legs with visible spines. Outline the leg segments and body with clean lines, then add simple shading to define the wing veins and body segments.
No. Use the reference to learn the cricket's features and proportions. Other drawings can be correct if the long spiny hind legs, two long antennae, and folded wings are visible and reasonably placed.
Start with tracing the reference outline to learn the contour, then move to the grid or bounding frame to practise placing the shape independently.
Draw six legs: two short front legs, two middle legs, and two long hind legs with visible spines on the tibiae.
All drawing practice · Free coordinate paper
Original resources · CC BY 4.0 · Free for personal and classroom use with attribution.