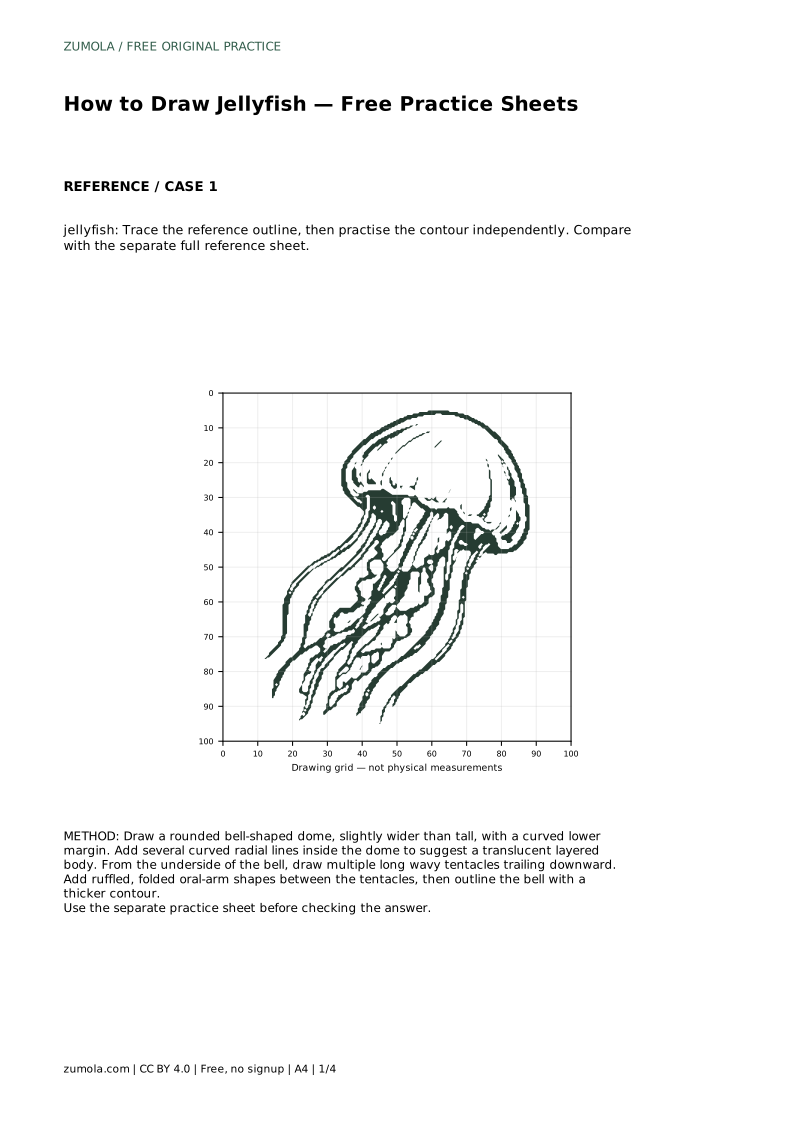
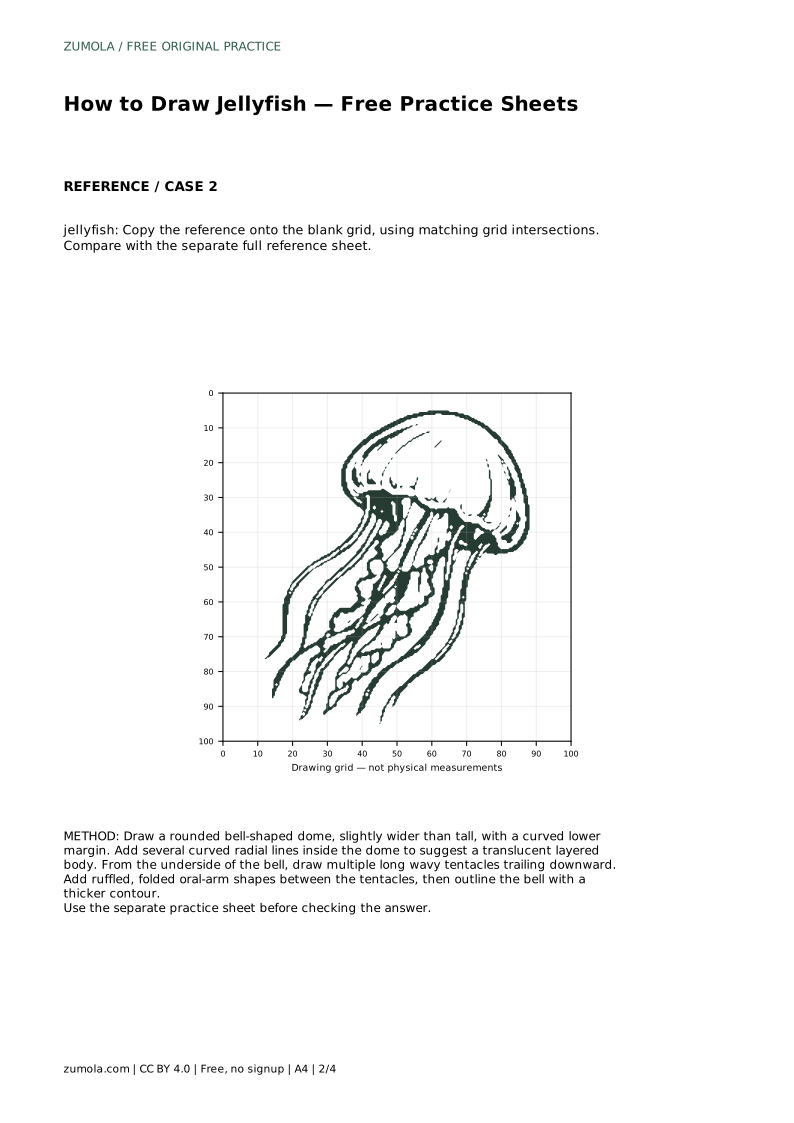
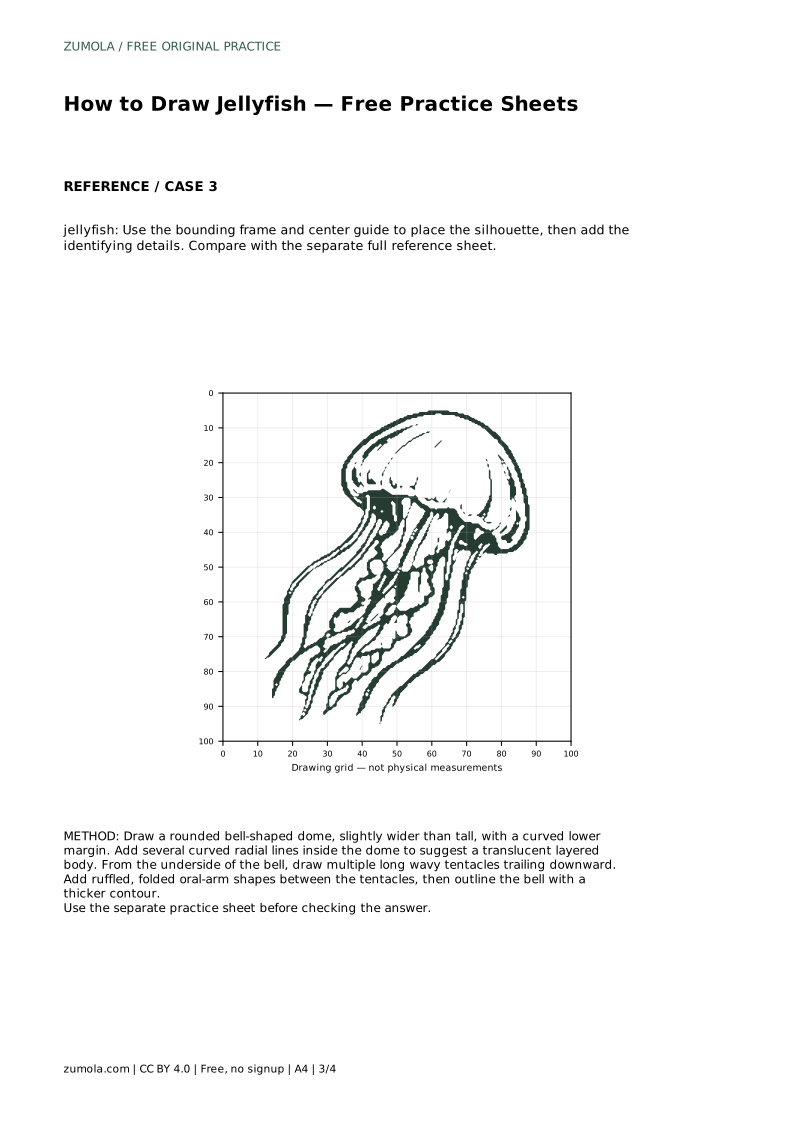
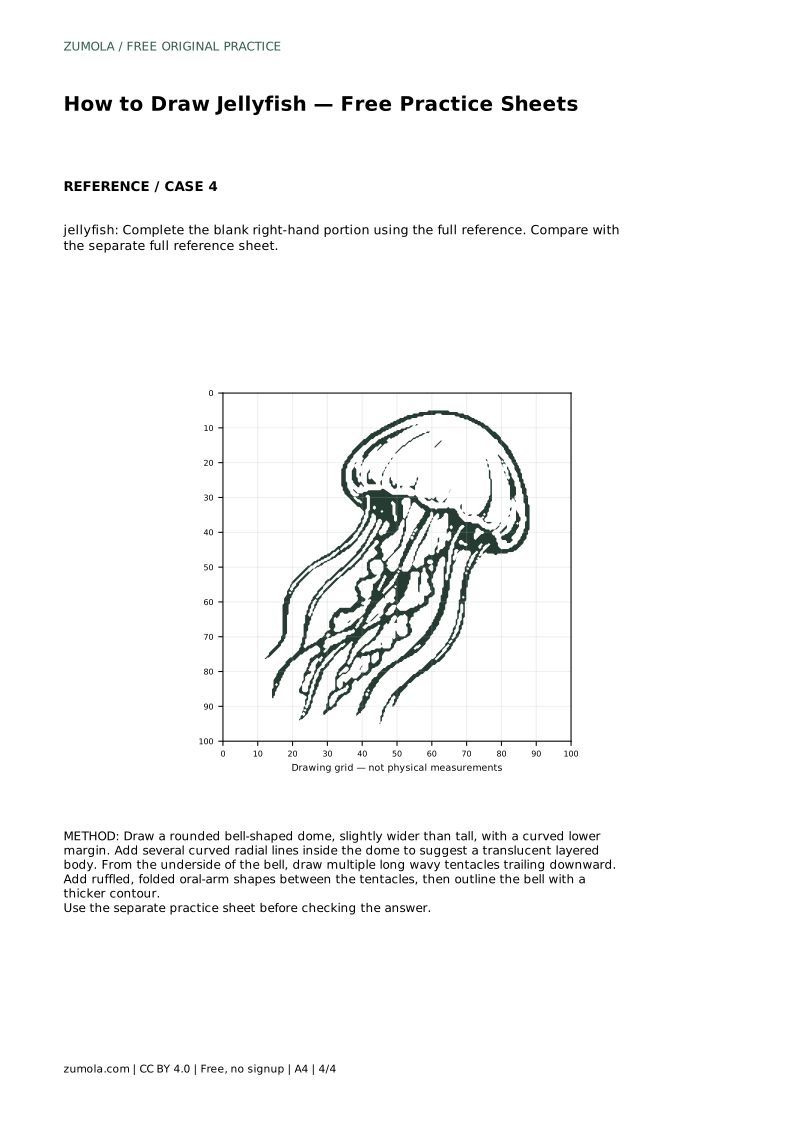
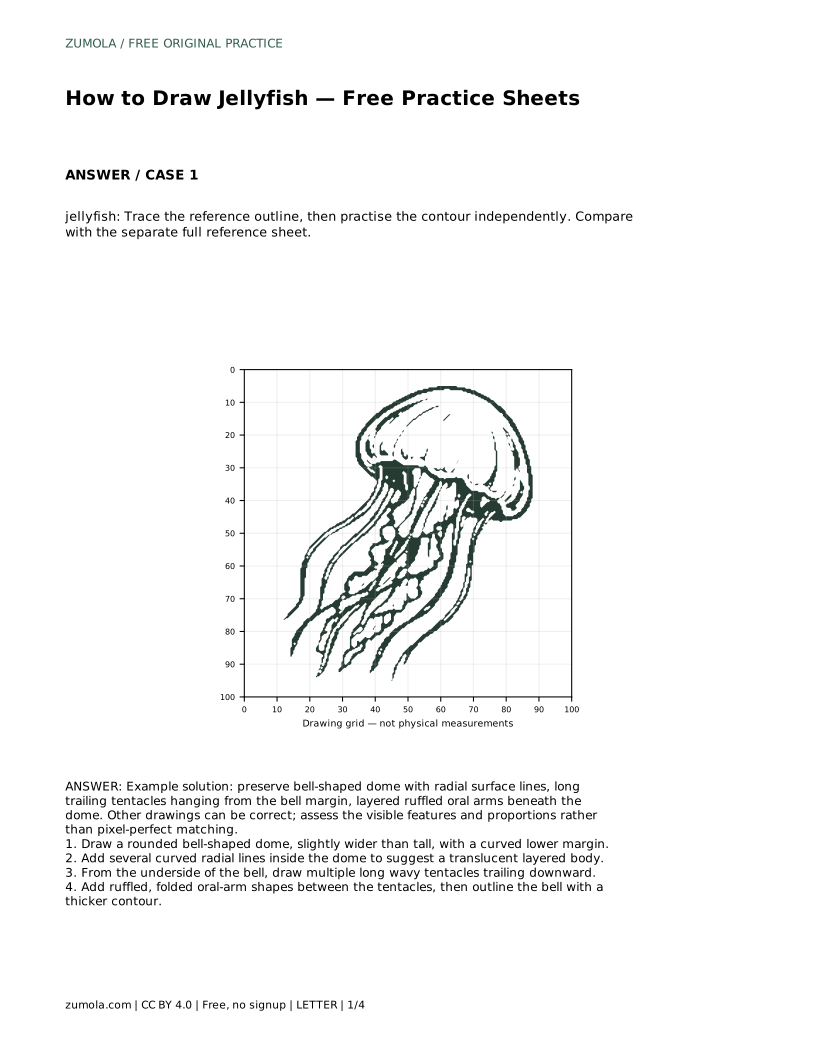
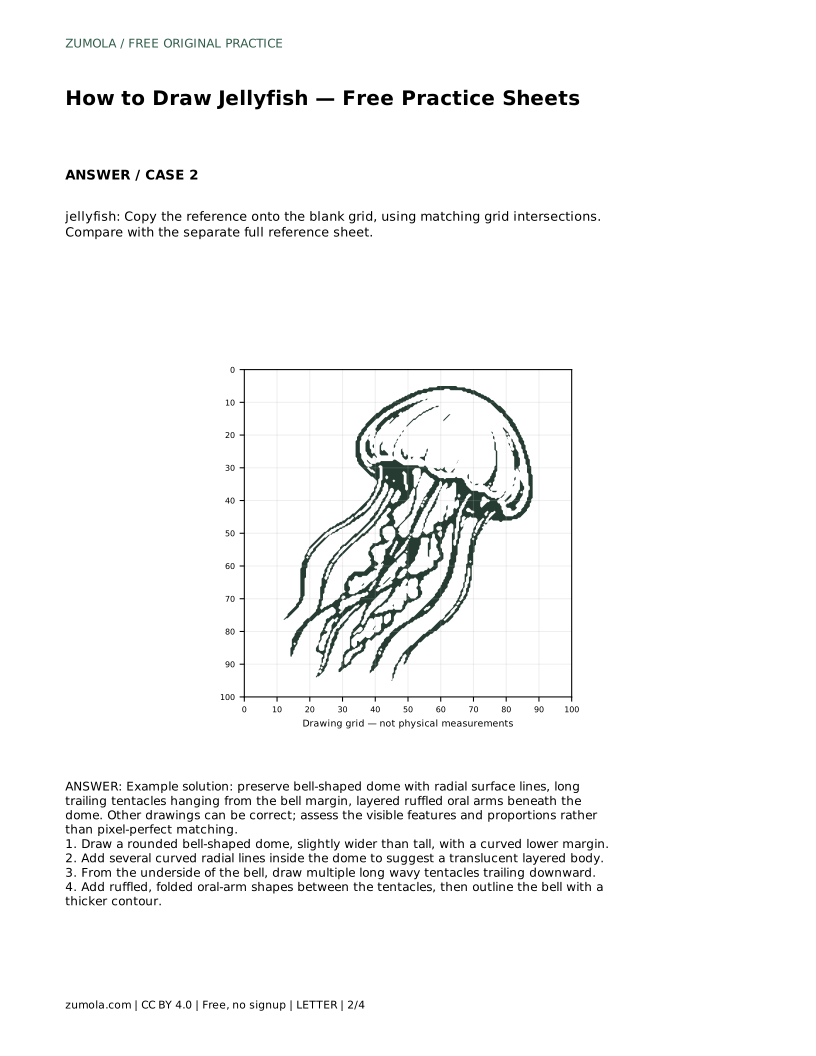
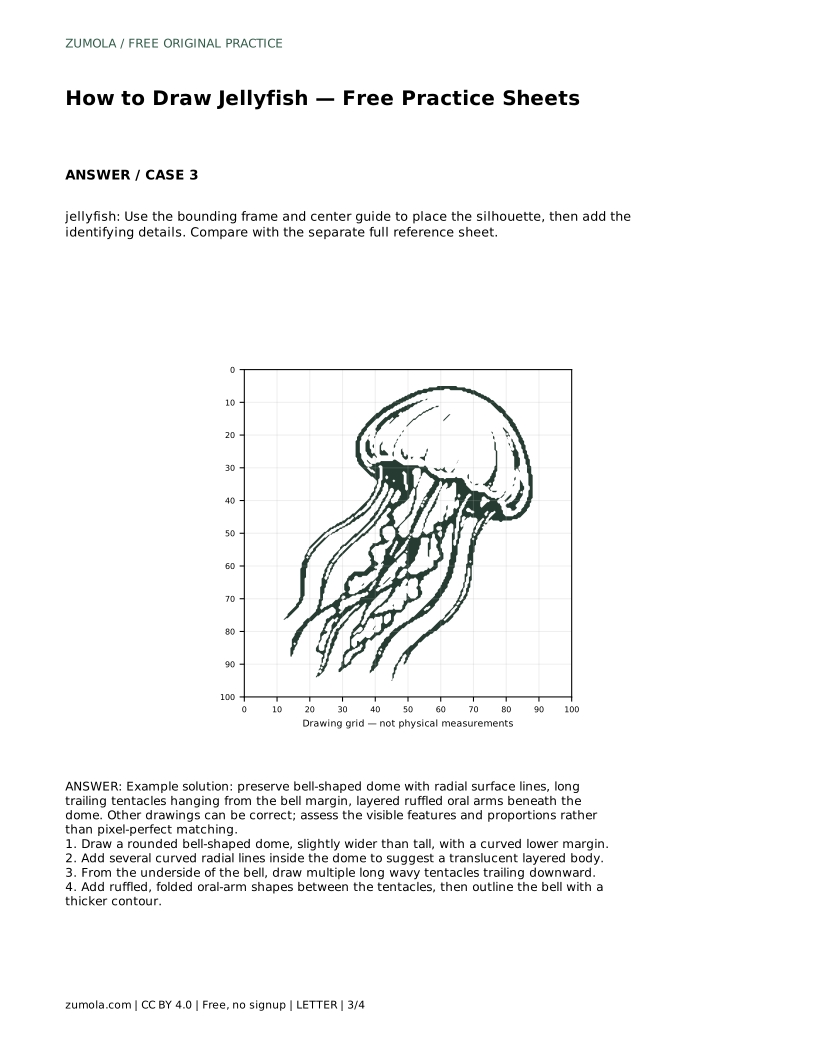
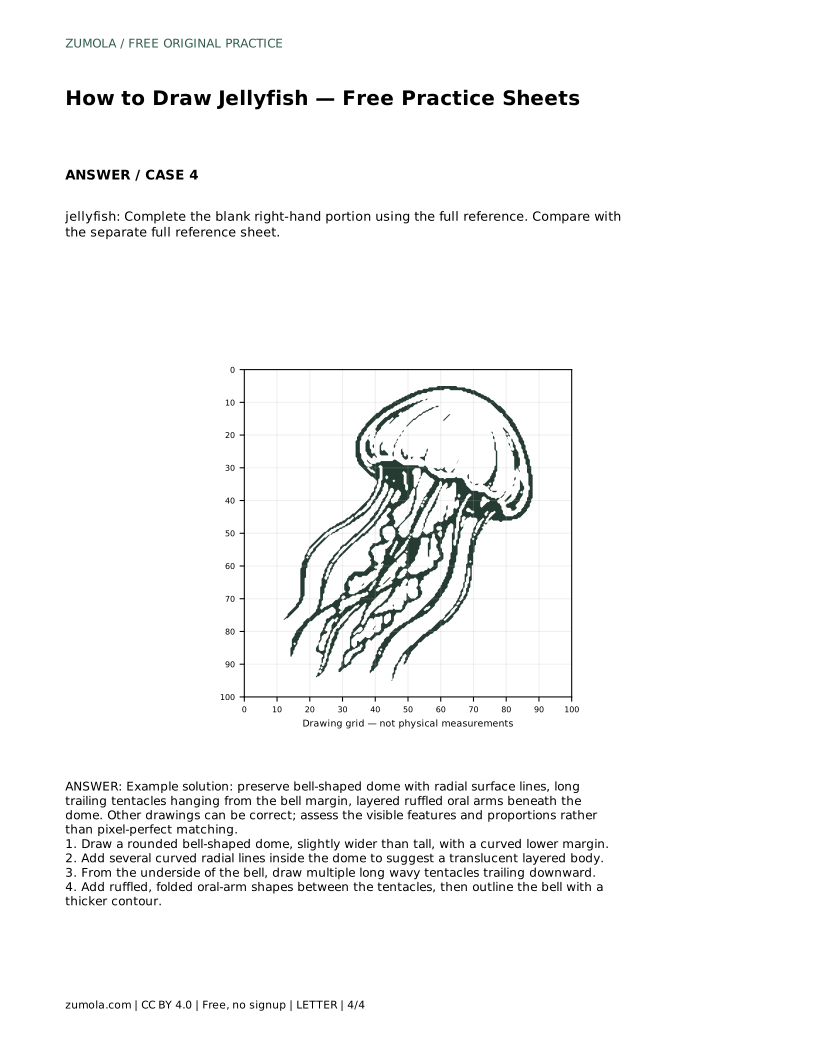
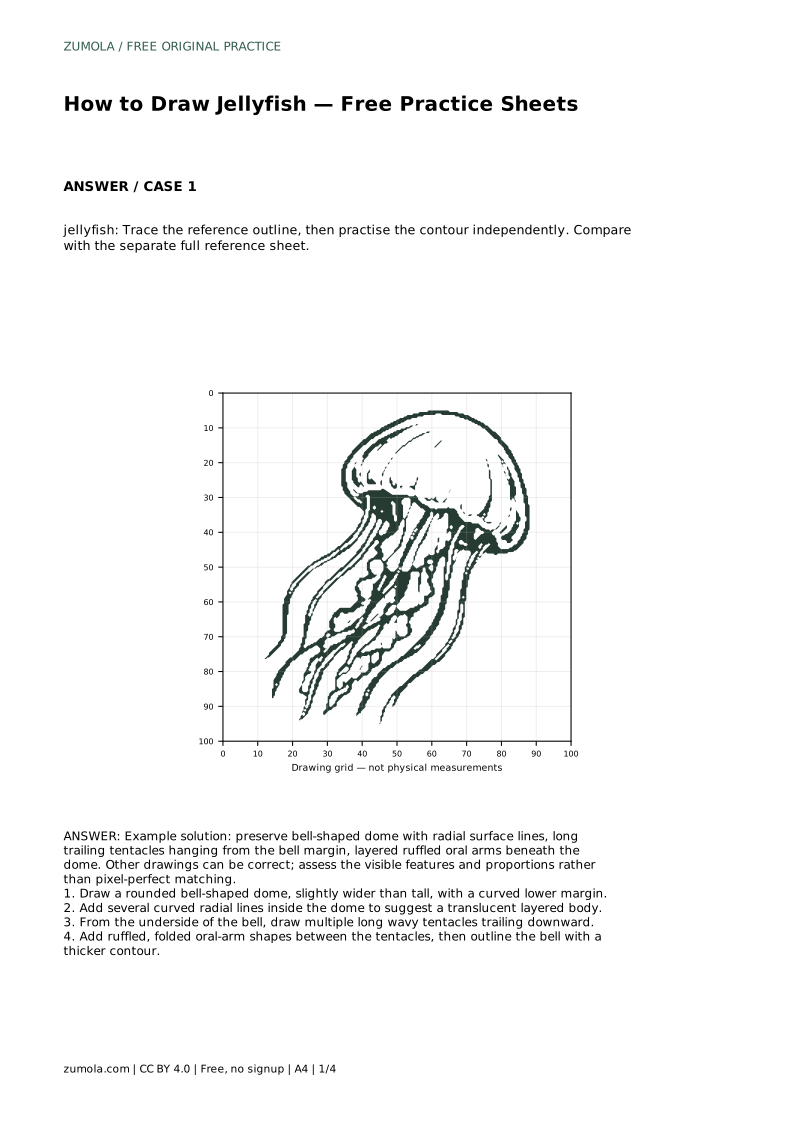
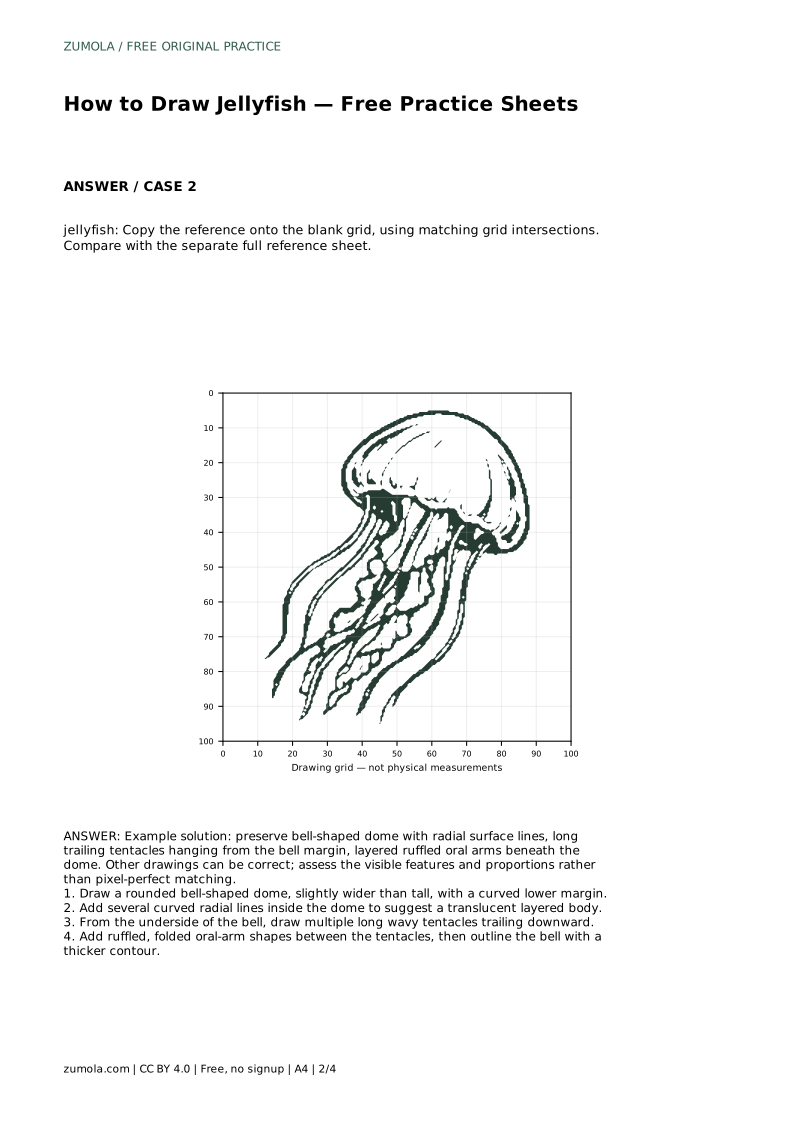
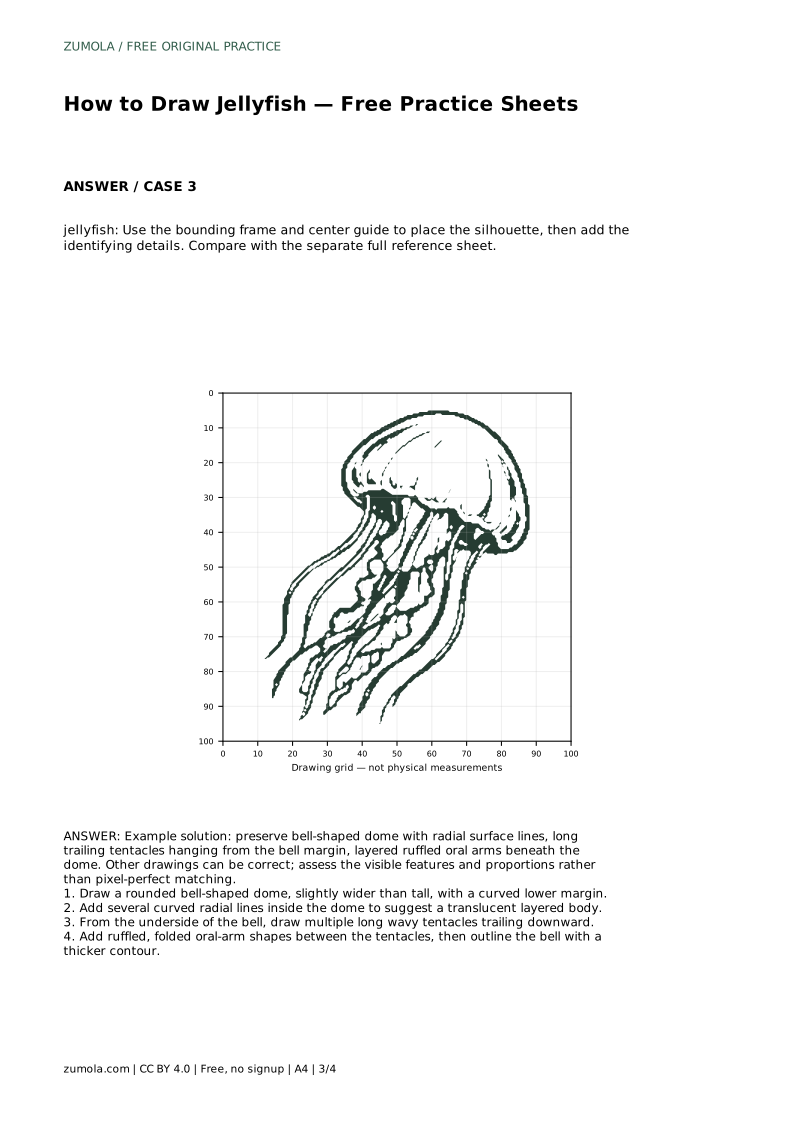
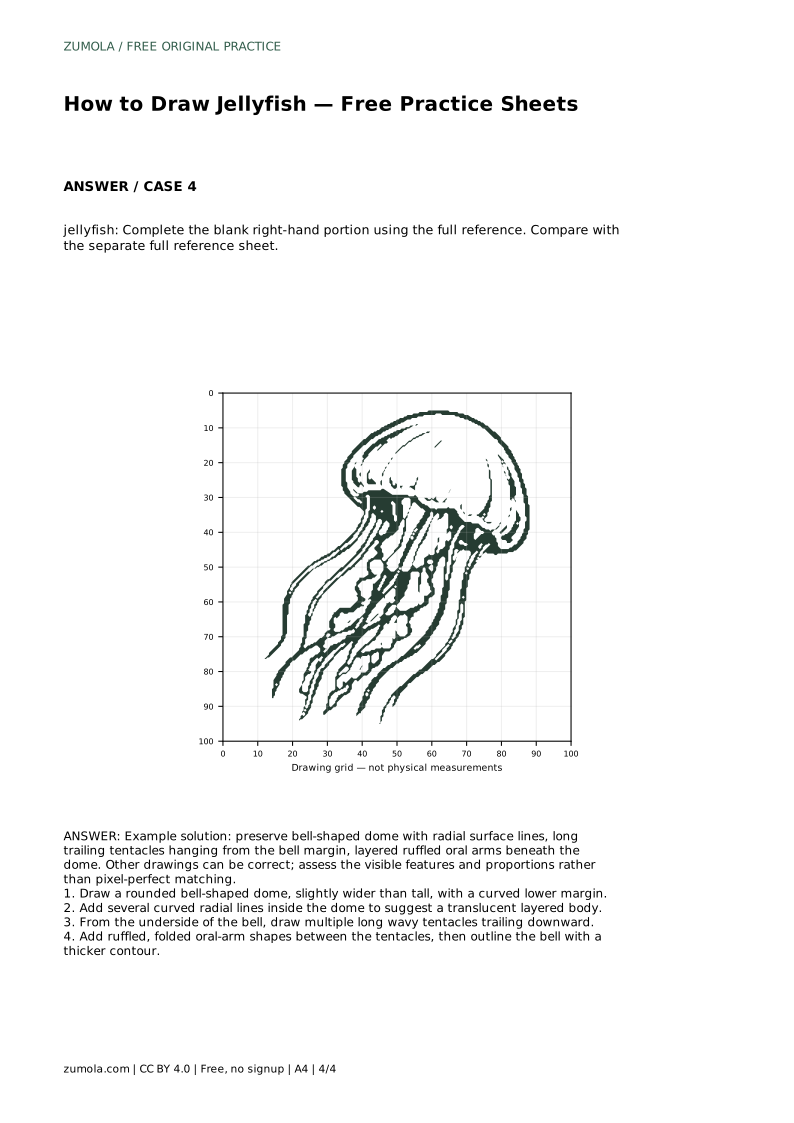
Reference diagrams
LETTER · Download PDF
A4 · Download PDF
Free original resources
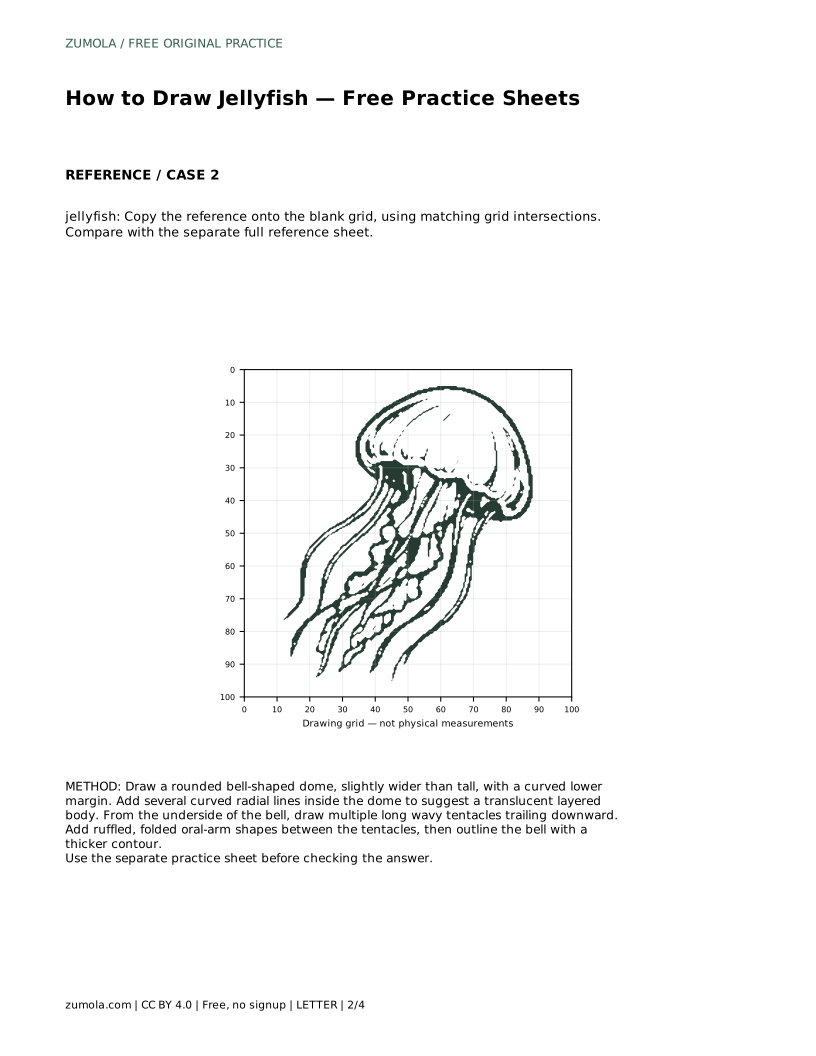
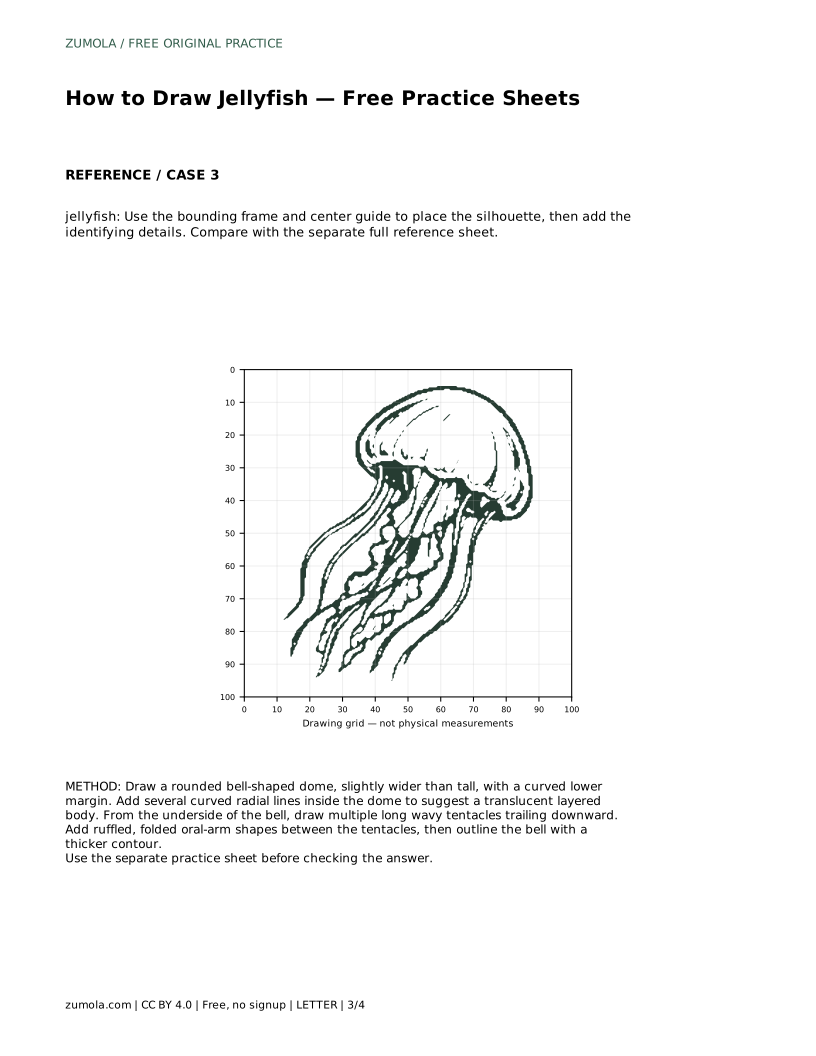
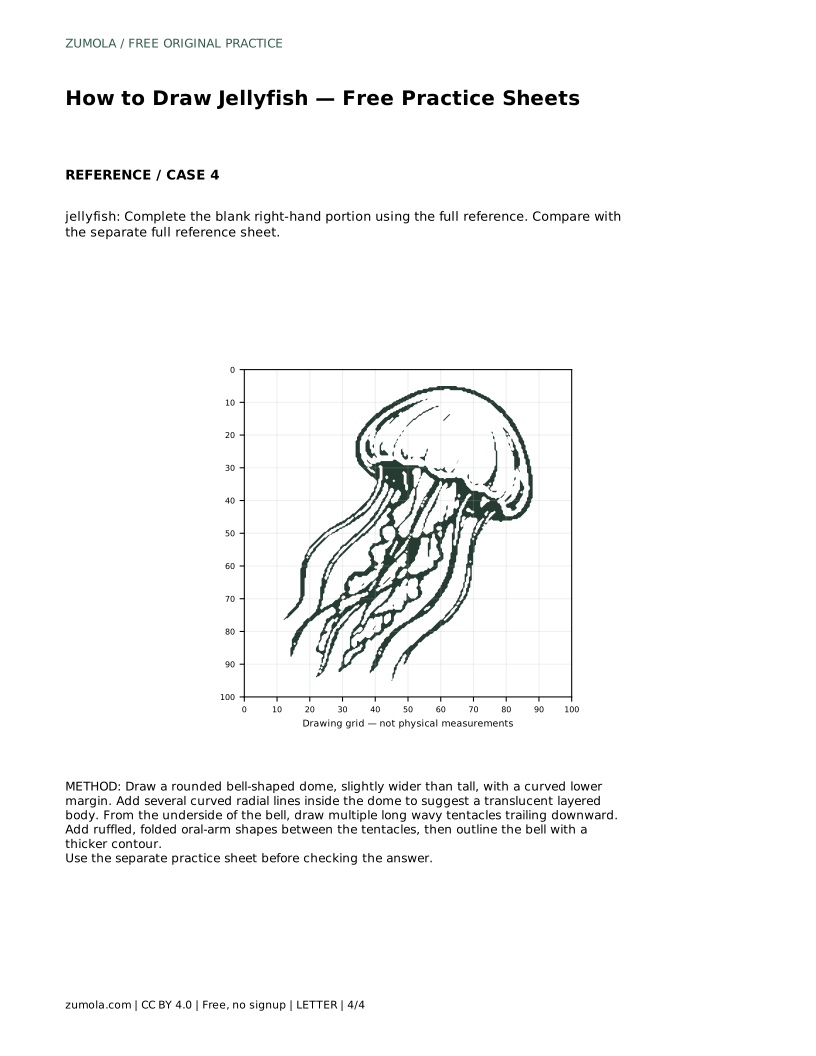
Learn to draw a jellyfish in pencil: build a bell-shaped dome, radial surface lines, trailing tentacles and ruffled oral arms, then check proportions with a rubric.
Four original cases, with reference diagrams, practice sheets and worked answers. Everything is free; no signup required.
LETTER · Download PDF
A4 · Download PDF
LETTER · Download PDF
A4 · Download PDF
LETTER · Download PDF
A4 · Download PDF
Use A4 or US Letter to match your printer. Use the stated values and conditions to solve each exercise; diagrams are not physical measuring rulers.
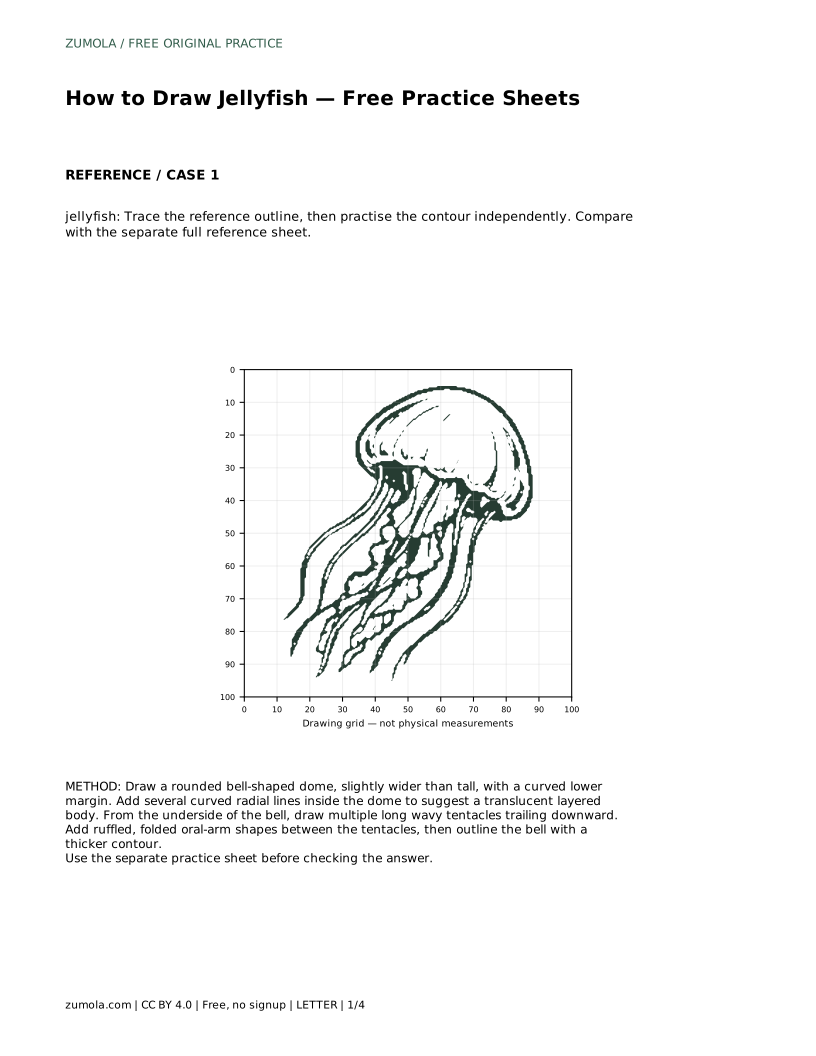
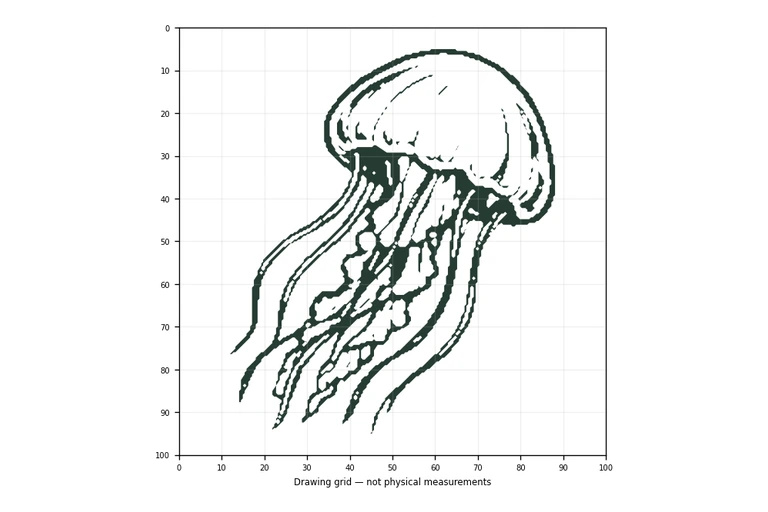
A jellyfish is a forgiving subject for pencil practice because its soft, rounded forms reward careful looking more than rigid straight lines. The goal is not a pixel-perfect copy but a drawing that keeps the identifying features: a bell-shaped dome slightly wider than tall, a curved lower margin, radial lines that suggest a translucent layered body, long wavy tentacles hanging from the bell margin, and ruffled oral arms beneath the dome. Work lightly at first, compare your drawing with the reference, then strengthen the contour once the proportions feel right.
Begin by placing the dome. Draw a rounded bell shape that is slightly wider than tall, then close it with a curved lower margin rather than a flat line. This curve matters: it separates the dome from everything hanging below and gives the jellyfish its soft, floating posture. Keep the pencil pressure light so you can adjust the width or height after comparing with the reference.
Once the outer shape sits well, add several curved radial lines inside the dome. These lines run from near the top toward the lower margin and suggest the layered, translucent body. Space them unevenly and let them curve gently; evenly spaced straight spokes make the dome look like a wheel instead of a living form.
From the underside of the bell margin, draw multiple long wavy tentacles trailing downward. Vary their length and the amount of curve so the drawing reads as drifting rather than stiff. Tentacles should begin at the margin, not float detached below it.
Between the tentacles, add ruffled, folded oral-arm shapes beneath the dome. These are broader and more ribbon-like than the tentacles, with folds that overlap. Keep them clustered near the center so the silhouette stays readable. Finally, outline the bell with a thicker contour to separate the main body from the finer hanging forms.
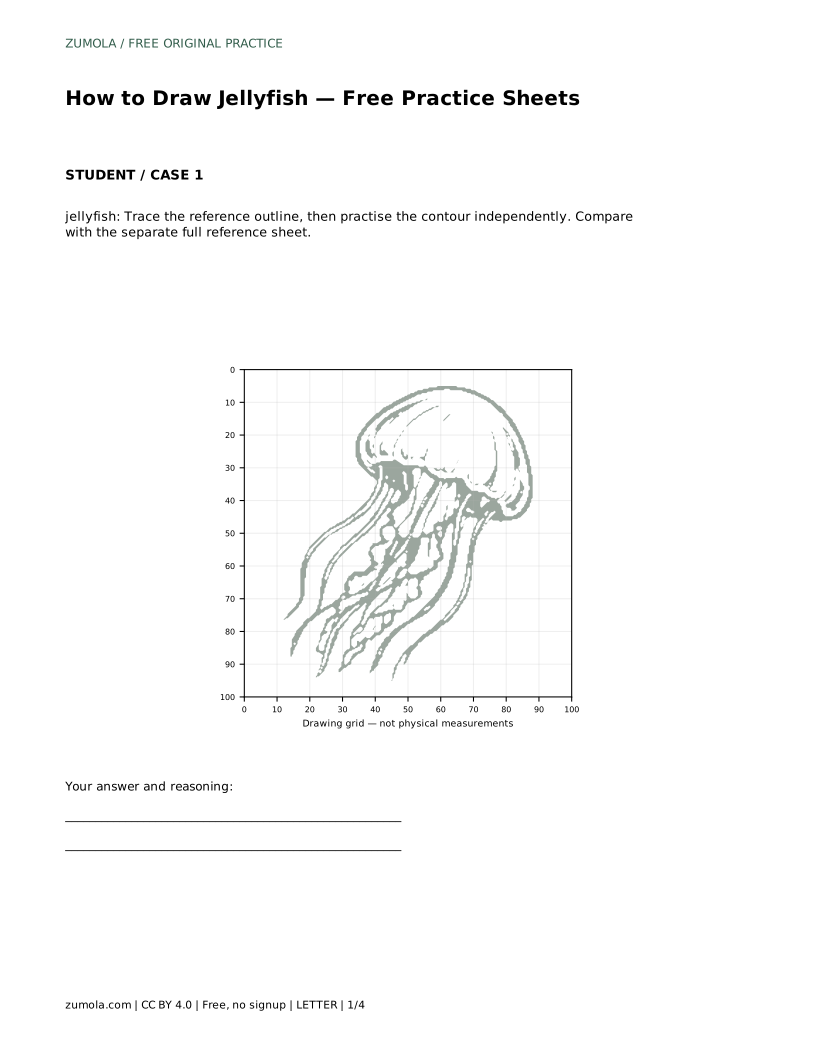
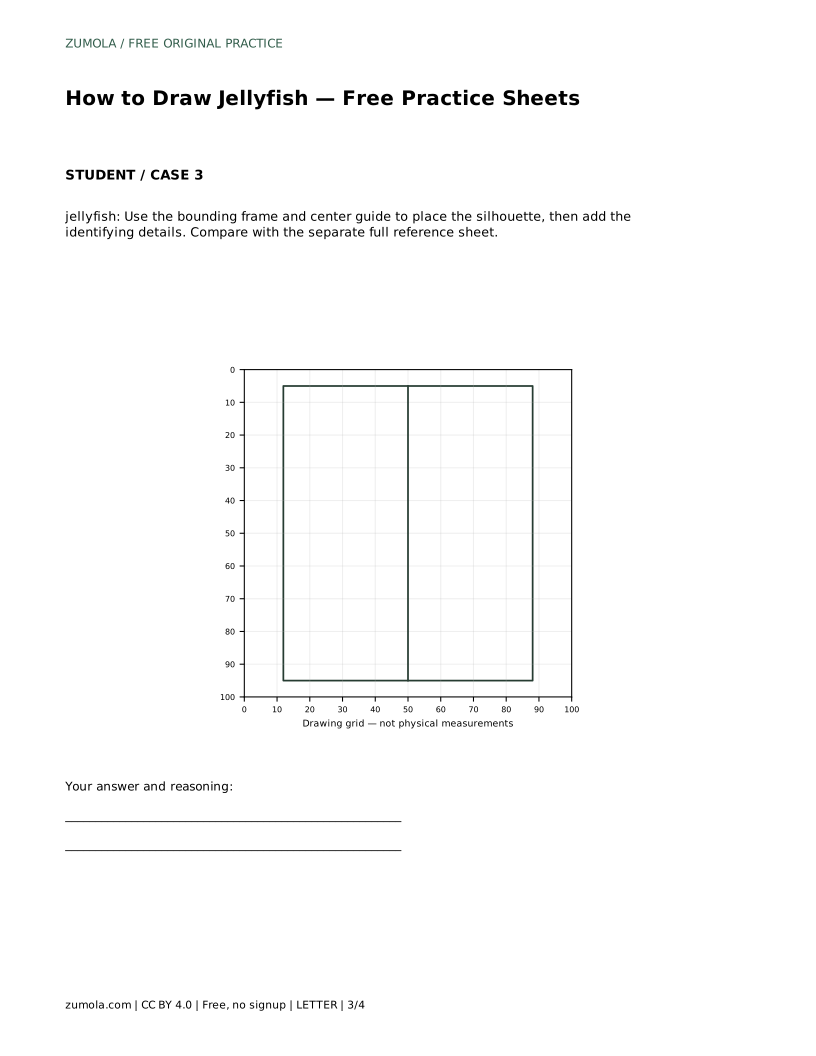
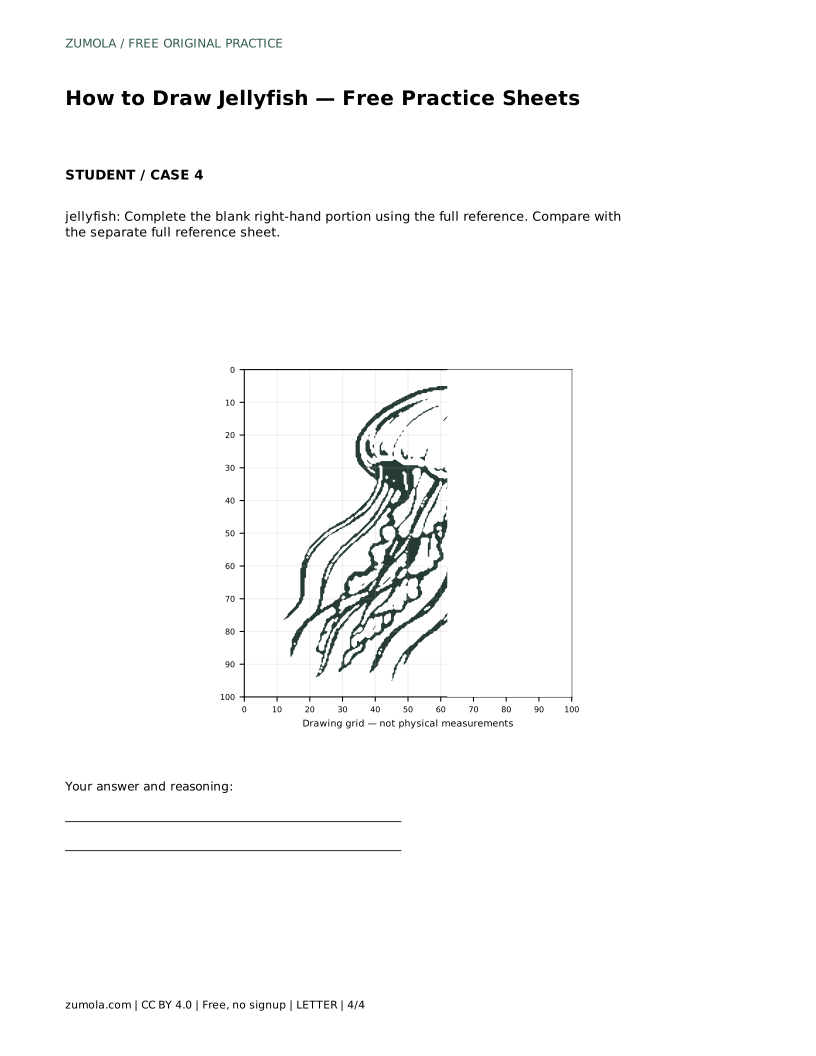
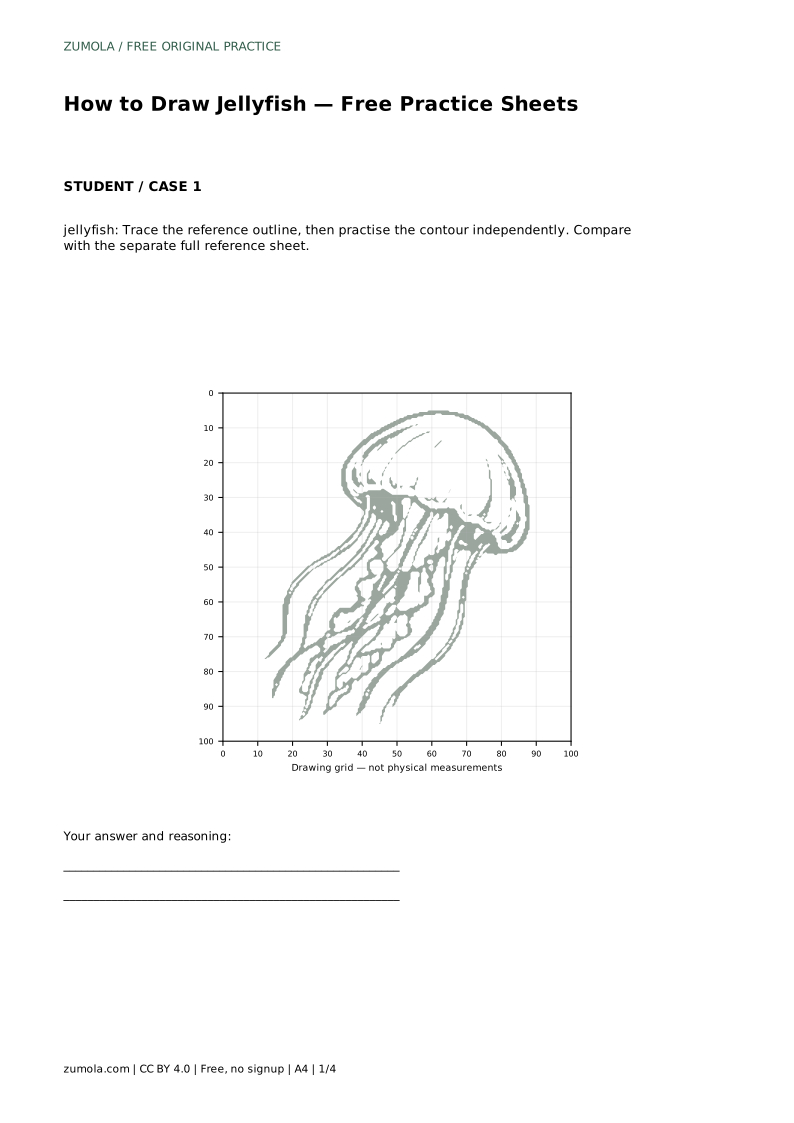
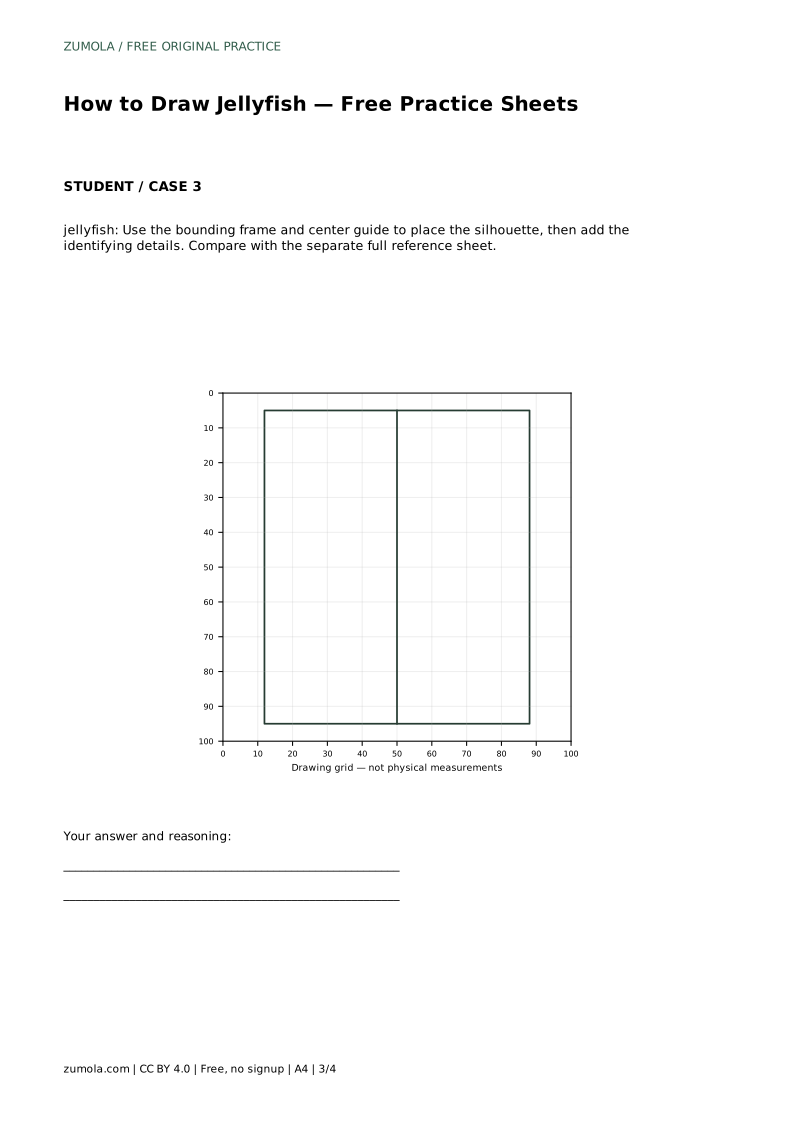
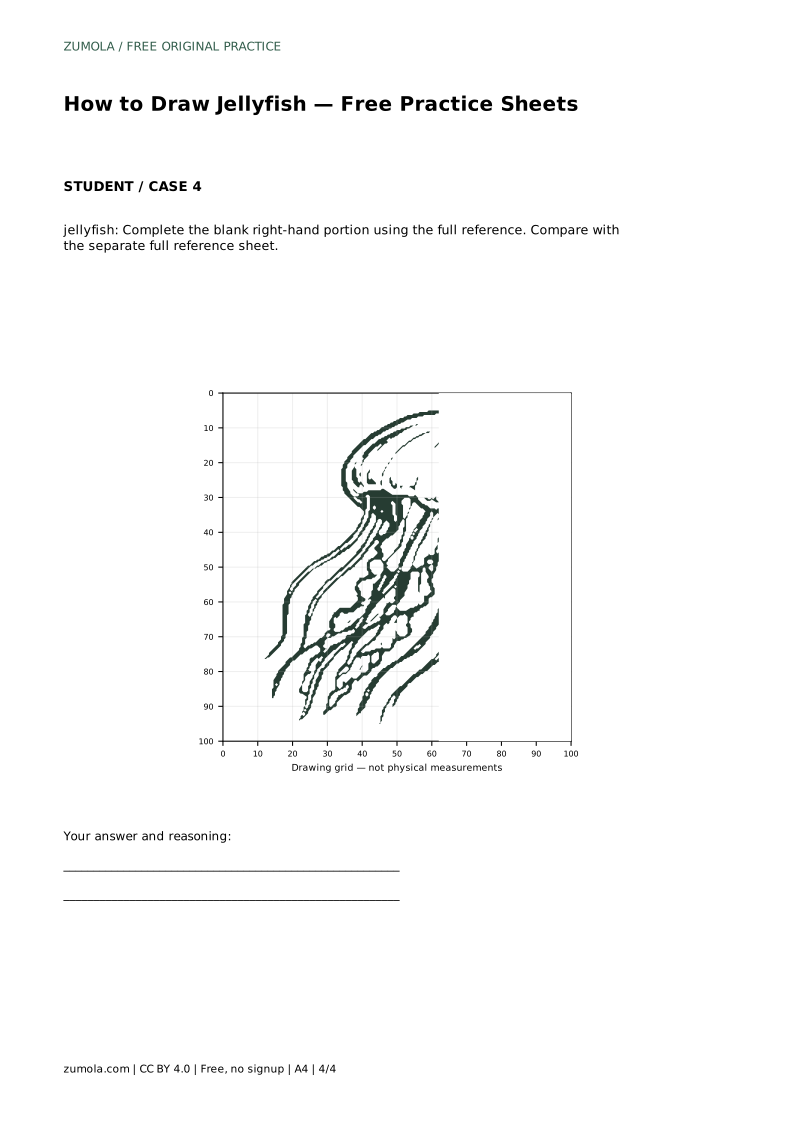
The sheets offer different levels of support. Tracing the reference outline builds familiarity with the contour before you practise it independently. Copying onto a blank grid uses matching grid intersections to place the dome and hanging forms. A bounding frame with a center guide helps you position the silhouette before adding details. Completing a blank right-hand portion tests whether you can carry the full reference across.
In every format, compare your finished drawing with the separate full reference sheet. Ask whether the dome is wider than tall, whether the lower margin curves, whether radial lines sit inside the dome, and whether tentacles and oral arms hang from the correct place. Different drawings can all be correct; judge the visible features and proportions rather than exact matching.
After the structure is sound, adjust line weight. A firmer line along the bell contour and lighter lines for radial marks and tentacles create depth without shading. Erase construction marks gently and redraw any tentacle that looks too straight or too uniform.
Keep the drawing readable at a glance: the dome, the radial lines, the tentacles and the oral arms should each be identifiable. If one feature disappears, simplify nearby lines rather than adding more.
Use the rubric below to review your work. It focuses on observable features rather than exact replication, because jellyfish drawings have many valid outcomes.
Most problems come from rushing the dome or attaching hanging forms in the wrong place. Correcting those two areas improves the drawing quickly.
jellyfish: Trace the reference outline, then practise the contour independently. Compare with the separate full reference sheet.
Example solution: preserve bell-shaped dome with radial surface lines, long trailing tentacles hanging from the bell margin, layered ruffled oral arms beneath the dome. Other drawings can be correct; assess the visible features and proportions rather than pixel-perfect matching. Draw a rounded bell-shaped dome, slightly wider than tall, with a curved lower margin. Add several curved radial lines inside the dome to suggest a translucent layered body. From the underside of the bell, draw multiple long wavy tentacles trailing downward. Add ruffled, folded oral-arm shapes between the tentacles, then outline the bell with a thicker contour.
No. Several drawings can be correct. Assess whether the bell dome, radial lines, tentacles and oral arms are present and proportioned sensibly.
Drawing tentacles first establishes the hanging length; adding ruffled oral arms between them afterward keeps the center from becoming crowded.
Use a curved lower margin and gently curved radial lines inside the dome rather than straight spokes.
All drawing practice · Free coordinate paper
Original resources · CC BY 4.0 · Free for personal and classroom use with attribution.