Reference diagrams
LETTER · Download PDF
A4 · Download PDF
Free original resources
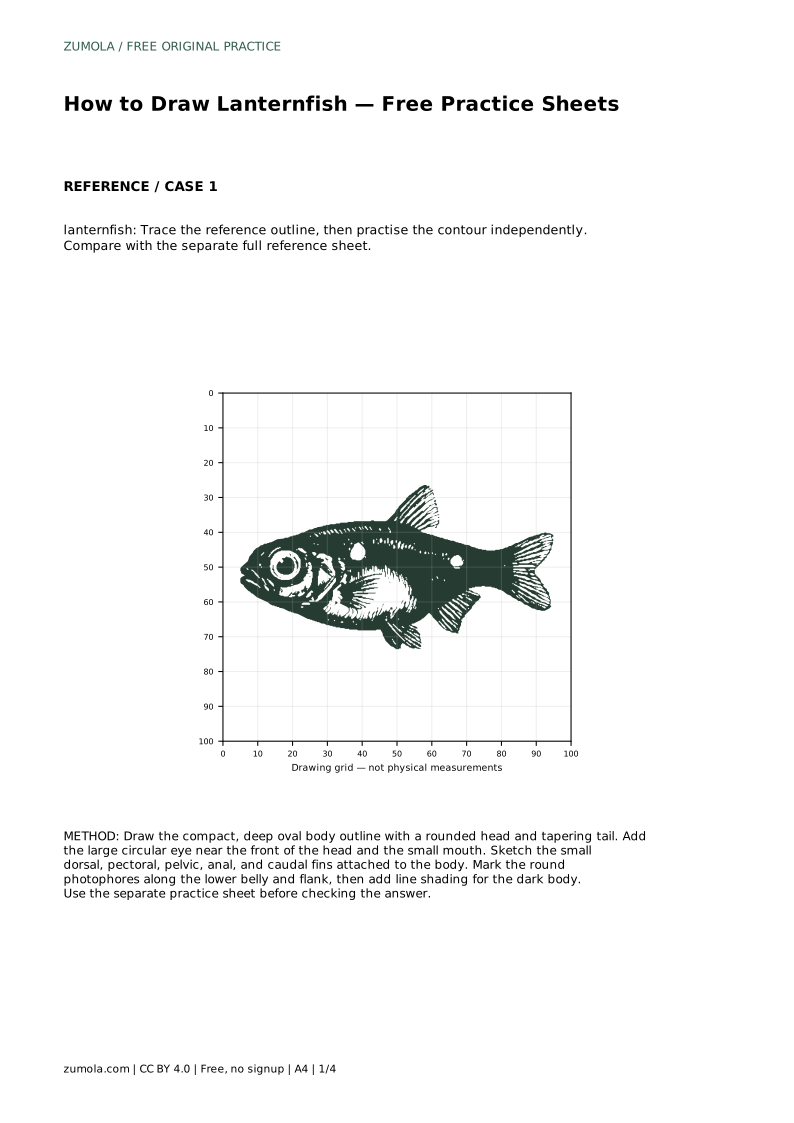
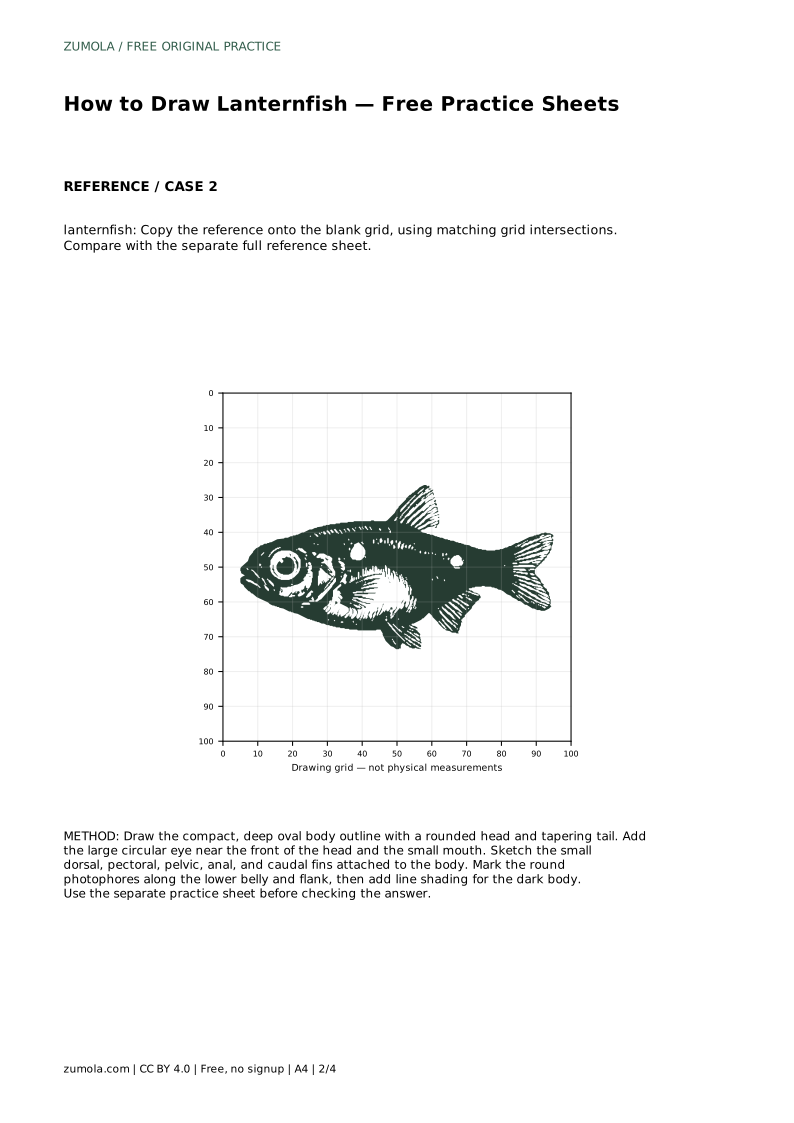
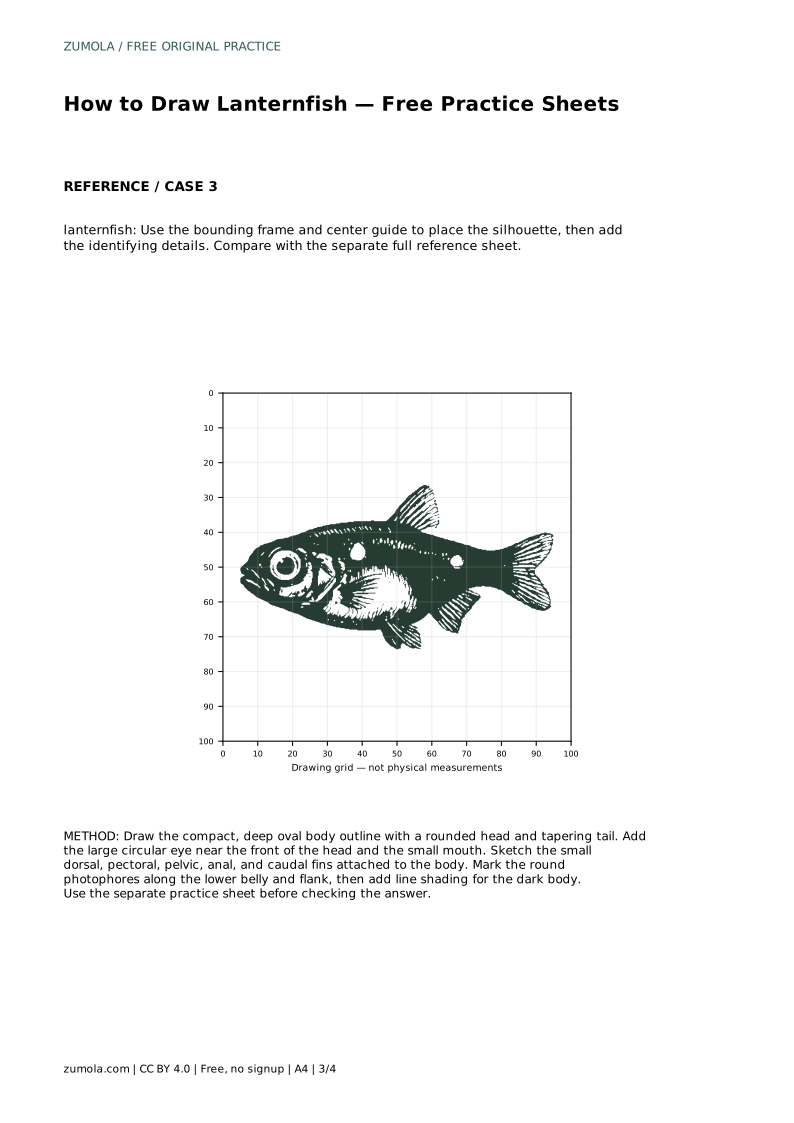
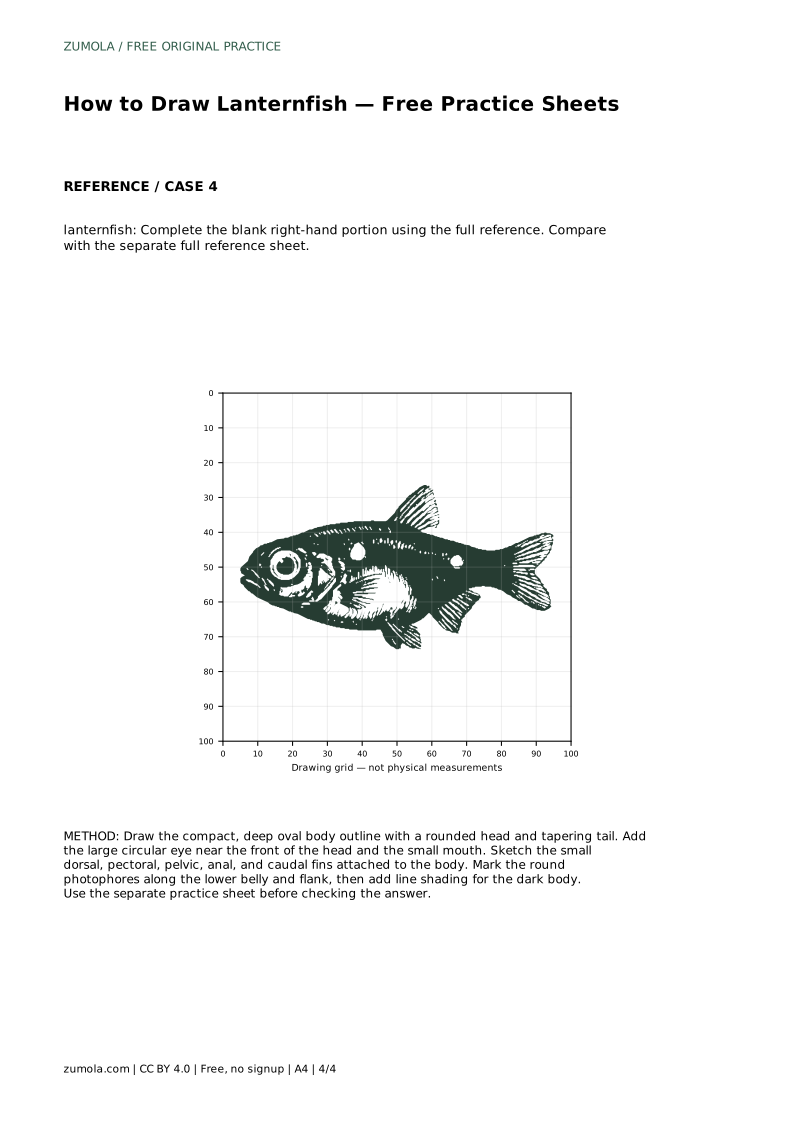
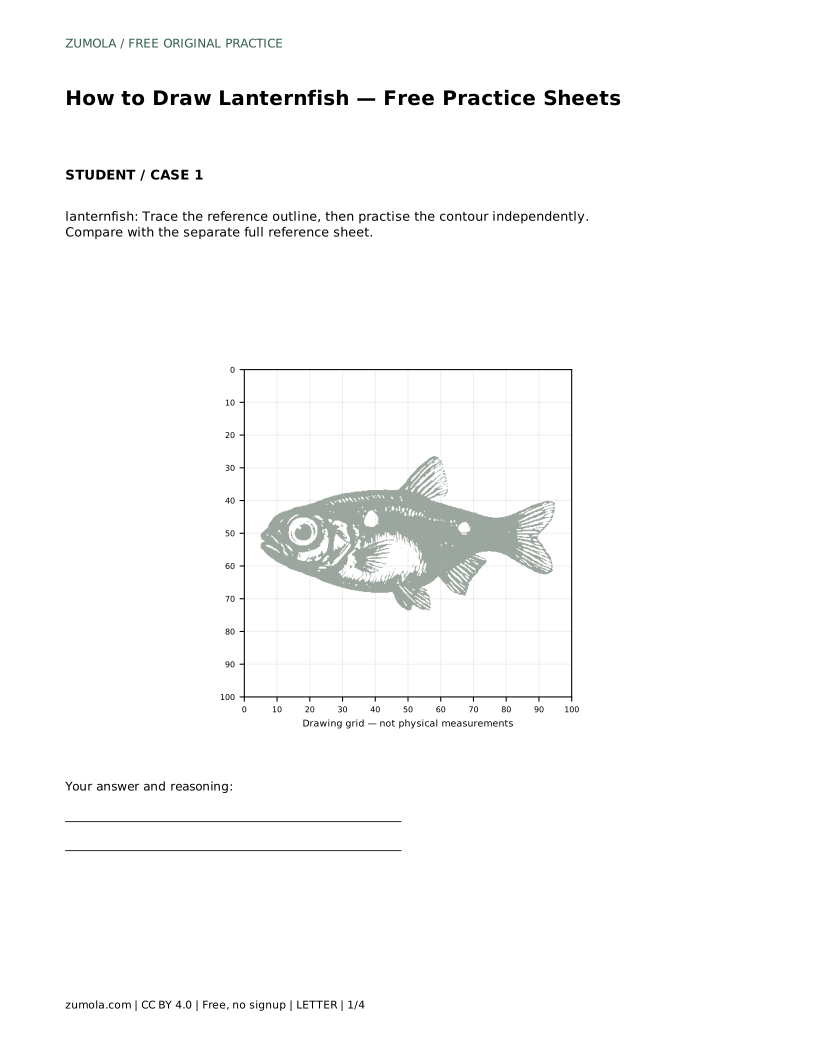
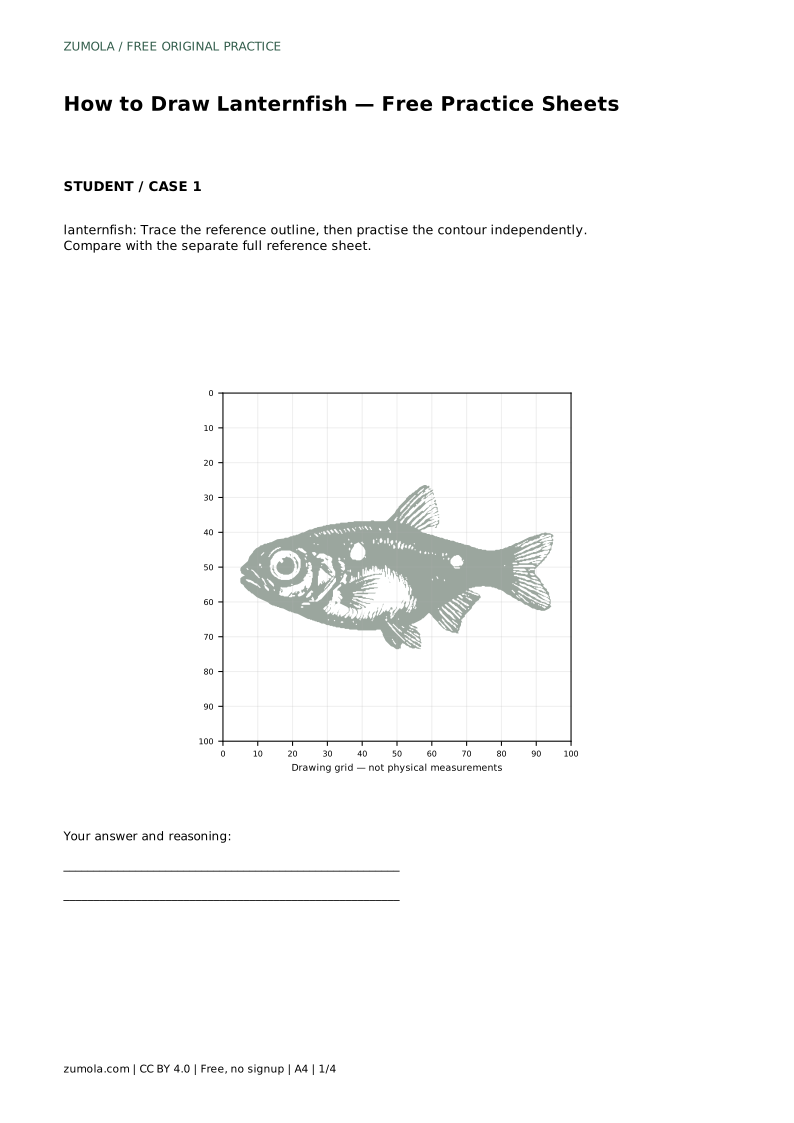
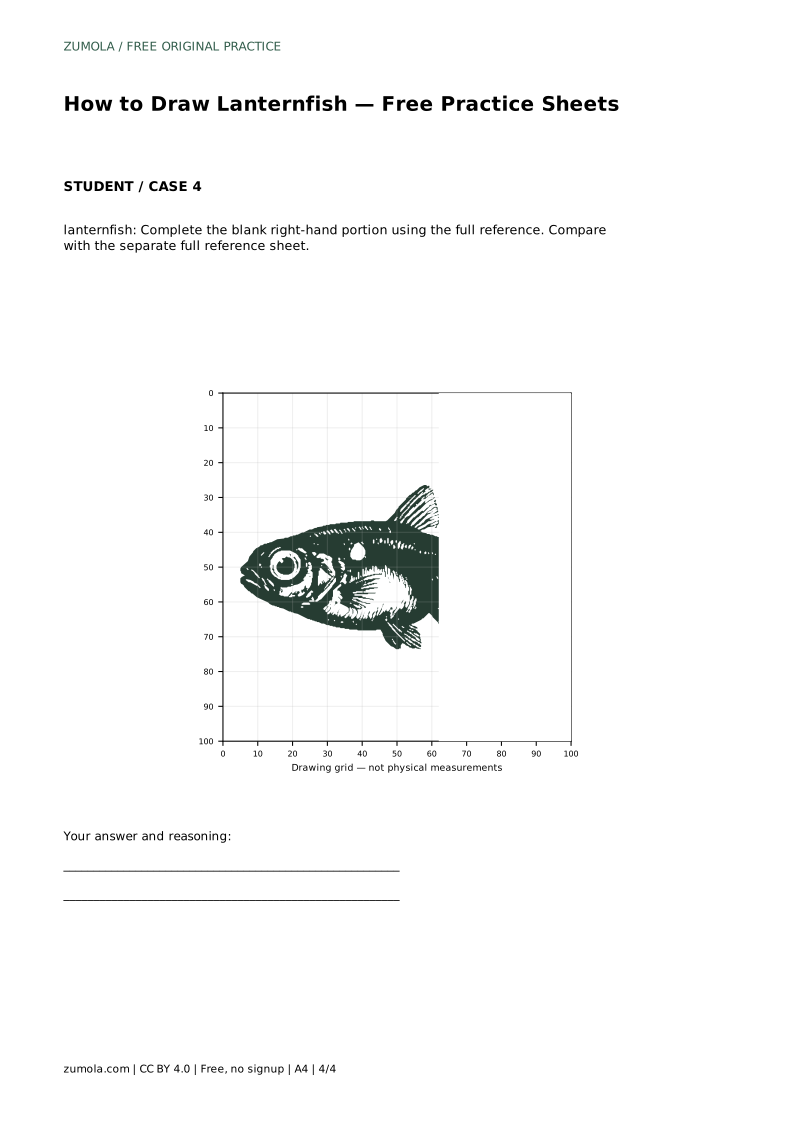
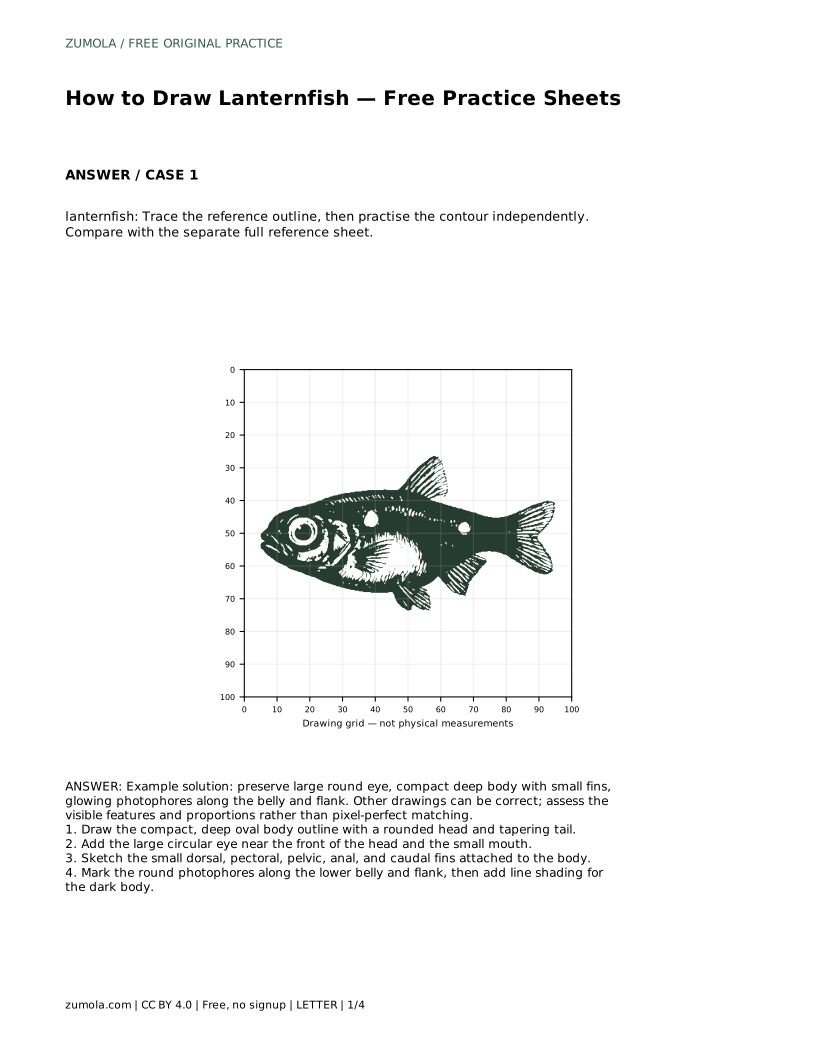
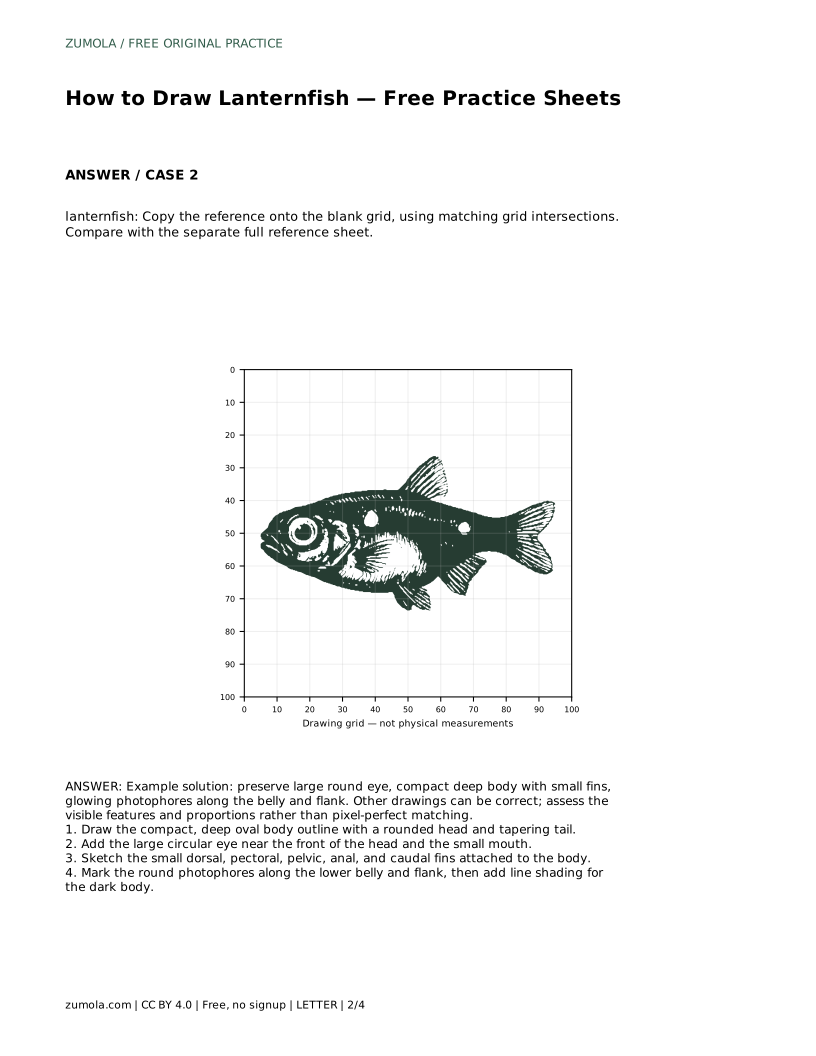
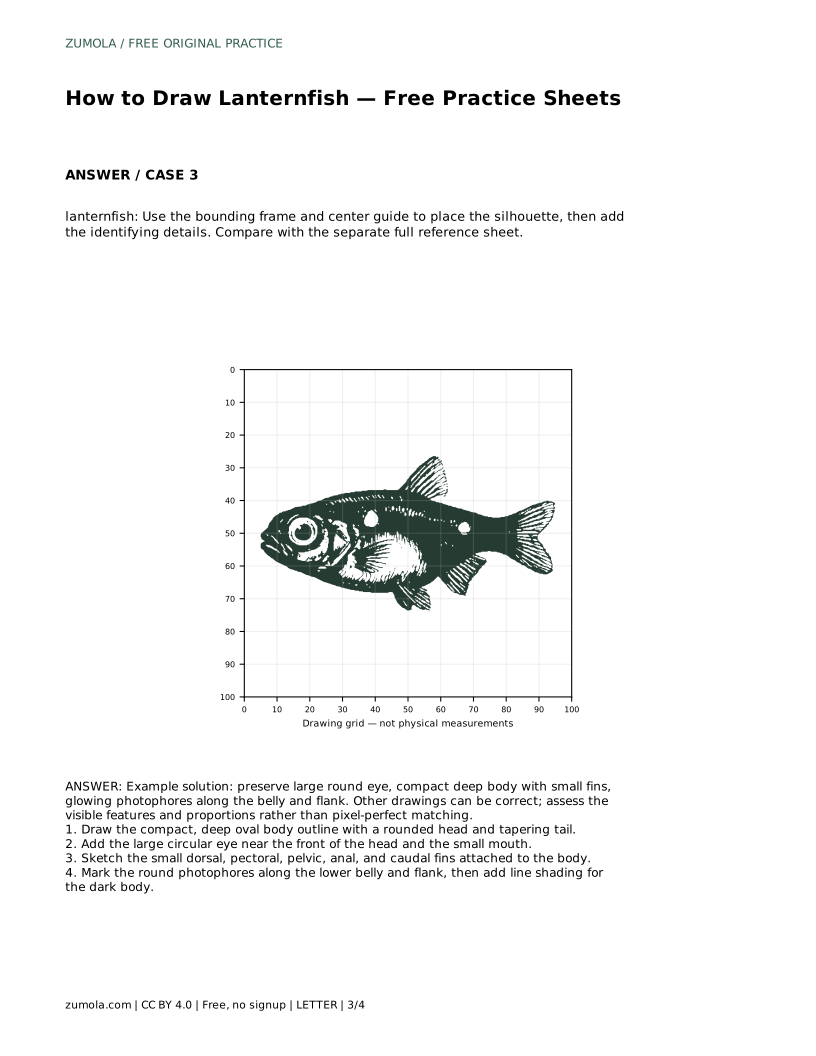
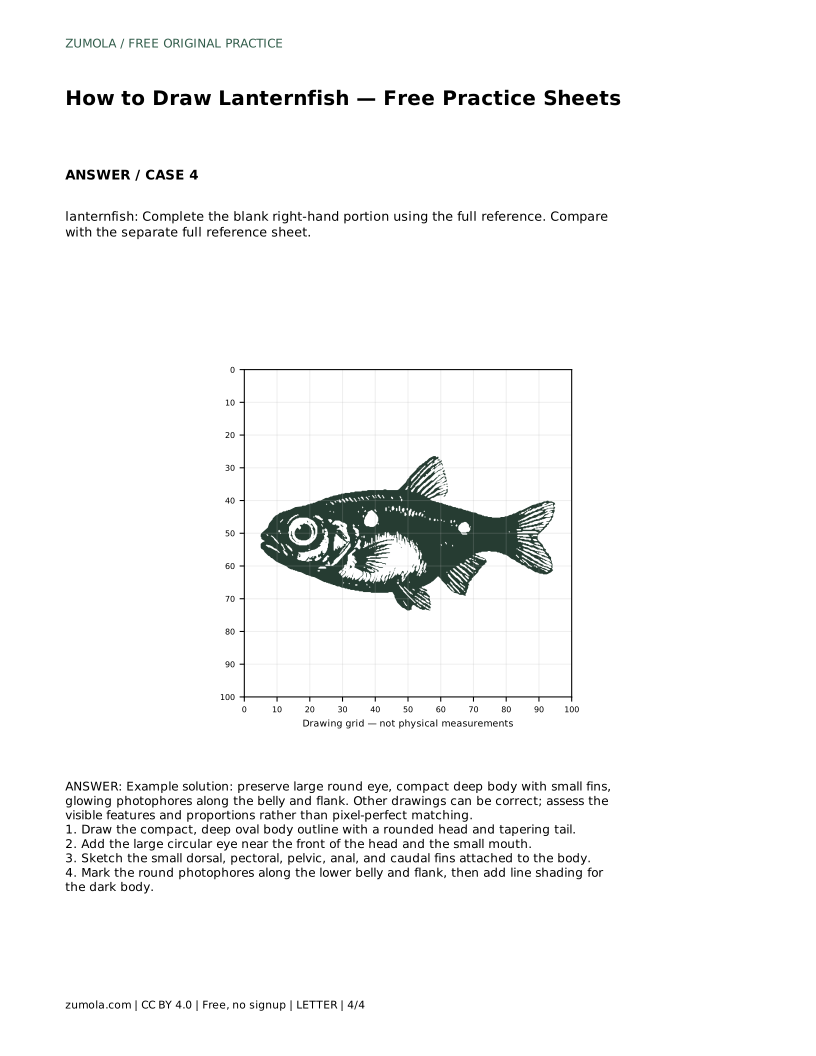
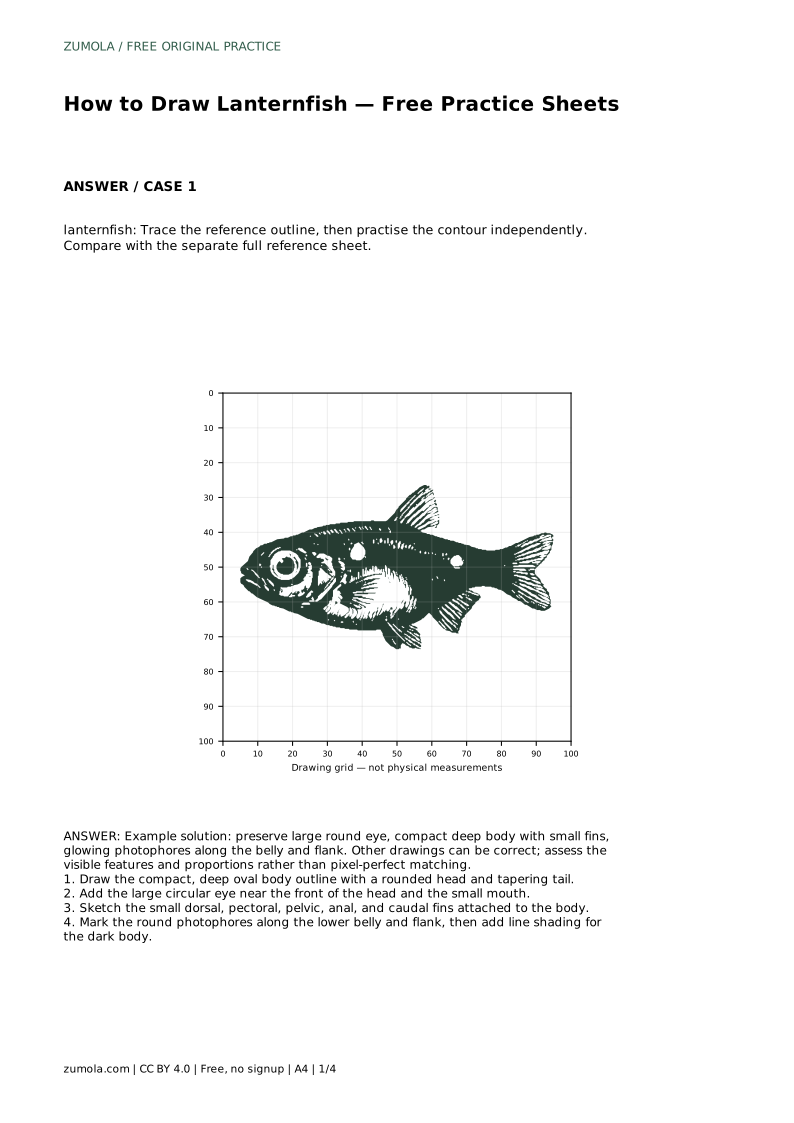
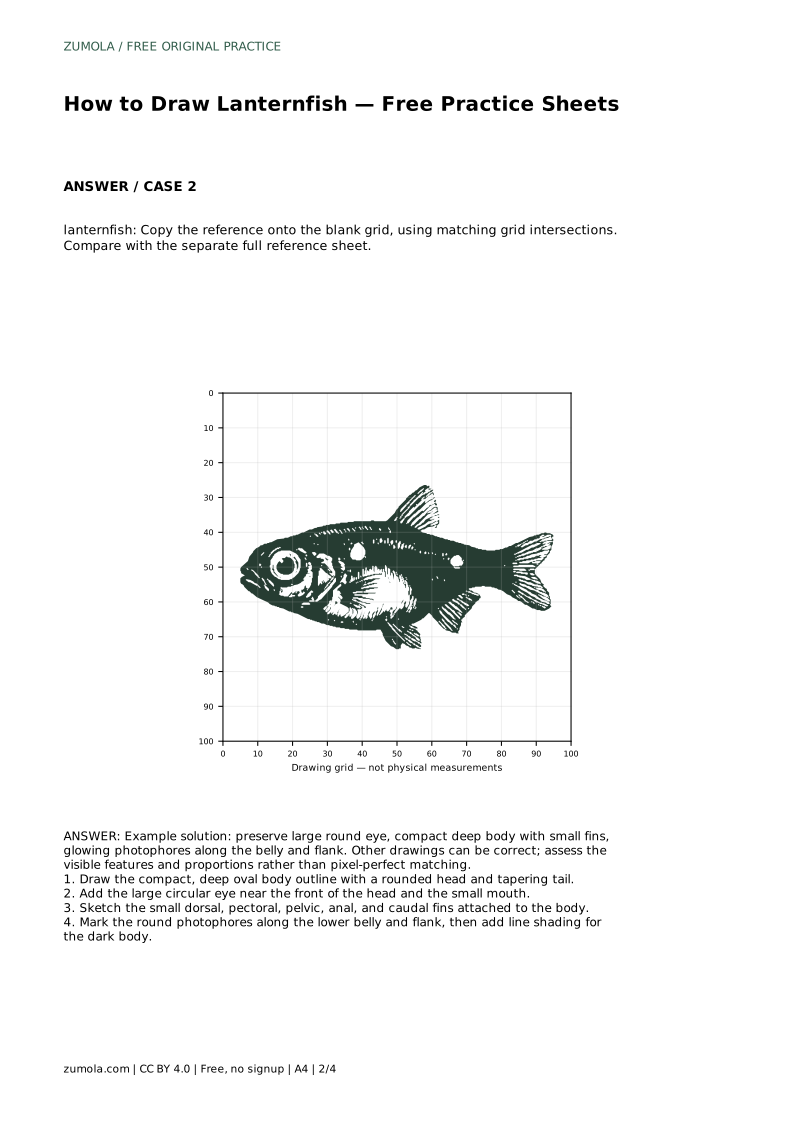
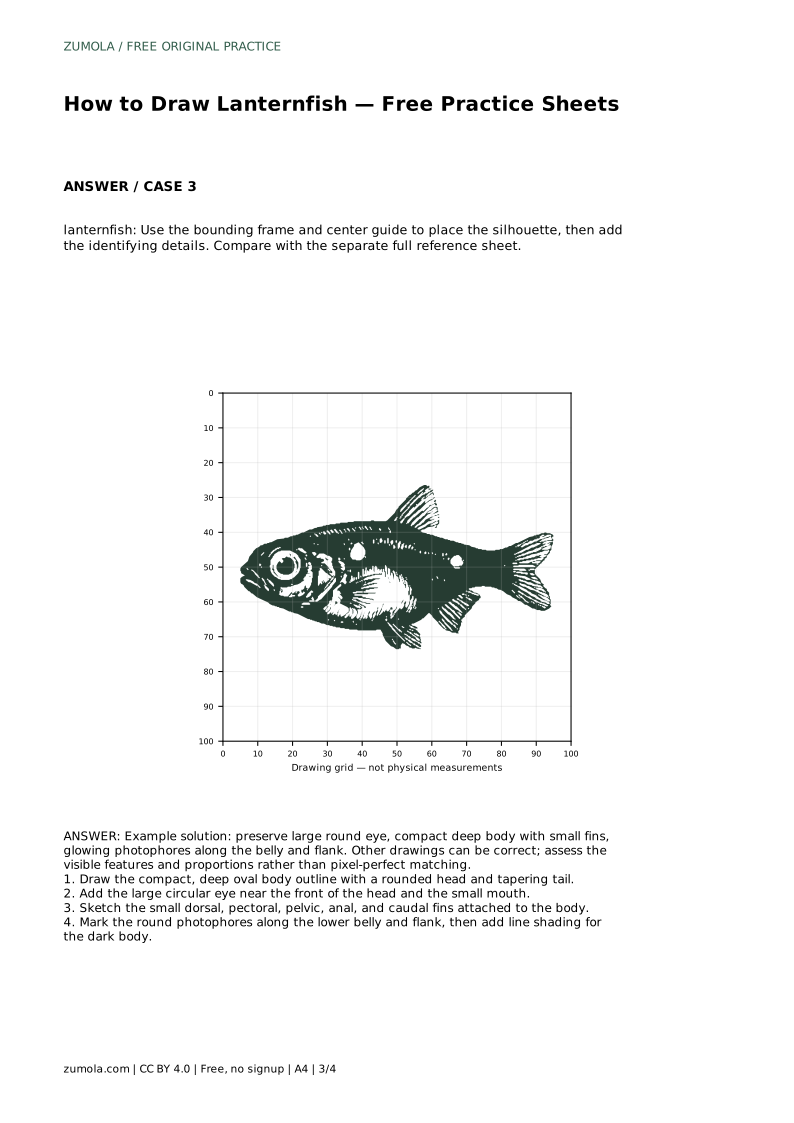
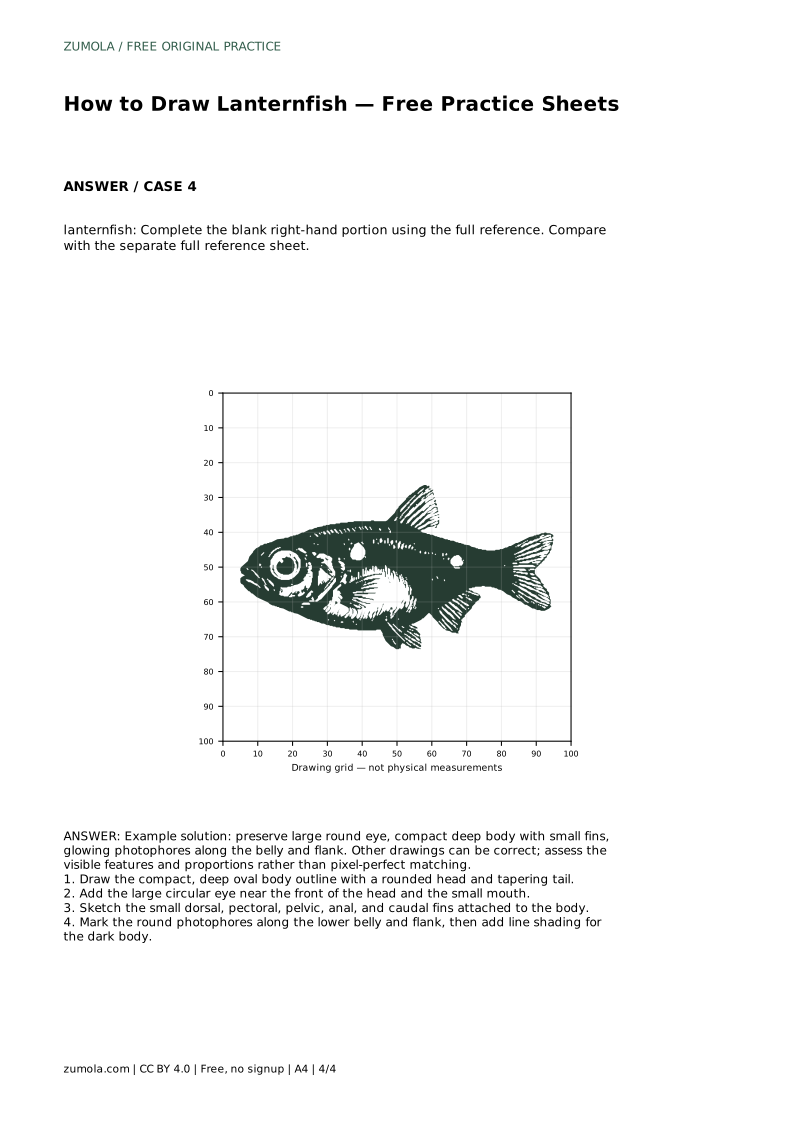
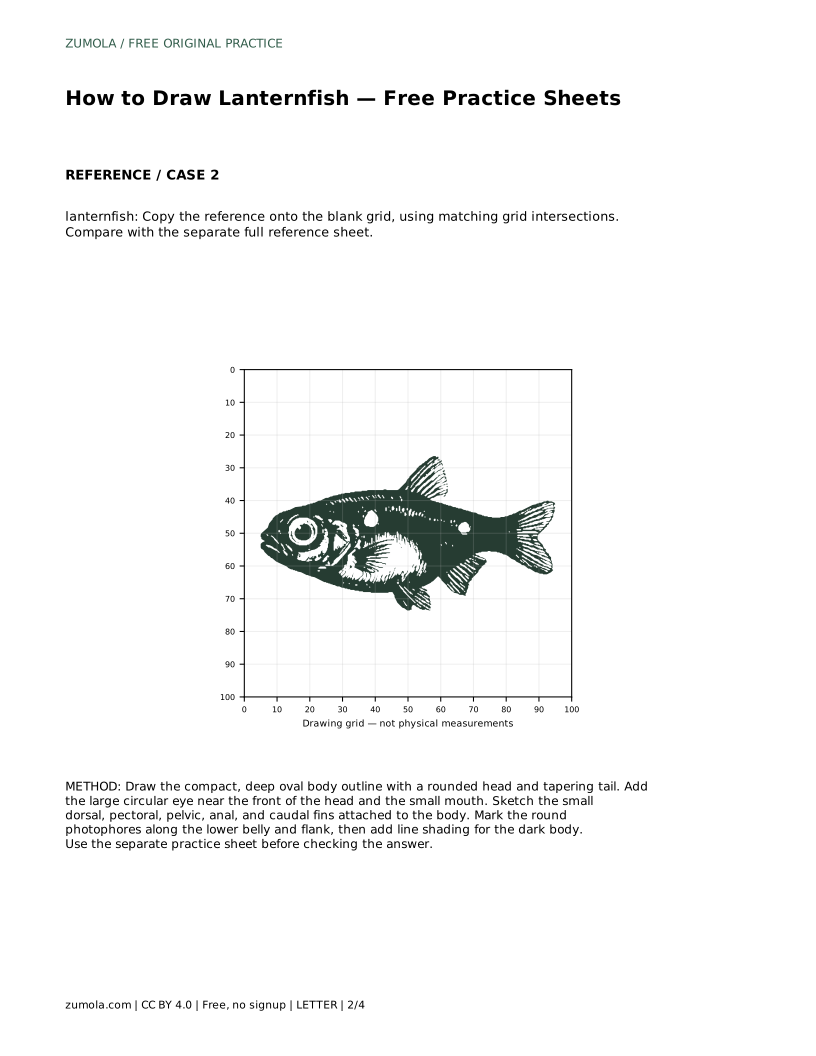
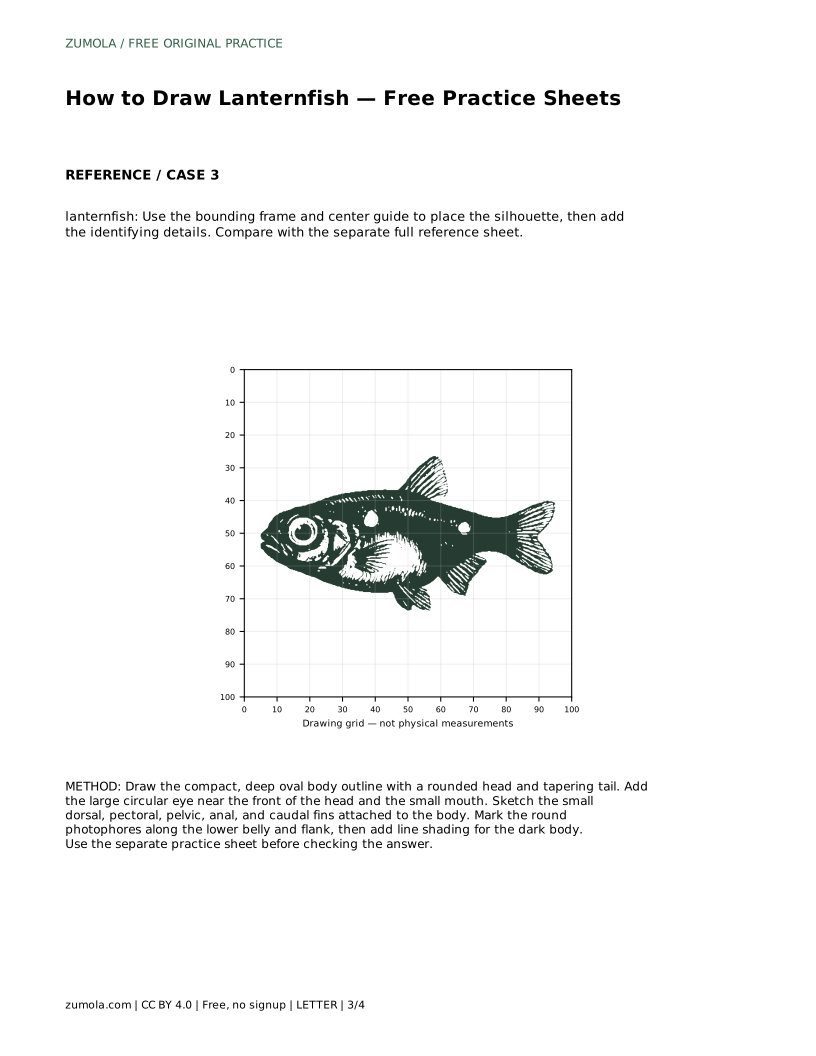
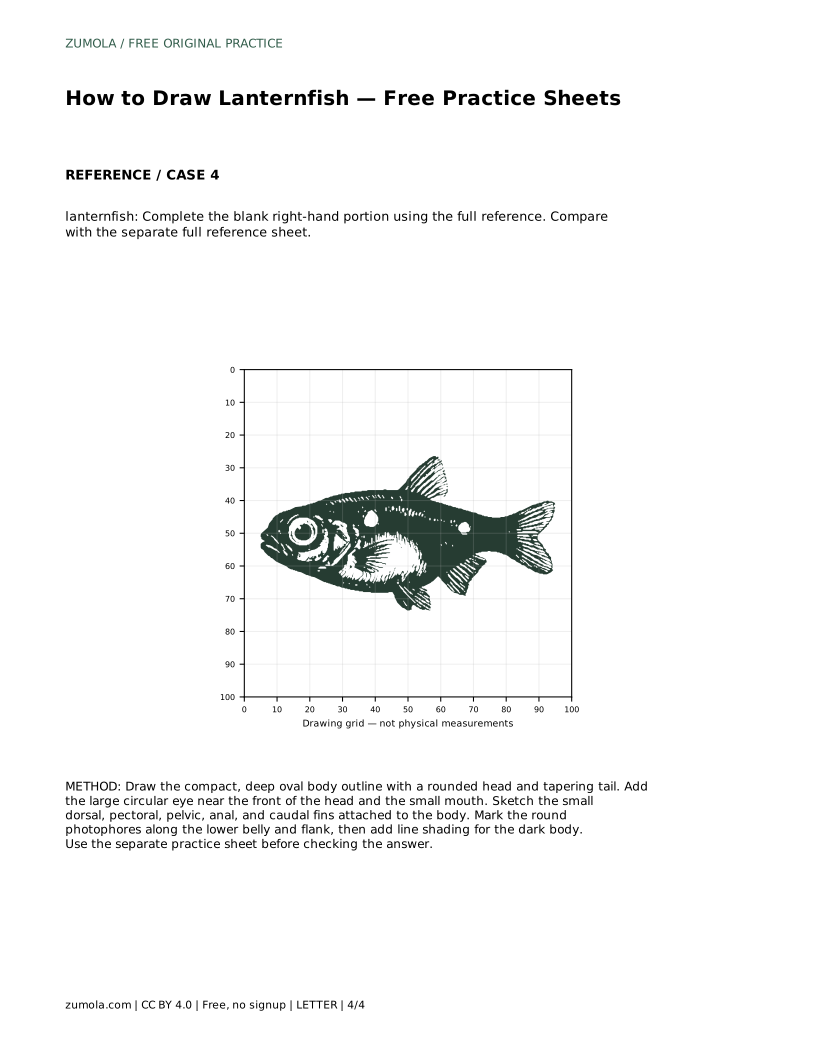
Learn to draw a lanternfish by tracing its outline, then working independently. Focus on the round eye, deep body, small fins, and belly photophores.
Four original cases, with reference diagrams, practice sheets and worked answers. Everything is free; no signup required.
LETTER · Download PDF
A4 · Download PDF
LETTER · Download PDF
A4 · Download PDF
LETTER · Download PDF
A4 · Download PDF
Use A4 or US Letter to match your printer. Use the stated values and conditions to solve each exercise; diagrams are not physical measuring rulers.
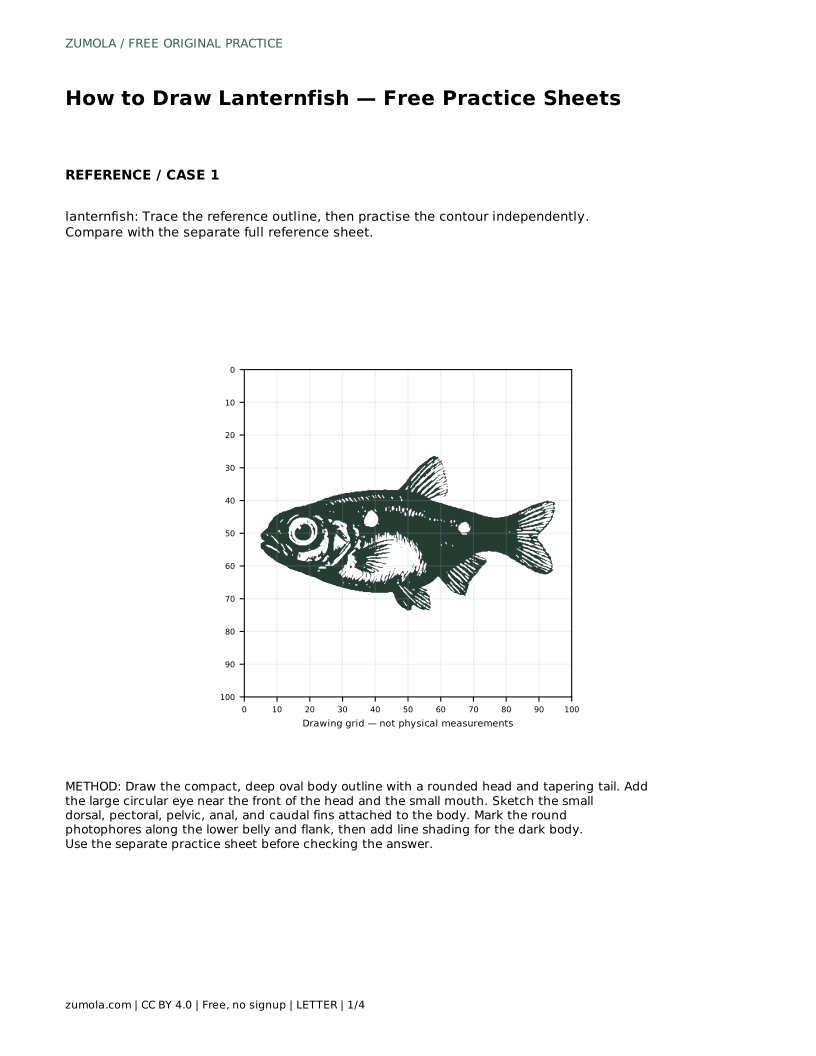
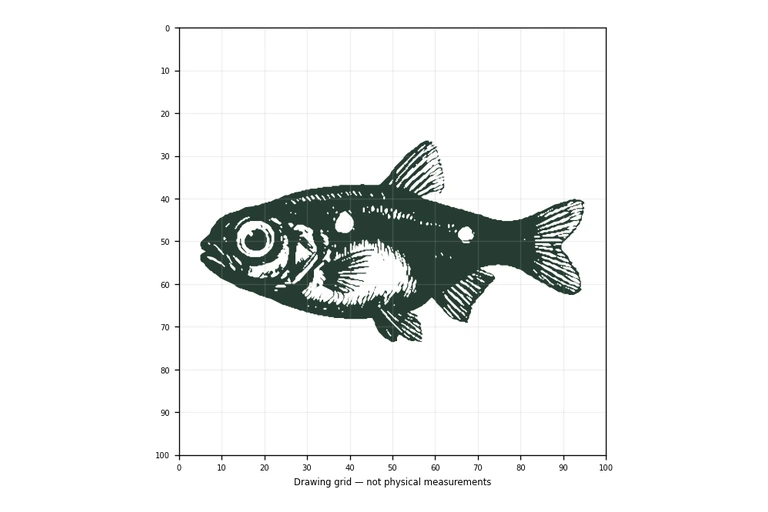
Lanternfish are small deep-sea fish with compact, deep bodies, large round eyes, and rows of light-producing spots called photophores. This page shows you how to capture those identifying features in a drawing, first by tracing a reference outline and then by practising the contour on your own. The goal is not a pixel-perfect copy but a clear, recognisable fish with correct proportions and visible features.
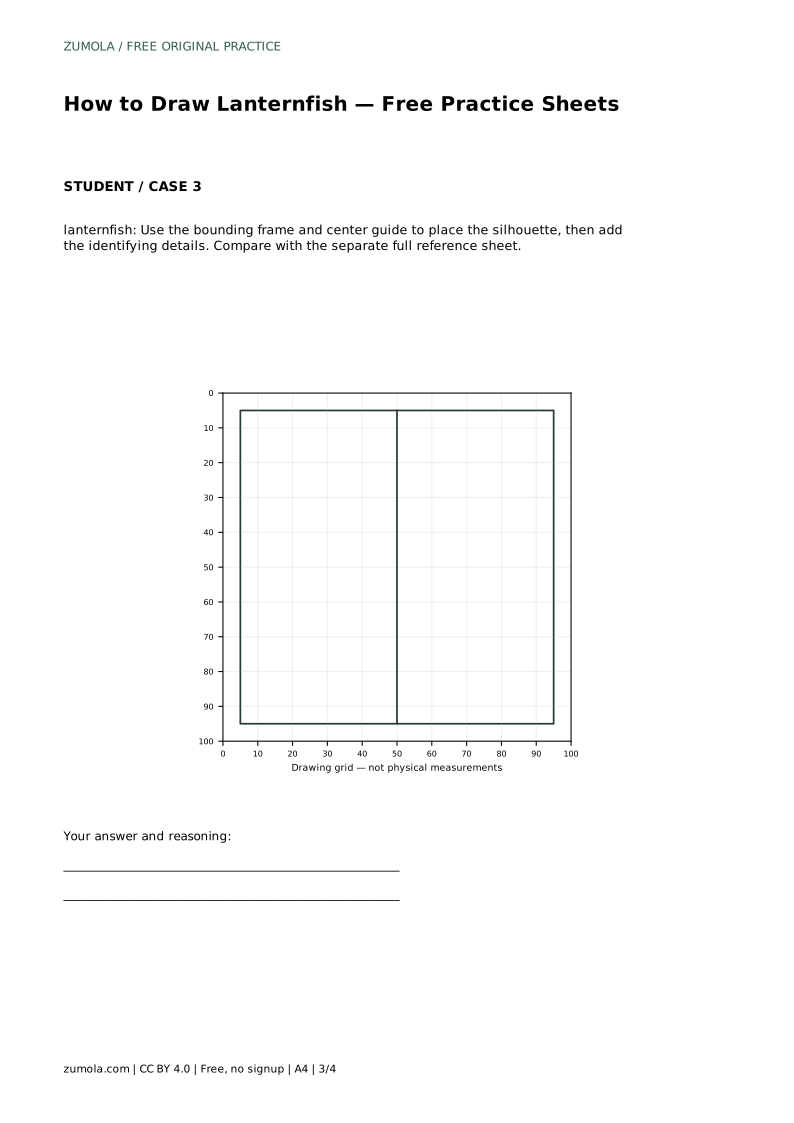
A lanternfish body is deeper than it is long, roughly oval, with a rounded head and a tail that tapers toward the caudal fin. Begin by drawing that compact oval, then narrow it gently at the tail end. Keep the head full and rounded rather than pointed. This deep, short silhouette is the first clue that separates a lanternfish from a slender fish such as a herring.
Place the large circular eye near the front of the head, leaving a small gap of head in front of it. Add a small mouth at the very front. The eye should be noticeably large relative to the head, because lanternfish are visual hunters in dim water.
Lanternfish have several small fins rather than one large showy fin. Sketch a small dorsal fin on the upper back, a pectoral fin on each side behind the head, a pelvic fin on the lower body, an anal fin near the tail underside, and a caudal fin at the tail end. Keep each fin modest in size so the body stays the dominant shape.
Attach fins to the body outline rather than floating them nearby. A fin should look like it grows from the body, with its base touching the contour. If a fin looks too large, shrink it; oversized fins change the fish's proportions and make it read as a different species.
The photophores are the lanternfish's signature feature. Mark small round dots along the lower belly and along the flank, keeping them evenly spaced and close to the body edge. These are the light organs, so treat them as distinct circles rather than smudges. A row along the belly and a row along the flank is enough to communicate the feature.
Finish with line shading to suggest the dark body. Use parallel strokes or gentle cross-hatching over the body, leaving the eye and photophores clear. Shading should follow the body's curve so the oval still reads as rounded.
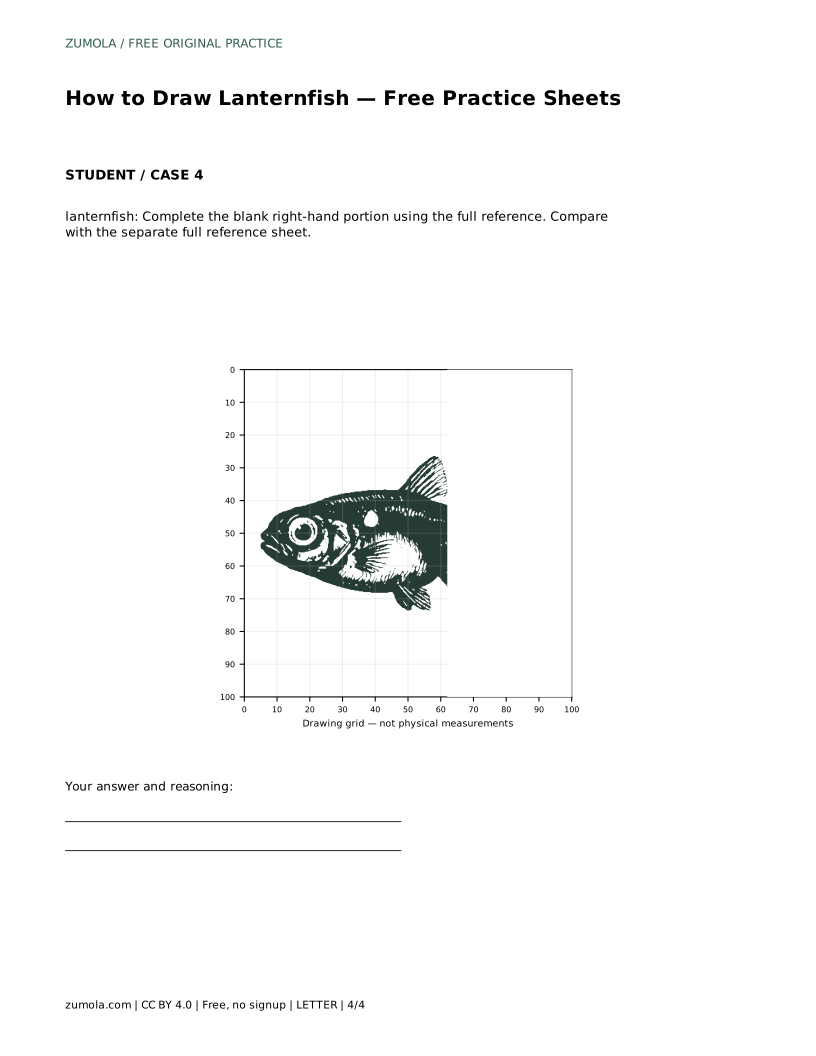
Trace the reference outline first to learn where each feature sits. Then set the traced sheet aside and draw the contour on a blank sheet, comparing your result with the separate full reference sheet. This two-step approach builds memory of the proportions rather than relying on the outline.
When you compare, check the large round eye, the compact deep body, the small fins, and the photophores along the belly and flank. Different drawings can be correct; assess the visible features and proportions rather than pixel-perfect matching.
Most errors come from stretching the body, enlarging the fins, or losing the photophores. Correcting these keeps the drawing recognisable as a lanternfish.
These answers address the most common points about drawing this fish.
lanternfish: Trace the reference outline, then practise the contour independently. Compare with the separate full reference sheet.
Example solution: preserve large round eye, compact deep body with small fins, glowing photophores along the belly and flank. Other drawings can be correct; assess the visible features and proportions rather than pixel-perfect matching. Draw the compact, deep oval body outline with a rounded head and tapering tail. Add the large circular eye near the front of the head and the small mouth. Sketch the small dorsal, pectoral, pelvic, anal, and caudal fins attached to the body. Mark the round photophores along the lower belly and flank, then add line shading for the dark body.
No. Other drawings can be correct. Check the large round eye, compact deep body, small fins, and photophores along the belly and flank rather than pixel-perfect matching.
Place small round dots along the lower belly and along the flank, close to the body edge and evenly spaced.
Add the eye, fins, and photophores first, then shade the dark body last so those features stay clear.
All drawing practice · Free coordinate paper
Original resources · CC BY 4.0 · Free for personal and classroom use with attribution.