Reference diagrams
LETTER · Download PDF
A4 · Download PDF
Free original resources
Learn to draw a meerkat in an upright pose using tracing, grid, frame, and completion sheets. Build the silhouette first, then add the snout, eye patches, ears, and tapered tail.
Four original cases, with reference diagrams, practice sheets and worked answers. Everything is free; no signup required.
LETTER · Download PDF
A4 · Download PDF
LETTER · Download PDF
A4 · Download PDF
LETTER · Download PDF
A4 · Download PDF
Use A4 or US Letter to match your printer. Use the stated values and conditions to solve each exercise; diagrams are not physical measuring rulers.
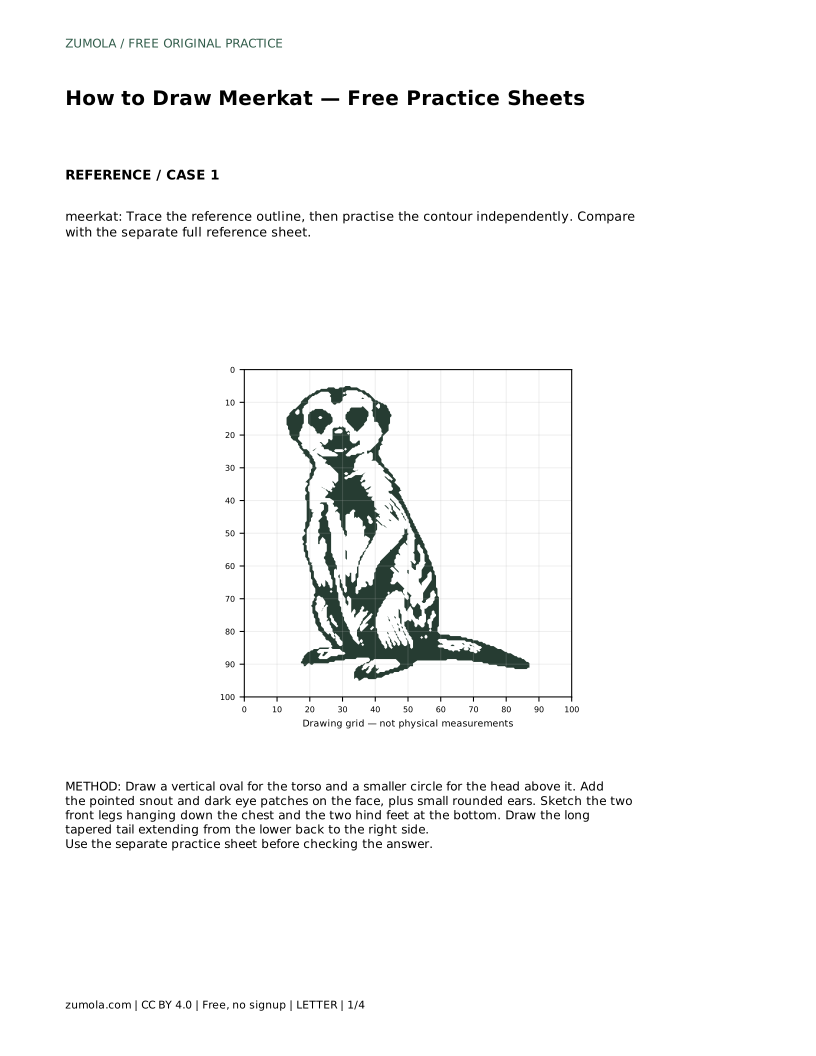
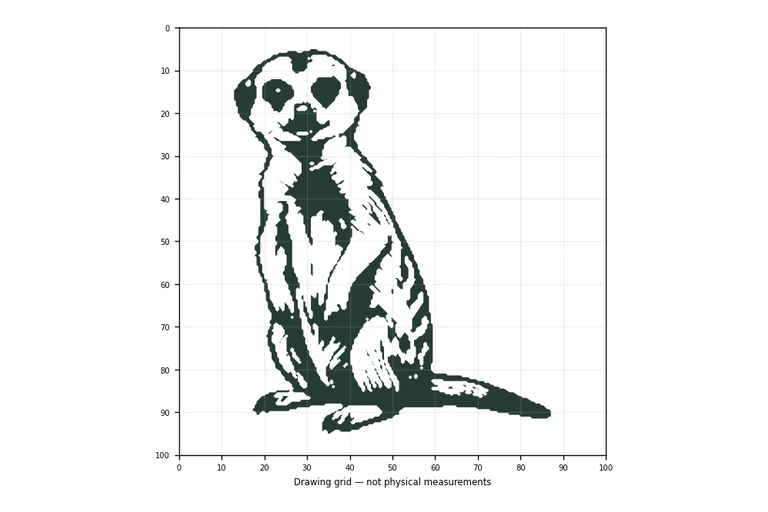
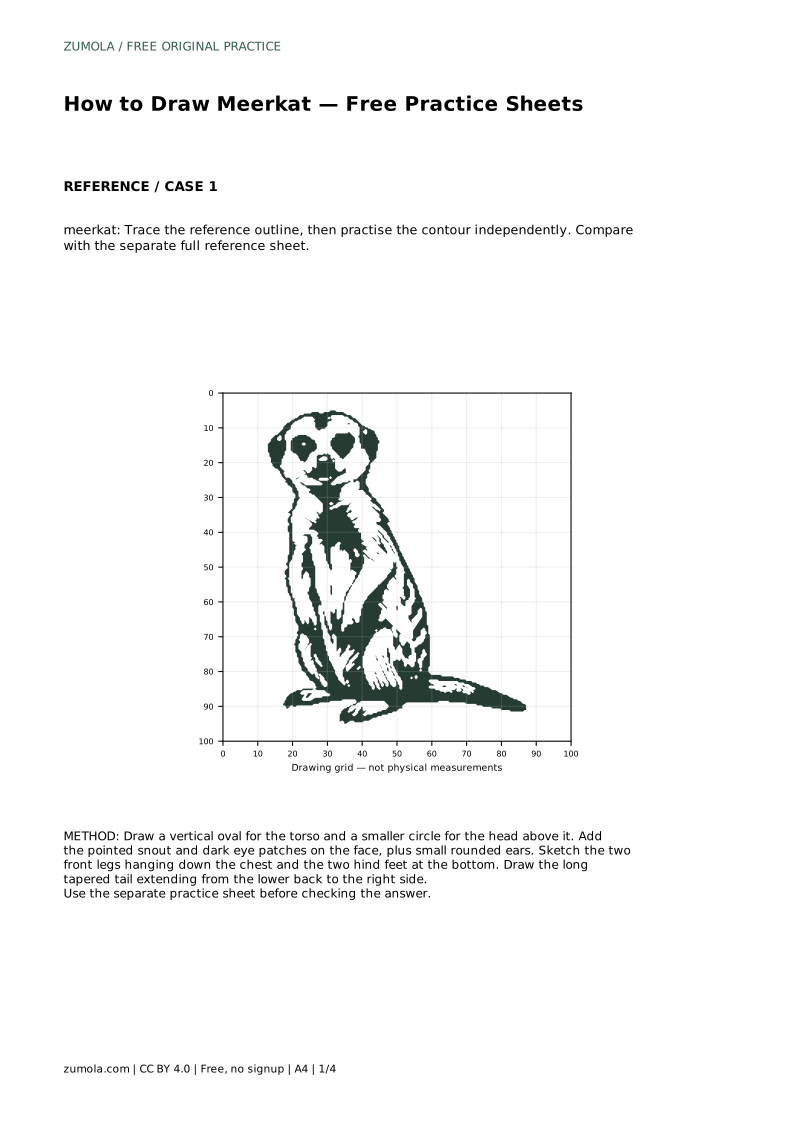
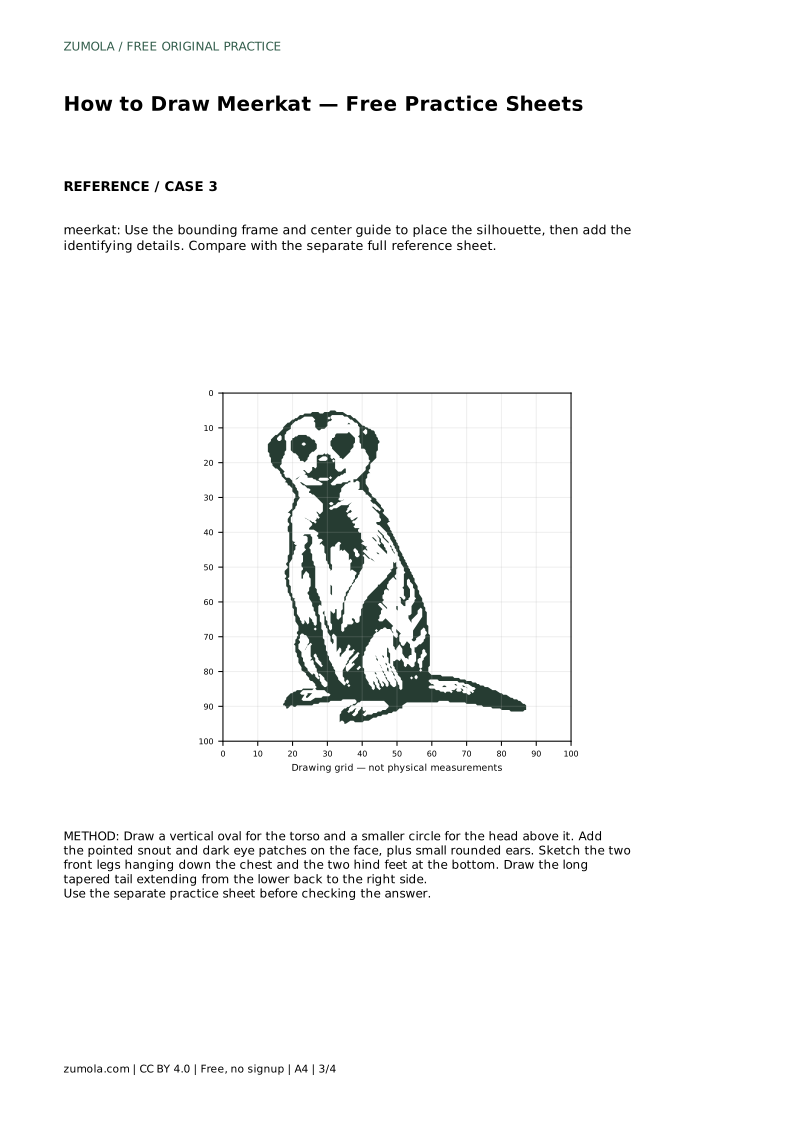
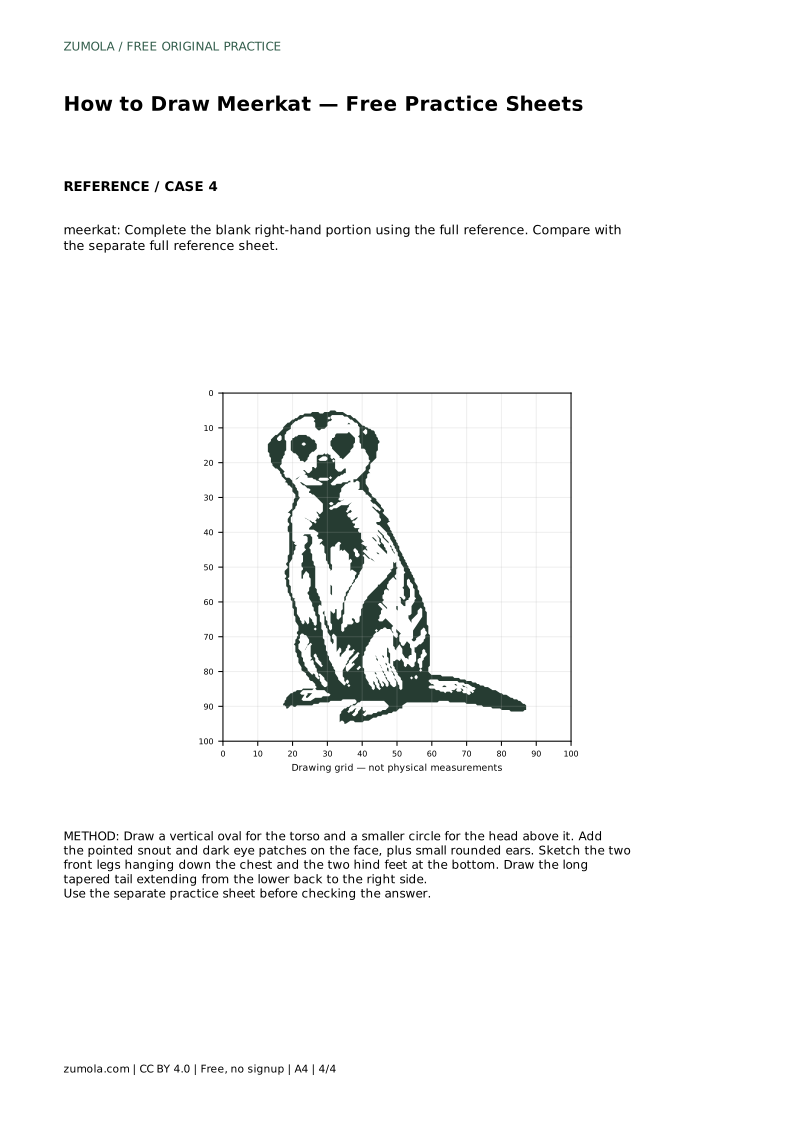
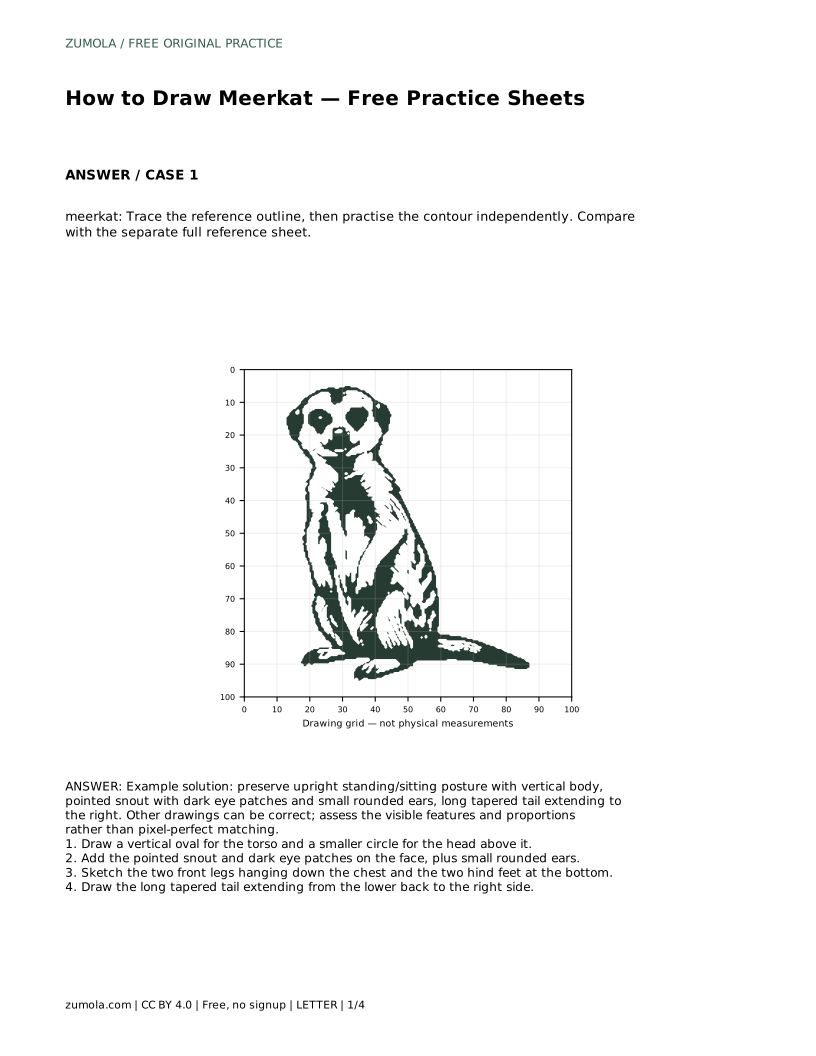
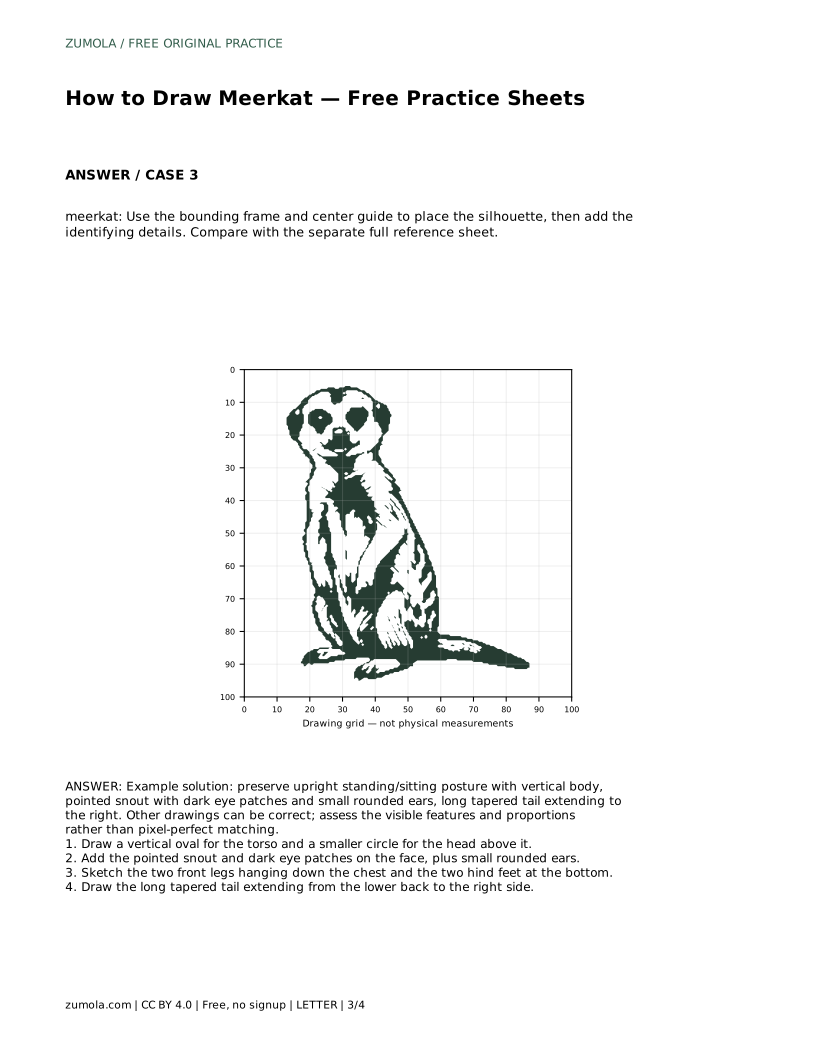
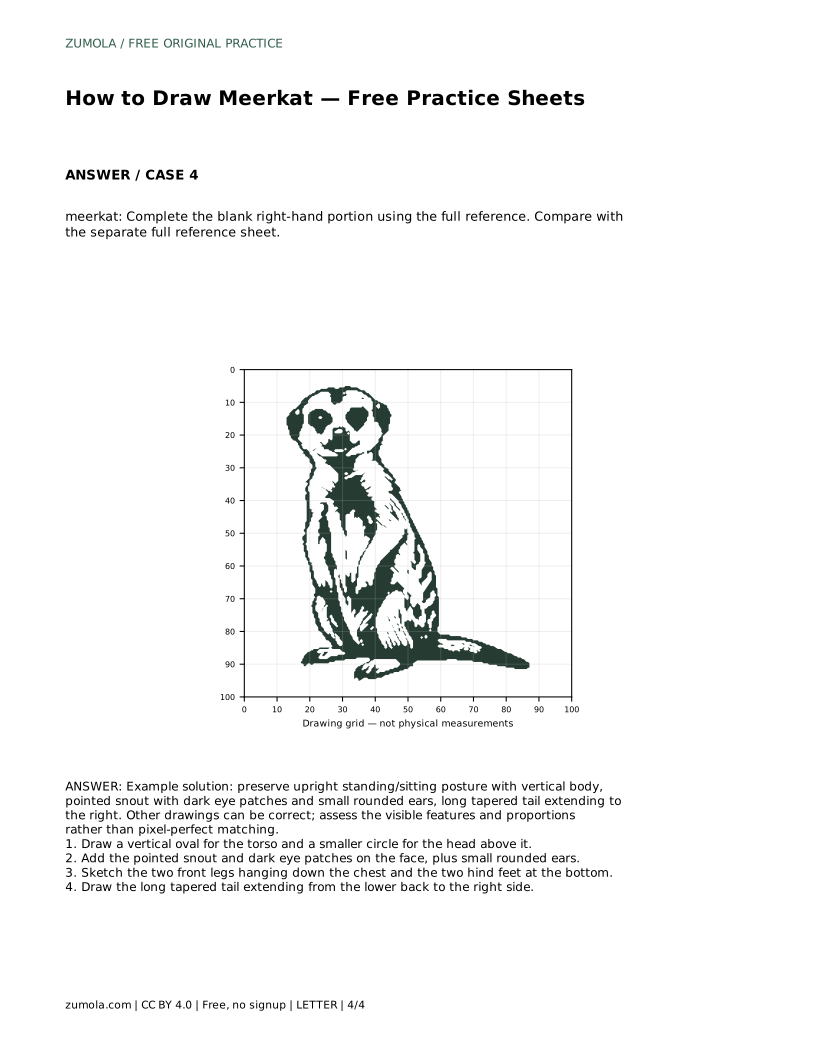
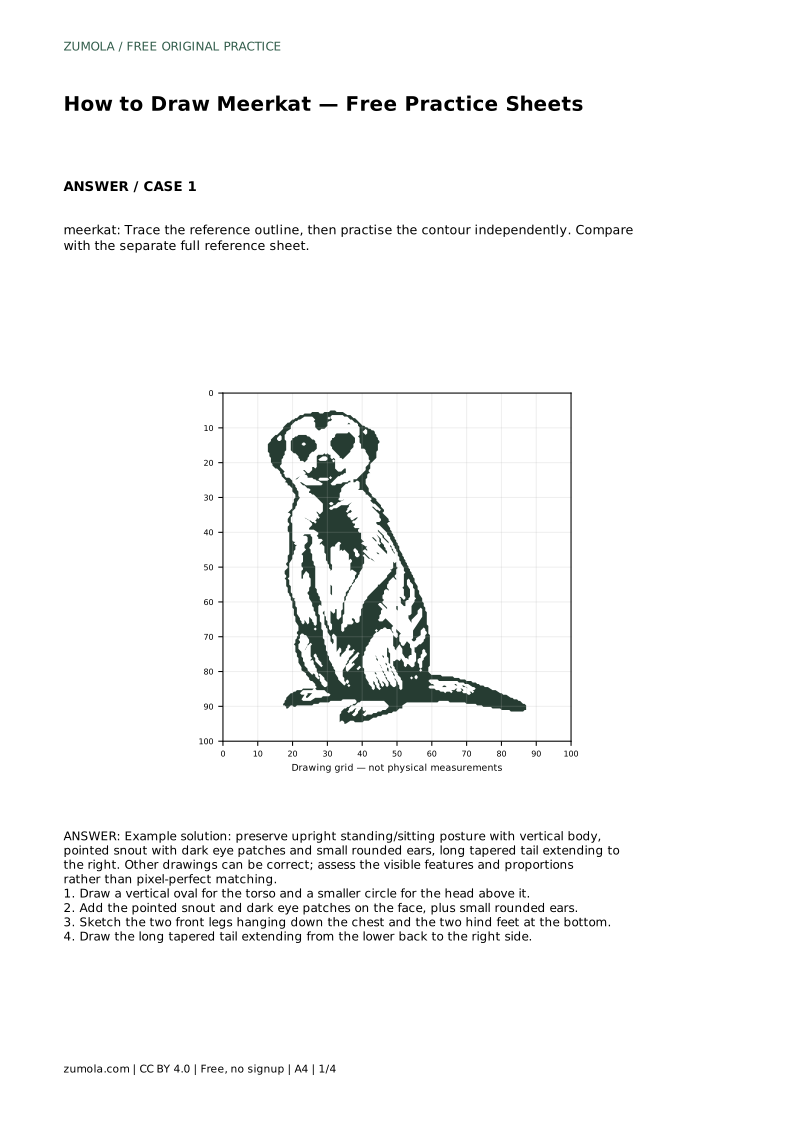
Meerkats are recognizable by their upright posture, narrow bodies, pointed snouts, dark eye patches, and long tapered tails. This page explains a reliable order for drawing them: establish the vertical torso and head, place the face features, add the hanging front legs and planted hind feet, then extend the tail to the right. The practice sheets let you trace, copy, or complete the same pose, but each drawing can be correct in its own way.
Begin with the overall stance rather than the face. A meerkat standing or sitting upright has a tall, narrow body. Draw a vertical oval for the torso, then place a smaller circle for the head directly above it. Keep the head centered over the torso so the animal does not look tilted or off balance.
Next, connect the head and torso with a short neck line. The body should read as a single vertical column before any details are added. If the oval is too wide, the meerkat will look like a generic small mammal; if the head is too large, the proportions will feel cartoonish. Check that the head is clearly smaller than the torso and sits above it, not beside it.
The face carries most of the meerkat's identity. Add a pointed snout projecting forward from the lower part of the head. The snout should taper rather than end in a blunt circle. Place the dark eye patches around the eyes; these patches are a key visual cue and should sit on the front of the face, not on top of the head.
Add small rounded ears on the upper sides of the head. Keep them modest in size, because oversized ears change the silhouette. The eyes can be simple dark marks within the patches. Work lightly at this stage so you can adjust the snout length or ear position without erasing heavily.
Sketch the two front legs hanging down the chest. They should be close together and relatively thin, following the vertical line of the body. At the bottom, draw the two hind feet planted under the torso. The feet give the upright pose a stable base, so keep them aligned with the body rather than splayed far outward.
Finally, draw the long tapered tail extending from the lower back to the right side. The tail should narrow toward the tip and stay clearly attached to the body. A tail that is too short or too thick loses the meerkat's characteristic outline. Compare your finished drawing with the separate full reference sheet, focusing on visible features and proportions rather than pixel-perfect matching.
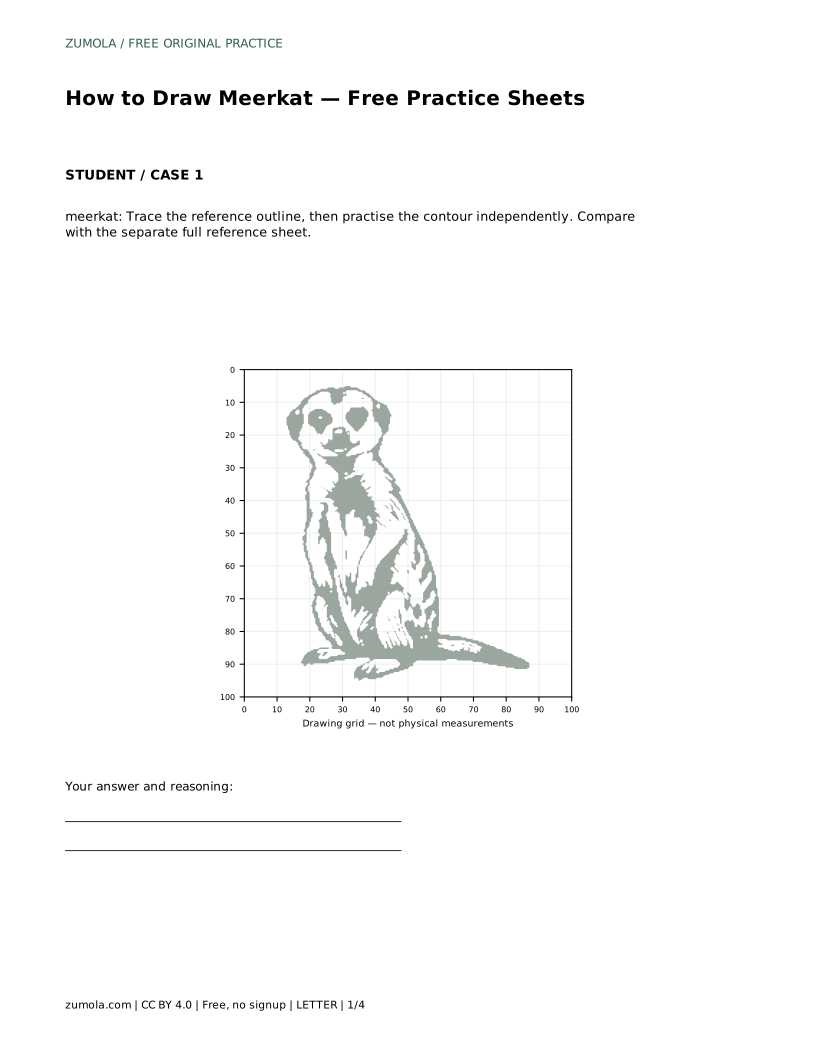
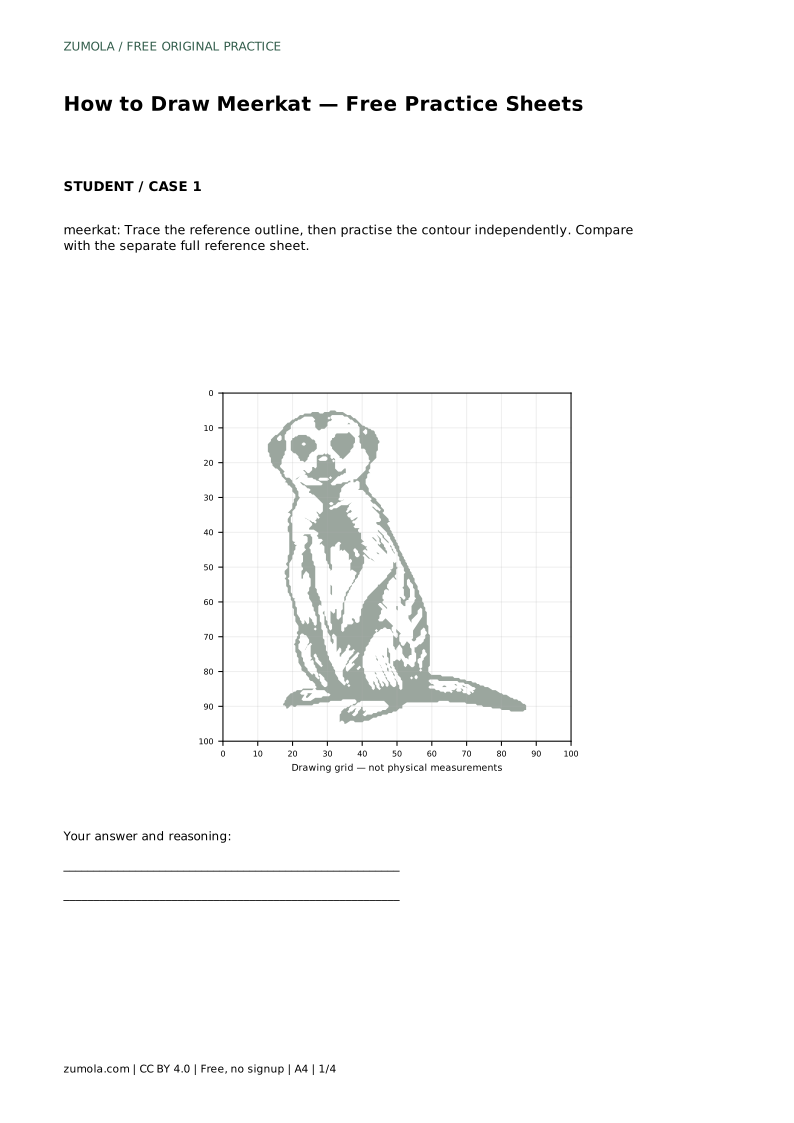
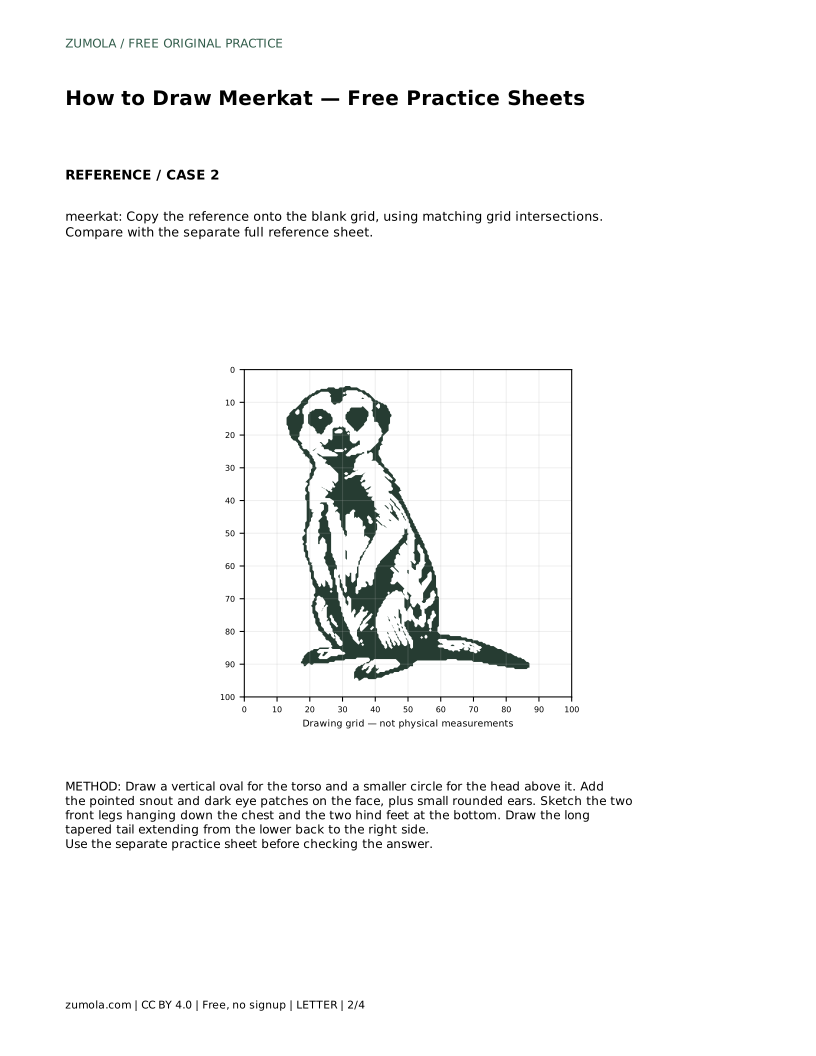
meerkat: Trace the reference outline, then practise the contour independently. Compare with the separate full reference sheet.
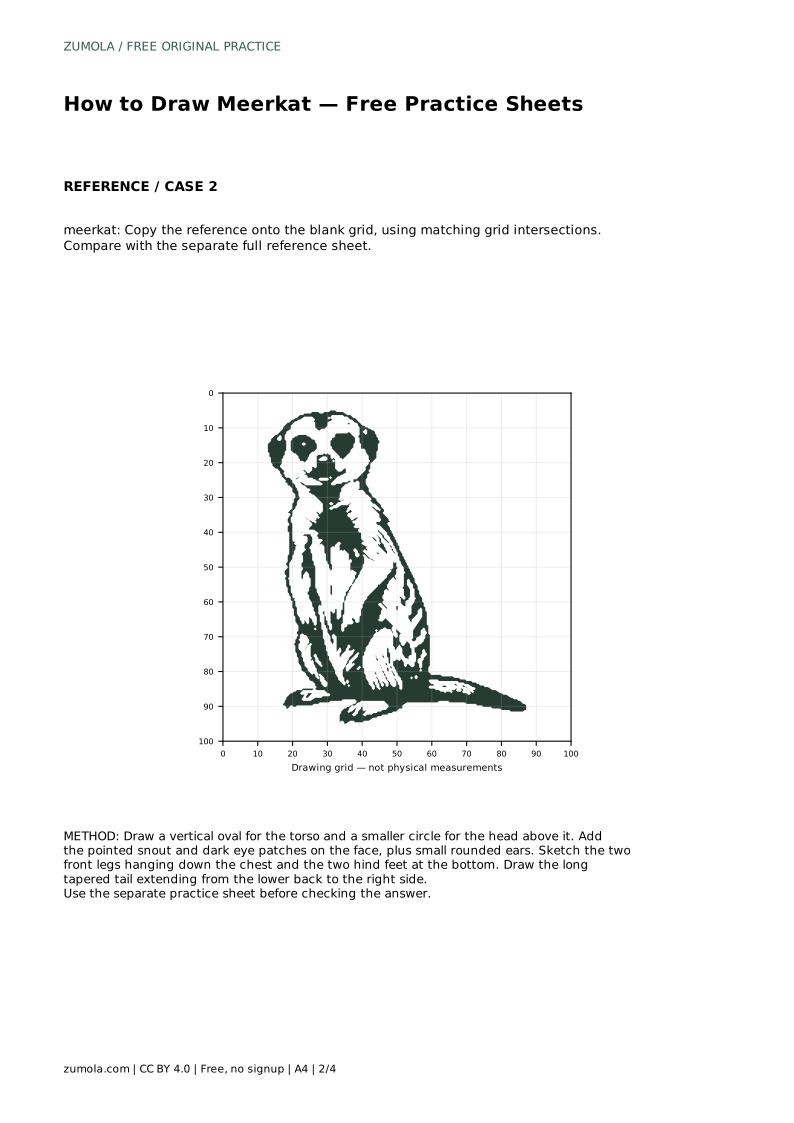
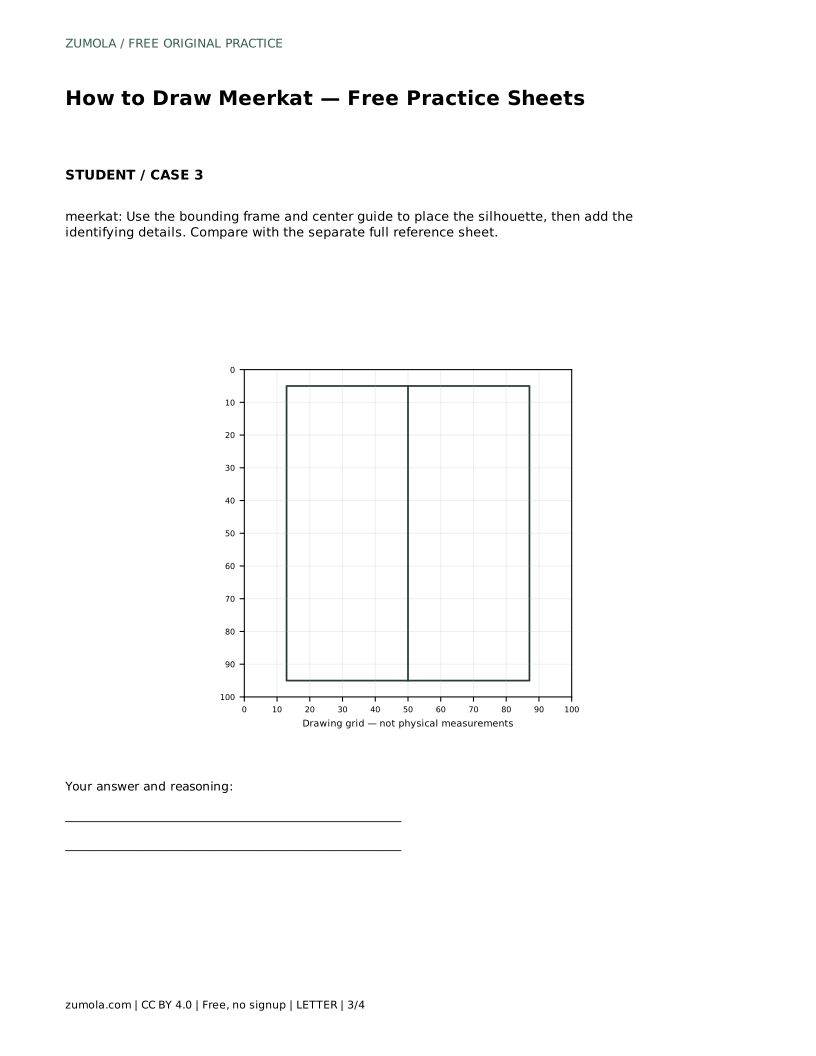
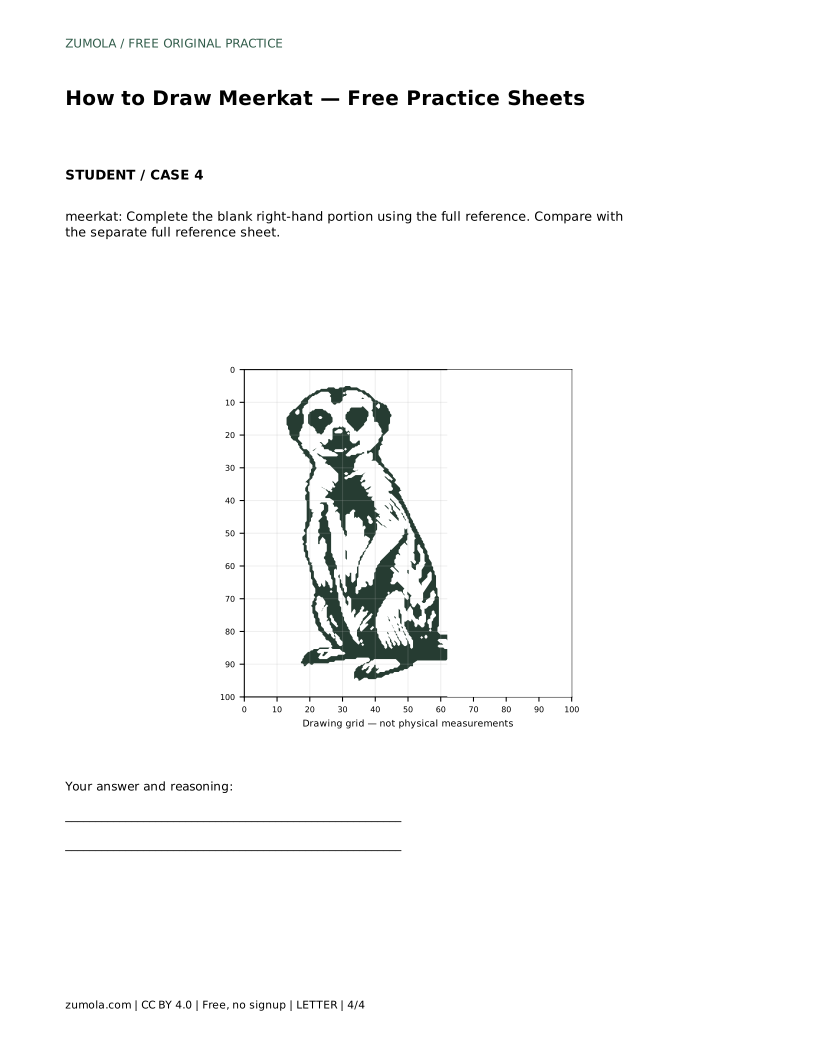
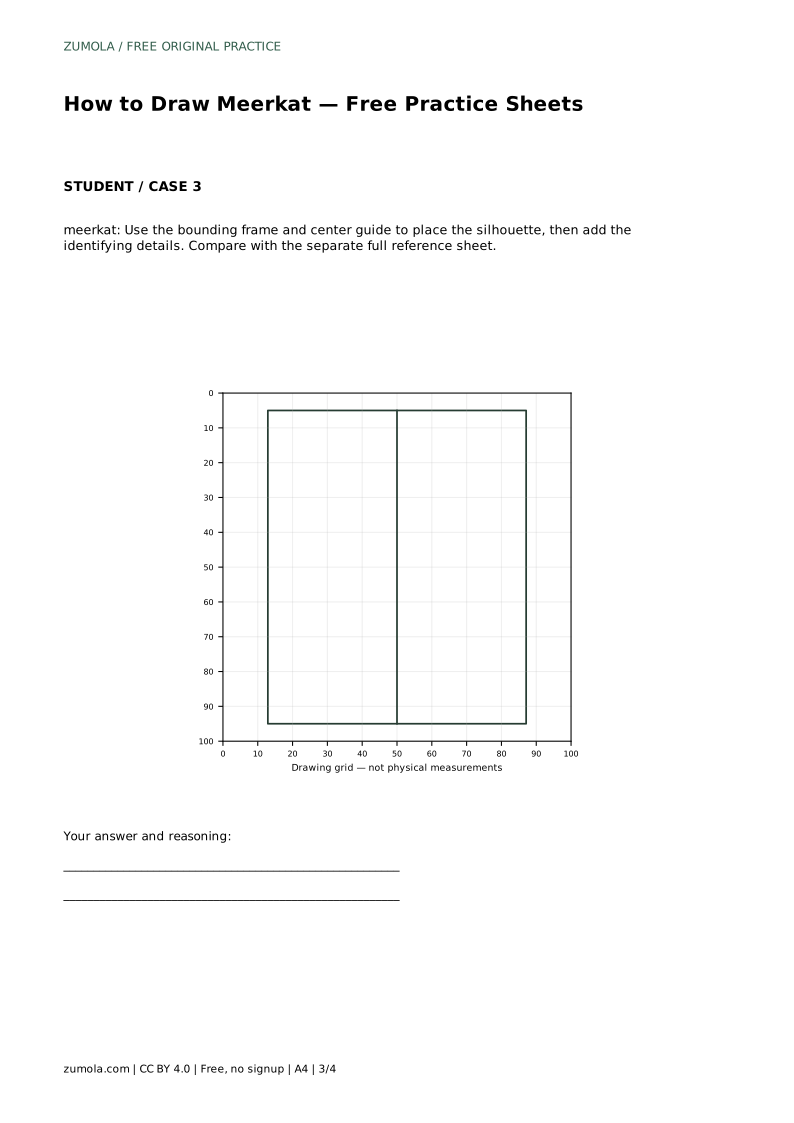
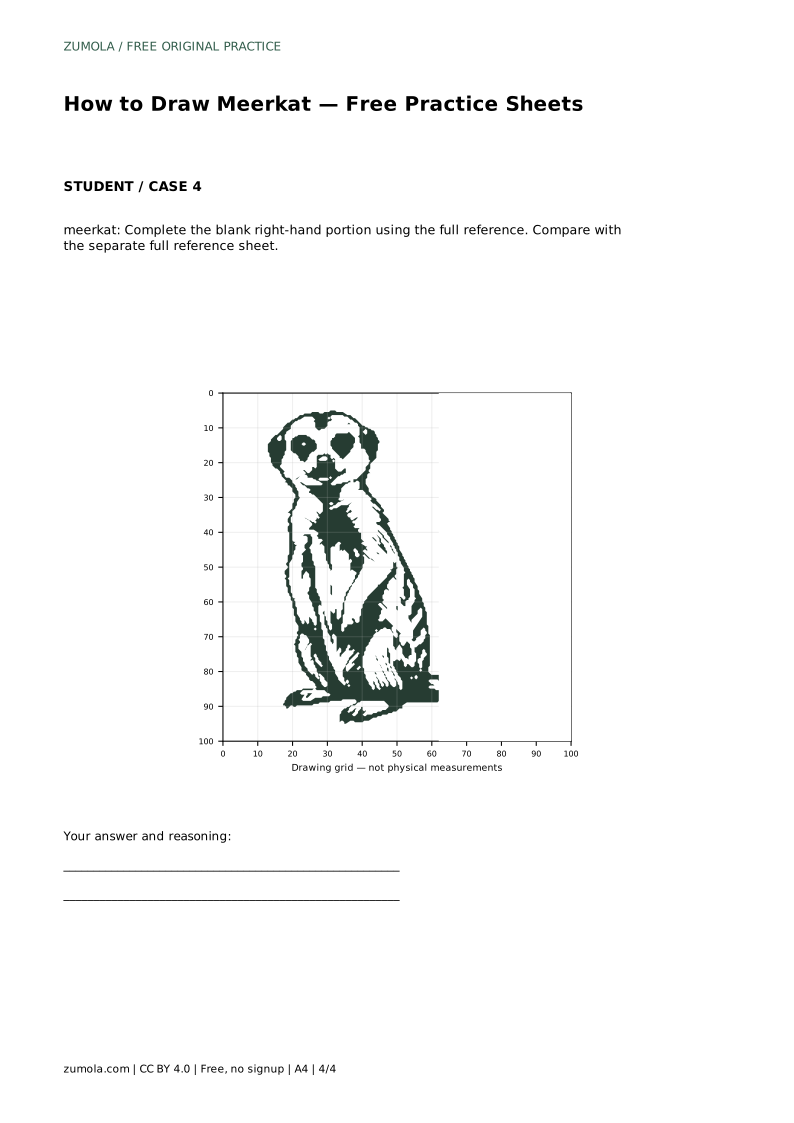
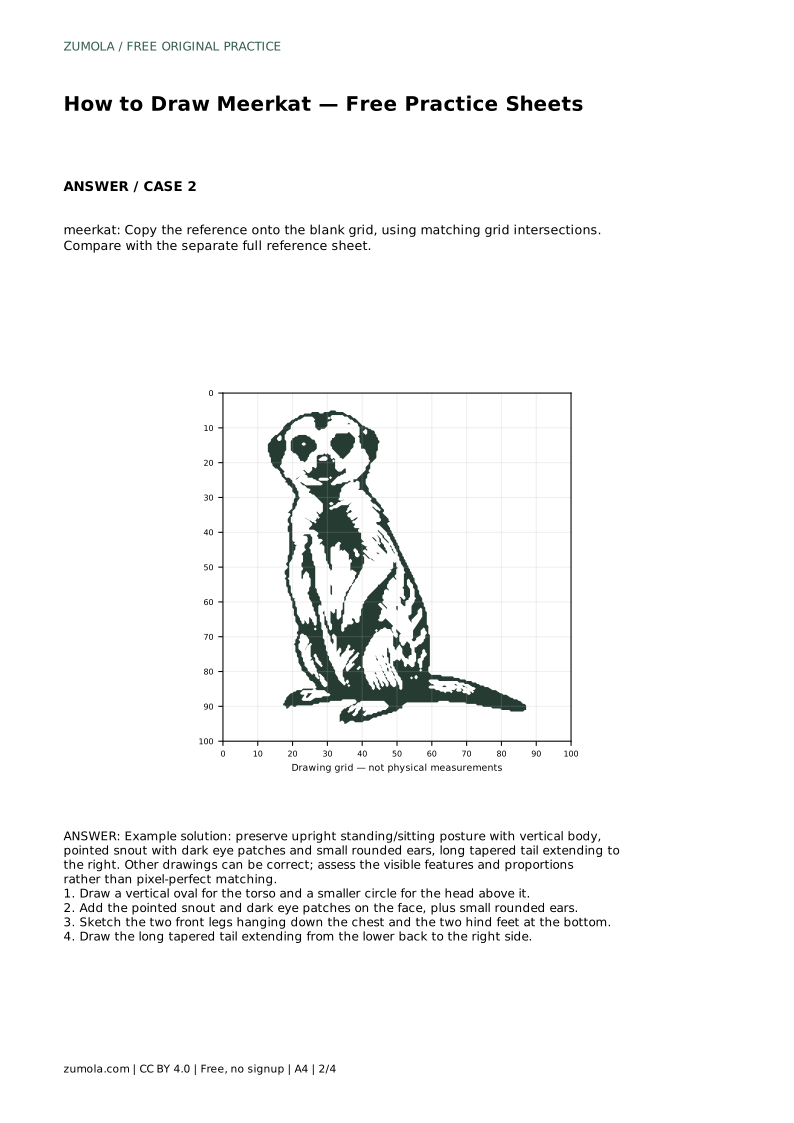
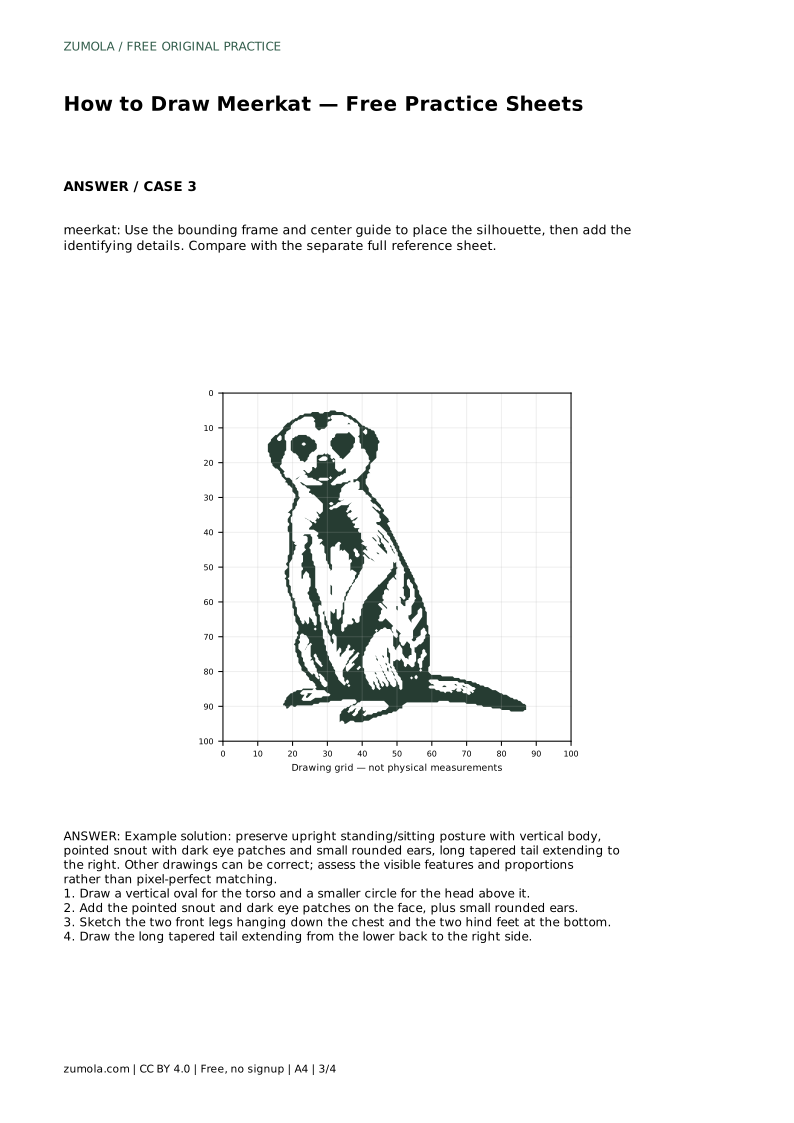
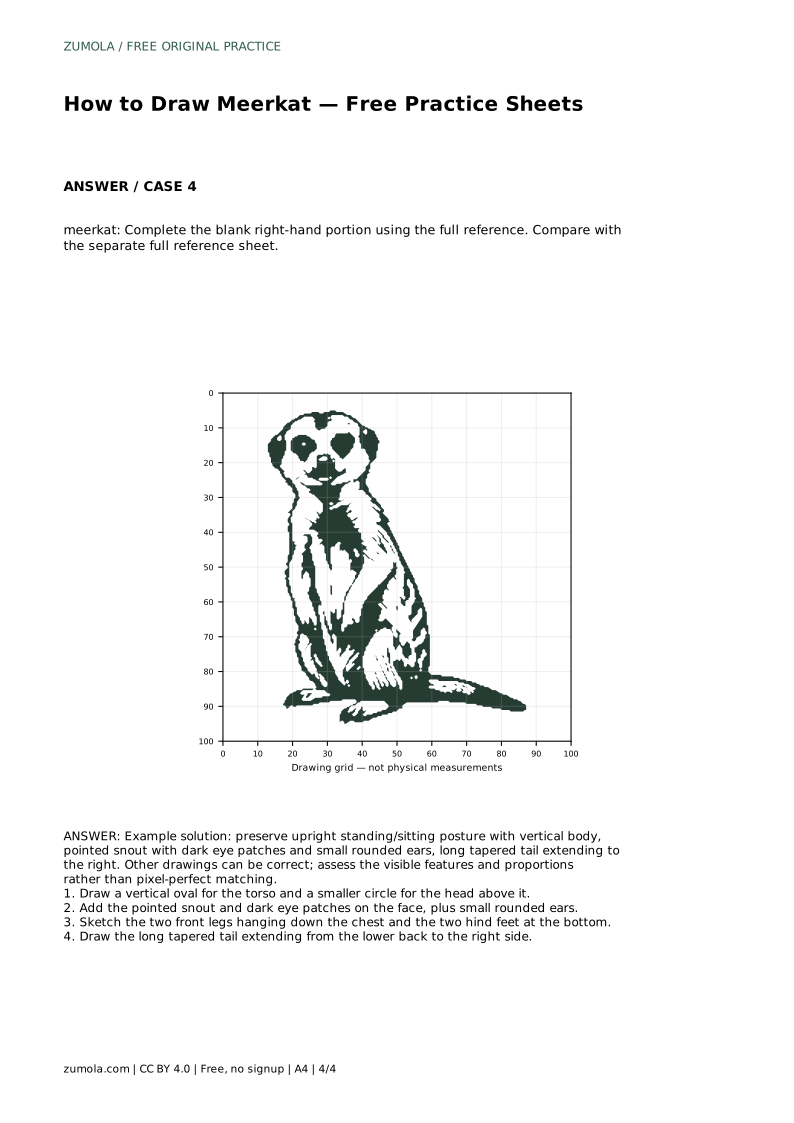
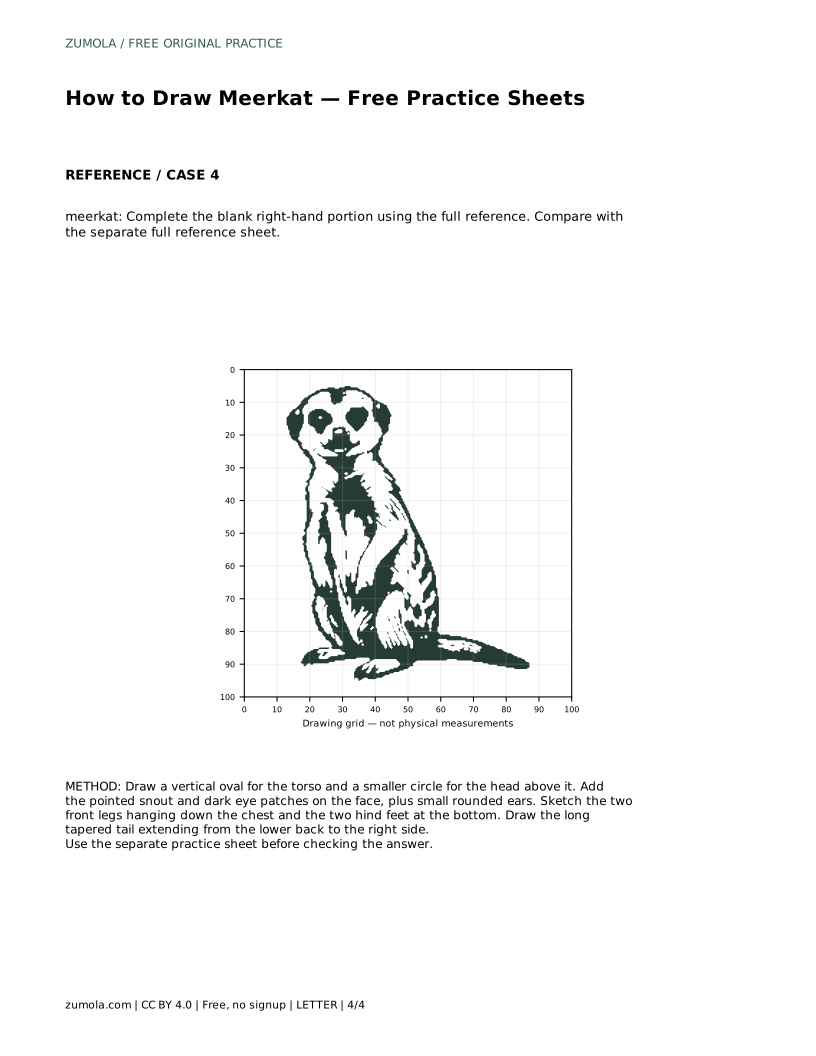
Example solution: preserve upright standing/sitting posture with vertical body, pointed snout with dark eye patches and small rounded ears, long tapered tail extending to the right. Other drawings can be correct; assess the visible features and proportions rather than pixel-perfect matching. Draw a vertical oval for the torso and a smaller circle for the head above it. Add the pointed snout and dark eye patches on the face, plus small rounded ears. Sketch the two front legs hanging down the chest and the two hind feet at the bottom. Draw the long tapered tail extending from the lower back to the right side.
No. Meerkat drawings can be correct with different line styles and small proportion changes. Assess whether the upright posture, pointed snout, dark eye patches, small rounded ears, hanging front legs, planted hind feet, and long tapered tail are visible and reasonably placed.
Start with the vertical torso oval and the smaller head circle above it. The upright silhouette is the foundation; face details and the tail are easier to place once that column is established.
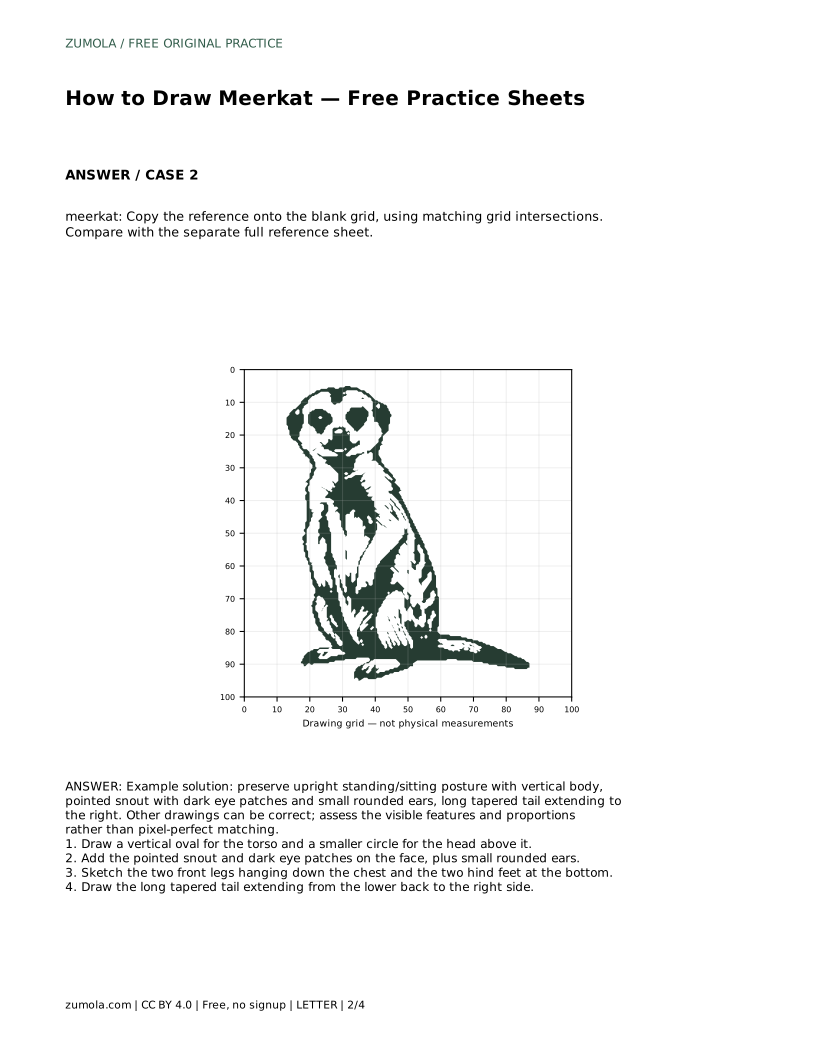
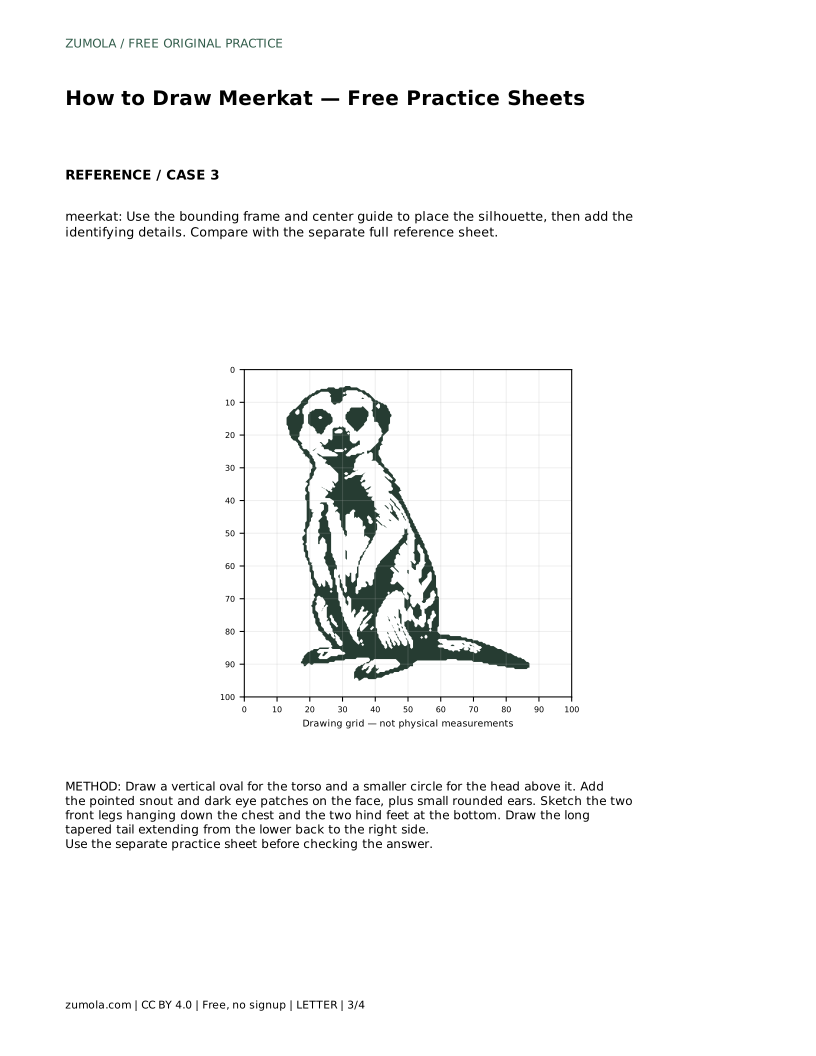
Copy the reference onto the blank grid by matching grid intersections. Use the grid to compare where the head, snout, legs, and tail fall relative to one another, then check your result against the separate full reference sheet.
All drawing practice · Free coordinate paper
Original resources · CC BY 4.0 · Free for personal and classroom use with attribution.