Reference diagrams
LETTER · Download PDF
A4 · Download PDF
Free original resources
Learn to draw an echidna side profile: tapered snout, round ear, arched spiny back, and short clawed legs. Trace, grid, or complete a partial outline.
Four original cases, with reference diagrams, practice sheets and worked answers. Everything is free; no signup required.
LETTER · Download PDF
A4 · Download PDF
LETTER · Download PDF
A4 · Download PDF
LETTER · Download PDF
A4 · Download PDF
Use A4 or US Letter to match your printer. Use the stated values and conditions to solve each exercise; diagrams are not physical measuring rulers.
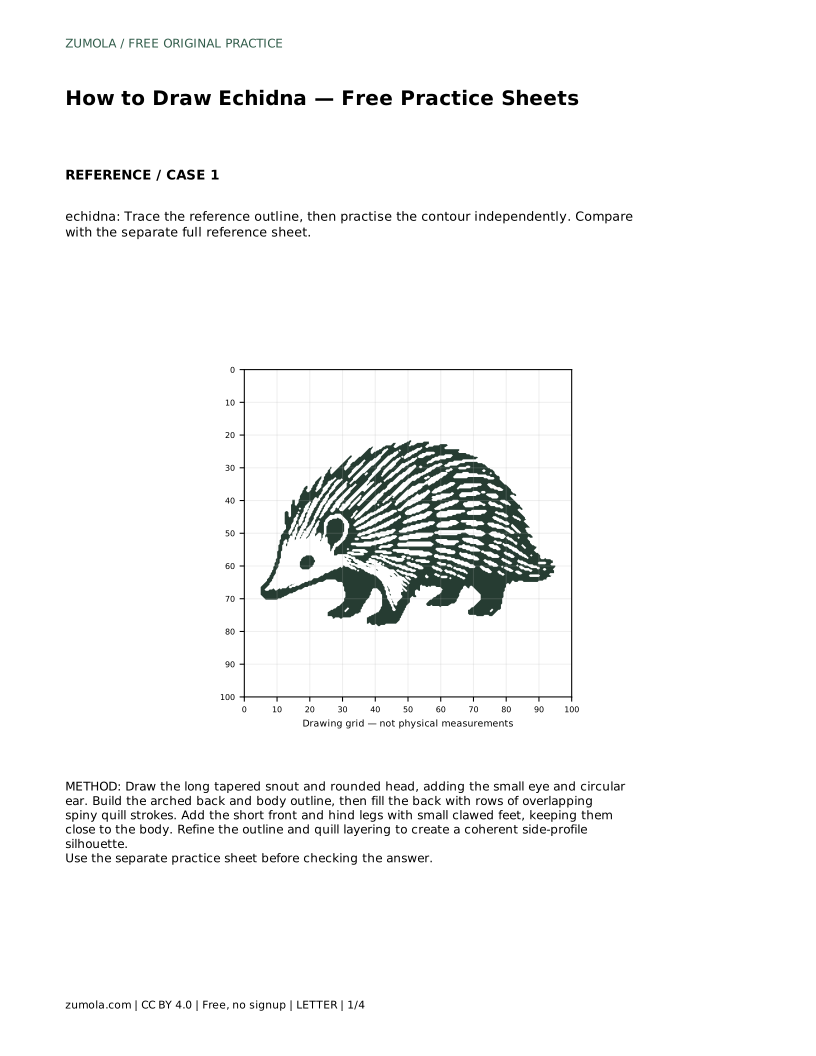
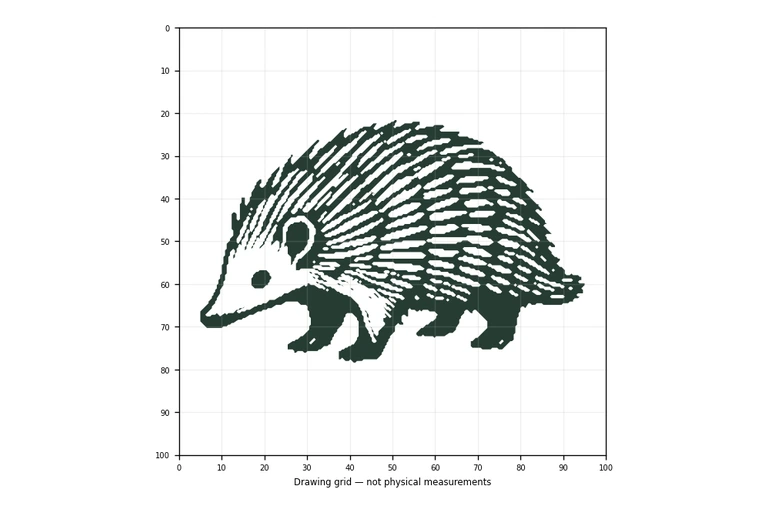
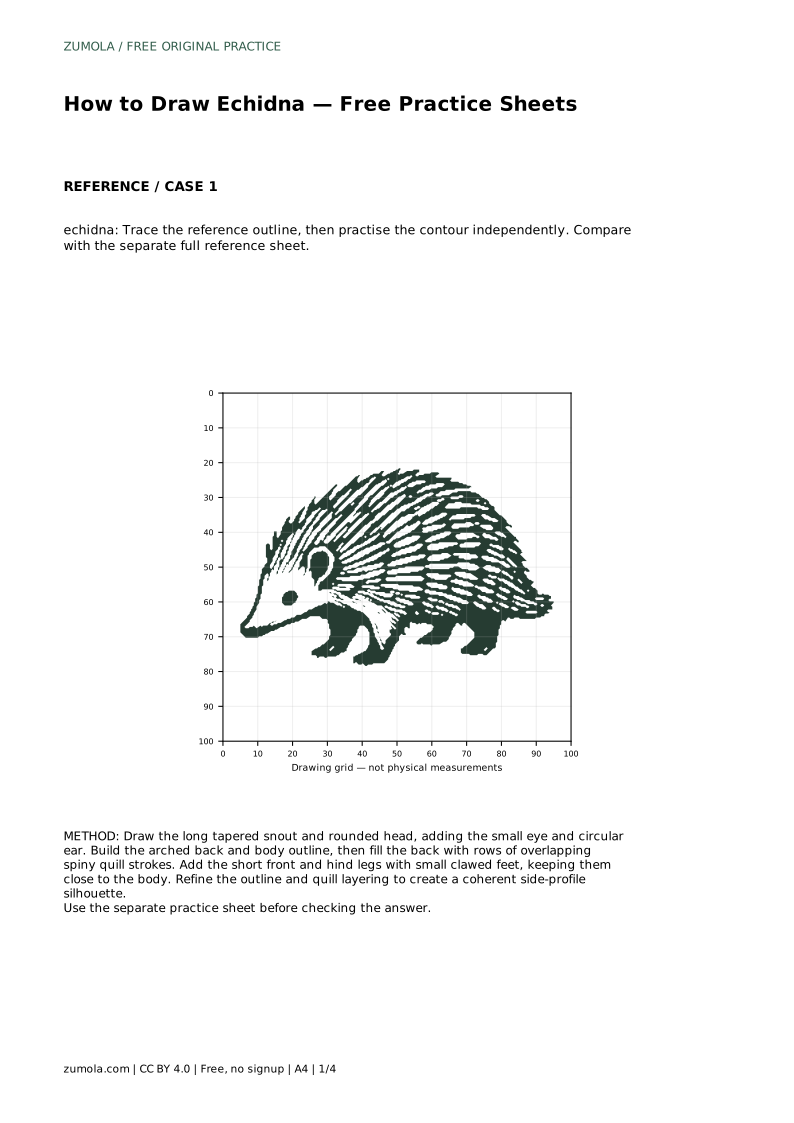
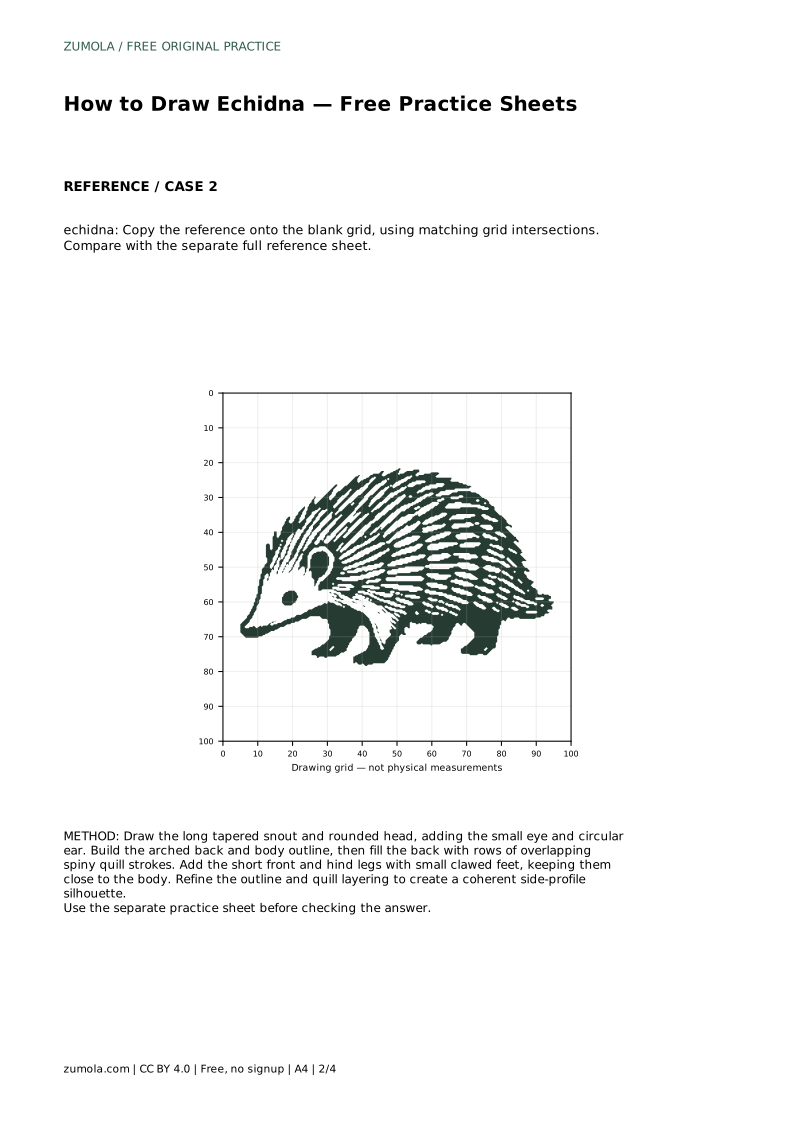
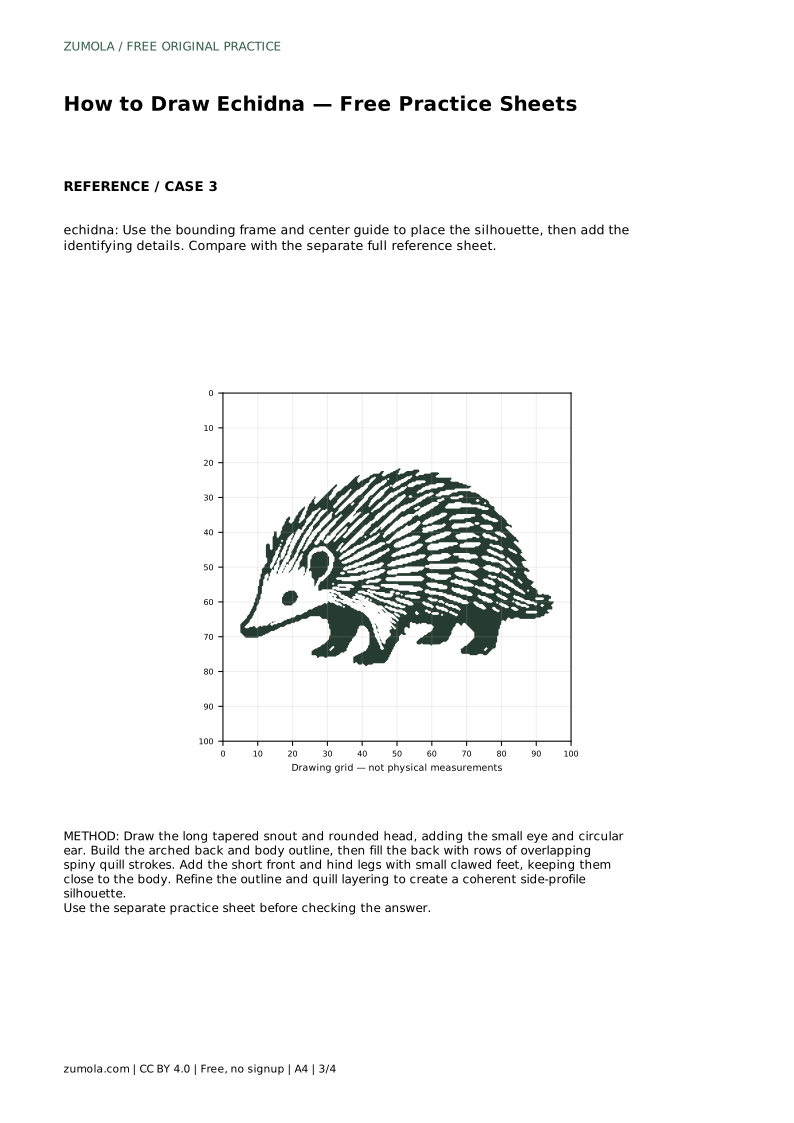
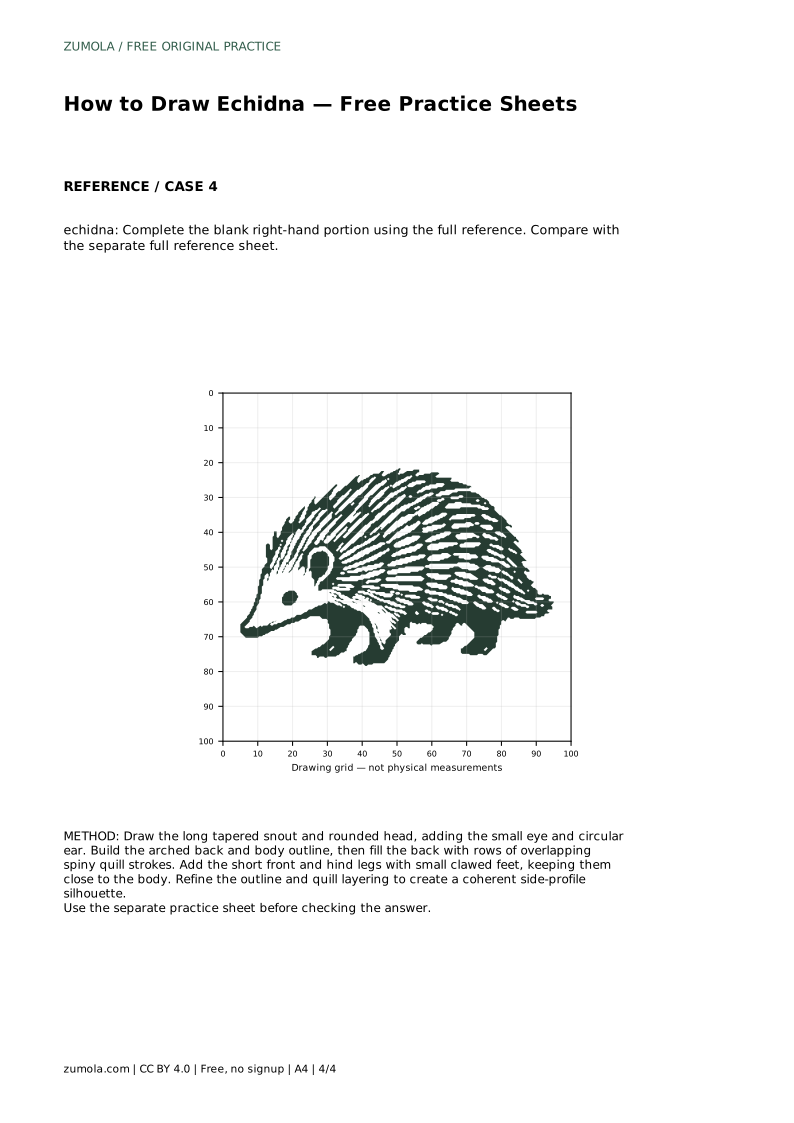
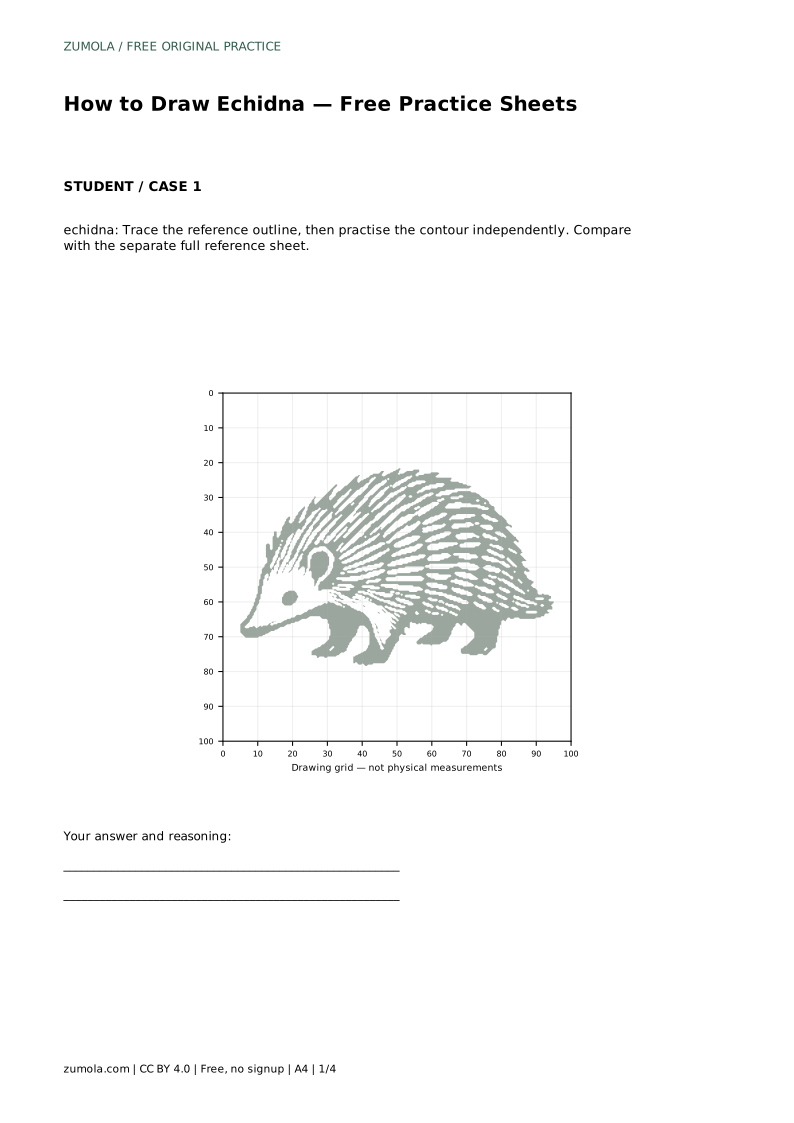
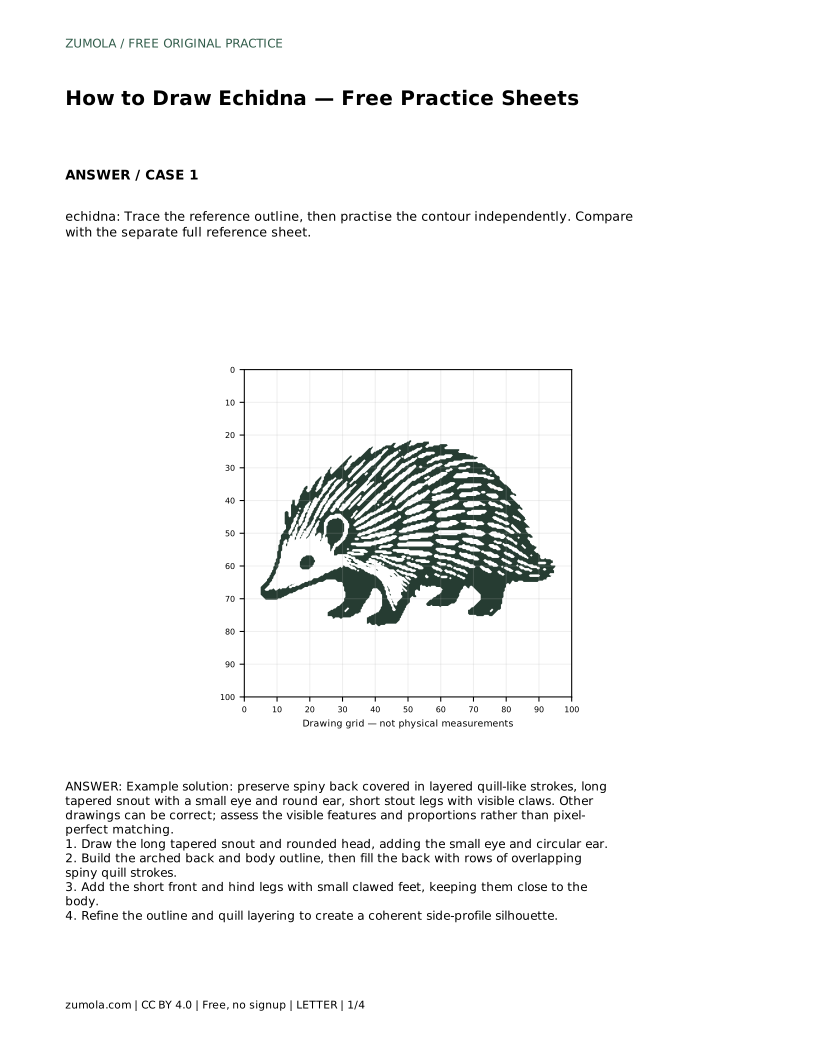
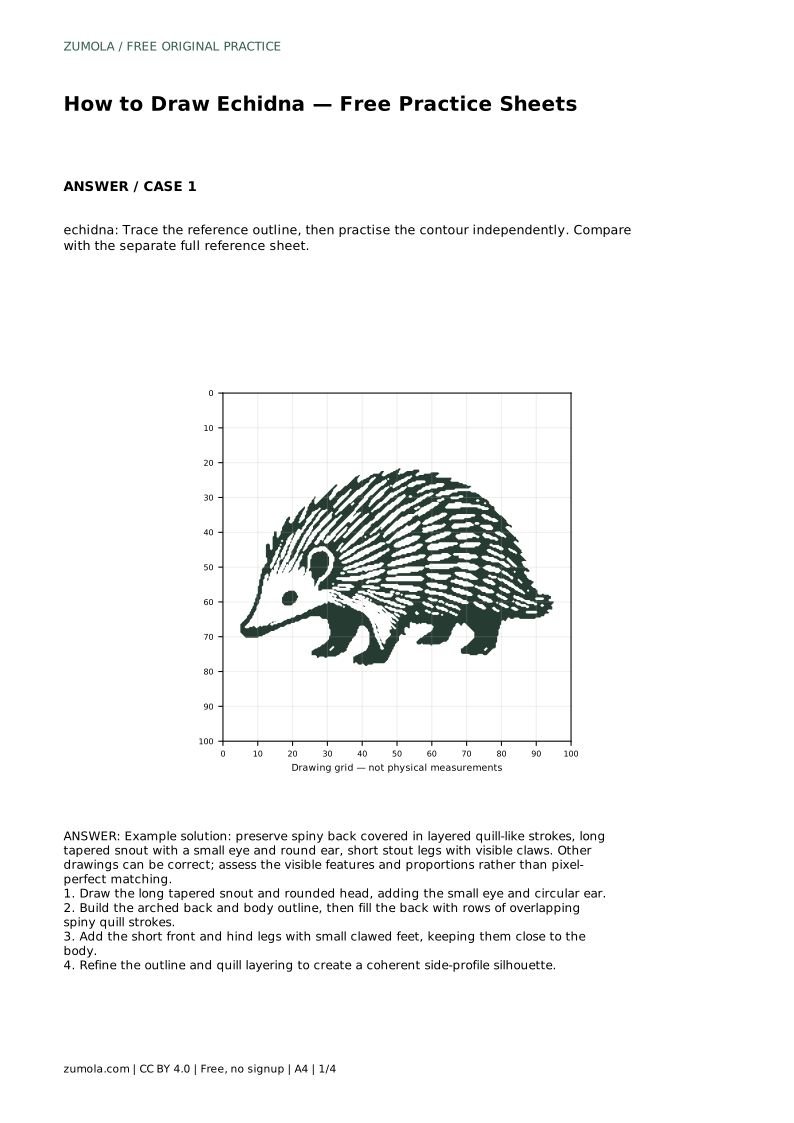
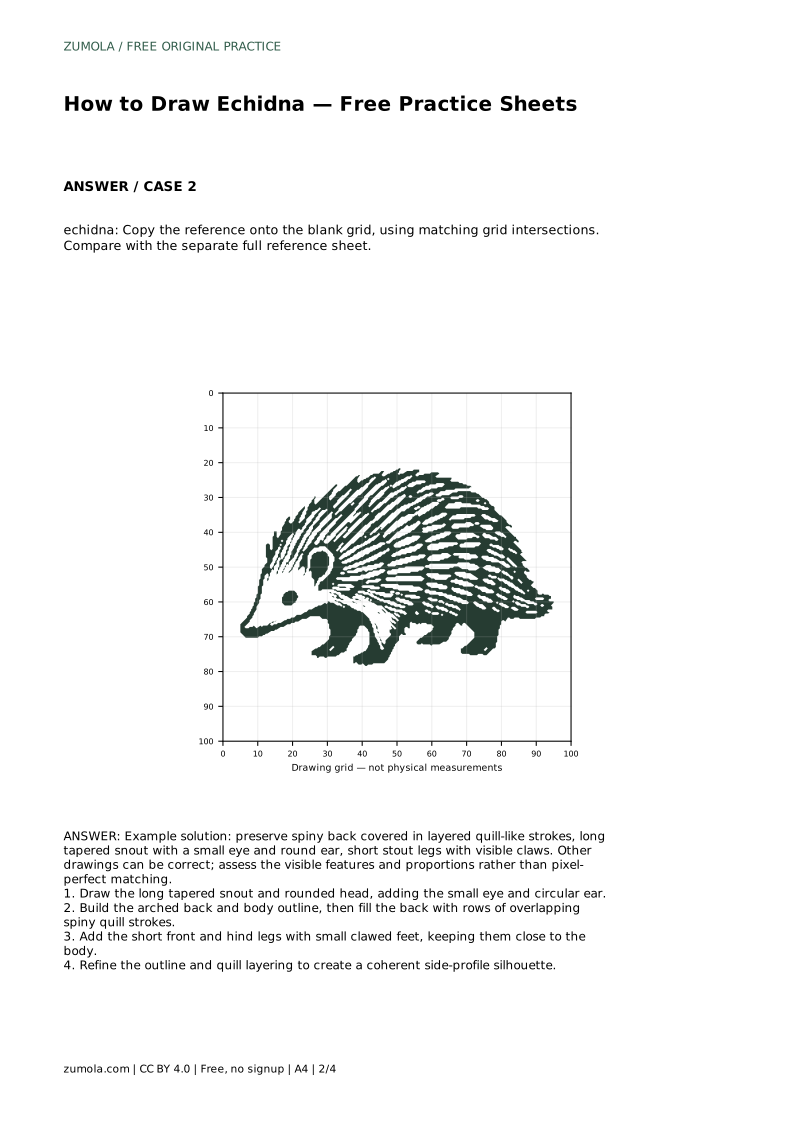
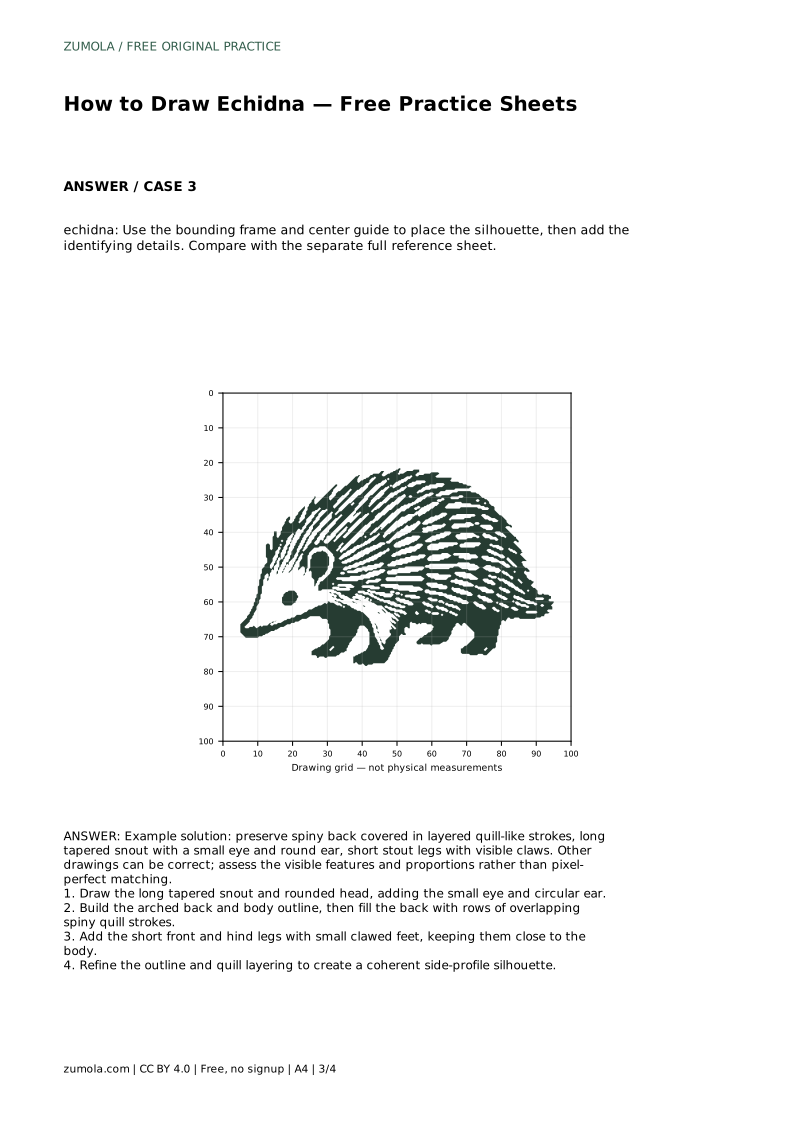
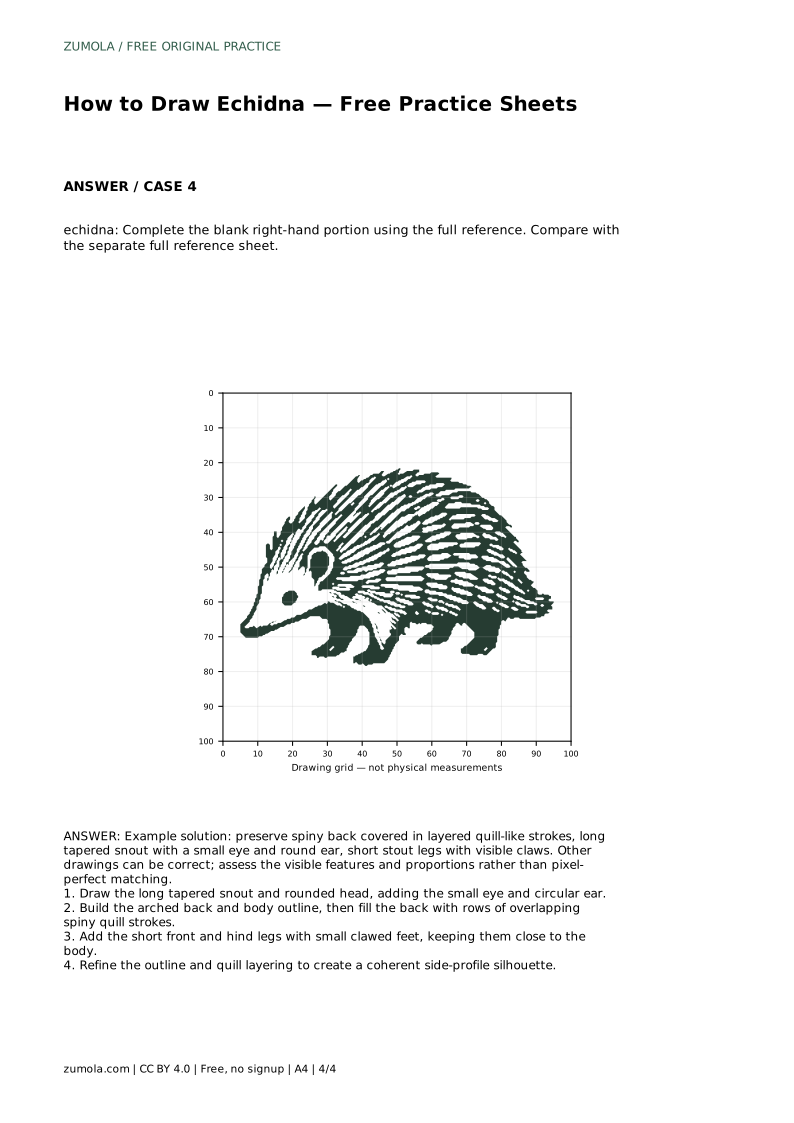
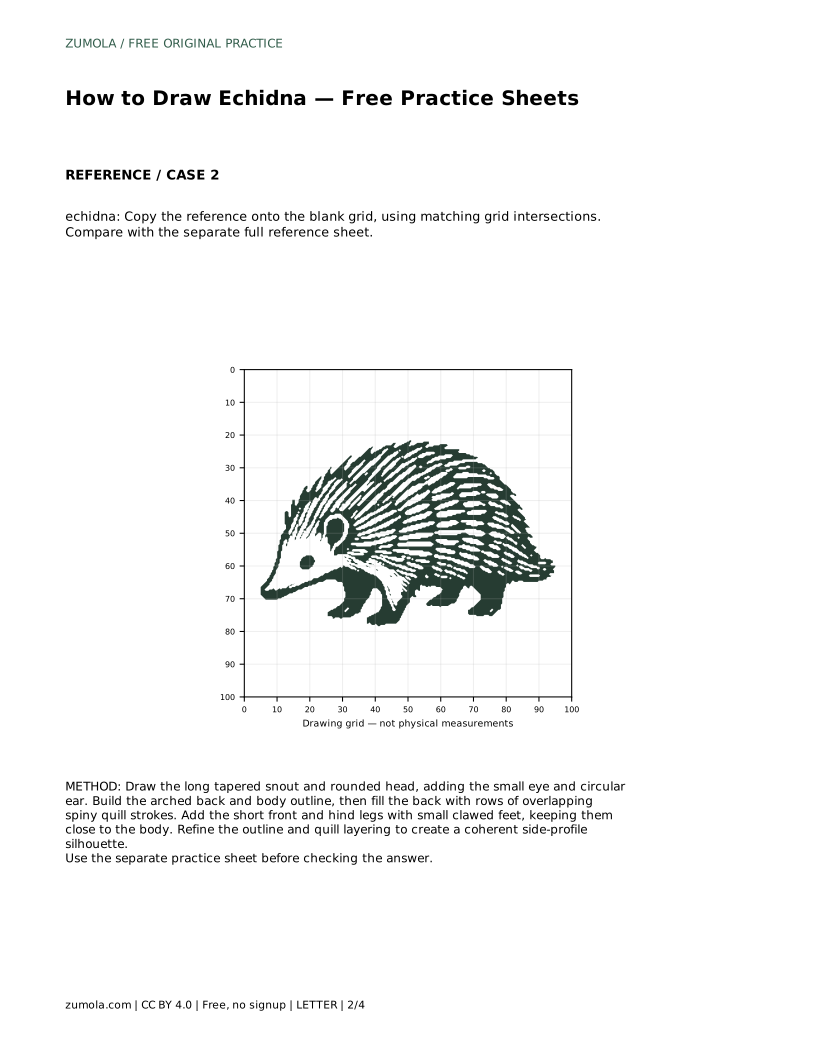
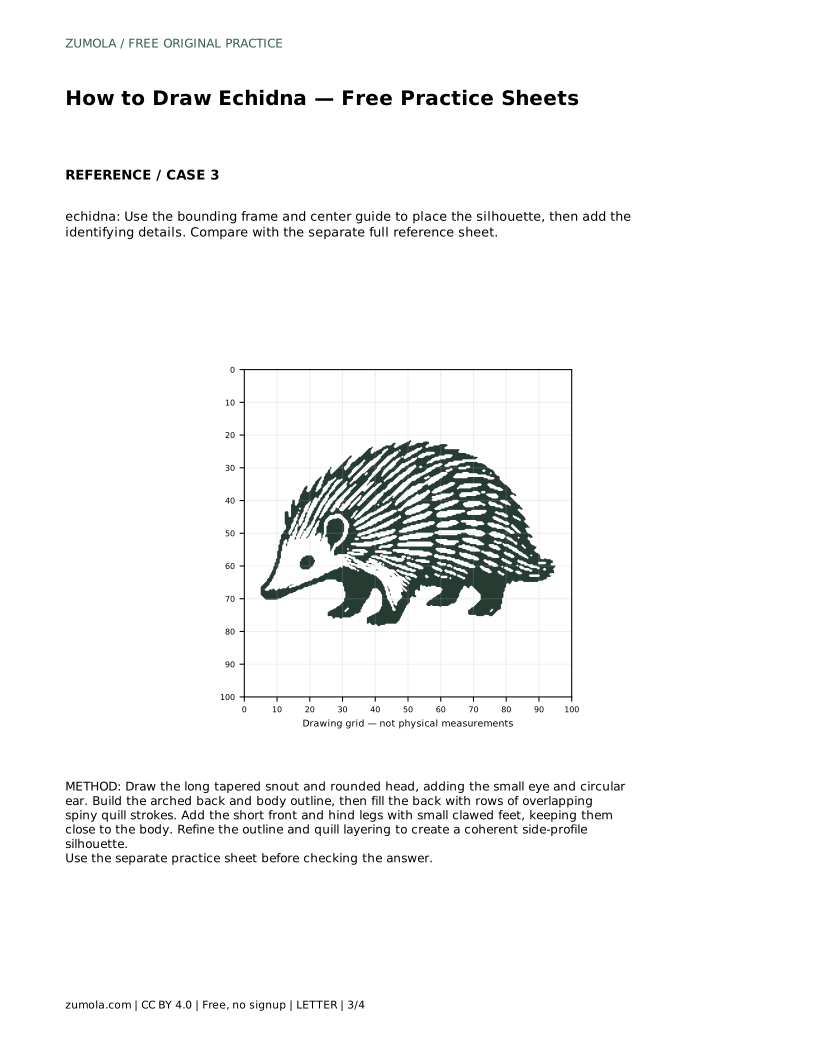
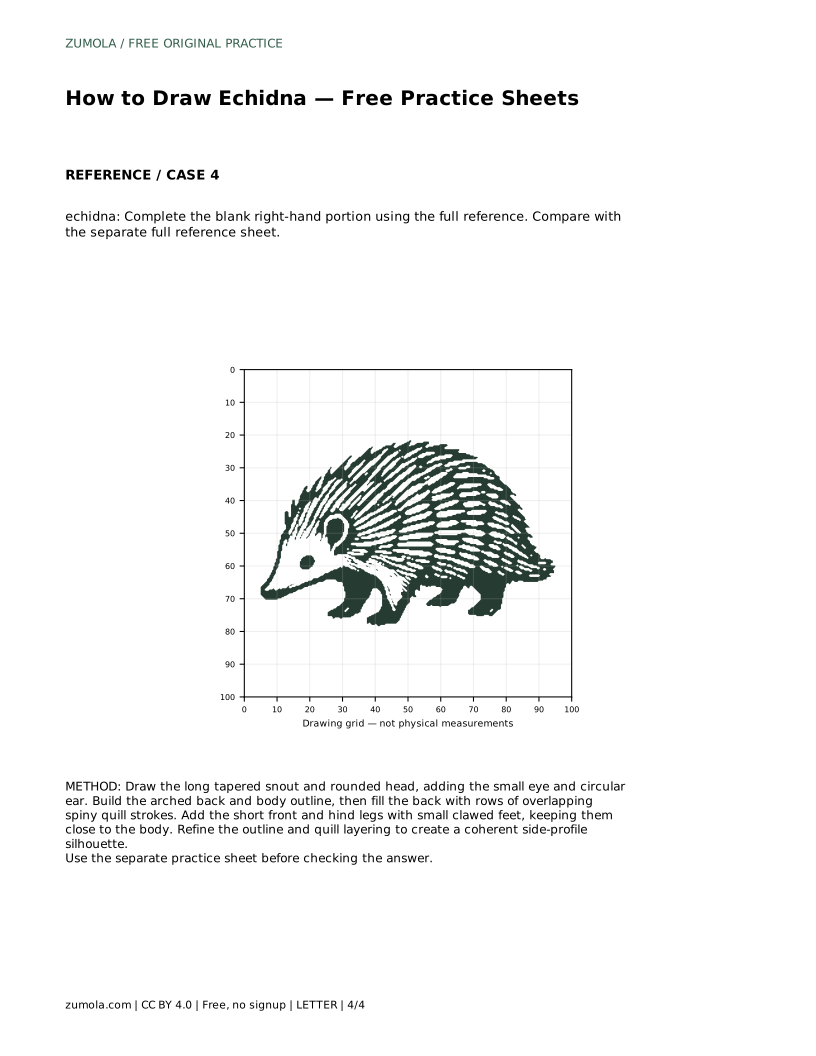
An echidna is recognizable by a few clear features: a long tapered snout, a small eye, a round ear, an arched back covered in layered quills, and short stout legs with visible claws. This page explains how to build those features in a side profile, then use the practice sheets to trace the outline, copy it onto a grid, place it with a bounding frame and center guide, or complete a blank right-hand portion.
Begin with the head rather than the quills. Draw a rounded head shape, then extend a long snout that tapers toward the tip. Keep the snout narrow and slightly downward-angled so it reads as a snout rather than a beak. Place a small eye just behind the base of the snout and a circular ear above and behind the eye. These three marks, snout, eye, and ear, establish the direction the animal faces and give you anchor points for the rest of the drawing.
Check the head before continuing. The snout should be noticeably longer than the head is tall, and the ear should sit close to the skull rather than floating above it. If the head looks too round, lengthen the snout slightly; if the snout looks like a tube, taper it more toward the tip.
From the head, draw the body outline as an arch that rises over the back and slopes down toward the rear. Keep the belly line low and fairly level. The arch is what makes the silhouette read as an echidna, so draw it before adding any spines.
Fill the back with rows of overlapping quill-like strokes. Work in layers: a first row along the top edge, then shorter rows beneath it, each stroke angled slightly outward from the body. Overlap the strokes so the back looks covered rather than striped. Leave the snout, face, and legs free of quills. Vary stroke length a little so the back looks natural, but keep the overall direction consistent.
Add short, stout front and hind legs close to the body. Each foot should show small claws, drawn as short pointed marks at the base of the leg. Keep the legs short relative to the body; long legs change the silhouette and make the drawing read as a different animal.
Refine the outline last. Smooth the join between head and body, confirm the quill layers follow the arch, and check that the legs sit under the body rather than in front of it. A coherent side-profile silhouette matters more than matching every stroke of the reference.
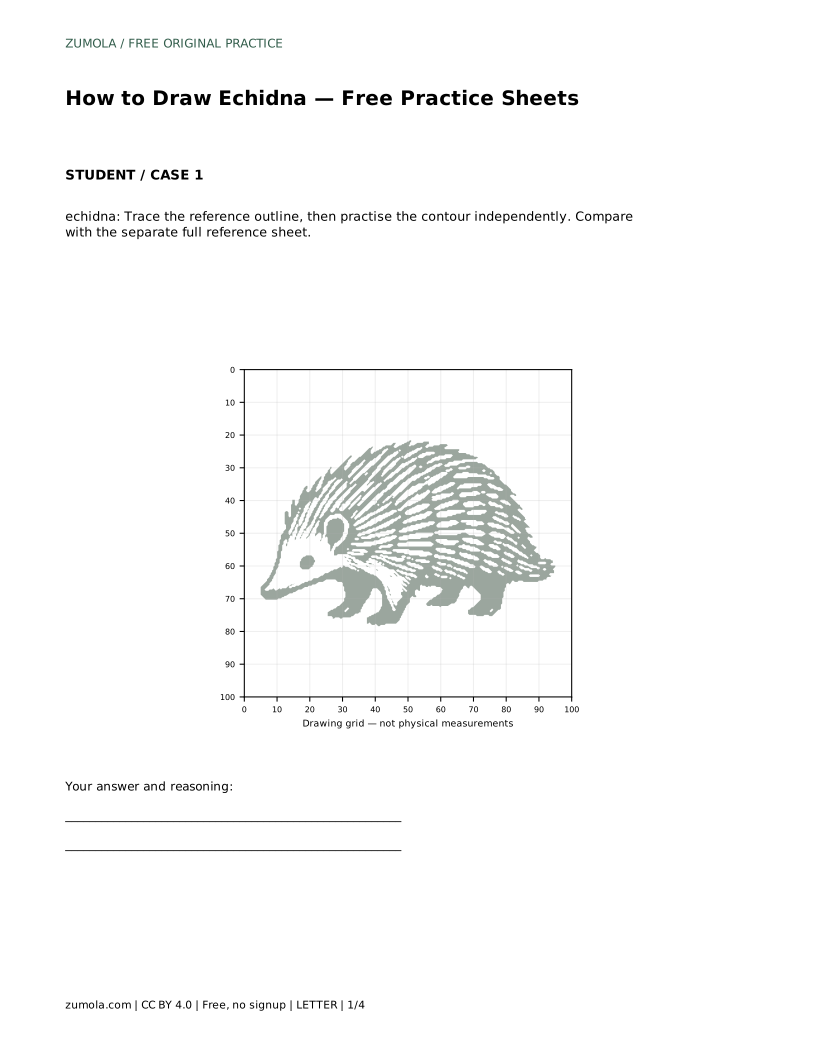
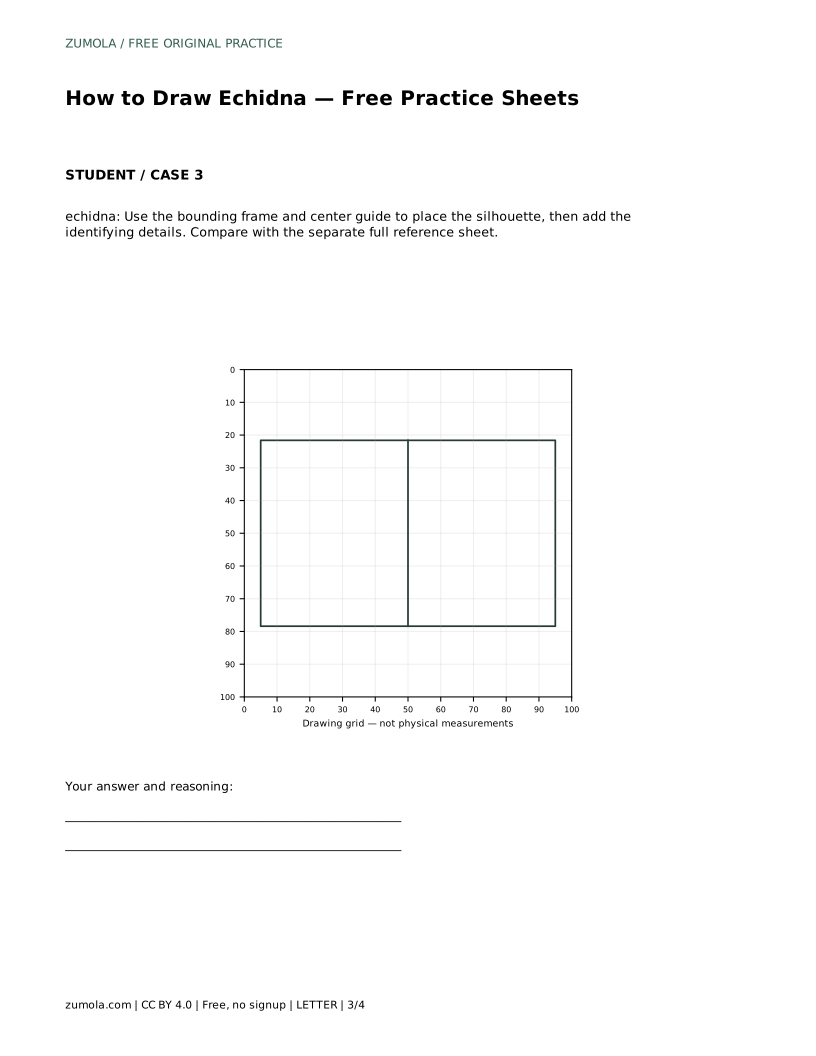
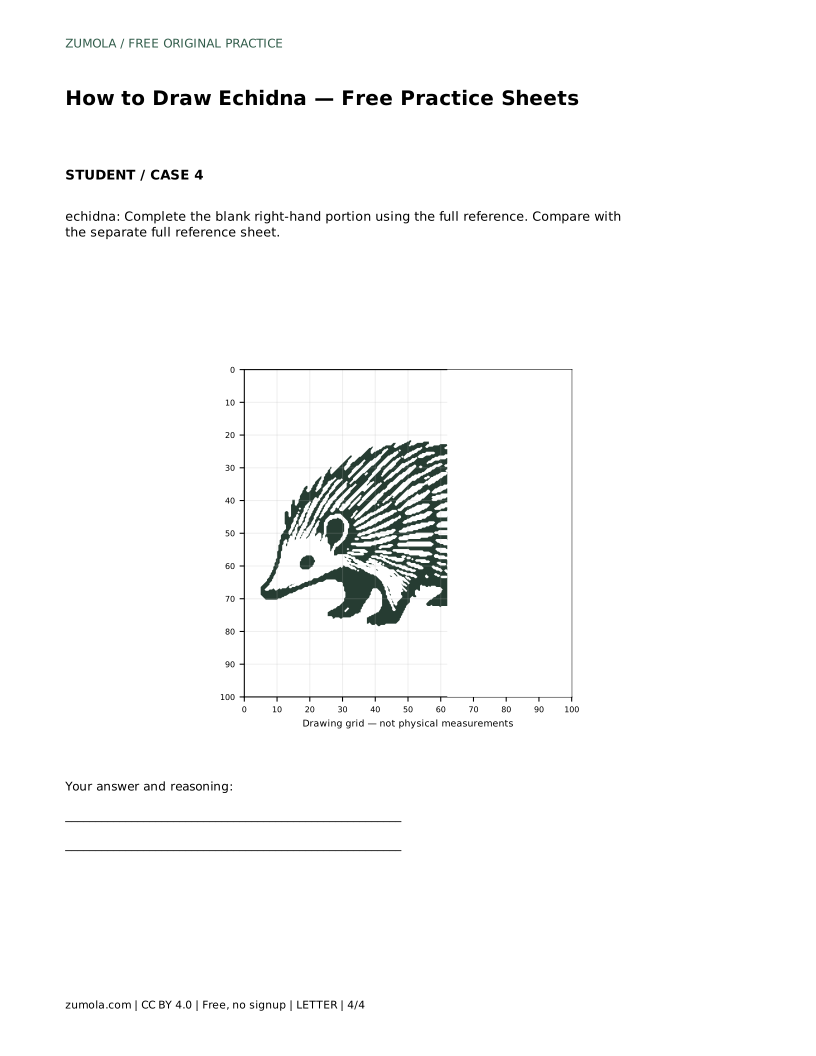
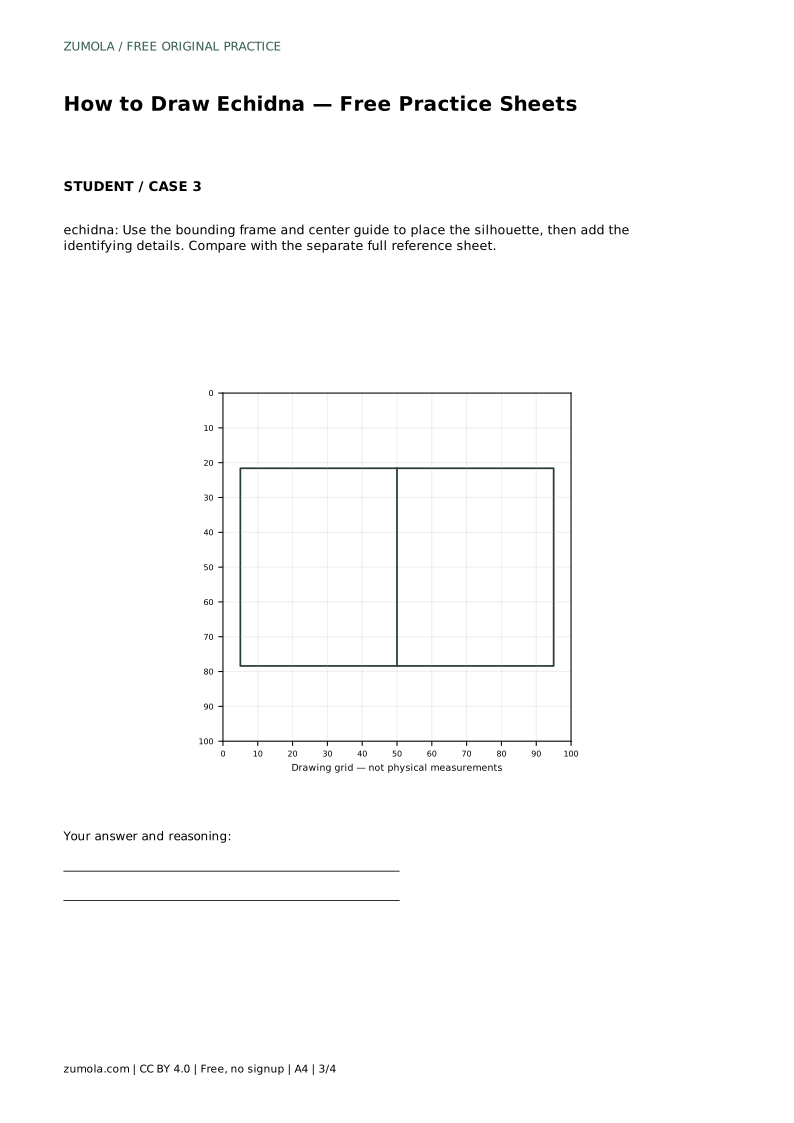
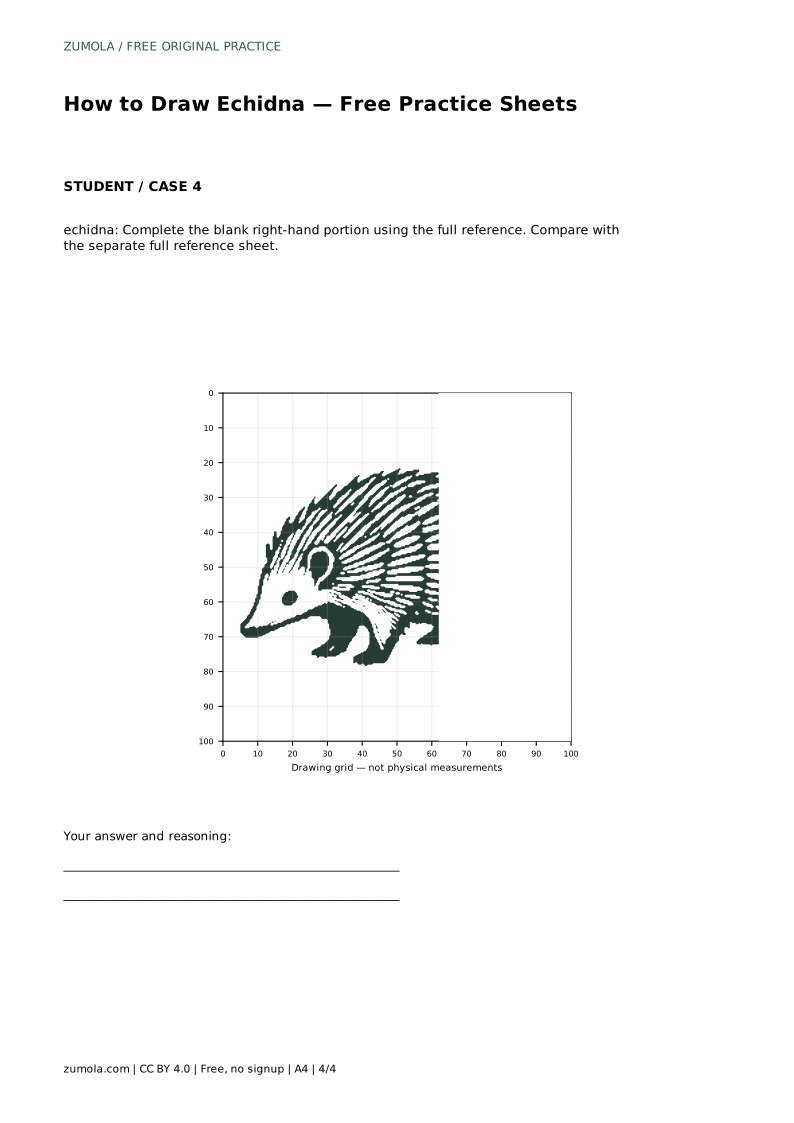
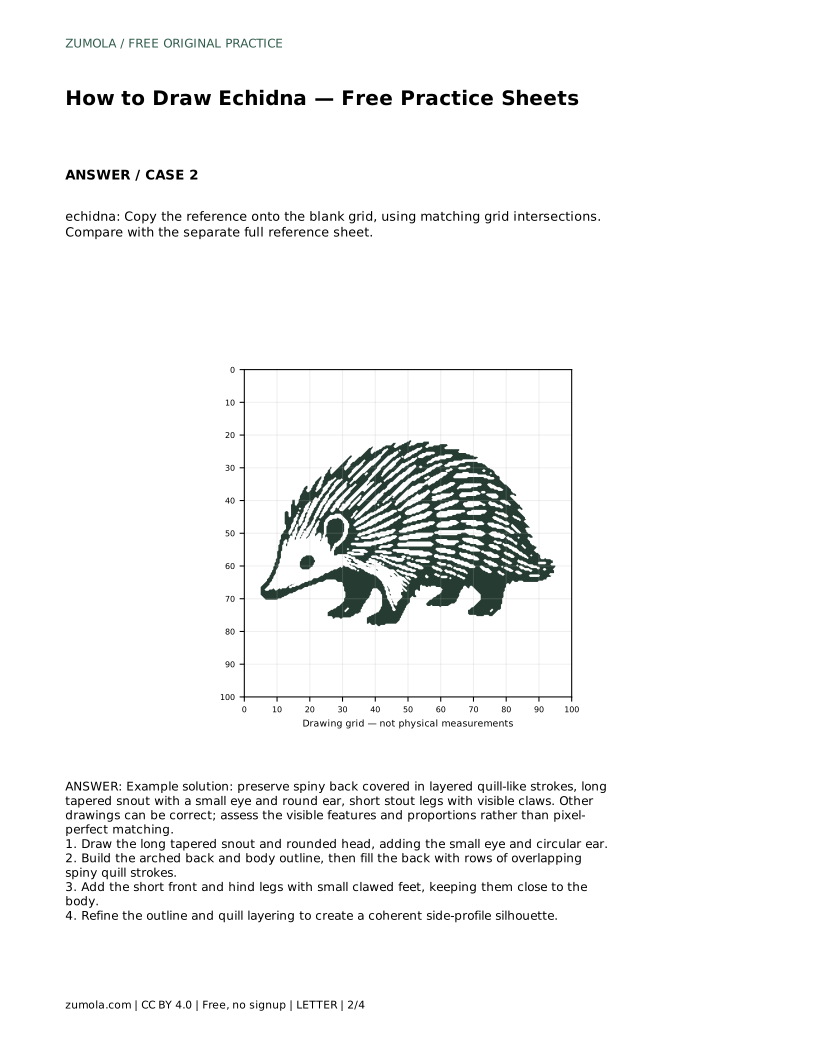
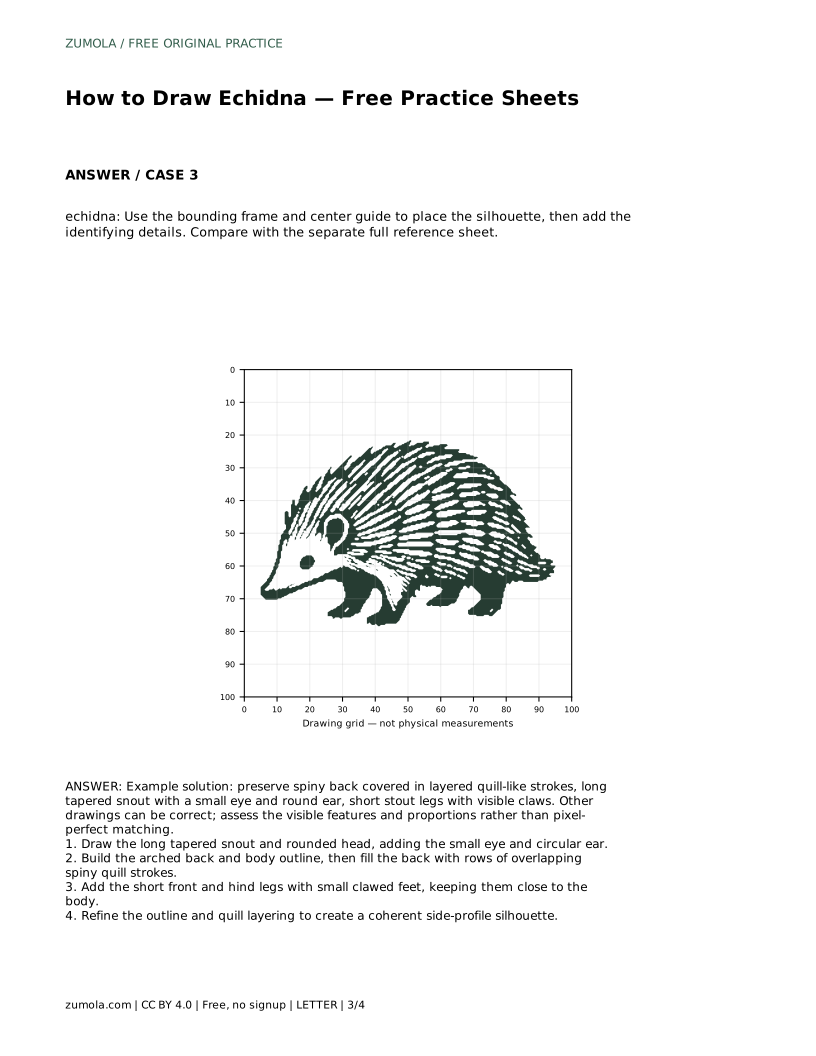
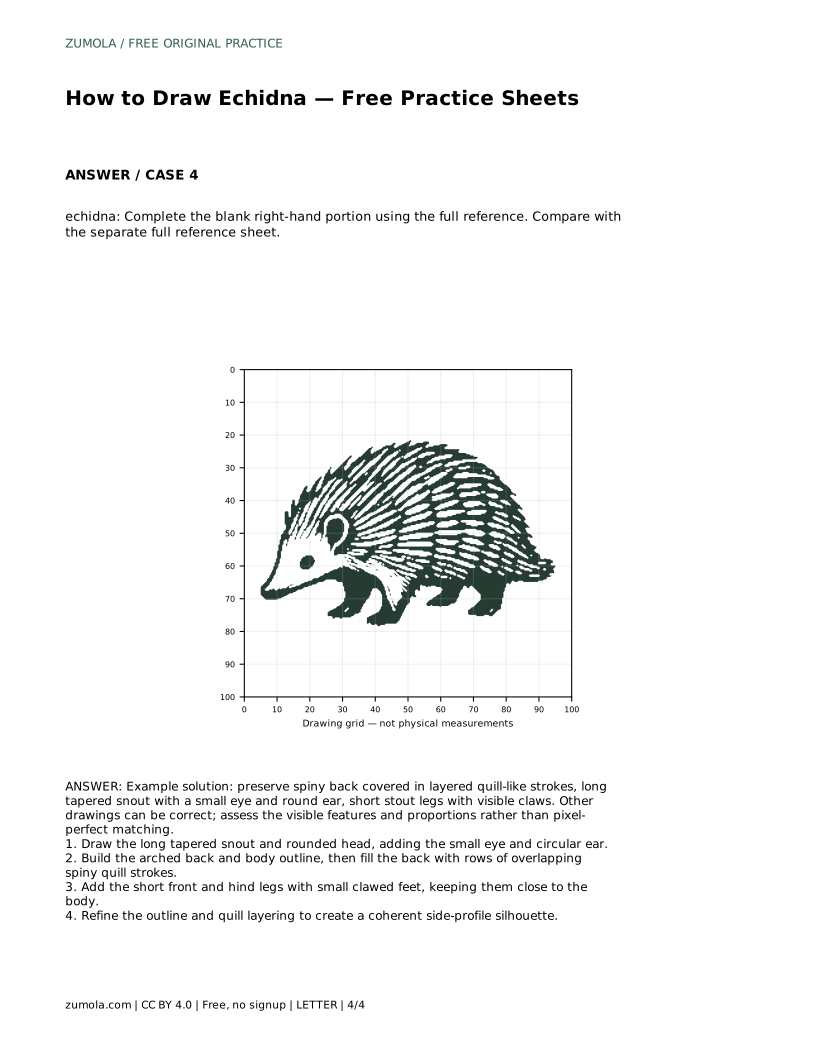
The trace sheet asks you to follow the reference outline first, then practise the contour independently and compare with the separate full reference sheet. The grid sheet asks you to copy the reference onto the blank grid using matching grid intersections, which helps you judge proportion. The bounding-frame sheet asks you to place the silhouette using the frame and center guide before adding identifying details. The partial sheet gives you the left portion and asks you to complete the blank right-hand portion from the full reference.
Each variant trains a different skill, so treat them as separate exercises rather than repeats. On the grid, count squares to check the snout length against the body height. On the partial sheet, match the height of the back at the cut edge before continuing the arch.
echidna: Trace the reference outline, then practise the contour independently. Compare with the separate full reference sheet.
Example solution: preserve spiny back covered in layered quill-like strokes, long tapered snout with a small eye and round ear, short stout legs with visible claws. Other drawings can be correct; assess the visible features and proportions rather than pixel-perfect matching. Draw the long tapered snout and rounded head, adding the small eye and circular ear. Build the arched back and body outline, then fill the back with rows of overlapping spiny quill strokes. Add the short front and hind legs with small clawed feet, keeping them close to the body. Refine the outline and quill layering to create a coherent side-profile silhouette.
No. Several drawings can be correct. Assess the visible features and proportions, such as the tapered snout, round ear, layered quills, and short clawed legs, rather than pixel-perfect matching.
Start with the head, snout, eye, and ear, then the arched back and body outline. Add quill layers after the silhouette, and finish with the legs, claws, and outline refinement.
Copy the reference onto the blank grid by matching grid intersections. Use square counts to compare the snout length, back height, and leg position against the reference.
All drawing practice · Free coordinate paper
Original resources · CC BY 4.0 · Free for personal and classroom use with attribution.