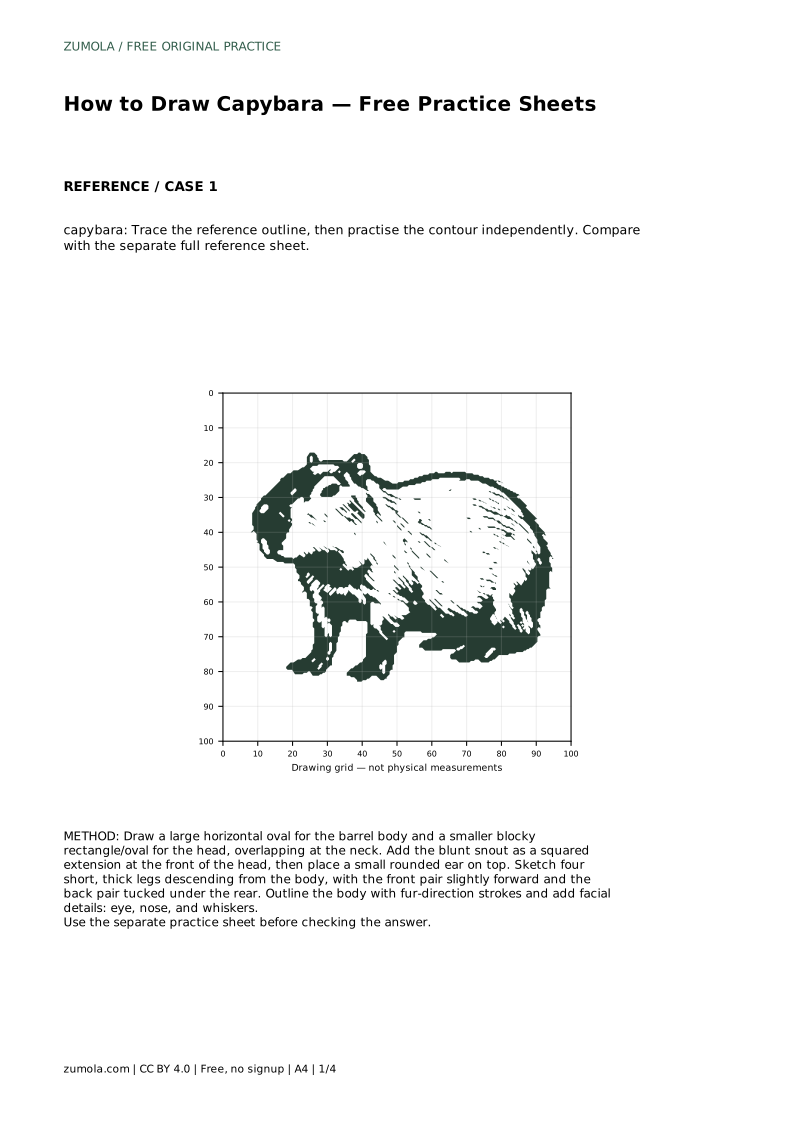
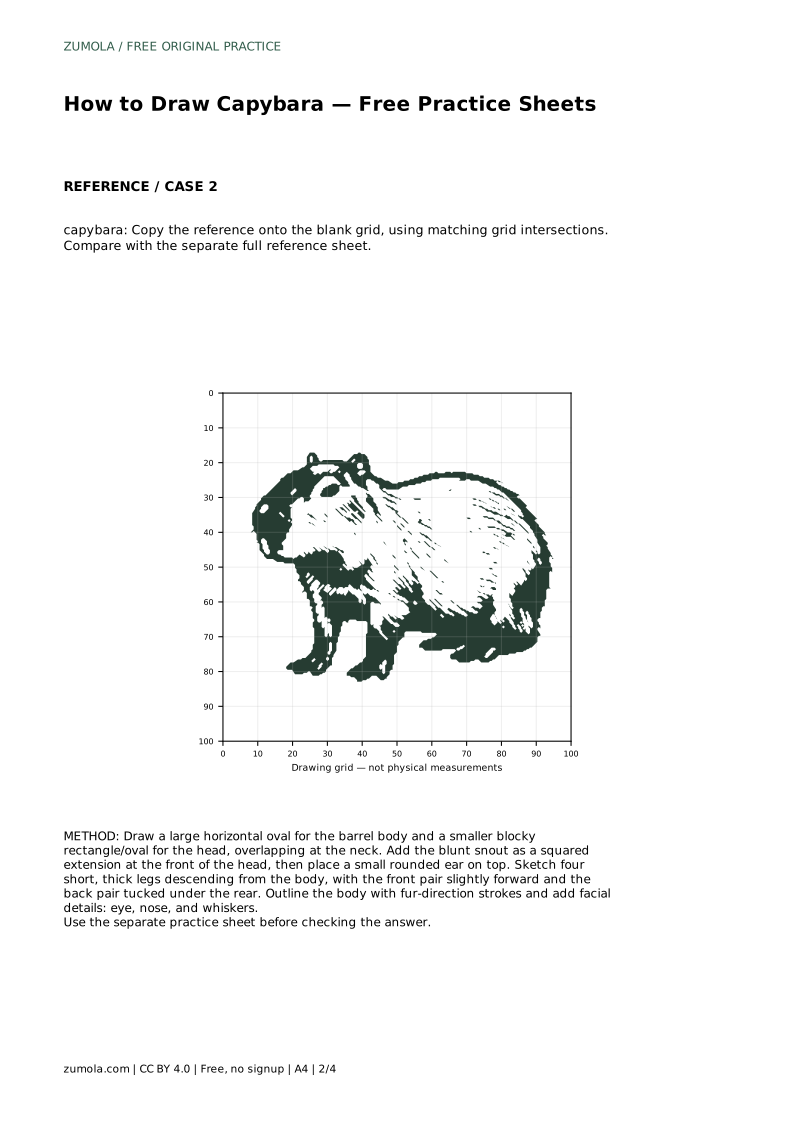
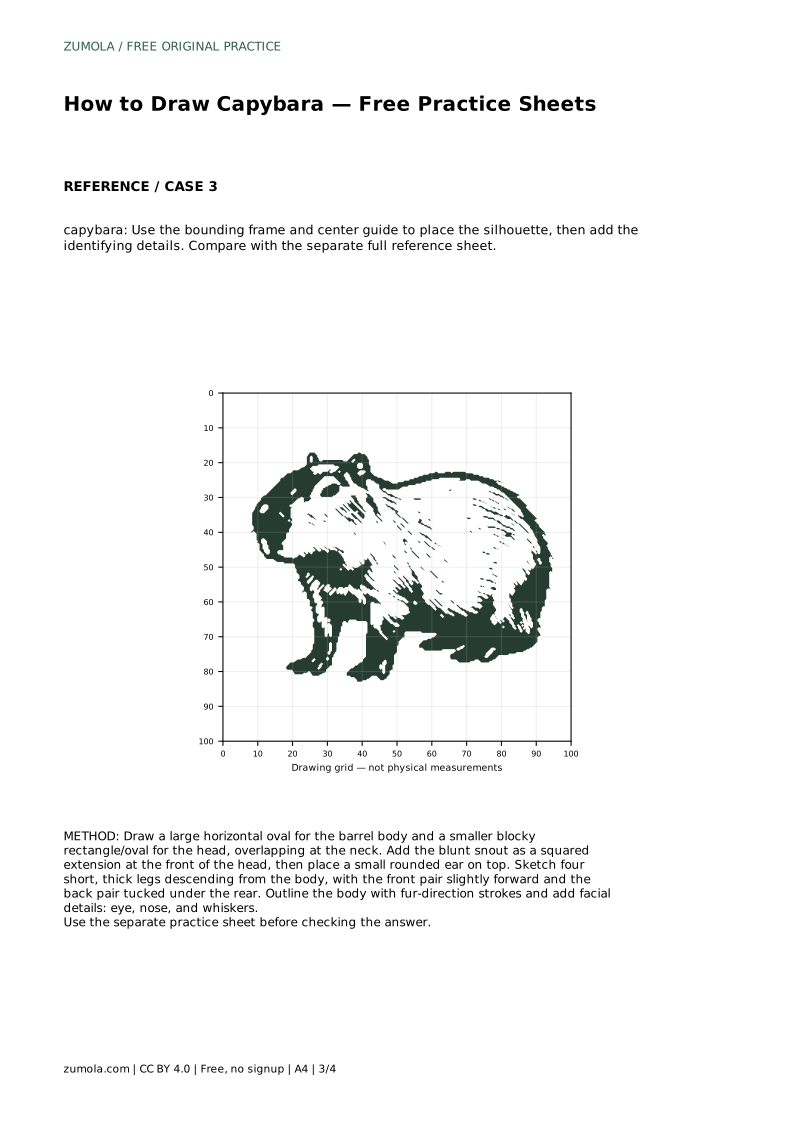
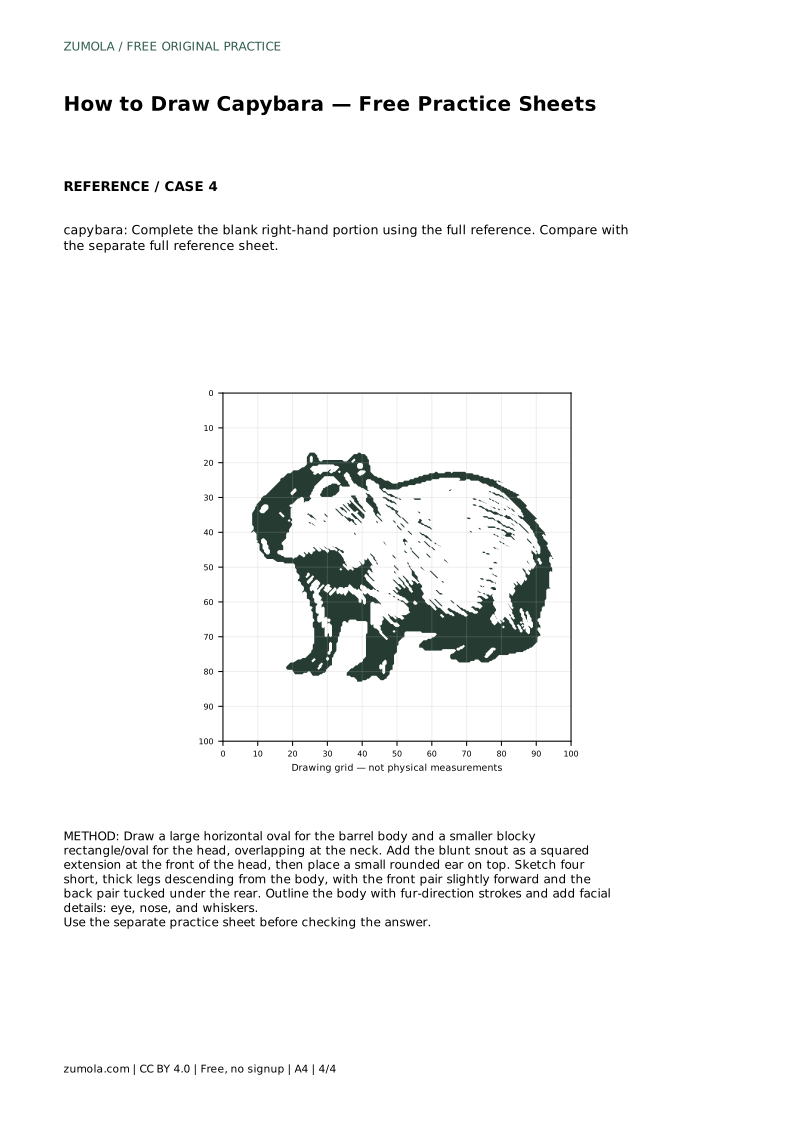
Reference diagrams
LETTER · Download PDF
A4 · Download PDF
Free original resources
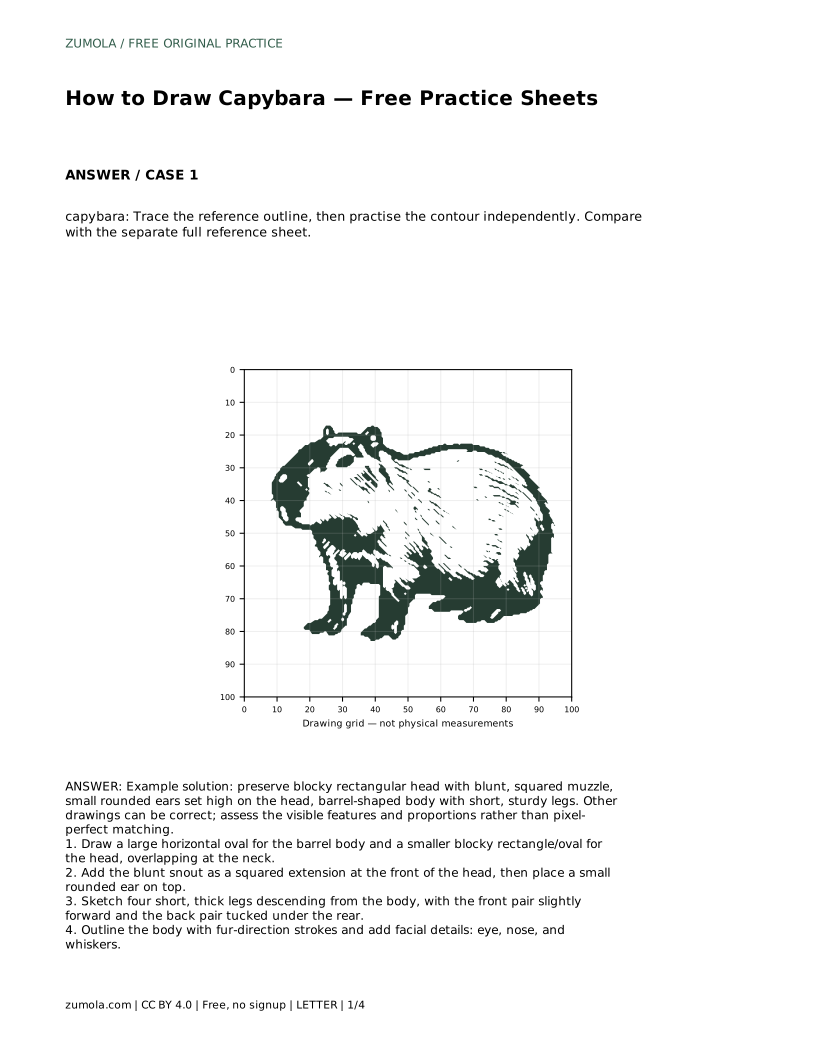
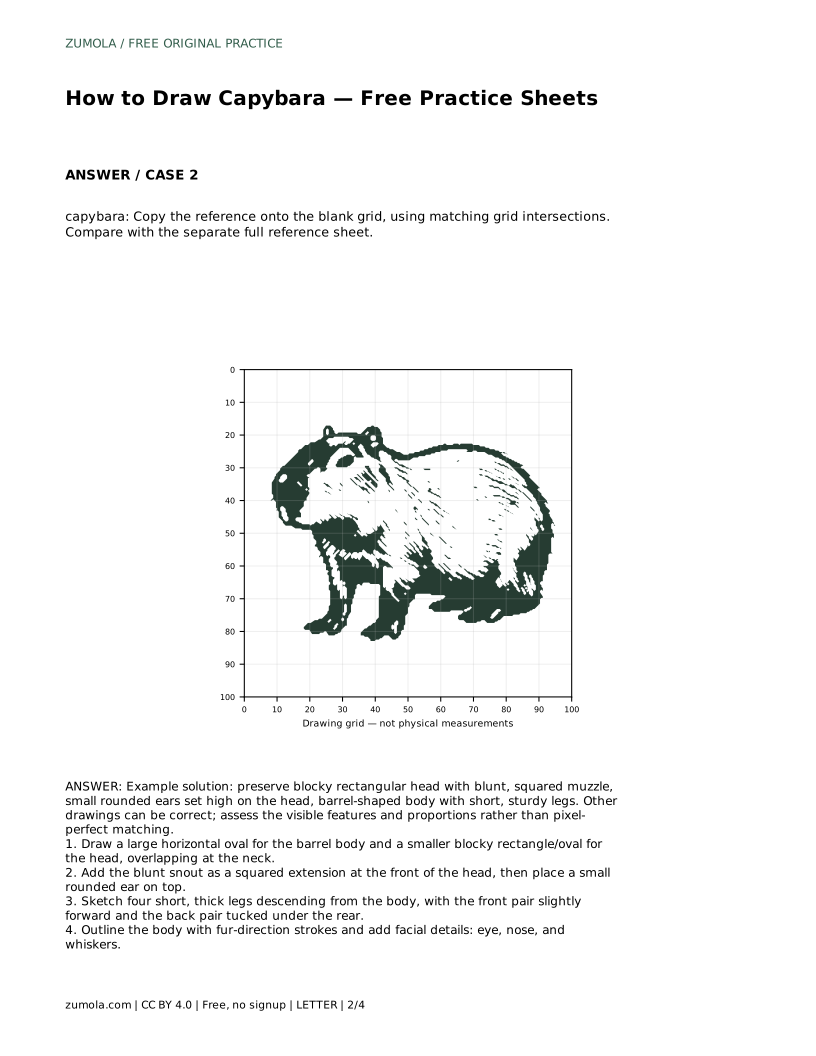
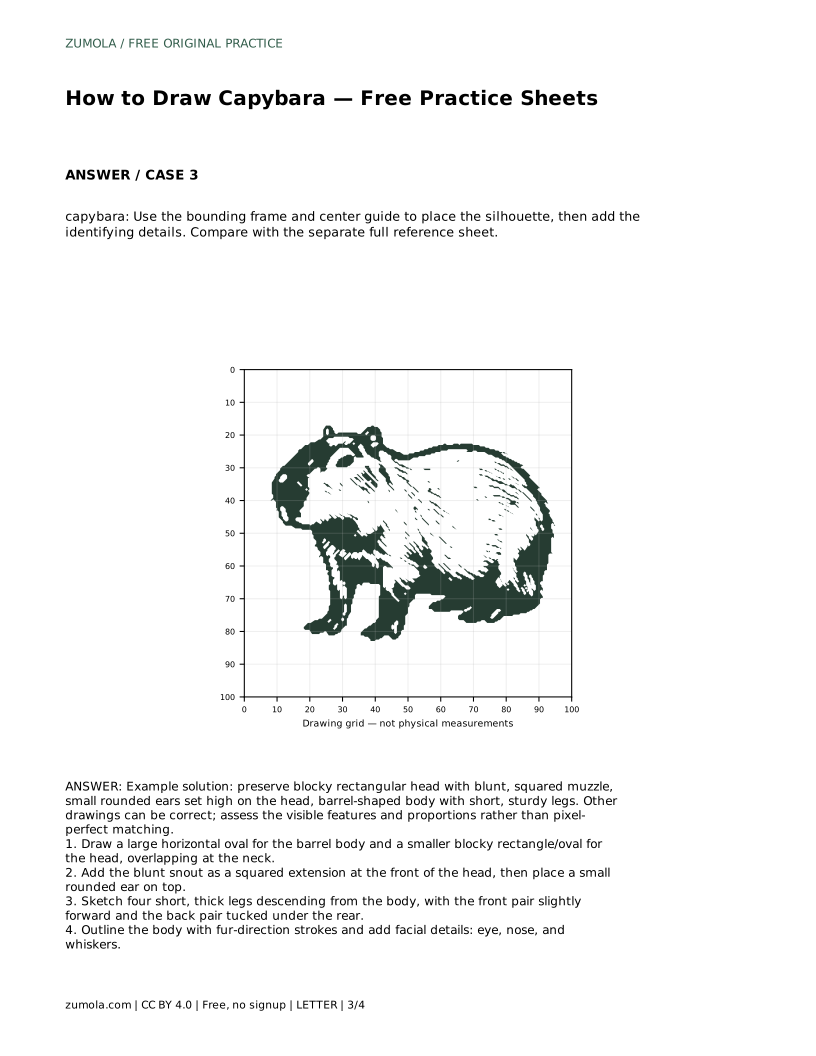
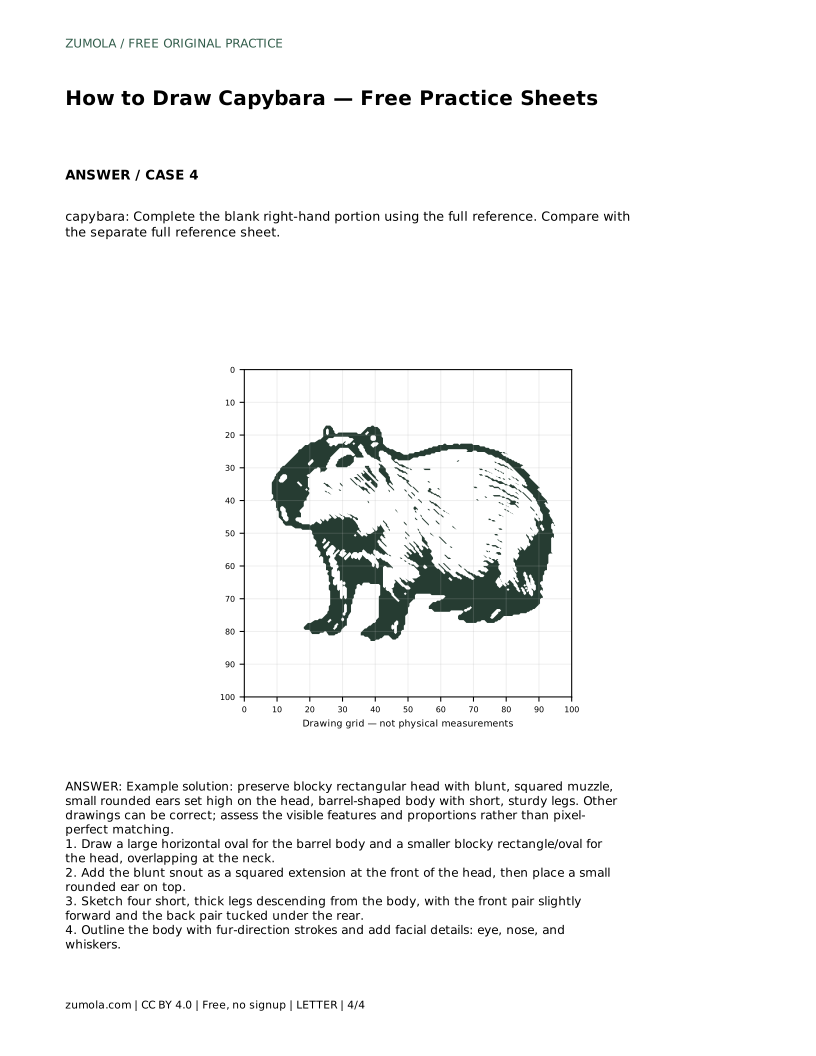
Learn to draw a capybara by tracing, gridding, and completing a reference. Focus on the blocky head, blunt muzzle, small high ears, and barrel body.
Four original cases, with reference diagrams, practice sheets and worked answers. Everything is free; no signup required.
LETTER · Download PDF
A4 · Download PDF
LETTER · Download PDF
A4 · Download PDF
LETTER · Download PDF
A4 · Download PDF
Use A4 or US Letter to match your printer. Use the stated values and conditions to solve each exercise; diagrams are not physical measuring rulers.
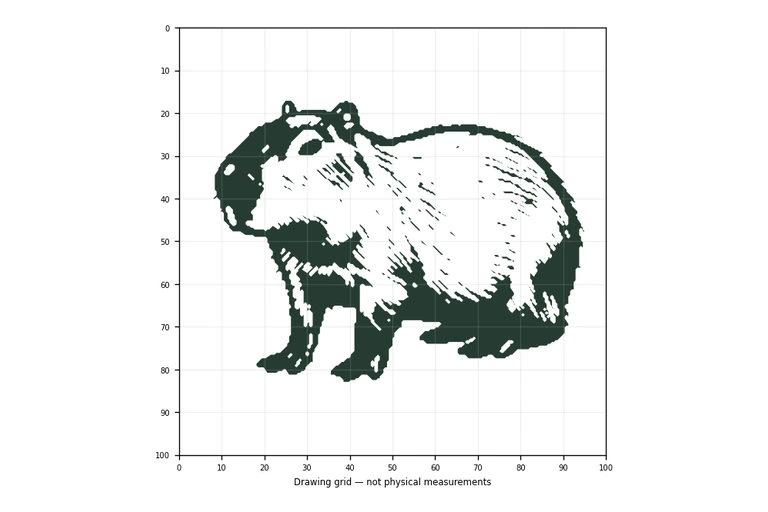
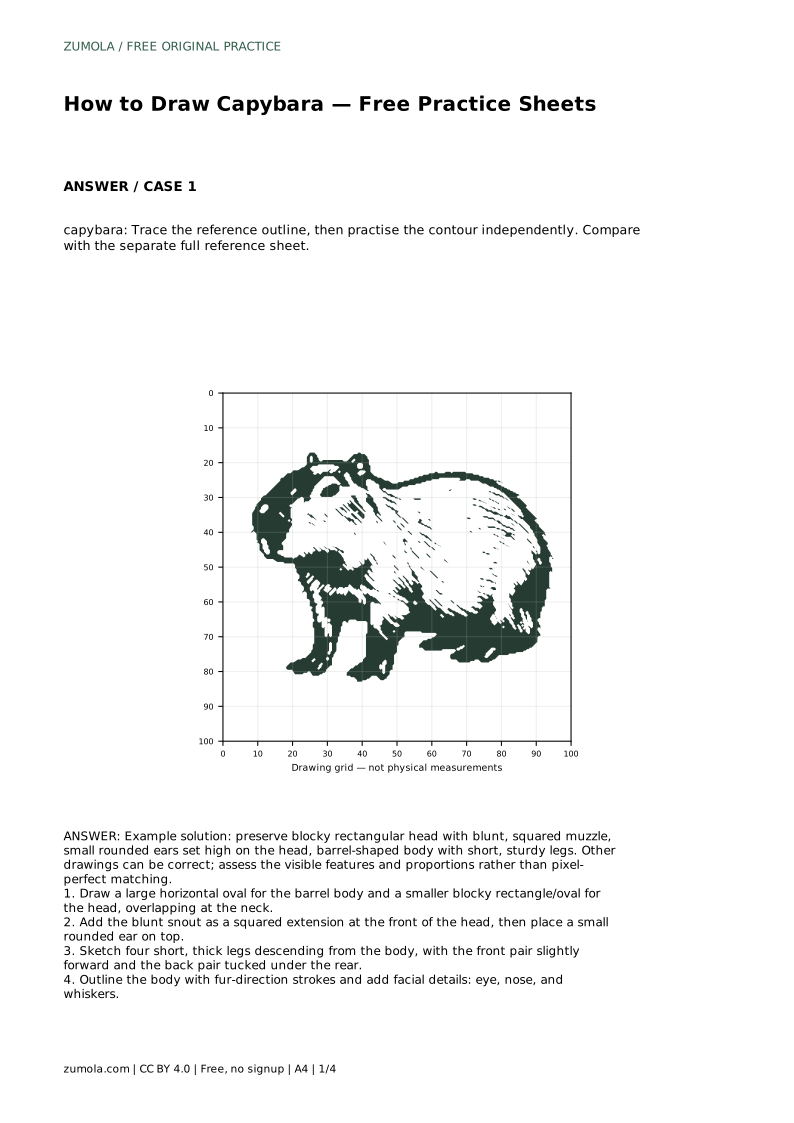
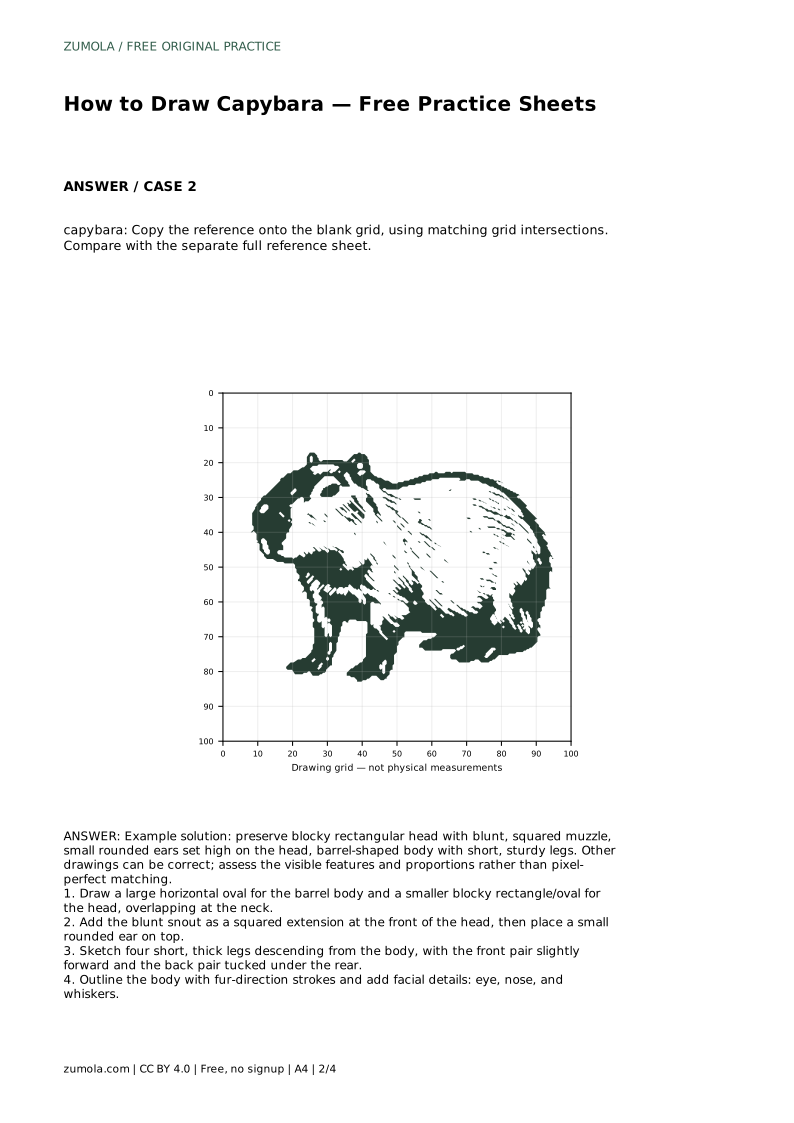
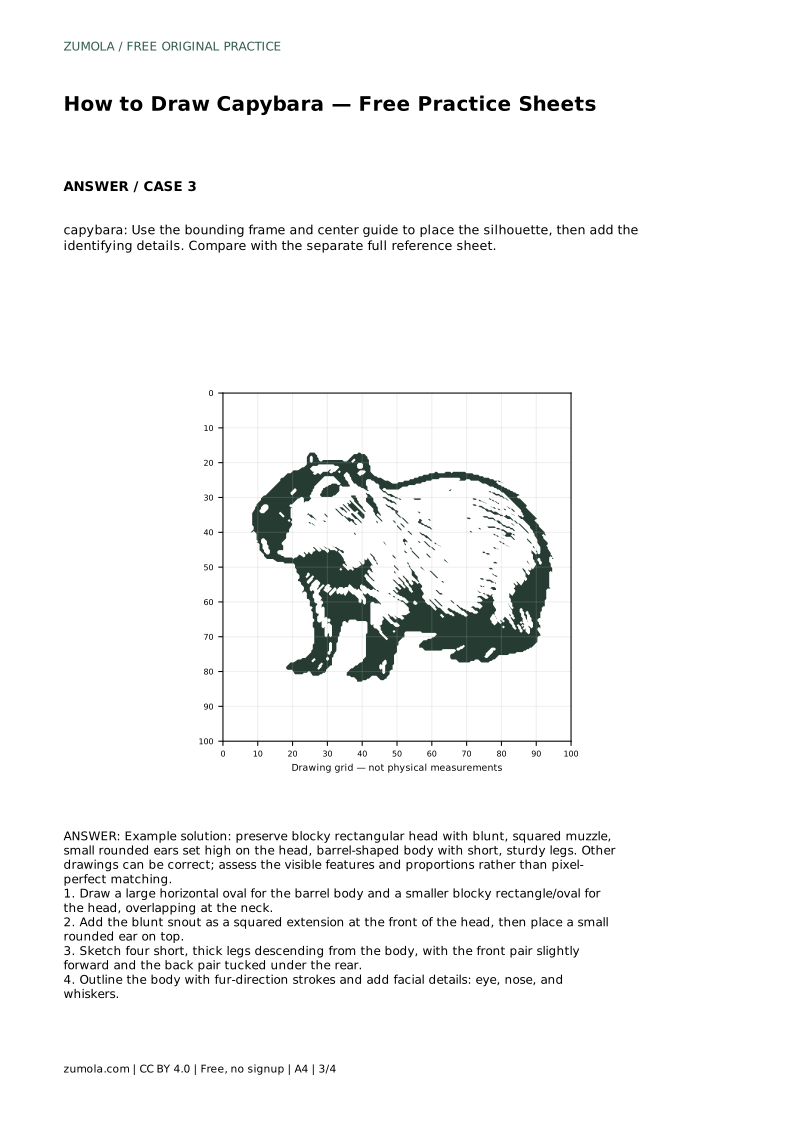
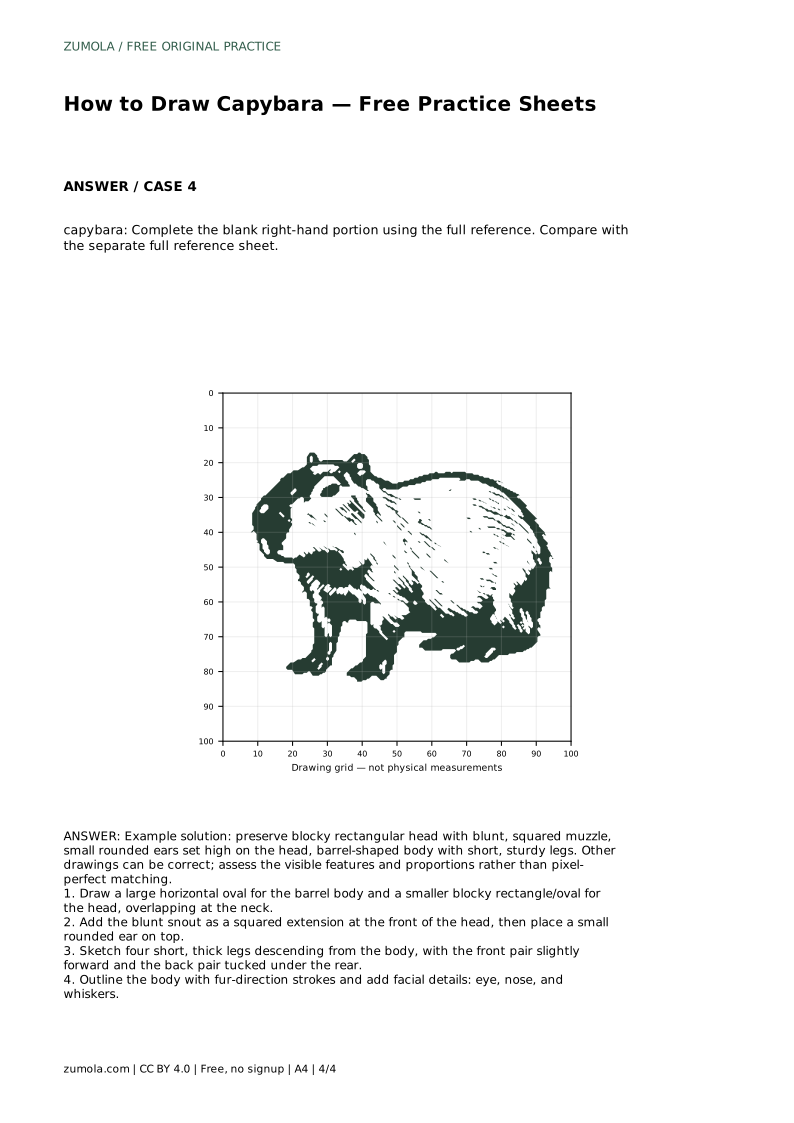
Drawing a capybara is mostly about getting a few sturdy shapes in the right relationship. The head is blocky rather than round, the muzzle is blunt and squared, the ears are small and set high, and the body is a long barrel carried on short, thick legs. This page explains how to practise those features using trace, grid, frame, and partial-reference sheets. Each method asks you to compare your drawing with a separate full reference, so you can judge proportions and visible features rather than chase a pixel-perfect copy.
Begin by placing two large shapes: a horizontal oval for the barrel body and a smaller blocky rectangle or oval for the head. Let them overlap at the neck so the head sits forward of the body rather than floating above it. The capybara silhouette is low and rectangular, not tall or round.
Next, extend the front of the head into a blunt, squared muzzle. This is the feature that most often goes wrong: a pointed or tapering snout makes the animal look like a different rodent. Keep the muzzle wide and flat-ended. Place a small rounded ear high on the head, not at the side.
Sketch four short, thick legs descending from the body. The front pair sits slightly forward, and the back pair tucks under the rear. Keep the legs sturdy and close to the body; long, thin legs change the animal's stance. Outline the body with short strokes that follow the fur direction, working from the back toward the head.
Finish the face with a small eye set above and behind the muzzle, a dark nose at the squared front, and a few whiskers. These details should sit on the head mass you already placed, not float outside it. When you compare with the full reference, check the head-to-body ratio and the height of the ears before adjusting anything else.
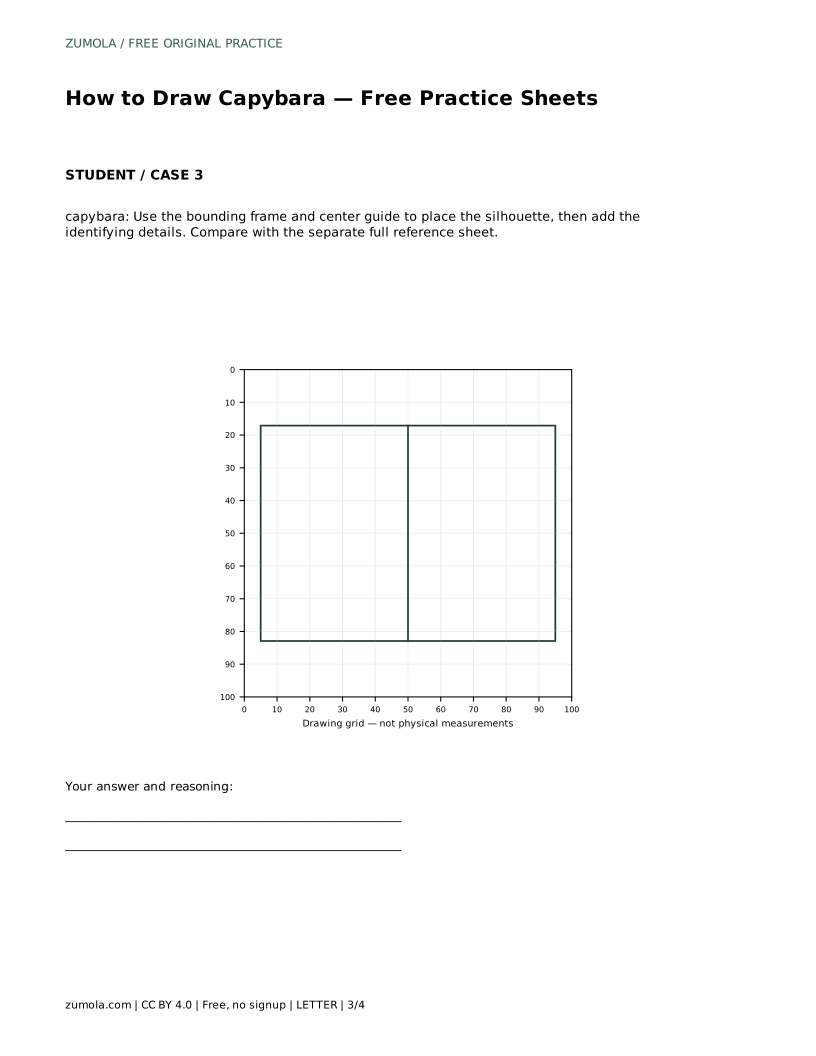
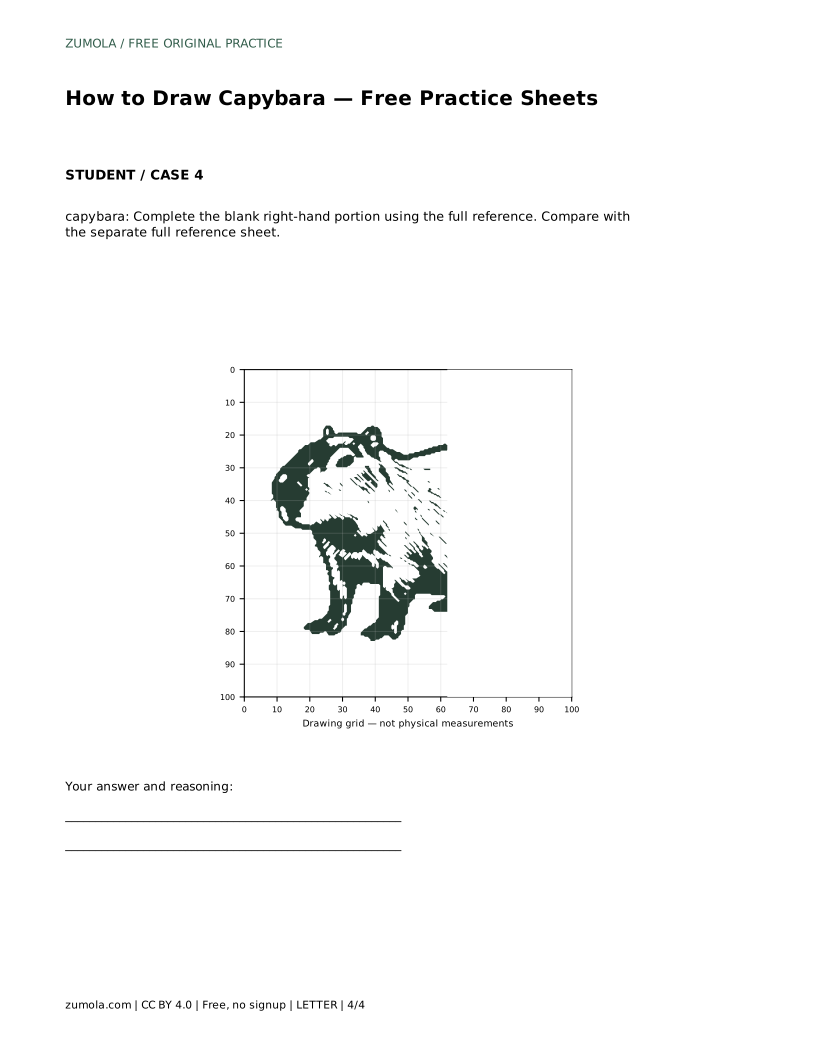
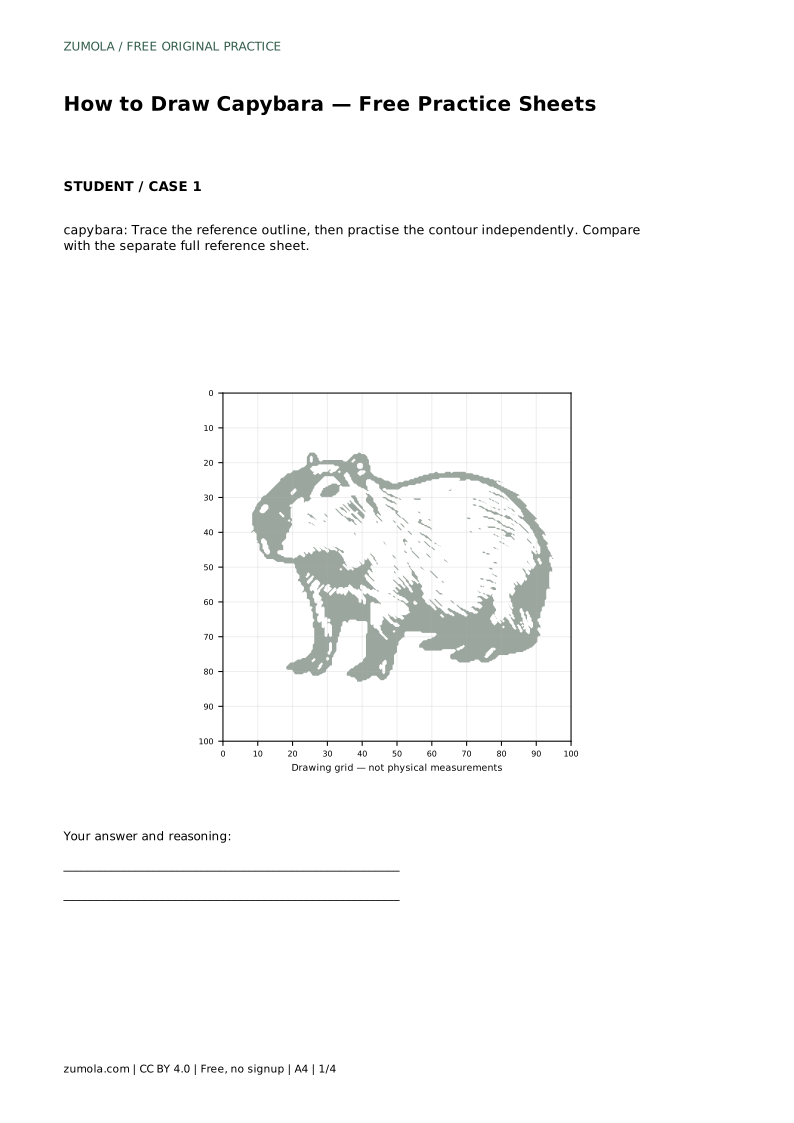
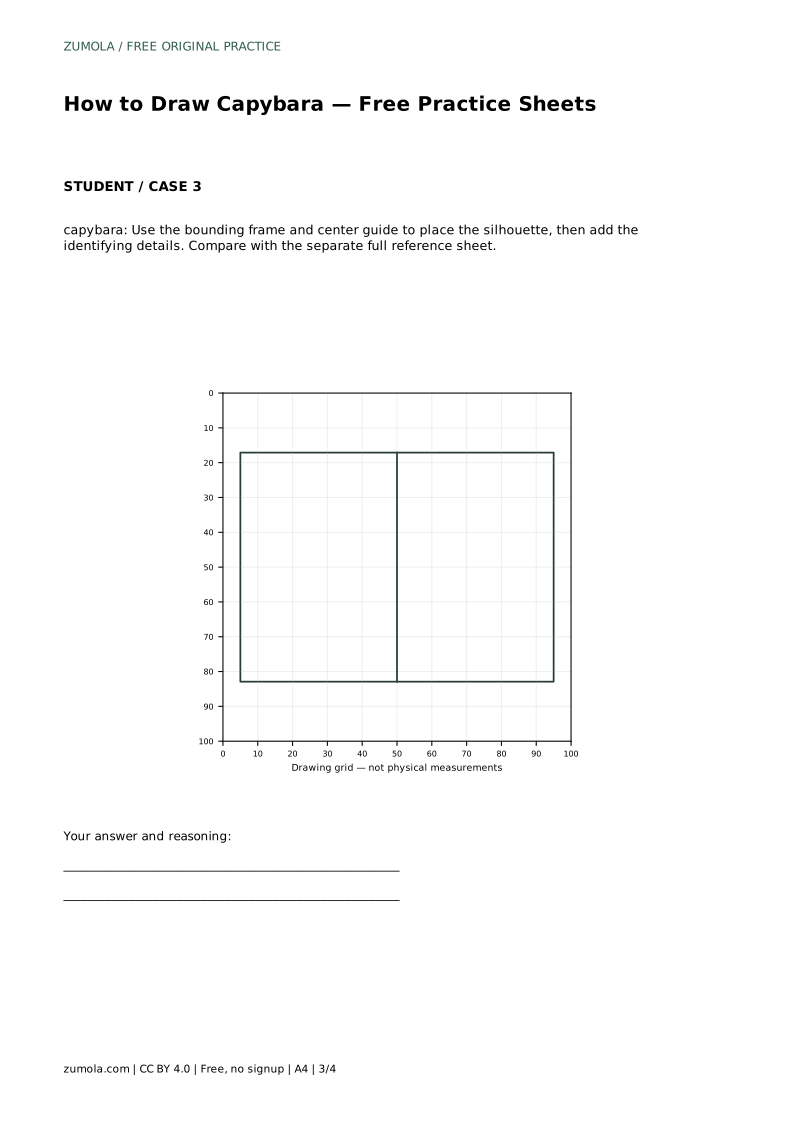
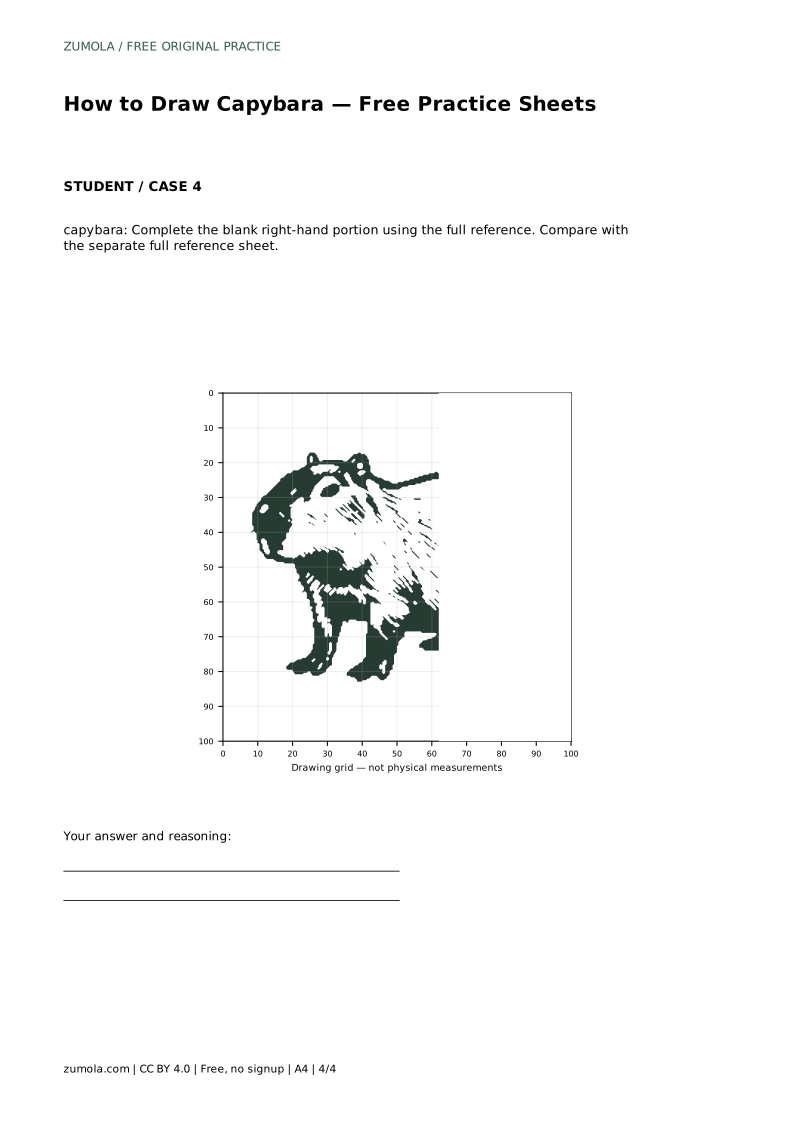
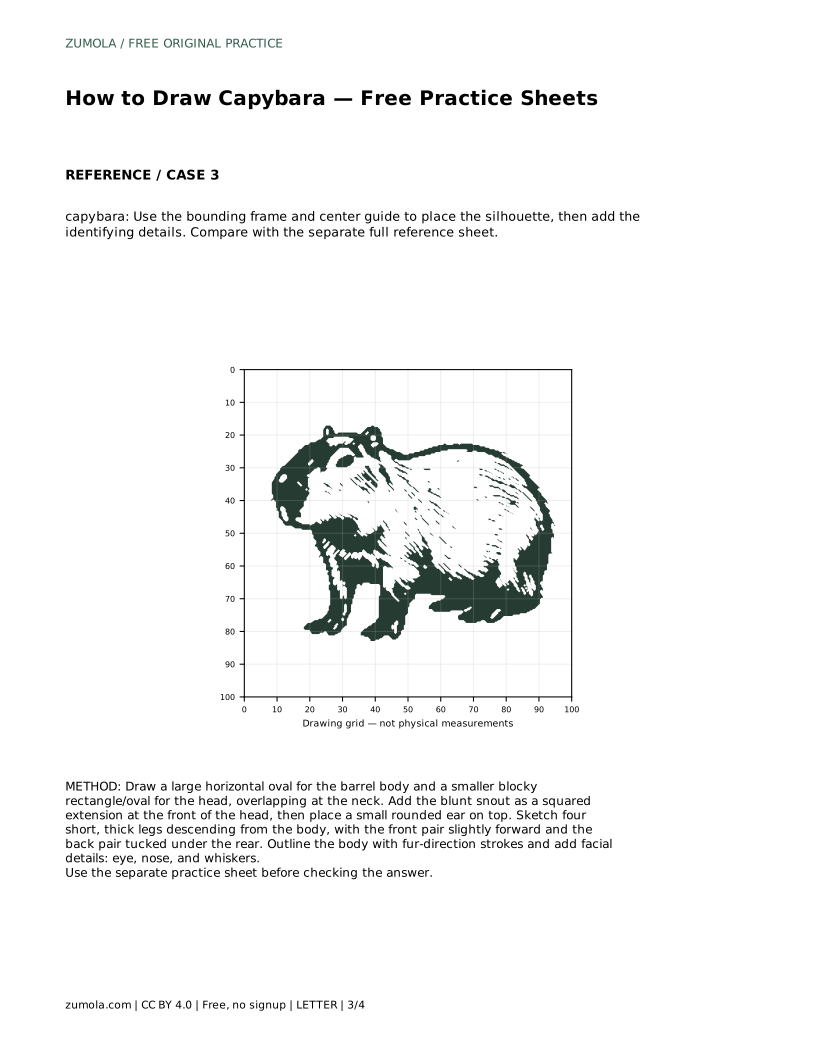
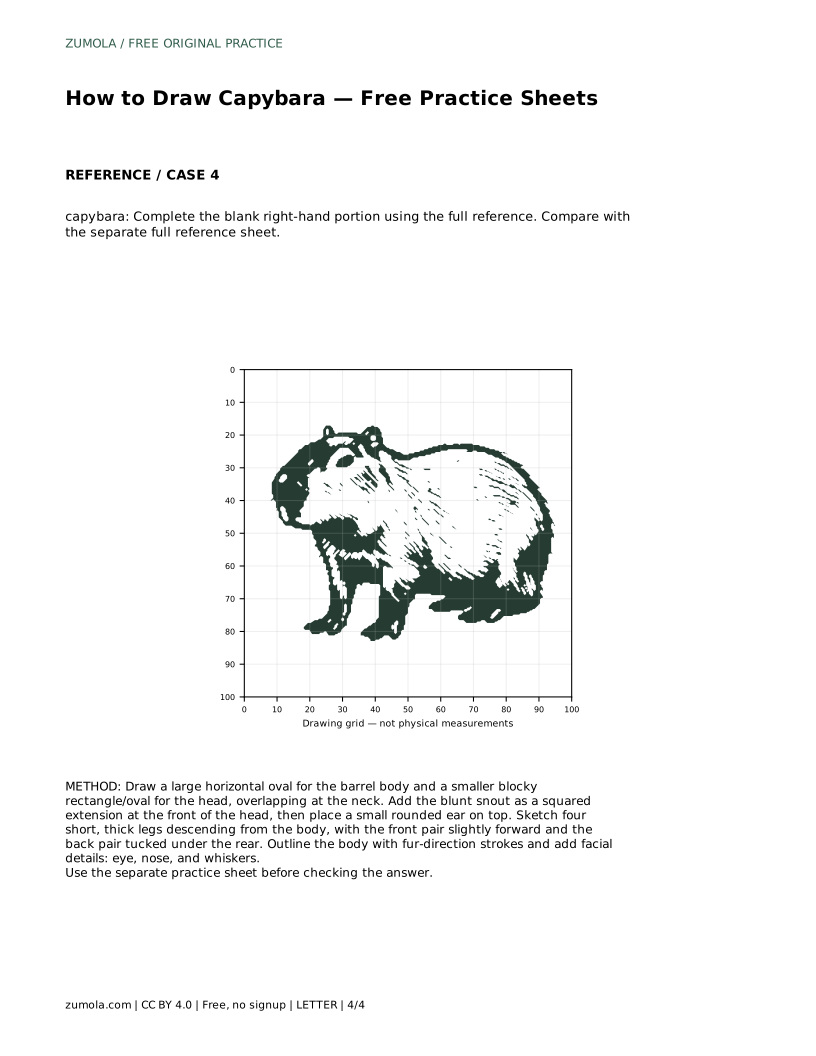
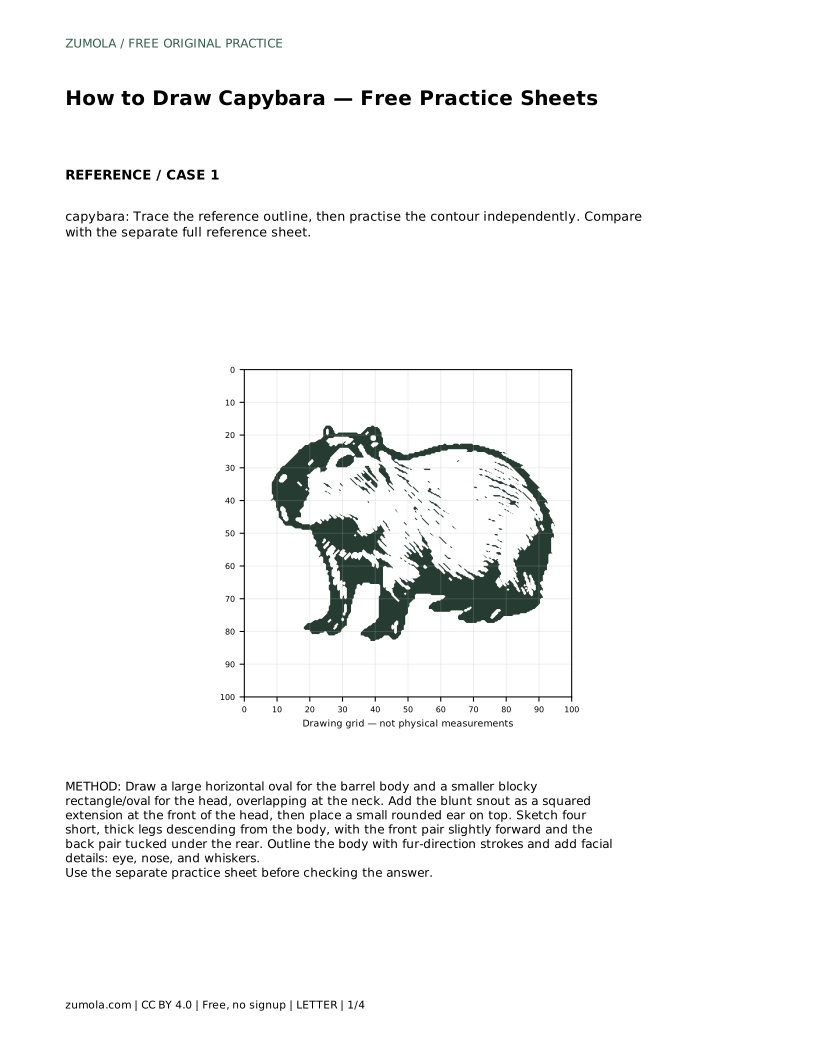
A trace sheet asks you to follow the reference outline first, then practise the contour independently on blank space. A grid sheet asks you to copy the reference onto matching grid intersections, which trains placement and proportion. A bounding-frame sheet gives you a center guide for the silhouette before you add identifying details. A partial-reference sheet gives you the left portion and asks you to complete the right using the full reference.
In every case, keep the separate full reference visible for comparison. The goal is not to reproduce every line but to preserve the blocky head, blunt squared muzzle, small high ears, barrel body, and short sturdy legs. Different drawings can be correct; assess the visible features and proportions.
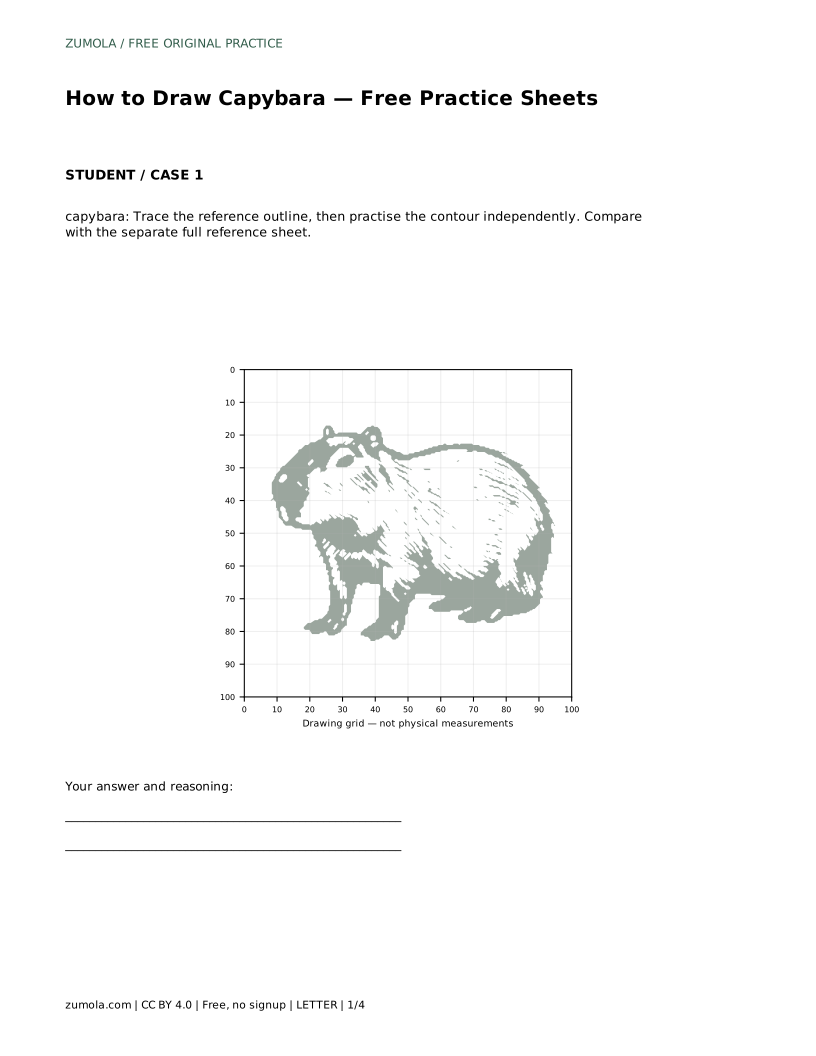
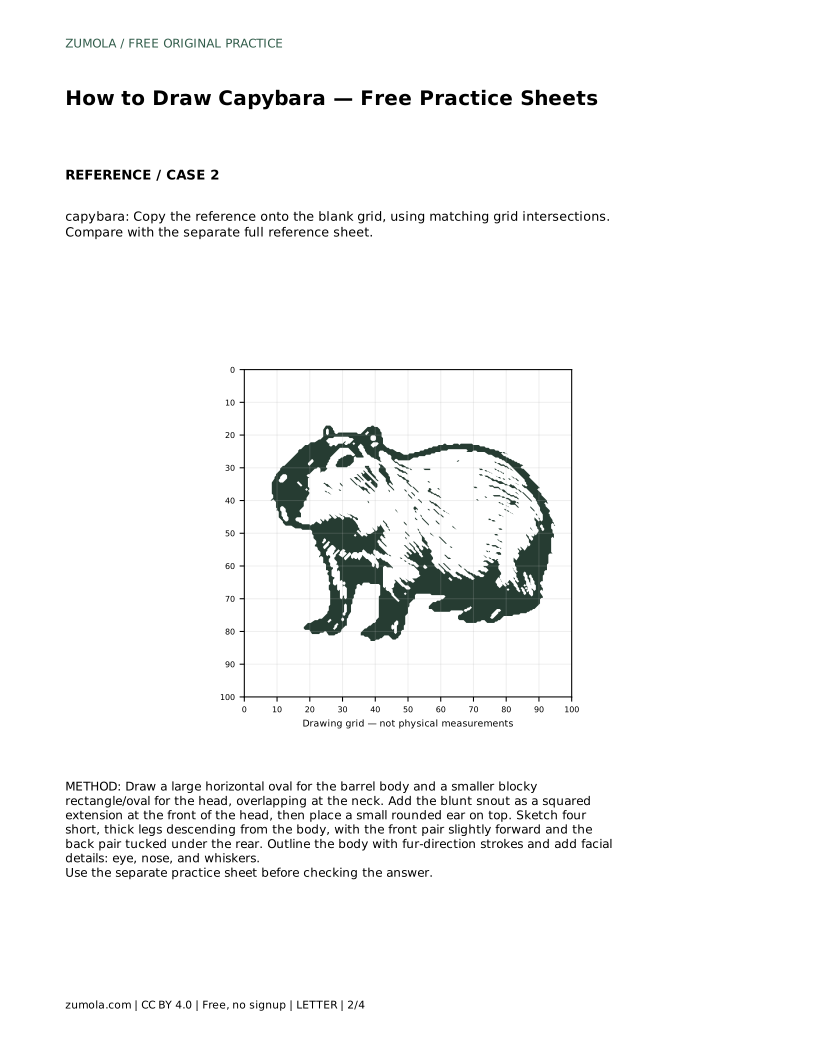
capybara: Trace the reference outline, then practise the contour independently. Compare with the separate full reference sheet.
Example solution: preserve blocky rectangular head with blunt, squared muzzle, small rounded ears set high on the head, barrel-shaped body with short, sturdy legs. Other drawings can be correct; assess the visible features and proportions rather than pixel-perfect matching. Draw a large horizontal oval for the barrel body and a smaller blocky rectangle/oval for the head, overlapping at the neck. Add the blunt snout as a squared extension at the front of the head, then place a small rounded ear on top. Sketch four short, thick legs descending from the body, with the front pair slightly forward and the back pair tucked under the rear. Outline the body with fur-direction strokes and add facial details: eye, nose, and whiskers.
No. Use the full reference to check visible features and proportions. Other drawings can be correct if the blocky head, blunt muzzle, high ears, barrel body, and short legs are preserved.
Start with the trace sheet to learn the contour, then move to the grid or bounding-frame sheet to practise placement without tracing.
Check the head-to-body ratio and the height of the ears first, then the bluntness of the muzzle and the length of the legs.
All drawing practice · Free coordinate paper
Original resources · CC BY 4.0 · Free for personal and classroom use with attribution.