Reference diagrams
LETTER · Download PDF
A4 · Download PDF
Free original resources
Learn to draw a jerboa by building its body, tall ears, folded hind legs, and long tail. Use tracing, grid, and frame practice sheets to check proportions.
Four original cases, with reference diagrams, practice sheets and worked answers. Everything is free; no signup required.
LETTER · Download PDF
A4 · Download PDF
LETTER · Download PDF
A4 · Download PDF
LETTER · Download PDF
A4 · Download PDF
Use A4 or US Letter to match your printer. Use the stated values and conditions to solve each exercise; diagrams are not physical measuring rulers.
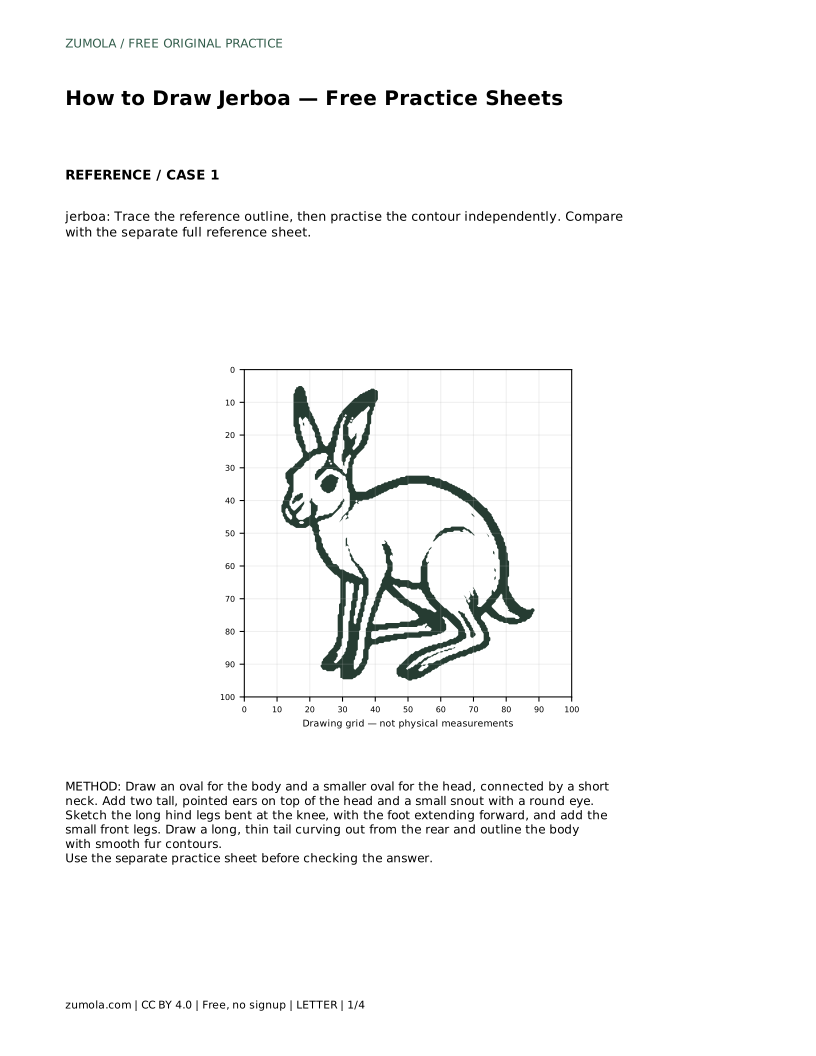
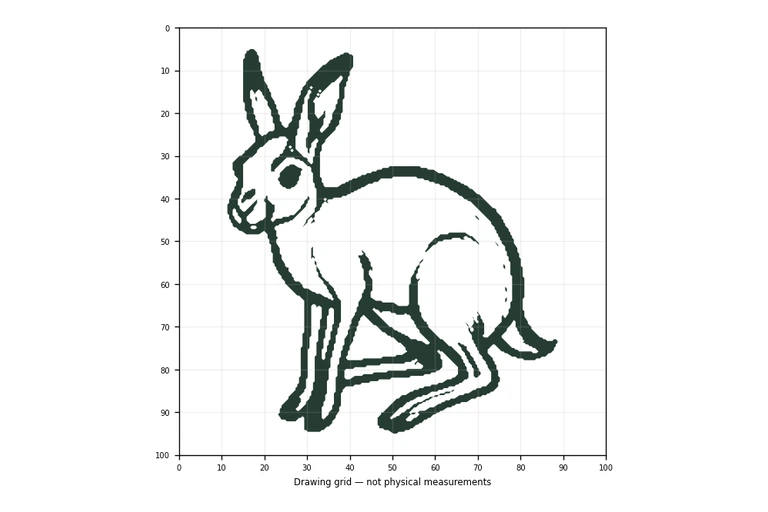
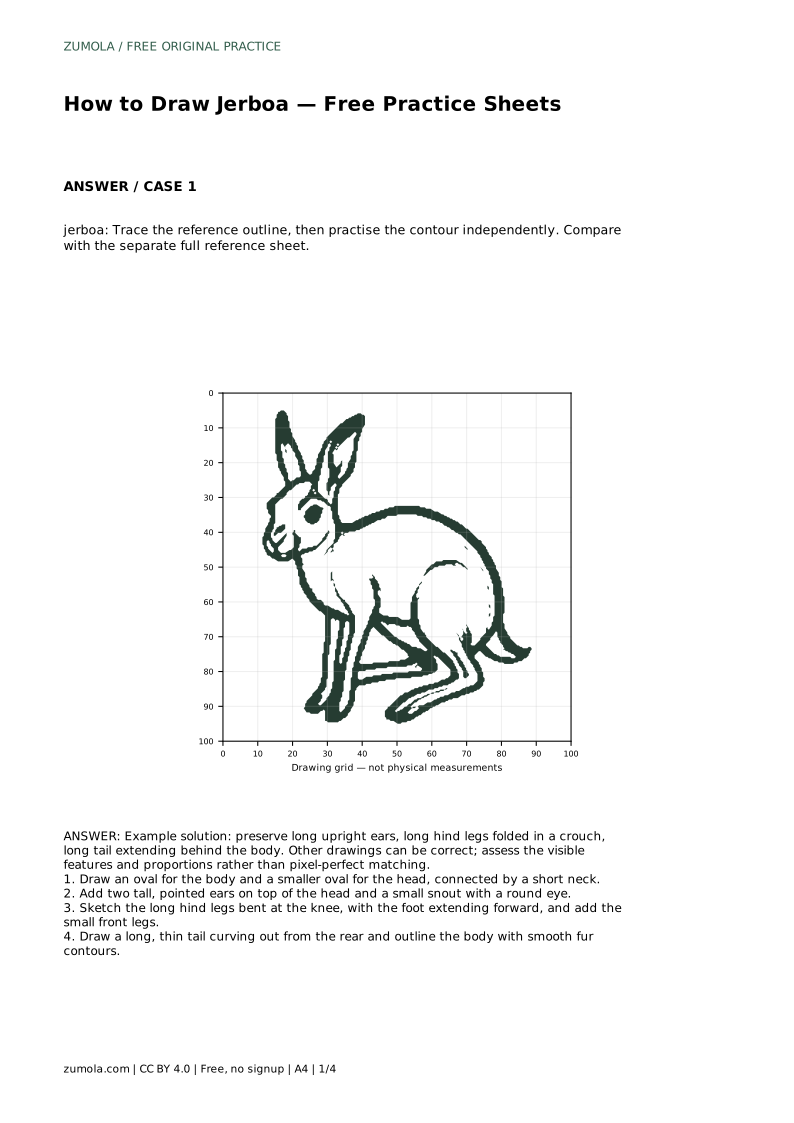
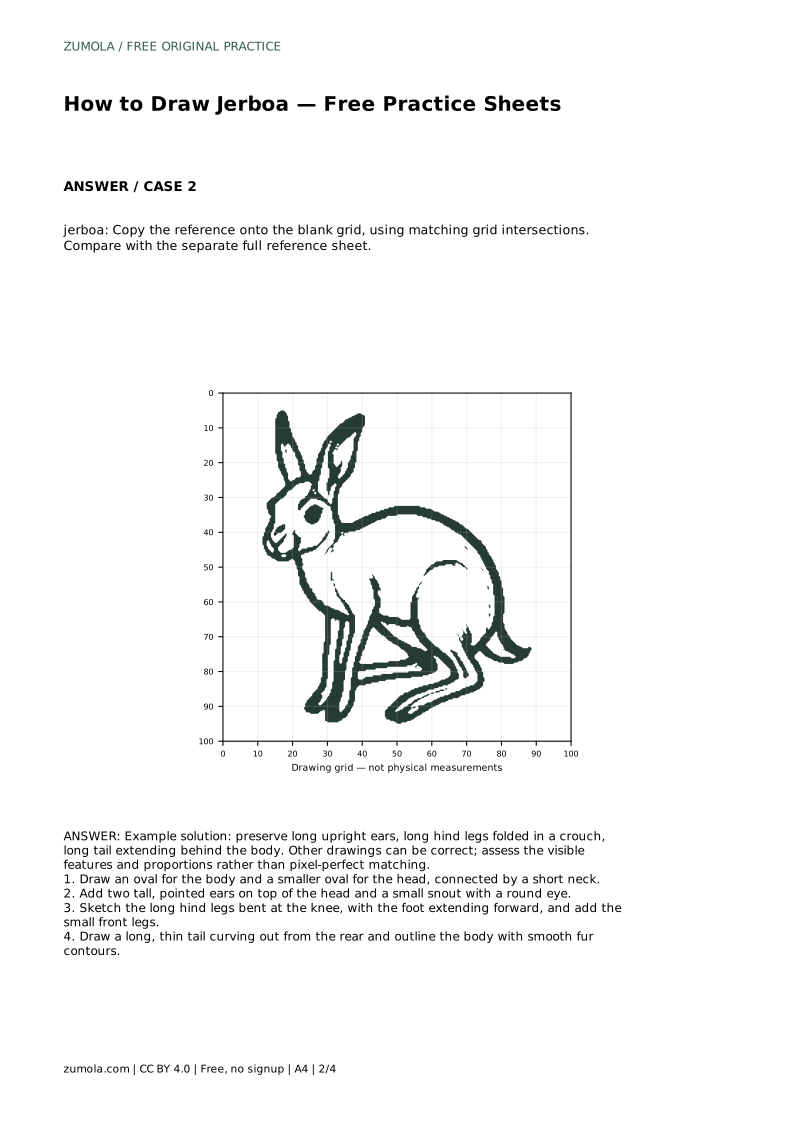
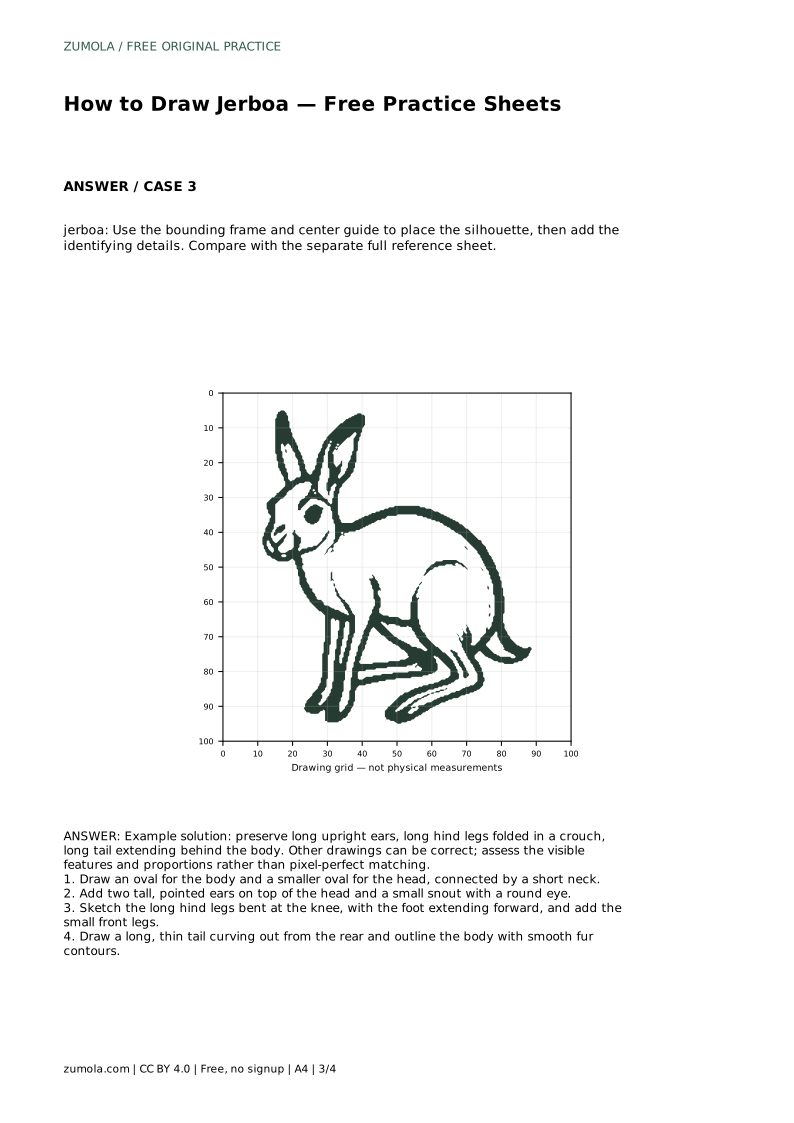
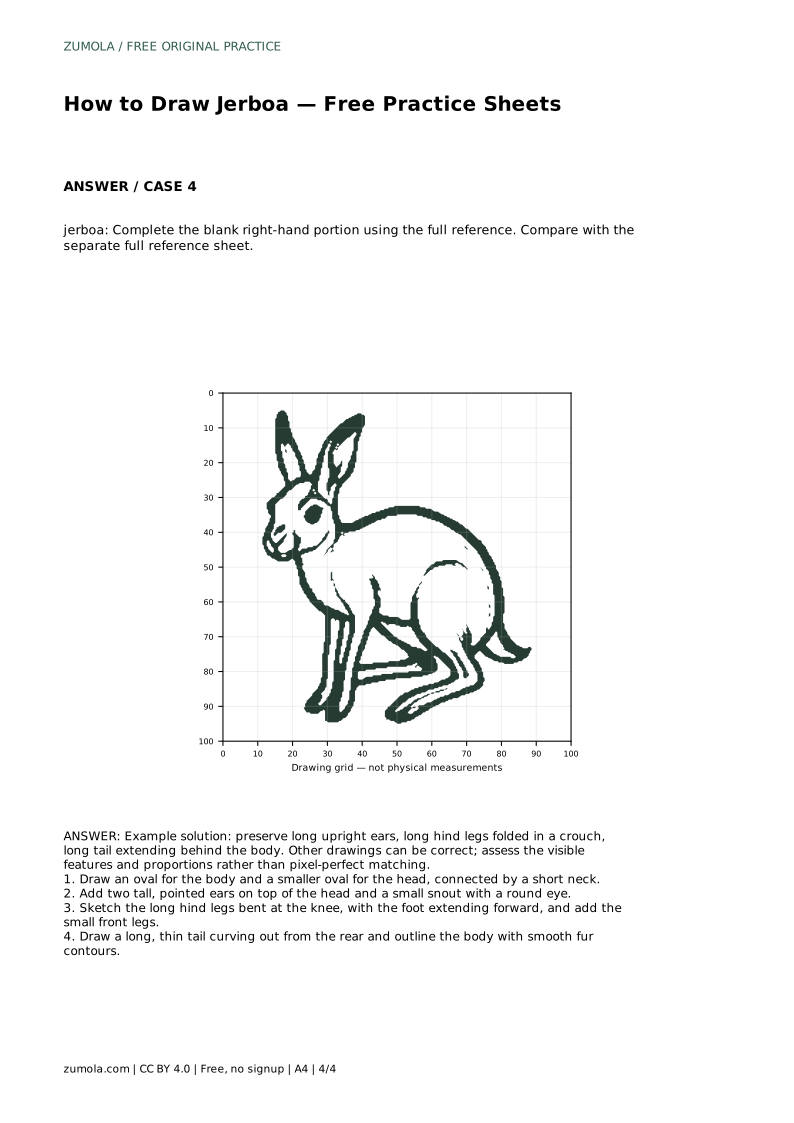
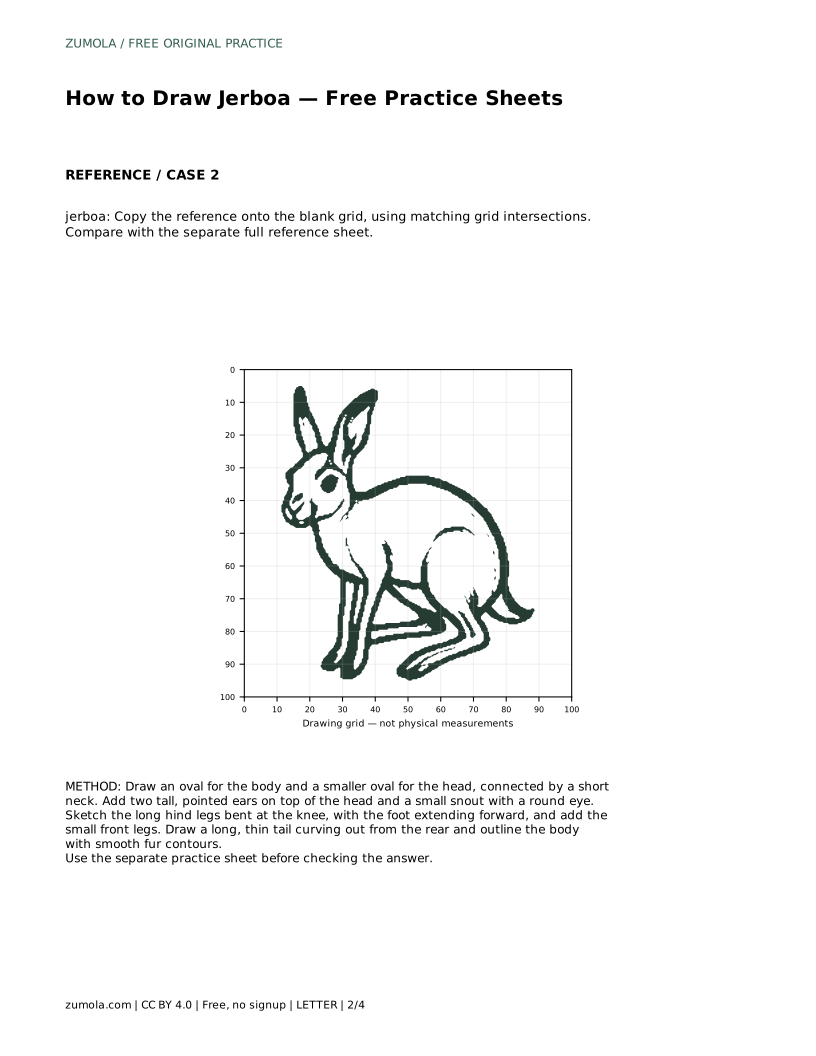
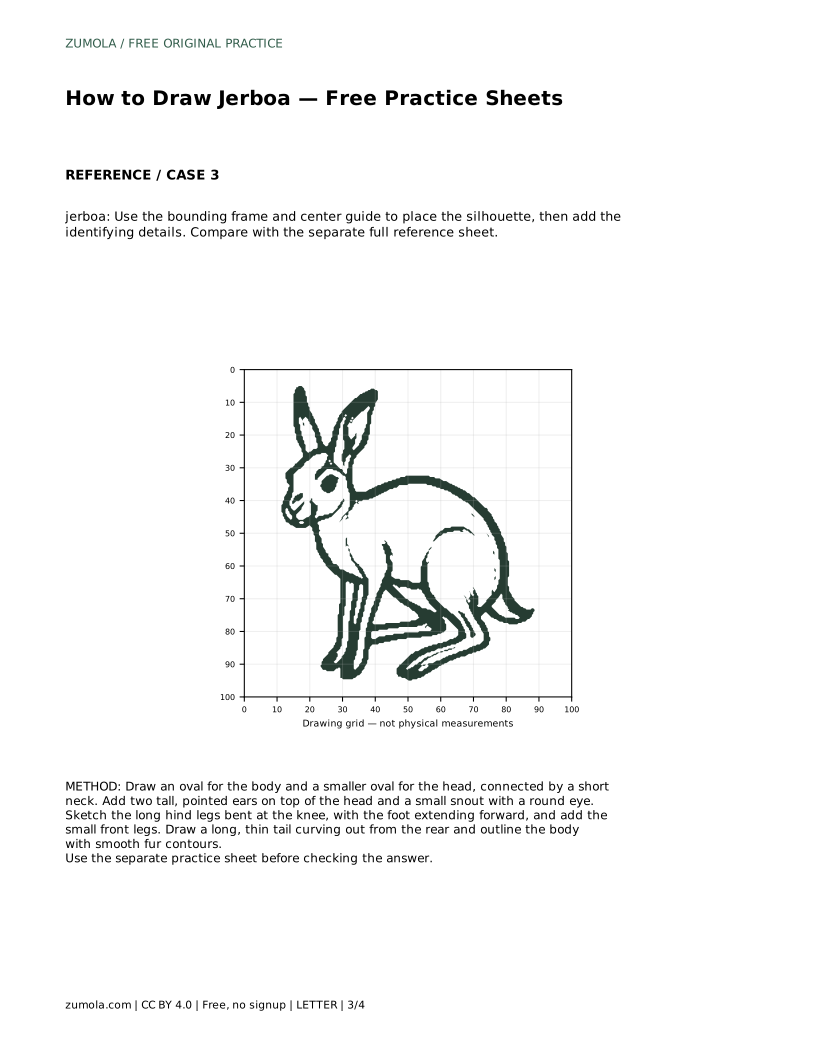
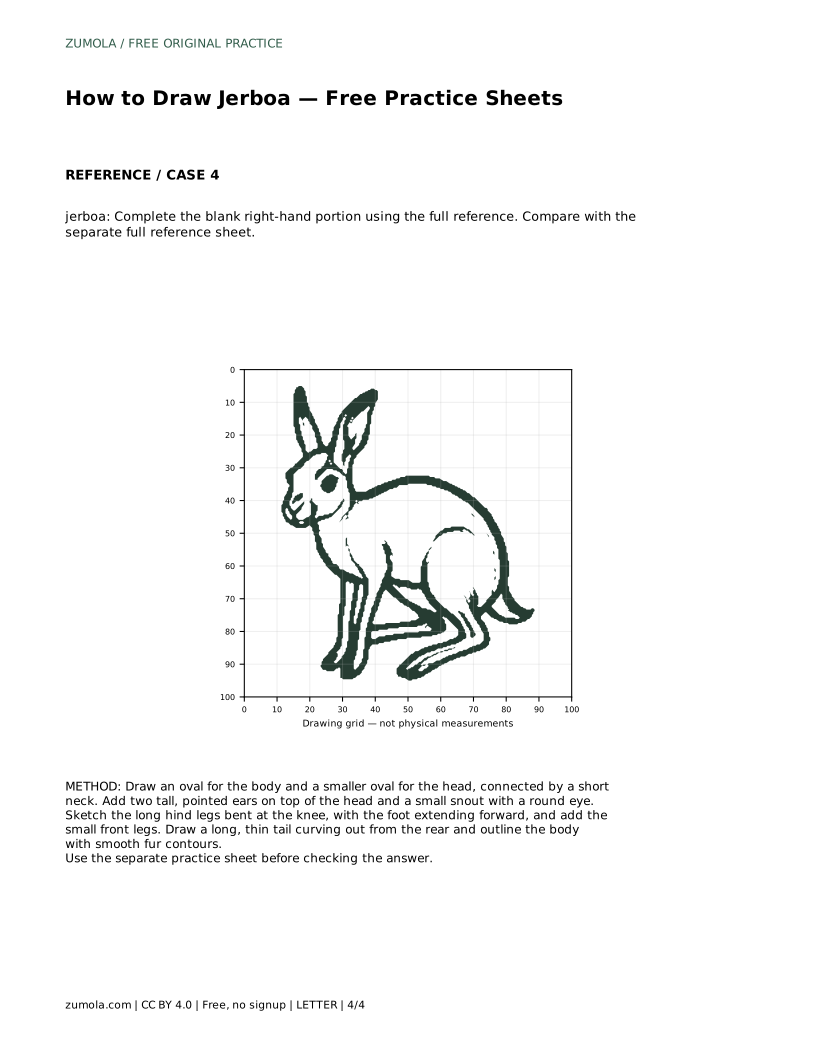
A jerboa is easy to recognize but easy to draw out of proportion. Its small head, tall upright ears, compact body, long folded hind legs, and trailing tail all need to work together. This guide gives you a clear order for building the animal, then shows how to use tracing, grid, and frame practice sheets to compare your drawing with a separate full reference. The goal is a readable jerboa, not a pixel-perfect copy.
Begin with two simple ovals: a larger one for the body and a smaller one for the head. Place the head slightly above and forward of the body, then join them with a short neck. Keep the body oval low and rounded, because a jerboa sits in a crouch rather than standing tall. Check that the head is clearly smaller than the body before adding details.
Next, add two tall, pointed ears on top of the head. The ears should rise well above the skull and stay close together at the base. Add a small snout and a round eye. At this stage, keep your lines light so you can adjust the ear height or head size without erasing heavily.
The hind legs are the jerboa's most distinctive feature. Sketch them long and bent at the knee, with the foot extending forward. In a crouched pose, the folded leg creates a zigzag shape rather than a straight column. Add the small front legs near the chest, keeping them short and close to the body.
Draw a long, thin tail curving out from the rear. The tail should extend behind the body and can curve gently rather than staying rigid. Once the main shapes are placed, outline the body with smooth fur contours. Avoid adding fur texture until the silhouette reads clearly as a jerboa.
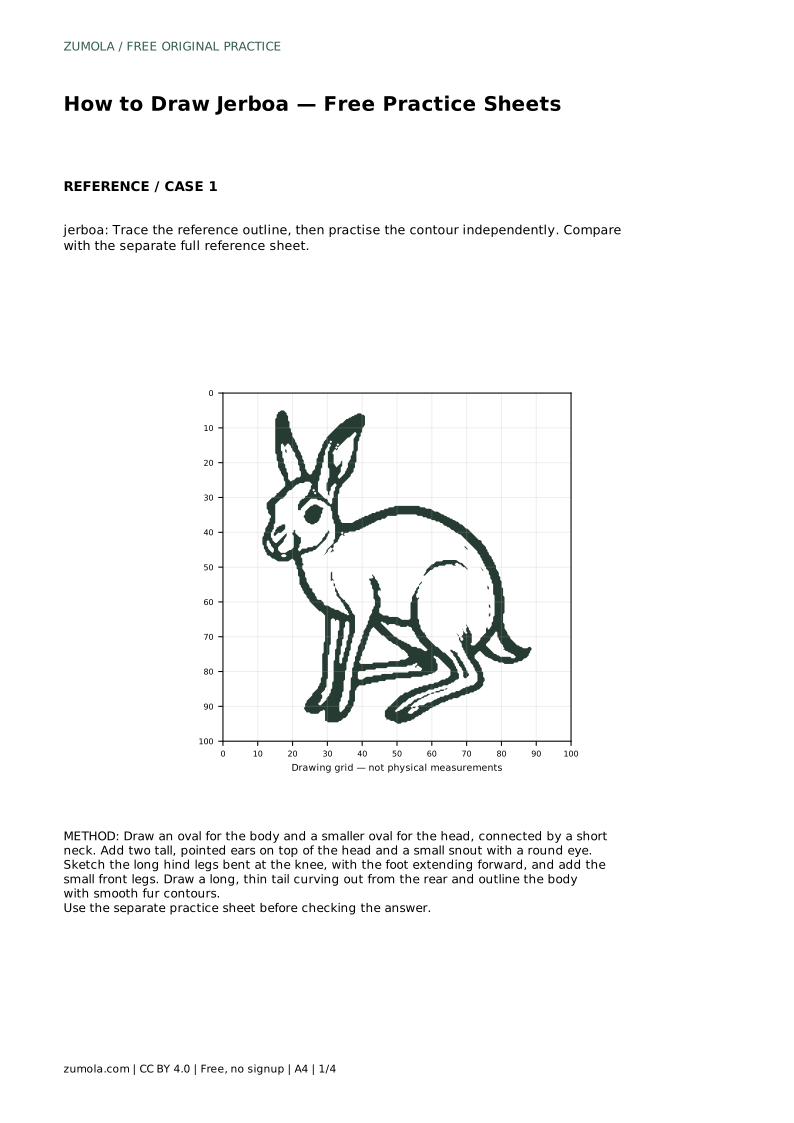
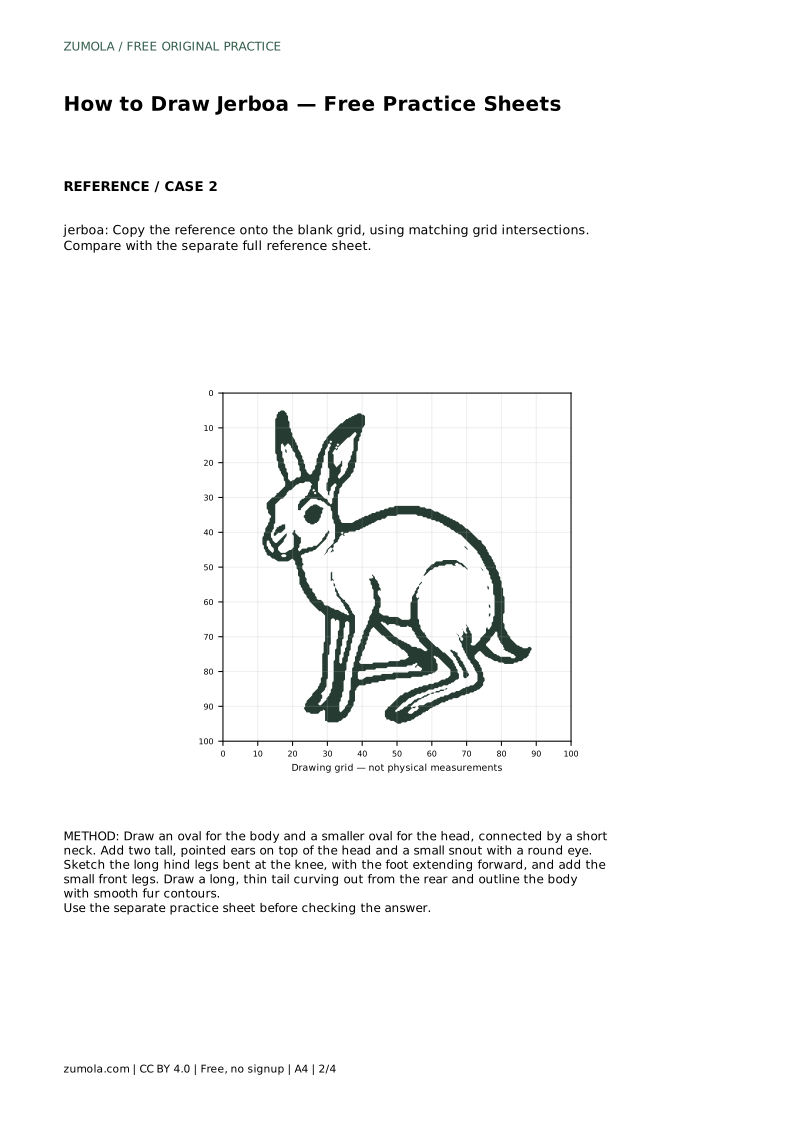
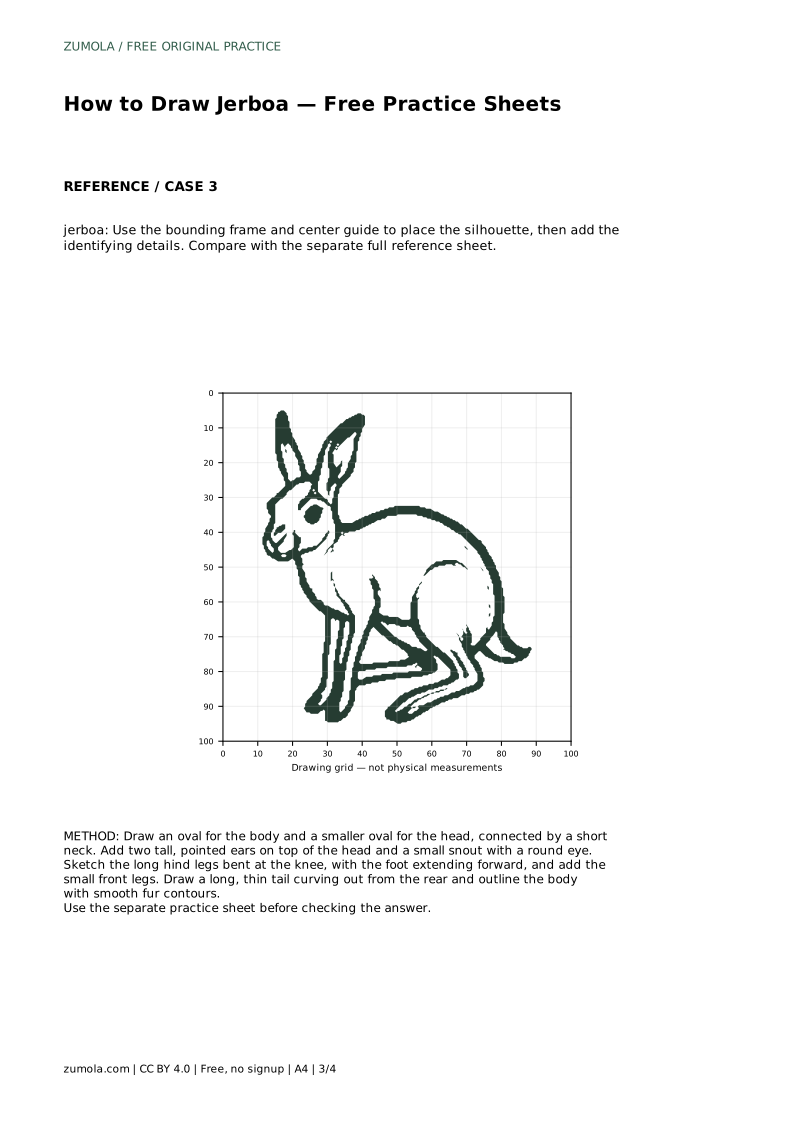
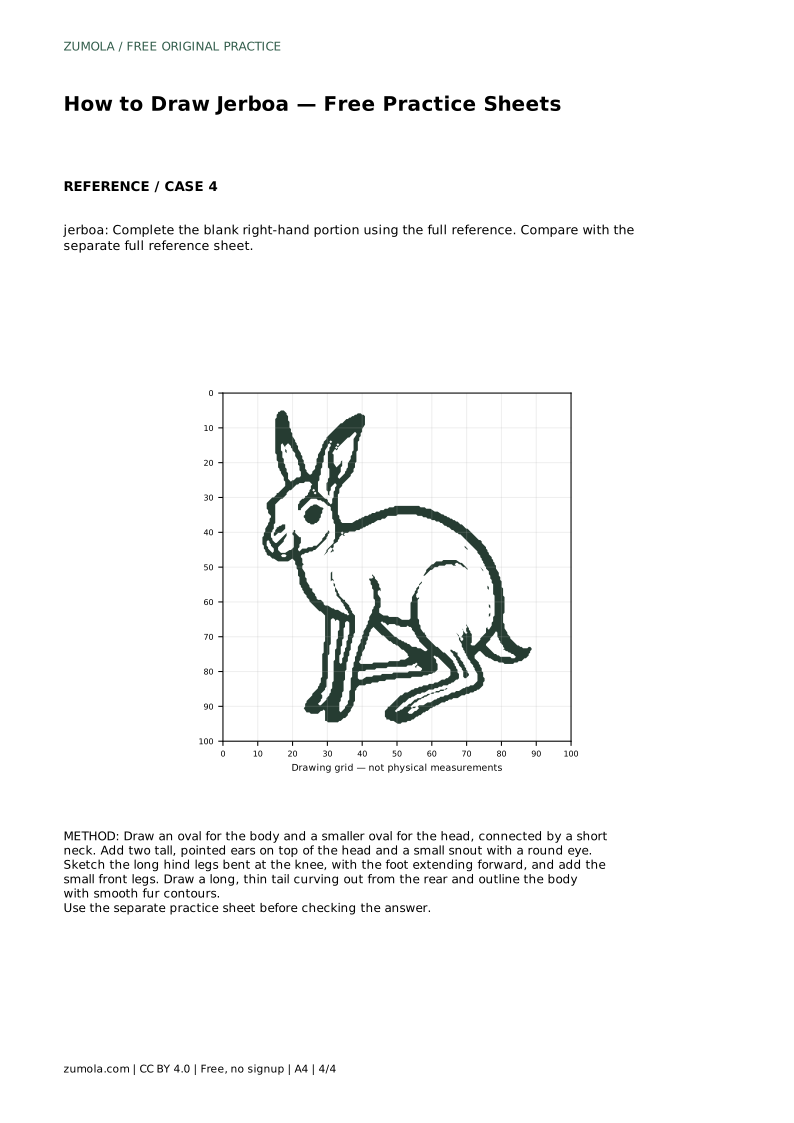
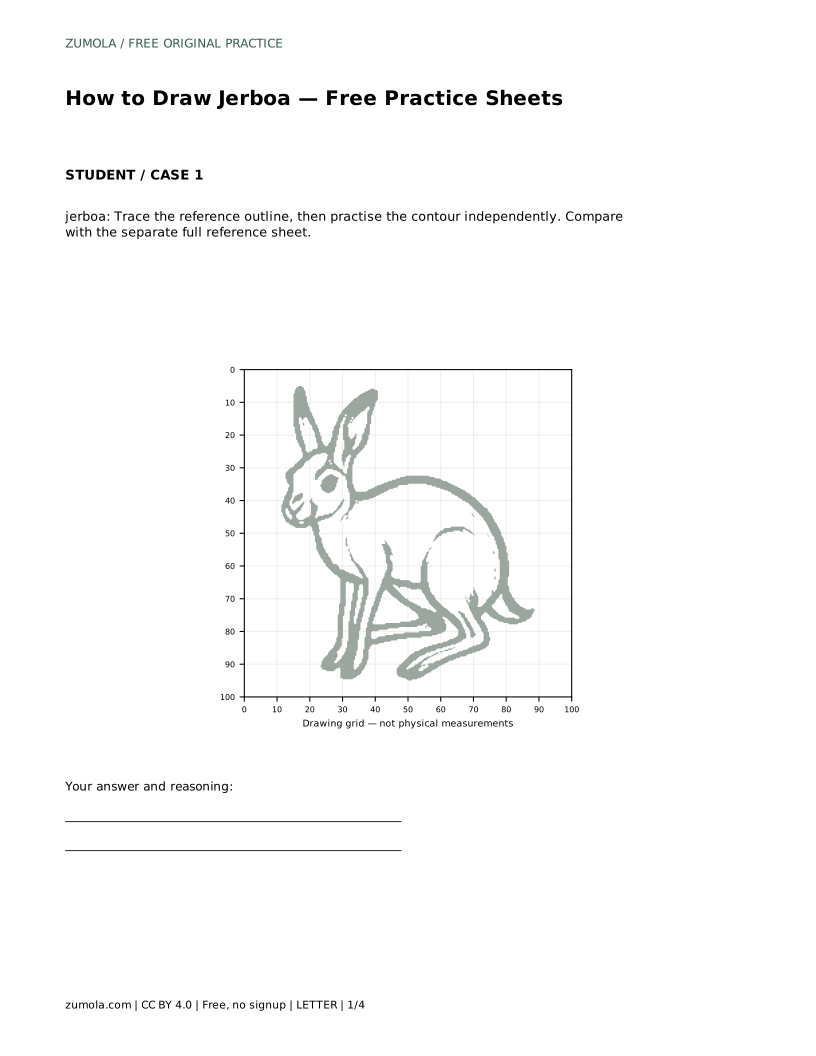
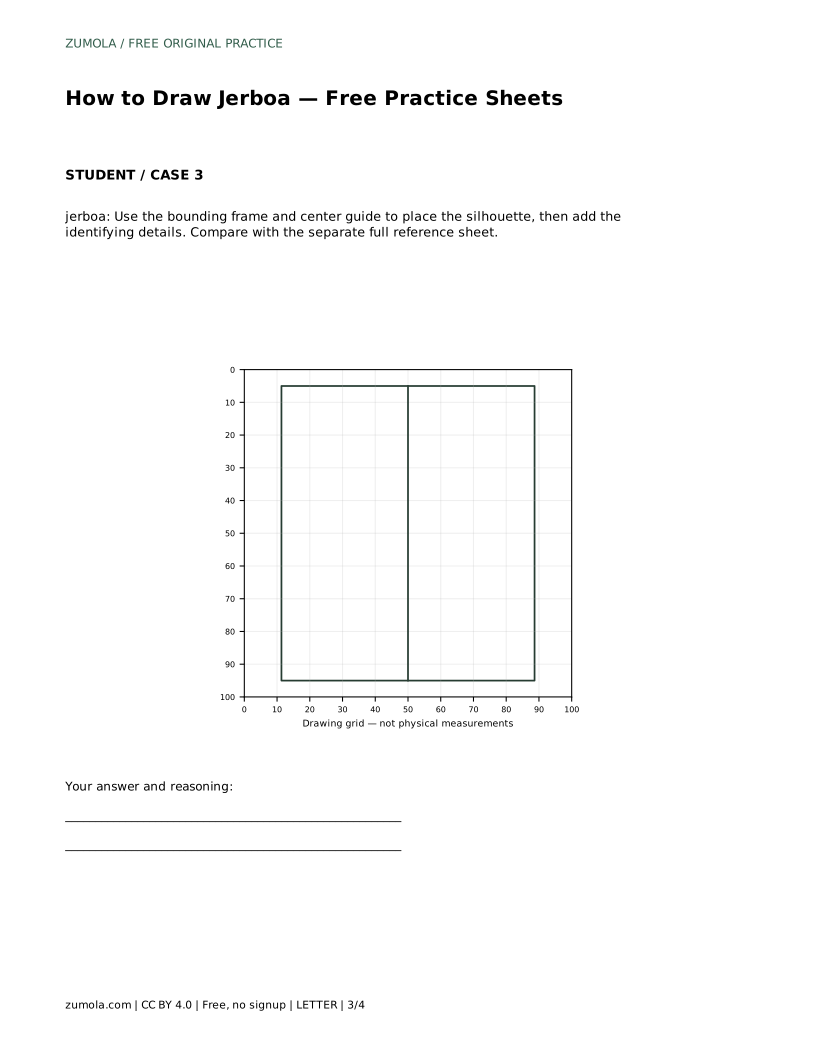
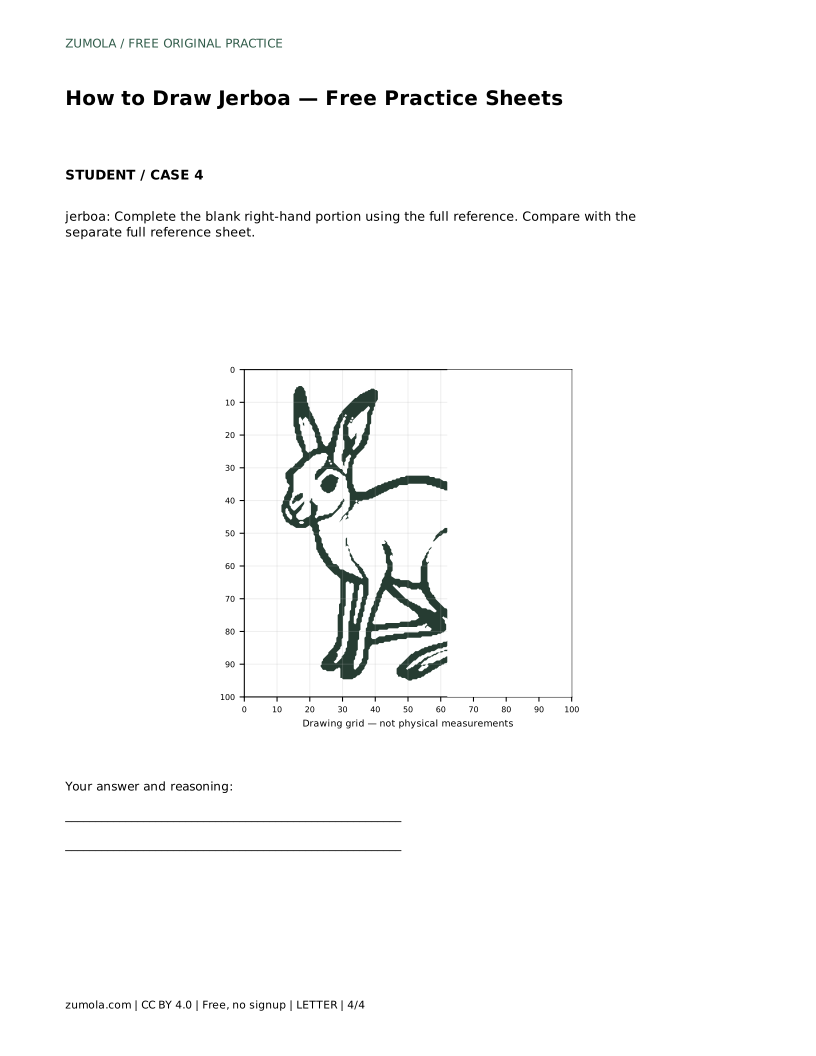
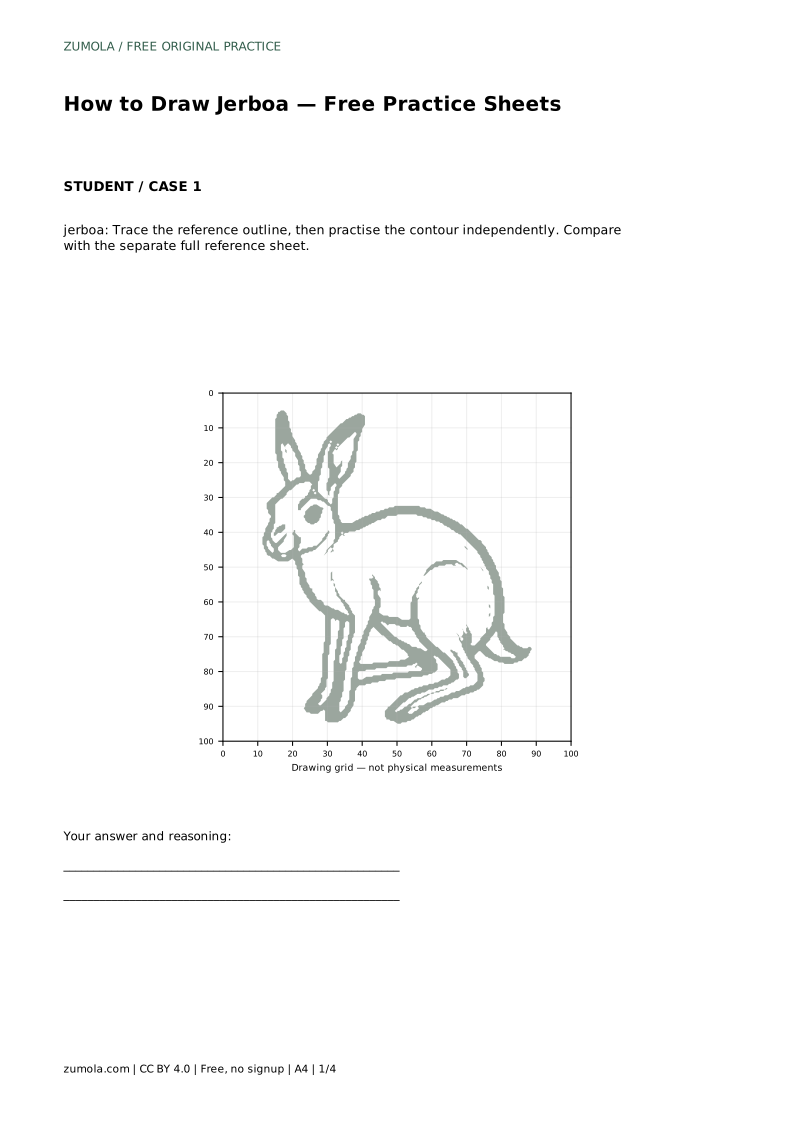
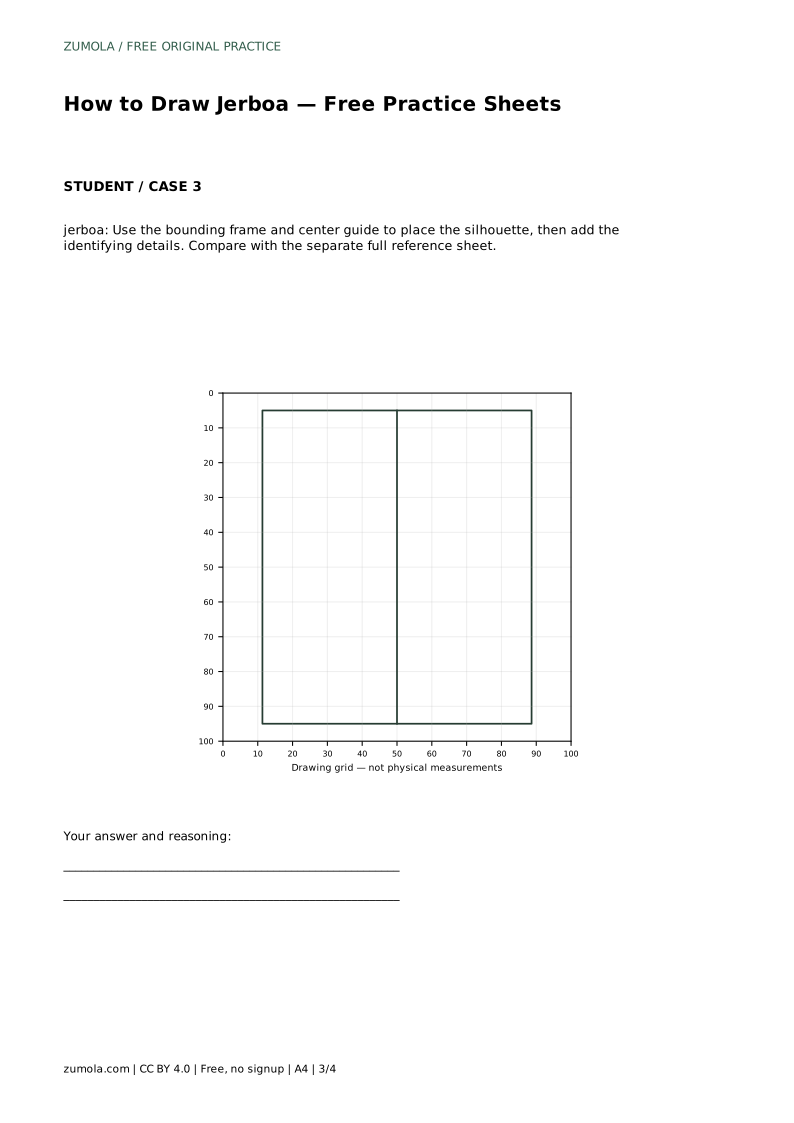
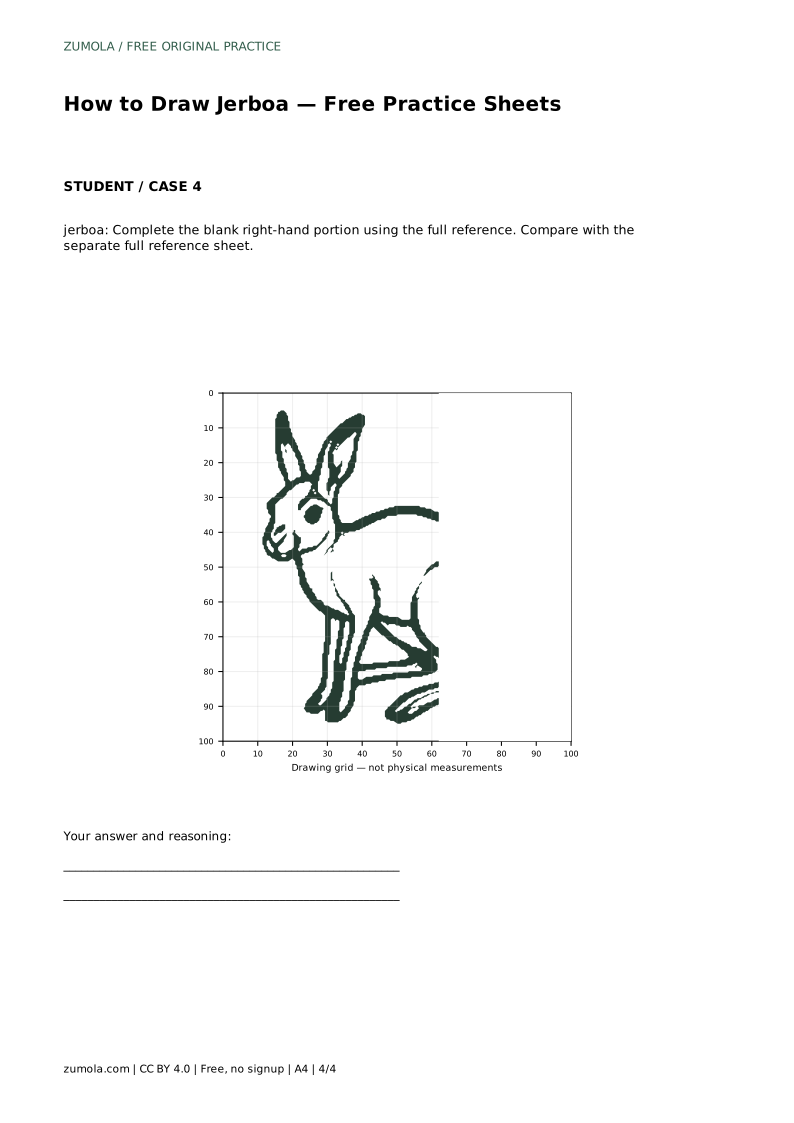
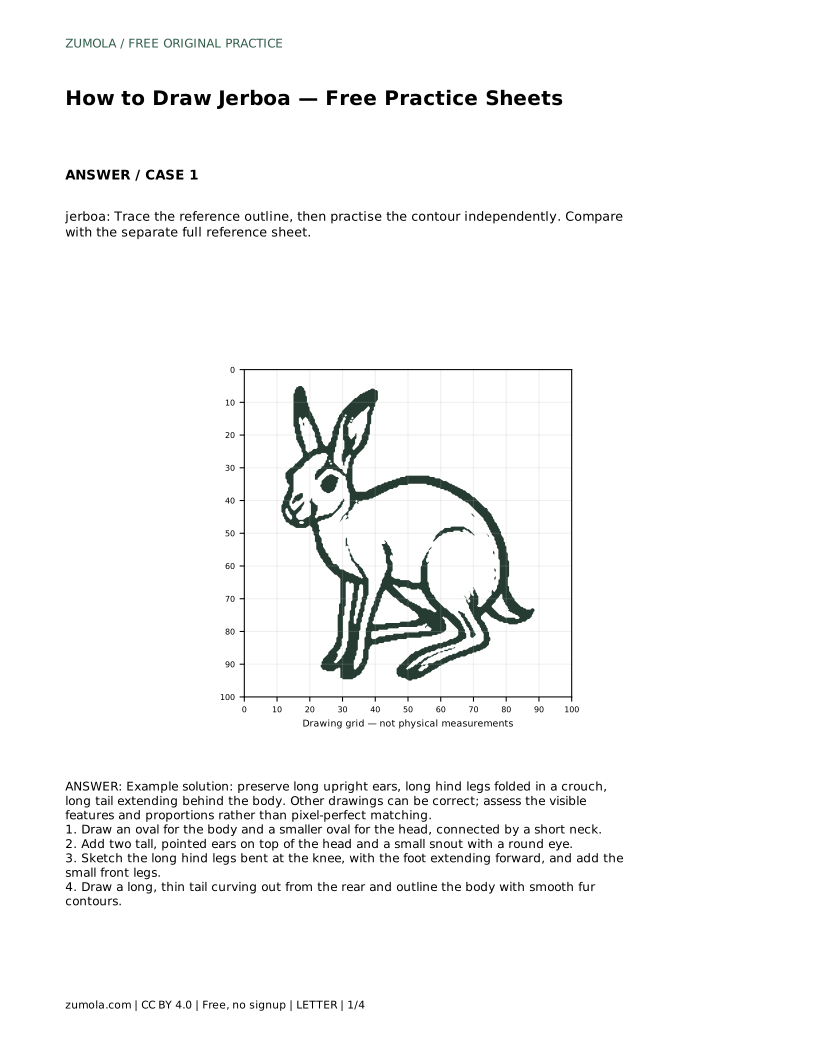
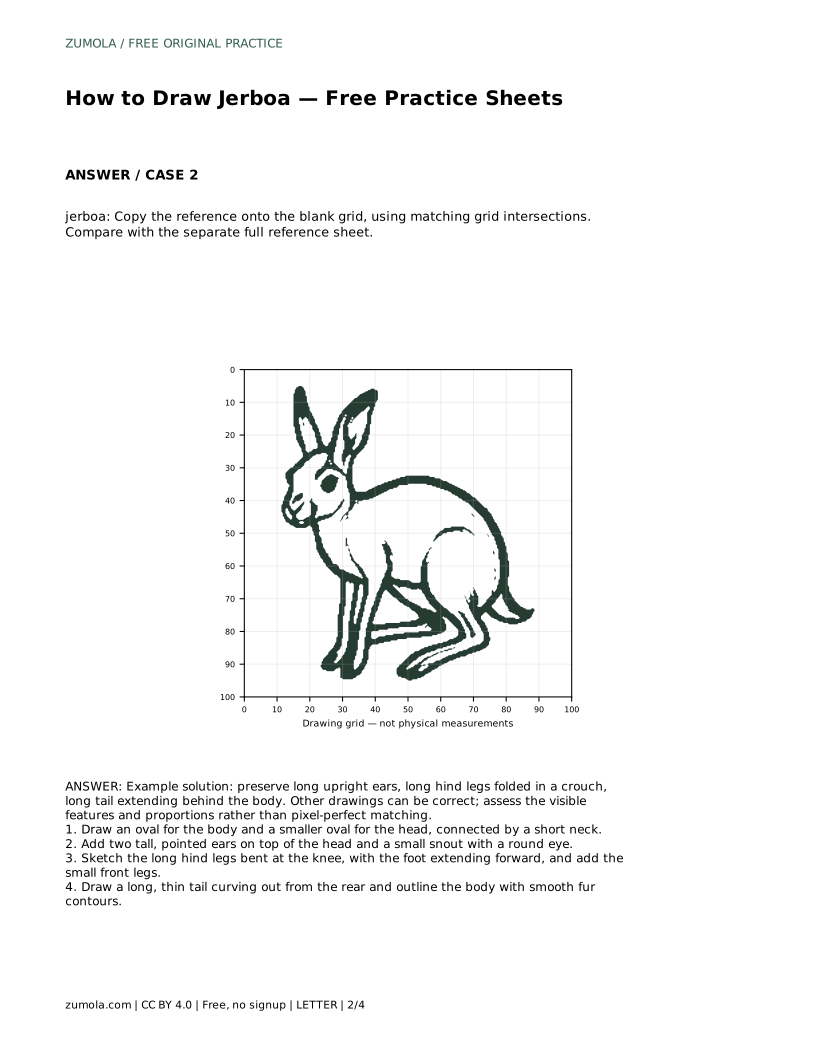
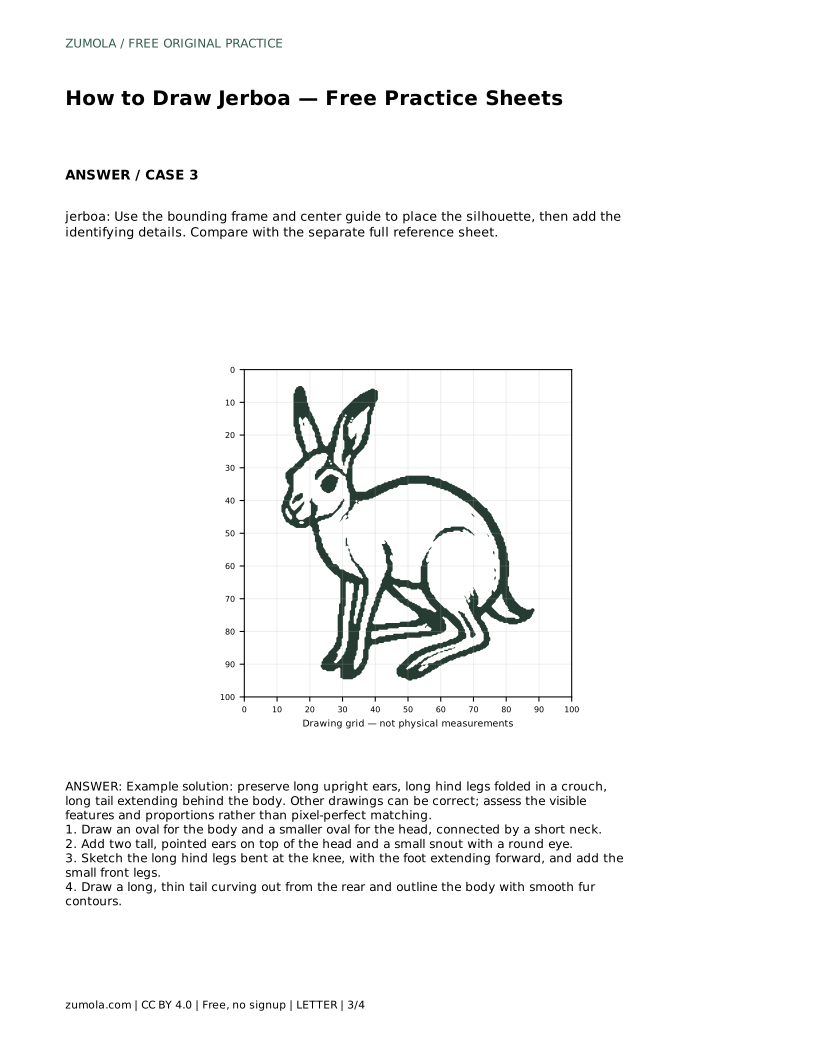
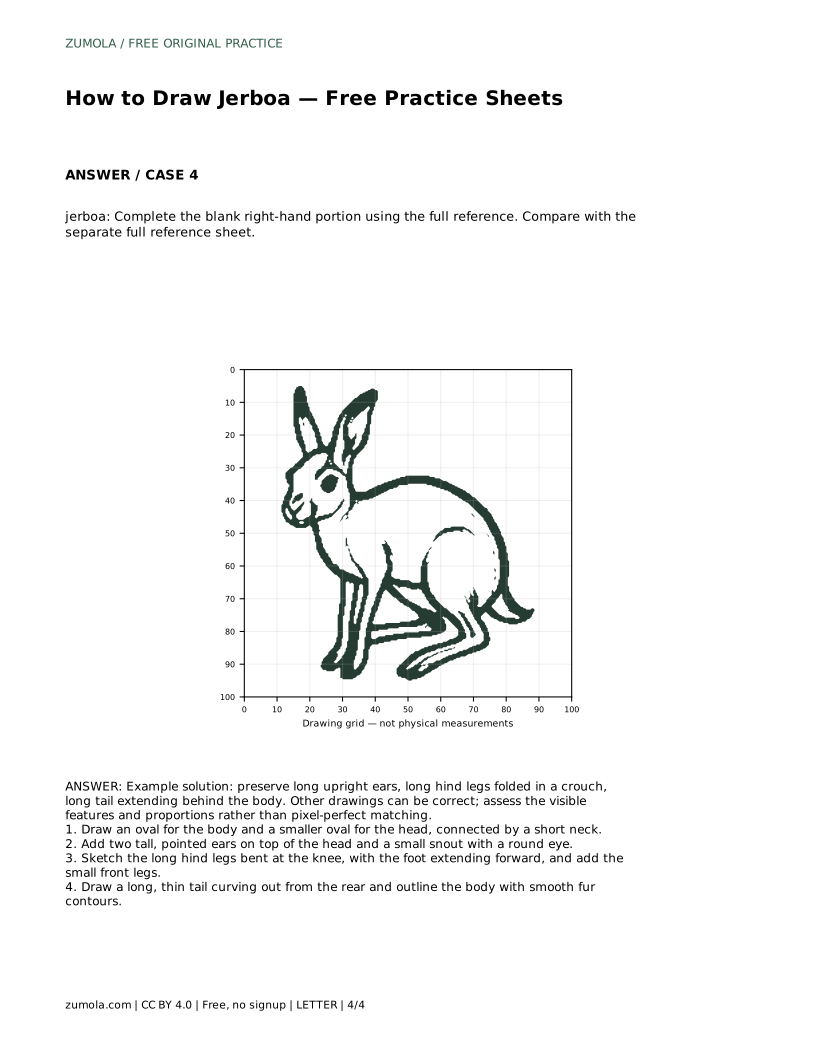
The tracing sheet asks you to follow the reference outline first, then practise the contour independently. Compare your result with the separate full reference sheet. The grid sheet asks you to copy the reference onto the blank grid, using matching grid intersections to place each feature. The frame sheet gives you a bounding frame and center guide so you can place the silhouette before adding identifying details. The partial sheet asks you to complete the blank right-hand portion using the full reference.
Each sheet trains a different check. Tracing builds familiarity with the outline. The grid supports proportion and placement. The frame helps you judge the overall silhouette. The partial sheet tests whether you can continue a drawing from a known starting point. In every case, compare with the separate full reference sheet rather than assuming one exact answer.
A successful jerboa drawing preserves the long upright ears, the long hind legs folded in a crouch, and the long tail extending behind the body. Other drawings can be correct, so assess the visible features and proportions rather than pixel-perfect matching. Check that the ears are not too short, the hind legs are not straight, and the tail is not stubby.
Use the rubric below to review your work. If one feature is weak, redraw only that part rather than starting over. Small adjustments to ear height, leg bend, or tail length often make the difference between a generic rodent and a recognizable jerboa.
jerboa: Trace the reference outline, then practise the contour independently. Compare with the separate full reference sheet.
Example solution: preserve long upright ears, long hind legs folded in a crouch, long tail extending behind the body. Other drawings can be correct; assess the visible features and proportions rather than pixel-perfect matching. Draw an oval for the body and a smaller oval for the head, connected by a short neck. Add two tall, pointed ears on top of the head and a small snout with a round eye. Sketch the long hind legs bent at the knee, with the foot extending forward, and add the small front legs. Draw a long, thin tail curving out from the rear and outline the body with smooth fur contours.
No. Preserve the long upright ears, folded hind legs, and long tail, then judge the visible features and proportions.
Start with tracing to learn the outline, then move to the grid or frame sheet to practise placement without tracing.
Yes, but add it after the silhouette reads clearly as a jerboa.
All drawing practice · Free coordinate paper
Original resources · CC BY 4.0 · Free for personal and classroom use with attribution.