Free original resources
Curvilinear Perspective Practice: Four- and Five-Point Grids
Learn how curved grids model four- and five-point perspective. Build meridians and parallels from one construction, then judge drawings with a clear rubric.
Free resources
Letter & A4
PDF & SVG
Letter & A4
PDF & SVG
Make it yours.
Free · no signup · calculated in your browser
Your free printable kit.
Original reference, student practice and separate worked answers. No account or payment.
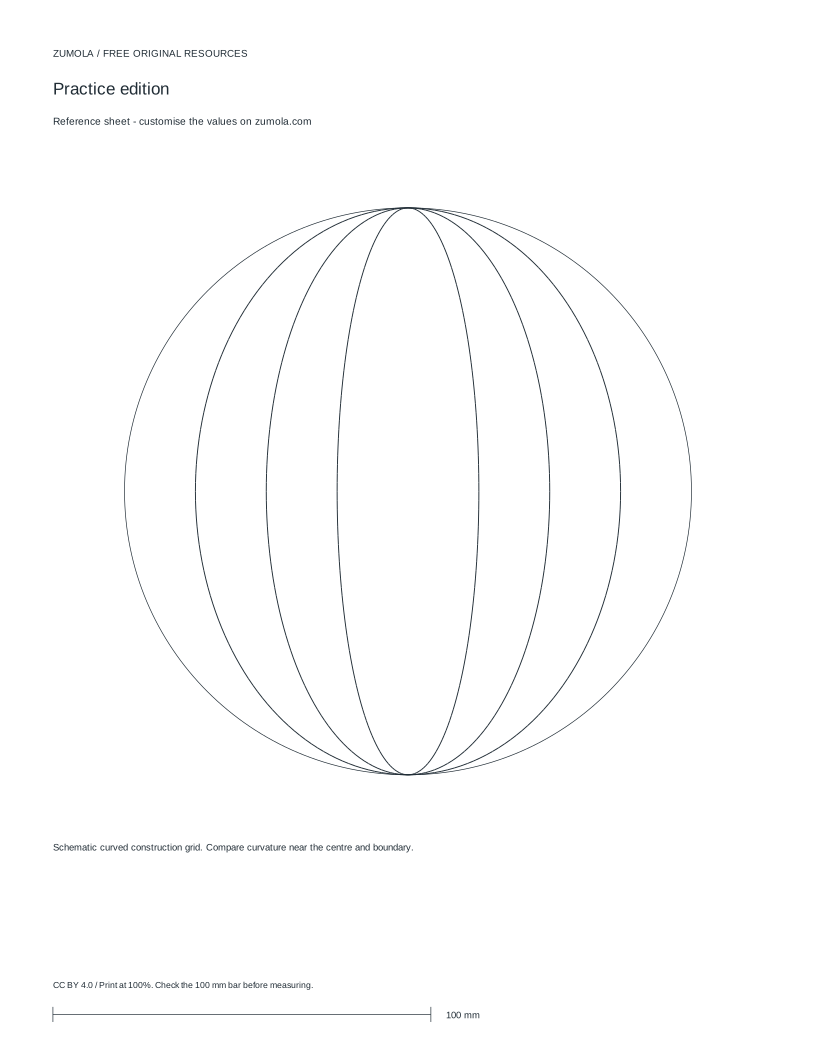
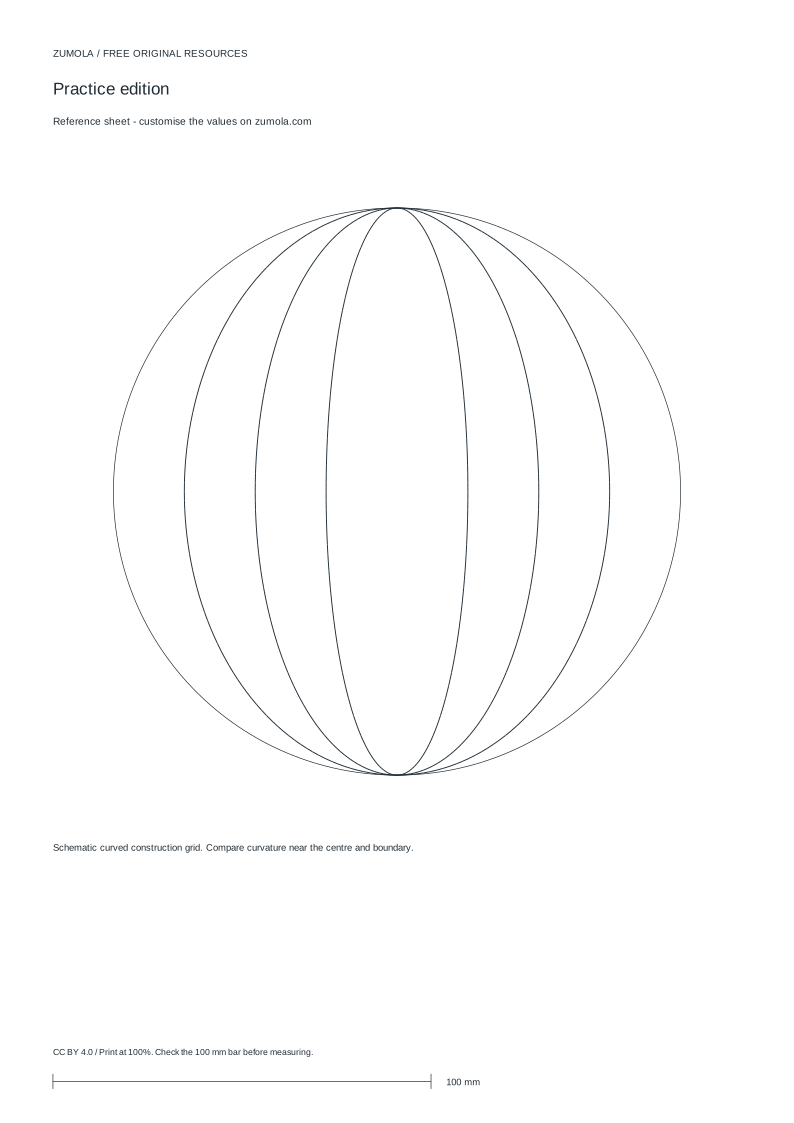
Practice worksheet


Worked answers / rubric


Print at Actual size / 100%. Check the calibration bar before using physical dimensions.
Curvilinear perspective bends straight lines into arcs so a wide view feels wrapped around the viewer rather than flattened at the edges. This page shows how four-point and five-point grids share one geometric idea: a horizon, a set of vanishing points, and projection lines drawn from the same construction. You will trace a simple curved grid, place a box inside it, and check your work against stated assumptions instead of a single correct picture.
One Construction Behind Four and Five Points
Start with a circle representing the picture surface and a horizontal line through its centre for the horizon. In four-point perspective, two vanishing points sit on that horizon, left and right, and two more sit above and below the centre on the vertical axis. In five-point perspective, the four outer points remain and a fifth point sits at the centre, where the viewer's line of sight meets the picture surface.
The curves are meridians and parallels of an illustrative spherical grid, not a measured camera projection. Treat the radius value as a schematic coordinate, not a promise about lens behaviour. What matters is consistency: every arc you draw should be traceable to the same centre and the same set of vanishing points. If you move one point, redraw the arcs that depend on it rather than patching single lines.
- Draw a circle and mark its centre; draw the horizon through the centre.
- Mark left and right vanishing points on the horizon, equidistant from the centre.
- Mark upper and lower vanishing points on the vertical axis, equidistant from the centre.
- For five-point work, keep the centre marked as the fifth point.
- Draw arcs that pass through pairs of vanishing points, keeping each arc's curvature centred on the construction.
- Test a straight edge along any arc: it should touch only at the endpoints, confirming curvature rather than a straight line.
Reading a Curved Grid Without Distortion
A curved grid compresses spacing near the outer vanishing points and opens it near the centre. That is expected. Judge spacing by comparing neighbouring gaps along the same arc, not by measuring across different arcs. Lines that run toward a vanishing point should converge there; lines parallel to the horizon should stay parallel to it in the flat central band and curve only as they approach the outer points.
Keep the horizon and the vertical axis as your reference cross. Any object placed in the grid should have edges that follow the arcs or converge toward a marked point. If an edge does neither, it is outside the construction and will look pasted on. This is the main reason fisheye-style drawings fail: the grid is curved but the object's edges are drawn straight.
- Mark the horizon and vertical axis lightly before adding objects.
- Draw object edges as arcs that follow the nearest grid lines.
- Check each edge: does it converge to a marked vanishing point or follow a grid arc?
- Compare gaps between neighbouring arcs along one line only.
- Erase construction marks last, after the object reads correctly.
A Simple Worked Check
Use abstract coordinate units, not millimetres, for this check. Place the centre at (0,0) with radius 75. Put left and right vanishing points at (-75,0) and (75,0), and upper and lower points at (0,75) and (0,-75). A box near the centre has corners at (-10,-10), (10,-10), (10,10) and (-10,10). Its edges should curve gently toward the nearest outer point, and its vertical edges should bend toward the upper or lower point as they approach them.
The check is not whether the box looks like a photograph. It is whether every edge can be traced back to the same four or five points. If one corner's edge points somewhere else, the construction has drifted.
- Plot the centre, horizon and four outer points.
- Place the small box at the stated coordinates.
- Trace each edge toward its nearest vanishing point.
- Confirm all edges share the same construction before adding detail.
Four Points Versus Five Points
Four-point perspective suits views that spread sideways and vertically but keep a readable central area; the centre is not a vanishing point, so objects near the middle stay comparatively open. Five-point perspective adds the central point, so lines also converge inward, producing the wrapped fisheye feel. Choose five-point when the subject surrounds the viewer; choose four-point when the centre should remain a stable focal zone.
Neither method is more correct. They answer different framing questions. State which construction you used on the sheet so a reader can follow your reasoning.
- Decide whether the centre is a vanishing point or a neutral focal area.
- Mark only the points your chosen construction needs.
- Keep the unused points off the sheet to avoid conflicting arcs.
Try this example
With centre (0,0), radius 75, vanishing points at (-75,0), (75,0), (0,75) and (0,-75), place a box with corners at (-10,-10), (10,-10), (10,10) and (-10,10). Describe how its edges should be drawn.
Show the worked explanation
Each edge is drawn as a gentle arc toward the nearest outer vanishing point: the left edge bends toward (-75,0), the right toward (75,0), the top toward (0,75) and the bottom toward (0,-75). All four arcs share the same centre and point set, so the box sits inside one construction. The result is a schematic check of consistency, not a claim about photographic accuracy.
Common mistakes
- Drawing object edges straight inside a curved grid. Redraw each edge as an arc that follows the nearest grid line or converges to a marked vanishing point.
- Mixing arcs from two different centre positions. Fix one centre and one set of vanishing points, then redraw every dependent arc from that single construction.
- Measuring spacing across different arcs instead of along one arc. Compare neighbouring gaps only along the same arc, where compression is consistent.
Check your work
- Horizon, centre and all vanishing points come from one stated construction.
- Every object edge either follows a grid arc or converges to a marked vanishing point.
- Spacing is compared along a single arc, not across different arcs.
- The sheet states whether four-point or five-point perspective was used.
- Curves are treated as illustrative meridians, not measured camera projection.
Questions before you start
Is five-point perspective the same as a camera fisheye lens?
No. The grid here is an illustrative spherical construction, not a measured camera projection. It produces a similar wrapped look but does not claim lens accuracy.
Where should the fifth vanishing point go?
At the centre of the picture circle, where the viewer's line of sight meets the surface. Keep it on the same vertical axis as the upper and lower points.
Can I use four-point perspective for a wide room?
Yes, when you want the centre to stay open. Use five-point when lines should also converge inward toward the middle.