Free printable resources · Original practice
One point perspective worksheets.
Let depth converge.
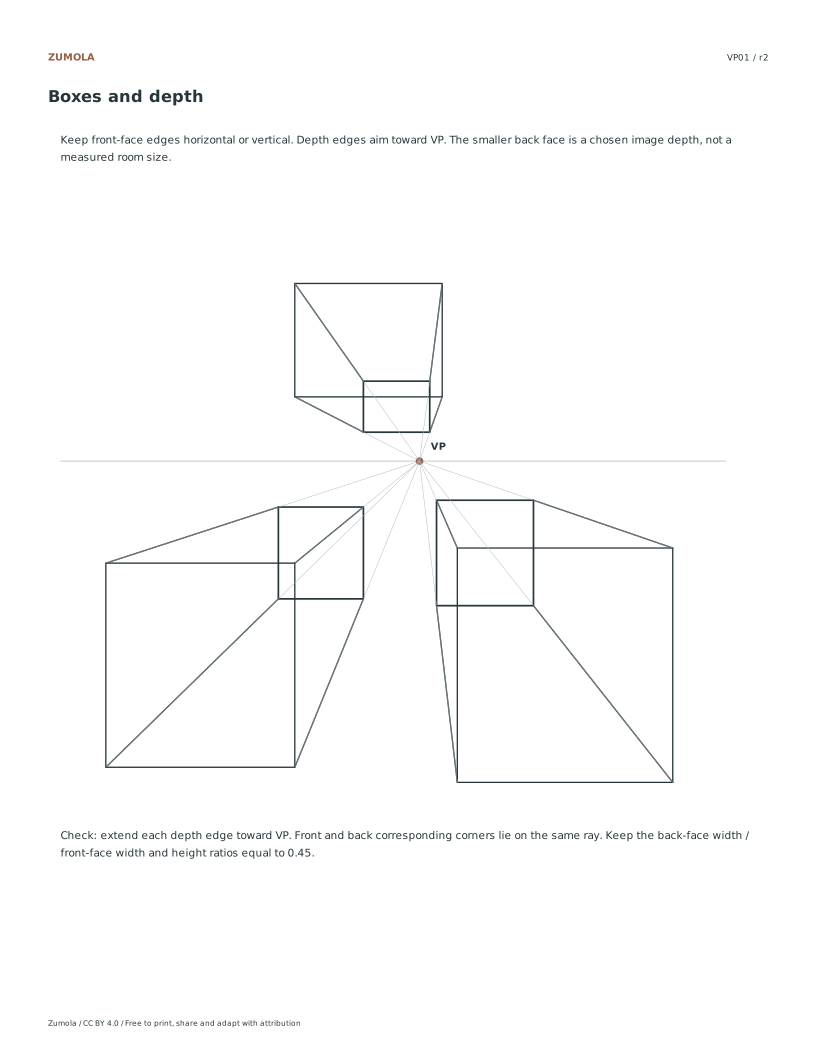
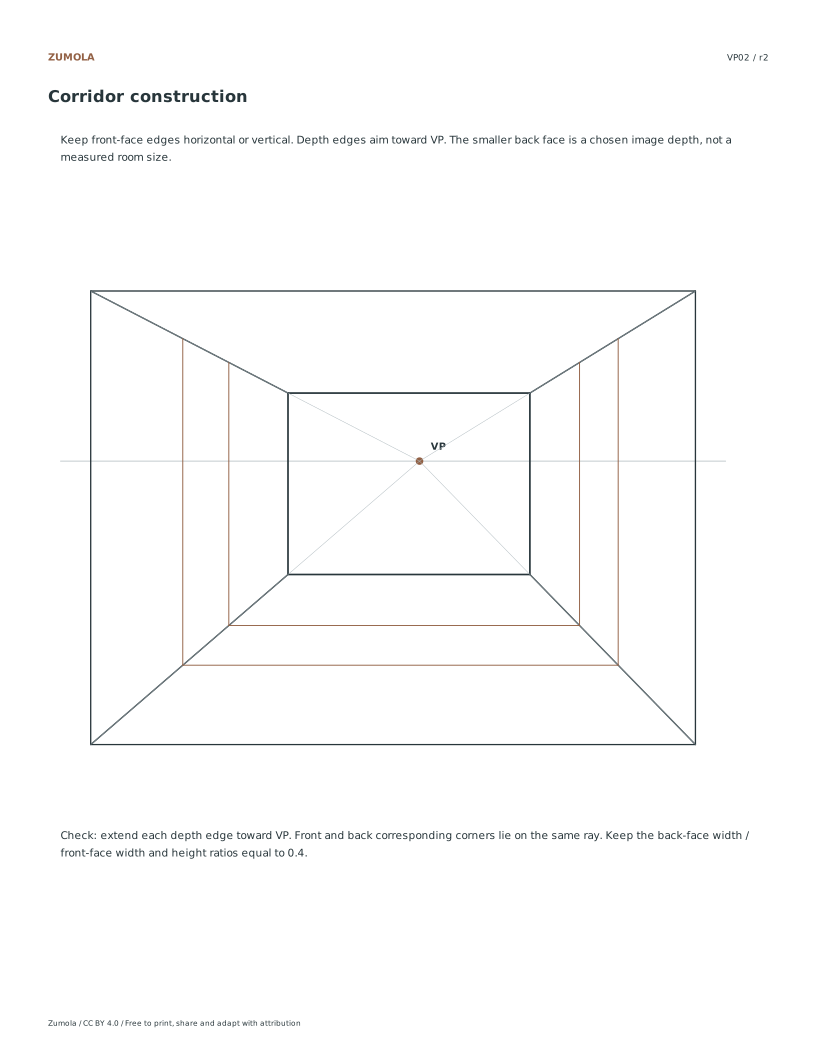
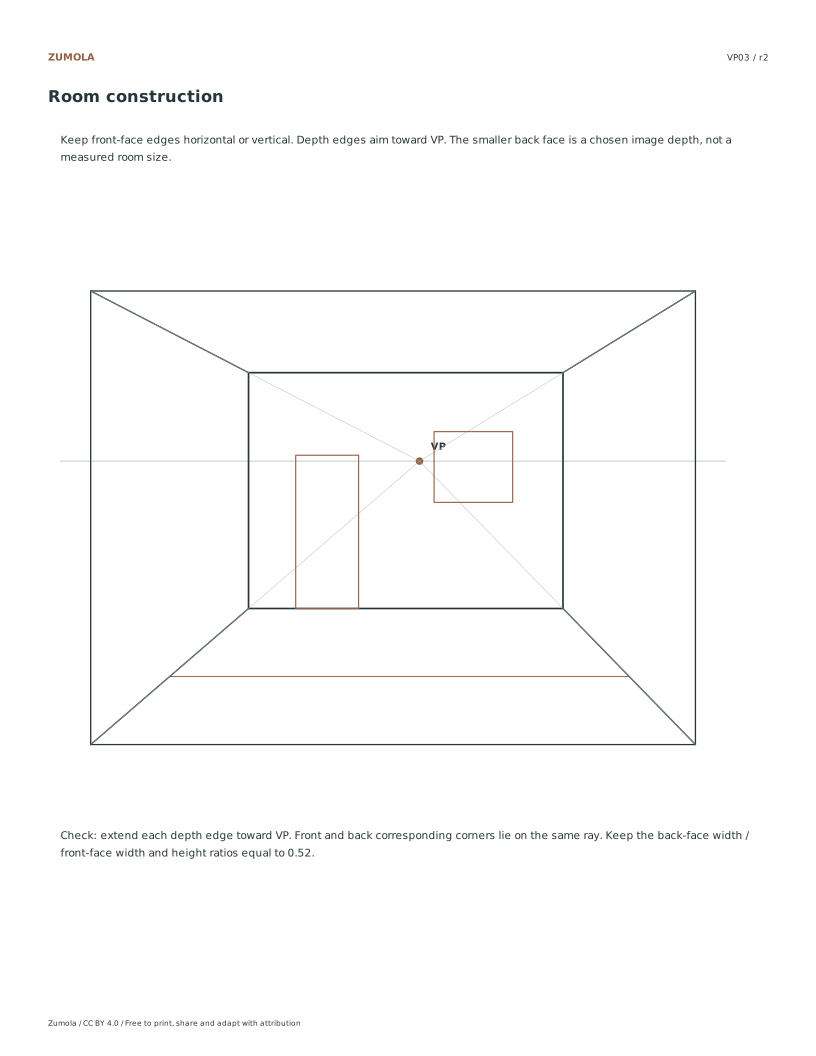
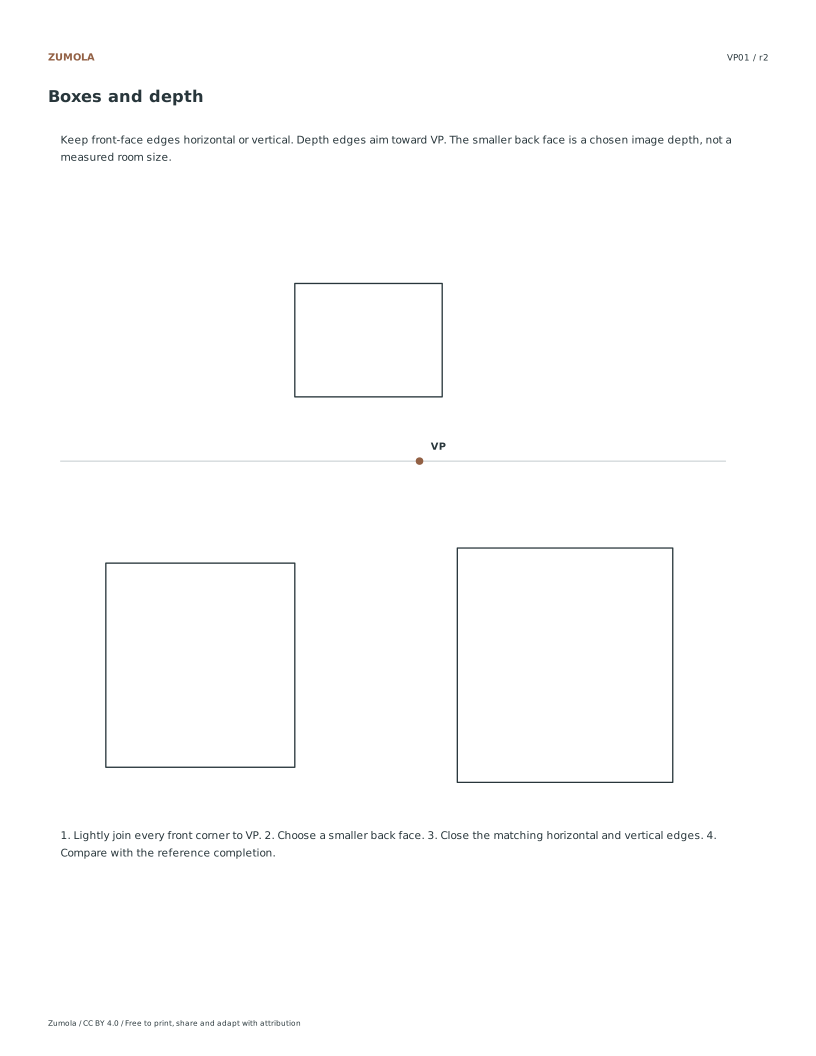
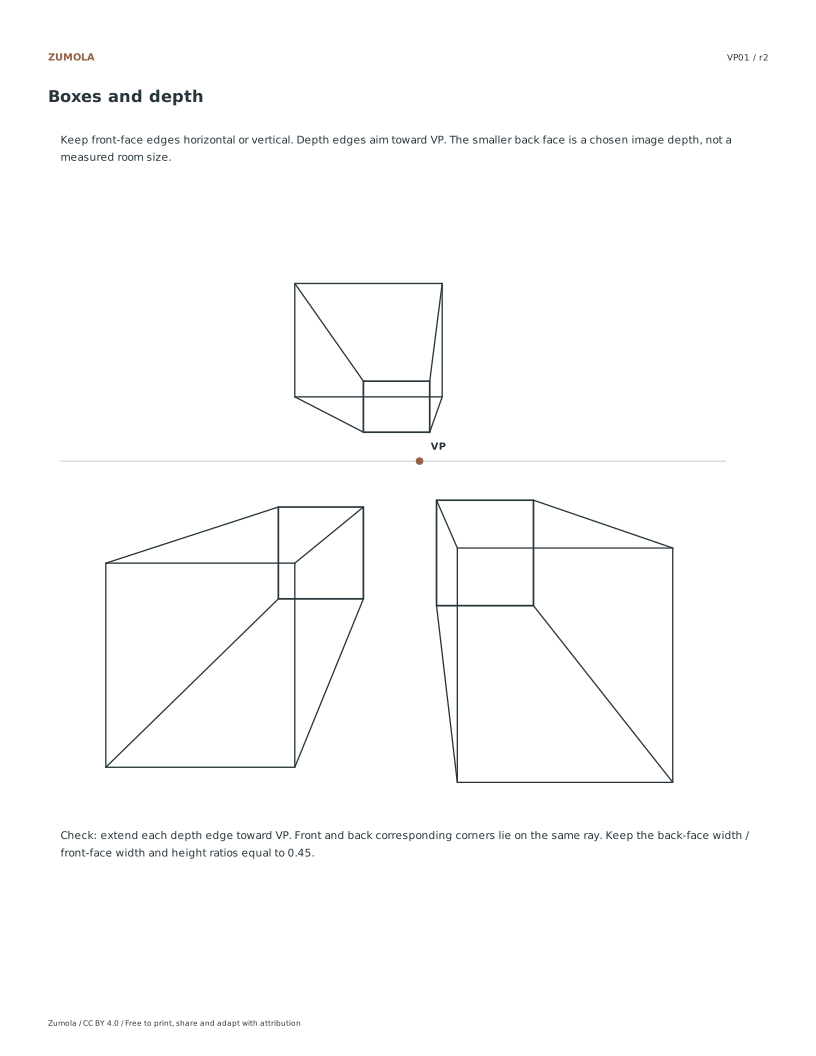
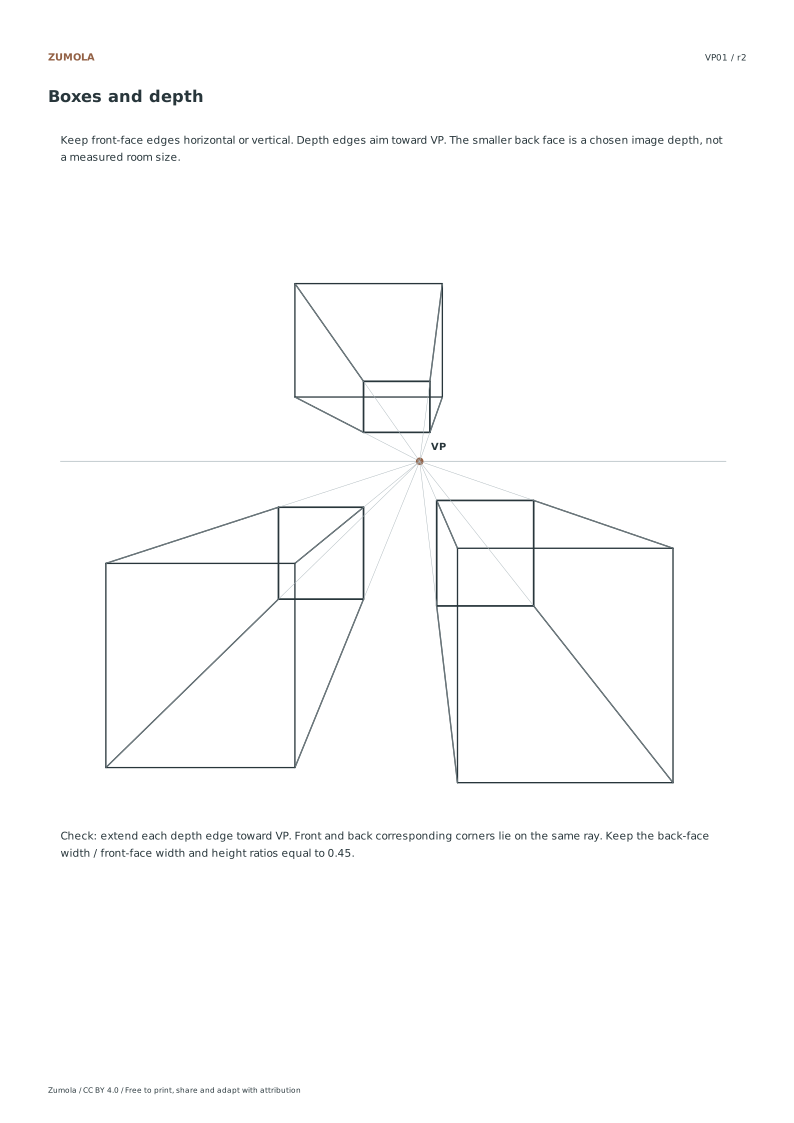
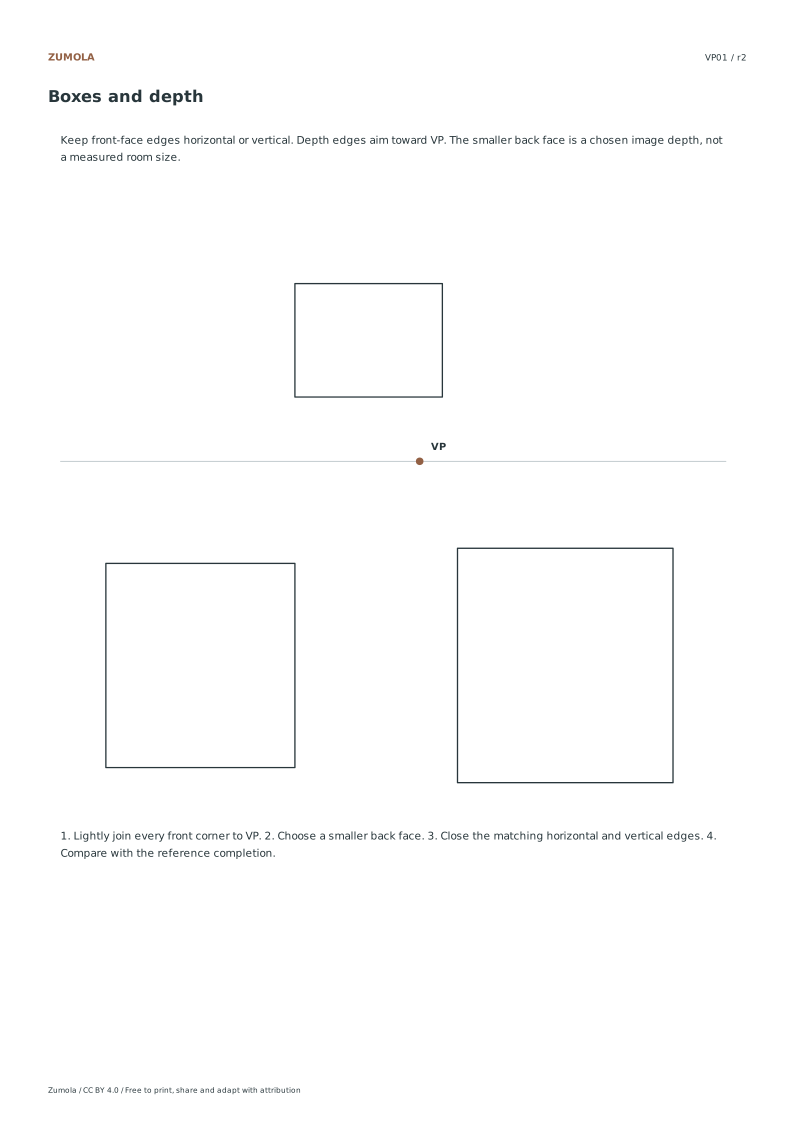
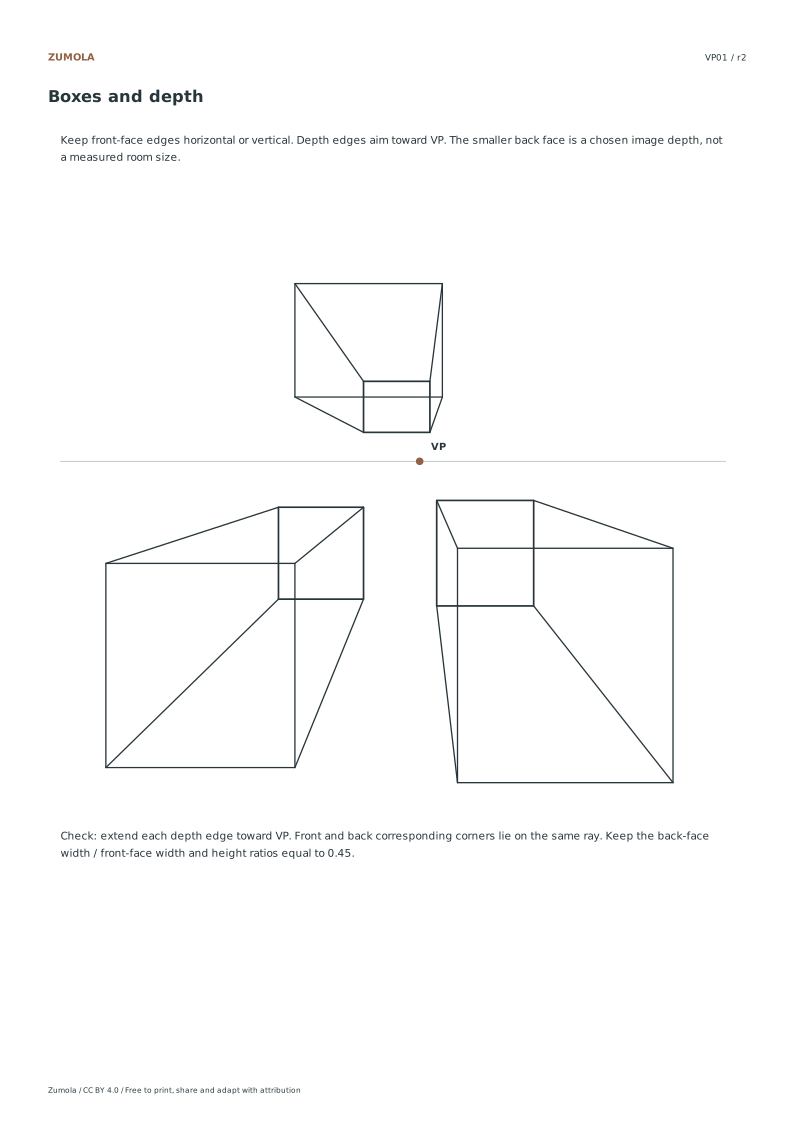
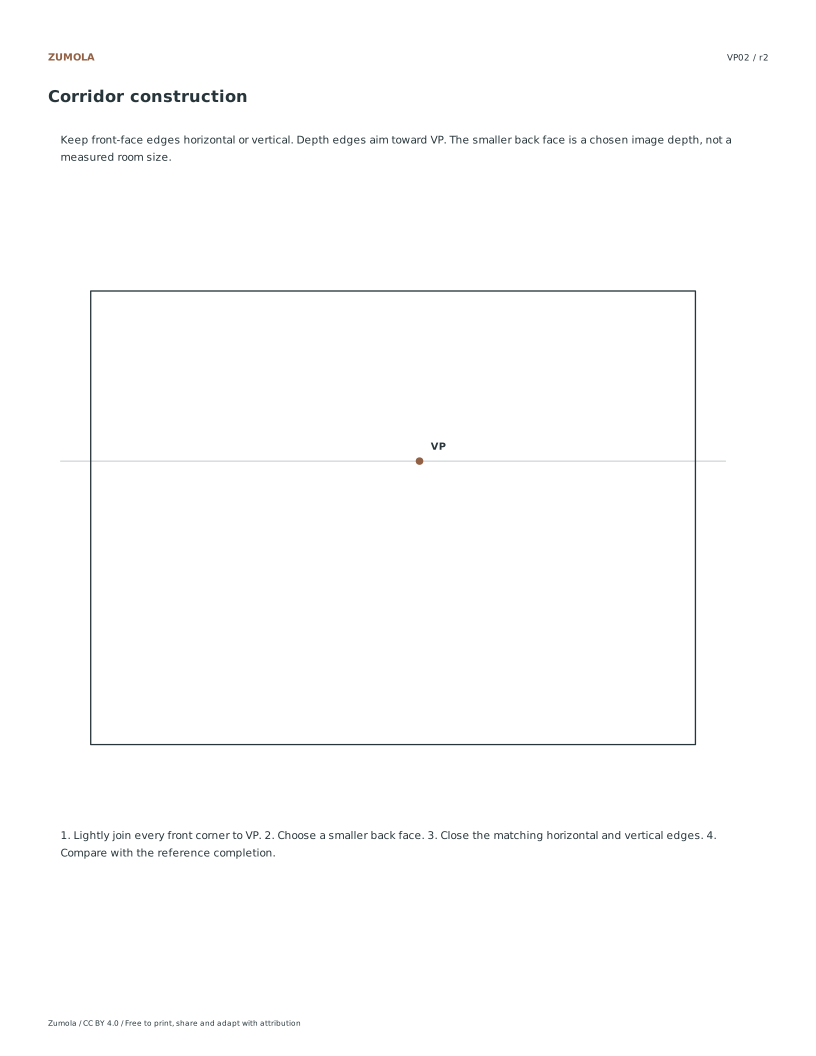
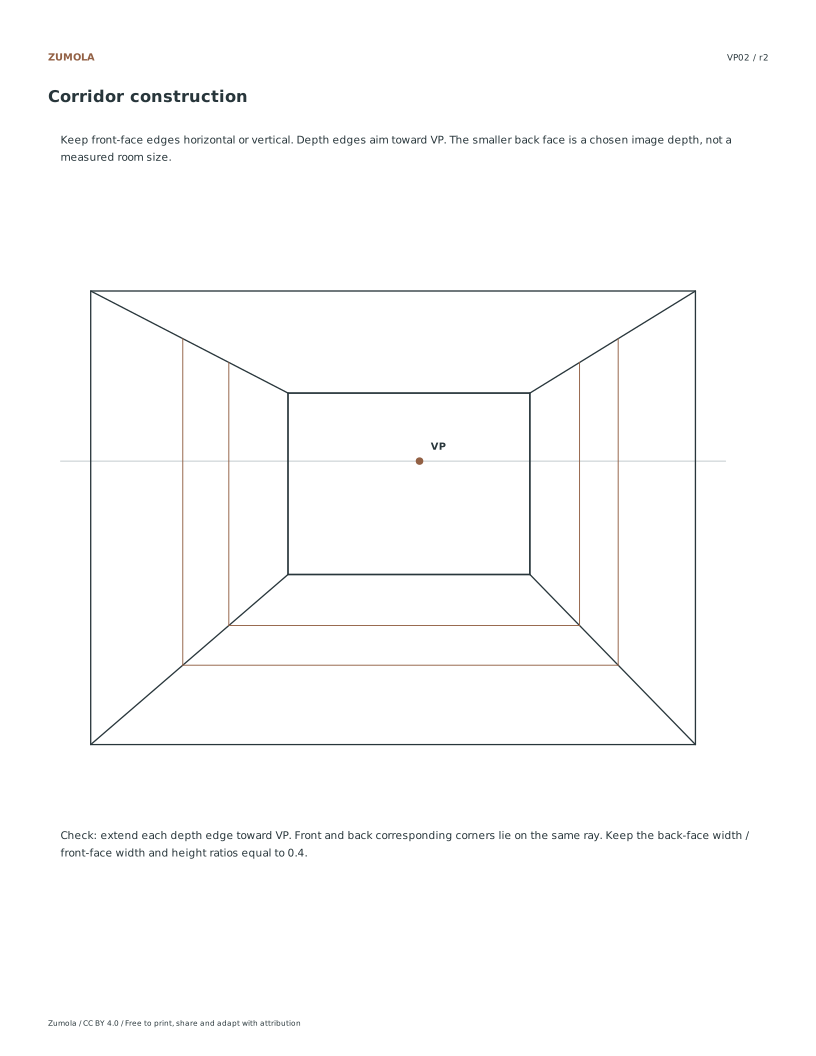
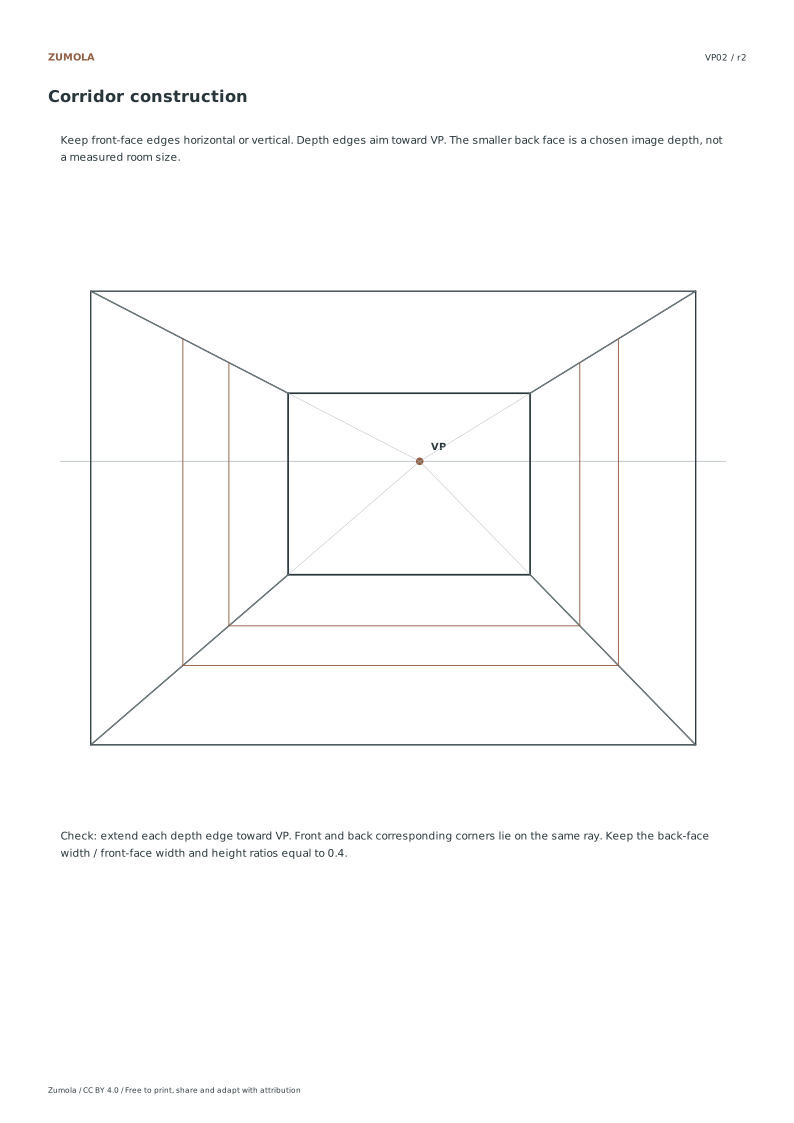
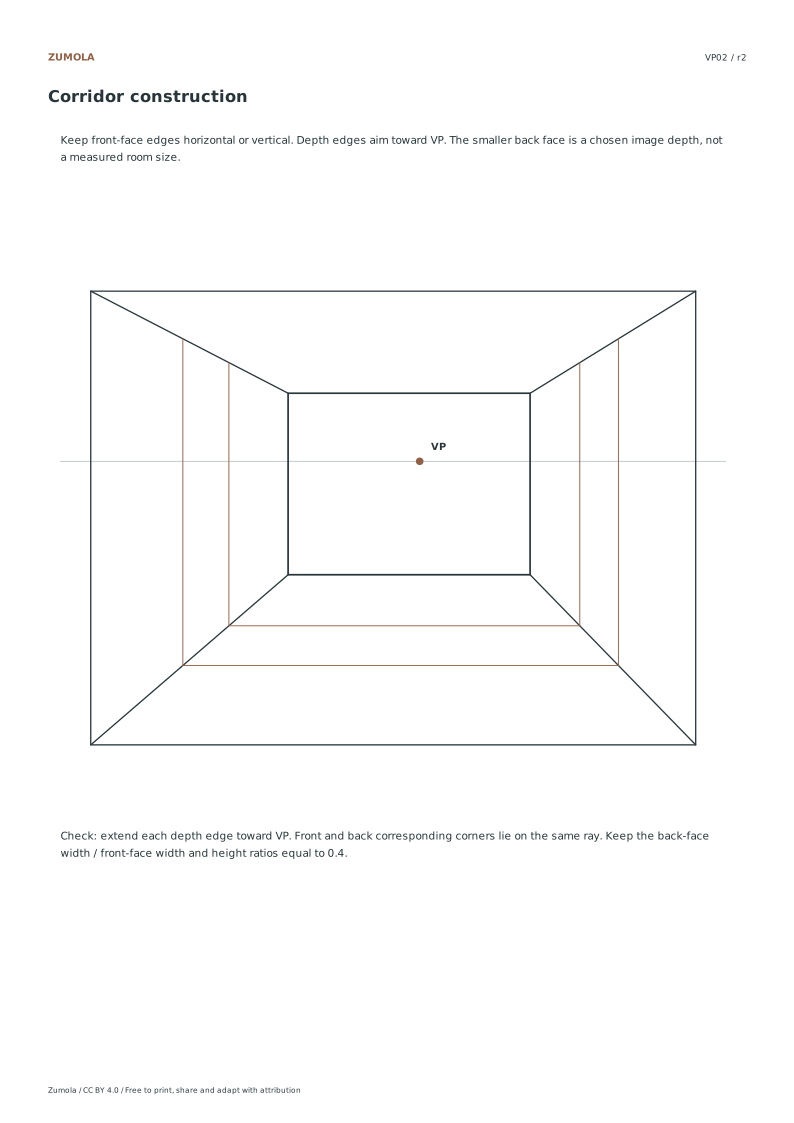
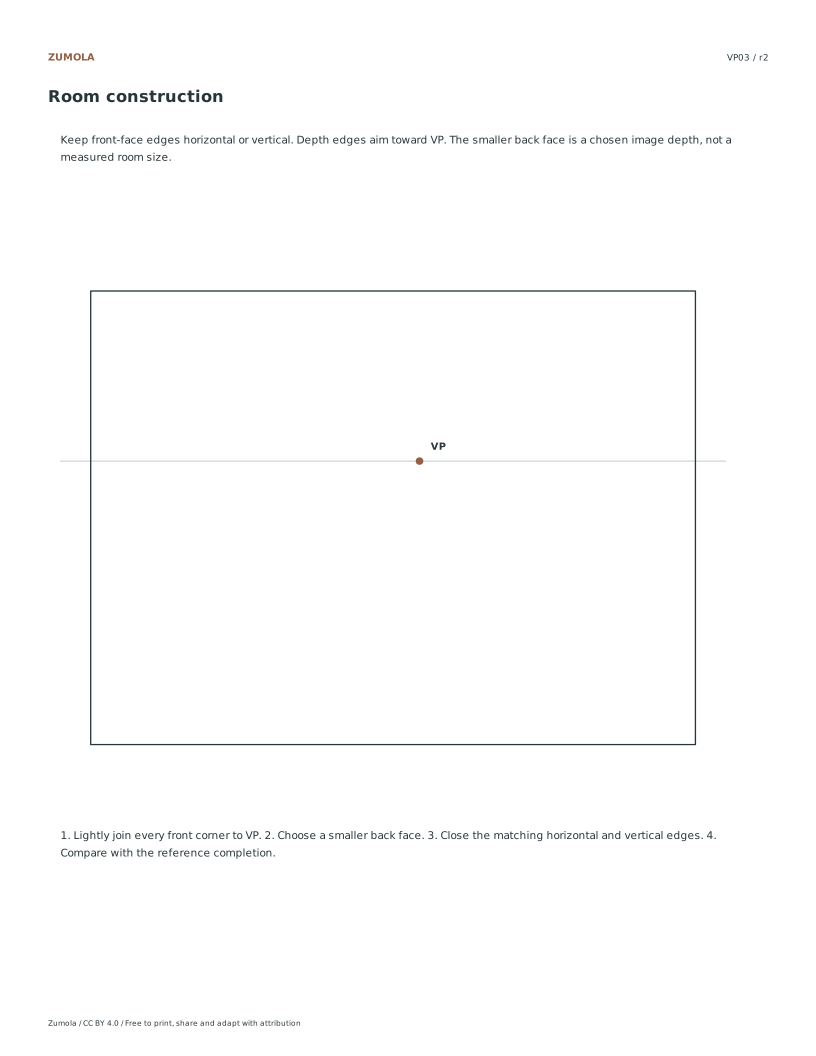
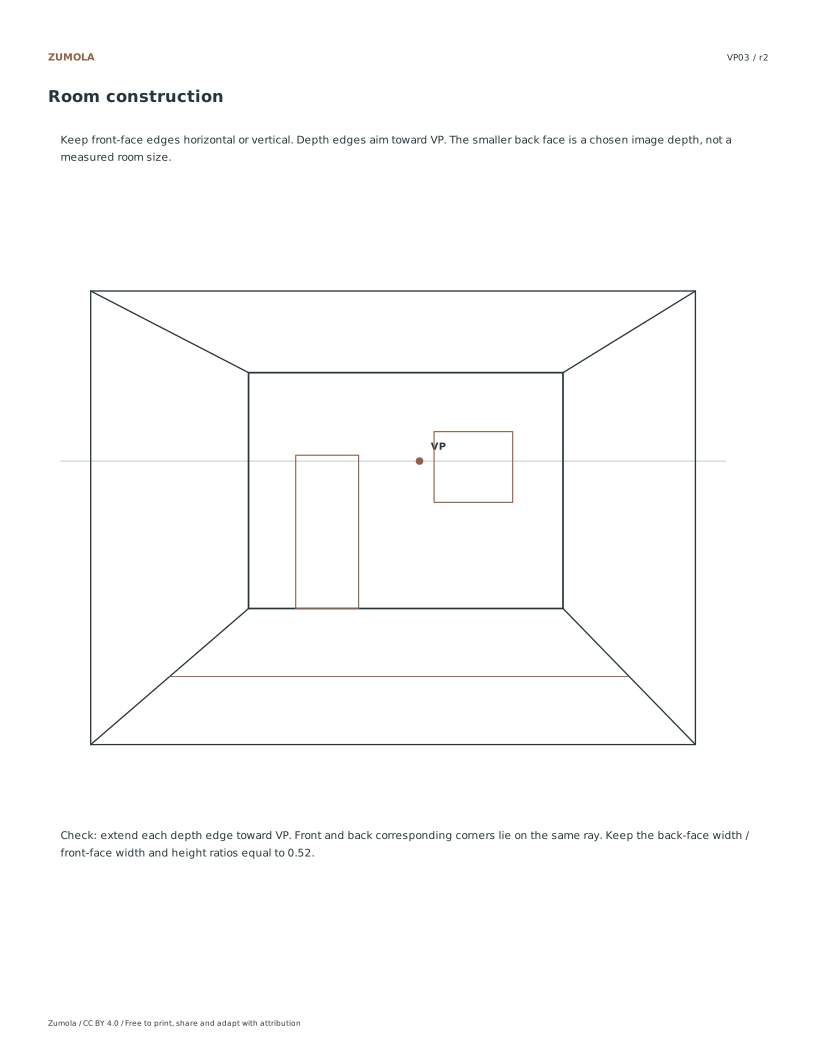
Practice boxes, a corridor and a room using one vanishing point. Each set includes a guided construction, an unfinished worksheet and a reference completion.
3 construction sets.
One horizon & VP.
Reference + worksheet + answer.
More ways to practice
A second worked example: a low table in a room
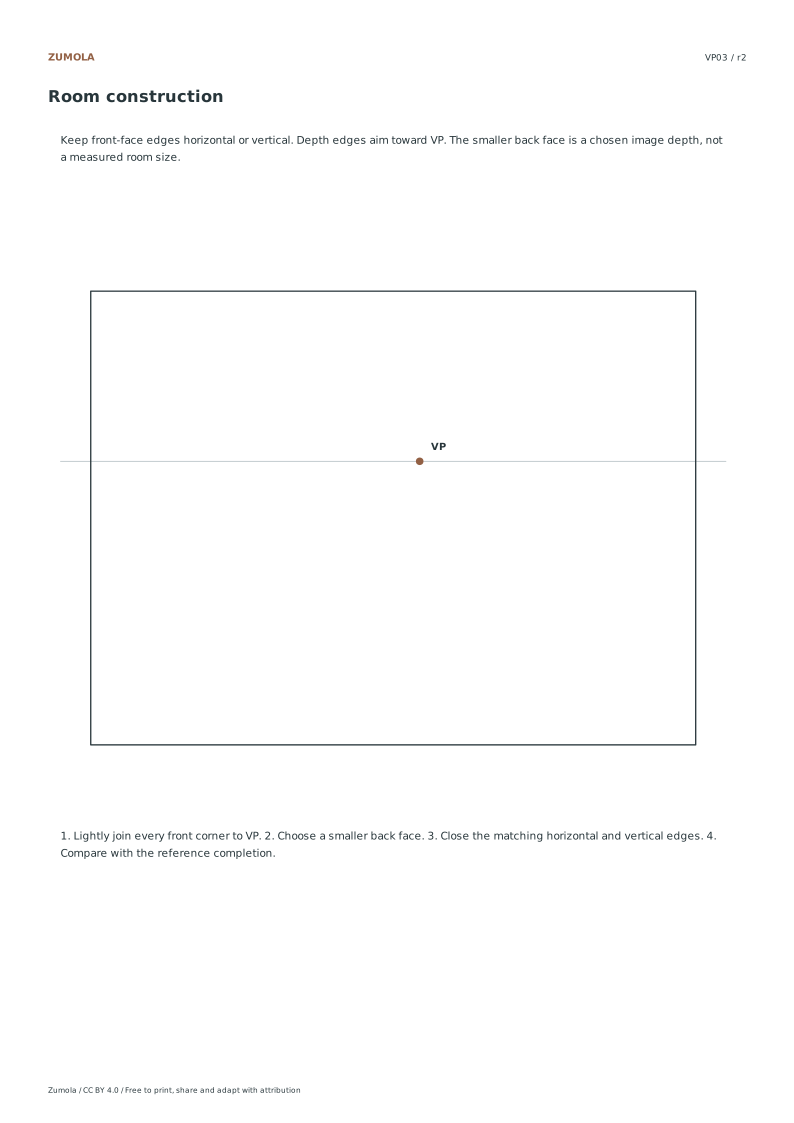
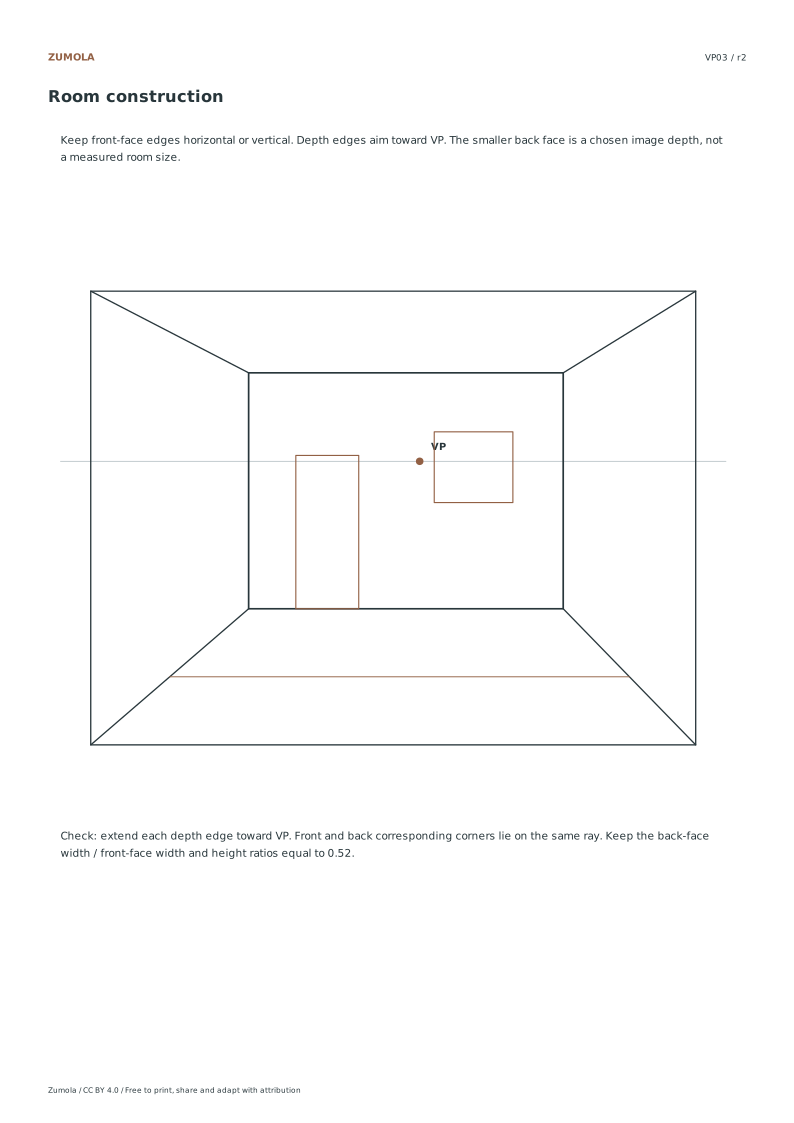
Place the horizon at eye level and mark one vanishing point on it. Draw the front face of a low table as a rectangle below the horizon, then send lines from each visible front corner back toward the vanishing point. Stop each line at a chosen depth and connect those endpoints to form the back face. Because the table sits below eye level, you see its top surface; the back edge of that top should be shorter than the front edge and parallel to it.
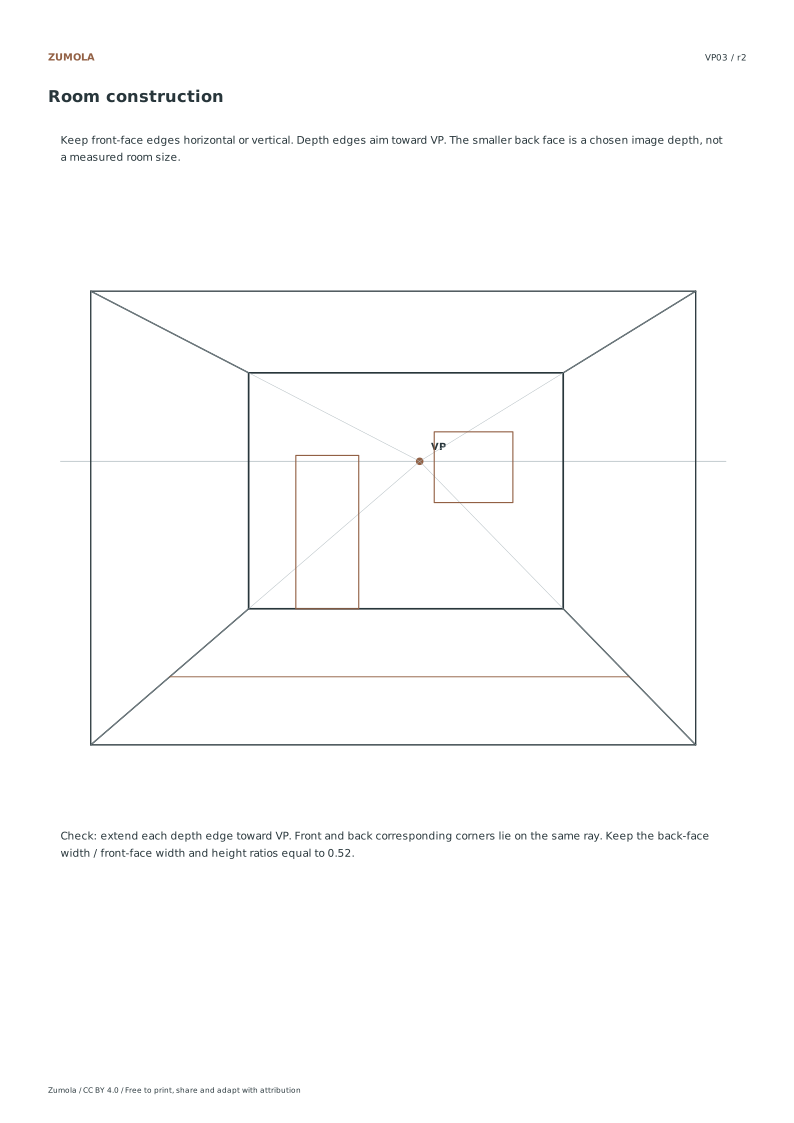
The same vanishing point governs the room walls, floorboards and table edges. If a floorboard line and a table side line both recede, they should meet at that single point when extended. This is the check that separates a coherent drawing from one where each object was constructed with its own private vanishing point.
- Mark the horizon and one vanishing point on it before drawing any object.
- Draw the front rectangle of the table below the horizon.
- Send projection lines from each front corner to the vanishing point.
- Choose a depth, mark the back corners on those lines, and connect them.
- Extend two receding edges from different objects and confirm they meet at the same point.
Diagnostic checks for convergence
A drawing can look plausible while still failing convergence. The reliable test is to extend receding edges with a light straight line and see where they cross. Edges that belong to the same one point construction should cross at the vanishing point, not merely near it. If two lines cross well before or after the point, one of them was drawn by eye rather than projected.
Vertical and horizontal edges need a separate check. In one point perspective, front faces stay true to the picture plane, so their verticals remain vertical and their horizontals remain horizontal. Only the depth edges converge. A common failure is tilting a front-face vertical slightly, which makes the whole object look unstable even when the receding lines are correct.
- Extend each receding edge with a faint line and note where pairs cross.
- Compare crossing points; they should coincide at the single vanishing point.
- Check that front-face verticals are vertical and horizontals are horizontal.
- Confirm that back edges are parallel to their matching front edges.
- Redraw only the drifting line, keeping the intended depth.
A practical variation: same box, two eye levels
Draw one box with the horizon above it, then redraw the same box with the horizon below it. The vanishing point stays on the horizon in both cases, but the visible faces change. With the horizon above, you look down and see the top; with the horizon below, you look up and see the underside. The front face dimensions can stay identical, which makes the comparison easy to judge.
This variation trains you to separate object shape from viewpoint. It also exposes errors where a drawing shows a top face while the horizon implies you are looking up. Use the rubric below to assess both versions rather than expecting one correct picture.
- Draw the box with the horizon clearly above it and note which faces are visible.
- Redraw the same front face with the horizon clearly below it.
- Keep the vanishing point on the horizon in both drawings.
- Compare which faces appear and whether each is consistent with the eye level.
Try this example
A box sits below the horizon with a front face 4 cm wide and 3 cm tall. Its depth edges recede to one vanishing point. The back face is drawn 2 cm along each depth line. What should the back face measure, and where should extended depth edges meet?
Show the worked explanation
The back face stays parallel to the front, so it is also a rectangle with vertical sides and horizontal top and bottom. Because it is farther away, it is smaller than 4 cm by 3 cm; the exact size depends on the projection, but it must be shorter in both dimensions and centered along the depth lines. All four extended depth edges meet at the single vanishing point on the horizon. Front-face verticals remain vertical and horizontals remain horizontal.
Common mistakes
- Using a different vanishing point for each object in the same scene. Extend receding edges from two objects and confirm they cross at one shared point on the horizon.
- Tilting front-face verticals so the object looks leaning. Check front-face verticals against the paper edge and keep them vertical; only depth edges converge.
- Showing a top face while the horizon sits below the object. Match visible faces to eye level: horizon above shows the top, horizon below shows the underside.
Check your work
- All depth edges in the scene extend toward one vanishing point on the horizon.
- Front-face verticals are vertical and horizontals are horizontal.
- Back edges are parallel to their matching front edges.
- Visible faces match the stated eye level.
- Corrections adjust drifting lines without changing the intended depth.
Questions before you start
How do I know if my receding lines truly converge?
Extend pairs of receding edges with faint lines. They should cross at the single vanishing point on the horizon, not at separate nearby points.
Can a box and a room share one vanishing point?
Yes. In one point perspective, all depth edges in the scene recede to the same point on the horizon, so box and room lines should meet there when extended.
What if my drawing looks right but the lines miss the point?
Trust the geometry over the impression. Adjust the drifting edge so its extension passes through the vanishing point, then recheck the parallel front-face edges.