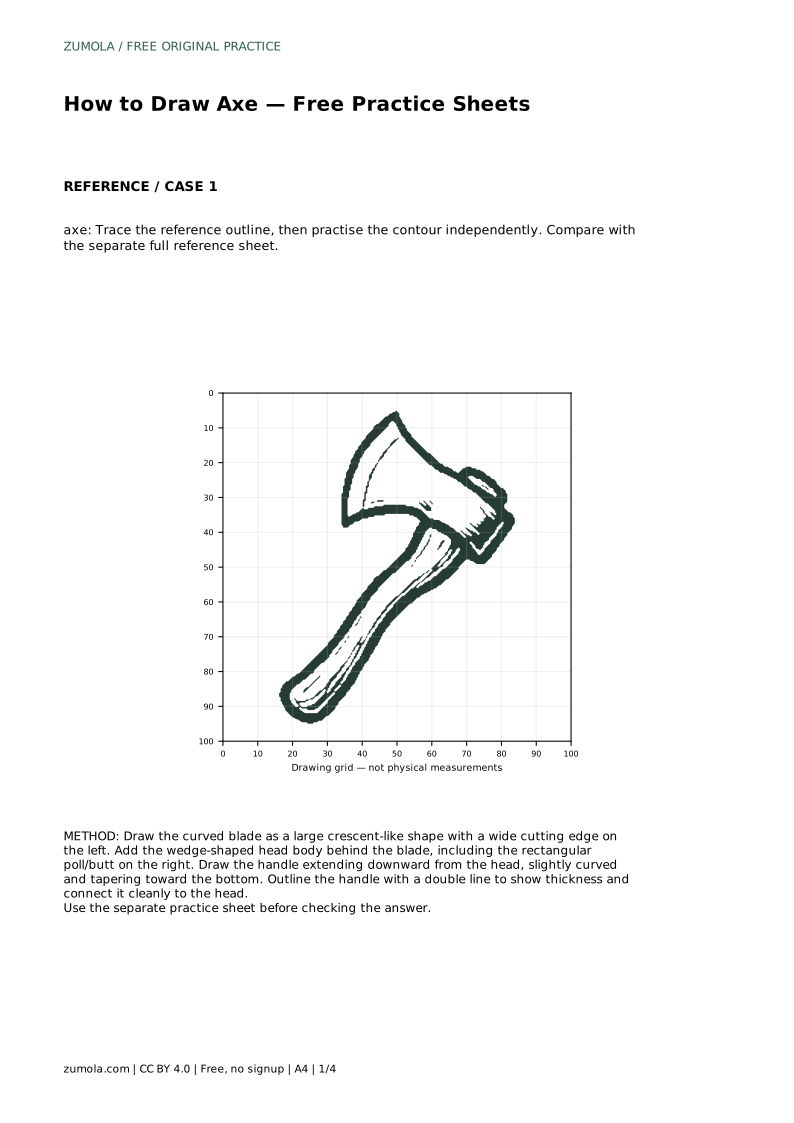
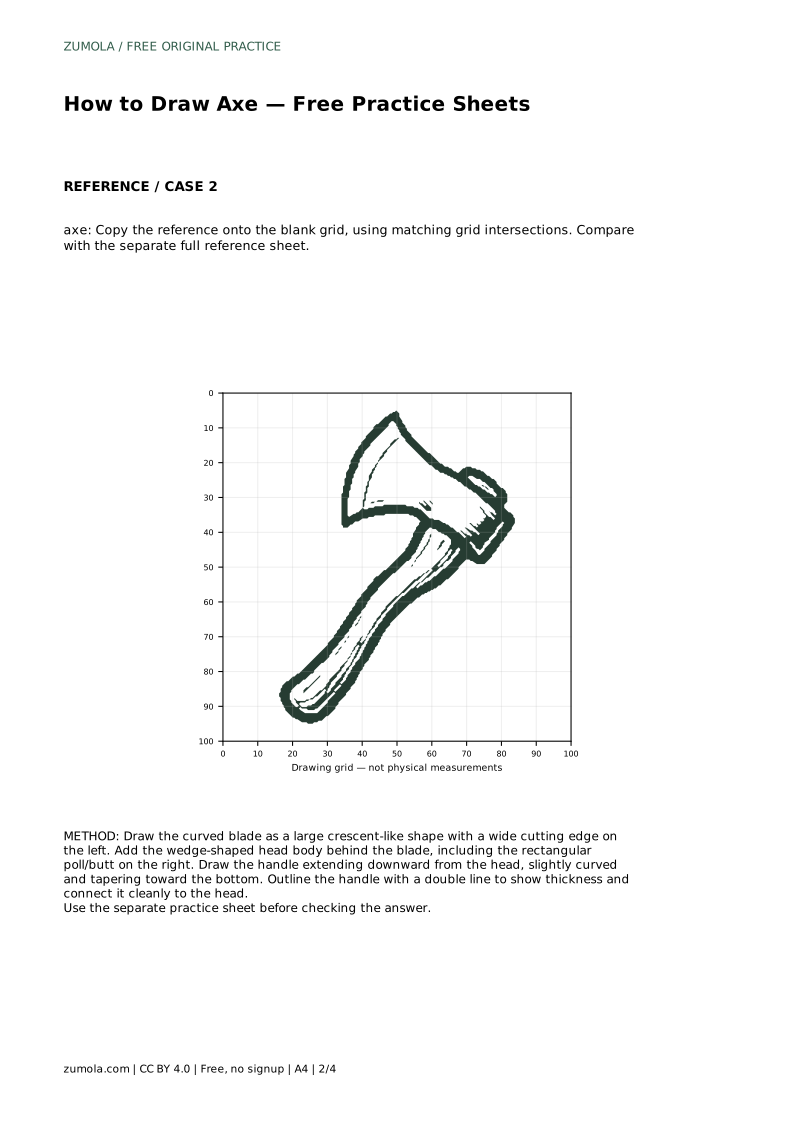
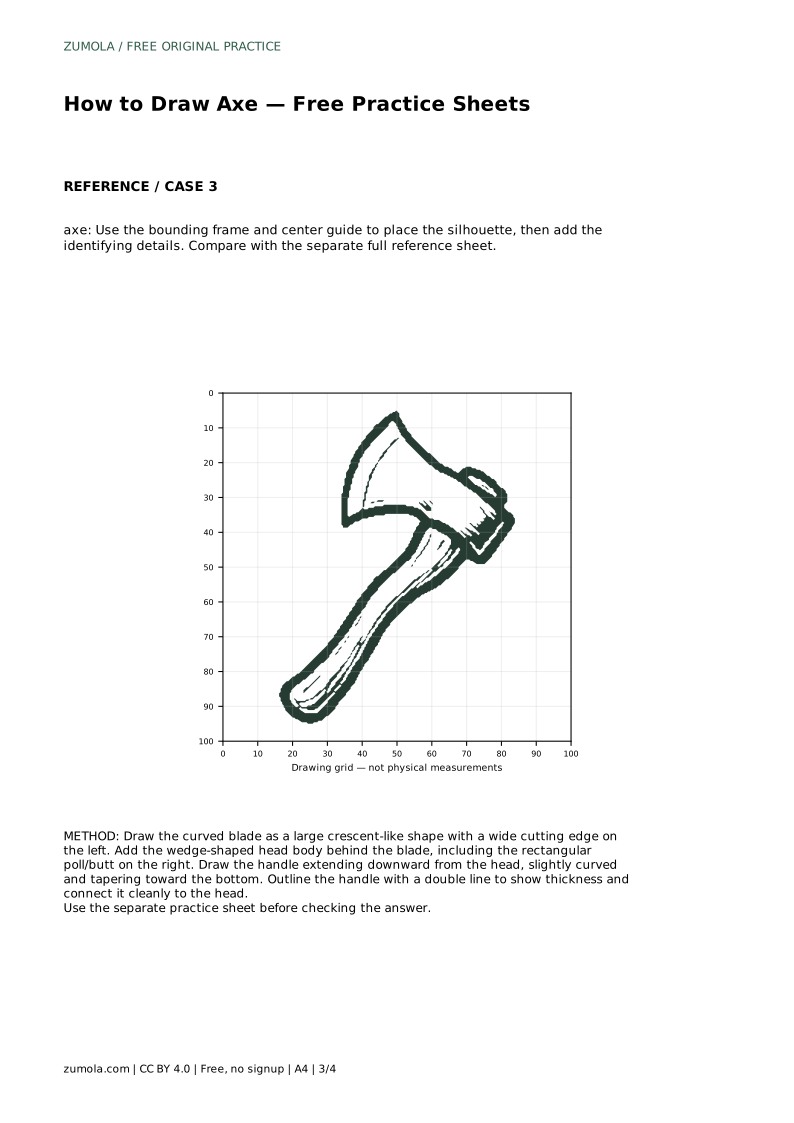
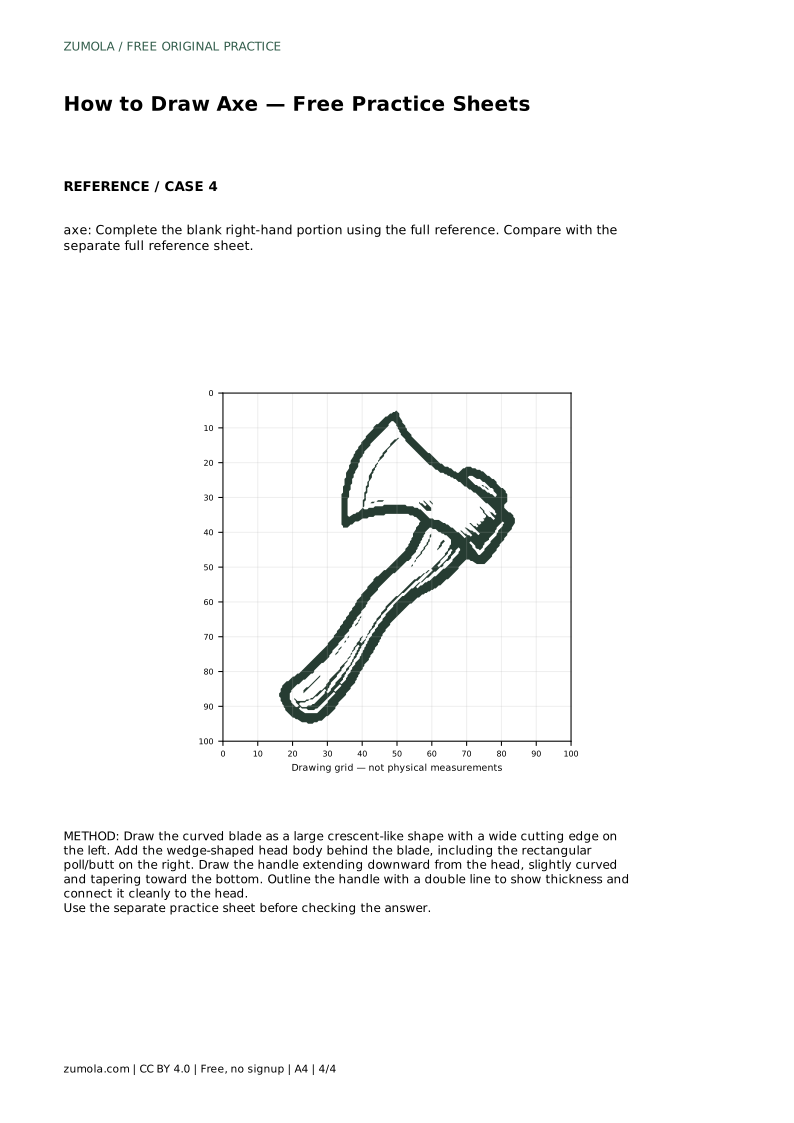
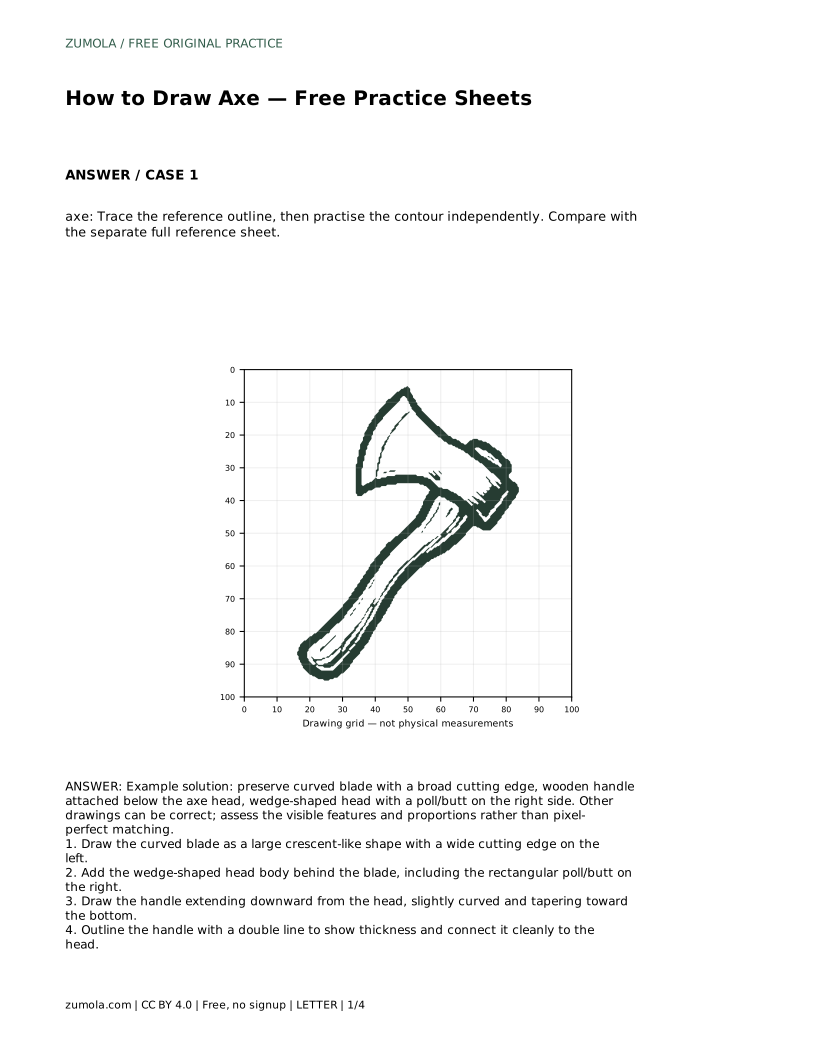
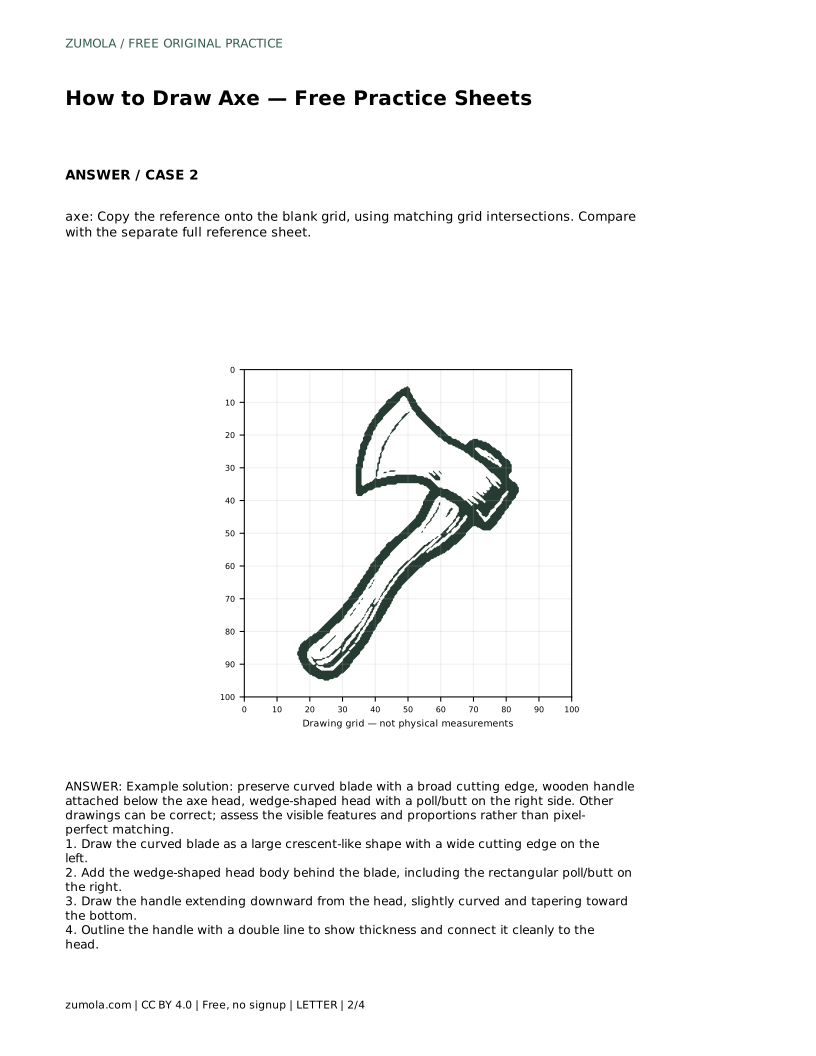
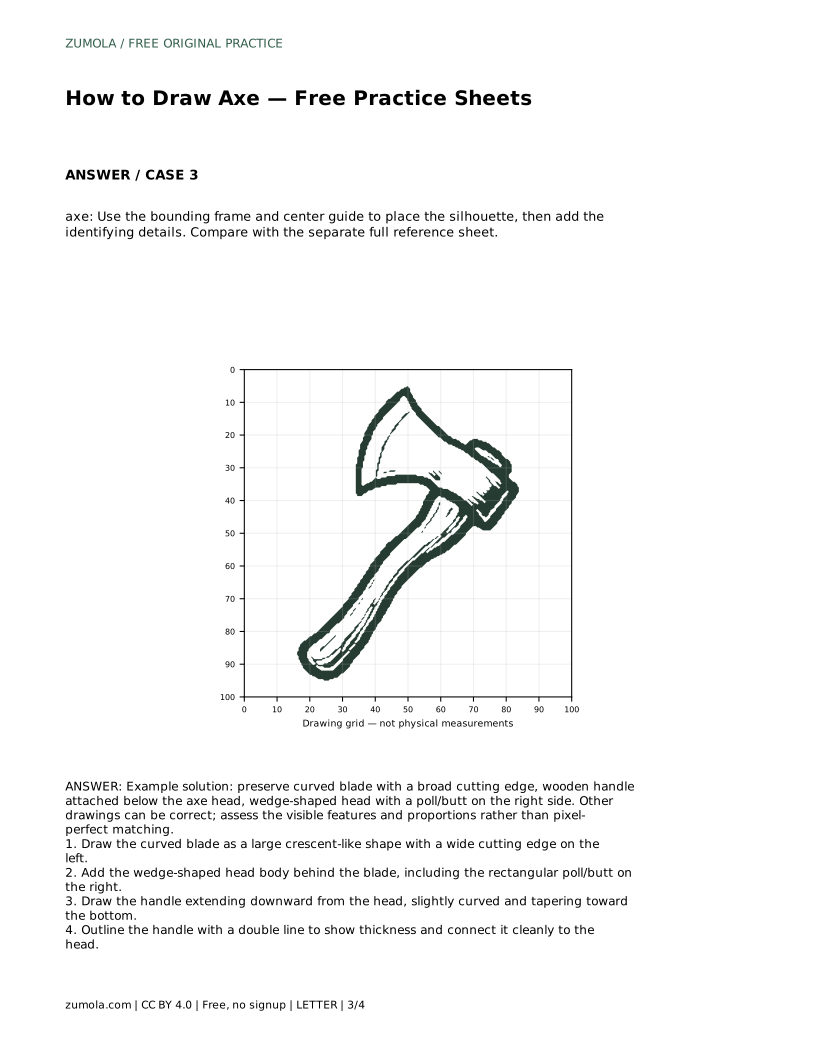
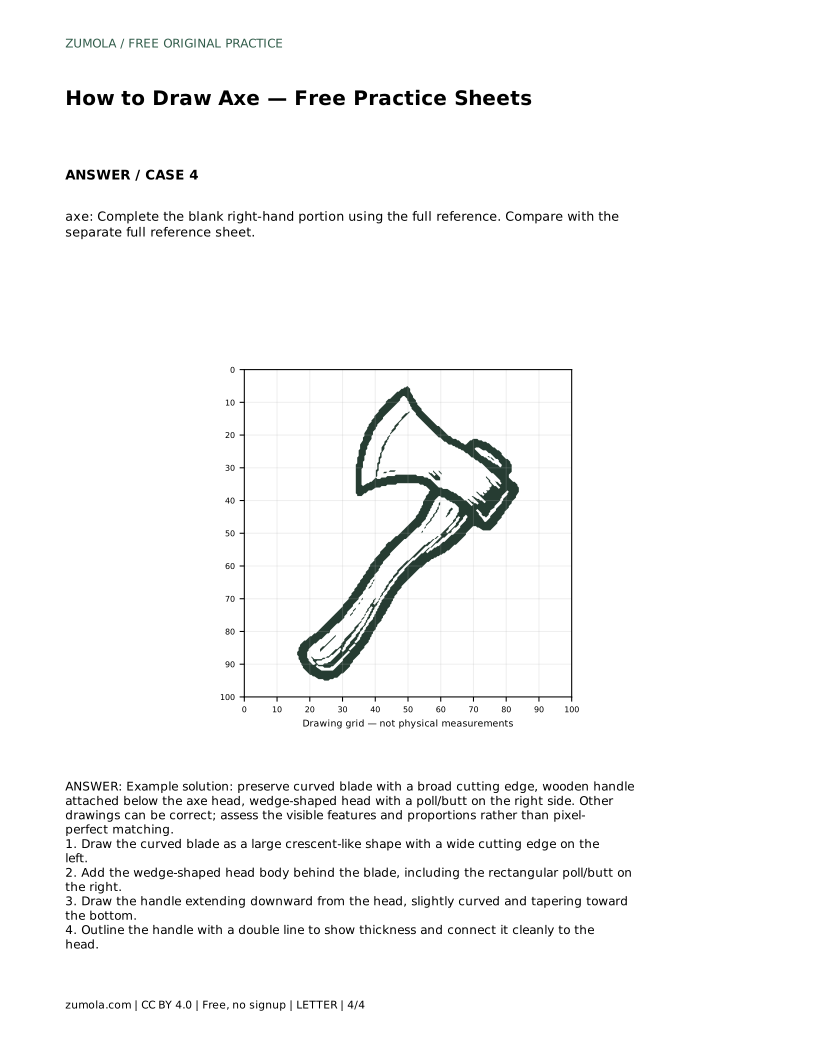
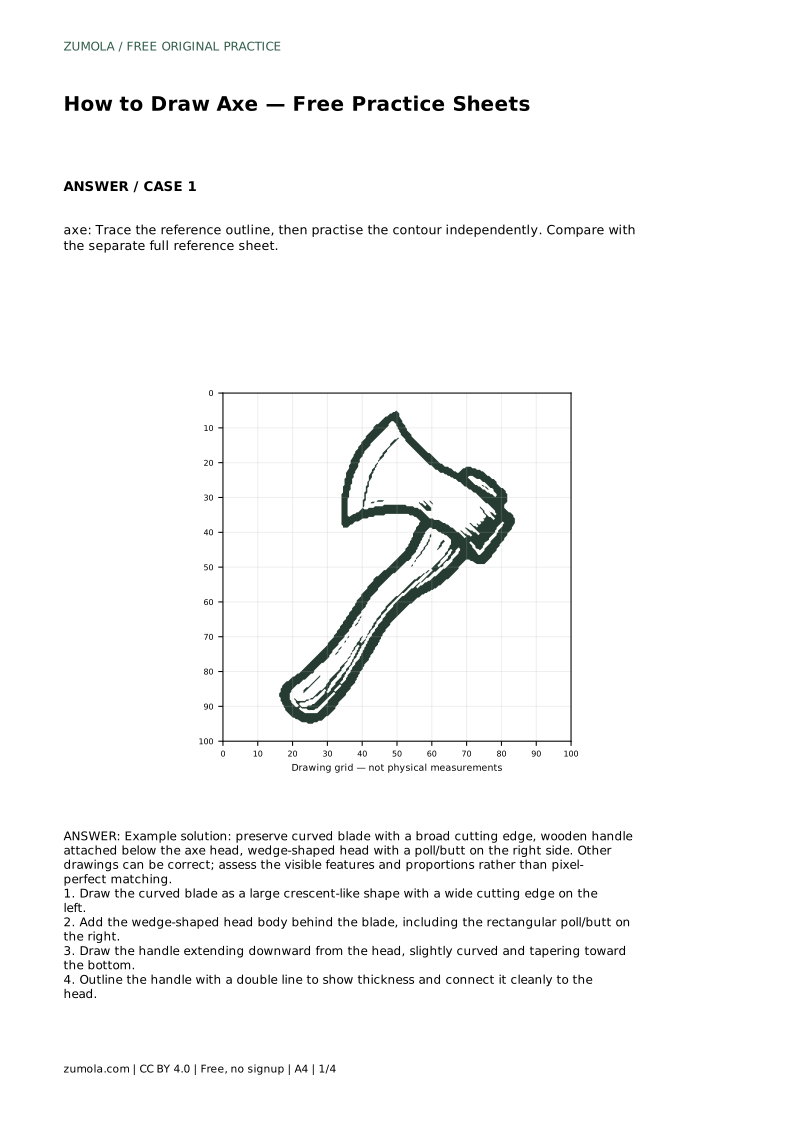
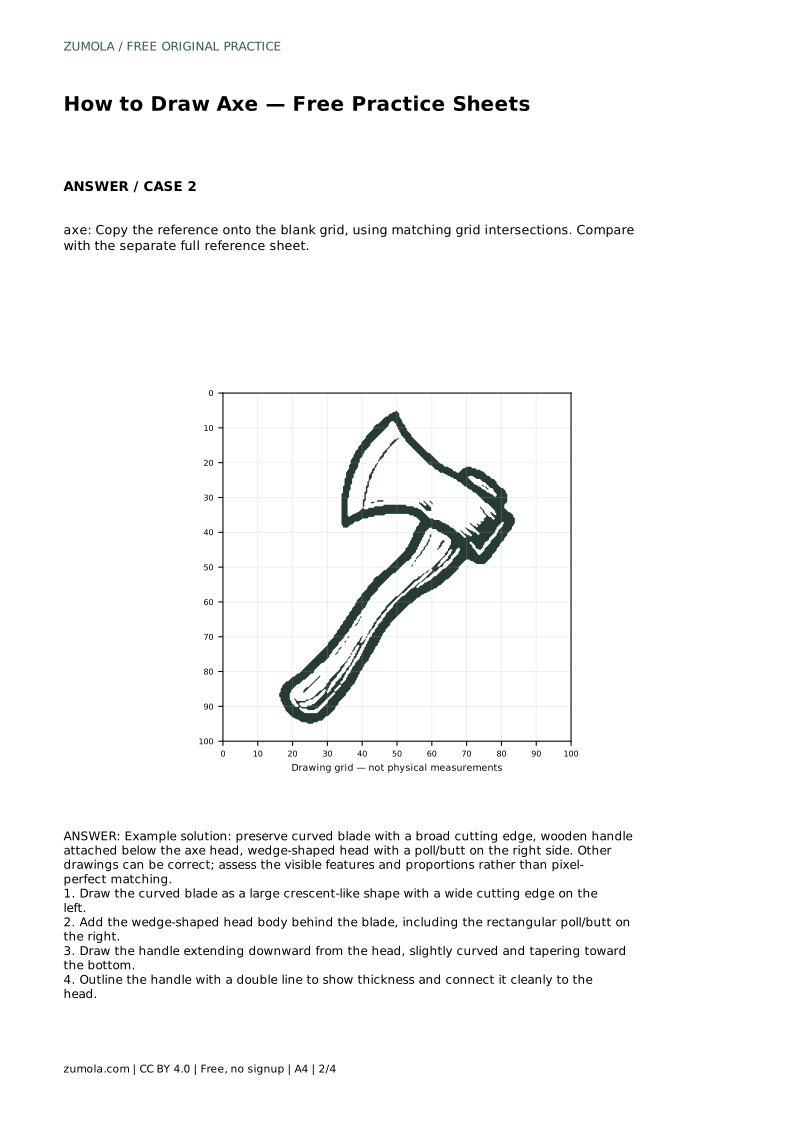
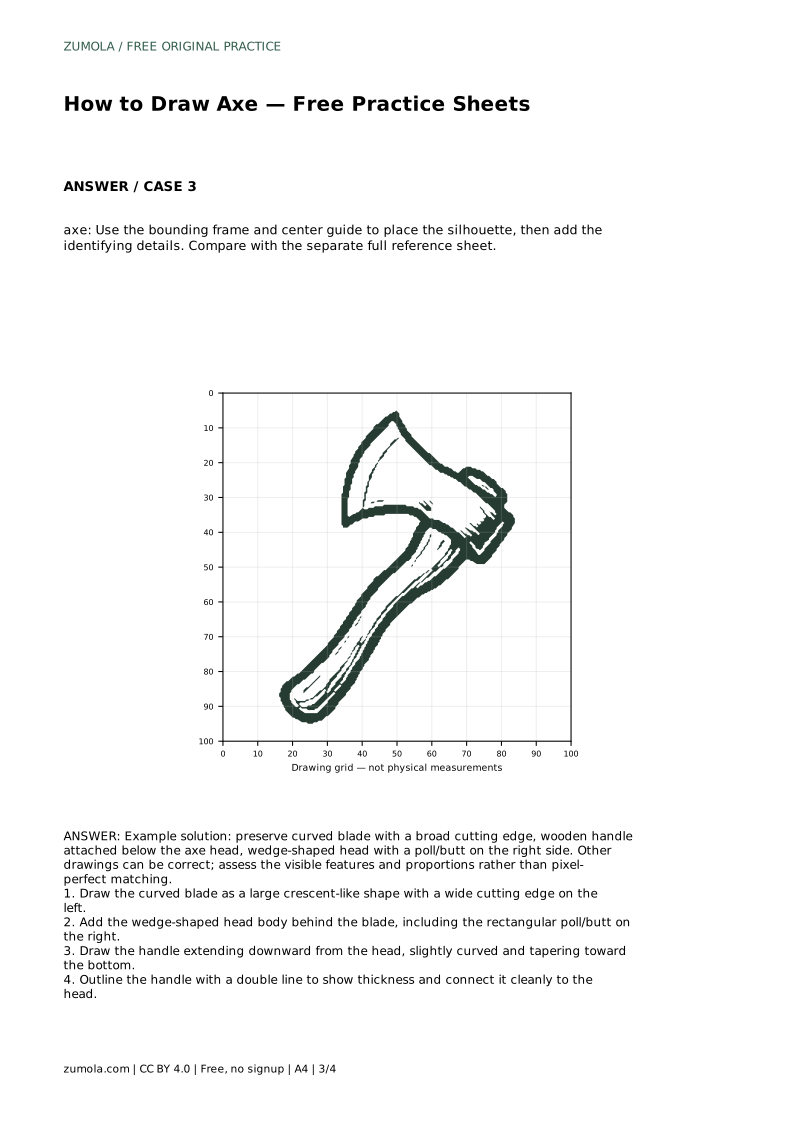
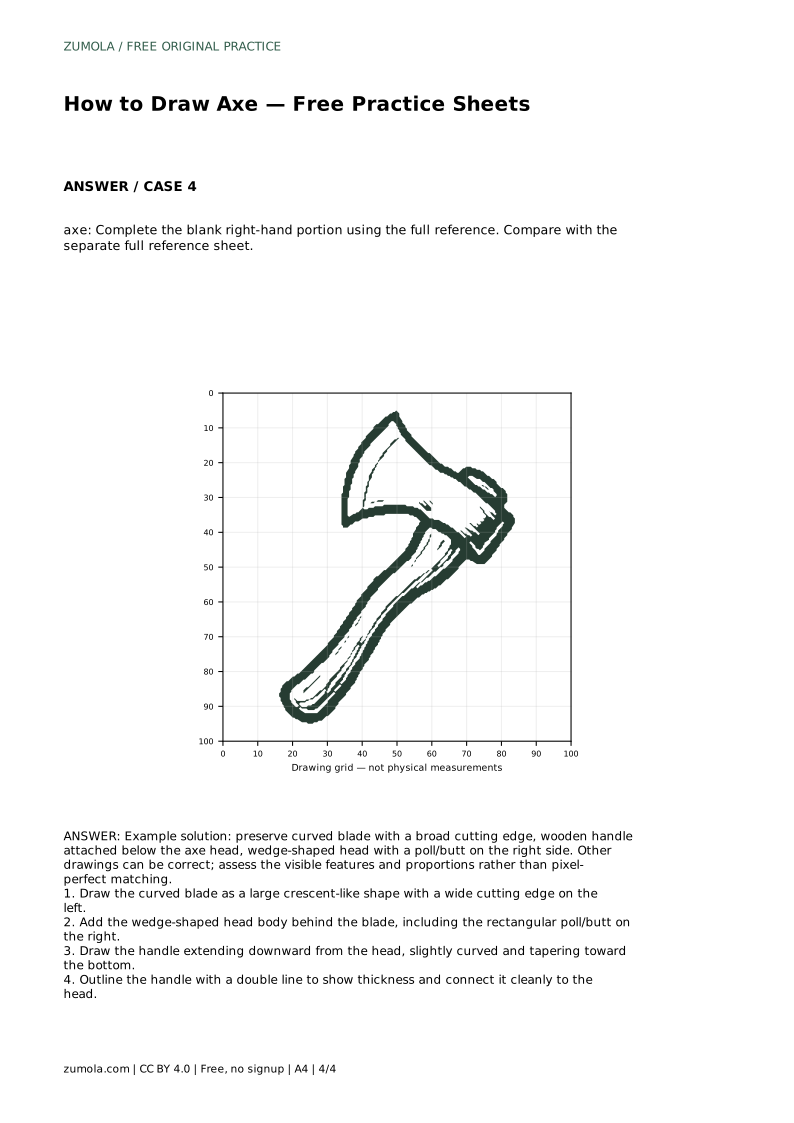
Reference diagrams
LETTER · Download PDF
A4 · Download PDF
Free original resources
Learn to draw an axe by building the curved blade, wedge-shaped head, poll, and tapered handle. Free printable practice sheets support tracing, grids, and guided placement.
Four original cases, with reference diagrams, practice sheets and worked answers. Everything is free; no signup required.
LETTER · Download PDF
A4 · Download PDF
LETTER · Download PDF
A4 · Download PDF
LETTER · Download PDF
A4 · Download PDF
Use A4 or US Letter to match your printer. Use the stated values and conditions to solve each exercise; diagrams are not physical measuring rulers.
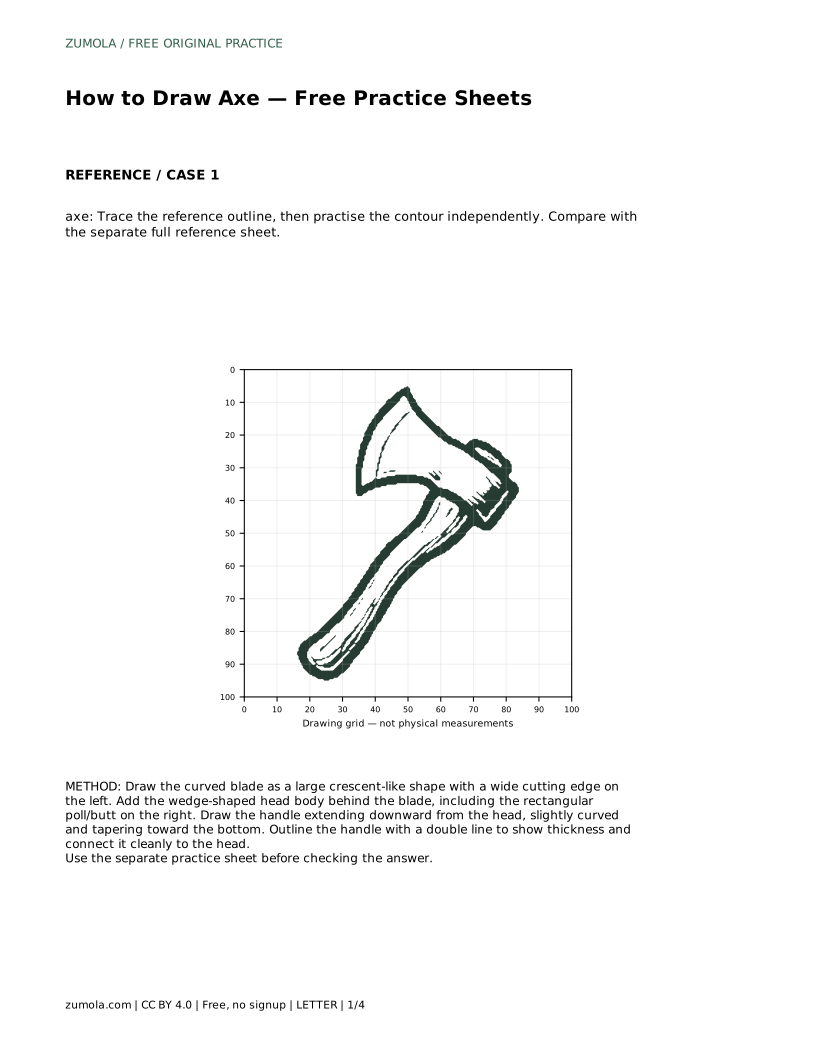
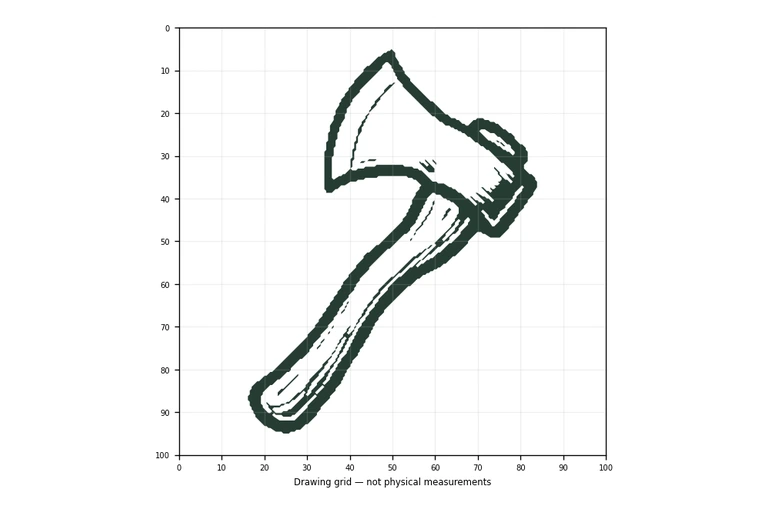
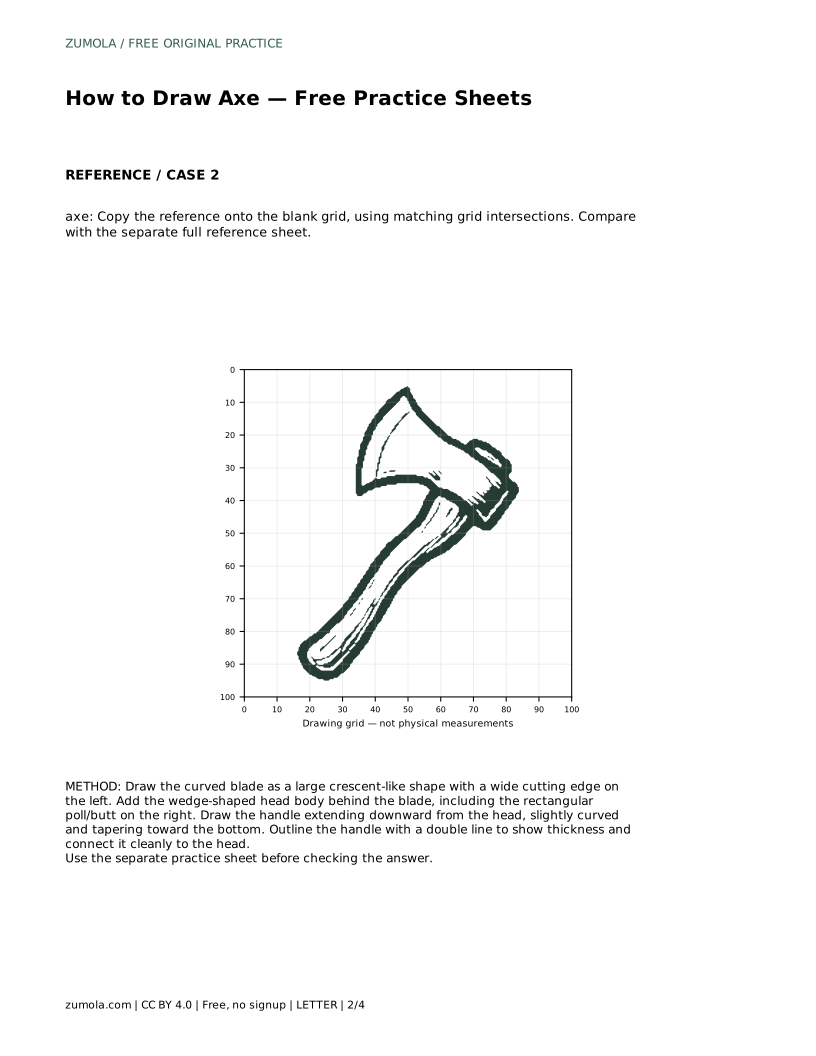
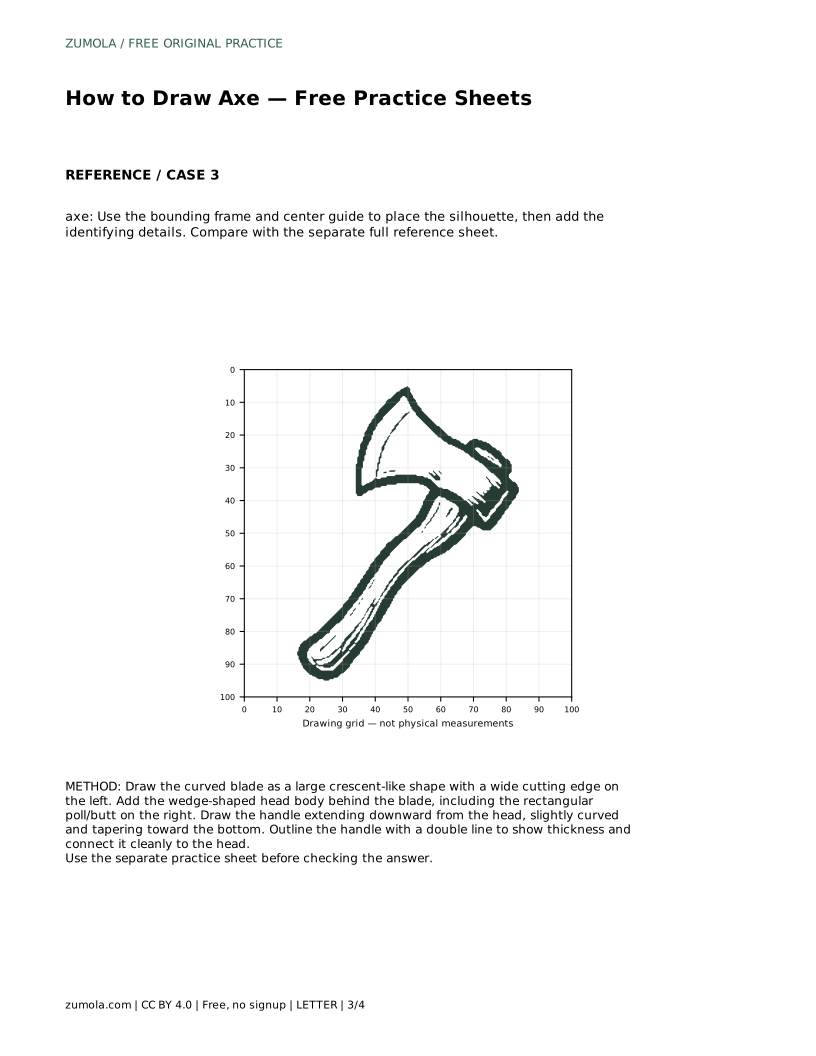
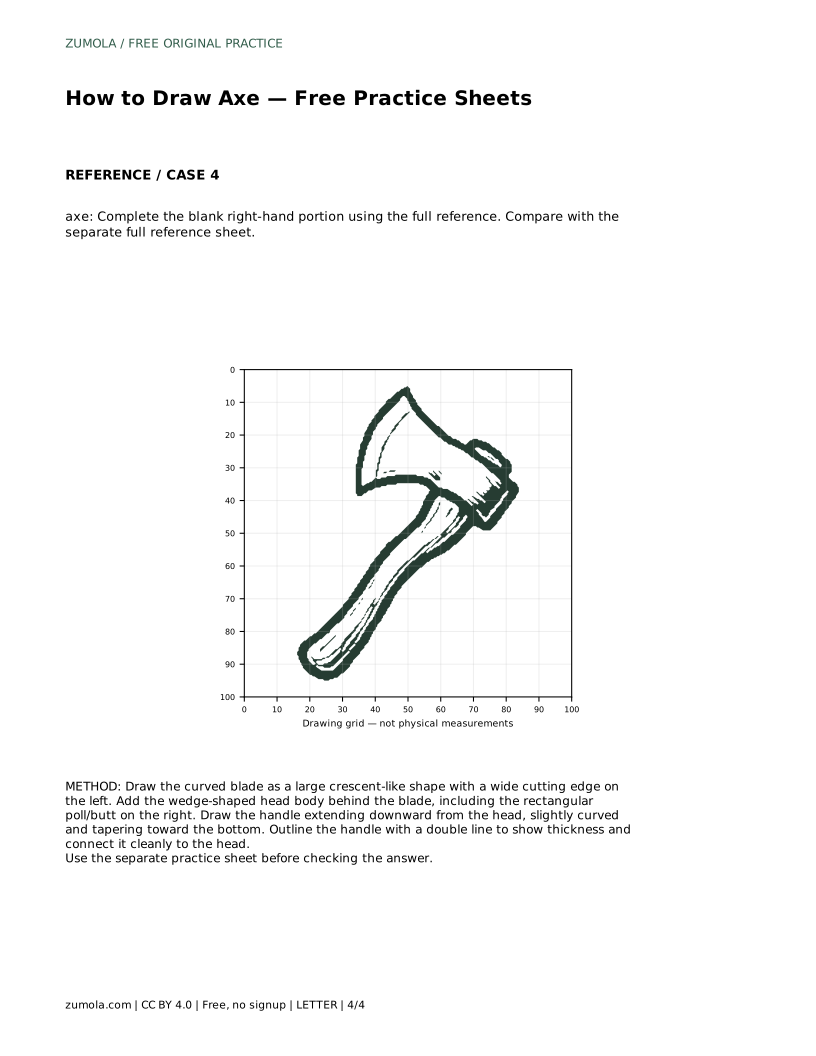
Drawing an axe is mostly a problem of arranging a few clear shapes: a broad curved blade, a wedge-shaped head, a short rectangular poll, and a handle that tapers downward. This page explains how those parts fit together and how to practise them on the free sheets. The goal is not a pixel-perfect copy but a recognisable axe with believable proportions and clean connections between head and handle.
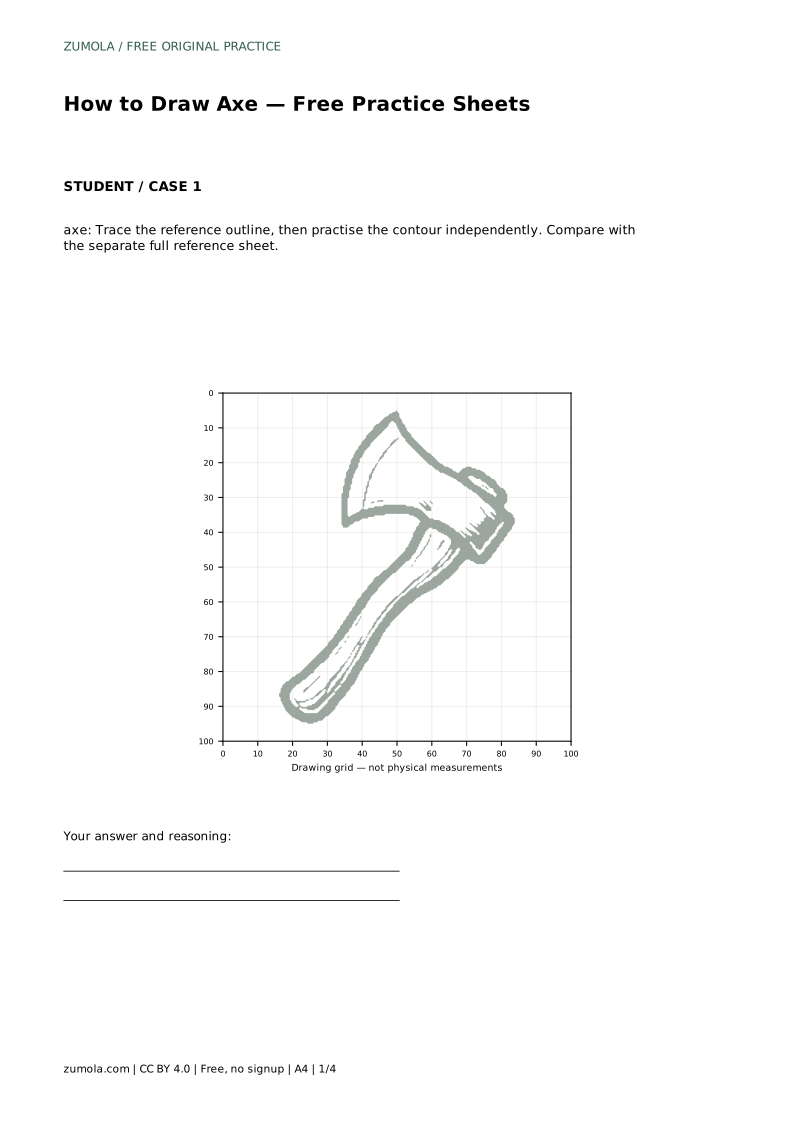
Start with the blade. Think of it as a large crescent or curved wedge whose cutting edge runs along the left side. The curve should be smooth and continuous, not a series of short straight segments. Keep the cutting edge broad enough to read as a blade rather than a thin line.
Behind the blade sits the head body. This is a wedge-shaped mass that narrows toward the handle and widens toward the blade. On the right side of the head, add the poll, also called the butt: a short, roughly rectangular block. The poll gives the head visual balance and stops the drawing from looking like a blade floating on a stick.
The handle extends downward from the head. It should be slightly curved and taper toward the bottom, becoming narrower at the end. Draw it with a double line so it has thickness, and connect it cleanly to the underside of the head. A single-line handle looks like a wire; a double line reads as wood.
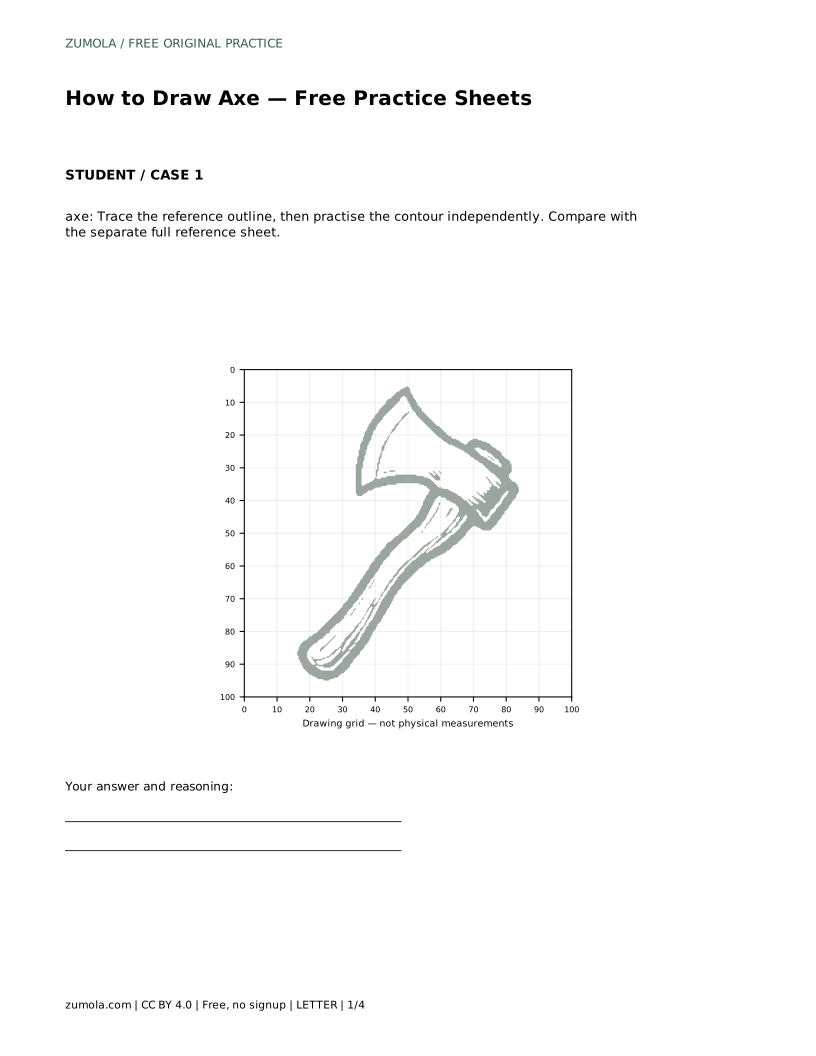
The tracing sheet asks you to follow the reference outline first, then repeat the contour independently on the blank area. Tracing builds familiarity with the sequence of shapes; the independent repeat is where the learning happens. Compare your free drawing with the separate full reference sheet rather than with your traced line.
The grid sheet works differently. Copy the reference onto the blank grid by matching where each feature crosses grid intersections. Use the grid to check relative positions: where the blade curve begins, where the poll sits, and how far the handle extends below the head. The grid is a placement aid, not a guarantee of identical proportions.
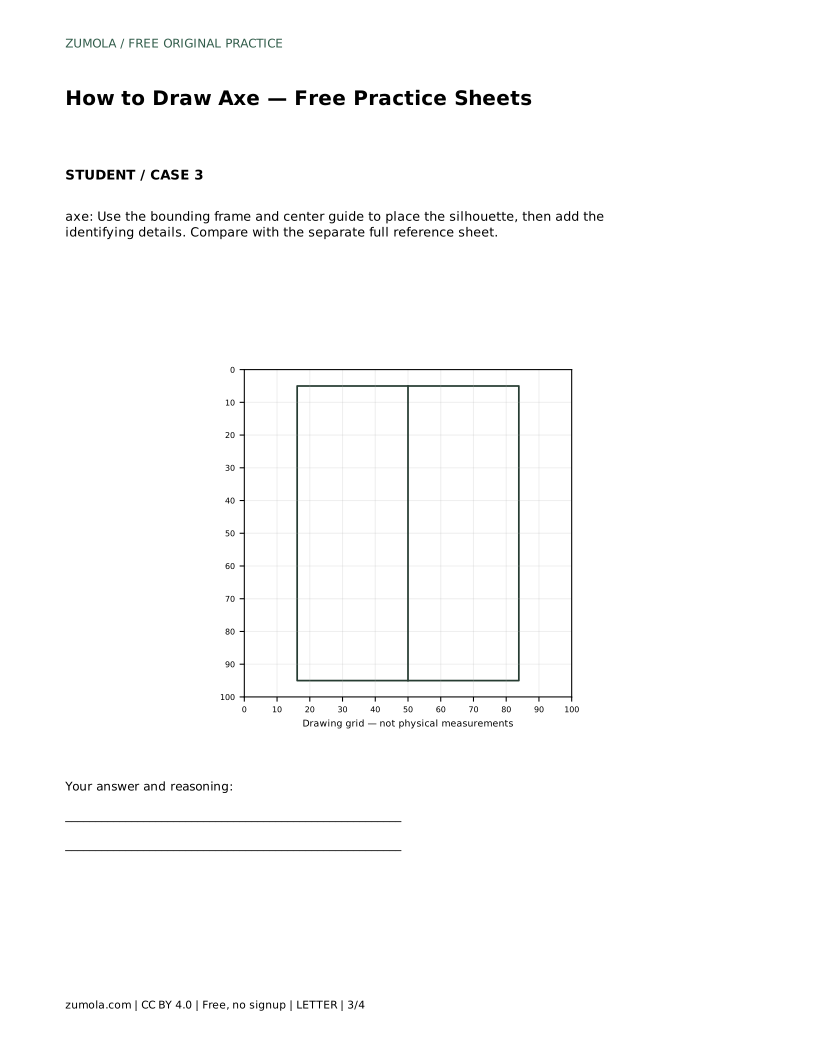
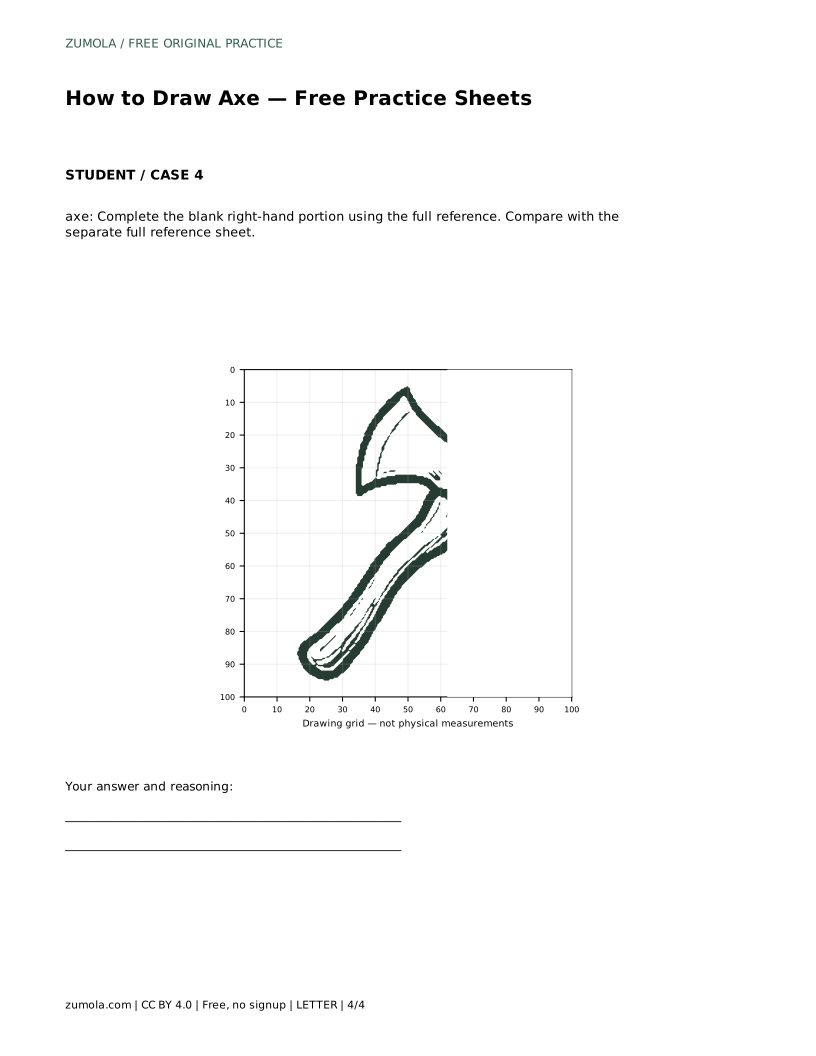
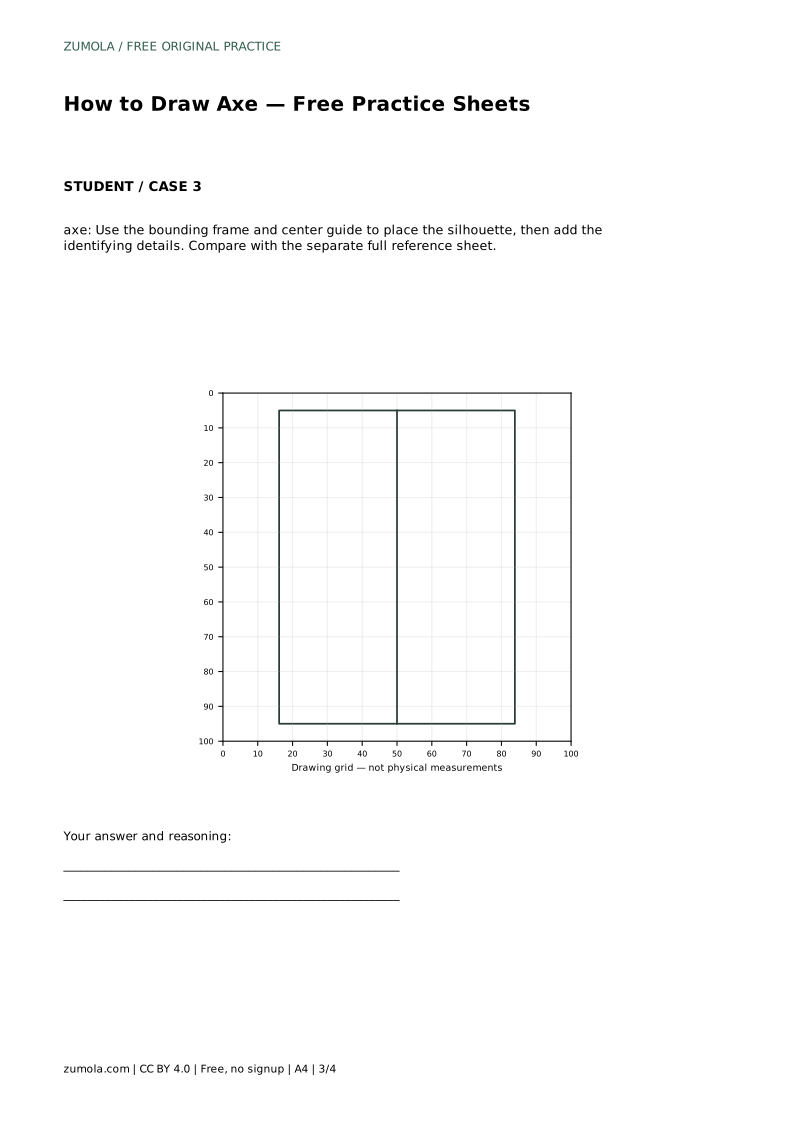
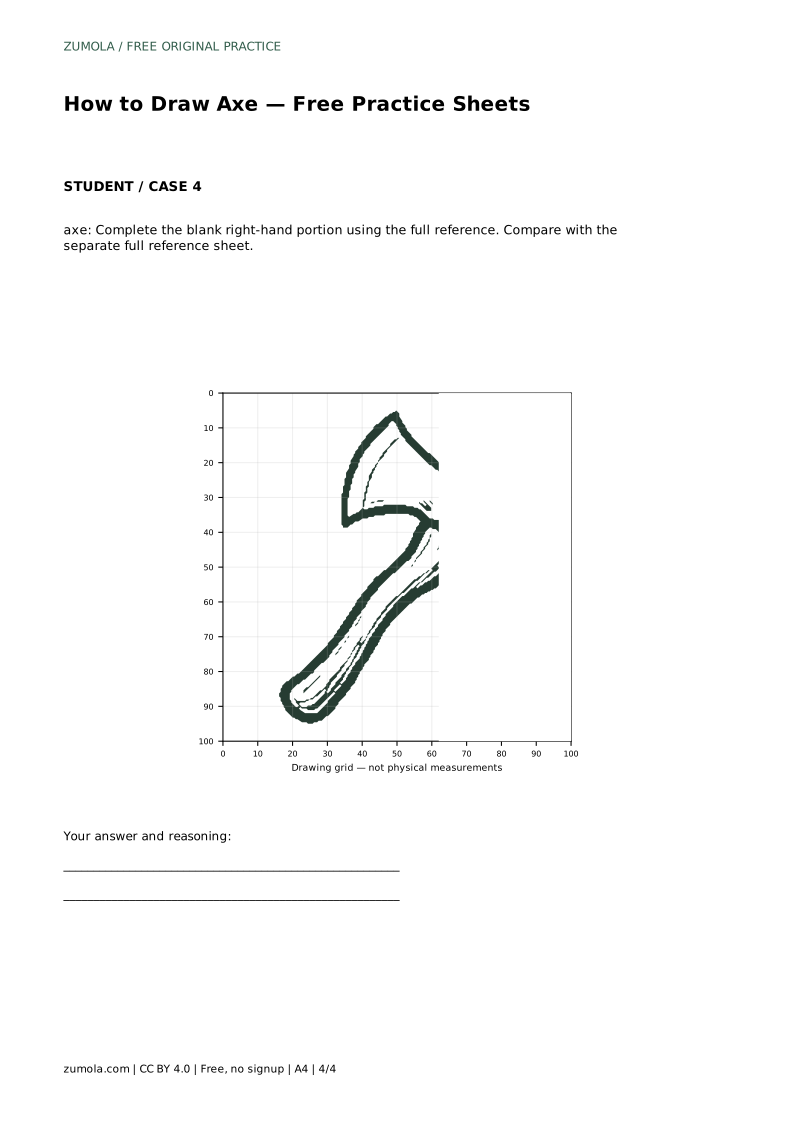
The bounding-frame sheet gives you a centre guide. Place the overall silhouette inside the frame first, then add the identifying details: the cutting edge, the poll, and the handle taper. The partial sheet asks you to complete the blank right-hand portion using the full reference, which tests whether you can continue an existing contour without drifting.
A common proportion problem is a head that is too small for the handle, or a handle that is too thick at the bottom. Compare the head's height with the handle's length and with the blade's width. There is no single correct ratio, but the head should look heavy enough to belong to the handle.
Check the connection between head and handle. The handle should meet the head beneath the wedge body, not float beside it. The poll should sit on the opposite side of the blade, roughly level with the top of the head. If the poll is too high or too low, the head looks tilted.
Finally, check the cutting edge. It should be the widest part of the blade and should curve smoothly. A jagged or overly straight edge changes the character of the axe. Remember that multiple drawings can be correct; assess visible features and proportions rather than exact matching.
axe: Trace the reference outline, then practise the contour independently. Compare with the separate full reference sheet.
Example solution: preserve curved blade with a broad cutting edge, wooden handle attached below the axe head, wedge-shaped head with a poll/butt on the right side. Other drawings can be correct; assess the visible features and proportions rather than pixel-perfect matching. Draw the curved blade as a large crescent-like shape with a wide cutting edge on the left. Add the wedge-shaped head body behind the blade, including the rectangular poll/butt on the right. Draw the handle extending downward from the head, slightly curved and tapering toward the bottom. Outline the handle with a double line to show thickness and connect it cleanly to the head.
No. Use the reference to learn the arrangement of blade, head, poll, and handle. Other drawings can be correct if those visible features and their proportions are preserved.
Start with the tracing sheet to learn the contour sequence, then move to the grid or frame sheet to practise placement without tracing.
Check that the blade is curved and broad, the head is wedge-shaped with a poll on the right, and the handle is double-lined, tapered, and attached beneath the head.
All drawing practice · Free coordinate paper
Original resources · CC BY 4.0 · Free for personal and classroom use with attribution.