Reference diagrams
LETTER · Download PDF
A4 · Download PDF
Free original resources
Learn to draw a watch by building the round case, tick marks, hands, band, and crown in order. Free practice sheets support tracing, grids, and guided placement.
Four original cases, with reference diagrams, practice sheets and worked answers. Everything is free; no signup required.
LETTER · Download PDF
A4 · Download PDF
LETTER · Download PDF
A4 · Download PDF
LETTER · Download PDF
A4 · Download PDF
Use A4 or US Letter to match your printer. Use the stated values and conditions to solve each exercise; diagrams are not physical measuring rulers.
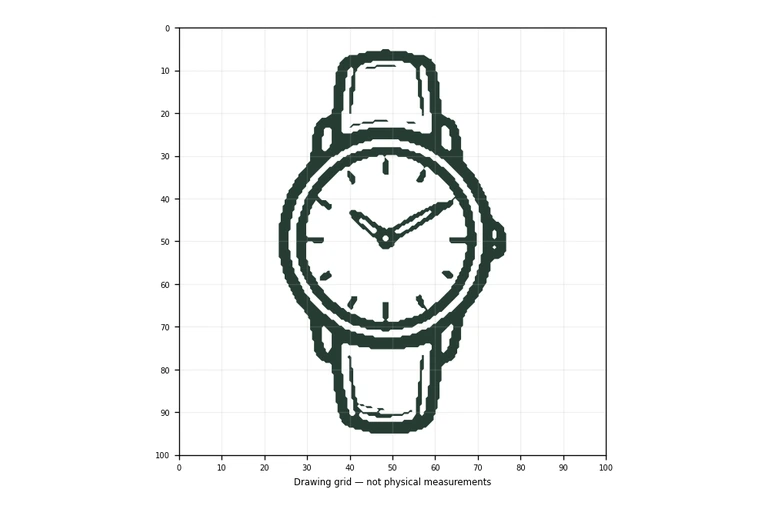
A watch is a compact drawing exercise in circles, radial spacing, and straight lines. The face must stay round, the tick marks should sit evenly inside the rim, and both hands must meet at the center. The band extends above and below the case, and a small crown sits on the right edge. This page explains a reliable order for drawing those parts and how to judge your result fairly, since more than one correct drawing can preserve the same visible features.
Start with the largest shape, because the face controls the position of everything else. Draw a large circle for the watch face, then a slightly larger outer ring around it for the case. Keeping the two circles concentric matters: if the outer ring drifts to one side, the case will look uneven even when the face itself is round.
Next, add short radial tick marks around the inside of the face to indicate hour positions. Radial means each mark points toward the center, like spokes. Space them around the full circle rather than clustering them on one side. Then draw two straight hands from the center: a longer minute hand and a shorter hour hand. Both must begin at the same center point so they read as hands rather than loose lines.
Finish the silhouette by extending a rectangular band above and below the case, then add a small rounded crown on the right edge. The band should align with the vertical axis of the face, and the crown should touch the case edge rather than float beside it.
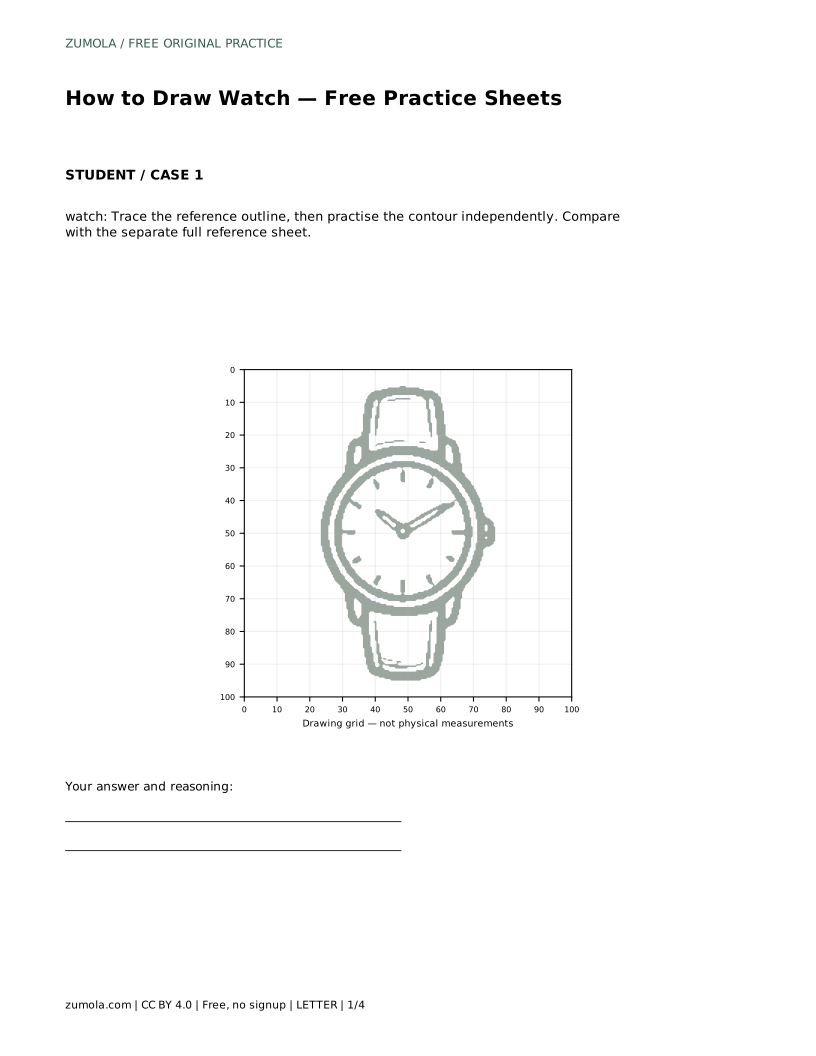
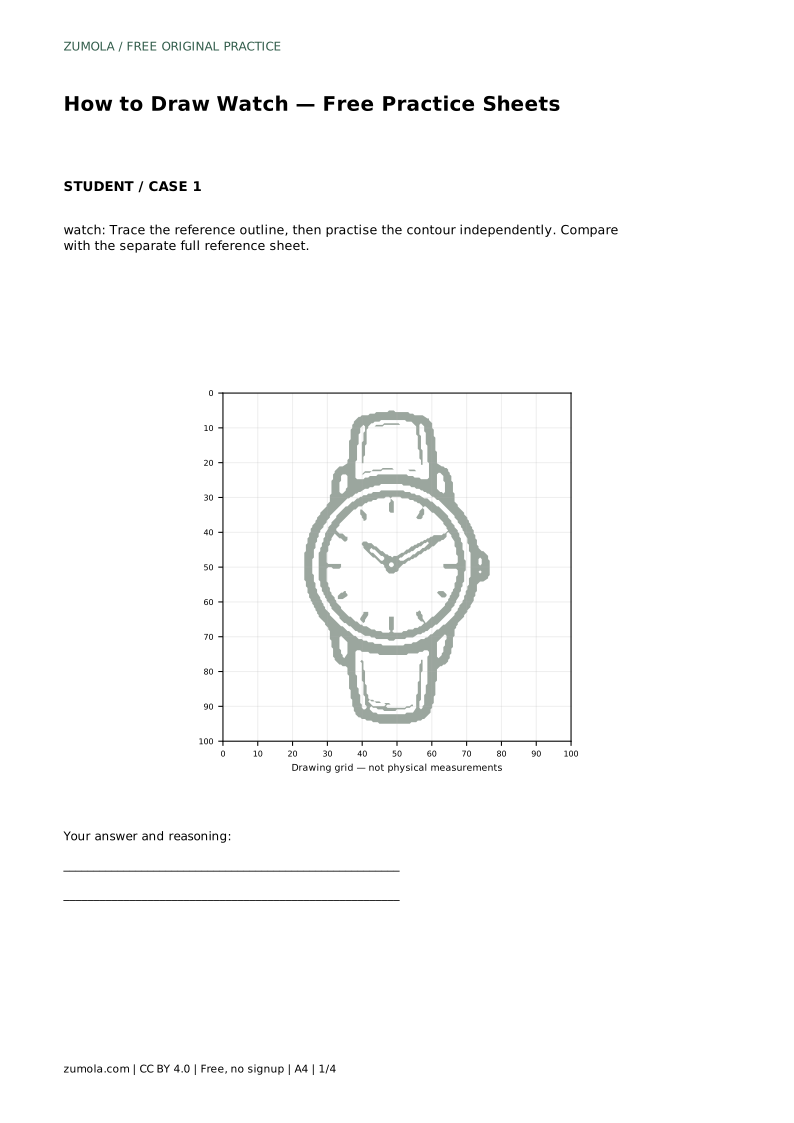
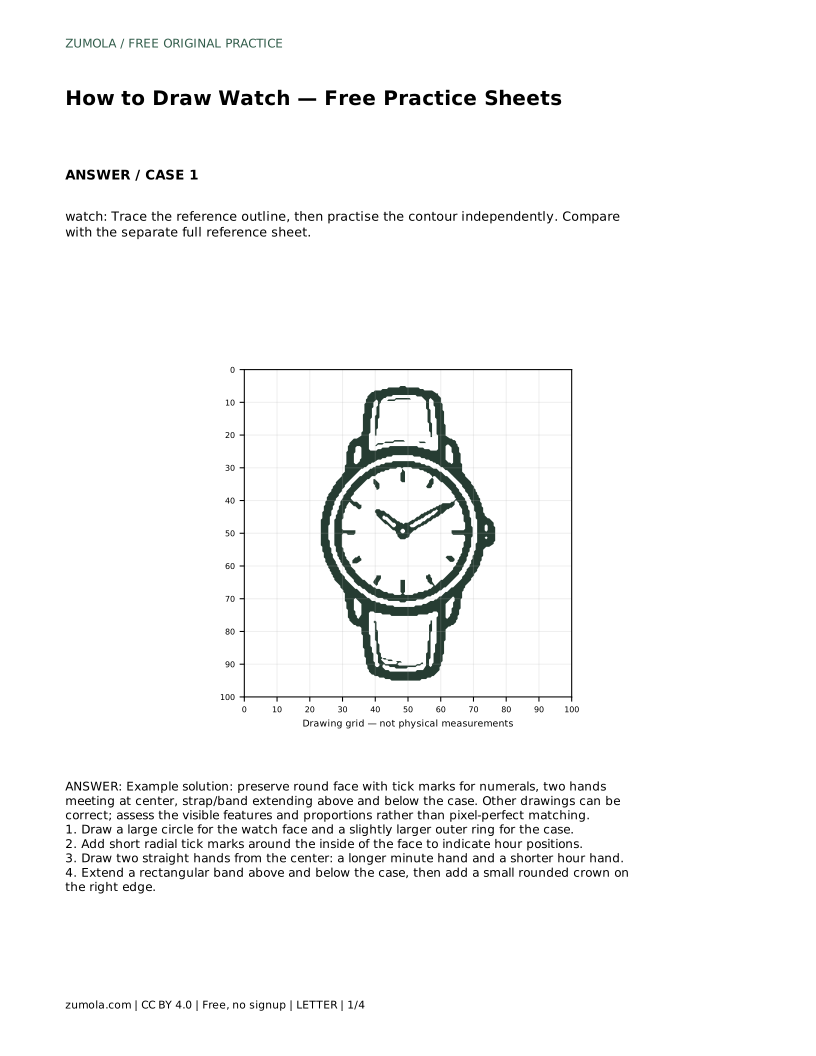
The tracing sheet asks you to follow the reference outline first, then practise the contour independently. Tracing builds the sequence of parts; the independent pass tests whether you can reproduce that sequence without the outline underneath. Compare your free drawing with the separate full reference sheet rather than with your traced copy, so the comparison shows what you actually retained.
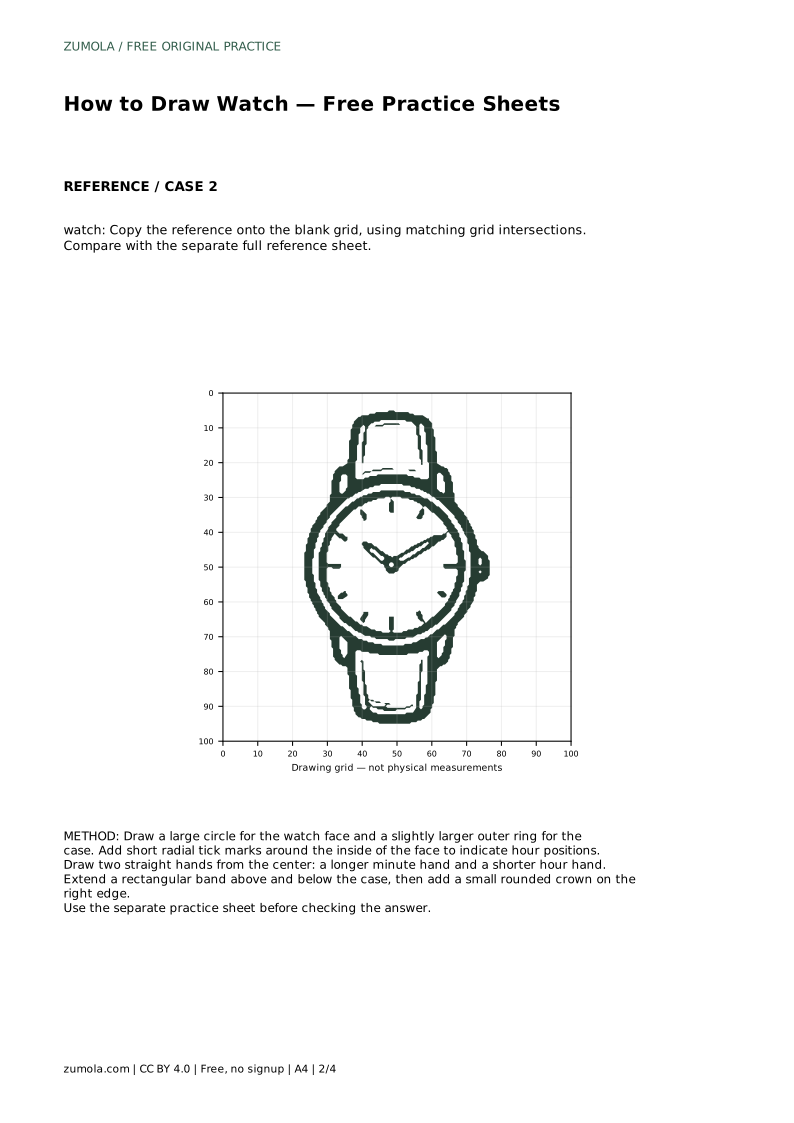
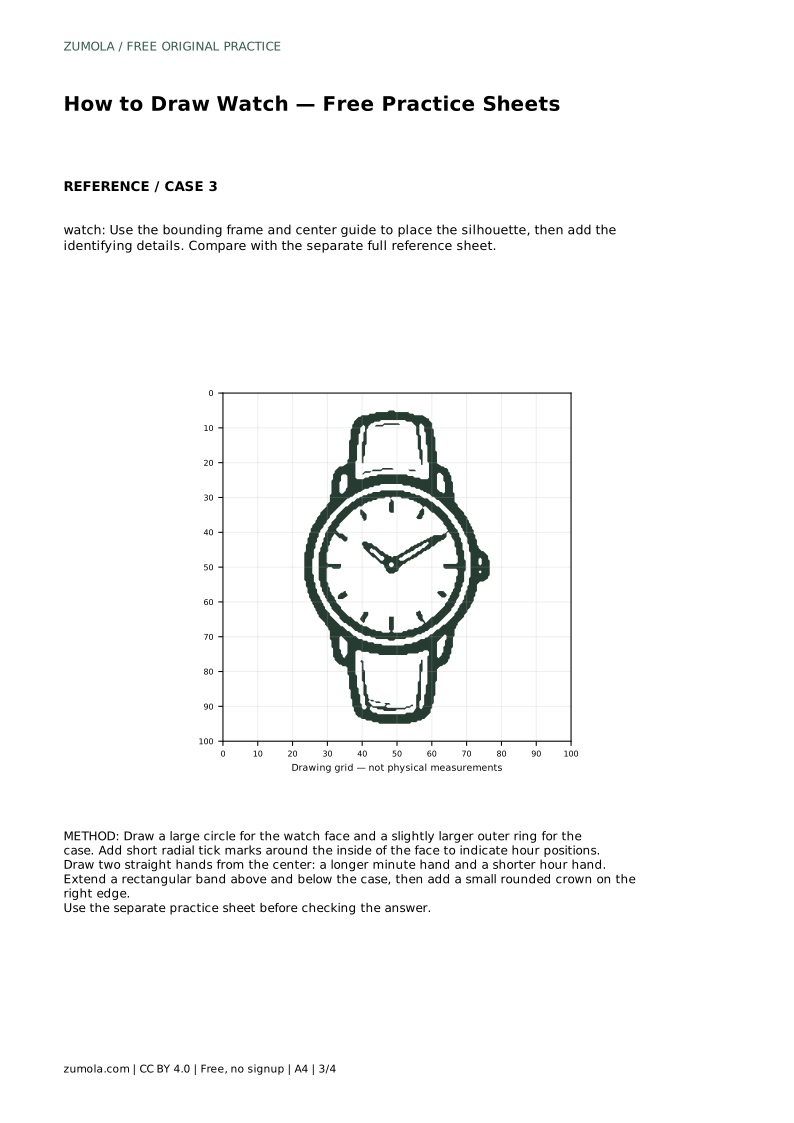
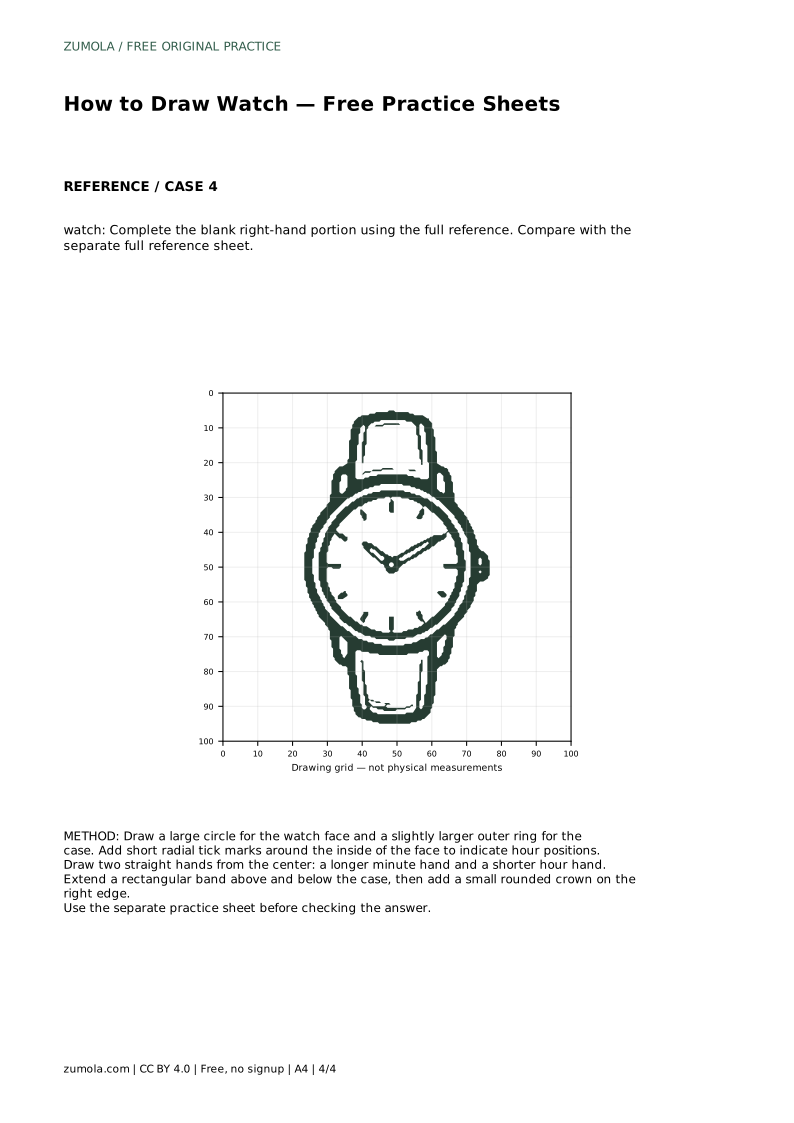
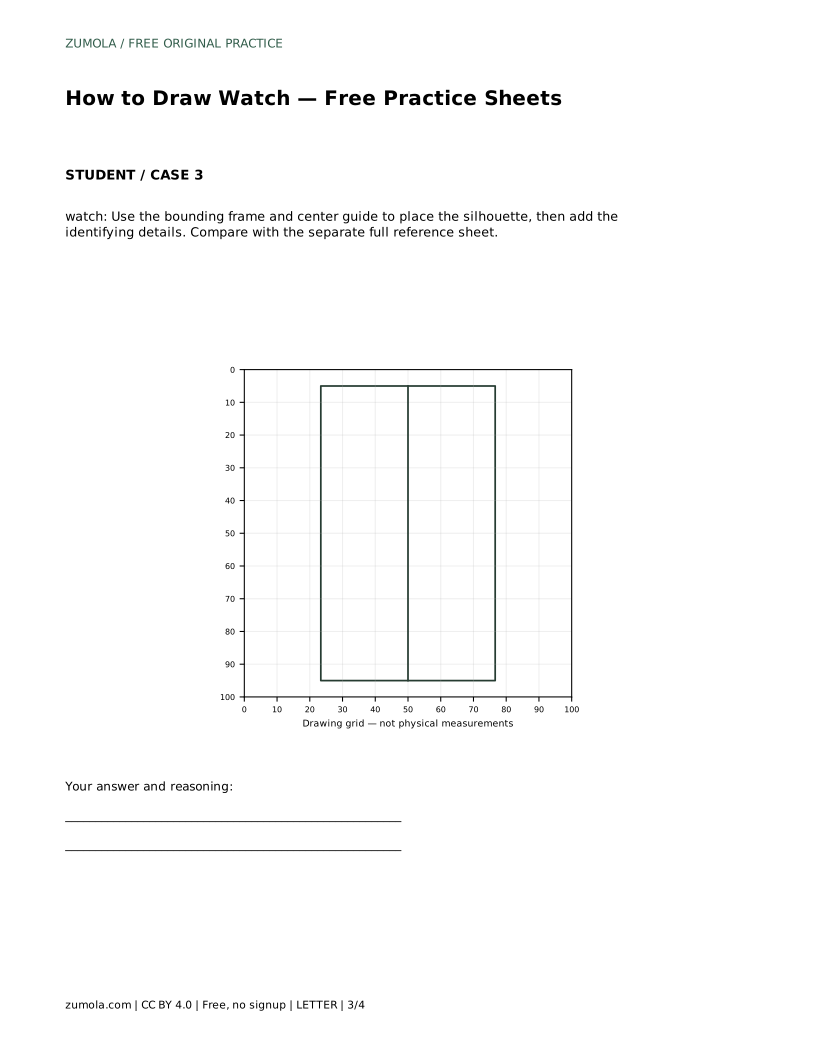
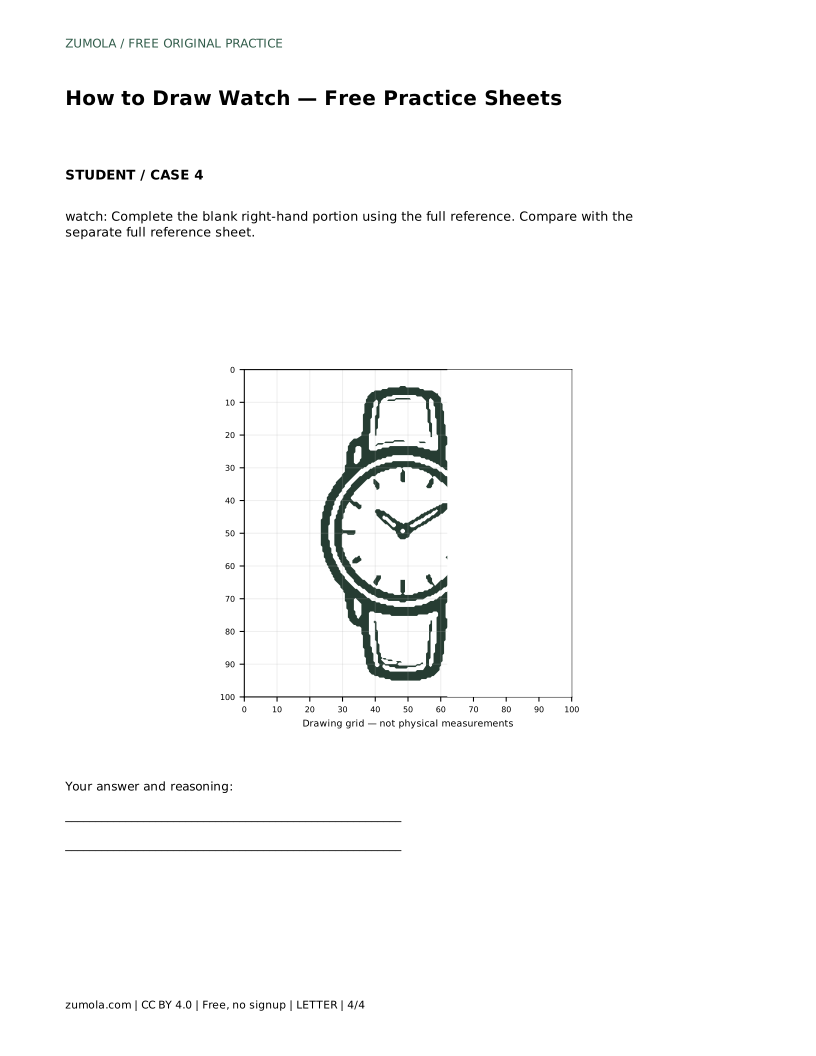
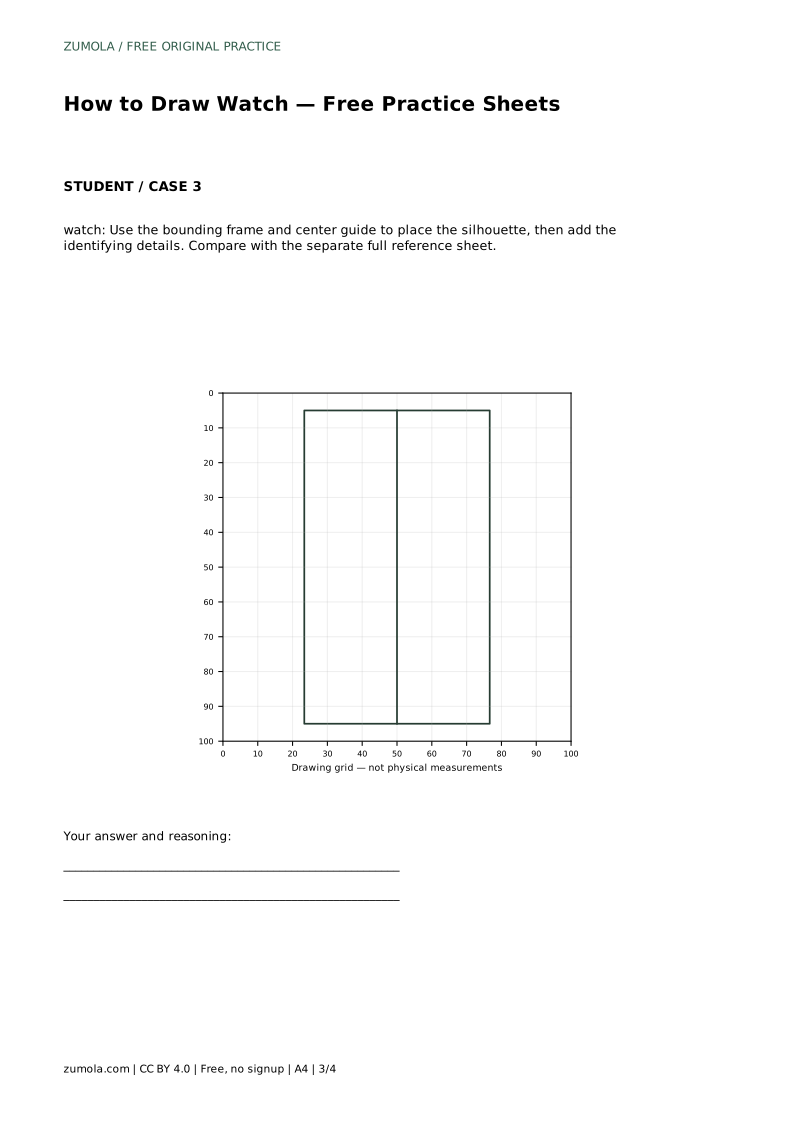
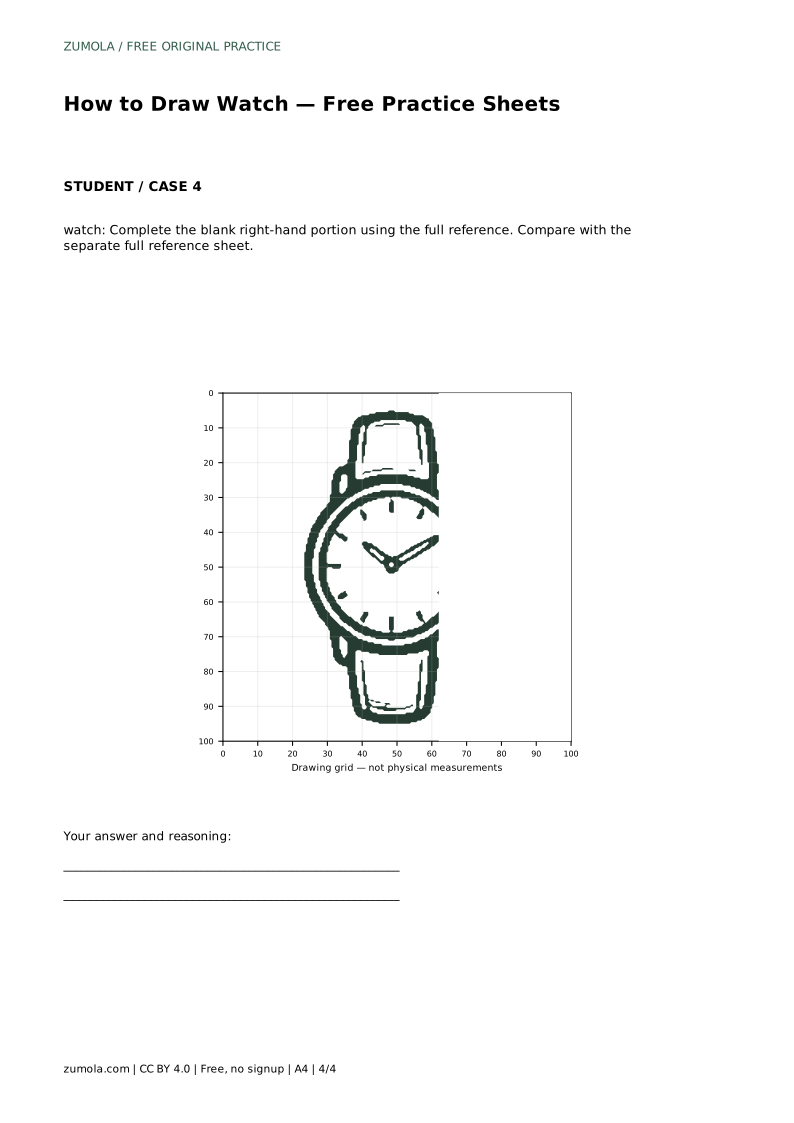
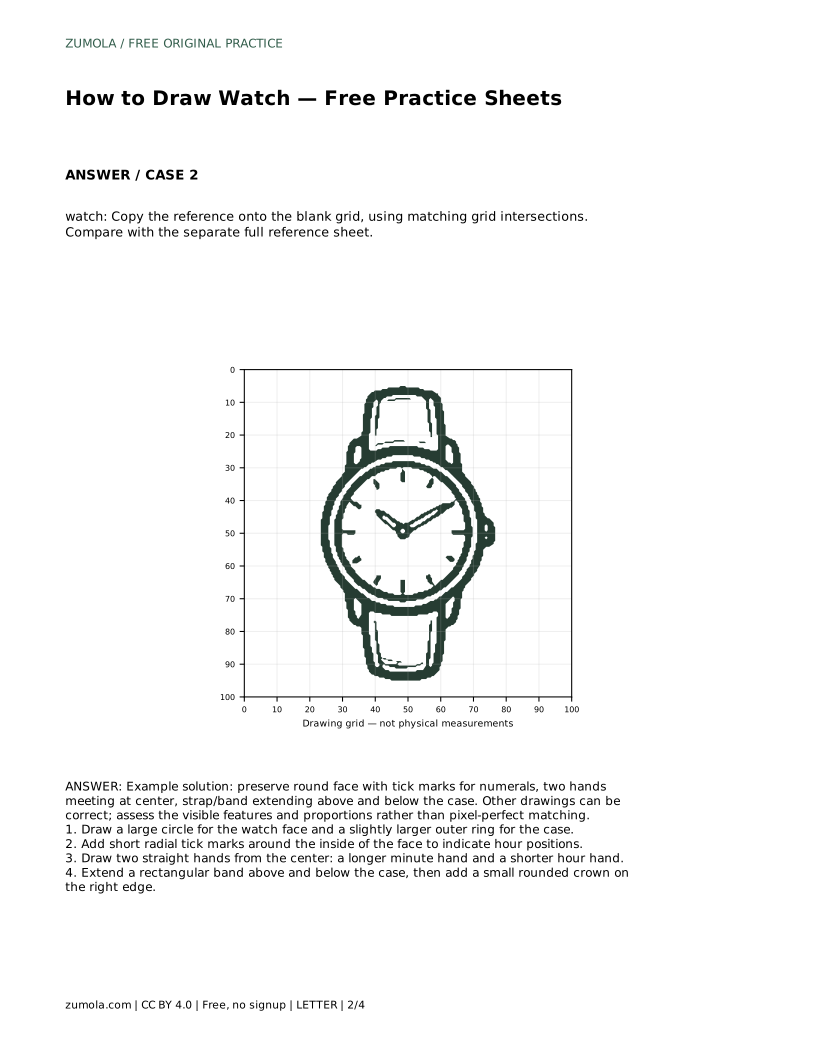
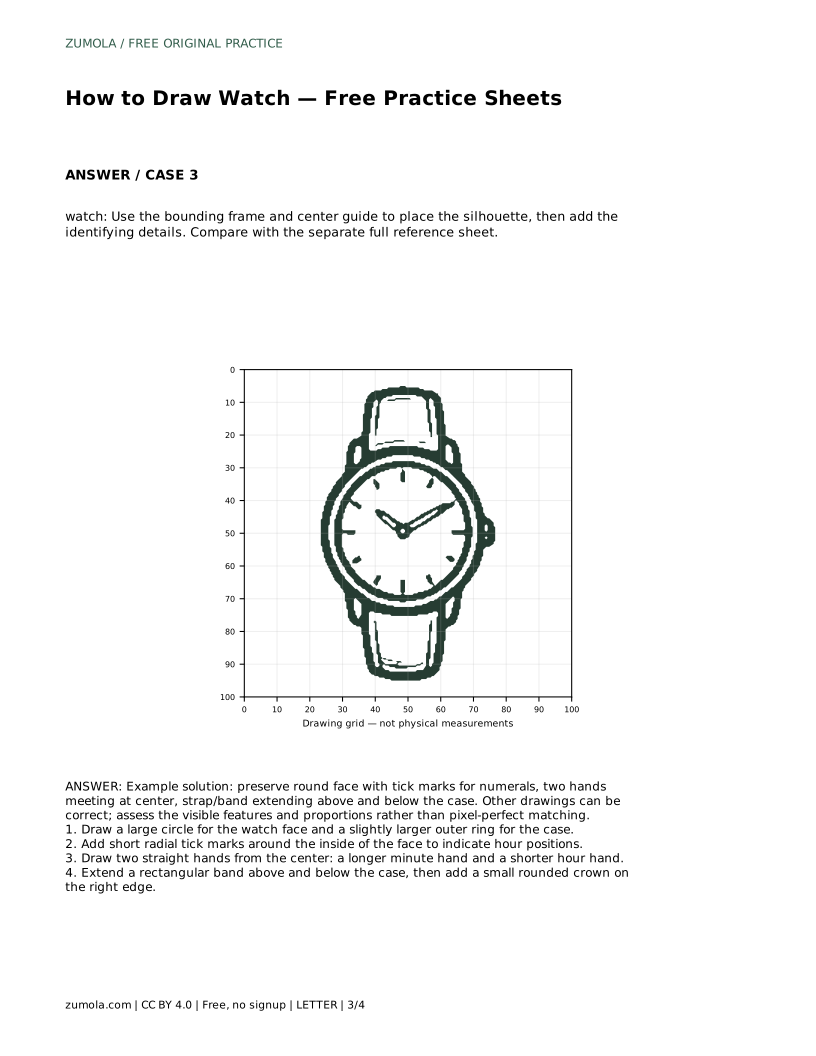
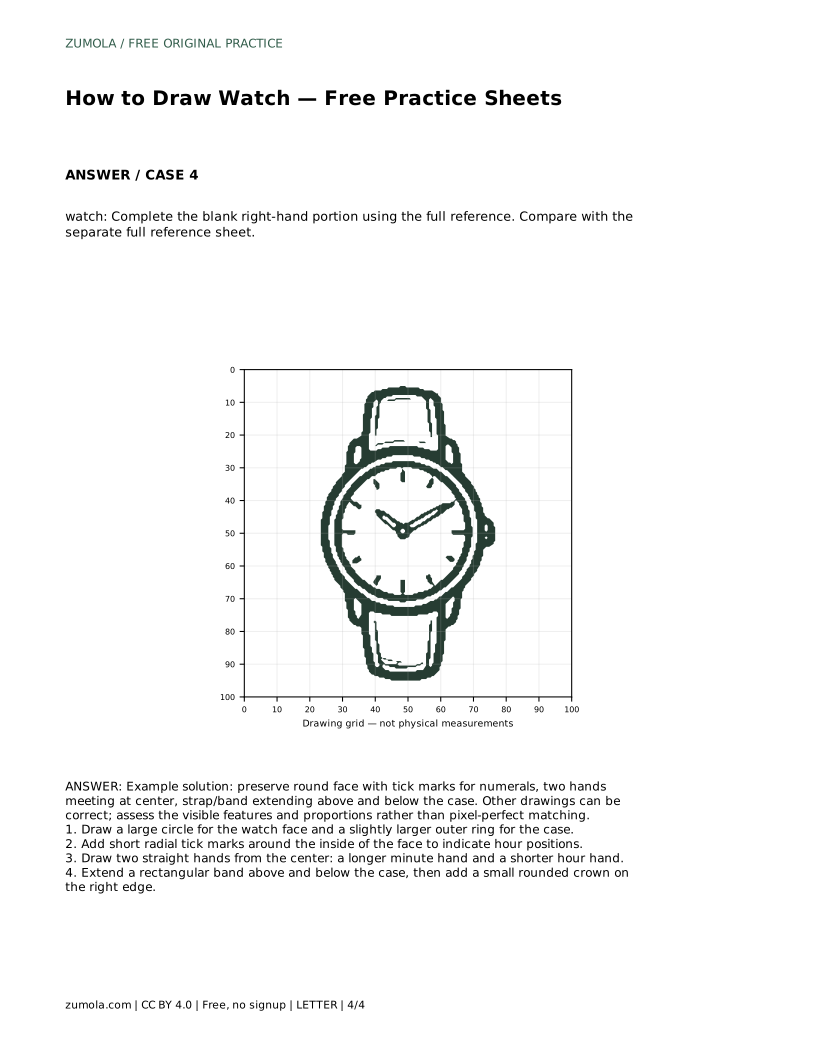
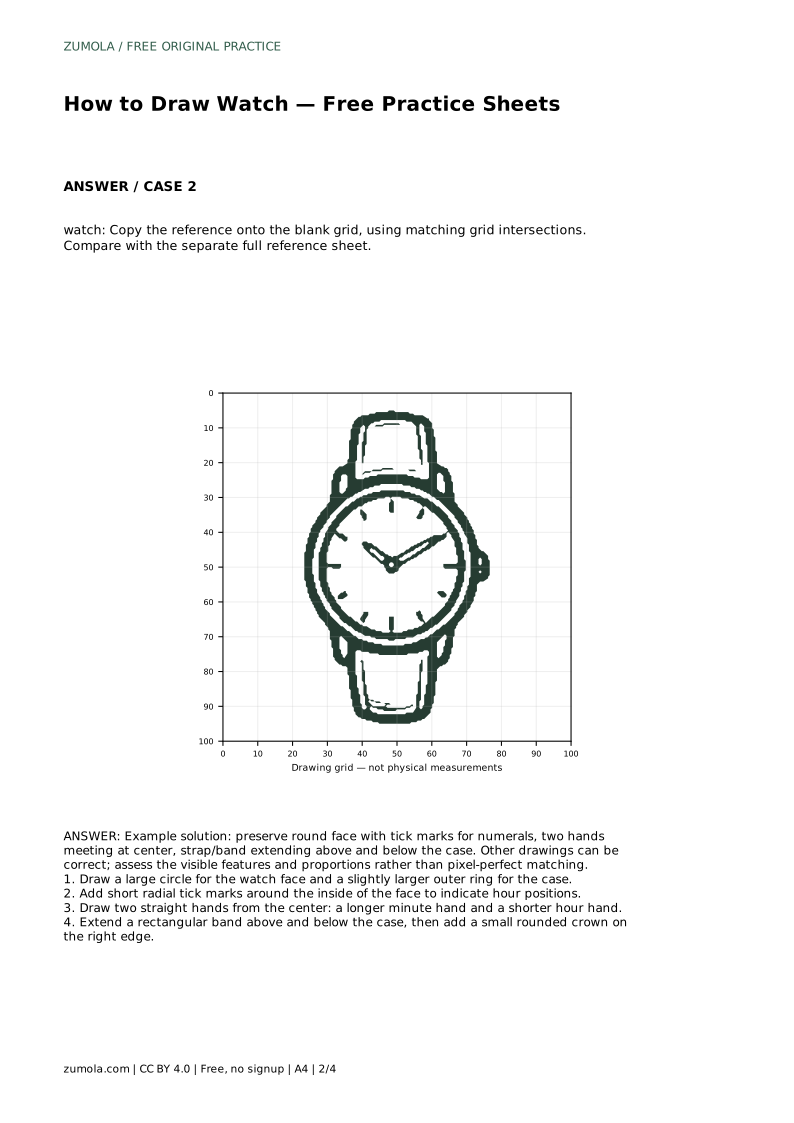
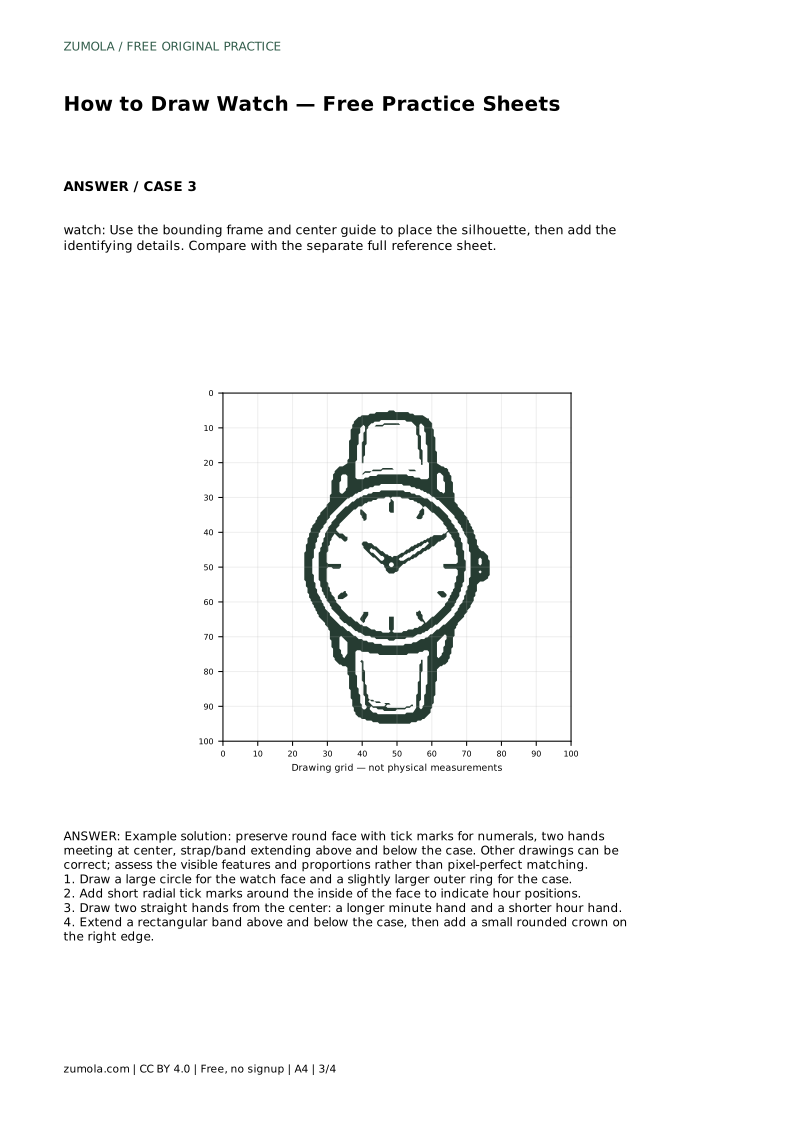
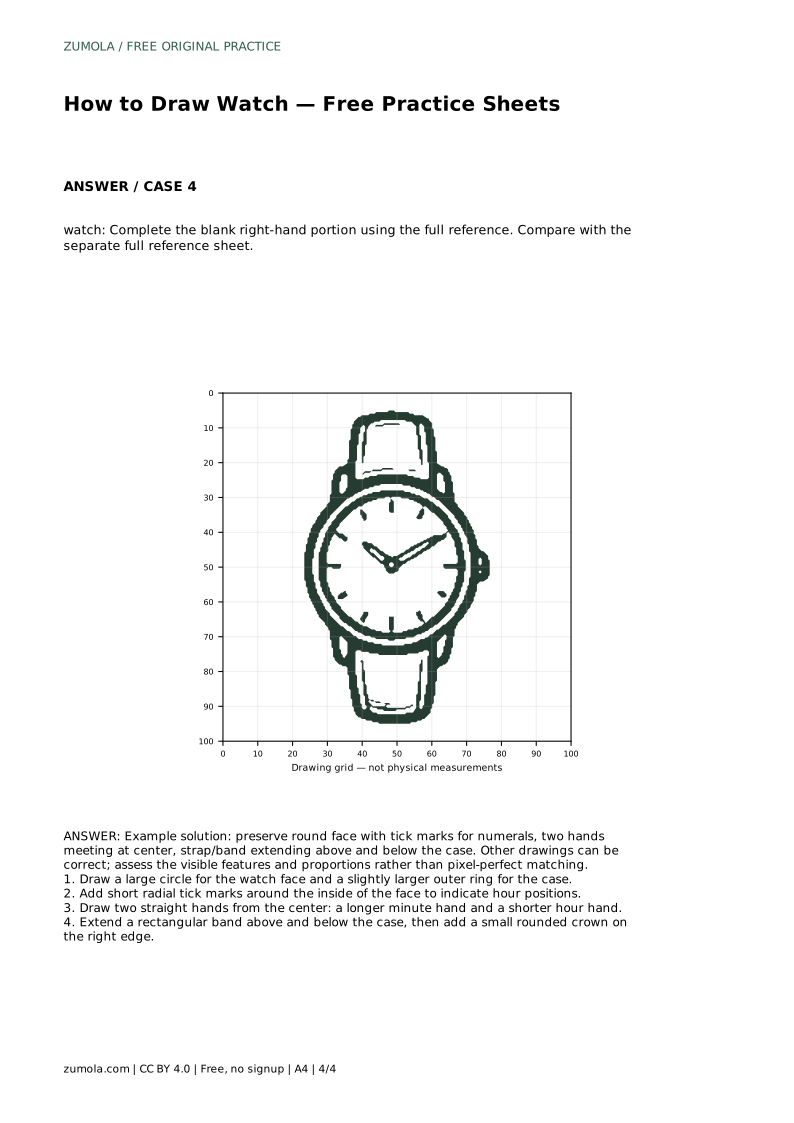
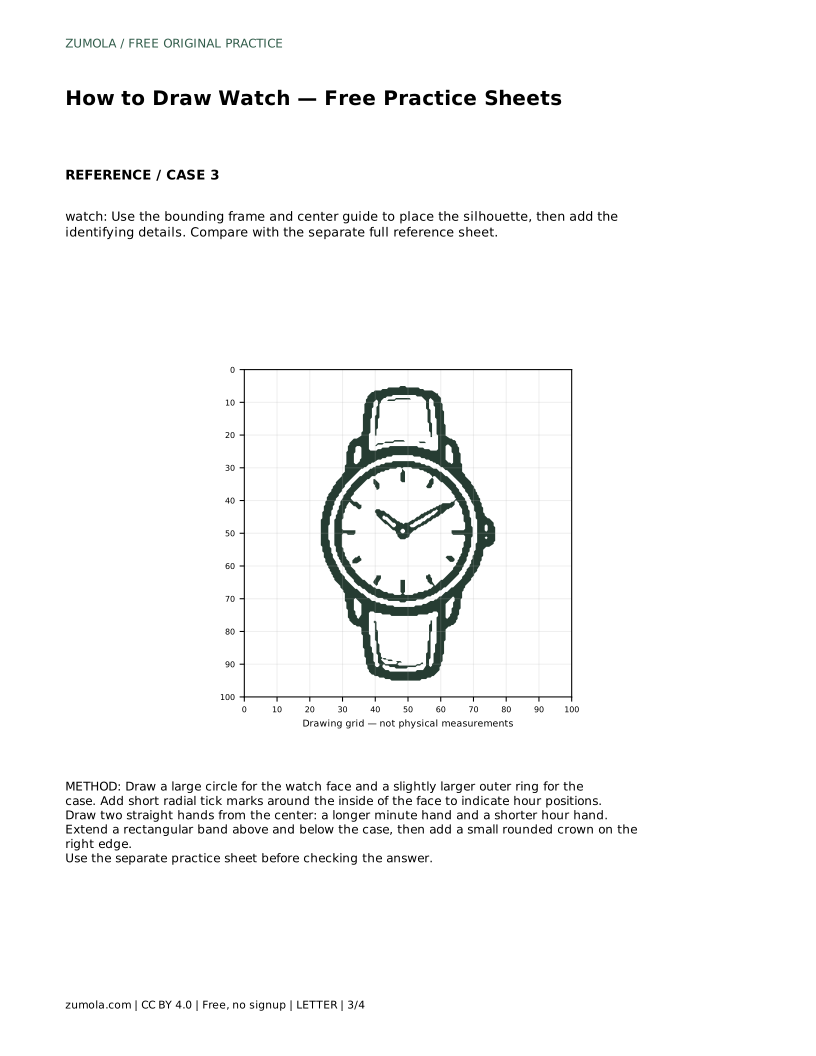
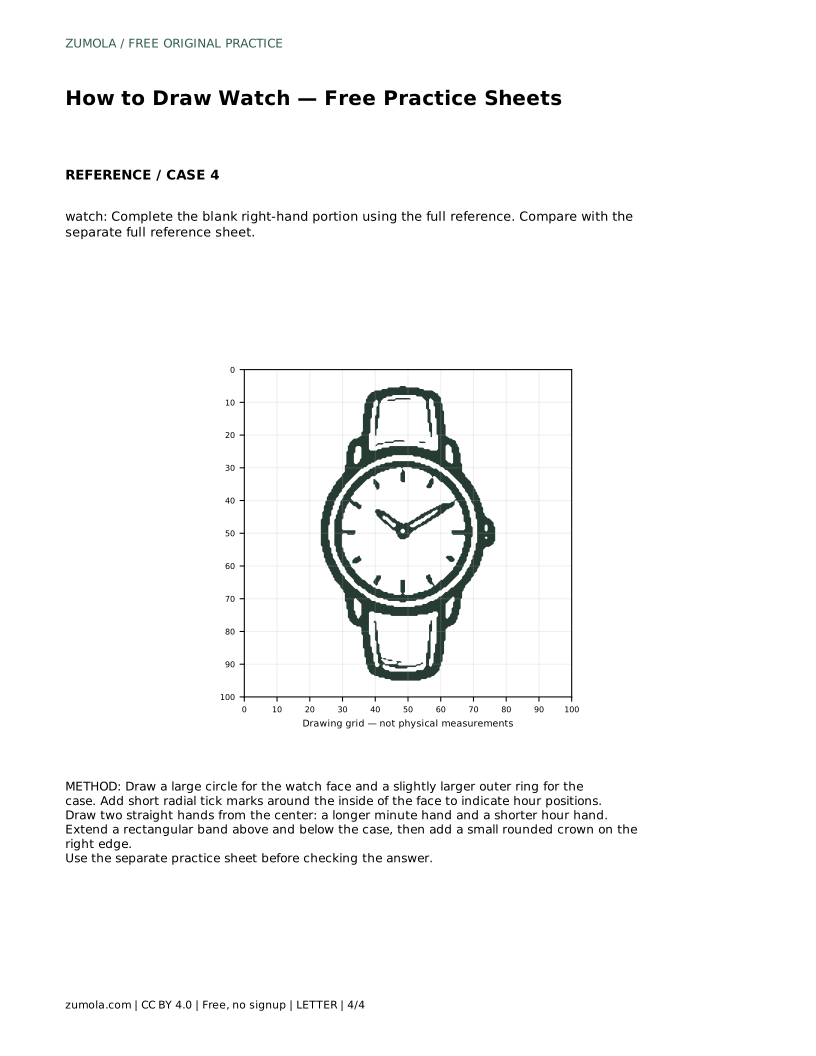
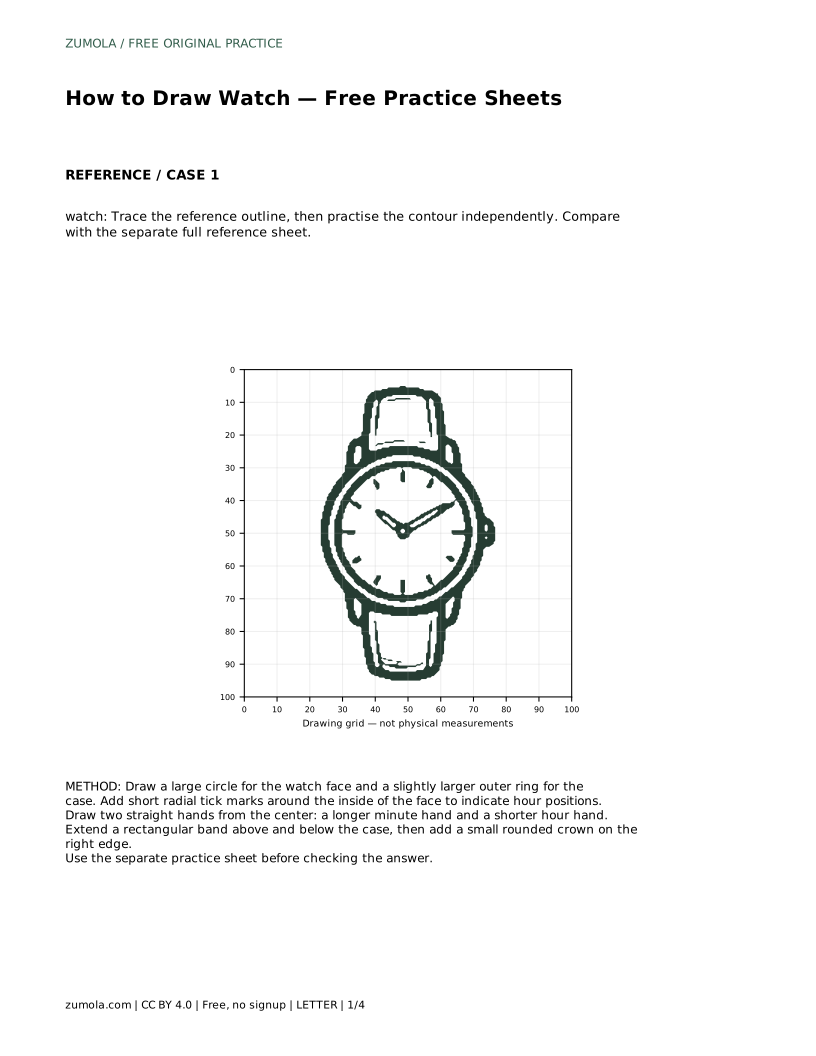
The grid sheet asks you to copy the reference onto the blank grid using matching grid intersections. Treat each intersection as a placement landmark: note where the circle edge, band corners, and crown cross grid lines, then place the same features at the same intersections. The bounding-frame sheet works differently. Use the frame and center guide to place the silhouette first, then add the identifying details. The partial sheet asks you to complete the blank right-hand portion using the full reference, so check that the completed side matches the drawn side in size and alignment.
A watch drawing can be correct in several ways. The face may be slightly larger or the band slightly wider, and the drawing still reads clearly as a watch. Judge the visible features instead: a round face, tick marks for numerals, two hands meeting at the center, a band extending above and below the case, and a crown on the right edge.
Proportion checks are simple and verifiable. The outer ring should surround the face at a roughly even distance all the way around. The minute hand should be visibly longer than the hour hand. The band above and below should be similar in width, and the crown should be small relative to the case. These comparisons catch most structural problems without requiring pixel-perfect matching.
Most watch drawings fail in placement rather than in line quality. Hands that start away from the center, tick marks that stop pointing inward, and bands that lean away from the vertical axis are the usual culprits. Correcting the center point and the vertical axis early saves redrawing later. If the face looks oval, redraw the circle before adding details, since tick marks and hands will inherit the distortion.
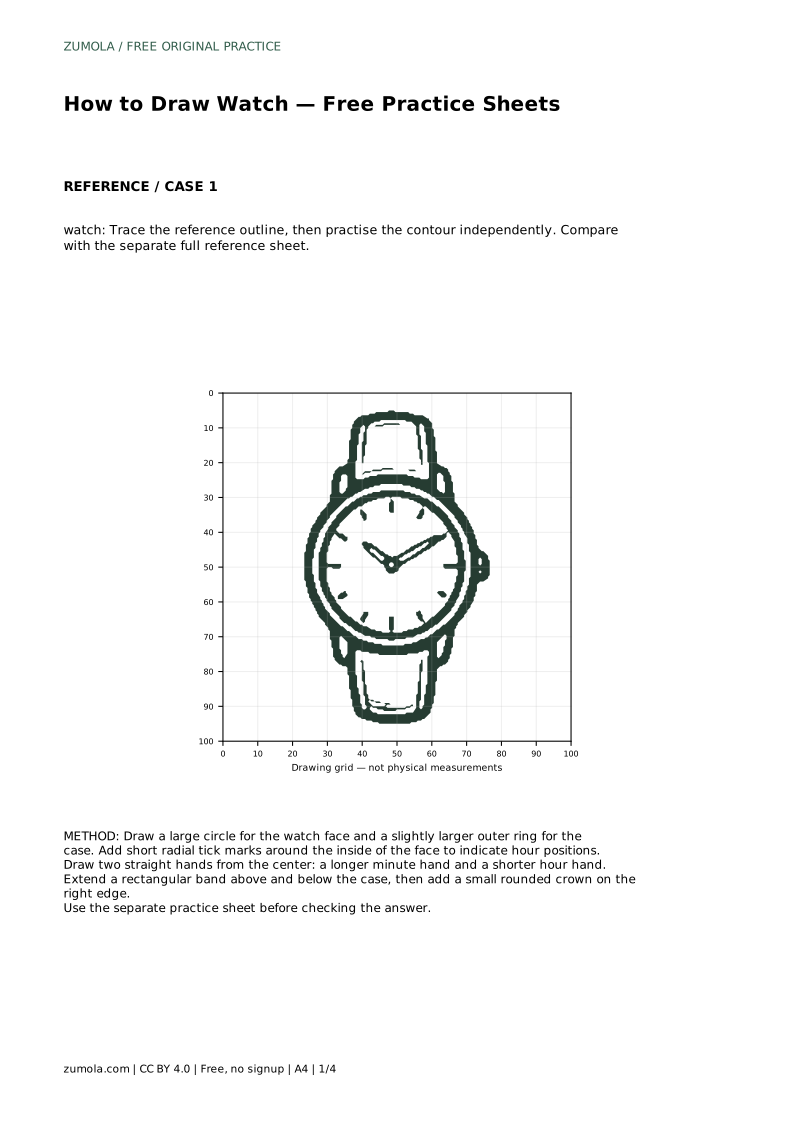
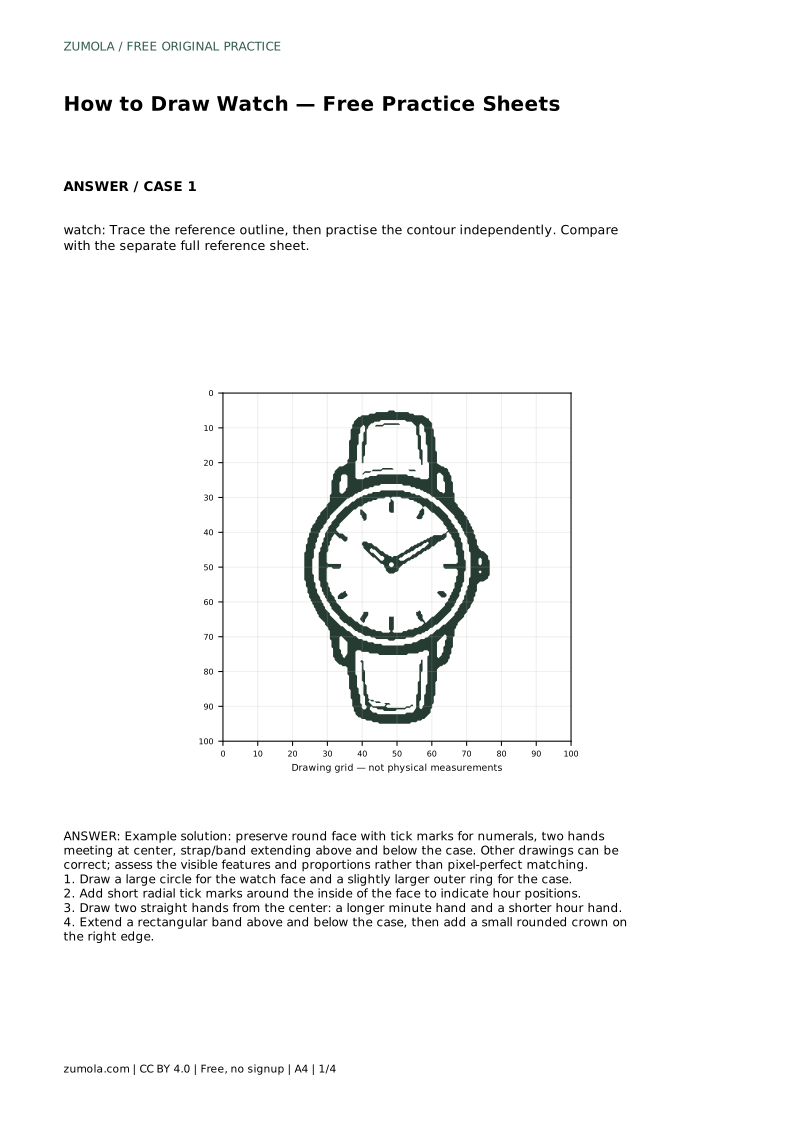
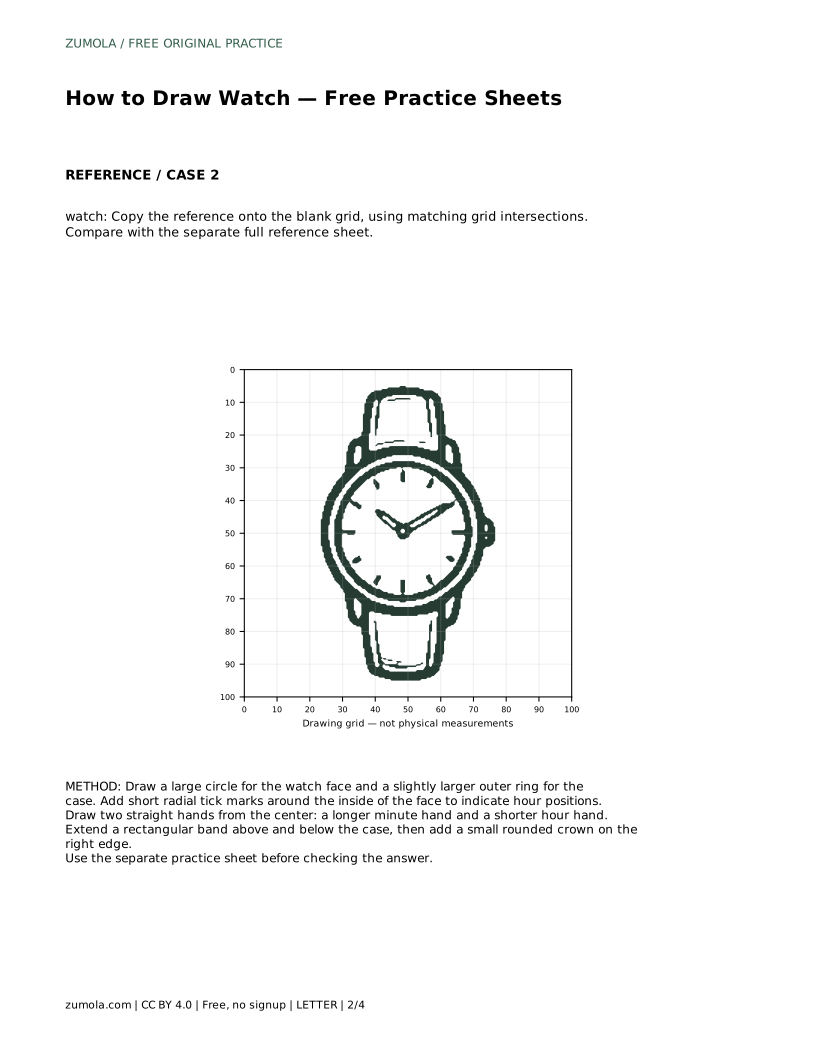
watch: Trace the reference outline, then practise the contour independently. Compare with the separate full reference sheet.
Example solution: preserve round face with tick marks for numerals, two hands meeting at center, strap/band extending above and below the case. Other drawings can be correct; assess the visible features and proportions rather than pixel-perfect matching. Draw a large circle for the watch face and a slightly larger outer ring for the case. Add short radial tick marks around the inside of the face to indicate hour positions. Draw two straight hands from the center: a longer minute hand and a shorter hour hand. Extend a rectangular band above and below the case, then add a small rounded crown on the right edge.
Aim for a round face, since the round case is the main identifying feature. A slightly uneven circle still reads as a watch if the tick marks, hands, band, and crown are placed correctly.
The minute hand should be visibly longer, reaching closer to the tick marks, while the hour hand stays shorter. Both still begin at the center point.
Yes. The grid sheet works on its own by using matching grid intersections as placement landmarks. The tracing sheet is simply a separate way to practise the same contour.
All drawing practice · Free coordinate paper
Original resources · CC BY 4.0 · Free for personal and classroom use with attribution.