Reference diagrams
LETTER · Download PDF
A4 · Download PDF
Free original resources
Learn to draw a rectangular eraser with rounded corners, a paper sleeve band, and clear 3D perspective. Free printable practice sheets support tracing, grids, and guided placement.
Four original cases, with reference diagrams, practice sheets and worked answers. Everything is free; no signup required.
LETTER · Download PDF
A4 · Download PDF
LETTER · Download PDF
A4 · Download PDF
LETTER · Download PDF
A4 · Download PDF
Use A4 or US Letter to match your printer. Use the stated values and conditions to solve each exercise; diagrams are not physical measuring rulers.
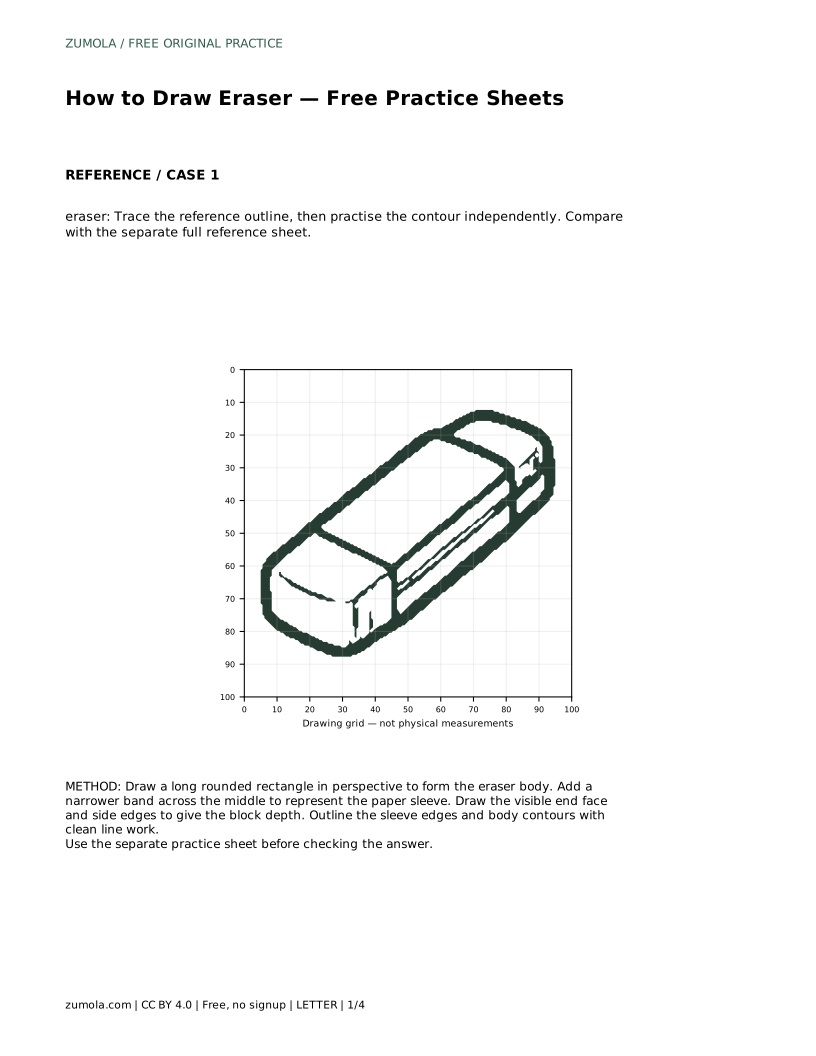
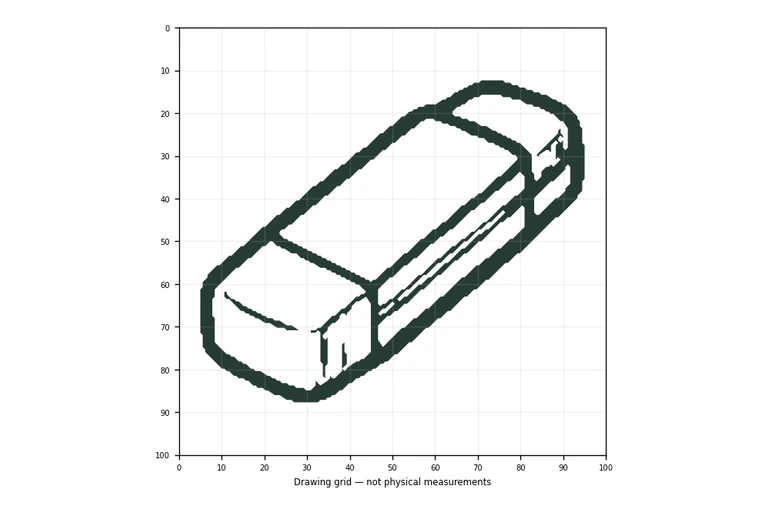
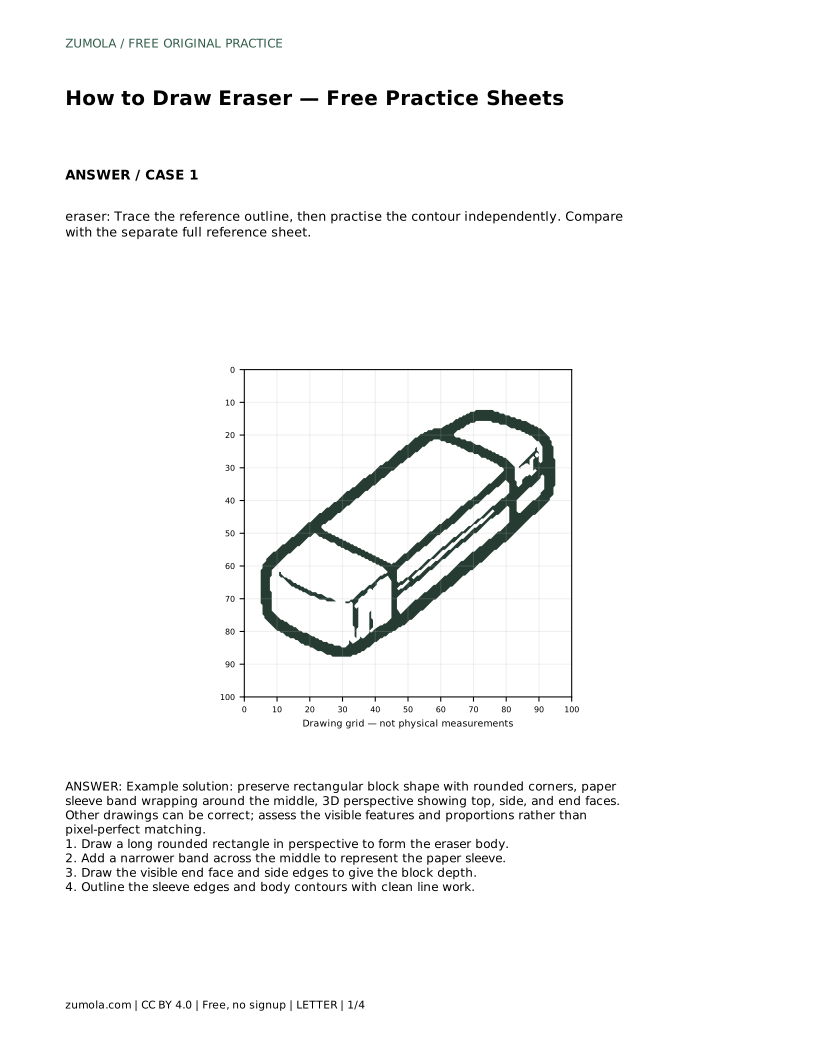
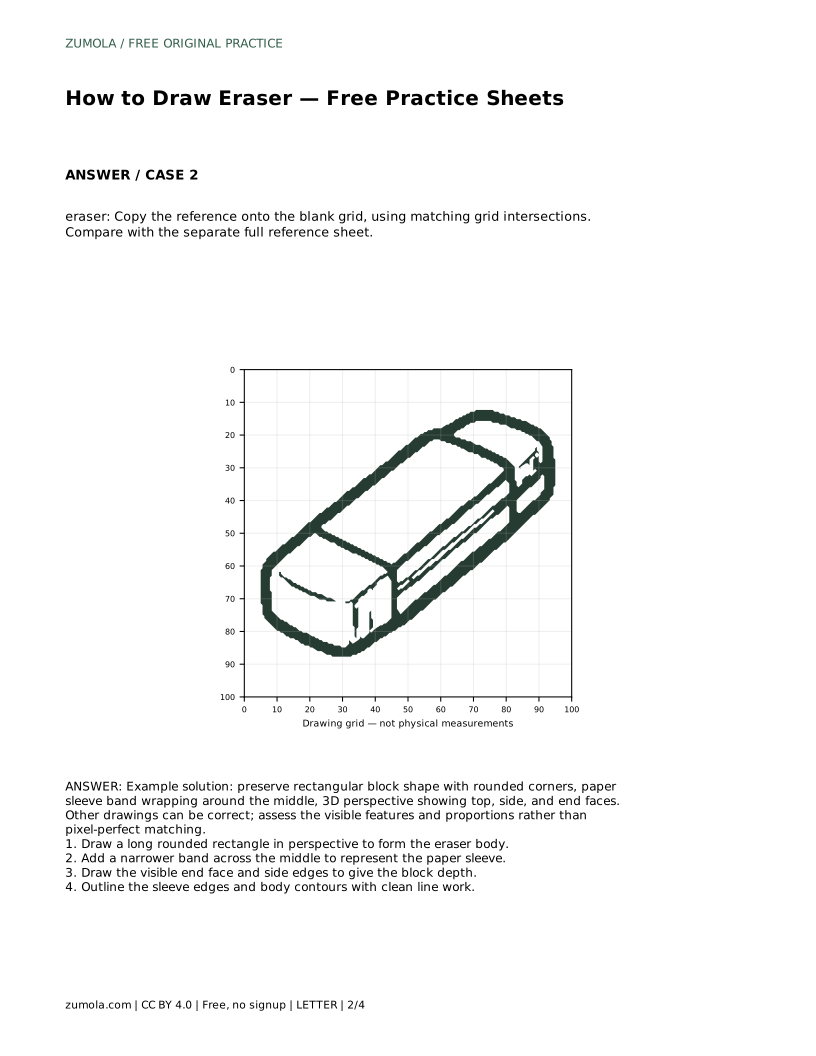
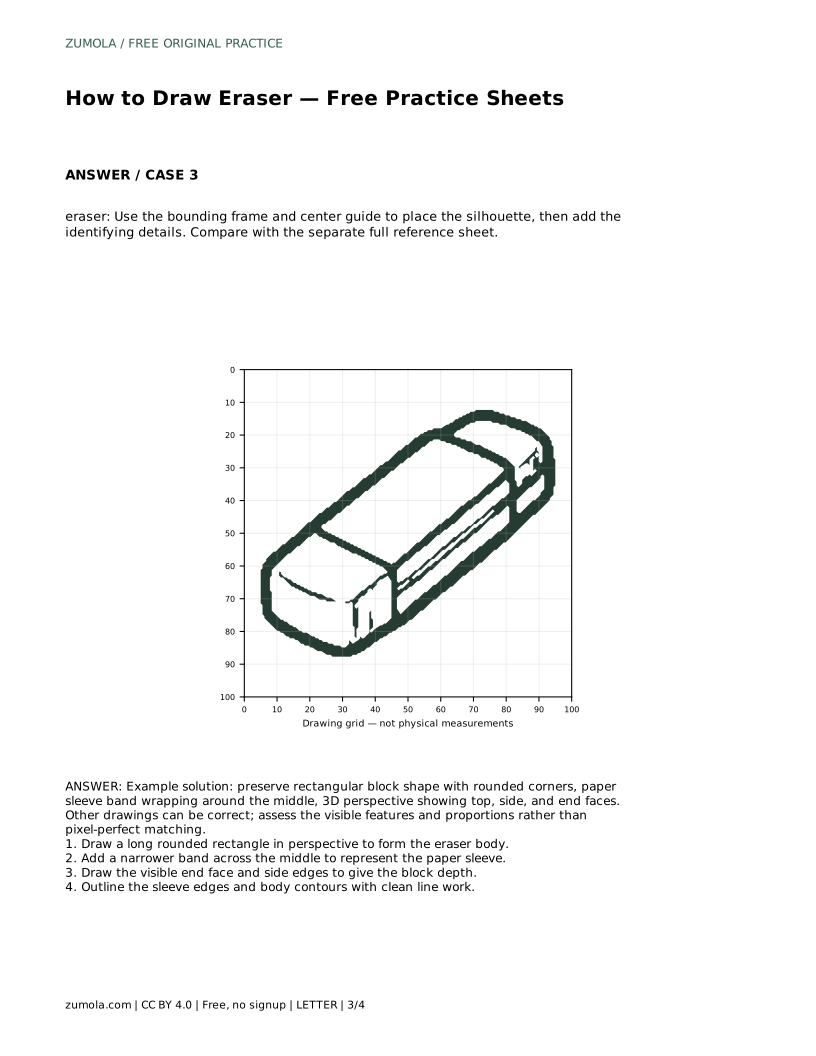
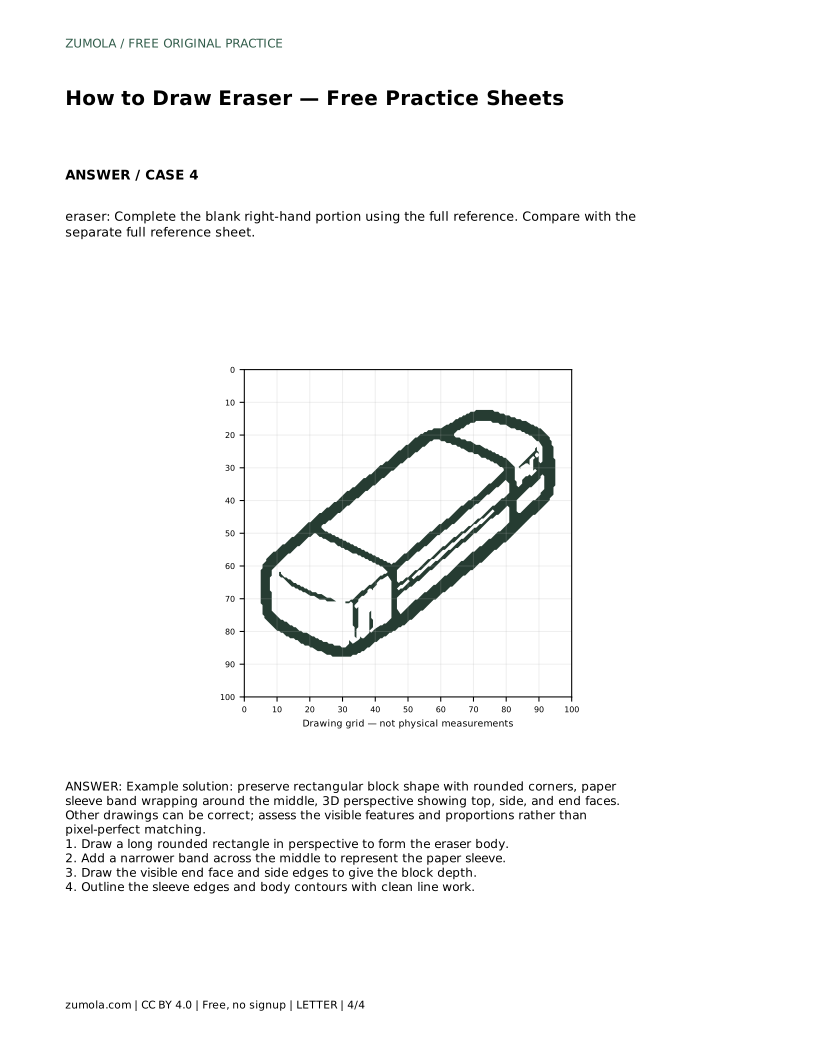
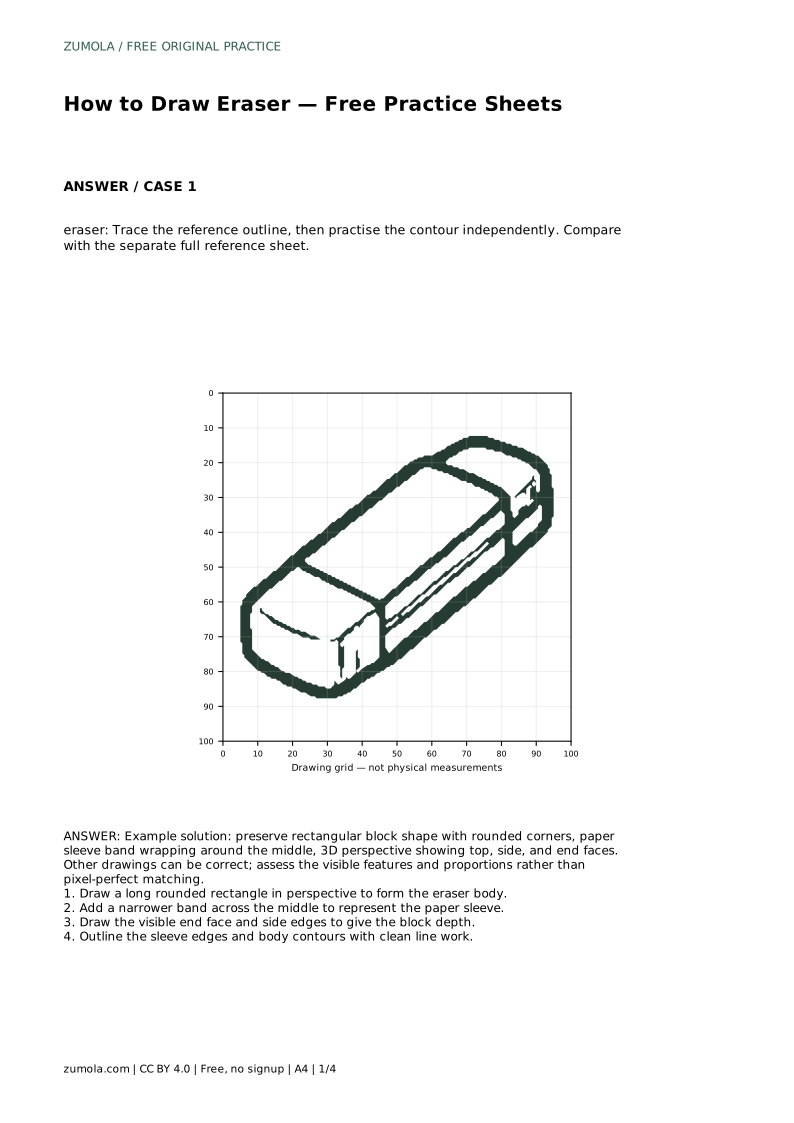
An eraser is a simple object with a surprisingly useful drawing lesson inside it: a block with rounded corners, a band wrapping its middle, and three visible faces that must agree in perspective. This page explains how to build that shape step by step, then how to use the free printable practice sheets to trace, copy, and complete the drawing independently. The goal is accurate structure and clean line work, not a pixel-perfect copy.
Begin by treating the eraser as a long rectangular block seen at a slight angle. Draw a long rounded rectangle in perspective to form the eraser body. Keep the long edges roughly parallel and round only the corners, since a real eraser has softened edges rather than sharp points. Decide early which end faces you and which side is visible; that choice controls every line that follows.
Avoid drawing a flat rectangle first and adding depth later. A flat shape gives you no information about where the end face or side edges belong, and the result usually looks like a sticker rather than an object. Sketch the block lightly so you can adjust proportions before committing to darker lines.
The sleeve is a narrower band wrapping around the middle of the block. Because it wraps, it must follow the same perspective as the body: the band's edges curve slightly on the top face and continue down the visible side. Keep the band's width consistent along its length so it reads as a single strip of paper rather than a painted stripe.
Where the sleeve meets the body, draw the boundary as one continuous contour. Small gaps or doubled lines at that junction are the most common reason a finished eraser looks assembled from separate pieces instead of one solid object.
Depth comes from the visible end face and the side edges connecting the front outline to the back. Draw the end face as a smaller rounded shape that shares corners with the main outline, then connect matching corners with short side edges. Lines that should recede slightly converge rather than staying perfectly parallel, which is what makes the block feel three-dimensional.
Once the structure is correct, outline the sleeve edges and body contours with clean line work. Erase construction lines only after the final contours are stable, so you can still check alignment if something looks off.
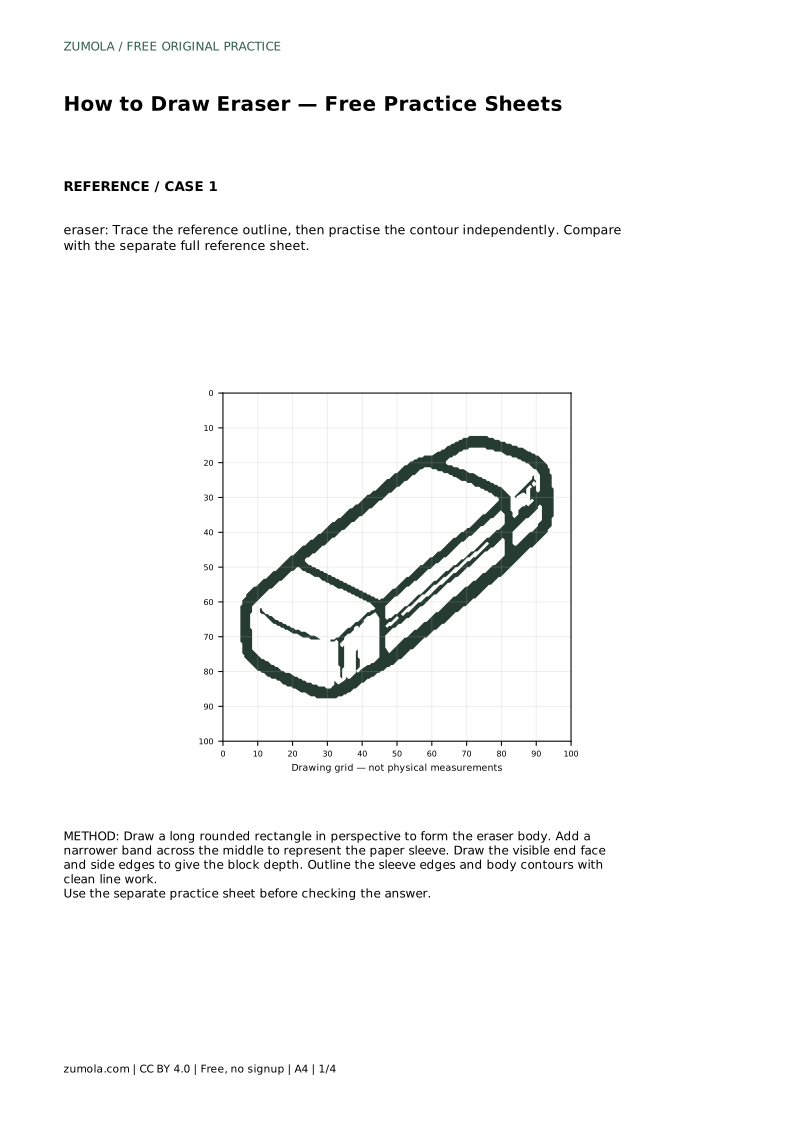
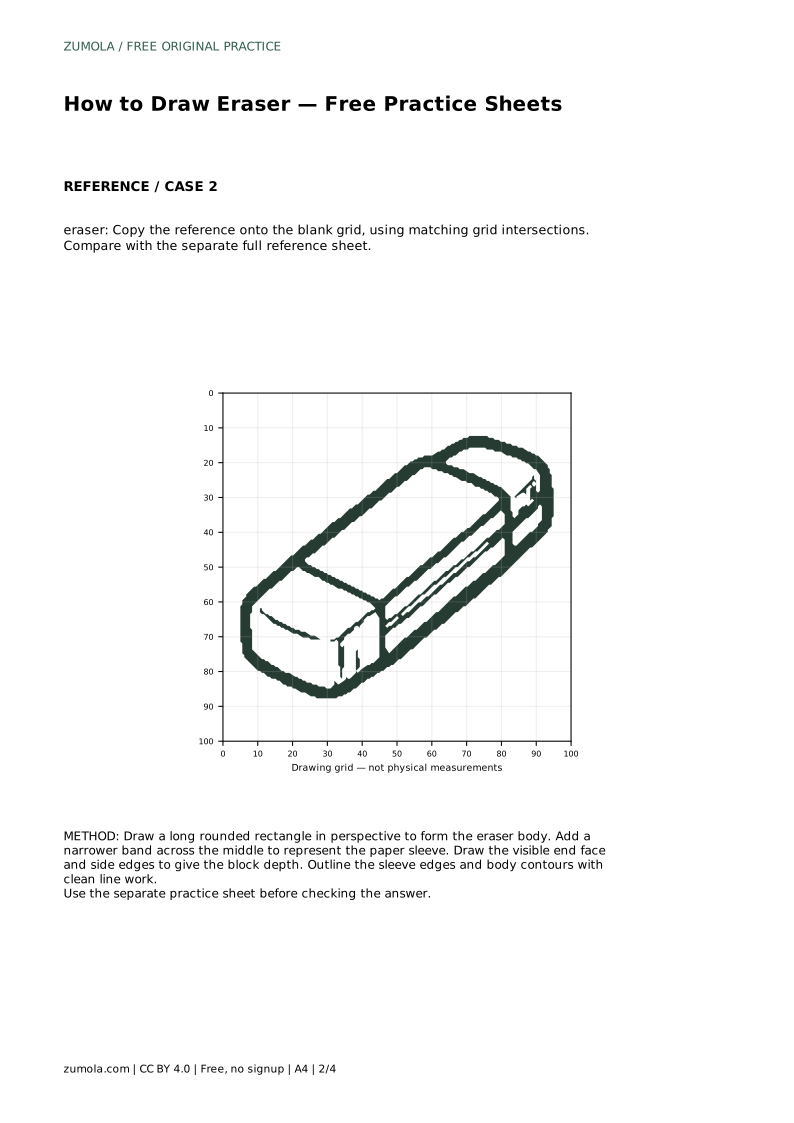
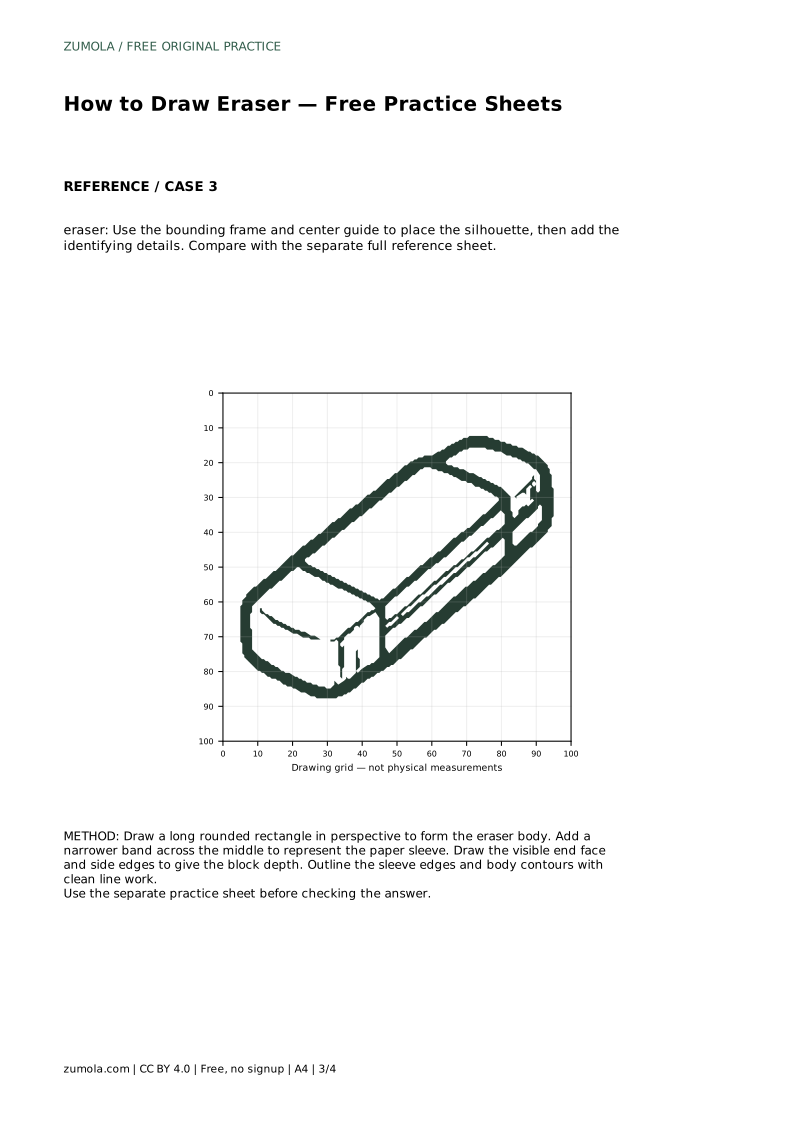
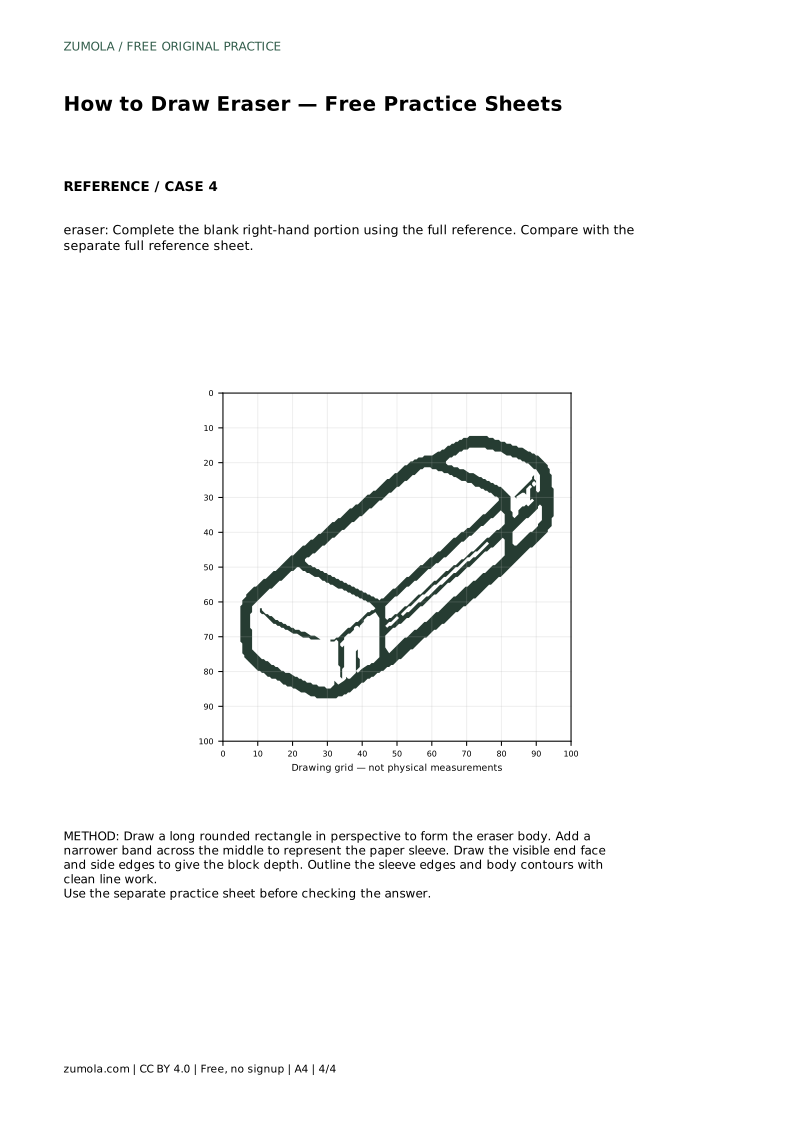
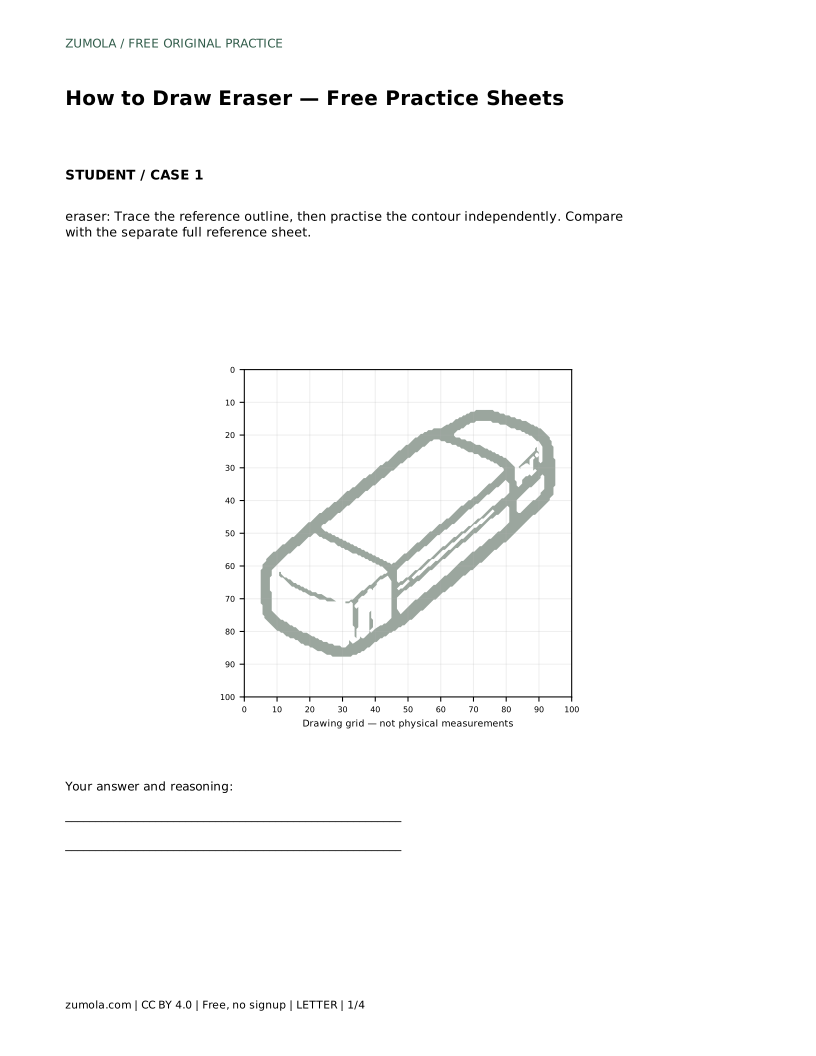
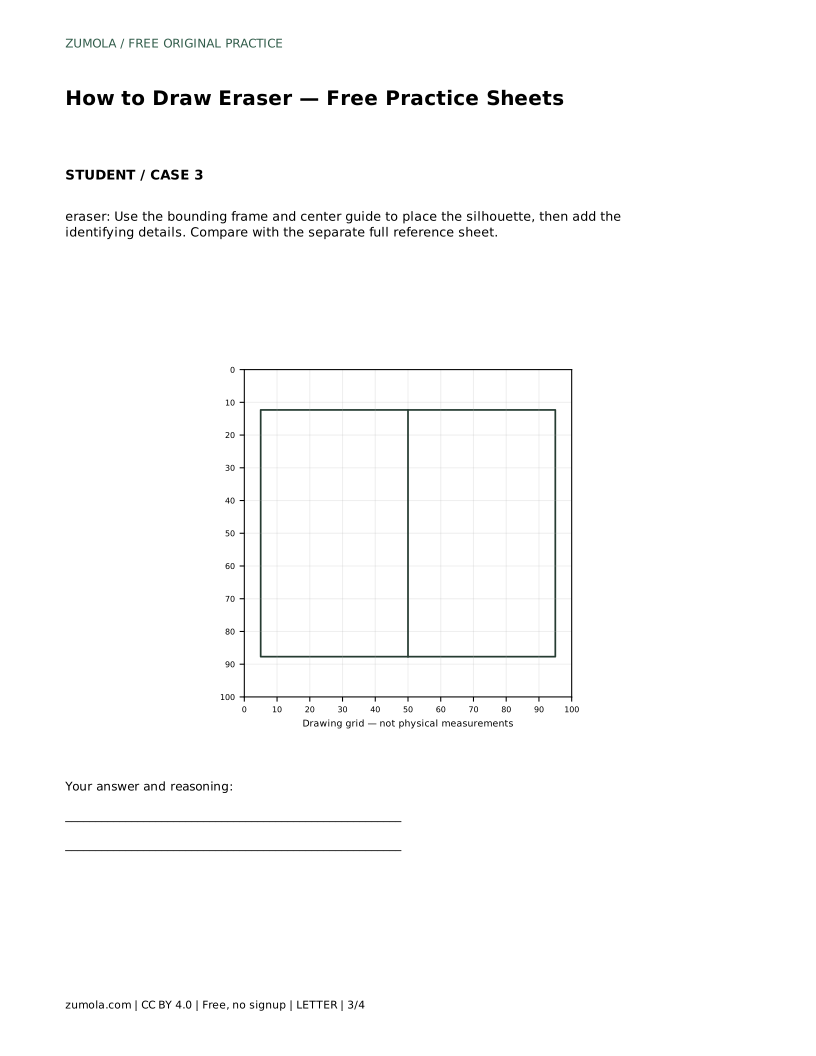
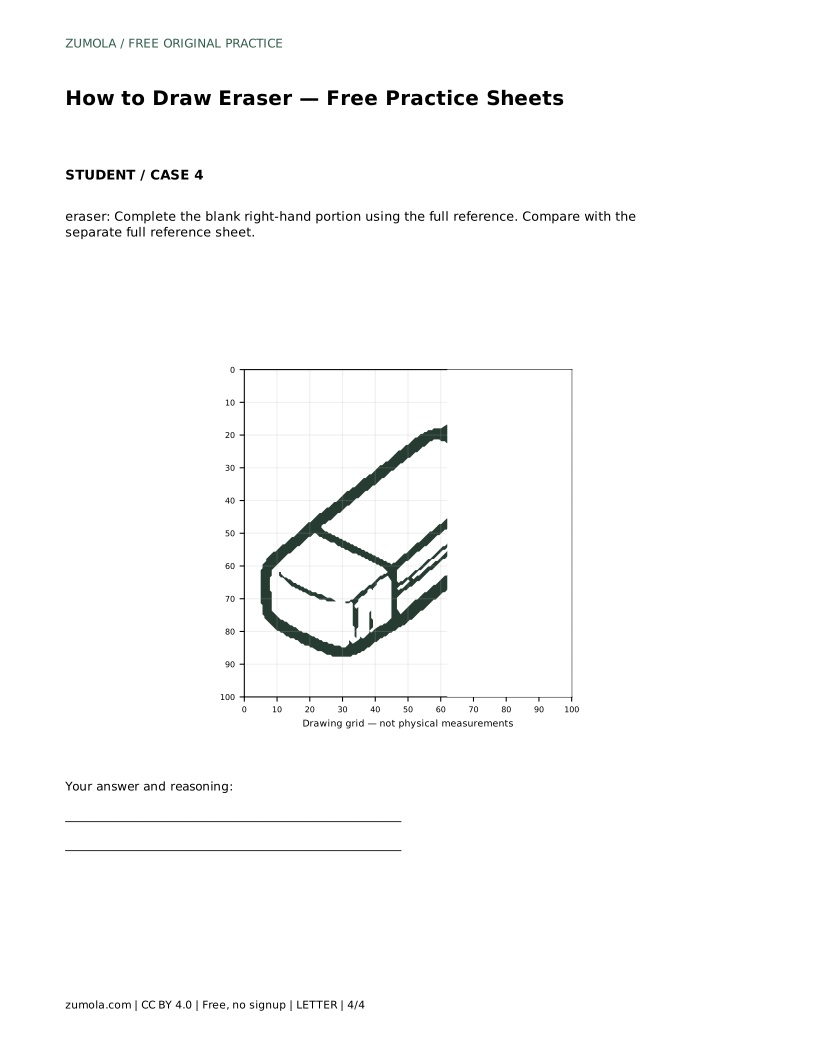
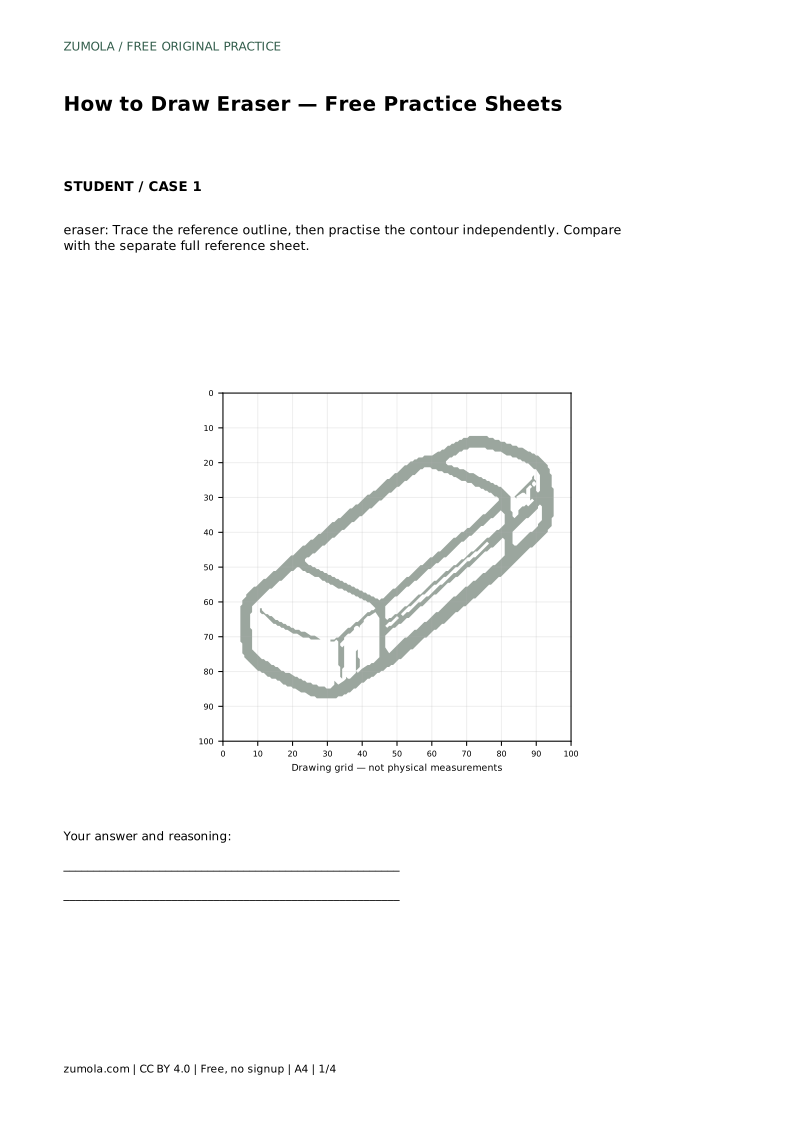
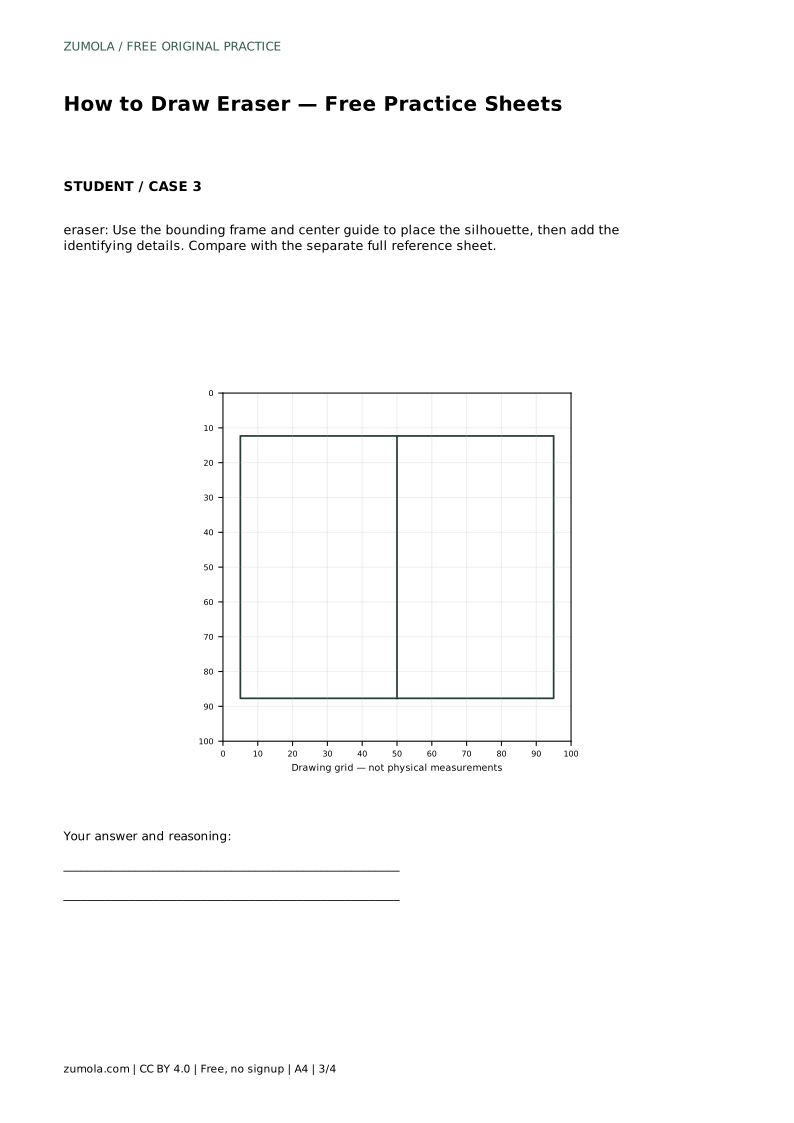
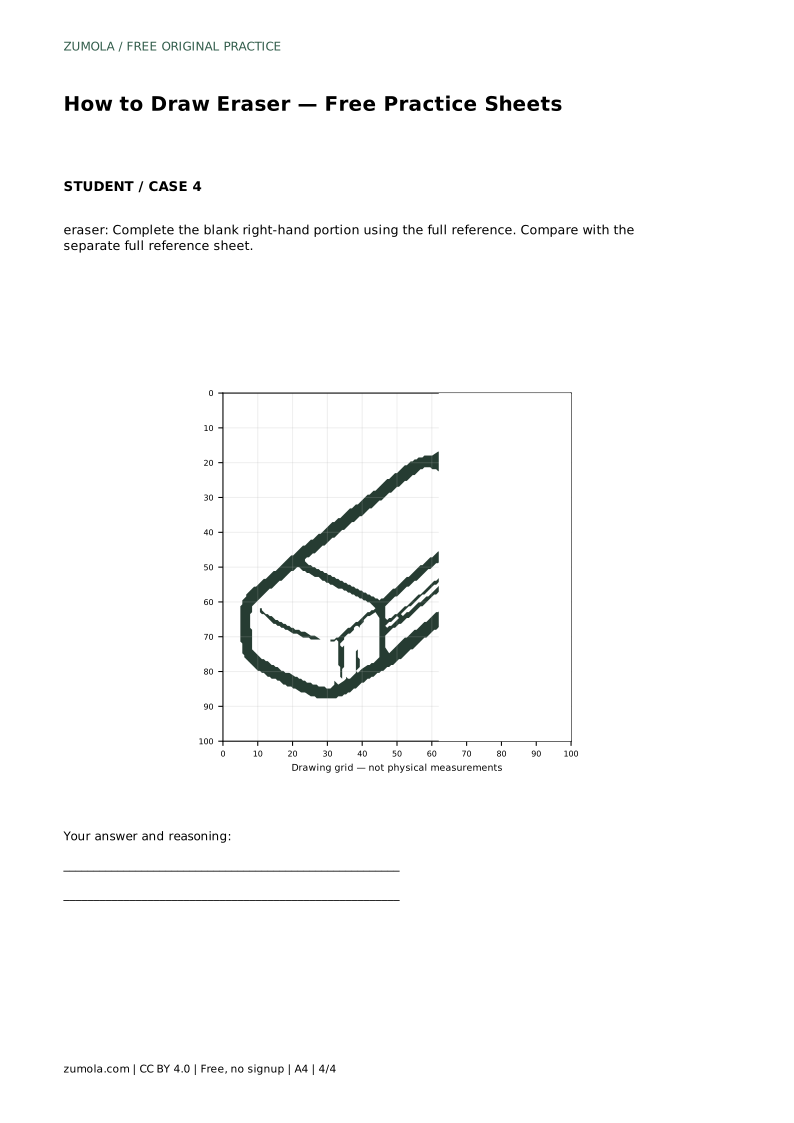
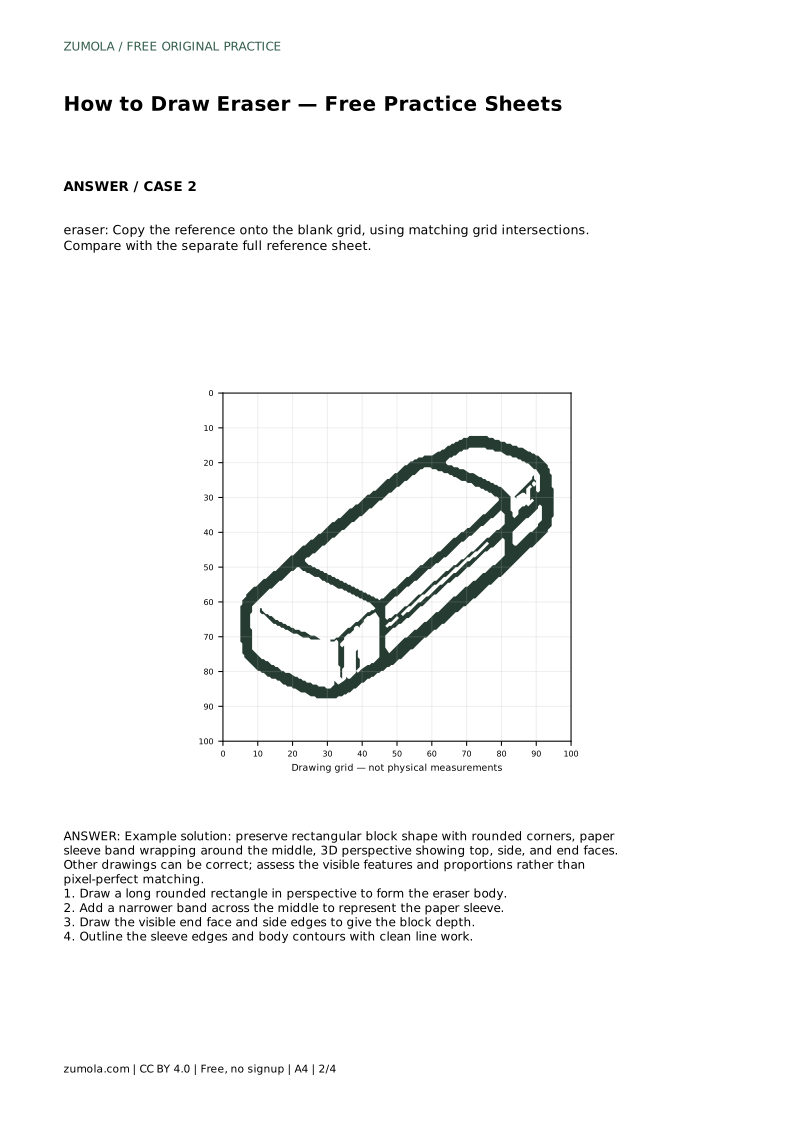
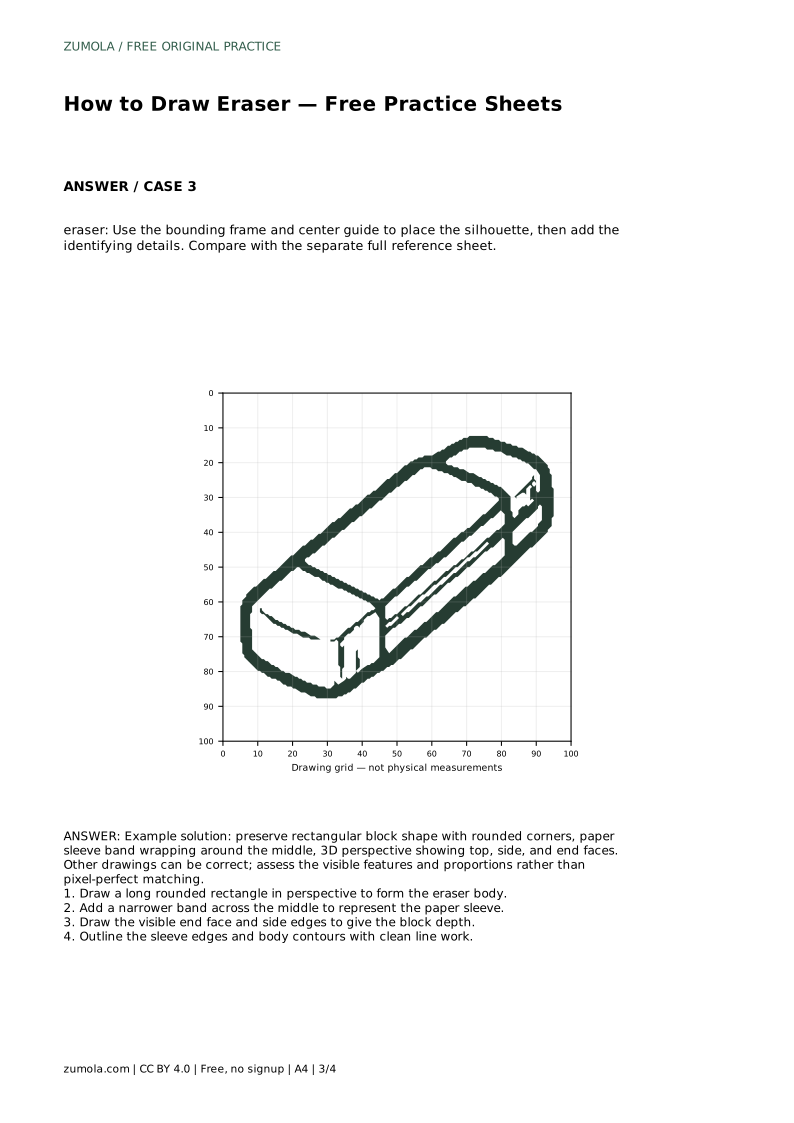
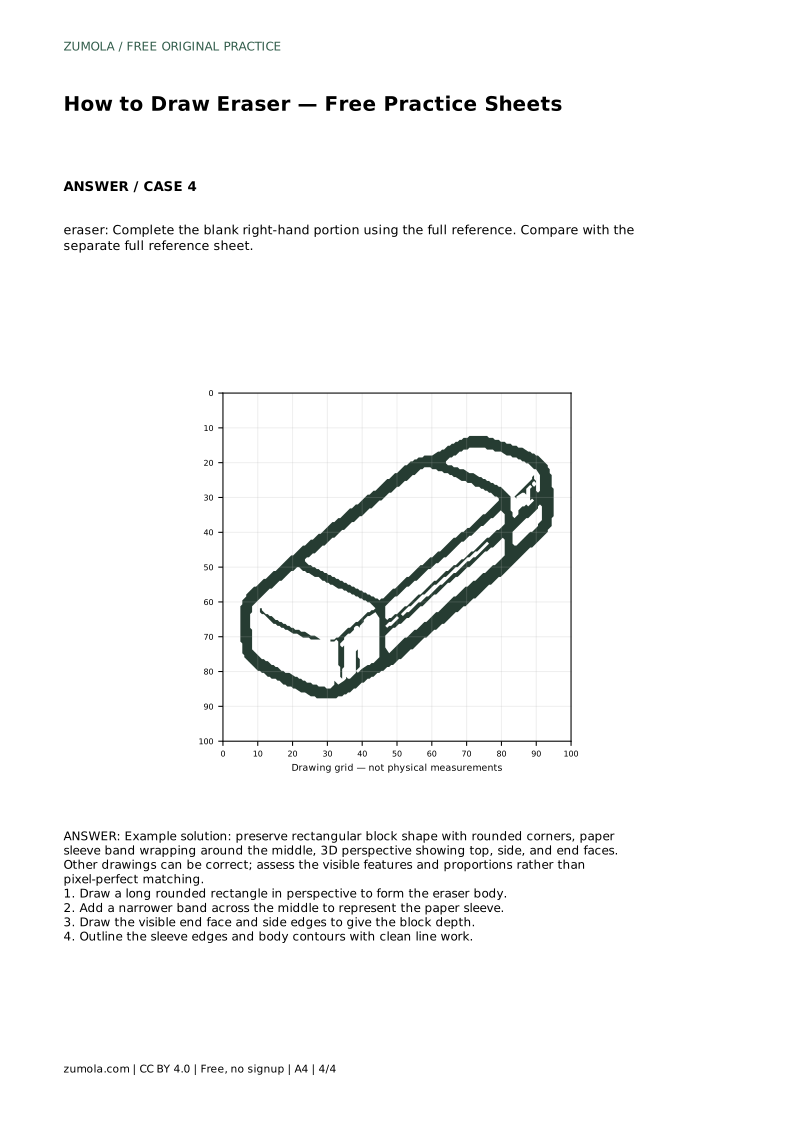
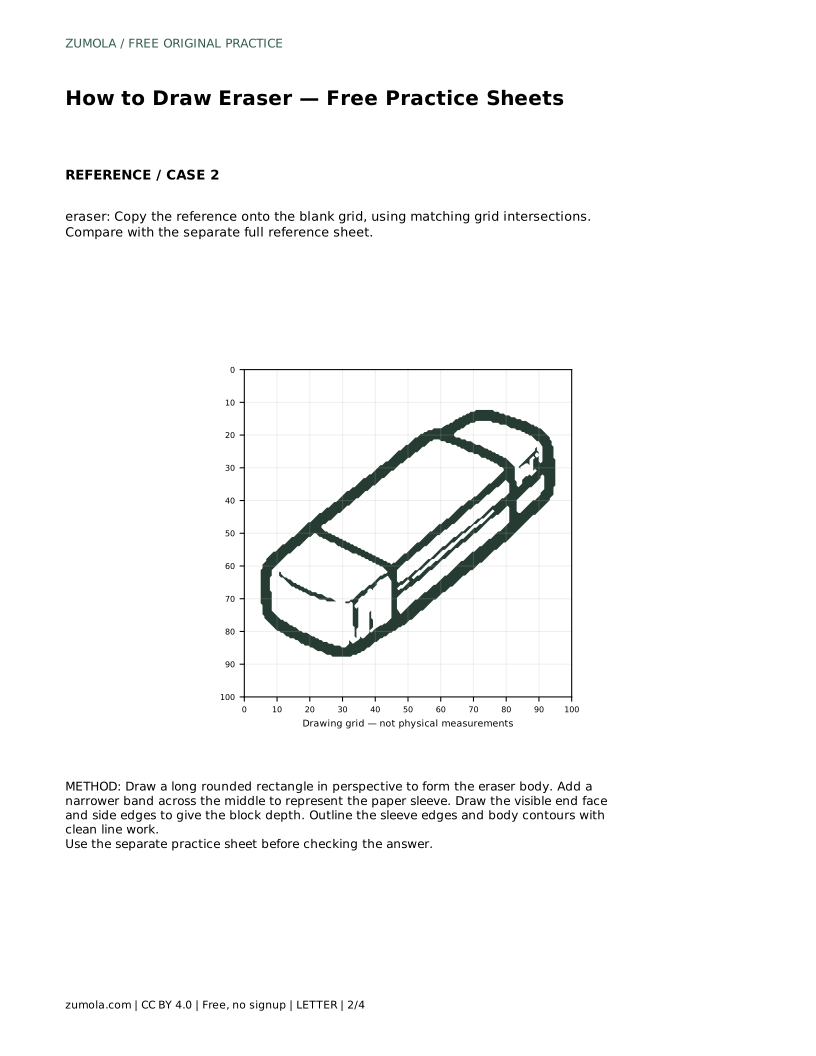
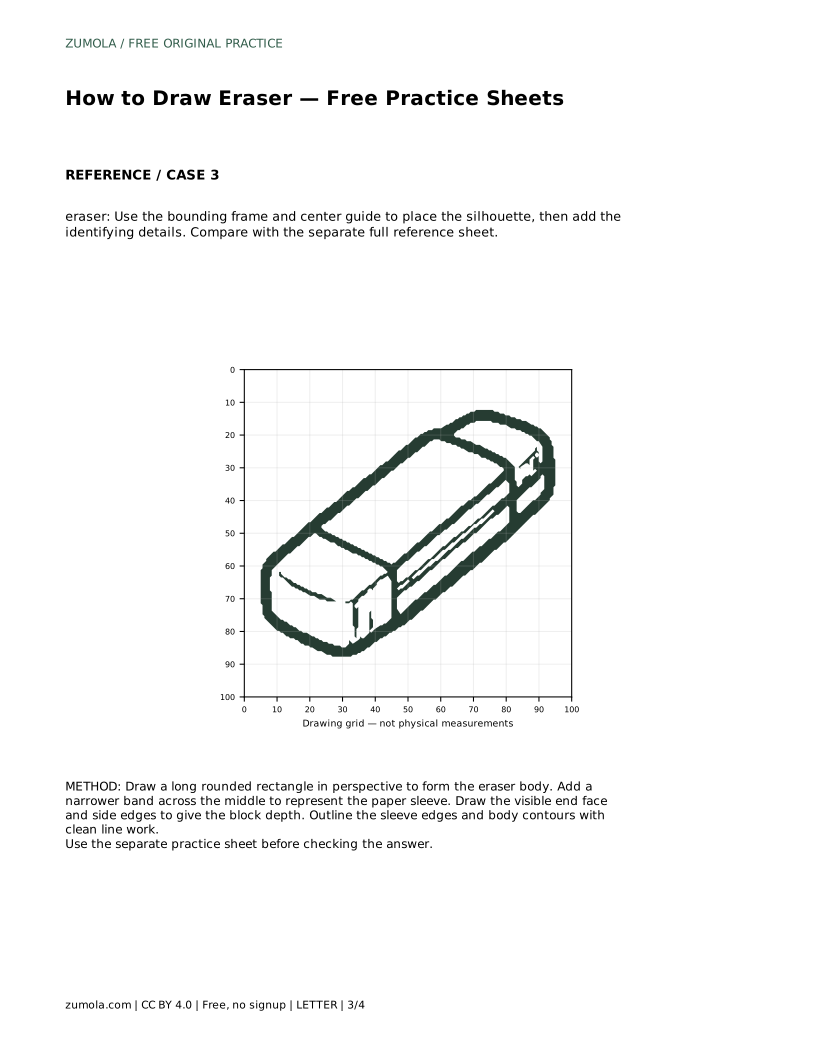
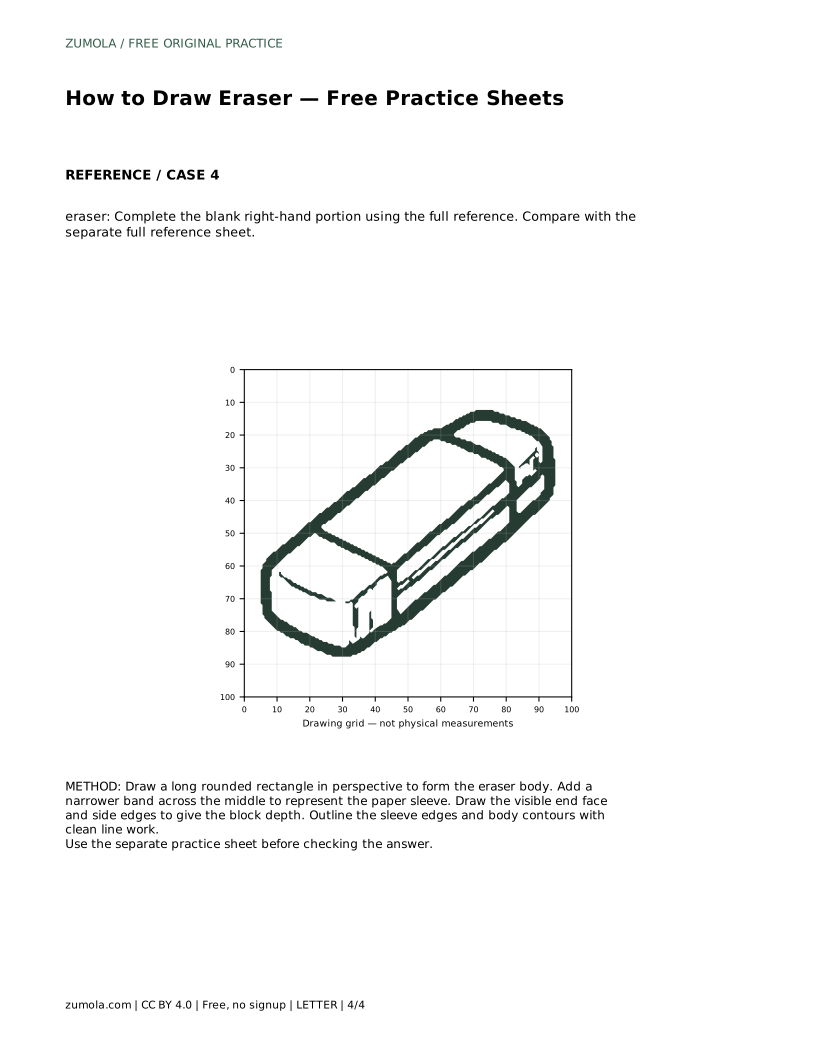
The printable sheets offer four different ways to practise the same object. One asks you to trace the reference outline, then practise the contour independently. Another asks you to copy the reference onto a blank grid using matching grid intersections. A third uses a bounding frame and center guide to place the silhouette before adding identifying details. A fourth leaves the right-hand portion blank so you complete it from the full reference.
Each sheet is compared against a separate full reference sheet, so keep that reference visible while you work. The sheets train different skills: tracing builds muscle memory, grids build proportion judgment, frames build placement, and partial completion builds recall. Use the one that matches the difficulty you want today rather than working through all four in one sitting.
There are many valid ways to draw an eraser, so judge the visible features and proportions rather than demanding an exact match. A correct drawing keeps the block shape recognizable, the corners rounded, the sleeve band wrapping the middle, and the perspective consistent across the top, side, and end faces. Line quality matters too: confident contours read better than hesitant, broken ones.
eraser: Trace the reference outline, then practise the contour independently. Compare with the separate full reference sheet.
Example solution: preserve rectangular block shape with rounded corners, paper sleeve band wrapping around the middle, 3D perspective showing top, side, and end faces. Other drawings can be correct; assess the visible features and proportions rather than pixel-perfect matching. Draw a long rounded rectangle in perspective to form the eraser body. Add a narrower band across the middle to represent the paper sleeve. Draw the visible end face and side edges to give the block depth. Outline the sleeve edges and body contours with clean line work.
No. Other drawings can be correct; assess the visible features and proportions rather than pixel-perfect matching.
Start with the tracing sheet if you are new to the shape, then move to the grid or frame sheet once the contour feels familiar.
The sleeve alone does not create depth. Add the visible end face and side edges so the block has three connected faces.
All drawing practice · Free coordinate paper
Original resources · CC BY 4.0 · Free for personal and classroom use with attribution.